
The Secret to Soft, Fluffy GlutenFree Bread Every Time

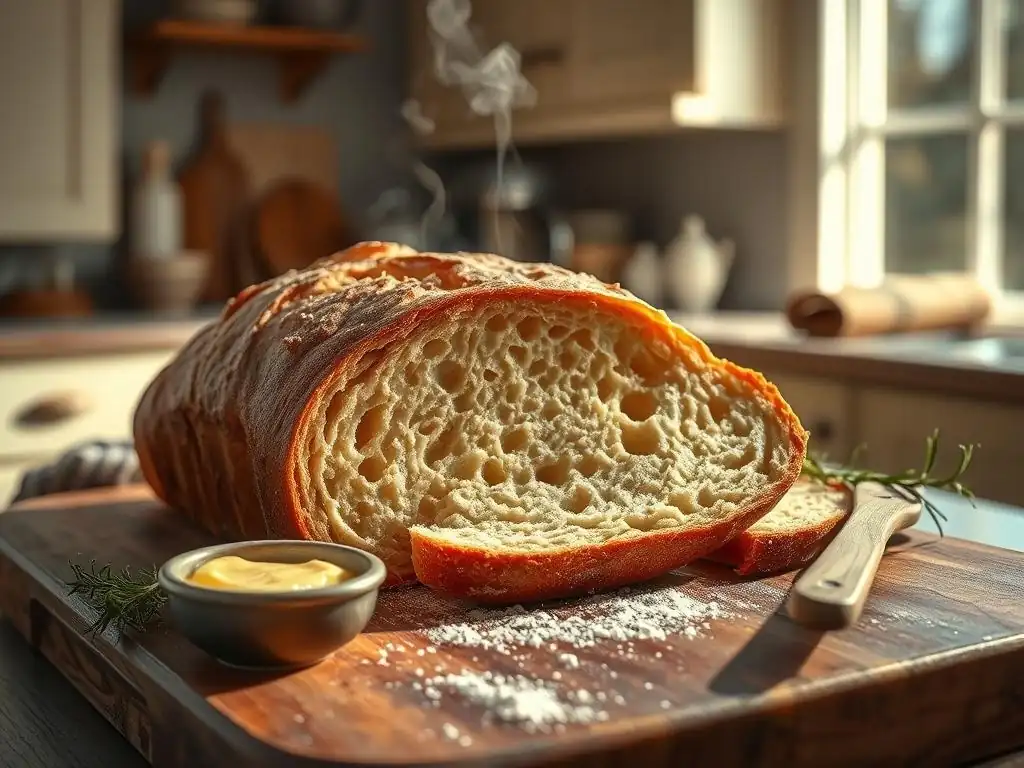
Welcome to BakeWithEase, your trusted companion on your baking journey!
Are you tired of dense, crumbly gluten-free bread? Uncover the secret to a soft, fluffy gluten-free bread recipe that will revolutionize your baking. Finally, a loaf that's both delicious and easy to make. Intrigued? Let's dive into the art of gluten-free bread baking and discover the simple techniques that guarantee success.
- BakeWithEase Presents: Mastering Soft Gluten-Free Bread
- Understanding Gluten-Free Bread Baking Challenges
- The Ultimate Gluten-Free Bread Recipe for Softness
- Step-by-Step Guide to Soft, Fluffy Gluten-Free Bread
- Pro Tips for Achieving Soft Gluten-Free Bread Every Time
- Troubleshooting Common Gluten-Free Bread Baking Problems
- Achieving the Perfect Soft Crumb in Gluten-Free Bread
- Storing Your Soft Gluten-Free Bread for Maximum Freshness
- Variations on the Soft Gluten-Free Bread Recipe
- Enjoy Your Delicious, Soft, Gluten-Free Bread!
-
Frequently Asked Questions
- What makes a gluten-free bread recipe "soft" when gluten is what typically provides structure?
- What are some common mistakes that lead to dry or dense gluten-free bread?
- Can I substitute ingredients in a gluten-free bread recipe, and if so, what are some considerations?
- What type of flour blend works best for achieving a soft texture in gluten-free bread?
- How important is the rising time and temperature for a successful gluten-free bread?
- Final Reflection: The Enduring Quest for the Perfect Gluten-Free Loaf
- Unlock Your Gluten-Free Baking Potential!
BakeWithEase Presents: Mastering Soft Gluten-Free Bread
Welcome to BakeWithEase! If you've been on a quest for a truly soft, fluffy gluten-free bread, you know it can feel like searching for a unicorn. Many gluten-free loaves turn out dense, dry, or crumbly, a stark contrast to the airy texture we love in traditional bread. But don't despair! Achieving that perfect soft crumb in a gluten-free loaf is absolutely possible with the right techniques and ingredients.
This guide will walk you through the common pitfalls of gluten-free baking and reveal the secrets to consistently baking a delicious, soft gluten-free bread recipe. We'll cover everything from understanding the unique challenges of working without gluten to precise measurements, proofing tips, and even troubleshooting common issues. Get ready to transform your gluten-free baking results and enjoy a slice of truly soft bread!
Understanding Gluten-Free Bread Baking Challenges
Why Gluten-Free Bread Can Be Dense and Dry
One of the primary frustrations when baking gluten-free bread is its tendency towards a dense, sometimes gummy, texture or, conversely, being too dry and crumbly. This often stems from the absence of gluten, the protein network that provides structure, elasticity, and the ability to trap gases produced by yeast, resulting in a light, airy loaf. Without this framework, gluten-free dough relies on other ingredients to provide structure and moisture retention.
Traditional wheat flour contains proteins that form gluten when kneaded and hydrated. This gluten network is crucial for developing elasticity, allowing the dough to stretch and expand during proofing and baking. In gluten-free baking, starches and alternative flours don't form this same cohesive structure. If the hydration isn't perfectly balanced or if binders aren't used effectively, the result is a structure that collapses, leading to a dense crumb, or one that dries out quickly due to poor moisture retention. Many early gluten-free bread recipes struggled with this, often producing loaves that were edible but lacked the desired softness.
The Role of Gluten in Traditional Bread
Gluten is more than just a binder; it's a dynamic protein matrix formed by gliadin and glutenin. When wheat flour is mixed with water and kneaded, these proteins link together, creating a viscoelastic dough. This means the dough has both elasticity (it can stretch) and viscosity (it resists flow). This unique property allows yeast-produced carbon dioxide bubbles to be trapped within the dough, causing it to rise. The more developed the gluten network, the stronger it is, and the more gas it can hold, leading to a higher rise and a more open, airy crumb structure.
Furthermore, gluten contributes to the chewiness and overall texture of traditional bread. During baking, the gluten network sets, providing the framework that holds the bread's shape. Without this natural structure-builder, gluten-free flours require the addition of hydrocolloids (like xanthan gum or psyllium husk) and carefully balanced blends of flours and starches to attempt to mimic gluten's functions. Understanding what gluten does helps highlight why a successful soft gluten-free bread recipe requires a fundamentally different approach.
Key Differences in Gluten-Free Bread Recipes
Gluten-free bread recipes differ significantly from their wheat-based counterparts right from the ingredient list. Instead of a single flour, they typically use a blend of different flours (like rice, sorghum, millet) and starches (like tapioca, potato, corn). This blend is necessary because no single gluten-free flour possesses all the properties needed for bread structure and texture. A common ratio might involve 40-50% whole-grain type flours, 30-40% starches, and the remainder lighter flours.
Another major difference is the hydration level. Gluten-free doughs are often much wetter, sometimes resembling a thick batter more than a traditional kneadable dough. This higher hydration helps compensate for the lack of gluten's ability to retain moisture and contributes to a softer crumb. Additionally, binders like xanthan gum, guar gum, or psyllium husk are almost always included to provide elasticity and structure that gluten would normally offer. Unlike traditional bread, gluten-free dough typically requires minimal to no kneading, as there's no gluten network to develop. Overmixing can actually harm the structure provided by the starches and binders.
The Ultimate Gluten-Free Bread Recipe for Softness
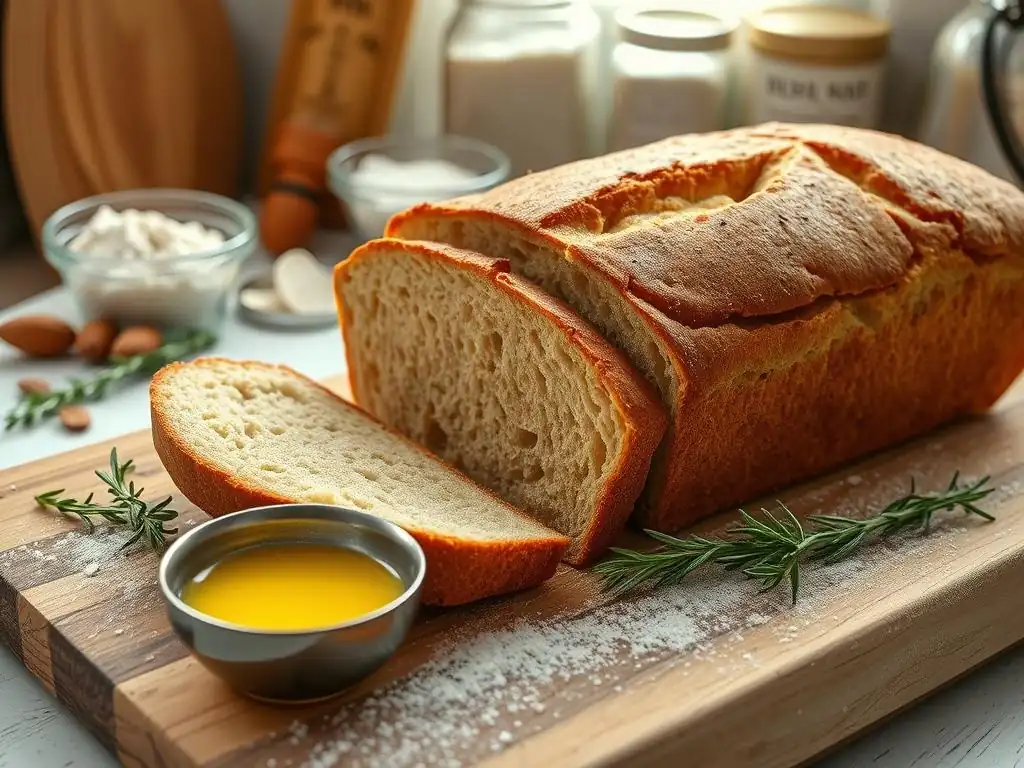
The BakeWithEase Gluten-Free Flour Blend: Your Secret Weapon
Creating a successful soft gluten-free bread recipe often starts with the right flour blend. While many commercial blends exist, crafting your own allows for customization and can lead to superior results. Our recommended BakeWithEase blend focuses on balancing structure, flavor, and softness. A good starting point is combining fine white rice flour for structure, sorghum or millet flour for a slightly nutty flavor and fiber, and tapioca starch and potato starch for softness and elasticity.
For instance, a blend could be roughly 40% white rice flour, 20% sorghum flour, 20% tapioca starch, and 20% potato starch. This mix provides a balance: the rice and sorghum offer substance, while the starches contribute to that desirable soft, slightly chewy texture. Using a blend like this, rather than a single-source flour, is critical for achieving a balanced crumb and preventing issues like excessive crumbliness or gumminess often found in less optimized gluten-free bread recipes. Pre-mixing a larger batch of this blend makes baking quicker and ensures consistency.
Ingredients for a Soft Gluten-Free Loaf: A Detailed Breakdown
Beyond the flour blend, several other ingredients play crucial roles in achieving a soft gluten-free bread. Yeast, of course, provides the leavening, creating gas bubbles that lighten the dough. Instant yeast is often preferred for its reliability and ease of use – typically around 1.5-2% of the total flour weight is sufficient. Warm water or milk (around 105-115°F or 40-46°C) is needed to activate the yeast; dairy or non-dairy milk can add richness and contribute to a softer crumb compared to just water.
A sweetener like sugar, honey, or maple syrup (a tablespoon or two) feeds the yeast and aids in browning. Salt (about 1.5-2% of flour weight) is essential for flavor and controlling yeast activity. Eggs (one or two) add richness, structure, and help bind the ingredients, contributing significantly to softness.
A fat source, such as oil or melted butter (2-4 tablespoons), inhibits staling and keeps the crumb tender. Finally, a binder like psyllium husk powder (1-2% of flour weight) or xanthan gum (0.5-1% of flour weight) is non-negotiable for providing elasticity and structure in a gluten-free bread recipe designed for softness.
Precise Measurements for Perfect Gluten-Free Bread Texture
Precision is paramount in gluten-free baking, arguably even more so than in traditional baking. The margin for error is smaller because the ingredients don't have the forgiving structure of gluten. Using a digital kitchen scale to weigh your ingredients, especially flours and starches, is highly recommended over using volume measurements (cups). A cup of flour can vary in weight by as much as 20-30% depending on how it's scooped and packed, leading to inconsistent hydration and unpredictable results.
For example, if your recipe calls for 300 grams of flour blend, weighing it ensures you have exactly 300 grams every time. If you were to use cups, you might accidentally add 350 grams one time and 250 grams the next, drastically changing the dough's consistency. Similarly, accurately measuring liquids, binders like psyllium husk, and leavening agents is crucial. Small variations in these can significantly impact the dough's hydration, rise, and final texture. Following a carefully developed glutenfree bread recipe soft results depend heavily on these precise measurements.
Step-by-Step Guide to Soft, Fluffy Gluten-Free Bread
Step 1: Mixing the Dough for Optimal Hydration
The mixing process for gluten-free bread is different from traditional kneading. Since there's no gluten network to develop, the goal is simply to combine the ingredients thoroughly and ensure the flours and starches are fully hydrated. Start by whisking together the dry ingredients: your flour blend, binder (psyllium husk or xanthan gum), salt, and sugar. In a separate bowl, whisk the wet ingredients: warm water or milk, yeast, eggs, and melted fat.
Pour the wet ingredients into the dry and mix using a stand mixer with a paddle attachment or a sturdy spoon. Mix on medium speed for about 3-5 minutes, or until a smooth, cohesive batter or very wet dough forms. The consistency should be thick and sticky, much wetter than wheat dough. Resist the urge to add more flour, as this will result in a dry, dense loaf. Proper hydration at this stage is critical for a soft gluten-free bread recipe outcome.
Step 2: The Importance of Resting and Proofing Gluten-Free Dough
Unlike traditional doughs that require extensive kneading and multiple long proofs, gluten-free dough often benefits from a brief initial rest followed by a single proof. After mixing, let the dough rest in the bowl for 10-15 minutes. This allows the flours and starches to fully absorb the liquid and the binder (especially psyllium husk) to hydrate and form its gel-like structure. This resting period improves the dough's handling properties slightly and contributes to a better final texture.
Following the rest, transfer the dough to your prepared loaf pan. Gluten-free dough doesn't typically double in size like wheat dough, but it should increase noticeably, perhaps by 50-75%. Proofing time can vary greatly depending on room temperature and yeast activity, usually taking 45-90 minutes. Place the pan in a warm, draft-free spot.
You can create a warm environment by placing the pan in a turned-off oven with the light on. The dough is ready to bake when it has expanded and looks airy, but before it starts to collapse. Over-proofing can lead to a poor rise and dense texture.
Step 3: Shaping Your Gluten-Free Bread Loaf
Shaping gluten-free dough is different because it's often too sticky to handle like traditional bread dough. Instead of kneading and forming a tight ball, you'll typically be transferring the wet dough directly into a greased and floured (use gluten-free flour or cornmeal) loaf pan. Once the dough is in the pan after its initial rest, you can gently smooth the top with a wet spatula or the back of a wet spoon.
Some recipes, particularly those using psyllium husk, might result in a dough that is slightly more handleable. In such cases, you can turn the dough out onto a lightly floured surface (using gluten-free flour), gently form it into a log shape that fits your pan, and place it seam-side down. Avoid excessive handling or degassing, as this will remove the precious air bubbles needed for softness. The primary "shaping" happens when you transfer the dough into the pan and smooth the top before proofing.
Step 4: Baking to Perfection: Temperature and Time
Baking temperature and time are critical for ensuring your soft gluten-free bread is cooked through without becoming dry. Preheat your oven thoroughly, usually to around 375-400°F (190-200°C). Some bakers start at a higher temperature for the first 10-15 minutes (e.g., 425°F or 220°C) to encourage oven spring before reducing the heat to finish baking. This initial high heat can help set the structure quickly.
Baking time for a standard 1.5 lb loaf is typically 45-60 minutes. The bread is done when the crust is golden brown and the internal temperature reaches 200-210°F (93-99°C) when measured with an instant-read thermometer. Tapping the bottom of the loaf should produce a hollow sound, but the internal temperature is the most reliable indicator. Baking for too short a time can result in a gummy interior, while over-baking will lead to a dry loaf. Using a baking stone or steel can help ensure even heat distribution and promote a better crust and rise.
Step 5: Cooling and Slicing for the Best Texture
Patience is key after baking! As soon as the bread comes out of the oven, carefully remove it from the pan and place it on a wire rack to cool completely. This step is absolutely crucial for developing the final texture and preventing a gummy interior. As the bread cools, residual heat continues to cook the inside, and moisture redistributes throughout the loaf.
Attempting to slice warm gluten-free bread will almost certainly result in a sticky, gummy mess that collapses. Allow the loaf to cool for at least 2-3 hours, or ideally until it reaches room temperature. For the cleanest slices and best soft gluten-free bread texture, use a serrated knife. Cooling properly ensures the starches set correctly and the moisture balance stabilizes, resulting in a truly soft and pleasant crumb.
Pro Tips for Achieving Soft Gluten-Free Bread Every Time
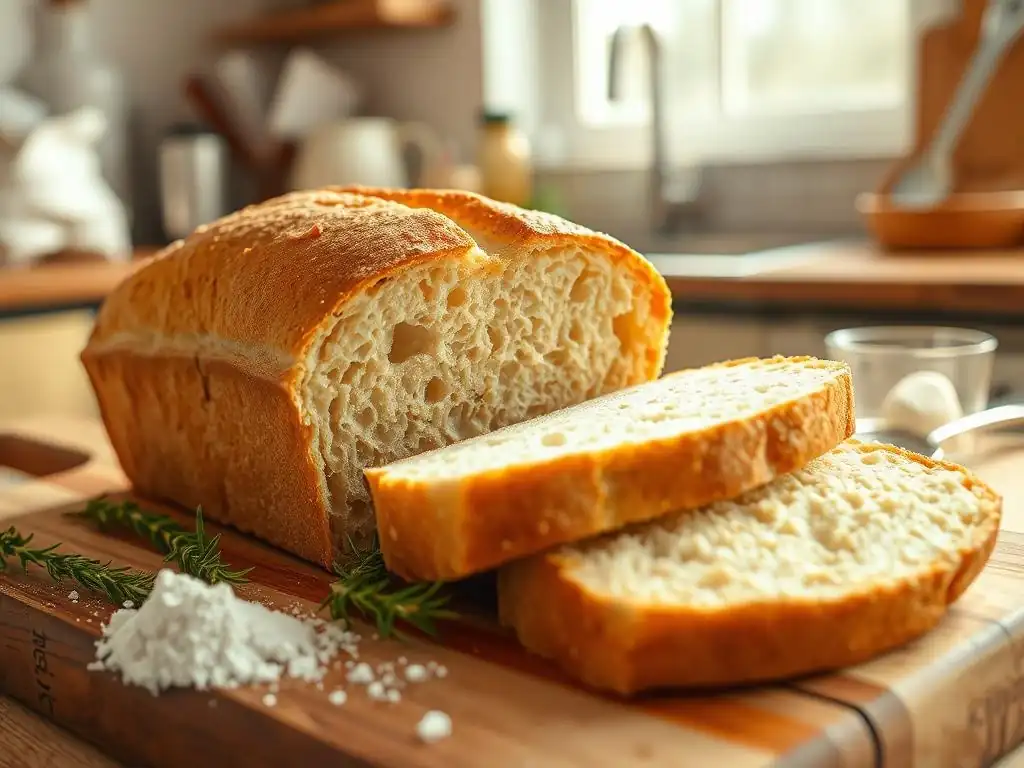
Using Psyllium Husk for Enhanced Texture and Binding
Psyllium husk is a game-changer in gluten-free baking, particularly for creating a soft, pliable crumb that mimics wheat bread. When hydrated, psyllium husk forms a gel-like substance that provides elasticity and structure to the dough, much like gluten does. It helps the dough hold together, prevents crumbliness, and contributes to a better rise and a softer, less dense texture.
Using psyllium husk powder (not whole husks, unless the recipe specifies) is generally recommended for a smoother texture, typically at a ratio of 1.5-2% of the total flour weight. For example, for 300 grams of flour blend, you might use 4.5-6 grams of psyllium husk powder. It's vital to mix it thoroughly with the dry ingredients or hydrate it in the liquid first, as directed by your specific glutenfree bread recipe soft method. Its ability to absorb water (up to 10 times its weight) significantly impacts hydration, so precise measurement is essential.
Adding Moisture-Rich Ingredients: Mashed Sweet Potato
Incorporating moisture-rich ingredients can significantly improve the softness and shelf life of gluten-free bread. Cooked and mashed vegetables like sweet potato, pumpkin puree, or even finely grated zucchini (with excess moisture squeezed out) add natural moisture, a slight sweetness, and nutrients. Sweet potato, in particular, works wonderfully, contributing a lovely color and a very tender crumb.
Adding about 1/4 to 1/2 cup of smooth sweet potato puree per standard loaf can make a noticeable difference in the final texture, keeping the bread soft for longer. These ingredients also interact with starches in the flour blend, further enhancing the soft gluten-free bread qualities. Ensure the puree is smooth and free of lumps for even distribution throughout the dough.
The Benefits of a Tangzhong or Water Roux Method
The Tangzhong or Yudane method, borrowed from Asian bread making, involves pre-cooking a small portion of the flour with liquid to form a paste. This technique gelatinizes the starches in the flour, allowing them to absorb and retain significantly more moisture. When this paste is added to the main dough, it introduces this extra moisture in a stable form.
For gluten-free bread, making a Tangzhong with a small amount of your flour blend and water or milk (typically a 1:5 or 1:10 flour to liquid ratio by weight, cooked until thick) can dramatically improve the softness and moistness of the final loaf. This method helps prevent the bread from drying out quickly, keeping your soft gluten-free bread recipe results fresh and tender for several days. It's a simple step that yields impressive results in moisture retention.
Optimizing Oven Temperature and Humidity
Creating a humid environment in your oven during the initial stages of baking can also contribute to a better rise and a softer crust, preventing it from hardening too quickly and restricting oven spring. While not as critical as for traditional artisanal bread, it can still be beneficial for gluten-free loaves.
One way to achieve this is by placing a tray on the bottom rack of your oven while it preheats and pouring about a cup of hot water into it just as you place the bread in the oven. This creates steam. Alternatively, some bakers lightly mist the inside of the oven with water before closing the door.
Baking temperature is also key; ensure your oven is accurately calibrated, as temperatures that are too high can cause the crust to set too fast, while temperatures that are too low can result in a poor rise and dense crumb. Following the recommended temperature range in your soft glutenfree bread recipe is important.
Troubleshooting Common Gluten-Free Bread Baking Problems
Dense and Gummy Bread: Causes and Solutions
A dense or gummy texture is a common frustration in gluten-free baking. This often happens when the starches haven't cooked through properly, or the hydration is off. Possible causes include under-baking (the most frequent culprit), incorrect flour blend ratios (too much heavy flour, not enough starch), insufficient binder (xanthan gum or psyllium husk), or not allowing the bread to cool completely before slicing.
To fix this, ensure you are baking until the internal temperature reaches 200-210°F (93-99°C). Use an oven thermometer to verify your oven's temperature accuracy. Check your recipe's binder amount – is it sufficient for the amount of flour? Ensure your flour blend has enough starch component for softness. Most importantly, always let the loaf cool completely on a wire rack before slicing. Patience here is crucial for a soft gluten-free bread.
Bread That Crumbles Easily: How to Prevent It
If your gluten-free bread crumbles when sliced, it usually indicates a lack of binding and insufficient moisture. This can be due to not enough binder (xanthan gum or psyllium husk), too much flour or not enough liquid (low hydration), or using a flour blend that is too high in coarse or low-binding flours without enough starch.
Review your recipe's binder quantity; increasing it slightly (within recommended ranges) can help. Ensure your hydration level is correct – gluten-free dough should be quite wet. Make sure your flour blend includes enough starches like tapioca or potato starch, which contribute to binding and a smoother texture. Adding moisture-rich ingredients like apple sauce or a Tangzhong can also significantly reduce crumbliness and help achieve a truly soft glutenfree bread.
Uneven Rising: Tips for Consistent Results
Uneven rising can lead to a lopsided loaf or a dense spot in one part of the bread. This can be caused by uneven heat during proofing or baking, inconsistent mixing, or the dough not being evenly distributed in the pan.
Ensure your proofing environment has a consistent temperature throughout. If using an oven with the light on, check that the temperature inside is stable. When transferring dough to the pan, try to spread it as evenly as possible, paying attention to the corners. During baking, if you notice one side browning faster, you can carefully rotate the pan halfway through the baking time. Using a baking stone or steel can also help regulate oven temperature and promote more even heating.
Achieving the Perfect Soft Crumb in Gluten-Free Bread
Understanding the Role of Starches in Gluten-Free Baking
Starches are indispensable in achieving a soft crumb in gluten-free bread. Unlike protein-rich flours, starches like tapioca, potato, corn, and arrowroot gelatinize when heated in the presence of moisture. This process helps to create a gel-like structure that traps moisture and contributes to the soft, slightly chewy texture often missing in gluten-free baked goods made solely with grain flours.
Tapioca starch, for example, provides chewiness and elasticity, which is vital for preventing a crumbly texture. Potato starch contributes to a light, tender crumb. Cornstarch provides structure and softness. A good gluten-free bread recipe designed for softness will utilize a strategic combination of these starches to balance texture, structure, and moisture retention, ensuring the final loaf isn't dense or dry.
Exploring Different Starch Combinations for Optimal Texture
Experimenting with different starch combinations within your flour blend can help you fine-tune the texture of your soft gluten-free bread. While a 50/50 mix of tapioca and potato starch is a common starting point for the starch portion of a blend, varying the ratio can yield different results. More tapioca might increase chewiness, while more potato starch could result in a lighter, more tender crumb.
Some bakers also incorporate small amounts of cornstarch or arrowroot starch. For instance, a blend could use 15% tapioca, 15% potato, and 10% cornstarch as the starch component (totaling 40% of the overall blend). The key is finding a balance that provides structure without becoming gummy or heavy. Pay attention to how different starches behave and adjust ratios based on your desired soft glutenfree bread outcome.
How to Test Your Gluten-Free Bread for Doneness
Determining when gluten-free bread is perfectly baked is crucial for avoiding a gummy interior. Relying solely on visual cues like crust color isn't always enough. The most reliable method is to check the internal temperature using an instant-read thermometer. Insert the thermometer into the center of the loaf.
The bread is done when the internal temperature reaches between 200°F and 210°F (93°C and 99°C). Baking to this temperature ensures that the starches have fully gelatinized and set. Another test is to tap the bottom of the loaf; it should sound hollow. If the temperature is below this range, continue baking for a few more minutes and check again. Proper baking time is essential for achieving that desirable soft gluten-free bread crumb.
Storing Your Soft Gluten-Free Bread for Maximum Freshness
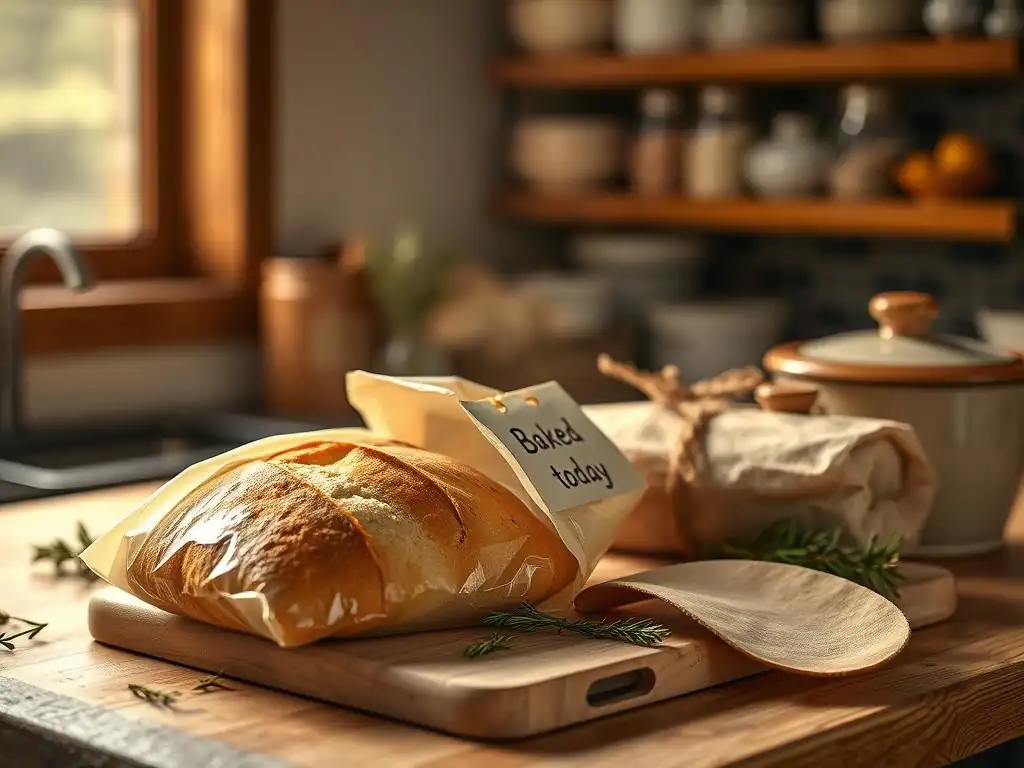
Proper Cooling Techniques to Prevent Soggy Bread
Once your soft gluten-free bread is baked to perfection, proper cooling is arguably the most critical step for ensuring a good texture and preventing sogginess. As mentioned earlier, bread continues to cook internally as it cools. If left in the hot pan, moisture released as steam can condense, making the bottom and sides of the loaf soggy.
Immediately transferring the hot loaf from the pan to a wire cooling rack allows air to circulate around the entire loaf, facilitating even cooling and allowing steam to escape. This prevents moisture buildup and ensures the crust remains pleasant while the interior sets correctly. Avoid placing the hot bread on a flat surface like a cutting board. Allow the bread to cool completely to room temperature – this can take 2-3 hours or even longer for a large loaf – before attempting to slice or store it. Rushing this step is a primary reason for gummy gluten-free bread.
Best Storage Methods for Gluten-Free Loaves
Proper storage is key to keeping your soft gluten-free bread fresh and preventing it from drying out or becoming stale too quickly. Once completely cool, the best way to store gluten-free bread for short-term use (1-2 days) is wrapped tightly in plastic wrap or stored in an airtight bread bag at room temperature. This helps retain moisture.
For longer storage, freezing is the ideal option. Slice the cooled loaf first, then wrap individual slices or portions tightly in plastic wrap and place them in a freezer-safe bag or container. Frozen gluten-free bread can last for several months. Freezing preserves the soft texture much better than refrigeration, which tends to dry out gluten-free bread quickly due to starch retrogradation.
Reheating Gluten-Free Bread for a Delicious Experience
Reheating can revitalize a slice of soft gluten-free bread, making it taste freshly baked. If frozen, you can often toast slices directly from the freezer. For a whole loaf or larger pieces, thawing at room temperature is best before reheating.
To warm slices, use a toaster, toaster oven, or a skillet on medium heat until warmed through and lightly crispy on the outside. For a whole loaf or half loaf, wrap it loosely in foil and warm it in a preheated oven at 300-325°F (150-160°C) for 10-15 minutes, or until heated through. This gentle warming helps to soften the crumb again without drying it out, bringing back that lovely soft gluten-free bread texture.
Variations on the Soft Gluten-Free Bread Recipe
Adding Seeds and Nuts for Texture and Flavor
Once you've mastered the basic soft gluten-free bread recipe, you can easily add variations to enhance flavor and texture. Incorporating seeds and nuts is a popular choice. You can add a mix of sunflower seeds, pumpkin seeds (pepitas), flax seeds, chia seeds, or poppy seeds to the dough during the mixing stage. A typical amount might be 1/4 to 1/2 cup of total seeds/nuts per loaf.
Chopped nuts like walnuts or pecans also work well. Adding seeds not only provides a pleasant crunch and nutty flavor but also boosts the nutritional content with fiber and healthy fats. You can also sprinkle seeds on top of the loaf before baking for added visual appeal and a slightly crunchier crust. Ensure seeds are distributed evenly throughout the wet dough during mixing.
Making Sweet Gluten-Free Bread: Cranberry Orange
Transforming your soft gluten-free bread recipe into a sweet version is simple and delicious. Ingredients like dried cranberries and orange zest pair wonderfully. Add about 1/2 to 3/4 cup of dried cranberries and the zest of one large orange to the dough during the final minute of mixing.
You might also increase the sugar slightly (perhaps by 1-2 tablespoons) to enhance the sweetness. This variation is perfect for a breakfast loaf or a snack. Other sweet additions could include raisins, cinnamon, apple pieces, or chocolate chips. Ensure dried fruits are plump if they seem dry, perhaps by soaking them briefly in warm water before adding.
Gluten-Free Bread for Sandwiches: A Sturdier Option
While focusing on a soft gluten-free bread for slicing, you might sometimes desire a slightly sturdier loaf better suited for sandwiches. To achieve this, you can make minor adjustments to the base recipe. Slightly reducing the hydration (adding a tablespoon or two less liquid) can result in a denser, less airy crumb that holds up better to fillings.
Alternatively, increasing the proportion of protein-rich gluten-free flours like sorghum or millet in your blend relative to the starches can contribute to a firmer structure. Ensuring adequate binder (psyllium husk or xanthan gum) is still crucial for preventing crumbliness, but focusing on a slightly less delicate crumb will make it more sandwich-friendly. This adaptation still yields a delicious loaf, just with a bit more substance.
Enjoy Your Delicious, Soft, Gluten-Free Bread!
Frequently Asked Questions
What makes a gluten-free bread recipe "soft" when gluten is what typically provides structure?
Gluten-free bread relies on a combination of ingredients like starches, gums, and psyllium husk to mimic the structure and softness of gluten. The right balance is crucial for a good texture.
What are some common mistakes that lead to dry or dense gluten-free bread?
Overmixing the dough, using the wrong blend of gluten-free flours, and not adding enough moisture are frequent culprits. Accurate measurements are also vital.
Can I substitute ingredients in a gluten-free bread recipe, and if so, what are some considerations?
Substitutions can be tricky in gluten-free baking. Consider the ingredient's role (binding, leavening, moisture) and choose substitutes with similar properties. Research is key before swapping.
What type of flour blend works best for achieving a soft texture in gluten-free bread?
A blend that includes tapioca starch, rice flour, and potato starch often works well. Adding a small amount of sorghum flour can also contribute to a softer crumb.
How important is the rising time and temperature for a successful gluten-free bread?
Rising time is crucial for developing flavor and texture, but gluten-free doughs often require a longer rise at a slightly warmer temperature than traditional doughs. This allows the yeast to activate properly.
Final Reflection: The Enduring Quest for the Perfect Gluten-Free Loaf
The pursuit of soft, fluffy gluten-free bread isn't just a culinary challenge; it's a testament to our enduring desire for comfort and connection. For many, bread represents warmth, family, and the simple pleasures of life, and the gluten-free community has long sought to reclaim that experience. This article has explored the science behind achieving that perfect texture, highlighting the crucial role of starches, binding agents, and proper technique. The recipes and tips shared are not just instructions; they are tools to empower you to bake bread that truly satisfies.
The journey to mastering gluten-free baking is a personal one, filled with experimentation, occasional setbacks, and ultimately, rewarding triumphs. The frustration of dense, crumbly loaves is a shared experience, and overcoming it fosters a sense of accomplishment that extends beyond the kitchen. As one baker eloquently put it: Baking gluten-free bread is an act of love, a commitment to creating something delicious despite the challenges. It's a celebration of resilience and resourcefulness.
This sentiment resonates deeply, reflecting the dedication and passion within the gluten-free baking community.
Now, I invite you to take what you've learned and embark on your own baking adventure. Don't be afraid to experiment, to tweak the recipes, and to discover your own perfect gluten-free loaf. The journey is as important as the destination, and each perfectly risen loaf is a testament to your perseverance and creativity. Remember the techniques, embrace the process, and most importantly, enjoy the delicious results! The secret to soft, fluffy gluten-free bread isn't just in the recipe; it's in your passion for baking.
Unlock Your Gluten-Free Baking Potential!
Thanks for taking the time to explore the secrets to achieving perfectly soft and fluffy gluten-free bread! We hope you now feel empowered to tackle this baking challenge with confidence. Ready to take your skills to the next level?
- Bake your dream loaf: Try out the recipe from the article today! Note down any adjustments you make for future bakes.
- Share your success: Post a picture of your amazing gluten-free creation on social media and tag us – we'd love to see it!
- Explore other gluten-free recipes: Check out our other articles for more delicious and easy-to-follow gluten-free baking inspiration.
What unique twist will you add to your next gluten-free bread masterpiece?