
Fixing Bread That's Tough After Cooling

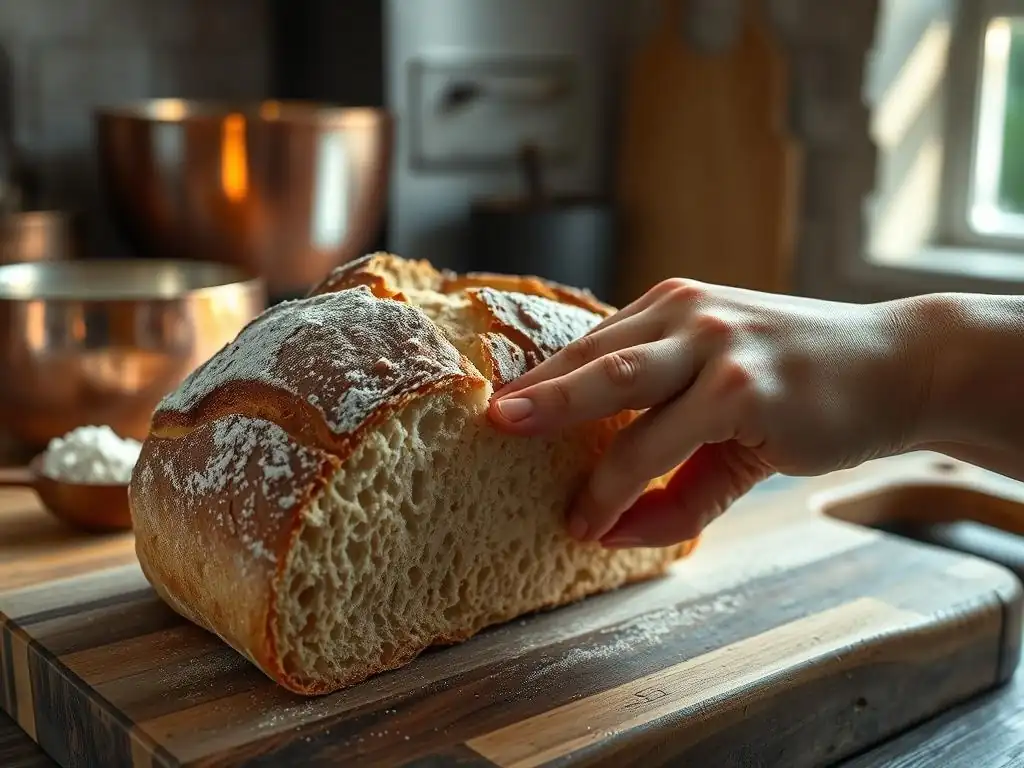
Welcome to BakeWithEase, your guide to unlocking baking brilliance! Ever wondered why is bread tough after cooling, defying that perfect, soft crumb you envisioned? Dive into our latest article where we unravel the secrets to achieving irresistibly tender bread, every single time. Get ready to transform your bread baking and say goodbye to tough loaves forever!
- Fixing Bread That's Tough After Cooling: BakeWithEase's Guide
- Why is My Bread Tough? Understanding the Causes of a Hard Crust
- Troubleshooting Tough Bread: Solutions for a Softer Loaf
- Specific Bread Types and Toughness Issues
- Preventing Tough Bread: Best Baking Practices
- Advanced Techniques for Improving Bread Texture
- Summary: Achieving Soft, Delicious Bread Every Time
- Frequently Asked Questions
- Final Reflection: The Enduring Quest for Perfect Bread
- Rediscover Soft Bread: Simple Tricks & Tasty Tweaks!
Fixing Bread That's Tough After Cooling: BakeWithEase's Guide
Why is My Bread Tough? Understanding the Causes of a Hard Crust
Common Reasons for Tough Bread Texture
Encountering a loaf that feels like a brick after it cools can be disheartening for any baker. So, why is bread tough sometimes? One frequent culprit is insufficient hydration. Dough that doesn't have enough water relative to the flour struggles to form a moist, tender crumb. Think of it like trying to mix concrete with too little water – it becomes stiff and unyielding. This lack of moisture prevents the starch granules from fully gelatinizing during baking, resulting in a dry, dense, and ultimately tough interior texture once cooled.
Another significant factor contributing to tough bread is excessive kneading or gluten development. While gluten is essential for structure, overworking the dough creates an overly tight network of gluten strands. This is particularly true for lean doughs (those without much fat or sugar). When this overly strong gluten network bakes, it sets into a rigid structure. Even if the crumb looks okay, the texture will feel rubbery or tough when you bite into it. This is a common issue for beginners who might not recognize the signs of properly developed dough.
The Role of Gluten Development in Bread Toughness
Gluten is a protein complex formed when two proteins, glutenin and gliadin, found in wheat flour, are hydrated and manipulated (like through kneading). Glutenin provides elasticity, allowing the dough to stretch, while gliadin provides extensibility, allowing it to expand. As you knead, these proteins link together, forming a strong, elastic network that traps gases produced by yeast, causing the dough to rise. Proper gluten development is crucial for a light, airy crumb.
However, there is a point of diminishing returns. Over-kneading the dough continues to tighten this gluten network beyond the optimal point. Instead of a flexible, extensible structure, you end up with a very tight, resistant one. This over-developed gluten resists expansion during proofing and oven spring, resulting in a dense loaf. Furthermore, the excessive cross-linking of proteins leads to a texture that feels rubbery or tough when chewed. Understanding this balance is key to preventing one of the main reasons why is bread tough.
Impact of Over-Baking on Bread's Crumb and Crust
Baking time and temperature play a critical role in the final texture of your bread. If a loaf is left in the oven for too long, or baked at too high a temperature, it can lead to excessive moisture loss from the interior. The heat continues to dry out the crumb long after the crust has reached the desired color and thickness.
This excessive drying causes the starch and protein structure within the crumb to become rigid and brittle. While the crust might become very thick and hard (sometimes even burnt), the interior suffers equally, becoming dry and tough. Even a perfectly proofed and developed dough can turn into a disappointing, hard loaf if it's over-baked. Monitoring your bread closely, especially in the final stages of baking, is essential to prevent this issue.
Troubleshooting Tough Bread: Solutions for a Softer Loaf
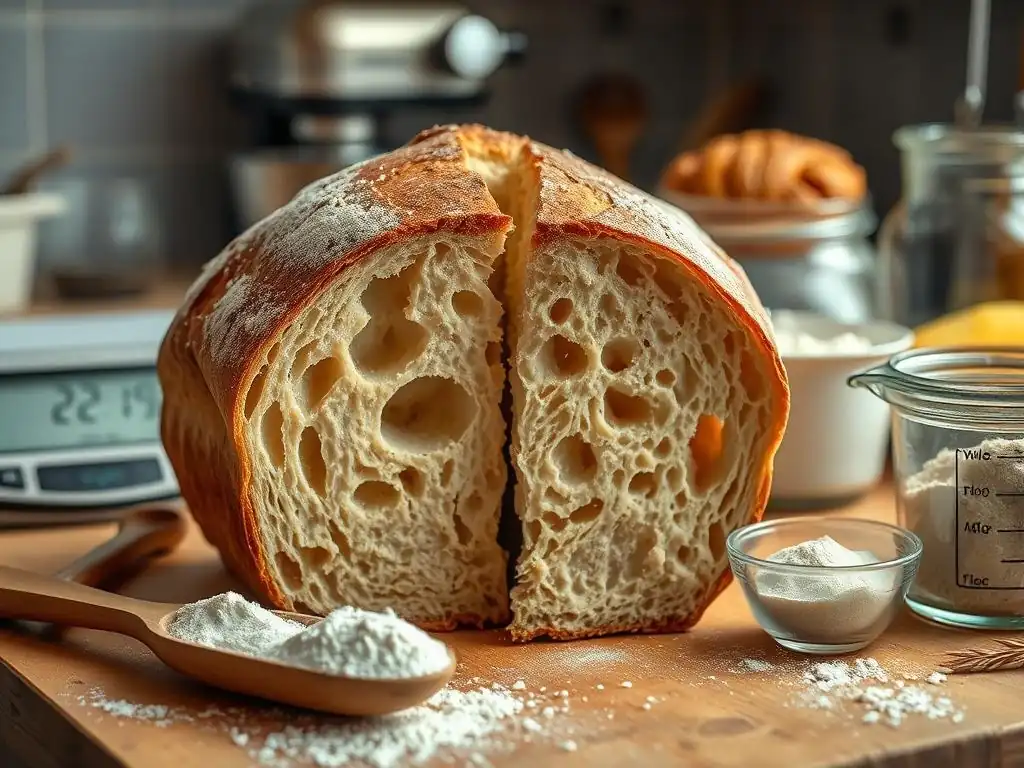
Adjusting Your Dough Hydration for a More Tender Crumb
One of the most direct ways to combat tough bread is by adjusting the hydration level of your dough. Dough hydration refers to the ratio of water to flour by weight. A higher hydration typically leads to a more open, tender crumb. For instance, a basic lean bread might use 60-65% hydration, while a more open-crumbed loaf could be 75-80% or even higher. If your standard recipe consistently produces tough bread, slightly increasing the water might be the solution why is bread tough for you.
Adding just a small amount of extra water, say 1-2% relative to the flour weight, can make a noticeable difference in the dough's handling and the final texture. For example, if your recipe uses 500g of flour, adding an extra 5-10g of water (equivalent to about 1-2 teaspoons) can increase the hydration slightly, potentially leading to a softer crumb. This is especially effective if you notice your dough feels very stiff during mixing.
Increasing Water Content in Your Bread Dough
When increasing water, it's best to do so gradually. Start by adding just a tablespoon or two of water per standard loaf batch (using around 500g of flour) to your usual recipe. Observe how the dough feels – it should be stickier but still manageable. You might need to adjust your kneading technique slightly for the wetter dough.
Continue adding small increments in subsequent batches until you achieve a dough consistency that feels right – pliable, slightly tacky, but not overly difficult to handle. Keep track of the total amount of water used relative to the flour to understand your preferred hydration percentage for that specific recipe and flour type. Different flours absorb water differently; whole wheat typically requires more water than white bread flour.
Understanding Dough Hydration Ratios for Different Bread Types
Dough hydration ratios vary significantly depending on the type of bread you're making. A ciabatta or focaccia might have hydration levels ranging from 75% to over 90%, resulting in their characteristic open, airy structures. In contrast, a dense rye bread might have a lower hydration, perhaps 50-60%. Standard sandwich loaves often fall in the 60-65% range.
Knowing the typical hydration range for the bread you're making helps you assess if your current recipe is within a reasonable range. If you're aiming for a soft sandwich loaf but your hydration is only 55%, increasing it to 62% is likely necessary. Experimenting within these typical ranges is key to finding the sweet spot for your desired texture and understanding why is bread tough at certain hydration levels.
Optimizing Gluten Development for Soft Bread
Achieving the right level of gluten development is crucial for a tender crumb. Too little development results in a dense, heavy loaf that crumbles easily, while too much leads to the rubbery, tough texture we're trying to avoid. The goal is a dough that is elastic and smooth, capable of holding its shape and trapping gas, but not overly tight or difficult to stretch.
Different flours require different amounts of kneading. High-protein bread flour develops gluten more readily than lower-protein all-purpose flour. Pay attention to the dough's feel: it should transition from shaggy and sticky to smooth, elastic, and less sticky as gluten develops. The "windowpane test," where you can stretch a small piece of dough thinly enough to see light through it without tearing, is a good indicator of sufficient (but not excessive) development.
Kneading Techniques to Avoid Over-Developing Gluten
The technique and duration of kneading directly impact gluten development. For machine kneading, follow recipe times closely and check the dough frequently. Over-mixing in a stand mixer is particularly easy to do, often resulting in a tight, tough dough. Manual kneading allows for more direct feedback from the dough; stop kneading when the dough is smooth and passes the windowpane test.
Consider using techniques like the 'stretch and fold' method, especially for higher hydration doughs. Instead of continuous kneading, you perform a series of gentle folds over a period of time (e.g., every 30 minutes for 2-3 hours). This develops gluten more slowly and gently, often resulting in a more relaxed and extensible dough, less prone to toughness.
The Importance of the Autolyse Step for Tender Bread
The autolyse technique, popularized by baker Raymond Calvel, involves mixing just the flour and water for a recipe and letting it rest for 20-60 minutes before adding yeast, salt, and other ingredients. This simple step allows the flour to fully hydrate and enzyme activity to begin breaking down proteins.
This initial rest period kickstarts gluten development without any mechanical work (kneading). When you later add the remaining ingredients and begin kneading, the gluten network forms more quickly and efficiently, requiring less overall kneading time. This reduced manipulation helps prevent over-development, contributing to a more tender crumb and addressing a potential reason why is bread tough.
Baking Time and Temperature Adjustments for a Softer Crust
The final bake is where the dough transforms into bread, and controlling this process is vital for texture. Over-baking is a primary cause of a hard, thick crust and a dry, tough interior. While a dark, well-developed crust contributes flavor, an excessively thick or hard crust indicates the bread has lost too much moisture.
Using an oven thermometer to verify your oven's actual temperature is a crucial first step, as many ovens are inaccurate. Baking at the correct temperature ensures the crust develops properly without the interior drying out too quickly. Adjusting the baking time based on the loaf's internal temperature is the most reliable method for determining doneness.
Reducing Baking Time to Prevent a Hard Crust
Baking time is highly variable depending on the loaf size, shape, and oven. A general guideline is to bake until the internal temperature of the loaf reaches 190-210°F (88-99°C) for lean bread. Using an instant-read thermometer inserted into the center of the loaf is far more accurate than relying solely on visual cues or recipe time.
If your crust is consistently too hard, try reducing the baking time slightly, checking the internal temperature earlier than the recipe suggests. For example, if a recipe calls for 30 minutes, check at 25 minutes. If the internal temperature is already in the target range, the bread is likely done. Removing it sooner will preserve more moisture in the crumb, resulting in a softer texture.
Lowering Oven Temperature for Even Baking and a Softer Loaf
Baking at a slightly lower temperature can also help prevent a tough crust and dry interior, especially for larger loaves or enriched breads. While a high initial temperature is often used to achieve good oven spring and crust development, sometimes lowering the temperature after the initial phase (e.g., after 10-15 minutes) or baking at a slightly lower constant temperature (e.g., 400°F/200°C instead of 425°F/220°C) can lead to a more evenly baked loaf with a softer crumb.
Using steam in the oven during the initial baking phase (the first 10-15 minutes) is another excellent technique. Steam keeps the surface of the dough moist, allowing it to expand fully before the crust sets. This promotes better oven spring and results in a thinner, crispier crust rather than a thick, hard one that can contribute to the perception of tough bread.
Specific Bread Types and Toughness Issues
Addressing Toughness in Sourdough Bread
Sourdough baking introduces unique variables that can affect texture. A common question is why is bread tough when it's sourdough? One primary factor is the activity and health of your sourdough starter. A weak or sluggish starter may not produce enough gas to lighten the dough adequately, resulting in a dense, potentially tough loaf.
Furthermore, the long fermentation process in sourdough can sometimes lead to excessive gluten degradation if not managed correctly, or conversely, if the dough is under-proofed, the gluten network might be too tight. Finding the right balance of starter activity, fermentation time, and temperature is crucial for achieving that characteristic open, chewy, yet tender sourdough crumb.
Sourdough Starter Activity and Its Impact on Bread Texture
A vigorous, active sourdough starter is key to a well-risen and tender loaf. An inactive starter won't provide sufficient leavening, leading to a dense dough that bakes into a heavy, potentially tough bread. Ensure your starter is bubbly, has doubled in size after feeding within a predictable timeframe (typically 4-8 hours), and smells pleasantly tangy before using it for baking.
If your starter seems sluggish, try adjusting its feeding routine or environment. Feeding it with a higher ratio of flour and water (e.g., 1:2:2 starter:flour:water) or keeping it in a warmer spot (75-80°F / 24-27°C) can help boost its activity. Using the starter at its peak activity ensures maximum leavening power for a lighter, softer crumb.
Proper Sourdough Fermentation for a Tender Crumb
Sourdough fermentation involves both bulk fermentation (the first rise) and proofing (the final rise). Both stages are critical for developing flavor and texture. Under-fermentation means the gluten hasn't relaxed enough, and insufficient gas has been produced, leading to a dense, tough crumb. Over-fermentation can weaken the gluten structure, leading to a loaf that spreads rather than rises, with a poor texture.
Learning to read your sourdough dough is essential. During bulk fermentation, the dough should increase significantly in volume (often 50-100%), become airy, and show signs of gas bubbles. For proofing, the dough should look visibly expanded and feel light. The timing depends heavily on temperature; dough ferments much faster in a warm kitchen than in a cool one or the refrigerator. Pay attention to the dough's feel and appearance rather than relying strictly on time.
Preventing Toughness in Enriched Breads
Enriched breads, which contain ingredients like butter, milk, eggs, and sugar, are generally softer than lean breads due to these additions. However, they can still turn out tough if not handled correctly. The presence of fat and sugar actually interferes with gluten development, which is why enriched doughs often require more mixing than lean doughs to build sufficient structure.
The challenge lies in developing just enough gluten for structure without overworking the dough in the presence of these tenderizing ingredients. If the dough is under-mixed, it will be dense and heavy. If it's over-mixed, the gluten can still become too tight, resulting in a tough texture despite the enriching ingredients.
The Role of Fat and Sugar in Softening Enriched Doughs
Fats (like butter or oil) and sugars contribute significantly to the softness and tenderness of bread. Fat coats the flour particles, interfering with gluten formation, which results in a less rigid structure. Sugar attracts and holds onto water, keeping the crumb moist and inhibiting gluten development to some extent.
These ingredients essentially "shorten" the gluten strands, making the crumb more tender and less likely to become tough. Recipes for brioche, challah, or milk bread, which are rich in fat, sugar, and eggs, typically produce very soft loaves precisely because these ingredients modify the gluten structure and retain moisture.
Techniques for Incorporating Fat and Sugar Effectively
In enriched doughs, it's often best to add fat and sugar after some initial gluten development has occurred. Mix the flour, liquid (milk/water), yeast, and eggs (if using) until a rough dough forms and some gluten begins to develop (5-10 minutes in a mixer).
Then, gradually add softened butter or oil, often piece by piece, allowing each addition to be fully incorporated before adding the next. This method ensures that the gluten network has a chance to start forming before the fat interferes, resulting in a dough that is both structured and tender. Incorporating sugar can usually happen at the beginning or with the fat, depending on the recipe, but adding it gradually can also aid incorporation.
Preventing Tough Bread: Best Baking Practices
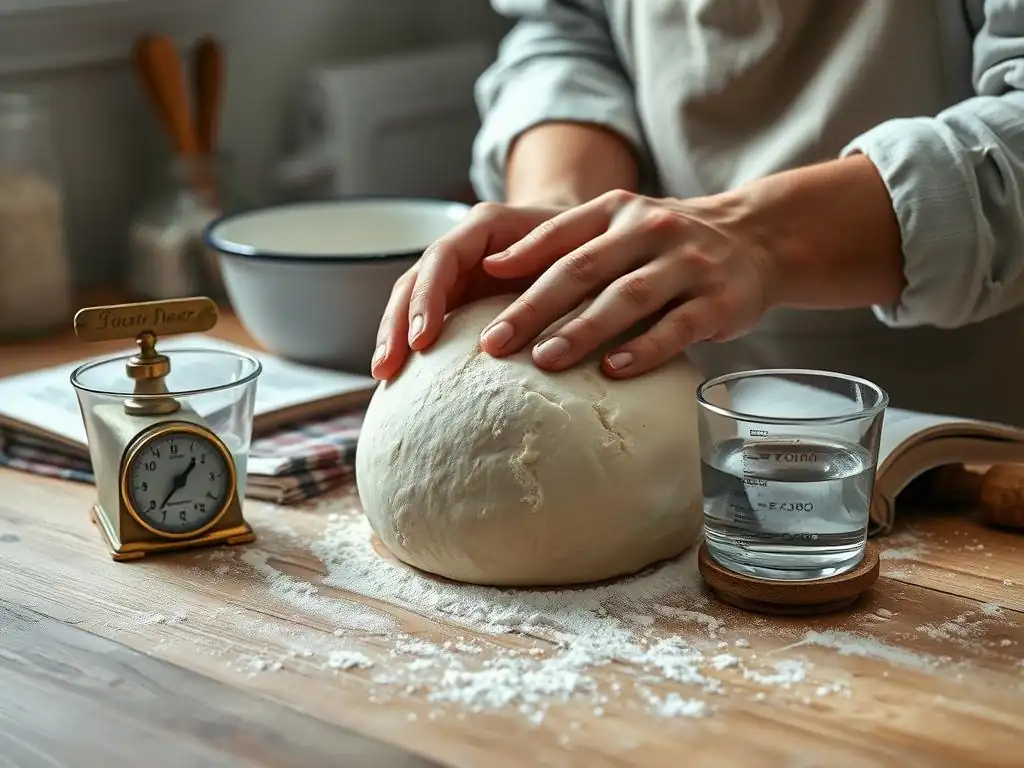
Achieving consistently soft, delicious bread involves paying attention to details throughout the entire process. From measuring ingredients accurately to handling the dough gently and cooling the final loaf correctly, each step plays a role in the final texture.
Accurate Ingredient Measurement for Consistent Results
Baking is often described as a science, and precise measurement is fundamental. Using a kitchen scale to weigh ingredients, especially flour and water, is far more accurate than using volume measurements (cups). Variations in how flour is scooped can lead to significant differences in the flour-to-water ratio, directly impacting hydration and potentially leading to tough bread if too much flour is used.
For example, one cup of flour can weigh anywhere from 120g to 150g depending on how it's packed. If a recipe intends for 125g per cup and you're consistently scooping 150g, your dough will be much drier than intended, almost certainly leading to a tough result. Weighing ensures you replicate the intended hydration every time.
Proper Dough Handling Techniques
How you handle the dough throughout mixing, kneading, proofing, shaping, and baking impacts the gluten structure. Gentle handling is key, especially after the initial kneading phase. During stretch and folds or shaping, avoid tearing the dough or degassing it excessively.
Aggressive handling can tighten the gluten network, undoing the relaxation achieved during proofing. When shaping, aim to create tension on the surface without squeezing the air out of the interior. A well-shaped loaf holds its structure during baking, contributing to a better crumb texture.
The Importance of Cooling Bread Correctly
You've successfully baked a beautiful loaf – don't ruin the texture in the final step! Allowing bread to cool properly is just as important as mixing and baking. When bread comes out of the oven, it's still undergoing internal processes, including the gelatinized starches setting and moisture redistributing throughout the crumb.
Cutting into bread while it's still hot can lead to a gummy, dense texture because the starches haven't fully set. The steam trapped inside will also escape rapidly, potentially drying out the crumb prematurely. Allowing the bread to cool slowly and completely on a wire rack is essential for achieving the intended texture.
Avoiding Moisture Loss During Cooling
While bread needs to cool, you also want to avoid excessive moisture loss from the crumb during this phase. Cooling on a wire rack allows air circulation, preventing the bottom crust from becoming soggy from trapped steam. Placing the hot loaf on a solid surface can trap steam, making the bottom crust soft and potentially affecting the overall texture.
For some very lean or crusty breads, you might hear crackling sounds as they cool – this is a good sign that the crust is setting properly. Resist the urge to cover the bread while it's still hot, as this traps steam and can soften the crust you worked hard to achieve.
Using a Wire Rack for Optimal Cooling
Using a wire rack is the standard best practice for cooling bread. The elevated surface allows air to circulate freely around the entire loaf. This even air exposure helps the crust cool and set properly on all sides while allowing steam to escape gradually from the interior.
Cooling times vary depending on the loaf size. A small baguette might cool in 30-60 minutes, while a large boule or sandwich loaf could take 2-3 hours or even longer to cool completely to room temperature. Patience here is rewarded with the best possible crumb texture.
Advanced Techniques for Improving Bread Texture
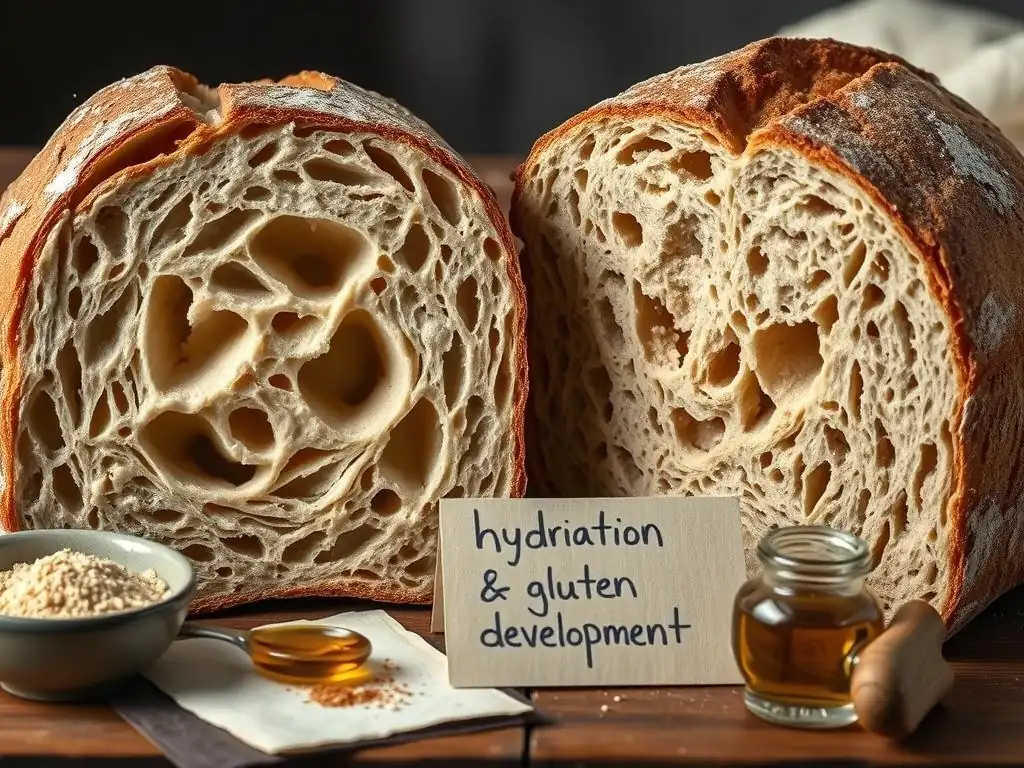
Beyond the fundamental adjustments, some techniques can specifically enhance the softness and moisture retention of bread, providing further solutions for why is bread tough. These methods often involve pre-gelatinizing a portion of the flour, making the final loaf exceptionally tender and extending its shelf life.
Using a Tangzhong or Water Roux for Extra Softness
The Tangzhong (or Yudane in Japanese baking) method involves cooking a small portion of the flour and liquid (water or milk) into a thick paste or roux before adding it to the main dough. Typically, about 5-10% of the total flour is cooked with 5 times its weight in liquid.
This process pre-gelatinizes the starch in the flour, allowing it to hold significantly more water. When added to the dough, this gelatinized starch contributes moisture that remains locked in during baking, resulting in an incredibly soft, pillowy crumb that stays fresh for longer. This is a popular technique for achieving the super-soft texture found in many Asian-style milk breads and rolls.
Incorporating Potato Flour or Mashed Potato for a Tender Crumb
Adding potato in some form is another traditional method for achieving a soft, moist bread. Potato flour, potato flakes, or even leftover mashed potatoes (without butter or milk ideally) can be incorporated into the dough.
Potatoes contain starches that, like the Tangzhong method, help retain moisture. Adding potato can lead to a softer crumb and a loaf that stays fresh and tender for a longer period. A common ratio might be replacing 5-10% of the wheat flour with potato flour or adding mashed potato equal to 10-20% of the flour weight. This technique is often used in potato bread recipes known for their characteristic softness.
Summary: Achieving Soft, Delicious Bread Every Time
Baking a loaf with a wonderfully soft crumb and a pleasant crust is a rewarding experience. Understanding the common pitfalls that lead to tough bread – insufficient hydration, over-developed gluten, and over-baking – is the first step to consistently great results.
By carefully adjusting hydration, optimizing kneading, paying close attention to baking time and temperature, and implementing best practices like accurate measurement and proper cooling, you can significantly improve your bread's texture. Experimenting with advanced techniques like Tangzhong or potato additions can further enhance softness. Don't be discouraged by a tough loaf; each bake is a learning opportunity on your journey to mastering breadmaking with BakeWithEase!
Key Takeaways for Preventing Tough Bread
Here are the essential points to remember:
- Ensure adequate dough hydration.
- Develop gluten sufficiently, but avoid over-kneading.
- Monitor baking time and temperature to prevent over-baking.
- Use accurate ingredient measurements, ideally by weight.
- Handle dough gently during shaping and proofing.
- Always cool bread completely on a wire rack before slicing.
- Consider using techniques like autolyse or Tangzhong for extra tenderness.
- Check your sourdough starter's activity for sourdough loaves.
Frequently Asked Questions
Why is my bread tough after cooling?
Tough bread is often caused by over-kneading the dough, leading to too much gluten development. It can also result from baking at too high a temperature or not enough moisture during baking.
How can I prevent over-kneading my bread dough?
Pay close attention to the dough's texture; it should be smooth and elastic but not overly tight. Use the windowpane test to check gluten development. If you're using a stand mixer, start with the lowest speed and monitor closely.
What role does hydration play in bread texture?
Adequate hydration is crucial for soft bread. A higher hydration dough will generally yield a more tender crumb. Consider adding a tangzhong or poolish to increase the moisture content and improve the overall softness.
Is there a specific oven temperature that contributes to tough bread?
Baking at too high a temperature can cause the crust to form too quickly, preventing the bread from fully expanding and resulting in a tough texture. Lowering the oven temperature slightly and baking for a longer time can help.
Can the cooling process affect the texture of my bread?
Yes, how you cool your bread matters. Allow bread to cool completely on a wire rack to prevent it from becoming soggy. Covering it too soon can trap moisture and lead to a gummy or tough crust.
Final Reflection: The Enduring Quest for Perfect Bread
The seemingly simple act of baking bread reveals a complex interplay of science and art, and the frustrating experience of tough bread highlights the delicate balance involved. Understanding the reasons behind tough bread, as explored in this article, isn't just about fixing a culinary mishap; it's about appreciating the nuanced process that transforms flour and water into a nourishing staple. This knowledge empowers us to troubleshoot, adapt, and ultimately, enjoy the satisfying reward of perfectly baked loaves.
The quest for perfect bread transcends mere sustenance; it's a reflection of our relationship with food, tradition, and the simple pleasures of life. The techniques discussed here—from adjusting hydration to understanding fermentation—are not just recipes for success, but pathways to a deeper understanding of baking itself. As the renowned baker, Jim Lahey, once said, Bread baking is a journey, not a destination.
This journey, filled with both triumphs and setbacks, teaches patience, precision, and a profound appreciation for the process.
Now, consider your own baking experiences. Have you encountered the frustration of tough bread? What did you learn from it? I encourage you to experiment with the techniques outlined in this article, to embrace the challenges, and to find joy in the process of transforming simple ingredients into something truly special. The next time you pull a loaf from the oven, remember the journey, savor the result, and know that even the toughest bread can teach us valuable lessons about baking, and about ourselves.
Rediscover Soft Bread: Simple Tricks & Tasty Tweaks!
Thanks for taking the time to explore our tips on reviving tough bread! You now have the knowledge to rescue those slightly stale loaves and enjoy perfectly soft bread again. Ready to put your new skills to the test?
- Revive your bread: Try our recommended methods – from steaming to toasting – to bring back that delightful softness. This is your primary goal!
- Share your success (or challenges!) with us in the comments below. Let’s build a community of bread-saving experts!
- Explore our other baking articles for even more delicious recipes and helpful techniques.
So, what’s your favorite method for softening stale bread? Let's hear your baking secrets!