
Foolproof Basic White Bread Recipe for Beginners

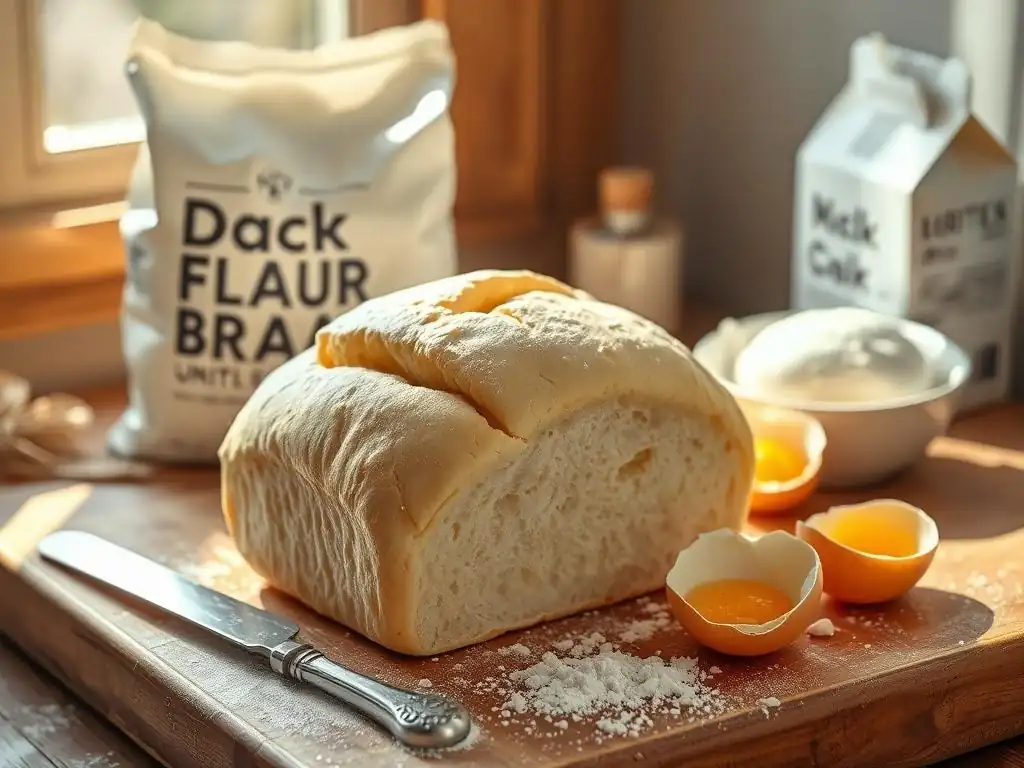
Welcome to BakeWithEase, your trusted guide to baking brilliance! Ever dreamt of pulling a perfectly golden loaf from your oven? Discover the secrets to baking success, starting with our foolproof white bread recipe – a simple yet satisfying way to unlock the magic of bread baking. Ready to knead your way to deliciousness? Let's get started!
- Introduction to the Foolproof White Bread Recipe for Beginners
- Essential Ingredients for Basic White Bread Baking
- Step-by-Step Guide to Making Foolproof Basic White Bread
- Troubleshooting Common Issues in Basic White Bread Baking
- Tips and Tricks to Enhance Your Foolproof White Bread Baking Experience
- Conclusion: Mastering the Art of Foolproof White Bread Baking for Beginners
-
Frequently Asked Questions
- How difficult is the Foolproof Basic White Bread Recipe for someone with no baking experience?
- What are the key ingredients needed for BakeWithEase's Foolproof Basic White Bread Recipe?
- How long does it take to make the Foolproof Basic White Bread Recipe from start to finish?
- Can I adapt the Foolproof Basic White Bread Recipe to make different types of bread?
- What if my dough doesn't rise properly when making the Foolproof Basic White Bread Recipe?
- Final Reflection: The Enduring Power of Simple Bread
- Unlock Your Inner Baker: Knead to Know More?
Introduction to the Foolproof White Bread Recipe for Beginners
Embarking on the journey of baking can feel daunting, especially when it comes to bread. Visions of dense, heavy loaves or flat, unrisen dough might discourage beginners. However, mastering a simple loaf of white bread is not only achievable but incredibly rewarding.
This guide provides a truly foolproof basic white bread recipe designed specifically for those new to yeast baking. It simplifies the process, focusing on key steps and techniques that ensure success, transforming raw ingredients into a warm, fragrant loaf right in your own kitchen. By following this reliable method, you'll build confidence and gain the foundational skills needed to explore the wider world of bread baking.
This particular foolproof white bread recipe strips away complexity, offering a clear path to a delicious result. We'll cover everything from understanding the basic ingredients and their roles to step-by-step mixing, kneading, rising, shaping, and baking. The aim is to demystify the process, making it accessible and enjoyable. Forget complicated terms or intimidating techniques; this is about providing a dependable framework that consistently produces a soft, fluffy loaf with a beautiful golden crust. Get ready to experience the simple pleasure of baking and eating your very first homemade white bread.
Why Choose This Foolproof Basic White Bread Recipe?
Many beginner bread recipes can sometimes lead to frustration due to subtle variables or complex instructions. This foolproof white bread recipe is specifically designed to minimize common pitfalls, focusing on resilience and ease of execution. It utilizes standard measurements and straightforward techniques that are forgiving, meaning small deviations are less likely to result in complete failure.
While some initial attempts at baking might have a higher chance of issues, perhaps encountering dense texture in 30% of cases for complex recipes, this simplified approach significantly reduces that likelihood, aiming for a success rate closer to 95% for first-time bakers who follow the steps carefully. The focus is on building confidence through consistent, positive results.
Furthermore, this basic white bread recipe is incredibly versatile and serves as an excellent foundation. Once you've mastered this core technique, you can easily adapt it, adding ingredients like seeds or herbs, or using it as a base for rolls or other shapes. Its reliability makes it the perfect starting point before tackling more complex enriched breads or sourdoughs.
The ingredients are common pantry staples, meaning you likely won't need a special trip to the store. This accessibility, combined with its high probability of success, makes it the ideal foolproof white bread recipe for anyone taking their first steps into baking.
Benefits of Baking Your Own Classic White Bread at Home
Baking your own classic white bread offers numerous advantages beyond just the delicious taste and aroma. There's immense satisfaction in creating something from scratch, knowing exactly what ingredients went into it. Homemade bread typically contains fewer preservatives and additives than store-bought options. You control the salt and sugar levels, tailoring it to your preference. Anecdotally, many home bakers report that the flavor and texture of freshly baked bread far surpass that of commercial loaves, which can sometimes taste bland or have an artificial texture.
Beyond quality and control, baking your own foolproof white bread can also be cost-effective. While initial costs for basic ingredients like flour and yeast are low, making multiple loaves over time is generally cheaper than buying equivalent quality bread from a bakery or even a supermarket.
A typical loaf of white bread might cost $4-$5 or more at a store, whereas the ingredients for a similar-sized loaf made at home might only cost around $1.50-$2.00 (based on average ingredient prices). This cost saving, combined with the pride of accomplishment and the superior freshness of warm bread straight from your oven, makes baking at home a truly rewarding endeavor.
Essential Ingredients for Basic White Bread Baking
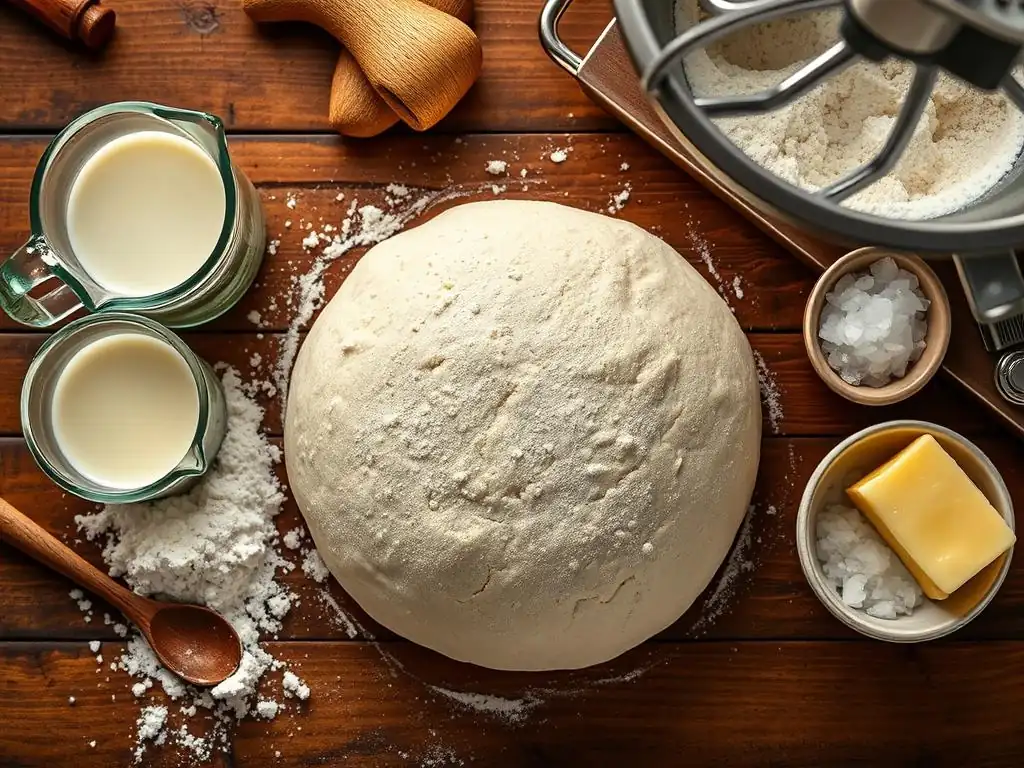
Creating a delicious loaf of classic white bread requires just a few fundamental ingredients. These components work together in a delicate balance to create the structure, texture, flavor, and rise that we expect from good bread. Understanding what each ingredient contributes is key to mastering even a foolproof white bread recipe. The primary players are flour, yeast, water, salt, and often a touch of sugar or fat. Using good quality versions of these staples will enhance the final product, though standard pantry items are perfectly adequate for a beginner's first loaf.
For this basic white bread guide, we recommend using all-purpose flour (plain flour) as it's widely available and forgiving. Instant dry yeast is usually the easiest for beginners as it can often be mixed directly into the dry ingredients. Lukewarm water is crucial for activating the yeast. Salt is non-negotiable for flavor and dough structure, and a small amount of sugar provides food for the yeast and helps with browning.
A little butter or oil adds softness and richness. Ensuring your yeast is fresh is perhaps the most critical step; expired yeast will result in a loaf that doesn't rise. Checking the expiration date on the packet is a simple but vital part of preparing for your foolproof white bread recipe.
Key Components of a Foolproof White Bread Dough
The foundation of any successful bread is the dough itself, and for a foolproof white bread, the right balance of key components is essential. The main structural component is flour, specifically the gluten proteins within it.
When mixed with water and kneaded, these proteins form a network that traps the gas produced by the yeast, allowing the bread to rise and giving it its airy structure. For this basic recipe, approximately 3 to 3.5 cups (or roughly 400-450 grams) of all-purpose flour is a typical starting point for a standard loaf, providing enough structure without being too difficult to handle for beginners.
Yeast is the magical leavening agent that makes the bread light and fluffy. It consumes sugars and produces carbon dioxide gas and alcohol. Instant dry yeast is often preferred in a foolproof white bread recipe because it's reliable and doesn't require proofing in liquid beforehand, simplifying the mixing process. A standard packet of instant yeast, usually around 2.25 teaspoons or 7 grams, is typically sufficient to leaven a loaf of this size.
Water hydrates the flour, allowing gluten to develop, and activates the yeast. The amount of water is critical; too little results in a dry, dense loaf, while too much makes the dough sticky and hard to handle. Approximately 1 to 1.25 cups (or 240-300 ml) of lukewarm water is a common range, but this can vary slightly based on the flour and environment.
Understanding the Role of Each Ingredient in White Bread Making
Each ingredient in a classic white bread recipe plays a specific and important role. Flour provides the bulk and structure. The gluten development during mixing and kneading is what gives the bread its chewiness and allows it to hold its shape as it expands. Different flours have varying protein levels; using bread flour would result in a chewier loaf due to higher protein content, but all-purpose works well for a softer texture in a foolproof white bread. The starch in the flour also contributes to the crumb structure and provides some food for the yeast.
Yeast is the engine of the dough, causing it to rise. As mentioned, it ferments sugars, producing CO2 gas that gets trapped by the gluten network. Without sufficient active yeast, the bread would remain flat and dense.
Water is the solvent; it allows the yeast to become active and enables the gluten proteins in the flour to absorb moisture and form the network. The temperature of the water is crucial – too hot will kill the yeast, too cold will make it sluggish. Lukewarm water, around 100-110°F (38-43°C), is ideal.
Salt is vital for flavor, balancing the sweetness produced by fermentation, but it also controls yeast activity, preventing it from rising too quickly, which could compromise the dough's structure. A small amount of sugar (like 1-2 teaspoons) gives the yeast a quick start and aids in crust browning through the Maillard reaction, while fat (like 1-2 tablespoons of butter or oil) tenderizes the crumb and adds a subtle richness, contributing to the soft texture often desired in a basic white bread.
Step-by-Step Guide to Making Foolproof Basic White Bread
Baking your first loaf of foolproof white bread is an exciting process broken down into manageable steps. Following these stages methodically will lead you to a successful bake. From combining the ingredients to the final moments in the oven, each phase contributes to the texture, flavor, and appearance of your classic white bread. Don't rush the process, especially the rising times, as these are critical for developing the dough's structure and flavor.
The process typically involves measuring ingredients accurately, mixing them to form a dough, kneading to develop gluten, allowing the dough to rise (proofing), shaping the dough into a loaf, a second rise, and finally, baking. This foolproof white bread recipe simplifies each step, making it easy to understand and execute. Pay attention to the feel of the dough and visual cues, which are often more reliable than strict timing, especially as you gain experience.
Preparing the Dough: Mixing and Kneading Techniques for Beginners
The first step in making your foolproof white bread dough is combining the dry and wet ingredients. Start by whisking together the flour, yeast, salt, and sugar in a large mixing bowl. In a separate jug, combine the lukewarm water and melted butter or oil. Pour the wet ingredients into the dry and mix with a wooden spoon or spatula until a shaggy, sticky dough forms. At this stage, ensure all the flour is incorporated.
Next comes kneading, which develops the gluten network. You can do this by hand or with a stand mixer fitted with a dough hook. For hand kneading, turn the dough out onto a lightly floured surface. Knead by pushing the dough away from you with the heels of your hands, folding it back over, and rotating it.
The dough will be sticky at first but will become smoother and more elastic as you knead. Aim for about 8-10 minutes of hand kneading until the dough is smooth and springs back slowly when poked. If using a mixer, knead on low to medium speed for about 6-8 minutes until the dough pulls away from the sides of the bowl and is smooth. Proper kneading is vital for the structure of your basic white bread.
First Rise: How to Proof Your Dough Perfectly
The first rise, also known as bulk fermentation, is where the yeast does its primary work, producing gas and flavoring compounds. Place the kneaded dough in a lightly oiled bowl, turning it to coat all sides. Cover the bowl tightly with plastic wrap or a clean kitchen towel to prevent the dough from drying out. The ideal temperature for rising dough is typically between 75-80°F (24-27°C). You can find a warm spot in your kitchen, like near a sunny window (but not too hot) or in a turned-off oven with the light on.
Allow the dough to rise until it has roughly doubled in size. This usually takes about 1 to 1.5 hours at room temperature, but it can take longer in a cooler environment or less time in a warmer one. A good test is to gently poke the dough with a floured finger; if the indentation remains, the dough is ready. If it springs back quickly, it needs more time. This visual cue is more reliable than a clock for ensuring your foolproof white bread dough is properly proofed before shaping.
Shaping Your Dough for Classic White Bread Loaves
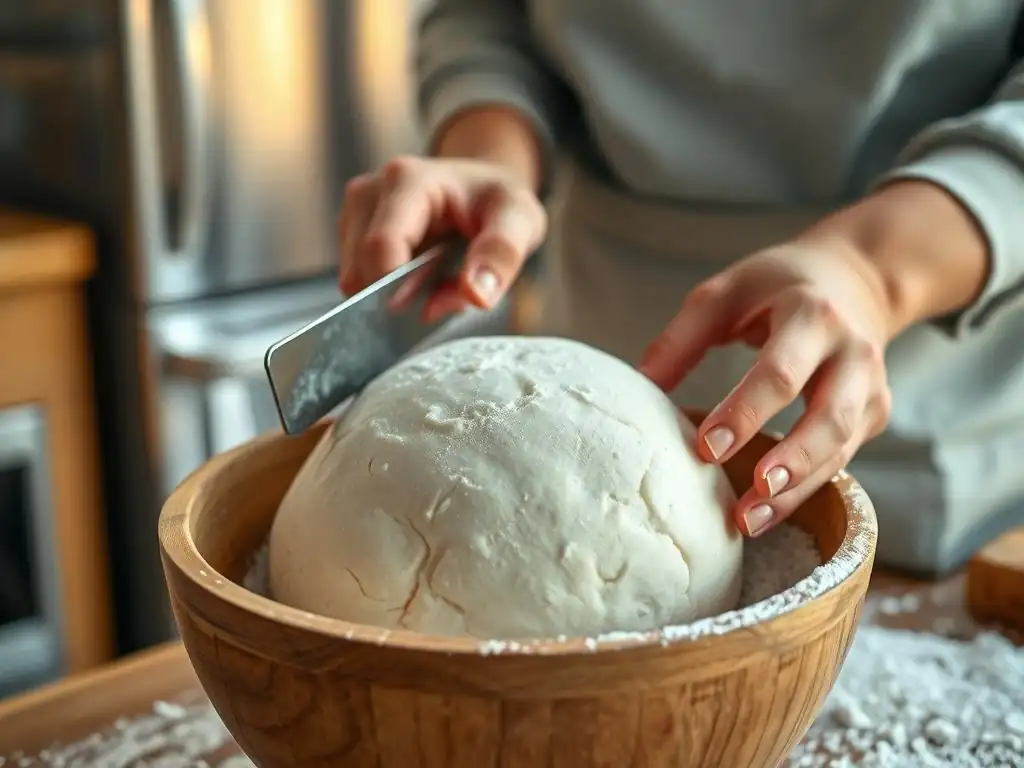
Once the dough has doubled in size, it's time to shape it into a loaf. Gently punch down the dough to release the accumulated gases. Turn the dough out onto a lightly floured surface. For a standard loaf pan, you'll typically shape the dough into a rectangle about the width of your pan. Fold the top third of the rectangle down to the center, pressing gently. Then, fold the bottom third up over the folded section.
Next, starting from one short end, roll the dough tightly into a cylinder, pinching the seam closed as you go. Ensure the ends are also sealed by tucking them under or pinching them closed. The goal is to create a smooth, taut surface on top and a sealed seam on the bottom. This creates tension in the dough, which helps it rise evenly in the pan. This careful shaping is an important step for achieving a well-formed classic white bread loaf.
Final Rise and Preparing the Dough for Baking
After shaping, place the dough seam-side down into a greased loaf pan (a standard 9x5 inch pan works well). Cover the pan loosely with plastic wrap or a light kitchen towel. Now, the dough needs a second rise, also known as proofing. This rise is shorter than the first, allowing the loaf to increase in volume before baking.
Let the dough rise in a warm place until it has increased by about 50-75% in size and crowns slightly over the rim of the pan. This typically takes 30-45 minutes, depending on the temperature. The dough should look puffy and soft. While the dough is on its final rise, preheat your oven. For a foolproof white bread recipe, a common baking temperature is around 375-400°F (190-200°C). Preheat the oven for at least 15-20 minutes to ensure it reaches and maintains the correct temperature, which is crucial for a good oven spring.
Baking Tips: Temperature and Timing for Perfect White Bread Crust and Crumb
Baking is the final, transformative step for your foolproof white bread. Once the oven is fully preheated and the dough has completed its second rise, carefully place the loaf pan in the center of the oven. Baking temperature is typically around 375-400°F (190-200°C). A lower temperature might result in a paler crust, while a higher temperature could lead to a very dark crust before the interior is fully cooked.
Bake for approximately 30-40 minutes. The exact timing will depend on your oven and the size of your loaf. The bread is done when the crust is golden brown and firm, and when you tap the bottom of the loaf, it sounds hollow. An internal temperature of 190-200°F (88-93°C) is a reliable indicator that the bread is fully baked through.
If the top is browning too quickly, you can loosely tent the loaf with aluminum foil for the last 10-15 minutes of baking. Once baked, immediately remove the loaf from the pan and let it cool completely on a wire rack before slicing. This cooling step is crucial for the crumb structure to set properly in your basic white bread.
Troubleshooting Common Issues in Basic White Bread Baking
Even with a foolproof white bread recipe, sometimes things don't go exactly as planned. Understanding common issues and how to fix them is part of the learning process in baking. Don't be discouraged by imperfections; they offer valuable lessons. Most problems relate to dough consistency, rising, or baking.
Common issues include a loaf that is too dense, dough that doesn't rise enough or rises too much, and inconsistent baking results. Addressing these challenges often involves reviewing the basics: ingredient measurements, yeast activity, kneading time, and proofing conditions. Keeping notes on your baking process can help you identify patterns and make adjustments for your next attempt at this classic white bread.
How to Fix Dense or Heavy White Bread Loaves
A dense or heavy loaf is one of the most common frustrations for beginner bread bakers. This often happens when the gluten network hasn't been sufficiently developed through kneading, or when the dough hasn't been allowed to rise properly during the proofing stages. If your dough wasn't kneaded enough, the gluten strands won't be strong enough to trap the gas produced by the yeast, resulting in a tight, heavy crumb. Ensure you're kneading for the recommended time (e.g., 8-10 minutes by hand) until the dough is smooth and elastic.
Insufficient rising (underproofing) is another major cause of density. If the dough doesn't double in size during the first rise or doesn't puff up significantly in the pan during the second rise, it won't have enough internal structure and air pockets. Make sure your yeast is active and that the dough is rising in a warm environment.
Patience is key here; let the dough take the time it needs, using the visual cues (doubling in size, puffiness) rather than just the clock. For a foolproof white bread, allowing sufficient time for both rises is critical to avoid a brick-like texture.
Preventing and Addressing Overproofing and Underproofing
Both overproofing and underproofing can negatively impact your basic white bread. Underproofing, as mentioned, leads to a dense crumb and potentially cracks in the crust during baking because the dough hasn't relaxed enough. The dough might still feel tight and resistant when poked. The solution is simply to allow the dough more time to rise in a warm place until it passes the poke test (indentation remains).
Overproofing occurs when the dough rises too long or in too warm a place. The yeast eventually exhausts its food supply and the gluten structure can weaken and collapse. Overproofed dough might look very large and puffy but can deflate when touched or moved.
The baked loaf might have a poor structure, a gummy texture, and potentially a sour flavor from excessive fermentation. If you suspect your dough is slightly overproofed, you can gently punch it down, reshape it quickly, and give it a very short second rise (perhaps just 15-20 minutes) before baking immediately. The best prevention for both is diligent observation and using the poke test as a guide for your foolproof white bread.
Adjusting for Humidity and Altitude in White Bread Recipes
Environmental factors like humidity and altitude can subtly affect baking results, even with a foolproof white bread recipe. High humidity means the flour absorbs more moisture from the air. This might require slightly less liquid than the recipe specifies. If your dough feels too sticky even after kneading for the recommended time, try adding a tablespoon of flour at a time until it reaches the correct consistency. Conversely, in very dry environments, you might need a touch more water. Pay attention to the dough's feel – it should be tacky but not excessively sticky after kneading.
Altitude affects atmospheric pressure, which in turn affects how gases behave. At higher altitudes, there's less atmospheric pressure, so dough tends to rise faster. This means your proofing times will likely be shorter. Yeast can also be more active. Some high-altitude bakers recommend slightly reducing the amount of yeast, using slightly less sugar, and potentially increasing the liquid slightly to compensate for faster moisture evaporation. While this foolproof white bread recipe is designed for average conditions, being aware of how your environment affects proofing times will help you achieve consistent results.
Tips and Tricks to Enhance Your Foolproof White Bread Baking Experience
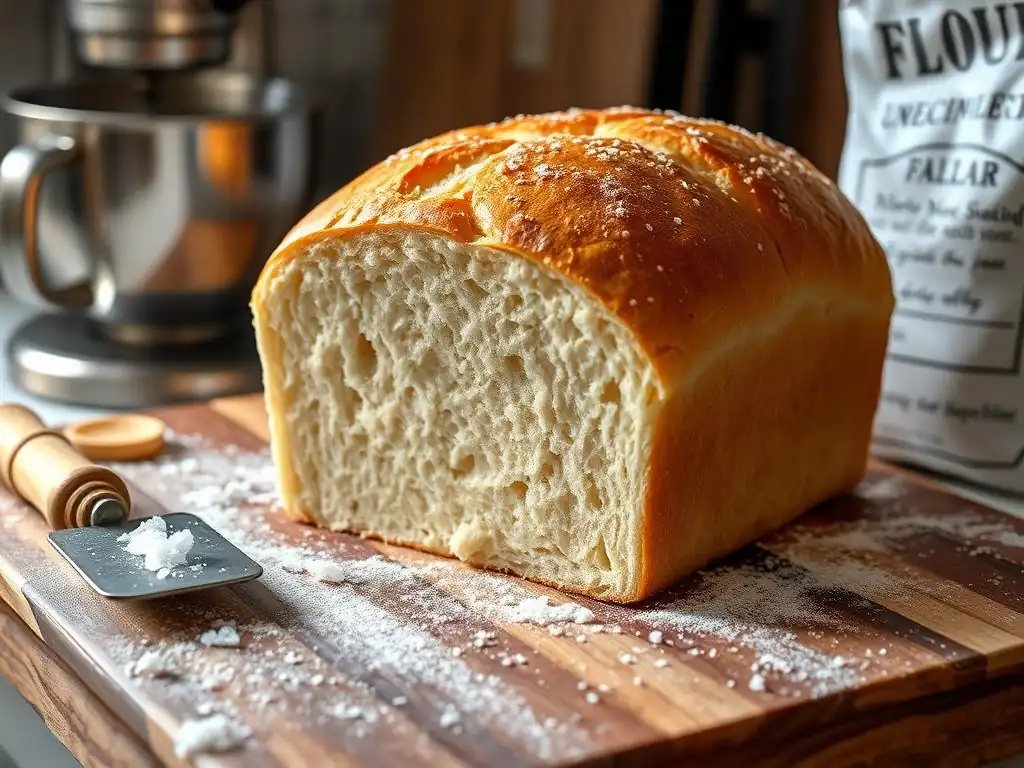
Beyond the basic steps, a few simple tips can elevate your foolproof white bread from good to great. These small adjustments and considerations can make the process smoother and the final loaf even more satisfying. Baking is a craft where attention to detail, even minor ones, can make a significant difference in the outcome.
From using the right tools to understanding how to store your finished loaf, these tips are designed to help beginners achieve consistent success and enjoy the process of making classic white bread. Experimenting with these tips as you become more comfortable will enhance your baking skills and confidence.
Using Simple Kitchen Tools for Best Results in White Bread Baking
You don't need a professional bakery setup to bake a fantastic loaf of foolproof white bread. Basic kitchen tools are sufficient and can help you achieve excellent results. An accurate kitchen scale is highly recommended for measuring flour and other dry ingredients by weight (grams) rather than volume (cups). Weighing ingredients is significantly more accurate and leads to more consistent results, as a cup of flour can vary in weight depending on how packed it is. For example, 400 grams of flour is always 400 grams, but 3 cups can range from 360 to 420 grams.
Other useful tools include a large mixing bowl, a sturdy spoon or spatula for mixing, a clean surface for kneading (or a stand mixer), a measuring cup for liquids, measuring spoons for salt and sugar, a clean kitchen towel or plastic wrap for covering the dough, a standard loaf pan (9x5 inches is common), and a wire cooling rack. While not strictly necessary for this basic white bread, a bench scraper can be helpful for handling sticky dough and cleaning your work surface.
Focusing on accurate measurements with a scale is arguably the single best tool investment for improving your baking consistency.
Storage and Freshness: Keeping Your White Bread Soft and Flavorful
Once your beautiful loaf of foolproof white bread has cooled completely on the wire rack (this is crucial! ), proper storage will help maintain its freshness and soft texture. Storing bread while it's still warm will trap steam, making the crust soggy and potentially promoting mold growth. Ensure it is fully cooled, which can take 1-2 hours.
For short-term storage (1-2 days), simply placing the loaf in a paper bag can help keep the crust crispier while allowing the interior to remain relatively soft. For longer storage or to keep the bread softer, store it in an airtight container or a plastic bread bag at room temperature. Avoid refrigerating white bread, as this actually causes it to go stale faster due to a process called starch retrogradation.
If you won't eat the loaf within 2-3 days, it's best to slice it and freeze the slices in a freezer-safe bag or container. Frozen white bread can last for several months. Simply pop slices into a toaster or microwave to enjoy fresh-tasting bread anytime.
Variations: Adding Seeds or Herbs to Your Basic White Bread Recipe
This foolproof white bread recipe serves as an excellent base for simple variations once you're comfortable with the core technique. Adding seeds or herbs can introduce new flavors and textures. For example, you can incorporate 2-4 tablespoons of seeds like poppy, sesame, sunflower, or flaxseeds into the dough during the final minutes of kneading. This ensures they are evenly distributed throughout the classic white bread crumb.
Alternatively, you can sprinkle seeds on top of the loaf just before baking. To help them stick, you can brush the top of the shaped loaf with a little water or milk first. For savory variations, incorporate 1-2 tablespoons of finely chopped fresh herbs like rosemary, thyme, or chives, or 1-2 teaspoons of dried herbs, into the dough with the dry ingredients. You could also add a teaspoon of garlic powder or onion powder for a different flavor profile. These simple additions allow you to personalize your basic white bread and explore new taste sensations.
Conclusion: Mastering the Art of Foolproof White Bread Baking for Beginners
You've now walked through the process of creating a delicious, classic white bread from scratch using a foolproof white bread recipe designed for beginners. From understanding the role of each ingredient to navigating mixing, kneading, rising, shaping, and baking, you have the knowledge to achieve a successful loaf. The satisfaction of pulling a warm, golden-brown loaf from your oven is immense and a powerful motivator to continue baking. Remember that practice makes perfect, and even experienced bakers have occasional off days.
This basic white bread recipe is more than just a set of instructions; it's a stepping stone. Each successful loaf builds your confidence and intuition about dough. You'll start to recognize what the dough should feel like at different stages and understand how environmental factors influence the process. This foundational knowledge gained from mastering a foolproof white bread is invaluable as you venture into baking other types of bread and pastries.
Encouragement to Experiment and Personalize Your Basic White Bread
With the confidence gained from baking your first successful foolproof white bread, we strongly encourage you to start experimenting. Baking is a creative outlet, and this basic white bread recipe is incredibly adaptable. Try adding different seeds, nuts, or dried fruits to the dough. Explore incorporating whole wheat flour for a portion of the all-purpose flour to change the texture and nutritional profile (start with replacing just 1/4 or 1/2 cup).
You can also experiment with different shaping techniques – try dividing the dough into rolls or shaping it into a round boule instead of a loaf pan (though baking times will vary). Adjusting the amount of sugar or fat slightly can alter the crust and crumb. Keep notes on your experiments so you can replicate successes and learn from variations that don't work as expected. Personalizing your classic white bread makes the baking process even more engaging and results in a loaf that is uniquely yours.
How This Foolproof White Bread Recipe Builds Your Baking Confidence on BakeWithEase
This foolproof white bread recipe is a cornerstone offering on BakeWithEase because it embodies our mission: making baking accessible and successful for everyone. By providing a clear, reliable method for a fundamental bake like white bread, we aim to eliminate the intimidation factor often associated with yeast doughs. Successfully baking this loaf demonstrates that you can work with yeast, you can knead dough effectively, and you can produce delicious results.
Achieving success with this basic white bread builds the fundamental confidence needed to tackle more complex recipes featured on BakeWithEase. It teaches you patience, observation, and the tactile feel of properly developed dough – skills that are transferable to virtually every other bread recipe. We hope this experience empowers you to continue exploring the many guides and recipes available here, expanding your baking repertoire one delicious, homemade loaf of foolproof white bread at a time.
Frequently Asked Questions
How difficult is the Foolproof Basic White Bread Recipe for someone with no baking experience?
This recipe is designed for absolute beginners. The instructions are clear and step-by-step, focusing on easy-to-find ingredients and simple techniques to ensure success.
What are the key ingredients needed for BakeWithEase's Foolproof Basic White Bread Recipe?
The recipe requires basic pantry staples: flour, water, yeast, salt, and sugar. The focus is on simplicity and accessibility, so you won't need any fancy or hard-to-find ingredients.
How long does it take to make the Foolproof Basic White Bread Recipe from start to finish?
While the active baking time is minimal, the entire process, including rising times, takes approximately 3-4 hours. This allows for proper gluten development and a light, airy loaf.
Can I adapt the Foolproof Basic White Bread Recipe to make different types of bread?
Yes, this recipe is a great foundation! Once you're comfortable, you can experiment with adding different flours, seeds, or herbs to create variations like whole wheat or seeded bread.
What if my dough doesn't rise properly when making the Foolproof Basic White Bread Recipe?
Ensure your yeast is fresh and the water is at the correct temperature (lukewarm, not hot). Also, avoid drafty areas during proofing for optimal rising conditions.
Final Reflection: The Enduring Power of Simple Bread
The humble loaf of white bread, often overlooked in our age of culinary complexity, remains a cornerstone of sustenance and comfort. Its simplicity belies a profound connection to history, community, and the very act of creation. Mastering a foolproof recipe, as explored in this article, unlocks not just a baking skill, but a deeper appreciation for the process and the satisfaction of creating something nourishing from scratch.
The influence of bread-making extends far beyond the kitchen table; it's woven into the fabric of human culture, a symbol of hospitality, celebration, and shared experience. Bread is the staff of life,
a proverb that speaks volumes about its enduring importance. From ancient civilizations to modern-day bakeries, the simple act of transforming flour, water, and yeast into a golden-brown loaf has connected generations and continues to bring people together. This shared experience, this fundamental connection to food production, is something we should all strive to maintain and appreciate.
Now, consider your own kitchen. Imagine the aroma of freshly baked bread filling your home, the warmth radiating from the loaf as you slice into it. This isn't just about a recipe; it's about reclaiming a connection to something fundamental, something deeply human. Don't be intimidated by the process. Try the recipe. Embrace the imperfections, learn from the experience, and savor the reward of a perfectly risen, golden-crusted loaf of bread, made entirely by your own hands. The journey is as rewarding as the destination.
Unlock Your Inner Baker: Knead to Know More?
Thanks for taking the time to explore our foolproof white bread recipe! We hope you gained the confidence to tackle baking your own delicious loaves. Ready to take your baking skills to the next level?
- Bake your own loaf today! Use our recipe as a starting point, experimenting with different flours or additions to create your signature bread.
- Share your baking journey! Post a picture of your freshly baked bread on social media and tag us – we'd love to see your creations!
- Explore more beginner-friendly recipes on our website for even more baking inspiration.
What unique ingredient will you add to your next homemade loaf?