
Unlock the Secret to Perfect Indian Puri: Puffy Fried Bread Made Simple

Welcome to BakeWithEase, your trusted guide in the delicious world of baking! Ever dreamt of creating flawlessly puffed, golden puris right in your own kitchen? You're in the right place! We're about to unlock the secret to a perfect Indian puri recipe, a culinary adventure that's easier than you think. Curious to discover the simple steps and key ingredients that will transform your dough into airy, delightful fried bread? Let's get baking!
- Mastering Indian Puri: A Guide to Perfectly Puffed Fried Bread
- Introduction to Puri: India's Beloved Fried Bread
- The Perfect Indian Puri Recipe: Ingredients and Equipment
- Step-by-Step Guide to Making Puffy Puri
- Tips and Tricks for Flawless Indian Puri
- Mastering the Art of Puri: Practice Makes Perfect
- Conclusion: Enjoy Your Homemade, Perfectly Puffed Puri
- Frequently Asked Questions
- Final Reflection: The Enduring Magic of the Perfect Puri
- Unleash Your Inner Puri Master!
Mastering Indian Puri: A Guide to Perfectly Puffed Fried Bread
Introduction to Puri: India's Beloved Fried Bread
What is Puri and Why You'll Love It
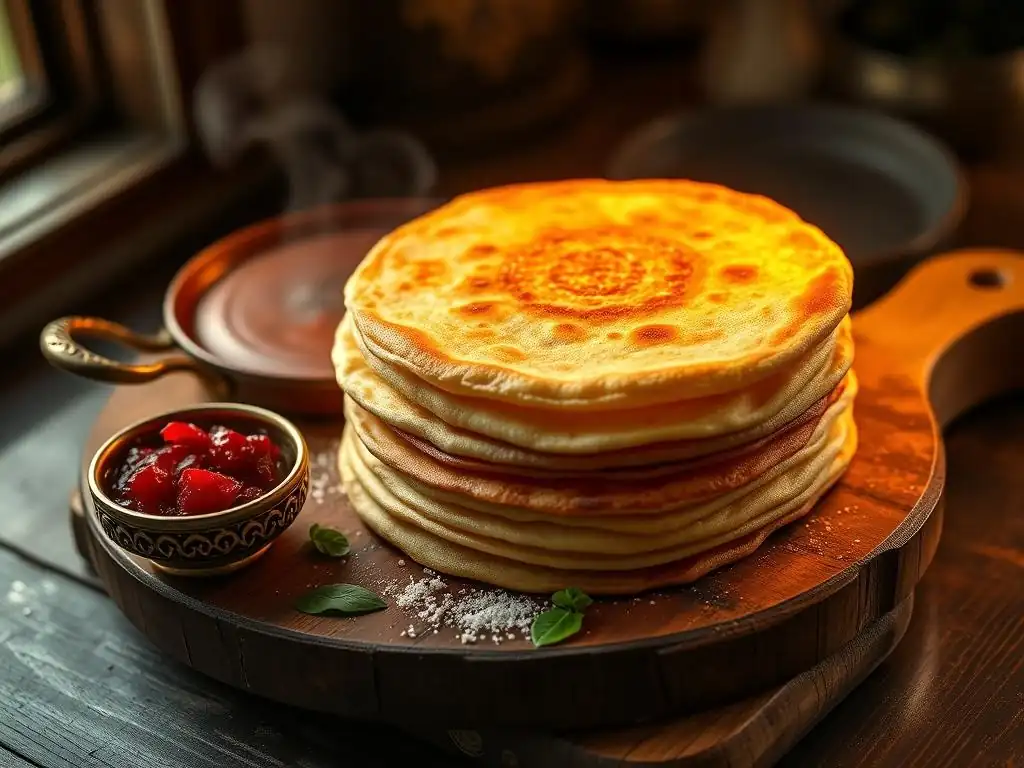
Puri is a delightful, unleavened deep-fried bread originating from the Indian subcontinent. It's a staple in Indian cuisine, enjoyed across various regions and occasions, from everyday meals to festive celebrations. The magic of puri lies in its transformation from a simple disk of dough into a light, airy, and perfectly puffed-up balloon when introduced to hot oil. This unique texture and slightly crisp exterior make it incredibly satisfying.
Its versatility is another reason for its popularity. Puri pairs wonderfully with a wide array of dishes, both savory and sweet. Whether it's served alongside spicy potato curry (aloo sabzi), chickpea curry (chole), or even sweet semolina pudding (halwa), the soft, hollow interior of a freshly fried puri is perfect for scooping up delicious gravies and sauces. Learning the perfect Indian puri recipe opens up a world of culinary possibilities.
A Comprehensive Guide to Making Puri at Home
Making perfect Indian puri at home might seem daunting at first, but with a little practice and attention to detail, you can achieve those coveted puffed-up results. This guide breaks down the process into simple, manageable steps, covering everything from selecting the right ingredients to mastering the frying technique. We'll share the secrets to a flexible dough, the ideal oil temperature, and how to handle the puri while frying to ensure it puffs up beautifully every time.
Embarking on this journey to make your own puri is a rewarding experience. You'll discover that the ingredients are simple and readily available, and the process, while requiring some technique, is quite accessible for home cooks. Follow this comprehensive guide, and you'll be well on your way to enjoying fresh, homemade puri that rivals your favorite Indian restaurant.
The Perfect Indian Puri Recipe: Ingredients and Equipment
Essential Ingredients for Authentic Puri
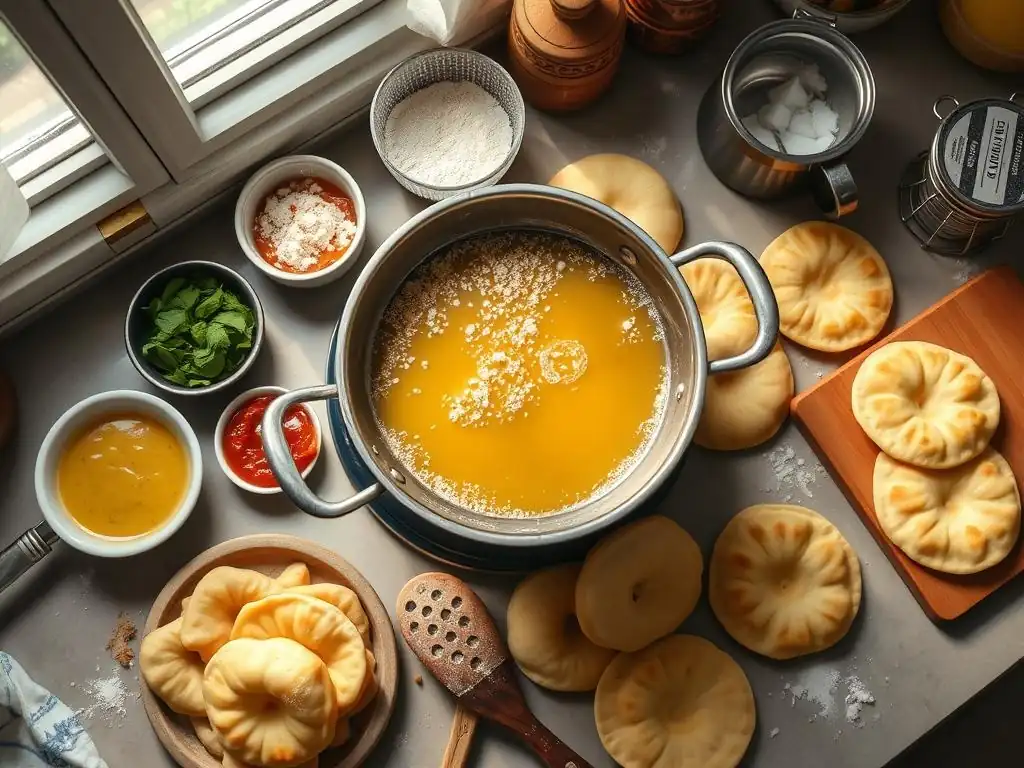
Whole Wheat Flour (Atta): The Foundation of Puri
The primary ingredient for traditional puri is whole wheat flour, known as atta in India. Atta is finely milled whole wheat flour that contains the bran, germ, and endosperm, giving puri its characteristic texture and nutty flavor. While all-purpose flour can be used, atta provides better elasticity for rolling and contributes to the authentic taste and texture.
Using quality atta is key to a good dough. Typically, you'll need about 1 to 1.5 cups of atta for a batch yielding roughly 8-10 puris, depending on their size. Some recipes might suggest adding a small amount of fine semolina (sooji) or a teaspoon of oil to the flour mixture to help achieve a slightly crisper texture, though a truly perfect Indian puri recipe focuses on the flour and water ratio for puffiness.
Water: Hydrating the Dough for Elasticity
Water is crucial for binding the flour and forming a pliable dough. The exact amount of water needed can vary depending on the flour's absorption rate and humidity, but generally, you'll use about half the volume of flour – so, around 0.5 to 0.75 cups of water for 1.5 cups of atta. It's best to add water gradually, a tablespoon at a time, kneading as you go, until the dough comes together.
The water should be lukewarm, as this helps in developing the gluten structure without making the dough too sticky. The goal is a firm, smooth dough – firmer than chapati or roti dough – as this consistency is essential for rolling thin disks that won't absorb too much oil during frying and will puff up properly.
Vegetable Oil: For Frying to a Golden Crisp
Deep frying is what transforms the rolled dough disks into puffy puris. You need a sufficient amount of vegetable oil with a high smoke point, such as sunflower, canola, or peanut oil. The oil should be deep enough in the pan to fully submerge the puri.
The amount of oil required depends on the size of your frying pan, but you'll likely need at least 2-3 cups to achieve a depth of about 2-3 inches. The oil must be heated to the correct temperature (around 350-375°F or 180-190°C) before frying. This high temperature is critical for the puri to puff up instantly and cook quickly without becoming greasy.
Necessary Equipment for Making Puri
Rolling Pin: Achieving Uniform Thickness
A standard rolling pin is essential for flattening the small dough balls into thin, even circles. A traditional Indian rolling pin and board (chakla belan) work perfectly, but any rolling pin will suffice. The key is to roll the puri evenly to ensure it cooks and puffs up uniformly.
Aim for a thickness of about 2-3 mm (roughly the thickness of a thin tortilla or slightly thicker). If the puri is rolled too thick, it may not puff properly or cook through. If rolled too thin, it might tear, preventing it from trapping steam and puffing up.
Deep Frying Pan or Kadai: Ensuring Even Cooking
A deep frying pan, wok, or a traditional Indian kadai is necessary for deep frying the puri. The pan should be heavy-bottomed to distribute heat evenly and retain temperature well. It needs to be deep enough to hold the oil safely at the required depth for submerging the puri.
A pan with a diameter of about 8-10 inches is suitable for frying 1-2 puris at a time. Using a pan that's too wide might require excessive amounts of oil, while one that's too small won't allow enough space for the puri to expand and move freely during frying.
Slotted Spoon: For Safe Removal of Puri
A slotted spoon or a spider strainer is indispensable for safely adding and removing the puris from the hot oil. The slots allow the excess oil to drain away quickly as you lift the puri out.
This tool also helps in gently pressing the puri down into the hot oil at the beginning of frying to encourage it to puff up. A sturdy, long-handled slotted spoon is recommended to keep your hands a safe distance from the hot oil.
Step-by-Step Guide to Making Puffy Puri
Preparing the Puri Dough: The Foundation for Success
Mixing the Dough: Achieving the Right Consistency
Start by placing the atta in a large mixing bowl. If using, add a pinch of salt and a tiny amount (about half a teaspoon) of oil. Gradually add lukewarm water, a little at a time, while mixing the flour. Use your hands to bring the dough together, incorporating all the dry flour.
Knead the dough for about 5-7 minutes until it is smooth, firm, and elastic. It should not be sticky but should feel pliable. The firmness is crucial; a soft dough absorbs too much oil. A good test is to press it lightly with your finger – it should spring back slowly.
Resting the Dough: Allowing Gluten Development
Once the dough is kneaded, cover it with a damp cloth or plastic wrap and let it rest at room temperature for at least 20-30 minutes. Resting allows the gluten to relax, making the dough easier to roll without tearing and contributing to the puri's ability to puff.
While some cooks rest the dough for longer (up to an hour), even 20 minutes makes a significant difference. This resting period is a non-negotiable step in achieving a perfect Indian puri recipe result. Avoid refrigerating the dough unless you plan to fry much later, as cold dough can be harder to roll.
Rolling Out the Puri: Achieving Uniform Circles
Dividing the Dough: Creating Equal Portions
After resting, knead the dough briefly again. Then, divide the dough into small, equal-sized balls. The size of the ball will determine the size of your puri. A common size is about the diameter of a golf ball, yielding puris about 4-5 inches in diameter when rolled.
Roll the dough between your palms to form smooth, crack-free balls. This ensures an even surface for rolling and helps prevent tears. For approximately 1.5 cups of atta, you might get 8-10 dough balls.
Rolling Technique: Preventing Tears and Sticking
Lightly grease your rolling surface and rolling pin with a tiny amount of oil. Take one dough ball and flatten it slightly with your palm. Using the rolling pin, gently roll the dough ball into a thin, even circle, about 4-5 inches in diameter and 2-3 mm thick. Avoid using dry flour for dusting, as it can cause the puri to absorb more oil during frying. Oiling the surface is better.
Roll from the center outwards, rotating the dough frequently to maintain a circular shape and uniform thickness. Be careful not to make the edges too thin or the center too thick. Uneven thickness is a common reason for puri not puffing up uniformly.
Frying the Puri: The Secret to Puffed-Up Perfection
Oil Temperature: Crucial for Puffy Puri
Heat the vegetable oil in your deep frying pan or kadai over medium-high heat until it reaches the ideal temperature of 350-375°F (180-190°C). You can test the temperature by dropping a tiny piece of dough into the oil; it should sizzle immediately and rise to the surface quickly. If it sinks or sizzles too slowly, the oil isn't hot enough. If it browns too fast, it's too hot.
Maintaining this temperature is paramount. Oil that is too cool will result in oily, flat puris, while oil that is too hot will brown the puri too quickly on the outside, leaving the inside uncooked and potentially preventing it from puffing.
Frying Technique: Gently Pressing for Inflation
Carefully slide one rolled puri into the hot oil. It should immediately start to bubble and may sink slightly before rising. As it rises to the surface, gently press down on it with the back of your slotted spoon or spider. This pressure helps to submerge the edges and forces the hot oil over the top surface, trapping steam inside and causing the puri to puff up like a balloon.
Once the puri is fully puffed, flip it over using the slotted spoon to cook the other side. This usually takes only a few seconds per side. Fry until both sides are a light golden-brown color. Do not overcrowd the pan; fry one or two puris at a time, depending on the size of your pan, to maintain the oil temperature.
Achieving the Perfect Golden-Brown Color
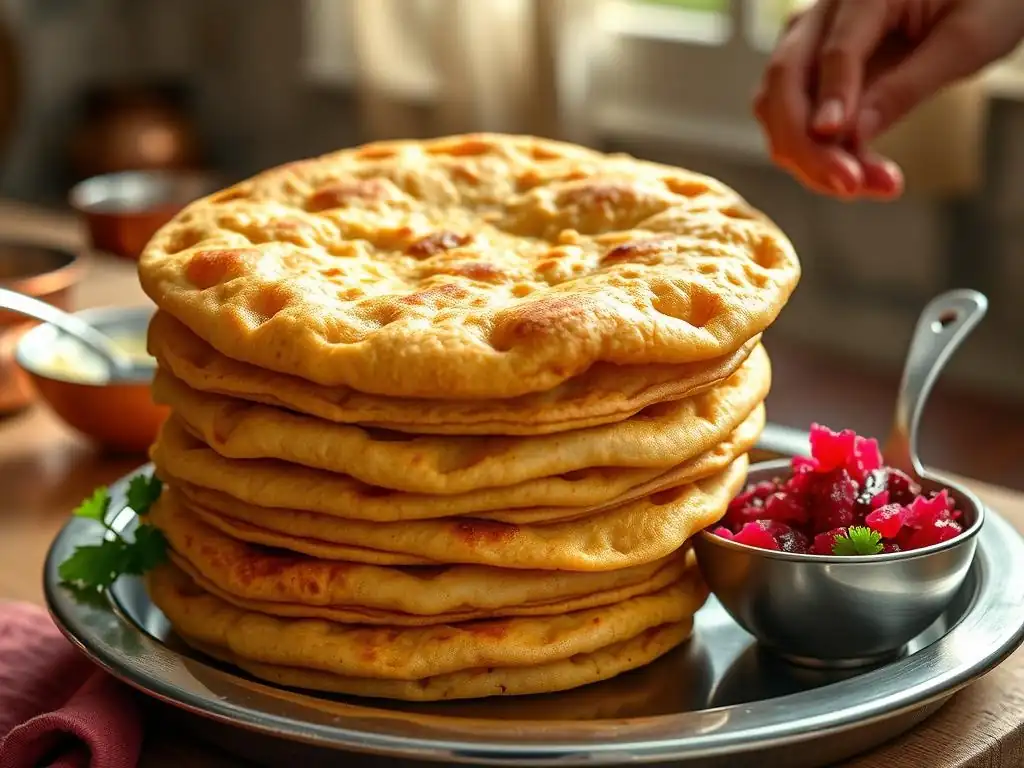
The perfect puri has a beautiful, even golden-brown color on both sides. This color indicates that it is cooked through and has developed a slightly crisp exterior while remaining soft and hollow inside. Over-frying will make the puri hard and brittle, while under-frying will leave it pale and potentially doughy in the center.
Once the puri reaches the desired color, lift it out of the oil using the slotted spoon, allowing excess oil to drain back into the pan. Place the fried puri on a plate lined with paper towels to absorb any remaining surface oil. Serve immediately while hot and puffed.
Tips and Tricks for Flawless Indian Puri
Troubleshooting Common Puri Problems
Puri Not Puffing Up: Identifying and Fixing the Issue
One of the most common frustrations is when puri refuses to puff. Several factors can contribute to this. The most frequent culprit is incorrect oil temperature; if the oil isn't hot enough (below 350°F), the steam won't generate rapidly enough to inflate the puri. Conversely, if the oil is too hot (above 375°F), the exterior might seal too quickly before sufficient steam builds up, or the puri might cook unevenly.
Another reason is improper dough consistency or insufficient kneading/resting. A dough that is too soft, too hard, or not rested adequately won't have the necessary elasticity to stretch and trap steam. Uneven rolling, where parts of the puri are significantly thicker or thinner than others, can also prevent uniform puffing. Ensure your dough is firm but pliable, well-rested, and rolled evenly to about 2-3 mm thickness, and always check your oil temperature.
Puri Becoming Oily: Preventing Oil Absorption
Oily puris are unpleasant and usually result from the oil not being hot enough. When the oil temperature is too low, the puri sits in the oil for longer, giving it time to absorb the oil instead of quickly cooking and puffing up.
To prevent oily puri, ensure your oil is heated to the correct temperature range (350-375°F) before adding the puri. Also, avoid overcrowding the pan, as this lowers the oil temperature. Ensure your dough is firm, as softer doughs tend to absorb more oil. Finally, always drain the fried puris on paper towels immediately after removing them from the oil.
Puri Tearing During Rolling: Solutions and Prevention
Puri dough tearing while rolling is often a sign that the dough is too dry or hasn't been rested long enough. If the dough is too dry, it lacks the necessary elasticity to stretch thinly without breaking. If it hasn't rested, the gluten is still tight and resistant to stretching.
Ensure you add enough water to the dough during mixing to achieve a firm but pliable consistency. Don't make it too dry. Also, strictly adhere to the resting time of at least 20-30 minutes. If the dough still feels stiff or tears, try resting it for another 10-15 minutes. Using a tiny amount of oil on your rolling surface and pin, rather than dry flour, also helps prevent sticking and tearing.
Variations and Serving Suggestions for Puri
Adding Spices to Your Puri Dough
While the perfect Indian puri recipe is simple, you can add a variety of spices to the dough for different flavors. A popular variation is Masala Puri, where spices like turmeric powder, red chili powder, cumin powder, and sometimes a pinch of carom seeds (ajwain) are added to the atta before mixing with water.
Other additions can include finely chopped cilantro or fenugreek leaves (methi) for Methi Puri. These additions not only enhance the flavor but also add visual appeal. Experiment with small quantities first to find your preferred spice level.
Serving Puri with Traditional Indian Dishes [e.g., Chole, Aloo Sabzi]
Puri is traditionally served hot, often alongside savory Indian curries. Some classic pairings include Chole (spicy chickpea curry), Aloo Sabzi (spiced potato curry), or Dal (lentil stew). The soft, hollow puri is perfect for scooping up the rich gravies.
For a complete meal, puri can also be served with a side of pickle (achar), yogurt (dahi), and sometimes a sweet dish like Suji Halwa (semolina pudding). A perfect Indian puri recipe is incomplete without considering the delicious dishes it accompanies.
Mastering the Art of Puri: Practice Makes Perfect

Refining Your Puri-Making Skills
Like any culinary skill, mastering the art of making perfect Indian puri takes practice. Your first few attempts might not result in perfectly puffed puris, and that's okay! Pay attention to the dough consistency – is it too soft or too hard? Observe the oil temperature – does it feel right, or is it too hot or too cold?
Each batch provides an opportunity to learn. Perhaps you need to knead the dough a bit longer, rest it for a full 30 minutes, or adjust your rolling technique to ensure even thickness. Don't be discouraged by initial setbacks; with each attempt, you'll gain a better feel for the dough and the frying process, bringing you closer to achieving consistently puffed, golden puris.
Exploring Different Puri Variations [e.g., Bedmi Puri, Masala Puri]
Once you've mastered the basic perfect Indian puri recipe, you can explore its many variations. Bedmi Puri, for example, is made by grinding soaked lentils (like urad dal) and incorporating them into the dough along with spices. This results in a denser, more flavorful puri often served with a special potato and pumpkin curry.
As mentioned earlier, Masala Puri incorporates ground spices directly into the dough. These variations offer different textures and flavor profiles, expanding your puri repertoire. Each type presents unique challenges and rewards, providing endless opportunities for culinary exploration.
Conclusion: Enjoy Your Homemade, Perfectly Puffed Puri
Frequently Asked Questions
What makes a puri puff up perfectly?
The key to a puffy puri lies in the dough's consistency and the oil temperature. A properly rested, tight dough and frying in hot oil are crucial for creating steam and inflating the puri.
What type of flour is best for making Indian puri?
Traditionally, puri is made with whole wheat flour (atta). This type of flour provides the necessary gluten content for the puri to puff up and maintain its shape during frying.
How do I prevent puri from becoming oily?
Maintaining the correct oil temperature is crucial. If the oil isn't hot enough, the puri will absorb too much oil. Also, ensure the dough isn't too soft.
Can I make puri dough ahead of time?
Yes, you can make the puri dough ahead of time. However, it's important to wrap it tightly and refrigerate it for no more than a few hours to prevent it from drying out.
What is the ideal thickness for rolling out puri?
Puri should be rolled out to a thin, even circle, approximately 2-3 mm thick. Uneven thickness can lead to uneven puffing during frying.
Final Reflection: The Enduring Magic of the Perfect Puri
The pursuit of the perfect Indian puri transcends mere culinary skill; it's a journey into tradition, a testament to the power of simple ingredients transformed by careful technique. The seemingly straightforward recipe, detailed in this article, unlocks a world of flavour and texture, a world accessible to anyone willing to embrace the process. This isn't just about making puffed-up bread; it's about connecting with a rich culinary heritage.
The enduring appeal of the puri lies not only in its delicious taste but also in its symbolic significance within Indian culture. It's a staple across numerous regions, a food that unites diverse communities through a shared culinary experience. Food is symbolic of love when words are inadequate.
- Alan D. Wolfelt. This quote perfectly encapsulates the emotional connection many feel when preparing and sharing this beloved bread. The act of making puris, from kneading the dough to achieving that perfect puff, becomes a meditative practice, a mindful connection to generations past.
Now, I invite you to step into your kitchen, armed with this knowledge and a newfound appreciation for the art of puri-making. Don't be afraid to experiment, to adjust the recipe to your own taste, and to share the joy of perfectly puffed puris with your loved ones. The journey to culinary mastery is a personal one, and the reward – the satisfaction of creating something delicious and meaningful – is immeasurable. Embrace the challenge, and unlock your own secret to the perfect puri.
Unleash Your Inner Puri Master!
Thanks for joining us on this delicious journey into the world of perfect Indian Puris! We hope you've gained the confidence to tackle this seemingly tricky recipe. Ready to take your culinary skills to the next level?
- Master the art of the perfect puri puff: Practice makes perfect! Try making a batch today, focusing on the techniques we outlined. Note your observations and adjust your method as needed. (This is the primary action).
- Share your puri triumph! Post a picture of your golden-brown, perfectly puffed creations on social media and tag us – we'd love to see your results!
- Explore variations: Experiment with different flours or fillings to create your own unique puri variations. Let your creativity flow!
What unique twist will you add to your next batch of Puris? Let's discuss in the comments below!