
NoEgg Custard Tart: Creamy Filling with a Crispy Crust

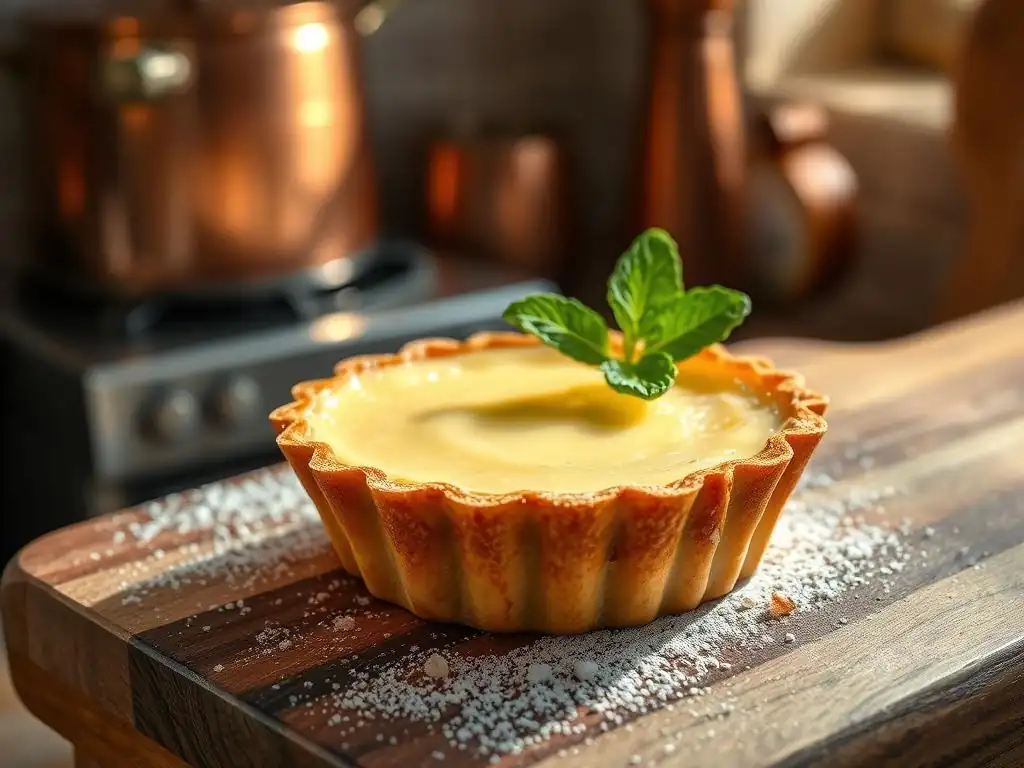
Welcome to BakeWithEase, where baking becomes a joy, not a chore! Ever dreamt of a creamy, dreamy dessert that's surprisingly simple? Dive into our guide on crafting an Easy No-Egg Custard Tart and discover how to create a melt-in-your-mouth masterpiece, even if you're navigating dietary restrictions or egg allergies. Intrigued? Let's unlock the secrets to this allergen-friendly delight!
- Introduction to Custard Tart Baking
- Mastering the Crispy Tart Crust: A Step-by-Step Guide
- Crafting the Creamy Vanilla Custard Filling
- Assembling and Baking the Vanilla Custard Tart
- Cooling and Serving Your Delicious Vanilla Custard Tart
- Troubleshooting Common Custard Tart Baking Issues
- Variations and Adaptations for Your Custard Tart
- Storing and Freezing Your Custard Tart
- Why This Classic Vanilla Custard Tart Recipe is a Must-Try
- Frequently Asked Questions
- Final Reflection: The Unexpected Joy of a No-Egg Custard Tart
- Unleash Your Inner Pastry Chef!
Introduction to Custard Tart Baking
Discover the Joy of Home Baking
There's a unique satisfaction that comes from baking a dessert from scratch, especially one as comforting and classic as a custard tart. It's a process that transforms simple ingredients into something truly special, filling your home with wonderful aromas. For many, baking offers a moment of calm and creativity, a chance to focus on a delightful task that yields delicious rewards. Whether you're a seasoned baker or just starting out, tackling a tart can feel like a significant achievement, and the result is always worth the effort.
Home baking also allows for customization, ensuring you can cater to specific dietary needs or preferences. Creating beloved treats like a creamy custard tart that everyone can enjoy, even those avoiding eggs, opens up a world of possibilities. This recipe is designed to be approachable, proving that a delicious dessert doesn't have to be complicated, making it an easy noegg custard tart you'll want to make again and again.
What Makes This Custard Tart Special?
The magic of a great custard tart lies in the contrast between its textures: a firm, buttery, crispy crust and a smooth, silky, yielding filling. This particular recipe achieves that delightful creamy texture without using eggs, relying instead on clever thickening techniques. The absence of eggs doesn't mean a compromise on flavor; infused with real vanilla, the filling is rich and deeply satisfying.
The special appeal here is its accessibility. For individuals with egg allergies or dietary restrictions, finding a genuinely creamy custard can be a challenge. This easy noegg custard tart recipe provides a reliable solution, delivering that classic taste and luxurious mouthfeel that defines a perfect custard, all wrapped in a golden, crisp pastry shell. It's a dessert that feels both traditional and innovative, proving that dietary needs can inspire incredible culinary creations.
Mastering the Crispy Tart Crust: A Step-by-Step Guide
Preparing the Perfect Shortcrust Pastry
A fantastic tart begins with an exceptional crust. Shortcrust pastry is the traditional choice, known for its crisp, crumbly texture that provides the perfect counterpoint to the smooth filling. The key to success lies in keeping the ingredients cold and handling the dough minimally to prevent gluten development, which can lead to a tough crust. Aim for a texture that shatters slightly when you cut into it.
Getting the pastry right is crucial for preventing a soggy bottom, a common pitfall in tart baking. The ratio of fat to flour, proper chilling, and careful handling all play a vital role. A well-made shortcrust pastry forms a sturdy, flavorful base that can withstand the moisture of the custard filling during baking, ensuring every bite offers that satisfying crunch alongside the creamy interior.
Ingredients for a Flaky Tart Crust
250gplain flour125gcold unsalted butter, cubed50gcaster sugar- Pinch of salt
2-4 tbspice-cold water
Step-by-Step Instructions for Making the Crust
- Combine the flour, sugar, and salt in a large bowl.
- Add the cold butter cubes. Using your fingertips or a pastry blender, rub the butter into the dry ingredients until the mixture resembles coarse breadcrumbs with a few pea-sized pieces of butter remaining.
- Gradually add the ice-cold water, one tablespoon at a time, mixing with a knife or spatula until the dough just comes together. Be careful not to add too much water.
- Turn the dough out onto a lightly floured surface and gently bring it together into a disc. Do not knead.
- Wrap the dough tightly in cling film and chill in the refrigerator for at least 30 minutes, or preferably for 1 hour. This resting period is essential for the gluten to relax and the fat to firm up.
Tips for Preventing a Soggy Bottom Crust
Preventing a soggy bottom is paramount for any tart with a wet filling. One critical step is ensuring the pastry is thoroughly chilled before baking. Cold butter creates steam pockets during baking, which contribute to flakiness. Another effective method is blind baking the crust, which pre-cooks the pastry before the filling is added.
Additionally, you can brush the blind-baked crust with a thin layer of beaten egg white (if not strictly avoiding all egg products, or use a milk/sugar glaze as an alternative in an egg-free context) about 5 minutes before the end of the blind bake. This creates a seal that helps prevent moisture from the filling from soaking into the pastry during the final bake. Chilling the lined tart tin again before blind baking also helps the pastry hold its shape.
Blind Baking the Tart Crust for Optimal Crispness
Blind baking is the process of partially or fully baking a pie or tart crust before adding the filling. This step is particularly important for fillings that are wet or require a shorter baking time than the crust needs to become golden and crisp. For a custard tart, where the filling sets gently, blind baking is almost always necessary to ensure the base is fully cooked and doesn't turn soggy.
The process involves lining the pastry with parchment paper and filling it with pie weights, dried beans, or rice to prevent the sides from collapsing and the base from puffing up. After an initial bake with the weights, the weights and paper are removed, and the crust is baked for a few more minutes to dry out and crisp up the bottom. This creates a sturdy foundation ready to receive the creamy custard filling.
Why Blind Baking is Essential
Blind baking serves several critical purposes. Firstly, it ensures the base is cooked through, preventing that unpleasant soggy texture that can ruin a tart. Custard fillings are high in moisture and require gentle baking, which isn't enough to fully cook raw pastry. Blind baking provides the necessary head start.
Secondly, it helps the pastry hold its shape during baking. The weights prevent the sides from shrinking down the tin and the base from bubbling up unevenly. This results in a beautifully formed tart shell that's structurally sound and visually appealing. For an easy noegg custard tart, where the filling is relatively soft, a strong, crisp base is absolutely vital for serving.
Blind Baking Instructions: Time and Temperature
- Preheat your oven to
190°C (170°C Fan / 375°F). - Remove the chilled pastry disc from the fridge and roll it out on a lightly floured surface to a circle large enough to line your tart tin (typically 23-25 cm or 9-10 inches).
- Carefully transfer the rolled pastry into the tart tin. Gently press it into the base and up the sides, ensuring it fits snugly. Trim any excess pastry, leaving a slight overhang (which can be trimmed neatly after blind baking). Prick the base all over with a fork.
- Line the pastry case with parchment paper, pressing it against the sides. Fill the paper with ceramic baking beans, dried beans, or uncooked rice, distributing them evenly right up to the top edge of the pastry.
- Bake for
15-20 minutesuntil the edges are set and lightly golden. - Carefully remove the tin from the oven. Lift out the parchment paper and baking beans.
- Return the pastry case to the oven for a further
5-10 minutesto cook the base until it looks dry and slightly golden. If you are using a sealing wash (like milk/sugar glaze), brush it on now and bake for the final 5 minutes. - Remove from the oven and place on a wire rack to cool slightly while you make the filling.
Crafting the Creamy Vanilla Custard Filling
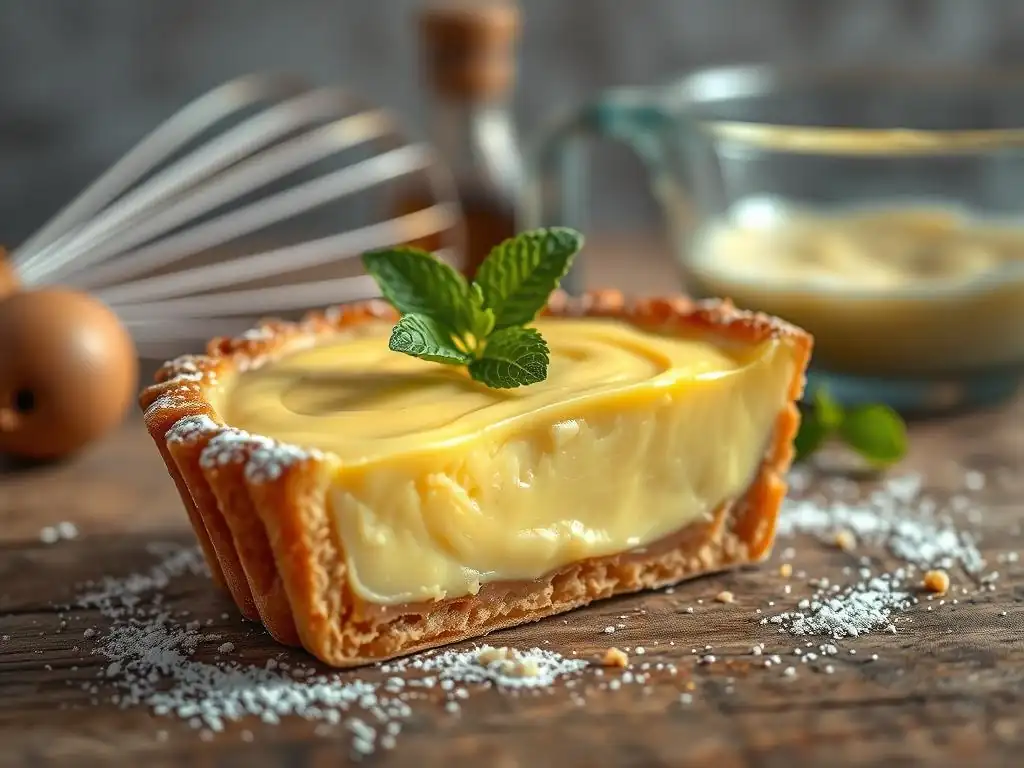
Understanding the Custard Base
Traditional custard relies on the protein in egg yolks to thicken when heated, creating a rich, smooth texture. However, achieving a wonderfully creamy custard is entirely possible without eggs, using starches as the primary thickener. This no-egg method often results in a slightly lighter, yet still incredibly smooth and stable custard.
The base typically involves heating milk or a milk alternative with sugar and a starch thickener like cornstarch, flour, or a blend. The key is to cook the mixture gently while whisking constantly until the starch granules swell and gelatinize, thickening the liquid to a pourable, yet substantial consistency. Proper technique ensures a lump-free and perfectly set filling for your easy noegg custard tart.
Key Ingredients for a Rich and Creamy Filling
500mlwhole milk (or plant-based alternative like oat or soy milk)100gcaster sugar40gcornstarch (cornflour)- Pinch of salt
1 tspvanilla extract (or1 vanilla bean, split and scraped)20gunsalted butter (optional, for richness)
The Science Behind Custard: Egg Yolks and Thickening
While this recipe is egg-free, understanding how traditional custard thickens highlights the clever adaptation used here. In egg custard, egg yolk proteins coagulate when heated between roughly 70°C and 85°C (158°F - 185°F), forming a network that thickens the liquid. Overheating causes curdling.
In a starch-thickened, easy noegg custard tart filling, the science is different. Starch granules, like those in cornstarch, are suspended in the cold liquid. As the liquid heats, the starch granules absorb water and swell dramatically, a process called gelatinization. This typically occurs between 60°C and 70°C (140°F - 158°F) for cornstarch.
The swollen granules disrupt the flow of the liquid, causing it to thicken. Cooking must continue for a minute or two after thickening occurs to ensure the starch is fully cooked and doesn't give the custard a raw, starchy taste. This method provides a stable thickness without the risk of curdling associated with eggs.
Vanilla Custard Filling Recipe: A Detailed Guide
Crafting the filling requires attention to detail and constant stirring to achieve that signature creamy texture without lumps. The process is straightforward but benefits from patience and a steady hand. Using good quality vanilla is essential for the best flavor in your easy noegg custard tart.
Start by preparing your ingredients accurately. Weighing is always more precise than using volume measurements, especially for starches and sugar. Having everything ready before you start heating is key, as the thickening process happens relatively quickly once the mixture reaches the right temperature.
Step-by-Step Instructions for the Vanilla Custard Filling
- In a medium saucepan, whisk together the sugar, cornstarch, and salt.
- Gradually whisk in about
60mlof the milk to create a smooth paste, ensuring there are no lumps. - Pour in the remaining milk and place the saucepan over medium heat. If using a vanilla bean, add it now (or add extract later).
- Stir continuously with a whisk or wooden spoon, scraping the bottom and sides of the pan, as the mixture heats.
- Continue stirring until the mixture thickens significantly and comes to a gentle simmer. This usually takes around
8-12 minutes. Once it thickens, continue to cook and stir for another1-2 minutesto ensure the starch is fully cooked. - Remove the pan from the heat. Stir in the vanilla extract (if using instead of a bean) and the butter (if using) until fully combined and melted. If using a vanilla bean, remove it now.
- Pour the hot custard through a fine-mesh sieve into a clean bowl or jug to remove any potential lumps or the vanilla bean.
- Place cling film directly onto the surface of the custard to prevent a skin from forming as it cools slightly.
Achieving the Perfect Custard Consistency
The goal is a thick, pourable custard that coats the back of a spoon but isn't overly stiff. The key to achieving this in an easy noegg custard tart is accurate measurement of the starch and sufficient cooking time after it thickens. Too little starch, and it will be runny; too much, and it will be rubbery. Cooking for the extra minute or two ensures maximum thickening power from the starch.
If your custard seems too thick after cooking, you can whisk in a tablespoon or two of extra warm milk. If it's too thin, you can return it to the saucepan and cook for a little longer, whisking constantly. Remember that the custard will continue to thicken as it cools due to the starch setting. Aim for a consistency that flows smoothly but holds its shape somewhat, ready to set into a sliceable filling once chilled.
Assembling and Baking the Vanilla Custard Tart
Pouring the Filling into the Blind-Baked Crust
Once your blind-baked tart crust has cooled slightly on a wire rack (it doesn't need to be completely cold, just cool enough to handle), it's time to add the warm, sieved custard filling. Ensure the crust is still in its tin. Place the tin on a baking sheet, which makes it easier to transfer in and out of the oven and catches any potential spills.
Carefully pour the warm custard into the blind-baked pastry shell. Pour slowly and steadily to avoid splashing. Fill the tart shell almost to the brim, as the custard will set but won't rise like a cake batter. Use a spatula to smooth the surface if needed. Work relatively quickly while the custard is still warm and pourable, as it will start to thicken further as it cools.
Baking the Vanilla Custard Tart to Perfection
Baking the assembled tart is about gently setting the custard filling. Unlike baking the crust, which requires high heat for crispness, the custard needs a lower, more moderate temperature. This prevents the edges from overcooking or the surface from cracking while allowing the center to set evenly.
Keep a close eye on the tart as it bakes. The surface should look set and perhaps slightly opaque, but it shouldn't brown significantly. A gentle wobble in the very center is acceptable and indicates the custard is perfectly set without being overcooked. Overbaking can lead to a tough texture or cracks in the surface of your easy noegg custard tart.
Optimal Baking Time and Temperature
Preheat your oven to a moderate 160°C (140°C Fan / 320°F). This lower temperature is ideal for the gentle setting required for the custard.
Carefully transfer the baking sheet with the filled tart to the preheated oven. Bake for approximately 30-45 minutes. The exact time will vary depending on your oven and the depth of your filling.
Signs of a Perfectly Baked Custard Tart
You'll know your easy noegg custard tart is perfectly baked when the edges of the filling appear set and firm, while the very center still has a slight wobble when you gently nudge the tin. The surface should look smooth and opaque, not liquid or translucent.
Avoid baking until the center is completely firm and solid, as it will continue to set as it cools. If you see any signs of the surface starting to crack, it's likely overdone. Trust the wobble test – a slight jiggle in the middle is exactly what you're looking for before taking it out of the oven.
Cooling and Serving Your Delicious Vanilla Custard Tart
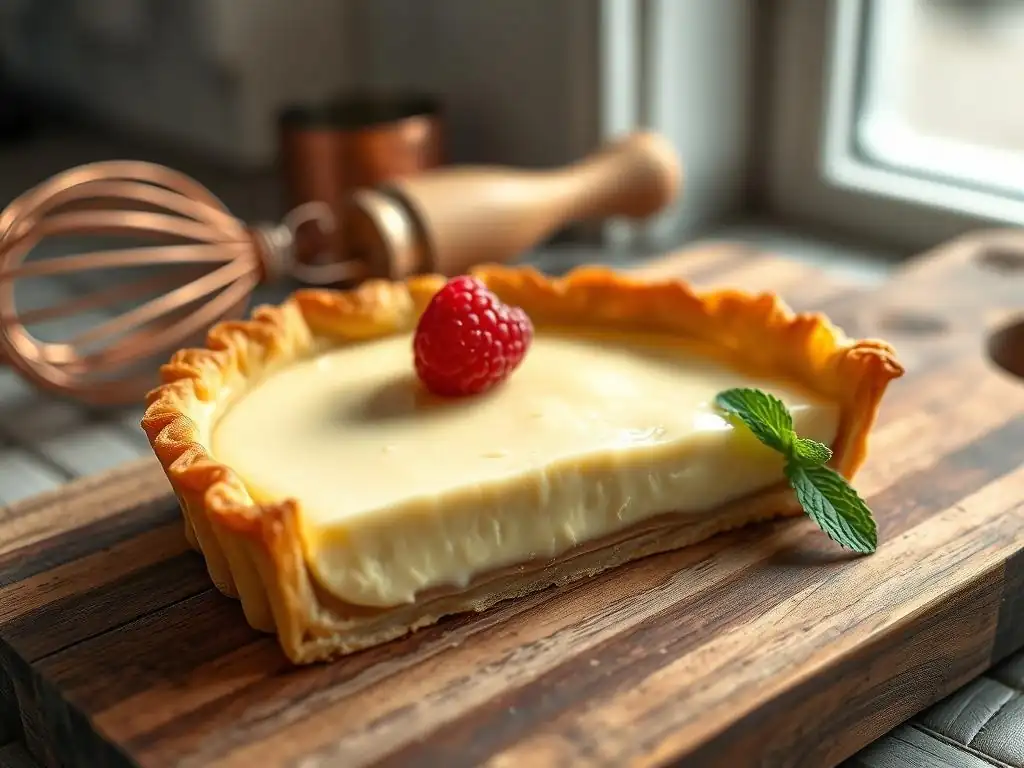
The Importance of Proper Cooling
Cooling is arguably the most critical step after baking for any custard-based dessert, and this easy noegg custard tart is no exception. The starch thickeners need time to fully hydrate and set the custard into a firm, sliceable consistency. Rushing this step will result in a runny or loose filling.
Allow the tart to cool at room temperature on a wire rack for at least 2-3 hours until it is completely cool. Do not attempt to move or slice it while it is still warm. For the best texture and ease of slicing, it is highly recommended to then chill the tart in the refrigerator for another 2-3 hours, or ideally, overnight. This extended chilling period solidifies the custard beautifully.
Serving Suggestions and Garnishes
Once your easy noegg custard tart is perfectly chilled and set, it's ready to be served! Remove the tart from the tin carefully. You can warm a knife under hot water to get clean slices.
Classic garnishes enhance both the look and flavor. A light dusting of freshly grated nutmeg or ground cinnamon adds a traditional touch that complements the vanilla. For a brighter contrast, you can serve slices with fresh berries like raspberries or strawberries, or a dollop of whipped cream (dairy or non-dairy). A drizzle of caramel sauce or a sprinkle of toasted flaked almonds are other delicious possibilities.
Troubleshooting Common Custard Tart Baking Issues
Addressing Common Problems: Cracking, Soggy Crust, Runny Filling
Even experienced bakers encounter issues sometimes. For this easy noegg custard tart, common problems include a soggy crust, a runny filling, or cracks on the surface of the custard. A soggy crust usually points back to insufficient blind baking or inadequate sealing of the base. Ensure your blind bake is thorough and the base looks dry before adding the filling.
A runny filling means the custard wasn't cooked long enough or didn't have enough starch. Make sure you cook the custard until it visibly thickens and then continue cooking for the recommended extra minute or two to fully activate the starch. Ensure accurate measurements of cornstarch. Cracking on the surface of the custard is often caused by overbaking or cooling the tart too quickly (e.g., putting a hot tart straight into the fridge). Gentle baking and gradual cooling are key.
Tips for a Perfect Custard Tart Every Time
To ensure success with your easy noegg custard tart:
- Task: Use cold ingredients for the pastry.
- Task: Don't overwork the pastry dough.
- Task: Chill the pastry thoroughly before rolling and lining.
- Task: Blind bake the crust completely until the base is dry and slightly colored.
- Task: Cook the custard filling until it is thick and cook for an extra minute or two after thickening.
- Task: Sieve the custard to ensure smoothness.
- Task: Bake the assembled tart at a moderate temperature until just set.
- Task: Cool the tart completely at room temperature before chilling.
- Task: Chill the tart for several hours (preferably overnight) before slicing.
Variations and Adaptations for Your Custard Tart
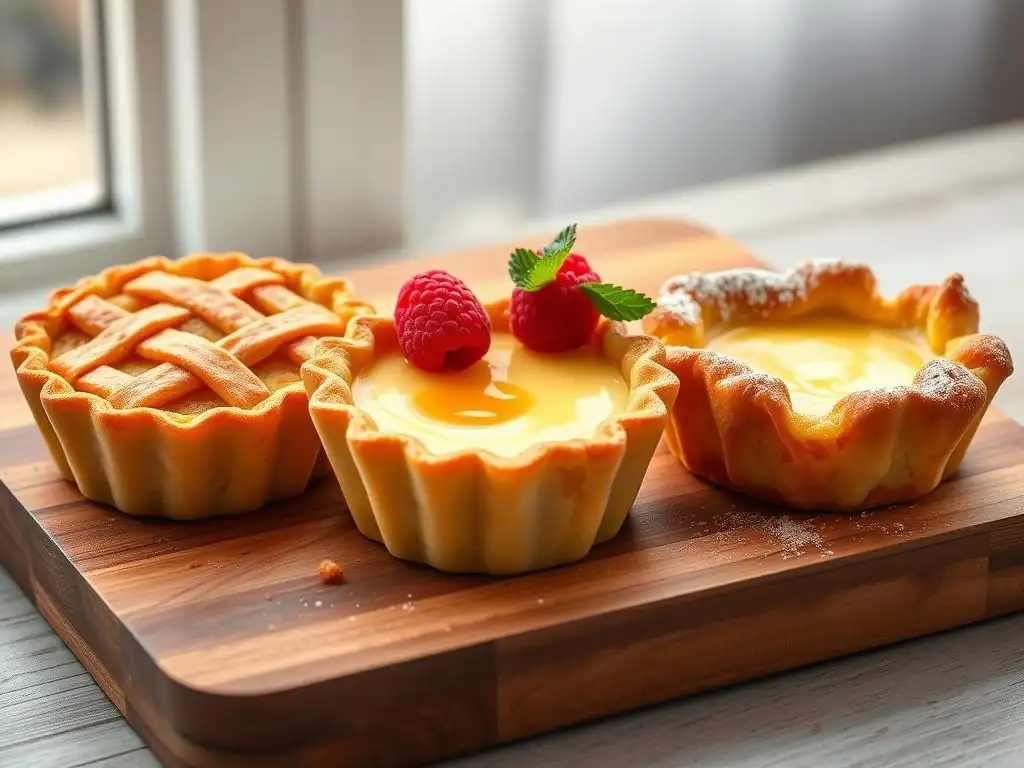
Exploring Different Flavor Profiles
While classic vanilla is undeniably delicious, this easy noegg custard tart base is wonderfully versatile. You can easily introduce different flavors to create exciting variations. Instead of or alongside vanilla extract, consider adding:
- Almond extract: Use about half the amount of vanilla extract for a nutty flavor.
- Citrus zest: Finely grated zest from a lemon, orange, or lime can be added to the milk before heating for a bright, fresh taste. Strain the zest out before pouring the filling into the crust.
- Other extracts: A hint of rum extract, maple extract, or even a floral extract like rose or orange blossom can add unique dimensions.
Experiment with combinations, but start with small amounts as extracts can be potent.
Chocolate Custard Tart Option: Adding Cocoa Powder
Transforming this into a chocolate easy noegg custard tart is simple and results in a decadent dessert. Whisk 2-3 tablespoons of unsweetened cocoa powder with the sugar and cornstarch in step 1 of the filling recipe. Proceed with the rest of the steps as written.
Alternatively, you can melt 50-100g of chopped dark or milk chocolate and stir it into the hot vanilla custard after it has thickened and been removed from the heat. Stir until the chocolate is completely melted and smooth before sieving and pouring into the crust. This yields a richer, more intense chocolate flavor.
Storing and Freezing Your Custard Tart
Best Practices for Storing Leftover Tart
If you have any slices left (a rare occurrence with this easy noegg custard tart! ), proper storage is essential to maintain quality and safety. The tart should always be stored in the refrigerator due to its creamy filling.
Cover the tart or individual slices tightly with plastic wrap or place them in an airtight container. Stored correctly in the fridge, the tart will typically keep for 2-3 days. The crust may soften slightly over time, but the filling should remain delicious.
Can You Freeze Custard Tart?
Freezing custard tarts can be a bit tricky, as the texture of the custard can change slightly upon thawing, sometimes becoming a little grainy or weeping. However, it is possible with reasonable results, especially if you're freezing it for later consumption rather than expecting perfect, just-baked quality.
To freeze, cool the tart completely in the refrigerator until fully set. Wrap the entire tart (or individual slices) tightly in several layers of plastic wrap, followed by a layer of aluminum foil or a freezer bag. Freeze for up to 1-2 months. To thaw, unwrap the tart and let it thaw slowly in the refrigerator for 12-24 hours. Avoid thawing at room temperature. The crust might lose some crispness, but the filling should still be enjoyable.
Why This Classic Vanilla Custard Tart Recipe is a Must-Try
Recap of Key Benefits: Delicious and Classic
This easy noegg custard tart recipe delivers all the comforting familiarity of a classic dessert without the need for eggs, making it accessible to more people. It boasts a beautifully crisp, buttery crust that contrasts perfectly with a smooth, rich, vanilla-infused filling. It's a testament to the fact that dietary requirements don't have to limit your enjoyment of traditional sweets.
The steps are clear and achievable, making it a great project for home bakers of all skill levels. From mastering the pastry to achieving a perfectly set custard, each stage is rewarding. The end result is a truly delicious treat that's perfect for family gatherings, holidays, or simply enjoying a quiet afternoon slice.
We love seeing what you bake! If you make this easy noegg custard tart, snap a photo and share it. Did you try a variation? What garnishes did you choose? Your baking adventures inspire others in our community. Happy baking!
Frequently Asked Questions
How is a custard tart made without eggs?
The creamy texture is achieved using a combination of milk or cream, cornstarch, and sugar. These ingredients, when cooked together, create a custard-like consistency.
What makes this custard tart "easy"?
The recipe focuses on simple ingredients and a straightforward method. There are no complicated techniques or hard-to-find items required.
Can I use a pre-made crust for this No-Egg Custard Tart?
Yes! Using a pre-made crust significantly reduces preparation time. Just ensure it's the right size for the filling.
What are some variations I can make to the filling?
You can add vanilla extract, lemon zest, or a pinch of nutmeg to the filling for extra flavor. Consider adding chocolate chips as well.
How do I know when the custard tart is done baking?
The filling should be set around the edges but still have a slight jiggle in the center. It will continue to firm up as it cools.
Final Reflection: The Unexpected Joy of a No-Egg Custard Tart
The simplicity of a no-egg custard tart belies its profound ability to bring joy to both the baker and the eater. This recipe, designed for ease and accessibility, proves that deliciousness doesn't require complicated techniques or a lengthy ingredient list. In a world often obsessed with culinary complexity, this tart offers a refreshing counterpoint: a testament to the power of straightforward ingredients and mindful preparation.
The enduring appeal of this recipe lies not just in its ease, but in its ability to connect us to simpler times, to the comfort of a homemade treat, and to the satisfaction of creating something beautiful from humble beginnings. The best things in life are simple.
This adage rings particularly true when considering the rewarding experience of making this tart. It's a recipe that transcends generations, a culinary tradition passed down through families, adapted and perfected over time. The creamy filling and the satisfying crunch of the crust offer a sensory experience that's both comforting and delightful.
Now, I invite you to consider the possibilities. Don't be intimidated by the idea of baking; embrace the opportunity to create something delicious and share it with those you love. This no-egg custard tart is more than just a recipe; it's a gateway to culinary exploration, a reminder that even the simplest acts of creation can bring immense satisfaction. Try it, adapt it, and share your own culinary journey with others. The joy of baking, and the joy of sharing, awaits.
Unleash Your Inner Pastry Chef!
Thanks for joining us on this creamy custard journey! We hope you now feel confident tackling this delightful dessert. Ready to bake your own masterpiece?
- Bake a No-Egg Custard Tart this weekend! Use the recipe as a springboard; experiment with different fruit fillings or spice blends to create your signature tart.
- Share your baking adventures! Post a picture of your creation on social media and tag us – we’d love to see your results!
- Consider exploring other egg-free baking recipes on BakeWithEase.com (don't include the actual link) for even more delicious possibilities.
What unique twist will you add to your No-Egg Custard Tart to make it truly your own?