
Valentine’s Day GlutenFree ChocolateCovered Strawberry Cake

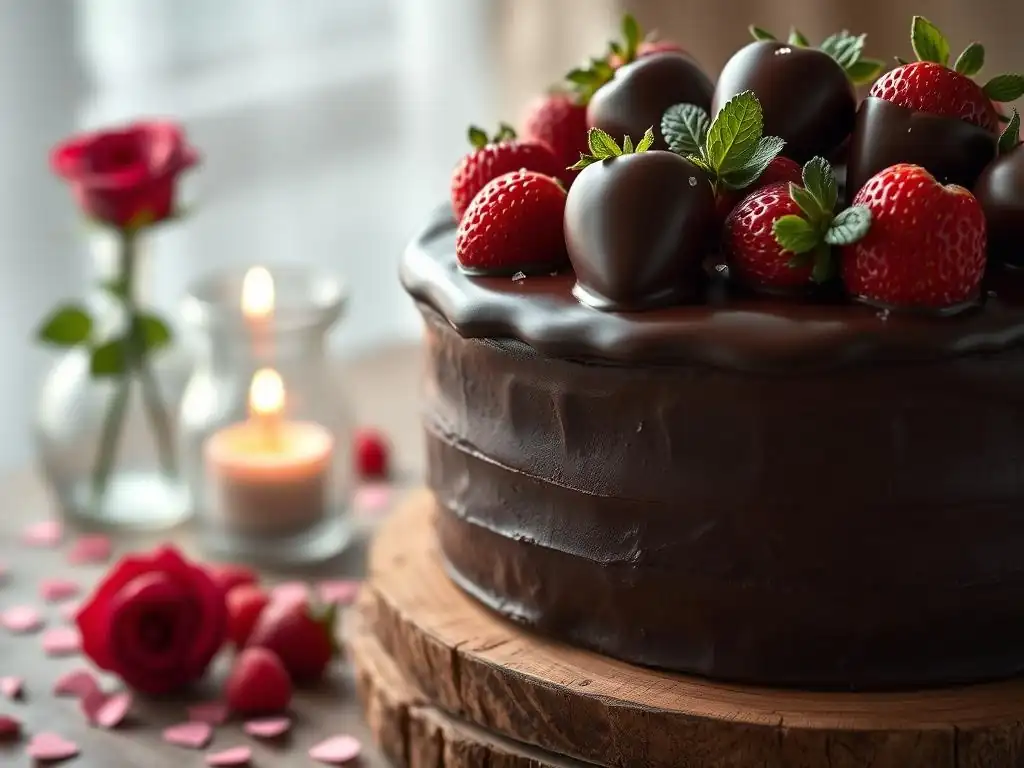
Welcome to BakeWithEase, your trusted guide to the sweet world of baking! Ever dreamed of indulging in a decadent, chocolate-covered cake without the gluten? This Valentine's Day, discover the secrets to crafting a stunning Glutenfree Chocolate Covered Strawberry Cake that's both delicious and dietary-friendly. Prepare to be amazed at how easy it is to create this showstopper, and unlock a world of possibilities in our Dietary & Allergen-Specific Baking section. Ready to bake something unforgettable?
- BakeWithEase's Decadent Gluten-Free Chocolate Strawberry Cake for Valentine's Day
- Understanding Gluten-Free Baking for a Perfect Chocolate Cake
- Crafting the Ultimate Gluten-Free Chocolate Cake Batter
- Making the Luscious Strawberry Filling
- Assembling Your Valentine's Day Cake
- The Rich Chocolate Ganache Coating
- Decorating Your Gluten-Free Valentine's Cake
- Tips for Baking and Serving Your Gluten-Free Chocolate Strawberry Cake
- Adapting the Recipe: Gluten-Free Chocolate Cake Variations
-
Frequently Asked Questions
- How can I ensure my Valentine's Day Gluten-Free Chocolate Covered Strawberry Cake is truly gluten-free?
- What's the best type of chocolate to use for the chocolate covering on this cake?
- Can I substitute the strawberries in the recipe with other fruits?
- What are some tips for preventing my gluten-free cake from being dry?
- How long will the Valentine's Day Gluten-Free Chocolate Covered Strawberry Cake last?
- Final Reflection: A Sweet Celebration, Gluten-Free and Delicious
- Unleash Your Inner Pastry Chef: Bake This Valentine's Day Delight!
BakeWithEase's Decadent Gluten-Free Chocolate Strawberry Cake for Valentine's Day
Valentine's Day is a time for indulgence, and what better way to celebrate than with a rich, moist gluten-free chocolate covered cake? This recipe focuses on creating a showstopper dessert that caters to dietary needs without compromising on flavor or texture. We'll guide you through crafting a delicate gluten-free chocolate cake, pairing it with a bright strawberry filling, and finishing it with a smooth, glossy chocolate ganache – perfect for sharing with someone special.
Creating a successful gluten-free chocolate strawberry cake requires understanding the unique properties of gluten-free flours and how they interact in baking. This guide from BakeWithEase breaks down each step, from selecting the right ingredients to decorating your masterpiece. Whether you're a seasoned gluten-free baker or trying it for the first time, this recipe for a gluten-free chocolate covered cake is designed to be approachable and rewarding, ensuring a delightful Valentine's treat.
Understanding Gluten-Free Baking for a Perfect Chocolate Cake
What is Gluten and Why Gluten-Free?
Gluten is a protein found primarily in wheat, barley, and rye. When flour made from these grains is mixed with liquid, the gluten proteins form a network that provides elasticity and structure to baked goods, allowing bread to rise and cakes to hold their shape. For many individuals, consuming gluten can cause digestive issues, allergic reactions (like Celiac disease), or sensitivities, necessitating a diet free from these proteins.
Baking without gluten means finding alternative ingredients and techniques to replicate the structure, moisture, and texture typically provided by gluten. This often involves using a blend of gluten-free flours, starches, and sometimes binders like xanthan gum or psyllium husk powder. Mastering gluten-free baking allows you to enjoy delicious treats like a gluten-free chocolate covered cake without discomfort, opening up a world of possibilities for those with dietary restrictions.
Essential Gluten-Free Flour Blends for Chocolate Cake
Achieving the right texture in a gluten-free chocolate cake heavily relies on the flour blend used. Single gluten-free flours often don't provide the necessary structure or moisture balance. A good blend typically combines a 'grain' flour (like rice flour or sorghum flour) for structure, a 'starch' (like tapioca starch, potato starch, or cornstarch) for tenderness and lightness, and sometimes a 'nut/seed' flour (like almond flour or oat flour) for richness and moisture, though this is less common in standard blends.
Many commercially available 1:1 gluten-free blends are formulated to substitute directly for wheat flour in many recipes. These often contain a mix of rice flour, sorghum flour, tapioca starch, and potato starch, along with a binder like xanthan gum. For instance, a common ratio might be roughly 40% rice flour, 30% starch blend, and 30% other flours/binders.
Alternatively, you can create your own blend. A simple effective blend for cakes can be 2 parts white rice flour, 1 part tapioca starch, and 1 part potato starch (not potato flour), often with 1/2 teaspoon of xanthan gum per cup of blend used in the recipe. Experimenting with different blends can help you find the perfect base for your gluten-free chocolate covered cake.
Crafting the Ultimate Gluten-Free Chocolate Cake Batter
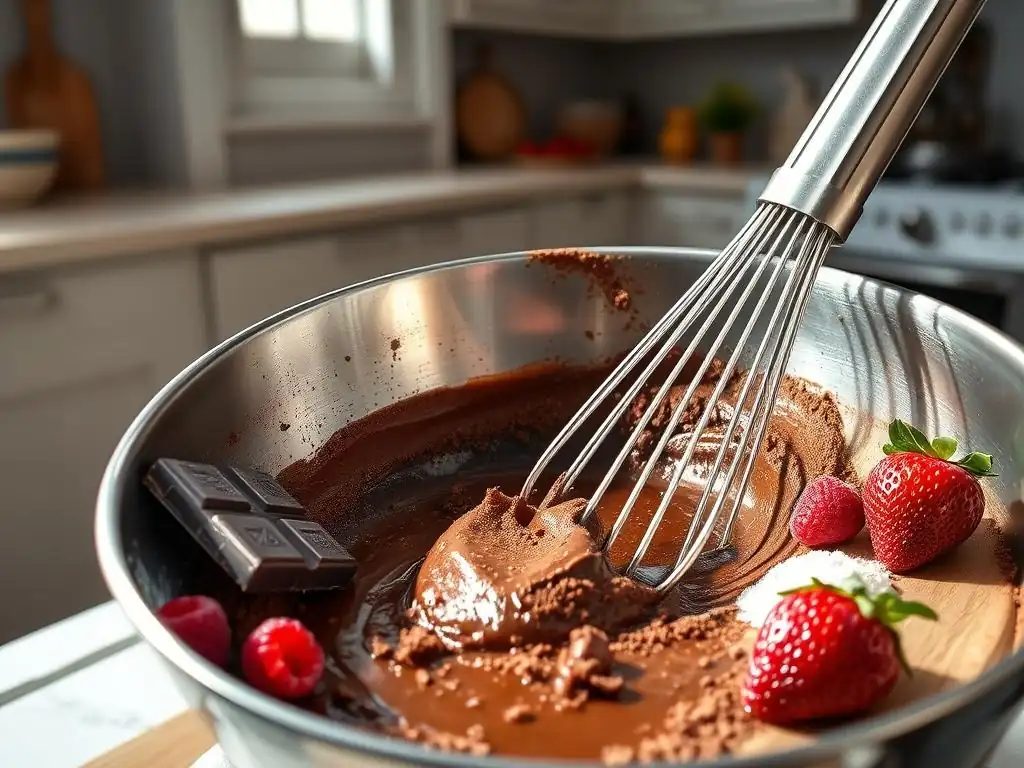
Ingredients for a Moist Gluten-Free Chocolate Cake
Creating a moist and tender gluten-free chocolate cake starts with selecting the right ingredients. Beyond a quality gluten-free flour blend, cocoa powder is key – opt for unsweetened natural cocoa powder or Dutch-processed cocoa powder for deep chocolate flavor. Fats like melted butter, oil (such as vegetable or canola), or a combination contribute to moisture. Using oil often results in a more consistently moist cake over time.
Other crucial ingredients include sugar, which provides sweetness and helps retain moisture; eggs, which bind ingredients and add structure; a liquid, often milk (dairy or non-dairy like almond or soy milk) or buttermilk (or a dairy-free substitute), which activates leavening agents and adds tenderness; and leavening agents like baking soda and baking powder for rise. A touch of vanilla extract enhances the flavor, and sometimes hot coffee or boiling water is used in chocolate cakes to bloom the cocoa powder, intensifying the chocolate taste and contributing to a moist crumb.
Step-by-Step Mixing Instructions for Optimal Texture
Proper mixing is vital for developing the best texture in a gluten-free chocolate covered cake. Unlike wheat flour where overmixing develops tough gluten, gluten-free batters can become gummy if overmixed, or crumbly if undermixed. The goal is to combine ingredients just until they are incorporated. Start by whisking together your dry ingredients: the gluten-free flour blend, cocoa powder, sugar, baking powder, baking soda, and salt in a large bowl. This ensures the leavening is evenly distributed.
In a separate bowl, whisk together the wet ingredients: eggs, milk (or alternative), melted butter or oil, and vanilla extract. If using hot coffee or water, this would be added last. Create a well in the center of the dry ingredients and pour the wet ingredients into it. Mix on low speed or with a spatula just until no dry streaks remain. Avoid beating vigorously. If adding hot liquid, gently whisk it in until the batter is smooth but not overworked. This gentle mixing process helps ensure a tender, not tough, gluten-free chocolate cake.
Making the Luscious Strawberry Filling
Fresh Strawberries: Selection and Preparation
The quality of your strawberries will significantly impact the flavor of the filling for your gluten-free chocolate covered cake. Choose ripe, vibrant red strawberries that are firm and fragrant. Avoid berries with white tops or soft spots, as they won't offer the best sweetness or texture. Ideally, select organic strawberries if possible, as strawberries are often listed among fruits with higher pesticide residues.
Once you have your strawberries, gently rinse them under cool water. Avoid soaking them, as they can absorb too much water and become mushy. Hull the strawberries by removing the green tops and the white core. Depending on your desired texture for the filling, you can slice, dice, or quarter the strawberries. For a smoother compote, smaller pieces will break down more easily during cooking. Aim for about 2-3 cups of prepared strawberries for a typical cake filling.
Creating a Simple Strawberry Compote
A simple strawberry compote is a perfect bright contrast to the rich chocolate of the gluten-free chocolate cake. To make it, combine your prepared strawberries in a saucepan with a small amount of sugar (about 2-4 tablespoons per cup of strawberries, adjusted to taste and berry sweetness) and a squeeze of lemon juice. The lemon juice brightens the flavor and helps the pectin in the strawberries thicken the mixture slightly.
Heat the mixture over medium heat, stirring occasionally. The strawberries will release their juices and begin to soften. Bring the mixture to a gentle simmer and cook for 10-15 minutes, or until the strawberries are tender and the liquid has thickened into a syrupy consistency. You can mash some of the berries with a spoon for a chunkier compote or cook longer and stir more frequently for a smoother sauce. Let the compote cool completely before using it as a filling for your gluten-free chocolate covered cake layers.
Assembling Your Valentine's Day Cake
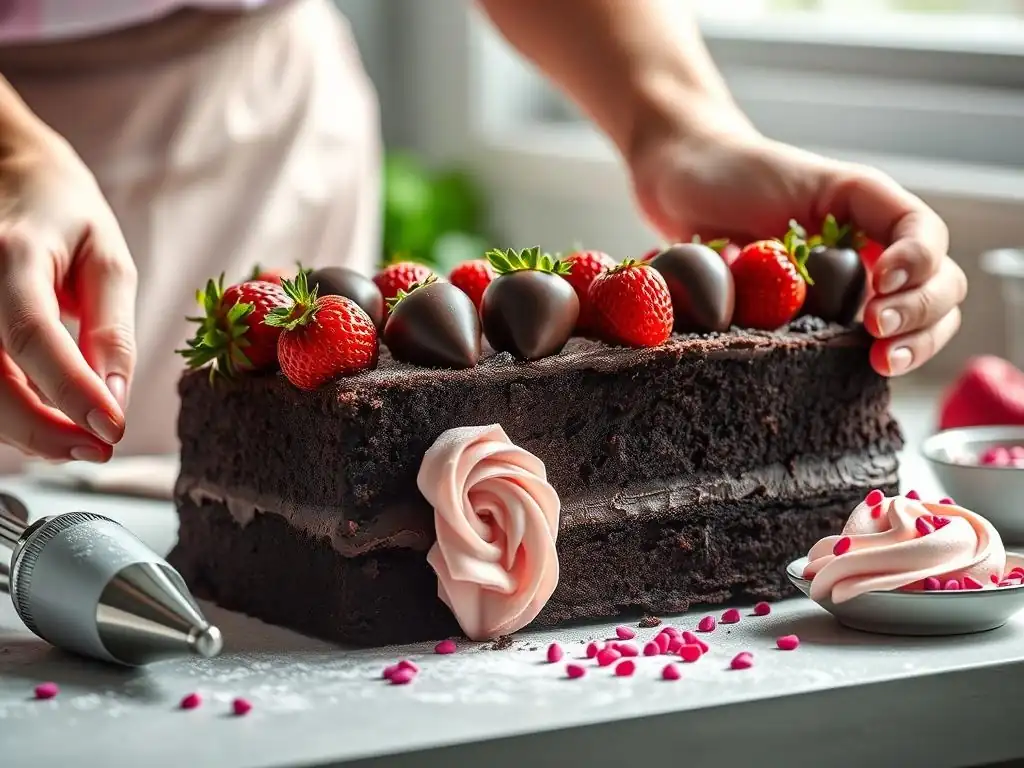
Layering the Gluten-Free Chocolate Cake and Strawberry Filling
Once your gluten-free chocolate cake layers are completely cooled and your strawberry compote is chilled, it's time to assemble. If your cake layers have domes, you may want to gently level them with a serrated knife for a more stable structure. Place the first cake layer on your serving plate or cake stand. You might want to secure it with a dab of frosting or ganache underneath.
Spread an even layer of the cooled strawberry compote over the first cake layer, leaving a small border around the edge. This prevents the filling from squeezing out excessively when the next layer is added. You can use a piping bag with a round tip to pipe a dam of frosting or ganache around the edge of the layer before adding the compote; this creates a barrier that holds the filling in place, especially important for a moist filling like compote on a gluten-free chocolate covered cake.
Carefully place the second cake layer on top, aligning the edges. Repeat if you have more layers.
Achieving a Stable and Beautiful Cake Structure
Building a stable gluten-free chocolate strawberry cake is essential, especially when adding fillings and a heavy ganache coating. Ensure your cake layers are fully cooled before handling; warm cakes are fragile and prone to breaking. Leveling the cakes helps them stack evenly. If using a particularly soft filling or a very tall cake (three or more layers), consider using cake dowels for support.
Insert food-safe dowels into the bottom layers, cutting them to the height of the layer. The top layer will rest on these dowels, distributing the weight and preventing the cake from collapsing. After stacking, it's often helpful to apply a thin "crumb coat" of frosting or ganache to the entire cake. This seals in loose crumbs and creates a smooth surface for the final coating. Chill the crumb-coated gluten-free chocolate cake in the refrigerator for 20-30 minutes until the coating is firm before applying the main chocolate ganache.
The Rich Chocolate Ganache Coating
The Secret to a Smooth and Glossy Chocolate Ganache
Chocolate ganache is a simple yet elegant coating for a gluten-free chocolate covered cake, offering a rich, intense flavor and a beautiful sheen. The secret to a smooth and glossy ganache lies in the ratio of chocolate to cream and the emulsification process. A classic pouring ganache uses roughly equal parts (by weight) of chocolate and heavy cream. For a thicker, more coating-friendly ganache like the one needed for a gluten-free chocolate covered cake, a ratio of 2 parts chocolate to 1 part heavy cream is often preferred.
Use high-quality chocolate – chocolate chips often contain stabilizers that can make ganache grainy. Chopped bar chocolate (couverture or good quality baking chocolate) melts more smoothly. Heat the heavy cream gently in a saucepan until it just begins to simmer around the edges. Pour the hot cream over the finely chopped chocolate in a heatproof bowl.
Let it sit for 5 minutes without stirring to allow the chocolate to soften. Then, gently whisk from the center outwards until the mixture is completely smooth and glossy. Avoid whisking too vigorously, which can incorporate air bubbles. If it seems separated, an immersion blender can help emulsify it.
Applying the Ganache for a Chocolate-Covered Effect
Once your chocolate ganache is smooth and has cooled slightly to a pourable but not hot temperature (it should be thick enough to coat a spoon but still liquid), it's ready to apply to your chilled, crumb-coated gluten-free chocolate cake. Place the cake on a wire rack set over a baking sheet to catch drips. Pour the ganache over the center of the cake, allowing it to cascade down the sides. Use an offset spatula to gently spread the ganache if needed, covering the top and sides completely.
For a drip effect, ensure the ganache isn't too thick. For a fully coated look, make sure you have enough ganache to generously cover the cake. Allow excess ganache to drip off. You can scrape the dripped ganache from the baking sheet and re-warm it gently if needed for touch-ups, though it may be slightly thicker. Let the ganache set at room temperature or in the refrigerator until firm before decorating. This chocolate coating elevates your gluten-free chocolate strawberry cake into a stunning dessert.
Decorating Your Gluten-Free Valentine's Cake
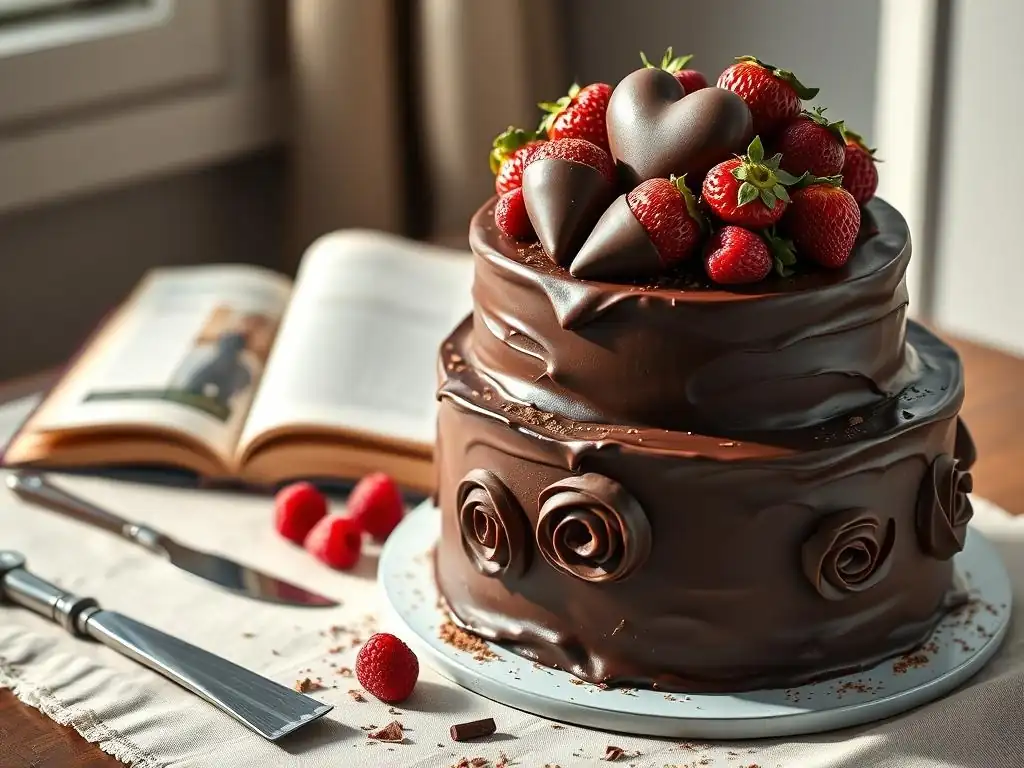
Fresh Strawberry Decorations: Ideas and Techniques
Decorating your gluten-free chocolate covered cake with fresh strawberries adds a beautiful visual appeal and reinforces the delicious strawberry flavor within. Simple techniques can make a big impact. You can arrange whole, hulled strawberries on top of the set ganache, perhaps around the perimeter or clustered in the center. Ensure the berries are dry before placing them on the ganache to prevent moisture from affecting the chocolate.
Another popular method is fanning sliced strawberries. To do this, slice a strawberry lengthwise, leaving the slices attached at the stem end. Gently fan out the slices and place them on the cake. You can also halve or quarter strawberries and arrange them in patterns. For a touch of sparkle, you can lightly brush the strawberries with a little warmed, clear jelly or simple syrup. A few perfectly placed fresh strawberries are the ideal finish for a Valentine's gluten-free chocolate strawberry cake.
Gluten-Free Chocolate Shavings and Other Garnishes
Beyond strawberries, various gluten-free garnishes can enhance the look and texture of your gluten-free chocolate covered cake. Chocolate shavings or curls made from gluten-free chocolate bars are a classic choice. You can make these by running a vegetable peeler or sharp knife along the edge of a block of chocolate. Sprinkle them over the top or press them onto the sides of the ganache.
Other ideas include:
- A dusting of unsweetened cocoa powder or powdered sugar (ensure it's gluten-free).
- Gluten-free sprinkles (check labels carefully, as some contain wheat starch).
- Chopped gluten-free nuts (like pistachios or almonds, if no nut allergies are a concern).
- Small gluten-free meringue kisses.
Choose garnishes that complement the flavors and textures of your gluten-free chocolate strawberry cake and add that extra touch of Valentine's elegance.
Tips for Baking and Serving Your Gluten-Free Chocolate Strawberry Cake
Troubleshooting Common Gluten-Free Baking Issues
Baking a gluten-free chocolate covered cake can sometimes present unique challenges compared to traditional baking. One common issue is a gummy texture; this often results from using too much starch, overmixing the batter, or not using enough binder like xanthan gum. Ensure you measure your flour blend accurately (preferably by weight) and mix only until combined. If your cake is crumbly, it might be due to using too little moisture, fat, or binder, or baking at too high a temperature.
Another issue can be poor rise. Ensure your leavening agents (baking powder and soda) are fresh and that you're using the correct type of cocoa powder if the recipe specifies (natural cocoa reacts with baking soda, while Dutch-processed requires baking powder or cream of tartar for activation). Baking at the correct temperature and avoiding opening the oven door too early are also crucial for proper rise and setting of your gluten-free chocolate cake. Don't be discouraged by initial challenges; practice and careful attention to ingredient ratios and technique will lead to success.
Storing and Serving Suggestions for Optimal Freshness
To maintain the freshness and quality of your gluten-free chocolate strawberry cake, proper storage is key. If the cake is fully assembled with the strawberry filling and ganache, it should be stored in an airtight container in the refrigerator. The strawberry compote is perishable, so refrigeration is necessary. The cake will stay fresh for 3-4 days when stored properly.
When ready to serve, allow the cake to sit at room temperature for 20-30 minutes before slicing. This allows the ganache to soften slightly and the cake layers to become more tender, enhancing the overall texture and flavor experience of your gluten-free chocolate covered cake. Serve slices with a clean, sharp knife for neat portions. Enjoy this delightful Valentine's treat!
Adapting the Recipe: Gluten-Free Chocolate Cake Variations
Gluten-Free Chocolate Cupcakes with Strawberry Frosting
This versatile gluten-free chocolate cake recipe can easily be adapted into cupcakes. Simply divide the batter among lined muffin tins, filling them about two-thirds full. Reduce the baking time significantly; cupcakes typically bake for 18-25 minutes at 350°F (175°C), or until a toothpick inserted into the center comes out clean. This yields moist gluten-free chocolate cupcakes perfect for individual servings.
Instead of a compote filling and ganache coating, these cupcakes pair wonderfully with a strawberry frosting. You can make a simple buttercream frosting and incorporate finely puréed or freeze-dried strawberry powder for flavor and color. Pipe the frosting onto the cooled gluten-free chocolate cupcakes and garnish with a fresh strawberry slice or a sprinkle of gluten-free chocolate shavings.
Gluten-Free Chocolate Cake with Raspberry Filling
While this recipe focuses on strawberries, the gluten-free chocolate cake base is excellent with other fillings. Raspberries are a fantastic alternative for a tangy contrast to the rich chocolate. Simply substitute the strawberries in the compote recipe with fresh raspberries. The cooking time might be slightly shorter as raspberries break down more easily.
A raspberry filling provides a vibrant flavor profile for your gluten-free chocolate covered cake. You could also use other berry compotes like cherry or mixed berry. The dark chocolate ganache remains a perfect pairing for most berry fillings. This adaptability makes the base gluten-free chocolate cake recipe a valuable addition to your baking repertoire, allowing you to create numerous delicious variations beyond the classic gluten-free chocolate covered cake with strawberries.
Frequently Asked Questions
How can I ensure my Valentine's Day Gluten-Free Chocolate Covered Strawberry Cake is truly gluten-free?
To guarantee a gluten-free cake, always use certified gluten-free flour blends and check the labels of all ingredients, including chocolate and sprinkles, to ensure they are free from cross-contamination.
What's the best type of chocolate to use for the chocolate covering on this cake?
Using a high-quality dark chocolate or semi-sweet chocolate yields the best results. For a smoother finish, add a tablespoon of coconut oil or vegetable shortening while melting the chocolate.
Can I substitute the strawberries in the recipe with other fruits?
While strawberries are classic, you can substitute them with other berries like raspberries or blueberries. Be mindful of the fruit's moisture content, as it may affect the cake's texture.
What are some tips for preventing my gluten-free cake from being dry?
Adding ingredients like applesauce, yogurt, or sour cream can help maintain moisture in gluten-free cakes. Also, avoid over-baking; check for doneness with a toothpick that comes out mostly clean.
How long will the Valentine's Day Gluten-Free Chocolate Covered Strawberry Cake last?
Stored properly in an airtight container in the refrigerator, the cake should last for 3-4 days. Let the cake come to room temperature before serving for the best flavor.
Final Reflection: A Sweet Celebration, Gluten-Free and Delicious
The enduring appeal of chocolate-covered strawberries, elevated to a decadent cake, transcends dietary restrictions; it's a testament to the power of deliciousness and inclusivity. This recipe, designed for those seeking a gluten-free treat, proves that enjoying celebratory foods doesn't require compromise on taste or experience. The vibrant color, rich chocolate, and juicy strawberries create a sensory delight that's universally appealing, regardless of dietary needs.
Creating this gluten-free chocolate-covered strawberry cake was more than just a culinary endeavor; it was a journey into the heart of inclusive celebration. It highlighted the importance of adapting beloved traditions to accommodate various dietary requirements, ensuring everyone can participate in the joy of special occasions. Food is symbolic of love when words are inadequate.
– Alan D. Wolfelt. This sentiment rings especially true when considering how food brings people together, and how adapting recipes can foster a sense of belonging for those with dietary restrictions.
Now, I invite you to consider the possibilities. Don't limit yourself to pre-packaged, often less-than-satisfying gluten-free options. Embrace the challenge, experiment with flavors, and create your own versions of this delightful cake. Let this recipe be a springboard for your own culinary adventures, proving that delicious and inclusive celebrations are entirely within your reach. Bake something beautiful, share it with loved ones, and savor the sweet moments.
Unleash Your Inner Pastry Chef: Bake This Valentine's Day Delight!
Thanks for joining us on this delicious journey to create a gluten-free Valentine's Day masterpiece! We hope you've gained the confidence to tackle this beautiful chocolate-covered strawberry cake. Now, let's turn those delicious ideas into reality!
- Bake the cake today!: Grab your ingredients and follow our recipe step-by-step. This cake is easier than you think!
- Share your baking journey: Post a picture of your creation on social media and tag us – we'd love to see your culinary artistry!
- Surprise someone special: Present your beautiful cake to your loved one – it's the sweetest (and tastiest!) way to say "I love you."
What's your favorite part of baking this Valentine’s Day treat? Share your thoughts below!