
Baking with White Chocolate: Tips for Success (It's Tricky!)

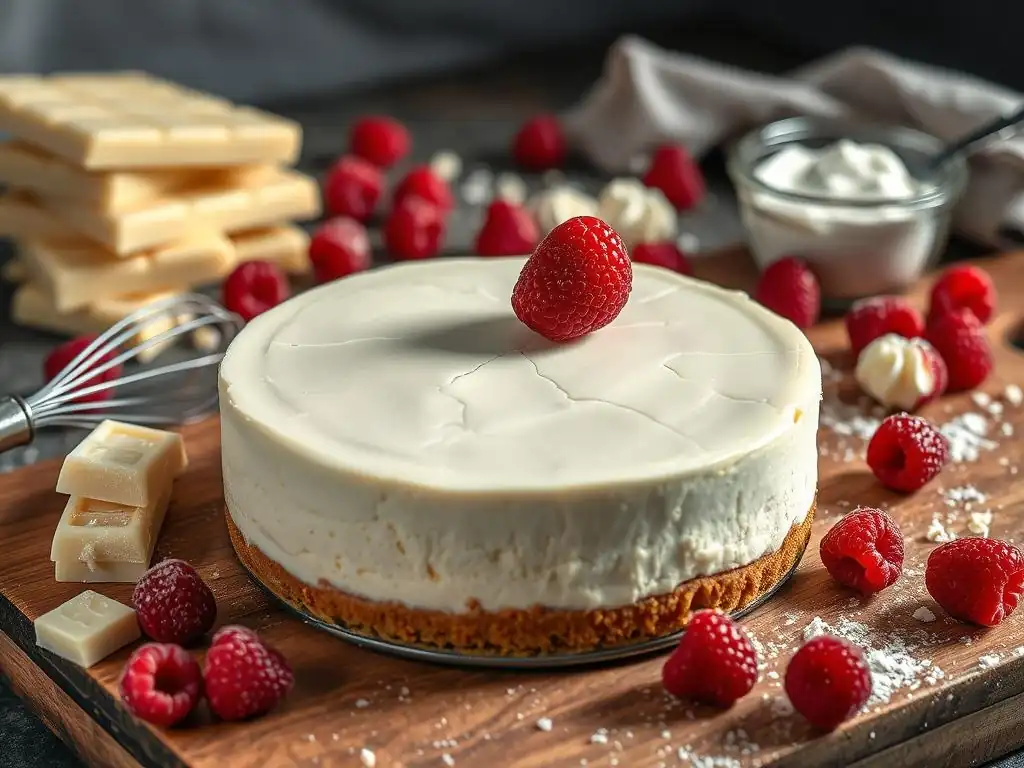
Welcome to BakeWithEase, where we unlock the secrets to delicious baking! Are you ready to conquer the sometimes-challenging world of white chocolate? It's notoriously finicky, but don't worry! In this Ingredient Deep Dive, we’re sharing our essential white chocolate baking tips to help you achieve perfect results every time. Curious about how to avoid seizing, scorching, or bland flavors? Let’s get started and transform your white chocolate baking from frustrating to fantastic!
- Baking with White Chocolate: Tips for Success
- Introduction to Baking with White Chocolate
- Understanding White Chocolate: Composition and Quality
- Essential White Chocolate Baking Tips
- White Chocolate Baking Techniques: Achieving Perfect Results
- Troubleshooting Common White Chocolate Baking Problems
- White Chocolate Baking Recipe Adaptations and Substitutions
- Advanced White Chocolate Baking Techniques
- White Chocolate Baking: Storing and Serving Tips
- Conclusion: Embrace the Challenge of White Chocolate Baking
-
Frequently Asked Questions
- What makes baking with white chocolate challenging compared to other types of chocolate?
- What is the best way to melt white chocolate to avoid seizing?
- What type of white chocolate is best for baking?
- How can I prevent my white chocolate from becoming grainy or clumpy in my baked goods?
- What are some good flavor pairings with white chocolate in baking?
- Final Reflection: The Delicate Art of White Chocolate Baking
- Unlock Your White Chocolate Baking Potential!
Baking with White Chocolate: Tips for Success
Introduction to Baking with White Chocolate
Why White Chocolate Can Be Challenging in Baking
Baking with white chocolate presents unique difficulties compared to its dark or milk chocolate counterparts. Unlike dark chocolate, which contains a higher percentage of cocoa solids and less sugar, white chocolate is primarily composed of cocoa butter, sugar, and milk solids. This composition makes it far more sensitive to heat and moisture.
Even a tiny amount of water or too much heat can cause white chocolate to "seize," turning from a smooth, pourable liquid into a thick, grainy, unusable paste. Its high sugar content also makes it prone to burning or scorching very quickly, resulting in a bitter, unpleasant flavor and unusable texture.
Furthermore, the quality of white chocolate varies significantly depending on the proportion and quality of its ingredients, particularly the cocoa butter content. Cheaper white chocolates often contain less cocoa butter and more vegetable fats, which behave differently when heated and cooled, leading to issues like poor melting, separation, or a waxy texture in the final baked good. Mastering baking with white chocolate requires understanding these sensitivities and employing specific techniques to handle its delicate nature, ensuring smooth melting, proper incorporation into batters, and the desired creamy finish in your creations.
Guide to Mastering White Chocolate Recipes
Mastering the art of baking with white chocolate involves a combination of ingredient knowledge, careful technique, and patience. The first step is selecting a high-quality product, which we will discuss in detail, as this lays the foundation for success. Understanding how to properly melt white chocolate is perhaps the most crucial skill; techniques like using a double boiler or careful microwave heating can prevent the dreaded seize or scorch. Beyond melting, integrating white chocolate into various recipes, from delicate mousses to sturdy cookies, requires specific approaches to maintain its texture and flavor profile.
This guide provides essential white chocolate baking tips, covering everything from understanding its composition and choosing the right product to melting techniques, incorporating it into different doughs and batters, troubleshooting common issues, and even advanced applications. By following these guidelines and practicing caution, you can overcome the challenges associated with white chocolate and unlock its potential to add rich, creamy sweetness and a luxurious texture to your baked goods. Whether you're making a simple frosting or a complex dessert, these tips for baking with white chocolate will help you achieve perfect results every time.
Understanding White Chocolate: Composition and Quality
The Key Ingredients in White Chocolate: Cocoa Butter, Sugar, and Milk Solids
White chocolate is uniquely defined by what it lacks – cocoa solids, which are the source of the characteristic brown color and intense chocolate flavor in dark and milk chocolate. Instead, its primary components are cocoa butter, sugar, and milk solids. Cocoa butter, extracted from the cocoa bean, is a fat that is solid at room temperature but melts just below body temperature, giving white chocolate its smooth mouthfeel.
By law in many regions (like the US and EU), white chocolate must contain a minimum percentage of cocoa butter, typically around 20% or more. Sugar is a major component, often making up 40-50% of the total weight, contributing to its inherent sweetness.
Milk solids, which can be in the form of milk powder, cream powder, or whey powder, provide the creamy texture and milky flavor profile. The proportion of these ingredients, especially the cocoa butter, significantly impacts the quality and behavior of the white chocolate during baking. A higher percentage of cocoa butter generally indicates a higher quality product that melts more smoothly and is less prone to scorching, though it is still sensitive to moisture. The specific type and quality of milk solids also influence the flavor and texture, contributing to the overall richness and creaminess.
Choosing High-Quality White Chocolate for Baking: What to Look For
Selecting high-quality white chocolate is paramount for successful white chocolate baking. The most important factor to consider is the cocoa butter content. Look for white chocolate that lists cocoa butter as the first ingredient or specifies a high percentage, ideally 25% or higher. Products with higher cocoa butter content melt more evenly and are less likely to seize or become grainy. Avoid products that list vegetable oil, palm oil, or other fats before or alongside cocoa butter; these are often compounds or confectionery coatings that do not behave like true white chocolate and yield inferior results.
Examine the ingredient list for the type of milk solids used. Whole milk powder or cream powder often results in a richer, creamier flavor than whey powder. The texture of the chocolate itself can also be an indicator of quality; good white chocolate should snap cleanly when broken, not crumble or feel waxy.
While price isn't always a perfect indicator, higher-quality white chocolate typically costs more due to the expense of cocoa butter. Investing in a reputable brand known for quality chocolate, often found in baking supply stores or the baking aisle of well-stocked supermarkets, is a key white chocolate baking tip.
How Cocoa Butter Content Affects Baking Results
The percentage of cocoa butter in white chocolate directly influences its melting properties, texture, and behavior in baked goods. White chocolate with a higher cocoa butter content (e.g., 30-35%) will melt more fluidly and smoothly than one with a lower percentage (e.g., 20%). This higher fat content makes it ideal for applications requiring a very smooth texture, such as ganaches, mousses, or for coating purposes. It's also slightly more forgiving when it comes to heat, although still very sensitive.
Conversely, white chocolate with a lower cocoa butter percentage may melt less evenly, feel thicker or waxier, and is more susceptible to seizing or scorching. It might also result in a less desirable texture in baked goods like cookies or brownies, potentially leaving a waxy residue. While both types can be used in baking, understanding the cocoa butter content helps predict how the white chocolate will perform and allows you to adjust your techniques accordingly.
For instance, a lower cocoa butter white chocolate might require slower, more careful melting and potentially benefit from the addition of a small amount of extra fat (like a neutral oil or butter) when melting for certain applications. Knowing this is a crucial white chocolate baking tip for consistent results.
Essential White Chocolate Baking Tips
Tempering White Chocolate: Preventing Seizing and Blooming
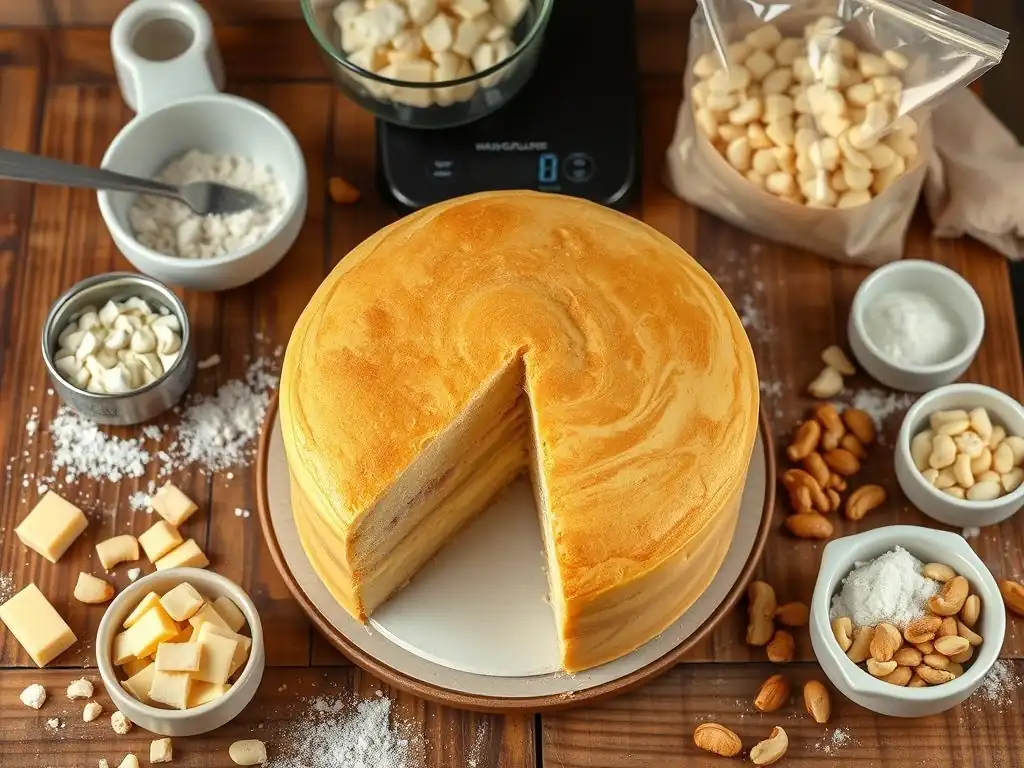
Tempering white chocolate is a process of carefully heating and cooling it to stabilize the cocoa butter crystals. While not always necessary for simply melting white chocolate to stir into a batter, it is essential for applications where you need the chocolate to set with a smooth, glossy finish and a firm snap, such as for dipping, coating, or making decorations. Proper tempering prevents "blooming," the unsightly gray streaks or patches that can appear on the surface of chocolate due to improper crystallization of fats or sugar. It also helps prevent seizing.
To temper white chocolate, you typically chop it finely, melt about two-thirds of it gently (over a double boiler or in the microwave on low power) to a specific temperature range (often around 105-115°F or 40-46°C), then remove it from the heat and stir in the remaining one-third of the solid, chopped chocolate. Stir continuously until the solid chocolate melts and the mixture cools down to a working temperature (around 80-82°F or 27-28°C). This process encourages the formation of stable cocoa butter crystals.
If the chocolate cools too much, you can gently reheat it slightly to reach the working temperature. This meticulous process is a key white chocolate baking tip for professional-looking results.
Melting White Chocolate: Achieving a Smooth, Creamy Texture
Melting white chocolate smoothly and creamily without seizing or scorching is perhaps the most critical step in white chocolate baking. Because of its high sugar and milk solid content and sensitivity to heat and moisture, white chocolate requires gentle, indirect heat.
Using a Double Boiler for Melting White Chocolate
The double boiler method is widely considered the safest way to melt white chocolate. Place the finely chopped white chocolate in a heatproof bowl set over a saucepan of simmering water. Ensure the bottom of the bowl does not touch the water.
The steam from the simmering water provides gentle, indirect heat. Stir the chocolate frequently with a dry spatula until it is almost fully melted, then remove the bowl from the heat and continue stirring until the residual heat melts the remaining pieces and the chocolate is smooth. It is absolutely crucial that no water or steam comes into contact with the chocolate, as even a single drop can cause it to seize instantly.
Microwave Melting: A Quick (But Risky) Method
Melting white chocolate in the microwave is faster but requires extreme caution. Chop the white chocolate finely and place it in a microwave-safe bowl. Heat on a low power setting (e.g., 50%) for very short intervals, such as 15-30 seconds at a time. After each interval, remove the bowl and stir the chocolate thoroughly, even if it doesn't look melted.
Continue heating and stirring in short bursts until the chocolate is mostly melted, then stir continuously outside the microwave until the remaining pieces melt and the chocolate is smooth. Microwaving on high power or for too long can quickly scorch the white chocolate, rendering it unusable. Stirring frequently is key to distributing heat and preventing hot spots.
White Chocolate and Heat: Avoiding Burning and Scorching
White chocolate is highly susceptible to burning and scorching due to its high sugar content. Sugar burns at a lower temperature than cocoa solids. When white chocolate is exposed to excessive direct heat or heated too quickly, the sugar crystals can caramelize or burn, resulting in a bitter, acrid taste and a hard, crumbly texture that cannot be salvaged. This is why gentle, indirect heat methods like a double boiler or low-power microwave heating are essential.
The key to avoiding scorching is low heat and constant attention. Never leave white chocolate unattended while it's melting. Stirring helps to distribute the heat evenly throughout the chocolate mass. If using a double boiler, ensure the water is just simmering, not boiling vigorously.
If using a microwave, use the lowest power setting and short intervals. Once the chocolate is mostly melted, remove it from the heat source and rely on residual heat and stirring to finish the job. If you notice any browning or a burnt smell, the chocolate is likely scorched and should be discarded. Preventing scorching is a fundamental white chocolate baking tip.
White Chocolate Baking Techniques: Achieving Perfect Results
Incorporating White Chocolate into Cake Batter
Adding melted white chocolate directly into cake batter can sometimes be tricky due to its fat content and tendency to seize if mixed with cold or wet ingredients too quickly. A common technique is to gently fold the slightly cooled, melted white chocolate into the batter towards the end of the mixing process, after the wet and dry ingredients have been combined. Ensure the melted chocolate isn't too hot, as this can curdle the eggs in the batter or melt butter/fat components prematurely.
Alternatively, you can incorporate white chocolate flavor by using white chocolate chips or chunks stirred into the batter, allowing them to melt partially or remain as pockets of chocolate within the baked cake. For recipes specifically designed around melted white chocolate, ensure all ingredients are at room temperature to prevent the chocolate from seizing upon contact with cold components. Some recipes might call for creaming softened butter with melted white chocolate, which helps emulsify the fat and sugar before incorporating other ingredients.
The form of white chocolate you add to cookie dough significantly impacts the final texture and appearance. White chocolate chips are formulated to hold their shape better during baking due to stabilizers, resulting in distinct pockets of semi-melted chocolate within the cookie. White chocolate chunks, especially those cut from a high-quality bar, tend to melt more fully and spread slightly, creating larger pools of creamy white chocolate.
Adding melted white chocolate directly into cookie dough is less common for standard drop cookies unless the recipe specifically calls for it. If adding melted white chocolate to a base dough, ensure it's slightly cooled to avoid melting the butter in the dough prematurely. For recipes like white chocolate macadamia nut cookies, stirring in chips or chunks is the standard approach. The choice between chips and chunks depends on whether you prefer defined chocolate pieces or larger, gooey pockets; using chopped high-quality bar chocolate often yields the best flavor and melt.
Using White Chocolate in Frostings and Ganaches
White chocolate is a popular choice for creating rich, creamy frostings and luxurious ganaches. White chocolate ganache is typically made by pouring hot cream over finely chopped white chocolate and stirring until smooth and emulsified. The ratio of chocolate to cream determines the consistency; a 2:1 ratio (chocolate:cream) yields a thicker ganache suitable for truffles, while a 1:1 ratio creates a pourable ganache or a softer frosting when whipped.
For white chocolate buttercream or other frostings, melted white chocolate is often incorporated into a base of butter, sugar, and sometimes cream cheese or meringue. It's crucial that the melted white chocolate is cooled slightly before being added to the frosting base to prevent melting the butter or causing the frosting to separate. Ensure the melted chocolate is fully incorporated for a smooth, even texture and consistent white chocolate flavor throughout the frosting.
Working with White Chocolate in Brownies and Bars
Incorporating white chocolate into brownies and bars can add a layer of creamy richness and sweetness. This can be done in several ways: stirring white chocolate chips or chunks into the batter, swirling melted white chocolate through a dark chocolate base, or using white chocolate as the primary chocolate component in blondies or white chocolate bars.
When adding chips or chunks, stir them in gently at the end of mixing to avoid breaking them down too much. For swirling, melt the white chocolate smoothly and drizzle it over the top of the batter in the pan, then use a knife or skewer to gently swirl it through before baking.
If making blondies or bars where white chocolate is the main flavor, ensure the white chocolate is melted carefully and incorporated thoroughly with the other ingredients, often butter and sugar, to create a cohesive base. These applications benefit greatly from high-quality white chocolate that melts well and provides a good flavor profile.
Troubleshooting Common White Chocolate Baking Problems
Why is My White Chocolate Seizing? Solutions and Prevention
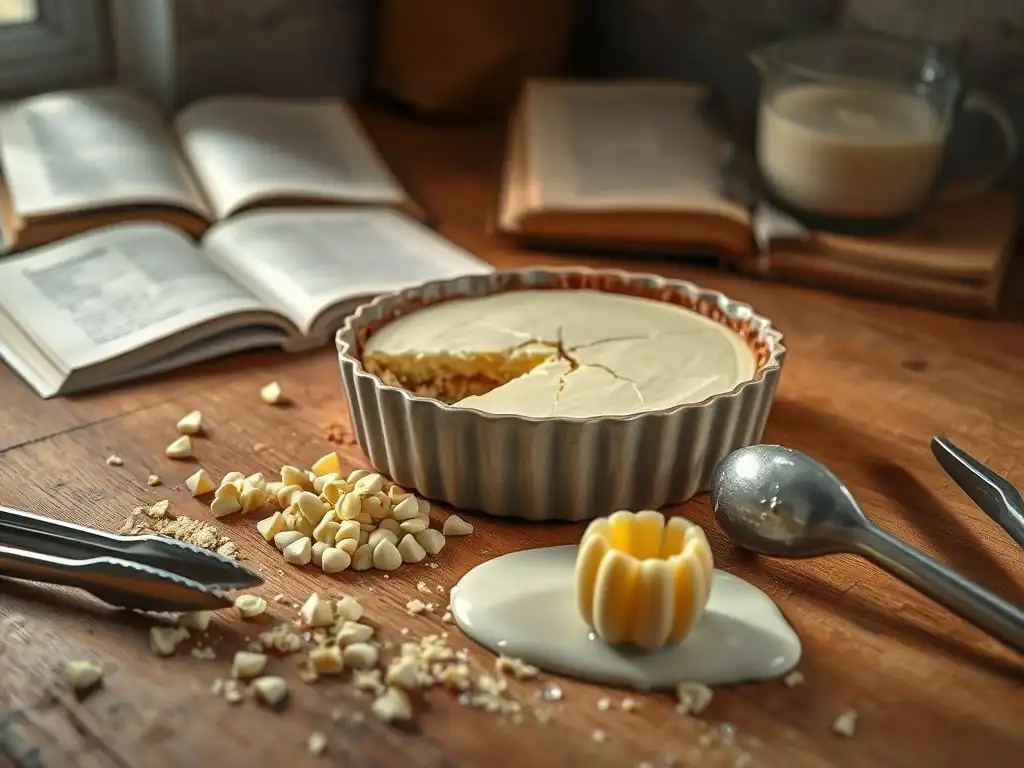
White chocolate seizing is a common frustration in white chocolate baking. It occurs when the chocolate comes into contact with even a small amount of water or steam while melting. The sugar crystals attract the water, causing the chocolate mass to clump up and become thick, grainy, and unusable. Overheating can also cause seizing, as it can burn the sugar or cause the cocoa butter to separate.
Prevention is the best approach. When melting over a double boiler, ensure the water is just simmering and never touches the bottom of the bowl, and be vigilant about preventing steam from getting into the chocolate. Use a completely dry bowl and utensils. If using a microwave, use low power and short bursts, stirring thoroughly between each interval.
If your white chocolate does seize, sometimes you can rescue it by stirring in a small amount of hot fat, like vegetable oil, melted butter, or even hot heavy cream, one teaspoon at a time, until it becomes smooth again. However, this often alters the texture and flavor slightly, and it doesn't always work. Discarding and starting over with fresh white chocolate is often the most reliable solution.
White Chocolate Blooming: Understanding the Cause and How to Fix It
Blooming in white chocolate refers to the appearance of grayish-white streaks or a dull, powdery film on the surface. There are two main types: fat bloom and sugar bloom. Fat bloom occurs when the cocoa butter crystals melt and re-crystallize improperly, often due to temperature fluctuations (like storing chocolate in a warm place then moving it to a cool one). Sugar bloom happens when moisture condenses on the surface of the chocolate, dissolving sugar crystals, which then re-crystallize as larger, visible crystals when the moisture evaporates.
Blooming primarily affects the appearance and sometimes the texture (making it slightly crumbly or gritty), but bloomed white chocolate is usually still safe to eat and can often be used in baking where the chocolate is melted and incorporated into a batter or frosting. For applications where appearance matters, like coatings or decorations, bloomed chocolate is undesirable.
The best way to prevent blooming is proper storage – keep white chocolate in a cool, dry place with a stable temperature (ideally around 60-70°F or 15-21°C). If using bloomed chocolate for melting, it will typically melt smoothly, and the bloom will disappear.
Preventing a Grainy Texture in White Chocolate Baked Goods
A grainy texture in white chocolate baked goods can stem from several issues: using low-quality white chocolate with less cocoa butter or other fats, improper melting leading to seizing, or not fully incorporating the melted white chocolate into the batter or mixture. Low-quality white chocolate may contain vegetable fats that don't emulsify smoothly or sugar crystals that don't fully dissolve.
To prevent graininess, start with high-quality white chocolate with sufficient cocoa butter. Ensure the white chocolate is melted slowly and carefully using a gentle heat method to avoid seizing. If incorporating melted white chocolate into a batter or frosting, make sure it is fully mixed in until no streaks or pockets of unmixed chocolate remain.
For recipes like ganache, ensure the hot cream is poured over finely chopped chocolate and stirred until completely smooth and emulsified; insufficient stirring can leave small chocolate pieces that result in a grainy texture. Using ingredients at room temperature when combining them with melted white chocolate can also help prevent the chocolate from solidifying too quickly and becoming grainy.
When White Chocolate Doesn't Melt Properly: Identifying the Issue
Sometimes white chocolate simply refuses to melt into a smooth, liquid state, instead remaining thick, clumpy, or pasty. This can be due to several factors. The most common is seizing, caused by contact with water or steam, as discussed earlier. Another reason could be using a product that isn't true white chocolate but rather a confectionery coating made primarily of vegetable fats; these often have different melting points and properties and may not melt smoothly like cocoa butter-based white chocolate.
Overheating can also cause the cocoa butter to separate from the other solids, resulting in a greasy, clumpy mess. Stale white chocolate, while still meltable, might not achieve the same smooth consistency as fresh chocolate. Ensure you are using a quality product stored properly and employing a gentle melting method.
If using a microwave, check that you are using a low power setting. If melting over a double boiler, confirm the water isn't boiling too vigorously and that no water is entering the bowl. If the chocolate remains thick or pasty despite careful melting, it might be due to the product's quality or age.
White Chocolate Baking Recipe Adaptations and Substitutions
Adjusting Recipes for White Chocolate's Sweetness
White chocolate is significantly sweeter than milk or dark chocolate due to its high sugar content (often 40-50%). When adapting a recipe that originally calls for dark or milk chocolate and substituting white chocolate, you may need to reduce the amount of added sugar in the recipe to balance the overall sweetness. This adjustment depends on the specific recipe and your preference, but it's a key white chocolate baking tip to avoid an overly sweet final product.
For example, if a cookie recipe uses 1 cup of granulated sugar and calls for dark chocolate chips, and you substitute white chocolate chips, you might consider reducing the granulated sugar by 1/4 cup or more. Taste the dough or batter if possible (safely, i.e., without raw eggs) to gauge the sweetness before baking. You might also consider adding ingredients that provide a contrasting flavor, such as a pinch of salt, a touch of lemon zest, or slightly bitter additions like nuts or dried cranberries, to help cut through the richness and sweetness of the white chocolate.
Swapping White Chocolate for Dark or Milk Chocolate: Considerations
Substituting white chocolate for dark or milk chocolate in a recipe involves more than just a one-to-one volume or weight swap. Beyond the sweetness difference, the fat content varies significantly. Dark chocolate has cocoa solids that absorb liquid, while white chocolate is almost entirely fat (cocoa butter, milk fat). This means white chocolate will add more fat to the recipe, which can affect texture, spread, and moisture.
Consider the function of the chocolate in the original recipe. If it's for flavor and solid chunks, swapping chips/chunks might work with sugar adjustment. If it's melted and incorporated into a batter for structure or richness (as in many brownie recipes), a direct swap might alter the texture significantly, potentially making the baked good too greasy or crumbly.
You might need to adjust other wet or dry ingredients to compensate. For instance, you might slightly reduce the amount of butter or oil in the recipe when using melted white chocolate. Experimentation and understanding the role of the chocolate in the original recipe are key when making these substitutions in white chocolate baking.
Using White Chocolate Alternatives: Dairy-Free Options
For bakers seeking dairy-free or vegan options, traditional white chocolate is not suitable as it contains milk solids. However, several dairy-free white chocolate alternatives are available on the market. These products typically use cocoa butter as the fat base but substitute milk solids with ingredients like rice powder, almond flour, or soy powder, and use plant-based sweeteners.
When using dairy-free white chocolate alternatives in baking, be aware that their behavior can vary depending on the specific brand and composition. Some melt very similarly to dairy white chocolate, while others might be more prone to seizing or have a slightly different melting point. Their flavor profile can also differ, sometimes having a subtle rice or almond undertone. It's advisable to test a small amount first to see how it melts and behaves in your specific recipe. Look for products designed specifically for baking, as these are formulated to perform better under heat than snacking varieties.
Advanced White Chocolate Baking Techniques
Creating White Chocolate Decorations and Garnishes
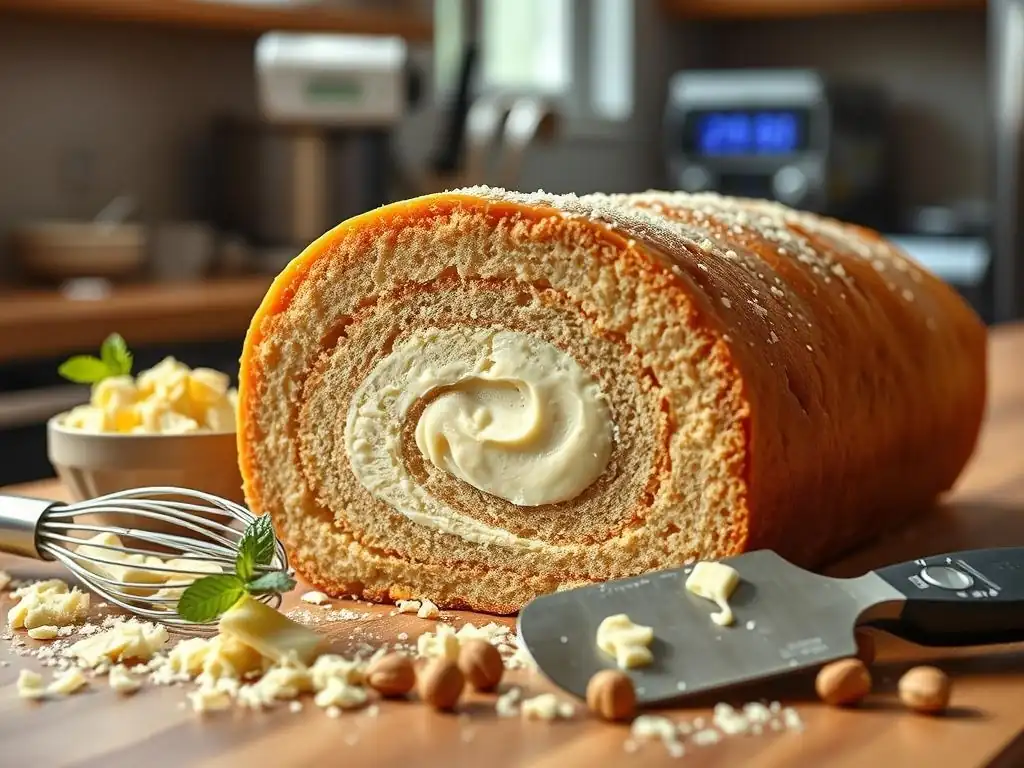
White chocolate is excellent for creating beautiful and intricate decorations and garnishes for cakes, cupcakes, and desserts. Techniques include piping designs, making chocolate curls, creating shards or bark, and molding shapes. For decorations that need to hold their shape and have a glossy finish, tempering the white chocolate is crucial to prevent blooming and ensure a firm set and snap.
Once tempered, melted white chocolate can be piped onto parchment paper to create swirls, lattices, or custom shapes. For curls, spread a thin layer of tempered white chocolate onto a smooth surface (like the back of a baking sheet) and let it set partially, then use a scraper or knife to push across the surface, creating curls.
Shards or bark can be made by spreading melted white chocolate (tempered or untempered, depending on desired outcome and storage) onto parchment, adding inclusions like nuts, dried fruit, or sprinkles, and breaking it into pieces once set. Using food coloring specifically designed for chocolate (oil-based or powdered) allows you to tint white chocolate for colorful decorations.
Making White Chocolate Mousse and Fillings
White chocolate adds a luxurious, creamy texture and sweet flavor to mousses and fillings. A classic white chocolate mousse often involves folding whipped cream or whipped egg whites (or both) into melted white chocolate, sometimes stabilized with gelatin. The key is to ensure the melted white chocolate is slightly cooled but still liquid before folding it into the lighter components to prevent melting the whipped cream or cooking the egg whites.
For fillings, melted white chocolate can be combined with butter, cream cheese, or other fats to create smooth, rich textures. A simple white chocolate ganache (white chocolate melted with hot cream) is also a versatile filling or frosting. When making white chocolate-based mousses or fillings, the quality of the white chocolate is particularly important for achieving the desired smooth texture and rich flavor. Ensure the chocolate is melted perfectly smoothly before combining it with other ingredients.
Exploring Unique White Chocolate Flavor Pairings: Raspberry, Matcha, Citrus
White chocolate's sweet, creamy profile pairs beautifully with a range of flavors, offering exciting possibilities in white chocolate baking. Its sweetness provides a counterpoint to tart fruits like raspberries, cranberries, or passion fruit. A classic combination is white chocolate and raspberry, found in cakes, tarts, and cookies, where the berry's acidity cuts through the chocolate's richness.
Matcha green tea is another popular pairing; its slightly bitter, earthy notes balance the sweetness of white chocolate, creating a sophisticated flavor profile in cakes, cookies, and lattes. Citrus flavors, such as lemon or orange zest, also complement white chocolate by adding brightness. Other interesting pairings include pistachio, cardamom, ginger, coconut, and even savory elements like sea salt, which enhances the sweetness. Experimenting with these combinations can elevate your white chocolate baking creations.
White Chocolate Baking: Storing and Serving Tips
Proper Storage to Maintain Quality and Prevent Blooming
Proper storage is crucial for maintaining the quality of white chocolate and preventing blooming. Store white chocolate in a cool, dry place away from direct sunlight and strong odors. The ideal temperature range is typically between 60°F and 70°F (15°C and 21°C). Humidity is the enemy of chocolate; moisture can cause sugar bloom, so keep it in an airtight container if your environment is humid.
Avoid storing white chocolate in the refrigerator unless absolutely necessary, as the fluctuating temperatures and high humidity can promote fat and sugar bloom. If you must refrigerate it, place it in a sealed container to protect it from moisture and odors, and allow it to come to room temperature slowly before using it for baking or consuming it. Proper storage ensures your white chocolate remains in good condition, ready to perform optimally when you need it for your next baking project.
Serving Suggestions to Highlight White Chocolate Flavors
How you serve your white chocolate baked goods can enhance the overall experience and highlight the delicate white chocolate flavors. For cakes and cupcakes with white chocolate frosting or filling, serving them at room temperature allows the creamy texture and full flavor to shine. Chilled white chocolate can become firm and less aromatic.
Pair white chocolate desserts with beverages that complement their sweetness and richness. A slightly acidic coffee, a glass of sparkling wine, or a dessert wine can provide a nice contrast. Consider garnishing white chocolate desserts with elements that echo successful flavor pairings, such as fresh raspberries, a sprinkle of matcha powder, or a twist of orange zest.
Serving them alongside a contrasting sauce, like a tart berry coulis or a rich dark chocolate sauce, can also create a dynamic flavor experience. Presenting white chocolate creations attractively is also key; their pale color can be beautifully accented by colorful fruits or contrasting darker elements.
Conclusion: Embrace the Challenge of White Chocolate Baking
Recap of Essential White Chocolate Baking Tips
Baking with white chocolate can be challenging, but incredibly rewarding when done correctly. The key white chocolate baking tips covered in this guide are essential for success. First, always prioritize using high-quality white chocolate with a good percentage of cocoa butter; this is the foundation. Second, master gentle melting techniques, preferably using a double boiler or a low-power microwave method, and be hyper-vigilant about preventing any contact with water or excessive heat to avoid seizing and scorching.
Remember to consider white chocolate's high sweetness and fat content when adapting recipes. Be mindful of temperature when incorporating melted white chocolate into other ingredients, ensuring it's slightly cooled but still liquid. Practice proper storage to prevent blooming. By following these guidelines – choosing quality, melting carefully, and understanding its unique properties – you can confidently tackle any white chocolate baking recipe and achieve delicious, creamy results.
Further Resources for Chocolate Baking
Mastering white chocolate baking is just one part of becoming a confident chocolate baker. To continue expanding your skills, explore resources dedicated to the broader world of chocolate in baking. Look for guides on working with dark and milk chocolate, understanding different types of cocoa powder, and techniques for creating chocolate tempering curves for various applications.
Many reputable baking websites, cookbooks, and culinary schools offer in-depth information on chocolate. Seek out detailed guides on making classic chocolate desserts like soufflés, tortes, and truffles. Understanding the science behind chocolate, including crystallization and emulsion, will further enhance your abilities. Continuous learning and practice, combined with these white chocolate baking tips, will help you unlock the full potential of chocolate in your kitchen.
Frequently Asked Questions
What makes baking with white chocolate challenging compared to other types of chocolate?
White chocolate lacks the cocoa solids found in other chocolates. This means it's more prone to scorching and can be fussy to melt correctly.
What is the best way to melt white chocolate to avoid seizing?
Use a double boiler or microwave at short intervals, stirring frequently. Avoid overheating and ensure no water or steam contaminates the chocolate.
What type of white chocolate is best for baking?
Use high-quality white chocolate with a higher cocoa butter content. Look for brands specifically labeled for baking or cooking for optimal results.
How can I prevent my white chocolate from becoming grainy or clumpy in my baked goods?
Ensure all ingredients are at room temperature before mixing. Avoid overmixing the batter, as this can cause the white chocolate to seize or separate.
What are some good flavor pairings with white chocolate in baking?
White chocolate pairs well with citrus fruits like lemon and orange, as well as berries like raspberries and strawberries. Consider adding nuts such as macadamia or almonds for texture and flavor.
Final Reflection: The Delicate Art of White Chocolate Baking
White chocolate, with its creamy sweetness and delicate nature, presents unique challenges to even the most experienced bakers. Its propensity to seize, its lower melting point, and its susceptibility to scorching demand a level of precision and understanding often overlooked. This article has explored these intricacies, offering practical tips and techniques to navigate the complexities of working with this often-temperamental ingredient.
The journey of mastering white chocolate baking is, for me, a metaphor for the delicate balance required in many aspects of life. It’s about understanding the nuances, respecting the limitations, and appreciating the beauty that emerges when we approach a challenge with patience and precision. The best things in life are worth waiting for,
a sentiment that rings particularly true when working with white chocolate. The reward – a flawlessly smooth ganache, a perfectly tempered shell, or a melt-in-your-mouth confection – is a testament to the care and attention invested.
Now, I invite you to consider your own baking adventures. Perhaps you've faced the frustration of seized white chocolate, or maybe you've achieved a moment of pure baking bliss with a perfectly executed white chocolate creation. Whatever your experience, remember the lessons learned here: patience, precision, and a deep understanding of your ingredients are key to unlocking the full potential of white chocolate. Go forth, experiment, and create something truly delicious!
Unlock Your White Chocolate Baking Potential!
Thanks for diving into the world of white chocolate baking with us! We hope you picked up some valuable tips and tricks to avoid those common white chocolate pitfalls. Ready to put your newfound knowledge to the test?
- Try our signature white chocolate raspberry blondie recipe (link to recipe page on bakewithease.com would go here, but is excluded as per instructions): This recipe showcases everything we've discussed—it's a perfect blend of delicious and easy to execute!
- Share your white chocolate baking triumphs (or challenges!) on social media using #BakeWithEaseWhiteChocolate: Let's build a supportive baking community!
- Explore our extensive white chocolate recipe collection (link to relevant page on bakewithease.com would go here, but is excluded as per instructions): Discover even more ways to incorporate this versatile ingredient into your baking!
So, what amazing white chocolate creation will you bake next?