
The Best Way to Store Leftover Melted Chocolate

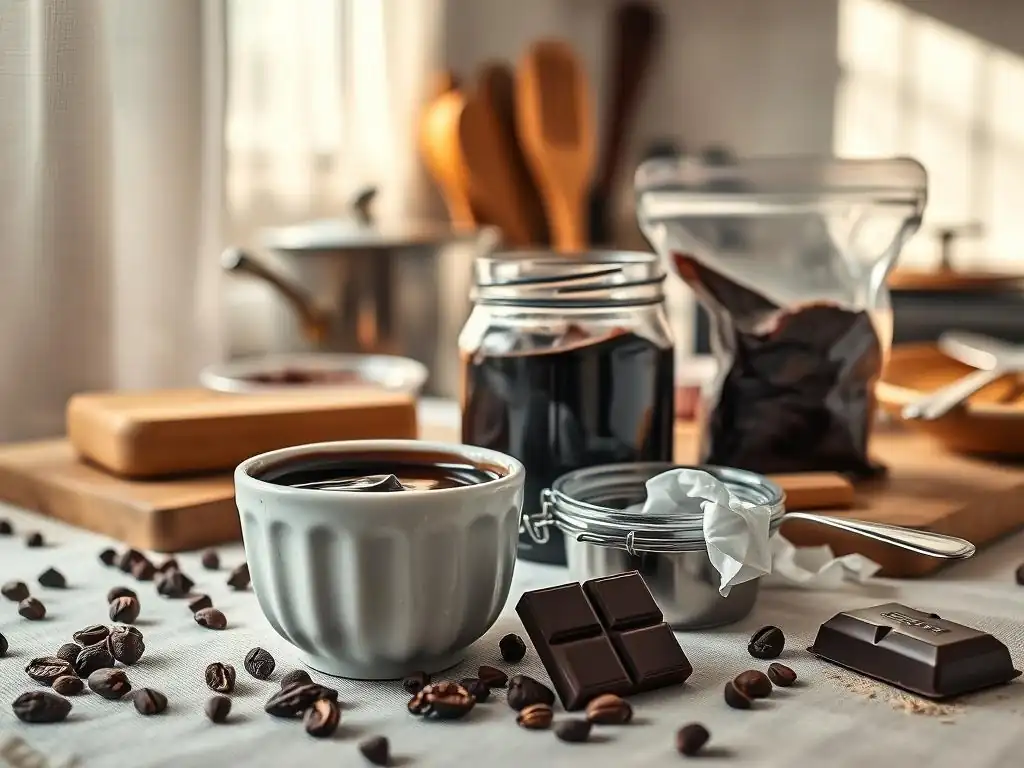
Welcome to BakeWithEase, your culinary companion for all things baking! Ever wondered about the secret to perfectly preserving that luscious leftover melted chocolate? Unlock the answer and prevent dreaded seizing or blooming in our latest deep dive. Discover how to store melted chocolate like a pro and ensure your delicious creations are always picture-perfect. Ready to master this essential baking skill? Let's get started!
- Introduction: Preserving Melted Chocolate for Future Baking Adventures (BakeWithEase.com)
- Understanding Melted Chocolate: Key Considerations for Storage
- The Problem: Why Can't I Just Leave Melted Chocolate Out?
- Step-by-Step Guide: How to Store Melted Chocolate Properly
- Long-Term Storage: Freezing Melted Chocolate (And When to Avoid It)
- Troubleshooting: Common Issues and Solutions for Stored Melted Chocolate
- Tips and Tricks for Maximizing the Shelf Life of Melted Chocolate
- Utilizing Stored Melted Chocolate: Baking Ideas and Inspiration
- Conclusion: Mastering the Art of Storing Melted Chocolate for Baking Success
- Frequently Asked Questions
- Final Reflection: The Enduring Allure of Perfectly Stored Chocolate
- Unlock Your Chocolate's Potential: Save & Enjoy!
Introduction: Preserving Melted Chocolate for Future Baking Adventures (BakeWithEase.com)
As any passionate baker knows, sometimes you end up with a little extra melted chocolate after dipping pretzels, drizzling cookies, or coating truffles. It feels like a waste to let that precious liquid gold go to waste! Learning how to store melted chocolate properly is a fantastic skill that saves ingredients and ensures you're always ready for your next sweet creation. At BakeWithEase.com, we believe in making baking simple and efficient, and that includes mastering ingredient storage.
Storing leftover melted chocolate isn't just about preventing waste; it's about preserving its quality. Improper storage can lead to undesirable changes in texture and flavor, impacting your future baking results. Whether it's a small amount from a quick drizzle or a larger quantity from a big batch of confections, knowing the best way to store melted chocolate means you can confidently use it later for brownies, ganache, or simply more drizzling fun. Let's dive into the delicious details!
Understanding Melted Chocolate: Key Considerations for Storage
Why Proper Storage Matters for Melted Chocolate's Texture and Flavor
Proper storage of melted chocolate is crucial because chocolate is sensitive to temperature, light, air, and moisture. Exposure to these elements can degrade its quality significantly. For instance, storing melted chocolate incorrectly can lead to "bloom," a common issue where a grayish or white film appears on the surface. This isn't mold, but rather fat bloom (fat crystals rising to the surface) or sugar bloom (sugar dissolving and recrystallizing due to moisture), both of which negatively affect the chocolate's appearance and sometimes its texture, making it less smooth.
Beyond visual issues, improper storage exposes the chocolate to oxidation and absorption of odors. Fats in chocolate can become rancid over time, especially when exposed to air and warmth, resulting in an unpleasant, stale flavor. Chocolate is also highly porous and can easily absorb strong smells from nearby foods, like onions or garlic, ruining its delicate taste profile. A properly stored batch of melted chocolate, even if just a small amount, can maintain its rich flavor and smooth texture for weeks or even months, depending on the type and conditions.
Different Types of Chocolate and Their Storage Requirements
The best way to store melted chocolate can vary slightly depending on the type you're working with. Dark chocolate, which typically contains a higher percentage of cocoa solids and less sugar and no milk solids, is generally the most stable. Its lower moisture content makes it less susceptible to sugar bloom and rancidity compared to other types. When stored correctly in a cool, dark place, leftover melted dark chocolate can often maintain good quality for up to a year, though using it sooner is always recommended for peak flavor.
Milk chocolate and white chocolate, on the other hand, contain milk solids and more sugar, making them more vulnerable to moisture absorption, odor pickup, and fat oxidation. White chocolate, consisting primarily of cocoa butter, sugar, and milk solids (with no cocoa solids), is the most delicate. Leftover melted milk or white chocolate should ideally be used within 6 to 9 months, even under optimal storage conditions. Their higher dairy content means they are more prone to spoilage than dark chocolate if not stored diligently away from heat, light, and air.
The Problem: Why Can't I Just Leave Melted Chocolate Out?
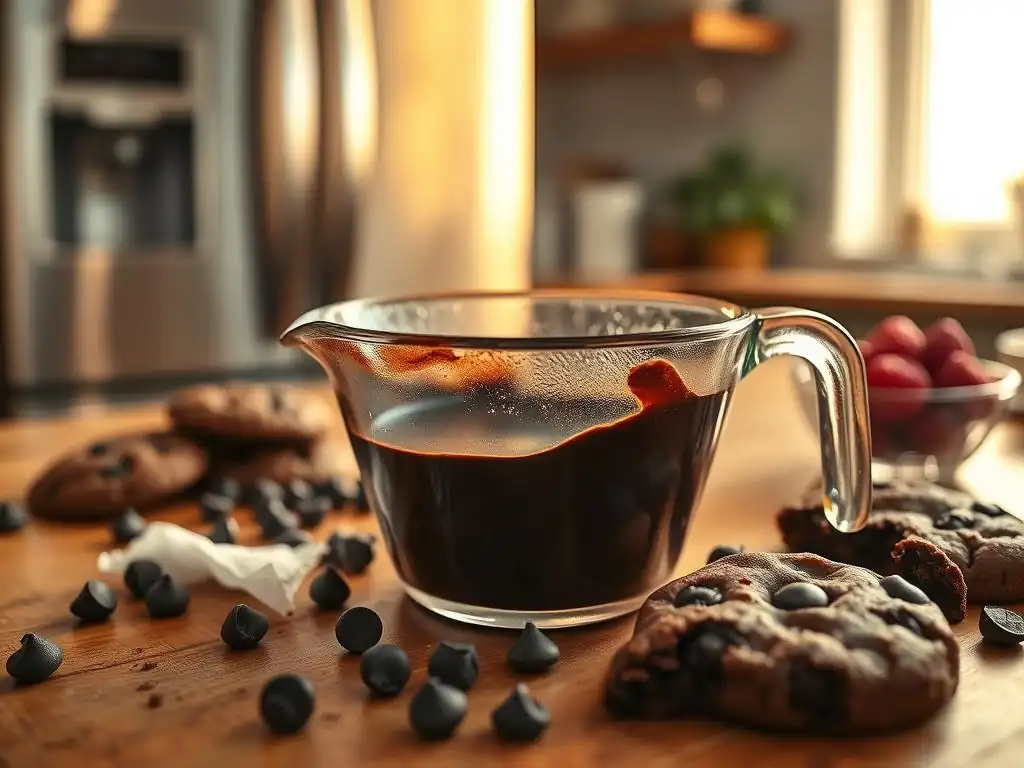
The Risks of Leaving Melted Chocolate at Room Temperature: Bloom and Spoilage
Leaving melted chocolate out at average room temperature, especially if it's warm (above 75°F or about 24°C), significantly increases the risk of fat bloom. The cocoa butter within the chocolate melts and then solidifies unevenly as the temperature fluctuates, causing crystals to form on the surface. While bloomed chocolate is usually safe to eat and can often be re-melted and used in baking (where texture is less critical than in dipping), its appearance is compromised, and the texture can feel waxy or grainy.
Furthermore, exposure to air and light at room temperature accelerates the oxidation of fats in the chocolate. This leads to rancidity, producing off-flavors that can ruin your baked goods. Depending on the ambient conditions, spoilage signs like a stale smell or unpleasant taste can begin to develop within a few weeks if melted chocolate is left uncovered or poorly stored at room temperature. It also becomes a magnet for dust and other airborne contaminants.
Why Refrigeration Isn't Always the Best Solution for Melted Chocolate
While it might seem intuitive to pop leftover melted chocolate into the fridge to preserve it, this isn't always the best approach, particularly for long-term storage of larger quantities. The primary issue with refrigeration is moisture. Fridges are humid environments, and chocolate readily absorbs moisture. This moisture can lead to sugar bloom – the sugar on the surface dissolves and recrystallizes into gritty, white patches when the chocolate is later brought back to room temperature.
Another significant drawback of refrigeration is the exposure to odors. Your refrigerator likely contains items with strong smells, and chocolate will absorb these odors like a sponge, resulting in chocolate that tastes faintly of last night's leftovers. While small amounts of melted chocolate can be briefly refrigerated in an airtight container if you plan to use them within a day or two, for longer storage or larger batches, a cool pantry or cellar is generally preferred over the main compartment of the refrigerator.
Step-by-Step Guide: How to Store Melted Chocolate Properly
Step 1: Allowing the Melted Chocolate to Cool Slightly
Before storing leftover melted chocolate, it's important to let it cool down from its liquid state. However, you don't want it to fully solidify in the open, as this increases exposure to air and potential contaminants. Let the chocolate sit for a few minutes after melting, allowing the initial high heat to dissipate. It should still be liquid or semi-liquid but not piping hot. This slight cooling helps prevent excessive condensation when transferring it to a container.
- Ensure the chocolate is no longer steaming.
- Allow it to cool for approximately 5-10 minutes, depending on the quantity.
- It should remain pourable or easily spoonable.
Step 2: Transferring the Melted Chocolate to an Airtight Container
The key to successful storage is minimizing exposure to air and moisture. Carefully pour or spoon the slightly cooled melted chocolate into a clean, dry, airtight container. Glass jars with tight-fitting lids or plastic containers specifically designed for food storage work well. Choose a container size that is just large enough to hold the chocolate, minimizing the amount of air trapped inside.
Step 3: Sealing the Container to Prevent Moisture Absorption
Once the chocolate is in the container, seal it immediately and securely. For extra protection against moisture and odors, you can press a piece of plastic wrap directly onto the surface of the chocolate before putting the lid on. This creates an additional barrier against air and humidity. Ensure the lid is fastened tightly to create a complete seal.
Step 4: Choosing the Ideal Storage Location for Melted Chocolate
The optimal place to store melted chocolate is a cool, dark, and dry location with a stable temperature, ideally between 60°F and 70°F (15°C and 21°C). A pantry or cupboard away from appliances that generate heat (like ovens or refrigerators) is often perfect. Avoid locations near windows where the chocolate could be exposed to sunlight or temperature fluctuations. Consistent temperature is more important than a slightly lower temperature if it means avoiding significant swings.
- Ideal: Pantry, cool cupboard, cellar
- Avoid: Near oven, on top of refrigerator, sunny windowsill, unheated garage (temperature extremes)
Long-Term Storage: Freezing Melted Chocolate (And When to Avoid It)
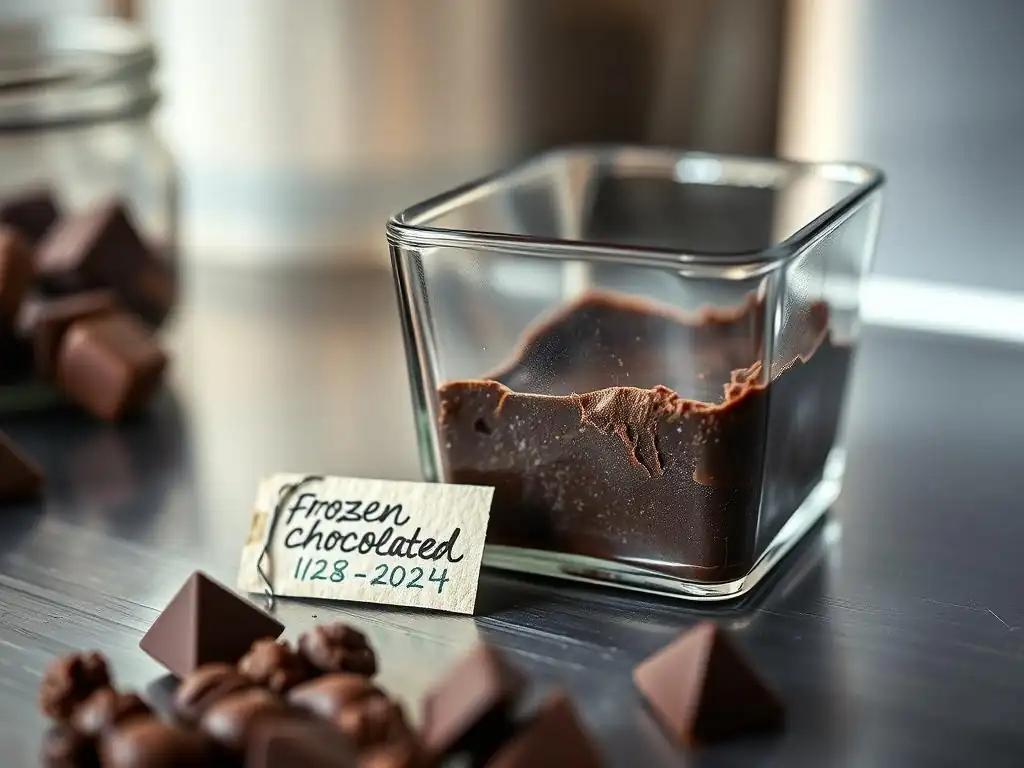
Preparing Melted Chocolate for Freezing: Best Practices
For long-term storage, freezing is an option, particularly for dark chocolate. To prepare melted chocolate for freezing, follow steps 1-3 above (cool slightly, transfer to airtight container, seal with plastic wrap pressed to surface and a tight lid). For added protection against freezer burn and odor absorption, you can wrap the sealed container in aluminum foil or place it inside a freezer-safe bag, pressing out as much air as possible before sealing. Label the container with the type of chocolate and the date.
Freezing is best suited for dark chocolate because its lower water content (compared to milk solids in milk/white chocolate) means fewer ice crystals will form, which can negatively impact texture upon thawing. If freezing milk or white chocolate, be aware that the texture might be slightly altered, potentially becoming more crumbly or grainy after thawing, though it can often still be used successfully in recipes where it will be re-melted or mixed into batters.
Thawing Frozen Melted Chocolate: A Gentle Approach
Thawing frozen melted chocolate requires patience and a gentle process to prevent condensation and texture issues. The best method is to transfer the sealed container from the freezer to the refrigerator and let it thaw slowly overnight. This gradual change in temperature minimizes condensation buildup.
Once thawed in the fridge, move the container to a cool room temperature location and let it sit for a few hours before opening. This allows the chocolate to fully equalize in temperature, further reducing the risk of condensation forming on the surface when exposed to warmer air. Avoid thawing at room temperature directly or using heat, as this can cause immediate condensation and potentially sugar bloom. Once fully thawed and at room temperature, the chocolate can be re-melted carefully for use.
Troubleshooting: Common Issues and Solutions for Stored Melted Chocolate
Dealing with Chocolate Bloom After Storage
If you find that your stored melted chocolate has developed a white or grayish film (bloom), don't panic! As mentioned, bloom is usually a cosmetic issue related to fat or sugar crystallization, not spoilage.
- Fat Bloom: Often appears as a dull, hazy film or streaks. This happens due to temperature fluctuations.
- Sugar Bloom: Looks more like dry, white, gritty spots or patches. This is caused by moisture.
Bloomed chocolate is perfectly safe to eat. For most baking applications, you can simply re-melt the chocolate gently. The process of re-melting will typically cause the fat or sugar crystals to reincorporate, restoring a smoother texture. While the chocolate might not temper perfectly for dipping after severe bloom, it will work beautifully in ganaches, batters, or as a sauce.
Fixing Grainy or Seized Melted Chocolate
Sometimes, stored melted chocolate might become grainy or "seize" when you try to re-melt it. Graininess can occur if the chocolate wasn't melted properly initially or if it absorbed moisture during storage or re-melting. Seizing is a rapid thickening that happens when chocolate comes into contact with even a tiny amount of water during melting.
If your chocolate is grainy or seized, you can often rescue it. For seized chocolate, try stirring in a teaspoon or two of warm liquid fat, such as melted butter, vegetable oil, or even warm cream (for every 6-8 ounces of chocolate). Stir vigorously until it smooths out. This emulsifies the mixture and can reverse the seizing. If it's just slightly grainy, very gentle, slow re-melting might help, or you can incorporate it into a recipe like brownies or cake where the texture won't be noticeable.
Recognizing and Discarding Spoiled Melted Chocolate
While chocolate has a relatively long shelf life due to its low moisture content, it can spoil, primarily through fat rancidity. Spoiled chocolate will develop an unpleasant, stale, or chemical-like odor and taste. It might also have a moldy appearance, though mold is rare on pure chocolate unless it has inclusions (like nuts or fruit) or has been exposed to very high humidity for an extended period.
If your stored melted chocolate smells "off" – not like chocolate anymore, but rancid or musty – it's best to discard it. Similarly, if you see any signs of actual mold growth (fuzzy or discolored patches, unlike bloom), throw it away immediately. While bloom is usually fixable, rancidity means the fats have broken down, and the flavor is permanently ruined. When in doubt, trust your senses – if it looks or smells wrong, it's safer to discard it.
Tips and Tricks for Maximizing the Shelf Life of Melted Chocolate
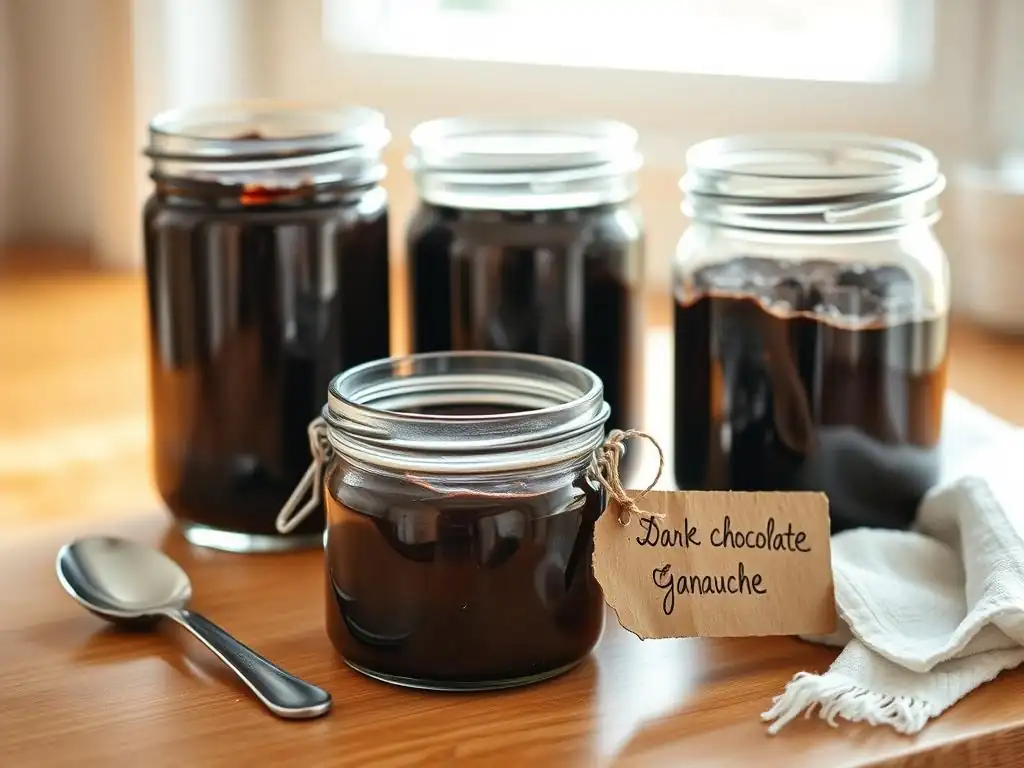
Choosing High-Quality Chocolate for Longer Storage
The quality of the chocolate you start with impacts how well it stores. High-quality chocolates, especially couverture chocolates with a higher percentage of cocoa butter, tend to store better and are less prone to bloom than compound chocolates or lower-grade varieties. Couverture's composition makes it more stable. While not strictly necessary for all baking, using better chocolate means your stored leftovers have a higher chance of retaining their desirable characteristics over time.
A good quality dark chocolate (50% cocoa solids or higher) stored correctly in an airtight container in a cool, dark pantry can easily last 12 months or more. Milk and white chocolate, even high quality, have a shorter optimal storage life, perhaps around 6-9 months, because of the milk solids. Always check the "best by" date on the original packaging as a guideline, but proper storage after melting is key to maximizing that potential shelf life.
Preventing Condensation During Storage
Condensation is the enemy of stored chocolate, particularly sugar bloom. The best way to prevent it is to avoid significant temperature fluctuations. Store your chocolate in a location with a stable temperature, away from heat sources or drafts. If you must refrigerate or freeze, ensure the container is truly airtight and allow it to come to temperature very slowly when thawing, as described in the freezing section.
Using a piece of plastic wrap pressed directly onto the surface of the melted chocolate before sealing the container creates an extra barrier against any moisture that might enter the container or condense on the lid. This simple step is a highly effective way to help maintain the chocolate's texture and prevent sugar bloom, ensuring your stored melted chocolate remains smooth and usable.
Re-melting Stored Chocolate for Optimal Results
When it's time to use your stored melted chocolate, re-melting it carefully is essential to restore its liquid consistency without causing issues like seizing or burning. The best methods for re-melting stored chocolate are gentle heat methods:
- Double Boiler: Place the chocolate in a heatproof bowl set over a pot of simmering water (ensure the bottom of the bowl doesn't touch the water). Stir gently until melted and smooth.
- Microwave (Low Power): Place chocolate in a microwave-safe bowl. Heat in 30-second intervals on 50% power, stirring well after each interval, until just melted and smooth. This requires vigilance to avoid burning.
Avoid high heat or direct heat, which can scorch the chocolate. If the chocolate has bloomed or is slightly grainy, gentle re-melting is usually sufficient to make it smooth again for most baking purposes.
Utilizing Stored Melted Chocolate: Baking Ideas and Inspiration
Incorporating Leftover Melted Chocolate into Brownies
Leftover melted chocolate is perfect for adding extra richness to your favorite brownie recipe. If you have a significant amount (say, 1/4 cup or more), you can often incorporate it directly into the batter along with other wet ingredients. For instance, if a recipe calls for melted butter and cocoa powder, you might slightly reduce the butter and cocoa and add the stored melted chocolate for a deeper flavor and fudgier texture.
Alternatively, if you only have a small amount, you can gently re-melt it and swirl it into the brownie batter just before baking for a marbled effect. This adds pockets of intense chocolate flavor throughout the brownies. Approximately 2-4 tablespoons of re-melted stored chocolate is enough to create beautiful swirls in an 8x8 inch pan of brownies.
Using Stored Melted Chocolate for Ganache and Frosting
Stored melted chocolate is ideal for making quick ganache or adding to buttercream frostings. To make a simple ganache, gently re-melt the stored chocolate and whisk it into warm cream. A typical ratio is equal parts chocolate and cream by weight for a pourable ganache, or two parts chocolate to one part cream for a thicker frosting consistency.
For frostings, re-melted stored chocolate can be beaten into buttercream or cream cheese frosting for a richer, chocolatey flavor. Start by incorporating a few tablespoons of melted, slightly cooled chocolate and add more to taste and desired color. This is a fantastic way to use up smaller quantities of leftover chocolate and elevate a basic frosting.
Drizzling Re-melted Chocolate over Desserts
One of the simplest and most satisfying ways to use stored melted chocolate is for drizzling. Gently re-melt the stored chocolate using one of the recommended methods. If it seems a bit thick for drizzling, you can thin it slightly with a tiny amount of neutral oil or melted shortening (a teaspoon per cup of chocolate should be sufficient, stir well).
Use a spoon, fork, or piping bag with a fine tip to drizzle the re-melted chocolate over cookies, cakes, cupcakes, ice cream, or fruit. This adds a professional touch and an extra layer of deliciousness to any dessert. Leftover melted chocolate saved using the best way to store melted chocolate methods ensures you always have this easy garnish on hand.
Conclusion: Mastering the Art of Storing Melted Chocolate for Baking Success
Learning how to store melted chocolate properly is a simple yet valuable technique for any home baker. By understanding the sensitivities of chocolate to heat, air, and moisture, and following a few key steps – cooling slightly, using airtight containers, sealing well, and choosing a cool, dark storage location – you can preserve the quality of your leftover chocolate for future use.
Whether you choose pantry storage for shorter terms or careful freezing for longer periods, the effort put into proper storage pays off by reducing waste and ensuring you have delicious, high-quality chocolate ready for your next baking project. From enriching brownie batters to creating smooth ganaches or elegant drizzles, your stored melted chocolate is a versatile ingredient waiting to be transformed. Master the art of storing melted chocolate with BakeWithEase.com and elevate your baking adventures!
Frequently Asked Questions
How long can I store melted chocolate after melting it?
Melted chocolate can typically be stored for up to two weeks if stored properly. It's crucial to prevent moisture contamination and maintain a consistent temperature.
What's the best container for storing melted chocolate?
An airtight container is essential to prevent bloom and moisture absorption. Glass or plastic containers with a tight-fitting lid are ideal for long-term storage.
How should I prepare melted chocolate for storage?
Allow the melted chocolate to cool slightly but not harden completely. Then, pour it into your container and cover the surface with plastic wrap pressed directly against the chocolate to prevent air contact.
What temperature should I store melted chocolate at?
Store your container of melted chocolate in a cool, dry place away from direct sunlight or heat sources. A temperature between 60-70°F (15-21°C) is generally recommended to preserve its texture and flavor.
Can I re-melt stored melted chocolate?
Yes, you can remelt it! Use a double boiler or microwave at low power, stirring frequently, until smooth. Be careful not to overheat it, as this can affect its texture.
Final Reflection: The Enduring Allure of Perfectly Stored Chocolate
The art of preserving melted chocolate isn't merely about avoiding a congealed mess; it's about safeguarding a moment of deliciousness, a testament to culinary precision. In a world obsessed with instant gratification, the ability to extend the life of this delicate treat speaks to a deeper appreciation for both the craft and the enjoyment of fine chocolate. This careful preservation allows us to savor the experience longer, transforming a fleeting indulgence into a more mindful and prolonged pleasure.
The impact of properly storing melted chocolate extends beyond the individual experience. It's a reflection of our broader relationship with food – a respect for ingredients and a desire to minimize waste. Waste not, want not,
an old adage rings true here. By mastering the techniques outlined in this article, we not only prevent the loss of delicious chocolate but also cultivate a more sustainable approach to our culinary practices. This mindful approach extends to other perishable goods, encouraging a greater appreciation for resourcefulness and minimizing unnecessary consumption.
Now, consider your own chocolate-related experiences. Have you ever been frustrated by hardened, unusable chocolate? Remember that feeling of disappointment. This article provides you with the knowledge to prevent that frustration in the future. Take the time to implement these simple yet effective storage methods. Embrace the power of preservation, and elevate your chocolate experience from a fleeting moment to a prolonged journey of deliciousness. The next time you melt that bar, remember the knowledge you've gained, and savor the sweet reward of perfectly stored chocolate.
Unlock Your Chocolate's Potential: Save & Enjoy!
Thanks for taking the time to learn the best ways to store your precious melted chocolate! You've now got the knowledge to prevent those heartbreaking chocolate disasters. Ready to put your new skills to the test?
- Prioritize Proper Storage: Immediately transfer your melted chocolate to an airtight container, ensuring it's completely cooled before sealing. This is the key to maintaining its texture and flavor!
- Experiment with different storage methods: Try using silicone molds for single-serving portions or see if the freezer method truly works for your baking style. Share your results with us!
- Inspire Others: Share this article with fellow baking enthusiasts who might be struggling with leftover chocolate. Let's build a community of chocolate-saving superheroes!
What's your go-to method for storing leftover melted chocolate – and what delicious treat will you be making next?