
How to Fix Seized Chocolate: Rescue Your Bake Instantly

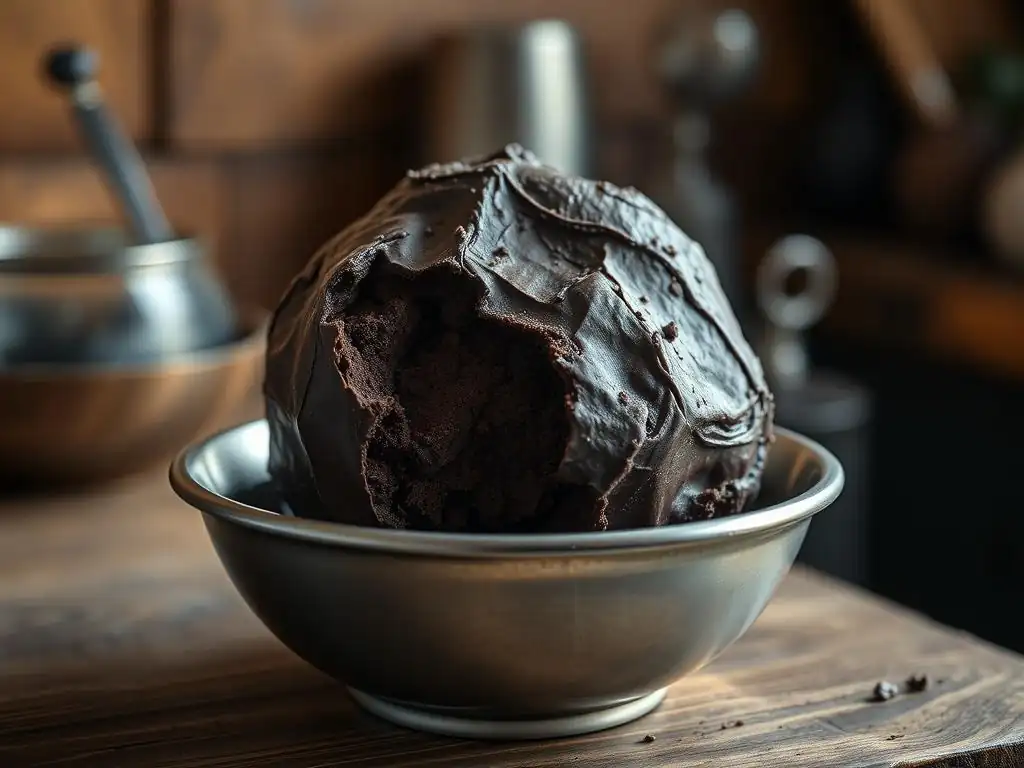
Welcome to BakeWithEase, your trusted guide in the delightful world of baking! Ever faced the frustration of seized chocolate ruining your masterpiece? Don't despair! This article dives deep into the common problem of seized chocolate and offers quick, effective solutions to rescue your bake. Curious about how to prevent this baking mishap from happening again? Read on to unlock the secrets to perfectly melted chocolate, every time.
- Understanding Chocolate Seizing in Baking
- The Ultimate Guide to Fixing Seized Chocolate
- Step-by-Step: How to Fix Seized Chocolate Using Water
- Alternative Methods to Fix Seized Chocolate
- Preventing Chocolate Seizing: Best Practices for Baking
- Rescuing Different Types of Seized Chocolate
- From Seized to Sensational: Using Rescued Chocolate
- Common Mistakes to Avoid When Fixing Seized Chocolate
- Advanced Techniques for Chocolate Tempering and Handling
-
Frequently Asked Questions
- What exactly does it mean for chocolate to "seize" when baking?
- Why does water cause chocolate to seize, and is it always water?
- What's the fastest way to try and fix seized chocolate during baking?
- Can all types of seized chocolate be saved, or are some hopeless?
- Besides water, what other mistakes might lead to seized chocolate when baking?
- Final Reflection: The Sweet Victory of Rescued Chocolate
- Rediscover Perfectly Smooth Chocolate!
Understanding Chocolate Seizing in Baking
Chocolate seizing is a baker's nightmare, turning smooth, melty goodness into a grainy, clumpy mess in seconds. It's a common frustration, especially when working with delicate ingredients like chocolate. Understanding why this happens is the first step to preventing it and, more importantly, knowing how to fix seized chocolate baking mishaps when they occur. It's not just about temperature; moisture plays a critical role in this unwelcome transformation.
When chocolate seizes, its structure changes dramatically. The cocoa solids, sugar, and fat that are normally dispersed evenly within the chocolate clump together. This clumping prevents the fat (cocoa butter) from coating the particles, resulting in a rough, grainy texture that is unusable for most smooth applications like dipping, ganache, or glazes. Learning how to fix seized chocolate baking disasters can save your ingredients and your recipe.
What Causes Chocolate to Seize?
The primary culprit behind chocolate seizing is the introduction of even a tiny amount of water or steam while it is melting. Chocolate is a fat-based substance, and fat and water don't mix. When water comes into contact with melting chocolate, it doesn't disperse evenly.
Instead, it causes the sugar and cocoa particles to stick together, forming clumps. Think of it like adding a single drop of water to a bowl of flour – it creates sticky lumps rather than a smooth mixture. This is why using a lid on a double boiler or getting a splash of water into your bowl is so risky.
Another less common but still significant cause is overheating. While water is the main trigger, scorching chocolate can also lead to a similar clumpy texture, though it's often accompanied by a burnt smell. Overheating breaks down the cocoa butter's structure, causing the solids to separate and clump. Maintaining a gentle, consistent heat source is crucial when melting chocolate. Using a double boiler or melting chocolate slowly in a microwave on low power with frequent stirring helps prevent both overheating and accidental moisture exposure, key steps in avoiding the need to fix seized chocolate baking.
Identifying Seized Chocolate: Signs and Symptoms
Identifying seized chocolate is usually quite obvious. The most prominent sign is the texture. Instead of a smooth, pourable liquid, the chocolate will become thick, lumpy, and grainy, almost like wet sand or cottage cheese. It loses its glossy sheen and looks dull and unappealing. This change can happen very rapidly, often within seconds of moisture contact.
Along with the visual and textural changes, seized chocolate will become much harder to work with. If you try to stir it, it will feel stiff and resistant, rather than flowing smoothly. While the taste might not be immediately affected (unless it's also burnt), the texture makes it unsuitable for applications requiring a smooth finish, such as dipping strawberries, making truffles, or creating a smooth ganache. Recognizing these signs quickly is essential so you can attempt to fix seized chocolate baking before it cools and hardens completely in its seized state.
The Ultimate Guide to Fixing Seized Chocolate
Don't despair if your chocolate seizes! While it looks like a lost cause, seized chocolate can often be rescued and brought back to a usable consistency. The key is to introduce more liquid, but in a specific way and with the right type of liquid, to help disperse the clumps and smooth out the mixture. This guide covers the most effective methods to fix seized chocolate baking issues.
The process involves carefully adding a small amount of liquid (like hot water, oil, or cream) and stirring vigorously. The goal is to add enough liquid to create a smooth emulsion again, where the cocoa solids and sugar are suspended evenly in the fat and the added liquid. The amount of liquid needed depends on the amount of chocolate and how severely it has seized, but it's usually a small percentage of the chocolate's weight. Mastering this technique allows you to salvage your ingredients and continue with your baking project.
Key Ingredients and Tools for Rescuing Seized Chocolate
To successfully fix seized chocolate baking, you'll need a few basic ingredients and tools readily available in most kitchens. The most common rescue agent is hot water. You'll need a small amount of very hot, almost boiling, water. Alternatively, you can use a neutral-flavored oil like vegetable oil, canola oil, or melted shortening. For a richer fix, especially if you were planning to make ganache, hot milk or cream can also work.
The essential tools include the bowl containing the seized chocolate, a heat source (like a double boiler setup or microwave), and a sturdy whisk or rubber spatula for vigorous stirring. A measuring spoon for the rescue liquid is also helpful to avoid adding too much at once. Having these items ready allows you to act quickly when you notice the chocolate seizing, increasing your chances of a successful rescue operation and helping you fix seized chocolate baking efficiently.
Step-by-Step: How to Fix Seized Chocolate Using Water
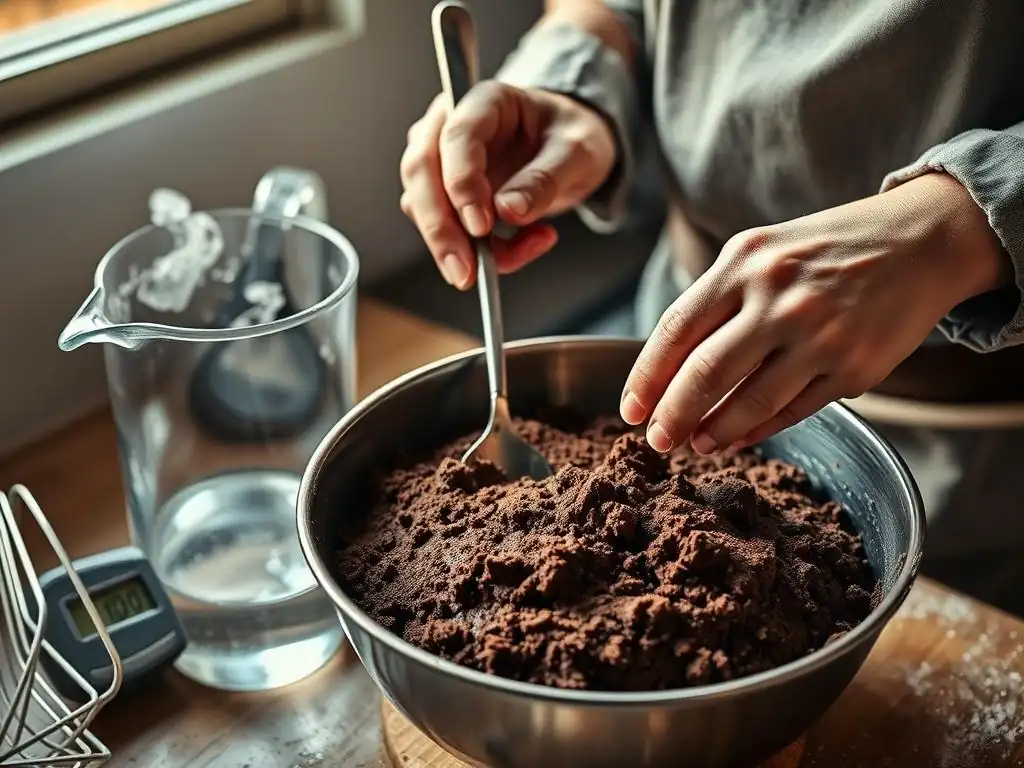
The water method is one of the most common and effective ways to fix seized chocolate baking. It works by adding enough hot water to create a liquid emulsion, smoothing out the clumps. While it seems counterintuitive given that water caused the seizing, adding a sufficient amount of hot water helps disperse the particles evenly throughout the mixture.
It's crucial to use hot water, not cold. Cold water would cool the chocolate, making it harder to mix and potentially worsening the problem. The heat from the water helps keep the chocolate fluid and aids in the emulsification process. This method is particularly useful for fixing seized dark chocolate, as it has a higher percentage of cocoa solids and less fat than milk or white chocolate.
The Water Method: A Detailed Guide
To use the water method to fix seized chocolate baking, first, ensure your seized chocolate is still warm and somewhat melted. If it has cooled and hardened, gently reheat it using a double boiler or very low microwave power until it's pliable but not fully melted again. Next, heat a small amount of water until it's very hot, almost boiling. Start with about 1 teaspoon of hot water for every 2 ounces (approx. 50-60 grams) of seized chocolate.
Add the hot water directly to the seized chocolate. Immediately begin stirring vigorously with a whisk or spatula. At first, it might look like it's getting worse, becoming even thicker and lumpier. Keep stirring! As you continue to mix, the chocolate should start to loosen and become smoother. The heat from the water, combined with the mechanical action of stirring, helps to break up the clumps and create a new, albeit thinner, emulsion. This process typically takes 30 seconds to a couple of minutes of constant stirring.
Troubleshooting the Water Method: When to Add More Water
Sometimes, adding the initial amount of water isn't enough to fully fix seized chocolate baking. If, after vigorous stirring for a minute or two, the chocolate is still grainy and lumpy, it means you need to add more liquid. Add another half teaspoon or teaspoon of hot water, depending on the quantity of chocolate, and continue stirring vigorously. You are aiming for a smooth, pourable consistency.
Be cautious not to add too much water at once. It's better to add small amounts incrementally and stir well after each addition until you achieve the desired texture. Adding too much water can make the chocolate too thin or even cause it to seize again if the balance of fat, solids, and liquid is thrown off completely. The goal is to add just enough to smooth it out. Once it reaches a smooth, glossy consistency, stop adding water. The rescued chocolate will be thinner than properly melted chocolate, which is important to consider for your recipe application.
Alternative Methods to Fix Seized Chocolate
While the water method is popular, other liquids can be used to fix seized chocolate baking, each offering slightly different results and being more suitable depending on the type of chocolate and the intended use. Using fat-based liquids like oil or shortening can be particularly effective as they are more compatible with the cocoa butter in the chocolate.
These alternative methods provide flexibility and can sometimes yield a smoother result than the water method, especially for milk or white chocolate which have higher fat content. Understanding these options gives you more tools in your baking arsenal to handle unexpected seizing.
Adding Shortening or Oil: A Quick Fix for Seized Chocolate
Adding a neutral-flavored fat like melted shortening or vegetable oil is another effective way to fix seized chocolate baking. This method works by increasing the overall fat content of the mixture, which helps to coat the sugar and cocoa particles and smooth out the texture. Use about 1 teaspoon of melted shortening or oil for every 2 ounces (approx. 50-60 grams) of seized chocolate as a starting point.
Gently warm the seized chocolate if it has cooled. Add the melted shortening or oil and stir continuously and vigorously with a whisk or spatula. The chocolate should gradually loosen and become smooth and glossy. This method tends to make the chocolate very fluid, similar to candy melts, which can be great for dipping or coating. For example, if you were melting chocolate chips for dipping pretzels and they seized, adding a bit of vegetable oil can quickly restore a dippable consistency.
Using Milk or Cream: Restoring Smoothness to Chocolate
If your seized chocolate was intended for ganache or a sauce, using hot milk or cream to fix seized chocolate baking is an excellent option. This method not only rescues the texture but also adds richness and flavor, aligning well with the recipe's original intent. Heat the milk or cream until it's hot but not boiling. Use a ratio of about 1 tablespoon of hot milk or cream for every 2 ounces (approx. 50-60 grams) of seized chocolate.
Add the hot milk or cream to the seized chocolate and stir vigorously. The mixture might look broken or oily at first, but continue stirring. As you mix, the fat from the dairy and the cocoa butter will emulsify with the liquid, resulting in a smooth, creamy consistency. This method is particularly effective for milk and white chocolate, which contain dairy solids that blend well with added milk or cream. For instance, if your white chocolate seized while making a pastry cream base, incorporating hot milk can often save the batch.
The Double Boiler Technique: Preventing Seizing in the First Place
While primarily a melting method, the double boiler is crucial for preventing chocolate seizing, thus avoiding the need to fix seized chocolate baking. A double boiler involves placing a heatproof bowl containing the chocolate over a pot of simmering water. The key is that the bottom of the bowl should not touch the water, and the water should only be simmering gently, not boiling furiously.
This setup provides gentle, indirect heat, allowing the chocolate to melt slowly and evenly without scorching. More importantly, it prevents steam from getting into the chocolate. Use a bowl that fits snugly over the pot to create a seal, minimizing the risk of condensation or steam rising into the chocolate. Always dry the bottom of the bowl thoroughly before placing it over the pot. This careful method is the best defense against seizing and keeps your chocolate smooth and ready for your baking projects.
Preventing Chocolate Seizing: Best Practices for Baking
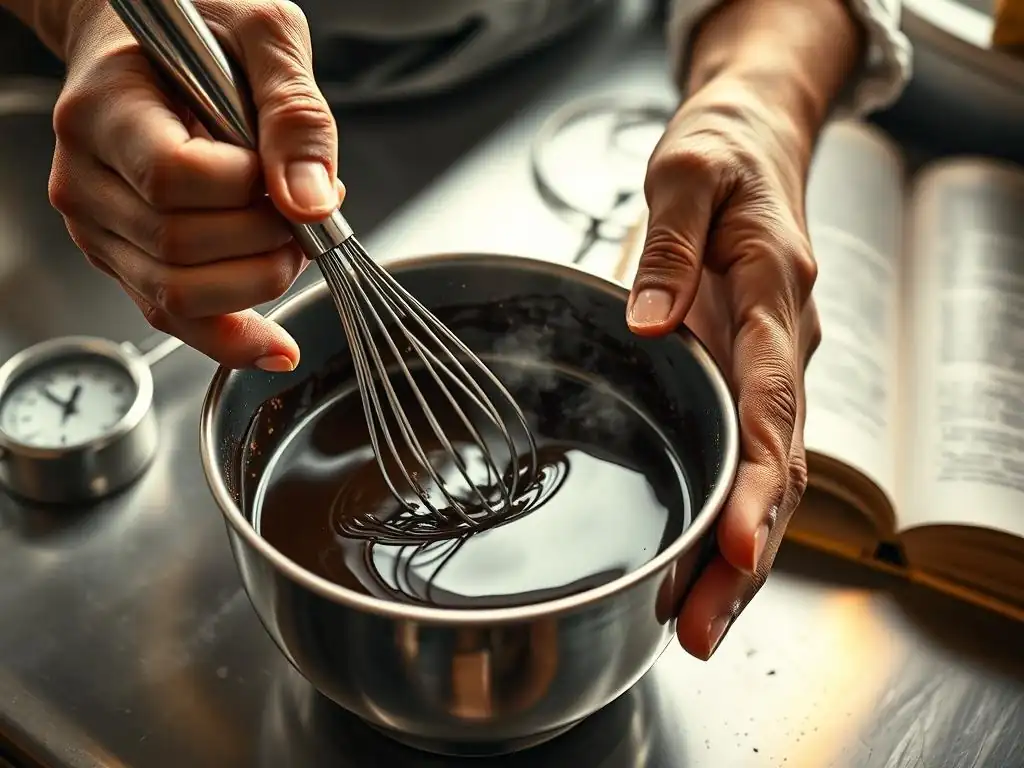
Prevention is always better than cure, especially when it comes to something as finicky as melting chocolate. By adopting best practices, you can significantly reduce the likelihood of ever needing to fix seized chocolate baking problems. Paying attention to details like temperature, moisture, and the type of chocolate you use can make all the difference between a smooth, successful melt and a clumpy disaster.
These practices are simple but essential. They involve mindful handling of the chocolate and your equipment. Implementing these tips will not only prevent seizing but also ensure your melted chocolate has the best possible texture and sheen for your baking creations.
Tips for Melting Chocolate Properly
Melting chocolate requires patience and gentle heat. Whether using a double boiler or microwave, the principle is the same: low heat and gradual melting. If using a double boiler, ensure the water is just simmering and the bowl doesn't touch the water. Stir frequently to distribute the heat evenly. For microwaving, use 30-second intervals on 50% power, stirring thoroughly after each interval. This prevents hot spots and scorching, common issues that can lead to needing to fix seized chocolate baking.
Always start with finely chopped chocolate or chocolate chips. Smaller pieces melt more evenly and quickly, reducing the time it's exposed to heat. Ensure all your equipment – bowls, spatulas, spoons – are completely dry. Even a single drop of water can trigger seizing. Avoid covering the melting chocolate, as condensation can form on the lid and drip back into the bowl. Following these simple steps drastically reduces the risk of seizing.
Choosing the Right Chocolate for Your Recipe
The type and quality of chocolate can impact its behavior when melting. Chocolate specifically designed for baking, like couverture or high-quality baking bars, often contains more cocoa butter, making it smoother and less prone to seizing than standard chocolate chips, which may contain stabilizers that affect melting properties. While you can still fix seized chocolate baking with chips, starting with better quality chocolate makes the process easier and the results smoother.
Different types of chocolate (dark, milk, white) have varying fat and sugar contents, which affects their melting points and susceptibility to seizing. White chocolate, with its higher sugar and milk solid content, is often considered the most delicate and prone to seizing. Understanding the properties of the chocolate you're using helps you adjust your melting technique accordingly and minimize the chances of encountering problems.
Controlling Temperature and Moisture: Crucial Factors
Strict control over temperature and moisture is paramount to prevent chocolate seizing. Never melt chocolate over direct high heat; this almost guarantees scorching and seizing. Use indirect heat methods like a double boiler or microwave on low power. Monitor the temperature closely; chocolate melts at relatively low temperatures (around 90-115°F or 32-46°C, depending on the type). Overheating breaks down the fat structure.
Keeping all moisture away from the melting chocolate is non-negotiable. This means using completely dry bowls and utensils. Avoid melting chocolate on a humid day if possible, or take extra precautions to prevent condensation. Even steam from a nearby kettle or dishwasher can be enough to cause problems. Being meticulous about keeping your chocolate dry during the melting process is the most critical step in avoiding the need to fix seized chocolate baking.
Rescuing Different Types of Seized Chocolate
While the general principles for fixing seized chocolate apply across the board, there are slight nuances when dealing with dark, milk, and white chocolate due to their differing compositions. Understanding these differences can help you tailor your rescue method for the best results and effectively fix seized chocolate baking regardless of the type.
Each type of chocolate has a different ratio of cocoa solids, cocoa butter, sugar, and milk solids. These varying ratios influence how the chocolate melts, how it seizes, and how it responds to rescue attempts with different liquids.
Fixing Seized Dark Chocolate: Specific Considerations
Dark chocolate typically has a higher percentage of cocoa solids and cocoa butter and less sugar and no milk solids compared to milk or white chocolate. This composition generally makes it slightly less prone to seizing than its counterparts, but it can still happen, usually due to water exposure or overheating. When you need to fix seized chocolate baking with dark chocolate, the hot water method is often very effective.
Because dark chocolate has a higher cocoa butter content, it can usually handle the addition of a small amount of hot water quite well, as the fat helps emulsify the mixture. Start with the recommended ratio (1 tsp hot water per 2 oz chocolate) and add more incrementally if needed. The rescued dark chocolate will be thinner but should regain its smooth texture. It's important to stir vigorously to ensure the water is fully incorporated.
How to Fix Seized Milk Chocolate: Adjusting the Technique
Milk chocolate contains milk solids in addition to cocoa solids, cocoa butter, and sugar. The presence of milk solids makes it slightly more susceptible to seizing than dark chocolate. When you need to fix seized chocolate baking with milk chocolate, you can use either the hot water method or the hot milk/cream method.
Using hot milk or cream can be particularly effective for milk chocolate as it complements the existing dairy components. Start with a small amount of hot milk or cream and stir vigorously. This method can sometimes yield a richer, creamier texture in the rescued chocolate compared to using water. If using the water method, be sure the water is very hot to help integrate with the milk solids and fat effectively.
Repairing Seized White Chocolate: A Delicate Approach
White chocolate is often the most challenging type to work with and the most prone to seizing. It contains cocoa butter, sugar, and milk solids but no cocoa solids. Its high sugar and milk solid content make it very sensitive to heat and moisture. To fix seized chocolate baking with white chocolate, a gentle approach is necessary.
Adding hot milk or cream is often the preferred method for white chocolate, as it aligns with its composition and helps create a smooth emulsion. Use very hot (but not boiling) milk or cream and add it in small increments, stirring constantly and gently. White chocolate can easily scorch, so ensure it's not exposed to high heat during the rescue attempt. The key is patience and gentle, continuous stirring until the texture smooths out.
From Seized to Sensational: Using Rescued Chocolate
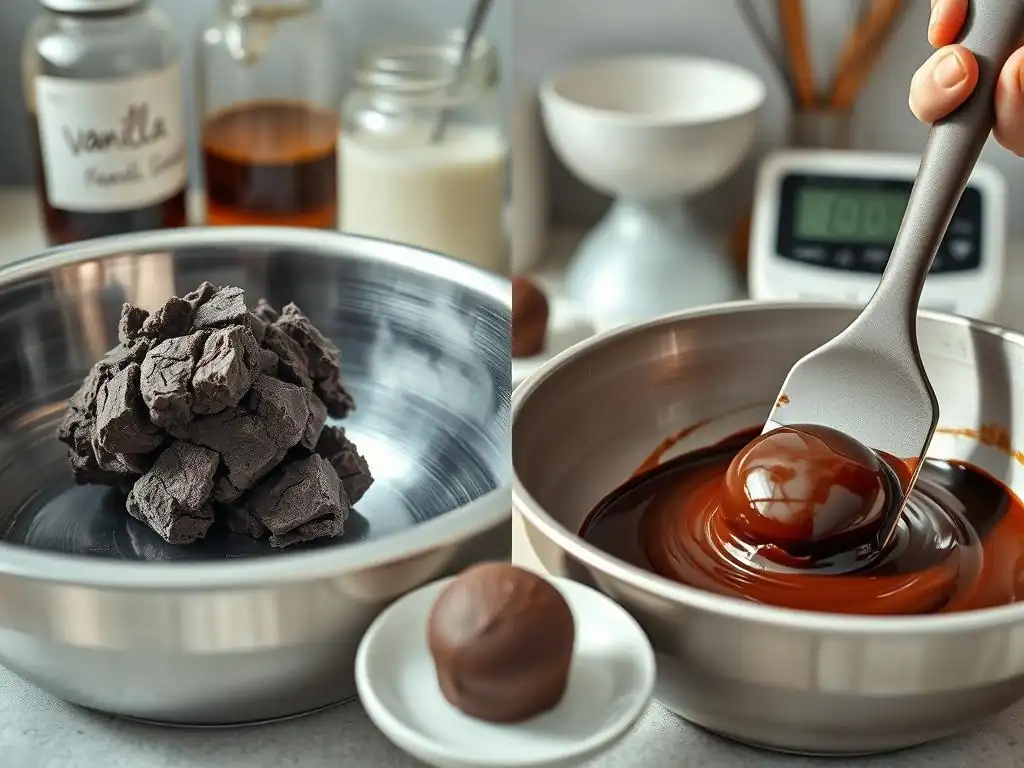
Successfully rescuing seized chocolate is a triumph! While its texture will be thinner than originally melted chocolate, it is still perfectly usable in many baking applications. Don't let the initial setback discourage you; your rescued chocolate can still contribute delicious flavor to your finished goods. Knowing how to effectively use this recovered ingredient is the final step in turning a potential failure into a success.
The slightly altered consistency means it might not be ideal for precise tempering or delicate dipping where a specific viscosity is needed, but it works wonderfully in many common baking recipes.
Incorporating Fixed Chocolate into Your Baking Recipes
Rescued chocolate, especially that fixed with water or oil, is ideal for recipes where the chocolate is incorporated into a batter or mixture, such as cakes, brownies, muffins, or cookies. Its thinner consistency allows it to blend seamlessly into wet ingredients. For example, if you were melting chocolate to fold into brownie batter and it seized, fixing it with a bit of oil or water means you can still add that rich chocolate flavor and moisture to your brownies without the grainy texture.
You can also use rescued chocolate (fixed with any method) in frostings or sauces where a smooth, pourable consistency is desired. Simply ensure it's fully incorporated into the other ingredients. The flavor of the chocolate remains intact, providing the delicious taste your recipe calls for. This allows you to avoid waste and continue with your baking project using the salvaged ingredients.
Making Chocolate Ganache with Rescued Chocolate
If you used hot milk or cream to fix seized chocolate baking, you have essentially started the process of making a ganache. You can continue by adding more hot cream until you reach your desired ganache consistency. The rescued chocolate, now smoothed out with the dairy, will emulsify beautifully with additional hot cream to form a stable, glossy ganache.
Even if you fixed the chocolate with water or oil, you might still be able to make a type of ganache or chocolate sauce, though the texture might be slightly different. For example, you could combine the water-fixed chocolate with hot cream off the heat and whisk vigorously to form a sauce-like consistency, perfect for pouring over ice cream or cakes. Experimentation can lead to delicious results, proving that seized chocolate is far from unusable.
Common Mistakes to Avoid When Fixing Seized Chocolate
Attempting to fix seized chocolate baking can introduce new pitfalls if you're not careful. Knowing what mistakes to avoid is just as important as knowing the rescue techniques themselves. Rushing the process, adding too much liquid, or starting with poor-quality chocolate can all hinder your efforts to restore smoothness.
Being mindful during the rescue process will increase your chances of success and prevent you from making the situation worse. Patience and careful observation are key.
Overheating: A Recipe for Disaster
Just as overheating can cause chocolate to seize in the first place, overheating it during the rescue process can make things worse. If you're reheating seized chocolate to attempt a fix, do so gently using a double boiler or very low microwave power. High heat can scorch the chocolate, giving it a burnt, bitter flavor and potentially making it impossible to fix seized chocolate baking issues related to texture.
Scorched chocolate cannot be rescued for flavor, even if you manage to smooth out the texture. The burnt taste is permanent. Maintain low, consistent heat and stir frequently to prevent the bottom or edges of the chocolate from getting too hot.
Adding Too Much Liquid: Finding the Right Balance
One of the most common mistakes when trying to fix seized chocolate baking is adding too much rescue liquid (water, oil, milk, or cream) all at once or adding too much in total. While you need enough liquid to break up the clumps and create a new emulsion, adding excessive amounts can make the chocolate too thin for your recipe or, paradoxically, cause it to seize again if the balance of ingredients is completely thrown off.
Add the rescue liquid in small increments (e.g., a teaspoon at a time for water/oil or a tablespoon for milk/cream) and stir vigorously after each addition. Stop adding liquid as soon as the chocolate becomes smooth and glossy. It's easier to add more liquid if needed than to try and thicken chocolate that has become too thin.
Using Low-Quality Chocolate: Starting with the Right Ingredients
While it's possible to fix seized chocolate baking even with lower-quality chocolate like standard chocolate chips, the results may not be as smooth or stable as when starting with high-quality chocolate. Chocolate with less cocoa butter and more additives or stabilizers is often more difficult to melt smoothly and can be more resistant to rescue attempts.
Starting with good quality baking chocolate or couverture chocolate provides a better foundation. These chocolates contain a higher percentage of cocoa butter, which melts more smoothly and is more forgiving. While rescuing seized chocolate is a valuable skill, choosing better ingredients from the outset can help prevent the problem entirely and lead to superior results in your baking.
Advanced Techniques for Chocolate Tempering and Handling
Once you've mastered how to fix seized chocolate baking, you might wonder about using this rescued chocolate in more advanced applications, such as tempering or chocolate sculptures. While it's possible, the altered composition and texture of rescued chocolate can make these techniques more challenging.
Tempering is a precise process that relies on the specific crystal structure of cocoa butter. Rescued chocolate, with added liquid, has a different composition and may not temper correctly or produce the desired snap and shine. However, understanding the possibilities and limitations is key for ambitious bakers.
Tempering Chocolate After Rescuing It
Tempering chocolate involves melting it, cooling it to a specific temperature while agitating it (seeding or tabling methods), and then slightly reheating it to achieve stable cocoa butter crystals. This process gives chocolate its snap, shine, and prevents bloom. Successfully tempering rescued chocolate is difficult because the added liquid changes the fat-to-solid ratio and can interfere with crystal formation.
While some experienced chocolatiers might be able to temper chocolate rescued with pure fat (like cocoa butter or specific oils), it's generally not feasible or recommended for chocolate rescued with water, milk, or cream. The texture and composition are fundamentally altered. If your recipe requires tempered chocolate, it's usually best to start with a fresh batch rather than attempting to temper seized and rescued chocolate.
Using Rescued Chocolate in Chocolate Sculptures
Using rescued chocolate for intricate chocolate sculptures or detailed molds is also challenging. These applications require chocolate with specific viscosity, setting properties, and the ability to temper correctly for structural integrity and a smooth finish. Rescued chocolate, being thinner and having a different composition, may not set properly, hold its shape, or achieve the desired surface quality.
However, rescued chocolate can potentially be used in less demanding chocolate work, such as simple poured shapes or as an edible "glue" in constructing elements. For example, if you rescued dark chocolate with oil, it might be suitable for pouring into simple bark molds or using to adhere two chocolate pieces together. For detailed sculptural work or molds requiring a perfect finish and snap, it's always best to use properly tempered, un-seized chocolate. Knowing how to fix seized chocolate baking is a great skill, but recognizing its limitations in advanced applications is also important.
Frequently Asked Questions
What exactly does it mean for chocolate to "seize" when baking?
Seized chocolate means that it has become thick, grainy, and lumpy, making it unusable. This is typically due to the introduction of even a small amount of water during melting.
Why does water cause chocolate to seize, and is it always water?
Water causes the sugar particles in chocolate to dissolve and clump together, forming a thick paste. While water is the primary culprit, even excess humidity can contribute.
What's the fastest way to try and fix seized chocolate during baking?
The most common fix involves adding more liquid, like melted butter, shortening, or oil, one teaspoon at a time. This helps to re-emulsify the chocolate.
Can all types of seized chocolate be saved, or are some hopeless?
While adding liquid often works, severely seized chocolate – especially if a large amount of water was added – may be irreversible. Prevention is key.
Besides water, what other mistakes might lead to seized chocolate when baking?
Overheating chocolate in the microwave can also cause it to seize. It's best to melt chocolate in short intervals, stirring frequently, or using a double boiler.
Final Reflection: The Sweet Victory of Rescued Chocolate
The seemingly minor mishap of seized chocolate can derail even the most experienced baker, but understanding the why and the how transforms a frustrating setback into a moment of culinary triumph. This isn't just about saving a batch of brownies; it's about reclaiming control in the kitchen and embracing the unexpected. Knowing how to quickly and effectively fix seized chocolate empowers you to confidently navigate the challenges of baking and achieve consistently delicious results.
The impact of a perfectly smooth, glossy ganache or flawlessly melted chocolate is undeniable. It elevates a dessert from good to extraordinary, and the disappointment of a seized batch is palpable. The best things in life are worth fighting for, and a perfectly smooth chocolate is definitely one of them.
This isn't just a personal sentiment; it reflects the deep connection many bakers have with the artistry and precision of their craft. The ability to rescue seized chocolate is a testament to that dedication and a symbol of resilience in the face of baking's inevitable challenges.
So, the next time you face the dreaded clumps in your melted chocolate, remember the techniques discussed in this article. Don't let a little seized chocolate steal your joy! Take a deep breath, grab your whisk, and reclaim the deliciousness. You have the power to transform a potential disaster into a sweet victory, proving that even in the kitchen, perseverance and knowledge can lead to extraordinary results. Embrace the challenge, and enjoy the sweet reward.
Rediscover Perfectly Smooth Chocolate!
Thanks for taking the time to learn how to rescue your seized chocolate! We hope you now feel confident tackling even the trickiest baking mishaps. Ready to put your newfound skills to the test?
- Try the technique out immediately! Grab that seized chocolate and follow the steps again – you'll be amazed at how quickly you can get it back to a luscious, smooth consistency.
- Share your chocolate-saving success (or stories of past failures!) in the comments below. Let's build a community of bakers supporting each other.
- Consider experimenting with different types of chocolate and fats to see which method works best for you. What unexpected challenges will you conquer next?
What’s your go-to chocolate-saving tip, and what delicious treat will you be making next?