
Prepping Fresh Fruit for Baking Success

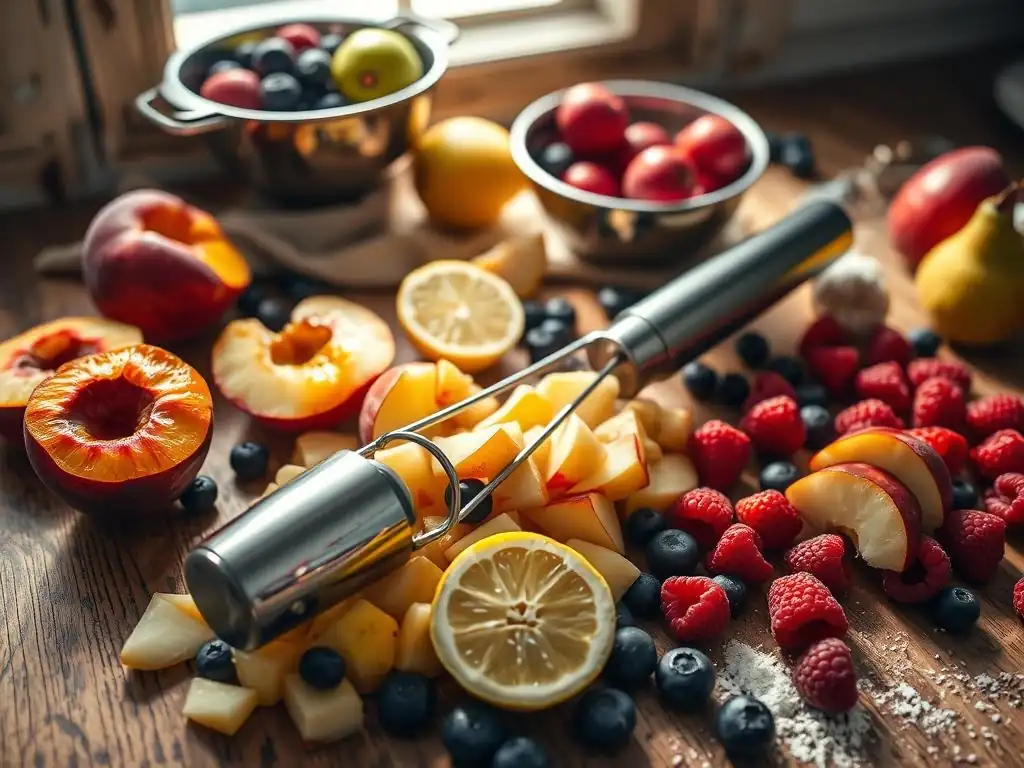
Welcome to BakeWithEase, your ultimate guide to baking bliss! Ever wondered how to unlock the full potential of fresh fruit in your baked creations? This week, we're diving deep into easy fruit prep baking techniques. Discover the secrets to preventing soggy bottoms, maximizing flavor, and achieving perfectly balanced fruit-filled treats. Intrigued? Keep reading to transform your fruit baking forever!
- Prepping Fresh Fruit for Baking Success: BakeWise's Guide
- Introduction to Fruit Prep for Baking
- Choosing Fresh Fruit for Your Baked Goods
- Essential Fruit Prep Techniques for Baking
- Preventing Fruit Sinking
- Enhancing Fruit Flavor
- Freezing Fruit for Baking
- Fruit Prep: Troubleshooting and Tips
- Conclusion: Mastering Fruit Preparation
-
Frequently Asked Questions
- How important is it to properly dry fruit before adding it to a cake batter?
- What's the best way to prevent fruit from sinking to the bottom of my baked goods?
- Can I use frozen fruit instead of fresh fruit in your "Easy Fruit Prep Baking" recipes?
- What are some fruits that work exceptionally well in "Easy Fruit Prep Baking"?
- Do I need to peel all fruits before adding them to my baking recipes?
- Final Reflection: The Sweetness of Simplicity in Baking
- Unlock Your Baking Potential: Fresh Fruit, Fresh Starts!
Prepping Fresh Fruit for Baking Success: BakeWise's Guide
Introduction to Fruit Prep for Baking
Why Proper Fruit Preparation is Key for Baking Success
Getting your fruit ready for baking might seem like a simple step, but it's incredibly important for the final outcome of your baked goods. Incorrectly prepped fruit can introduce too much moisture, leading to soggy crusts or dense cakes. For instance, a pie filling made with poorly drained berries might cause the bottom crust to become completely saturated and fail to crisp up, no matter how long it bakes. Mastering easy fruit prep baking techniques is fundamental to avoiding these common pitfalls and ensuring your efforts in the kitchen pay off with delicious results.
Beyond moisture control, proper preparation impacts texture and flavor distribution. Unevenly cut fruit can result in some pieces turning mushy while others remain too firm. Consider a blueberry muffin where large, whole blueberries are used alongside tiny ones; the large ones might sink or create pockets of excess moisture, while the small ones integrate differently. Taking the time for careful and easy fruit prep baking ensures that each piece of fruit contributes evenly to the texture and vibrant flavor throughout your cake, muffin, or pie.
BakeWise: Your guide to simple and successful baking with fresh ingredients.
At BakeWithEase, we believe that baking should be enjoyable and accessible for everyone, regardless of experience level. That's why we focus on simplifying techniques and providing clear, step-by-step guidance, especially when it comes to using fresh, seasonal ingredients like fruit. We aim to demystify processes like easy fruit prep baking, making what might seem daunting into a straightforward part of your baking routine. Our resources cover everything from selecting the perfect apple to mastering the art of coring and slicing with ease.
Our goal is to empower you to bake confidently with fresh fruit, transforming simple ingredients into spectacular desserts. Whether you're making your first apple pie or perfecting a complex fruit tart, understanding the basics of easy fruit prep baking is your foundation for success. We provide tips on everything from washing delicate berries without bruising them to peeling stone fruits efficiently, ensuring that your fresh fruit is ready to shine in any recipe you choose from our collection.
Choosing Fresh Fruit for Your Baked Goods
Selecting Ripe Fruit for Optimal Flavor
Choosing the right fruit at its peak ripeness is crucial for achieving the best flavor in your baked goods. Ripe fruit generally has a higher sugar content and more developed flavor compounds than unripe fruit. For example, a perfectly ripe peach will be fragrant, slightly soft to the touch, and intensely sweet, whereas an unripe peach will be hard, less aromatic, and potentially sour or bland. Using ripe fruit means you might even be able to slightly reduce added sugar in some recipes.
Evaluating ripeness varies by fruit type. For apples, firmness is key, but specific varieties like Honeycrisp or Gala offer a balance of sweetness and acidity ideal for baking when fully ripe. Berries should be plump, deeply colored, and easily detached from their stems; a pint of vibrant red strawberries or dark purple blueberries promises more flavor than pale, firm ones. Smell is also a great indicator; ripe fruit often has a sweet, inviting aroma. Learning these simple indicators makes easy fruit prep baking start with the best ingredients.
Understanding Fruit and Baking Properties
Different fruits behave distinctly when subjected to heat. Some, like apples and pears, tend to hold their shape well, softening but not disintegrating entirely. Others, such as most berries and stone fruits, release significant amounts of juice as they cook, which can affect the consistency of batters and fillings. Understanding these properties is essential for successful easy fruit prep baking and recipe selection.
Knowing how fruit reacts helps you choose the best fruit for a specific type of baked good.
Best Fruits for Pies
Fruits that maintain some structure and create a pleasant texture are ideal for pies. Apples (like Granny Smith, Honeycrisp, or Braeburn), cherries, and peaches are classic choices. Rhubarb, often paired with strawberries, also holds shape nicely.
Ideal Fruits for Cakes
Fruits that distribute well and don't add excessive moisture are great for cakes and muffins. Blueberries, raspberries (used carefully), diced apples, chopped bananas, and citrus zest are excellent. Fruits that might sink or make the cake soggy need specific prep, which highlights the importance of easy fruit prep baking techniques.
Fruits Requiring Caution in Baking
Some fruits can be challenging. Pineapple and kiwi contain enzymes that can prevent gelatin from setting in fillings or curds from thickening. While baking denatures these enzymes, their high moisture and acidity still require careful handling. Very soft fruits like mango or papaya can turn mushy unless diced and added carefully. Understanding these nuances is part of mastering easy fruit prep baking.
Essential Fruit Prep Techniques for Baking
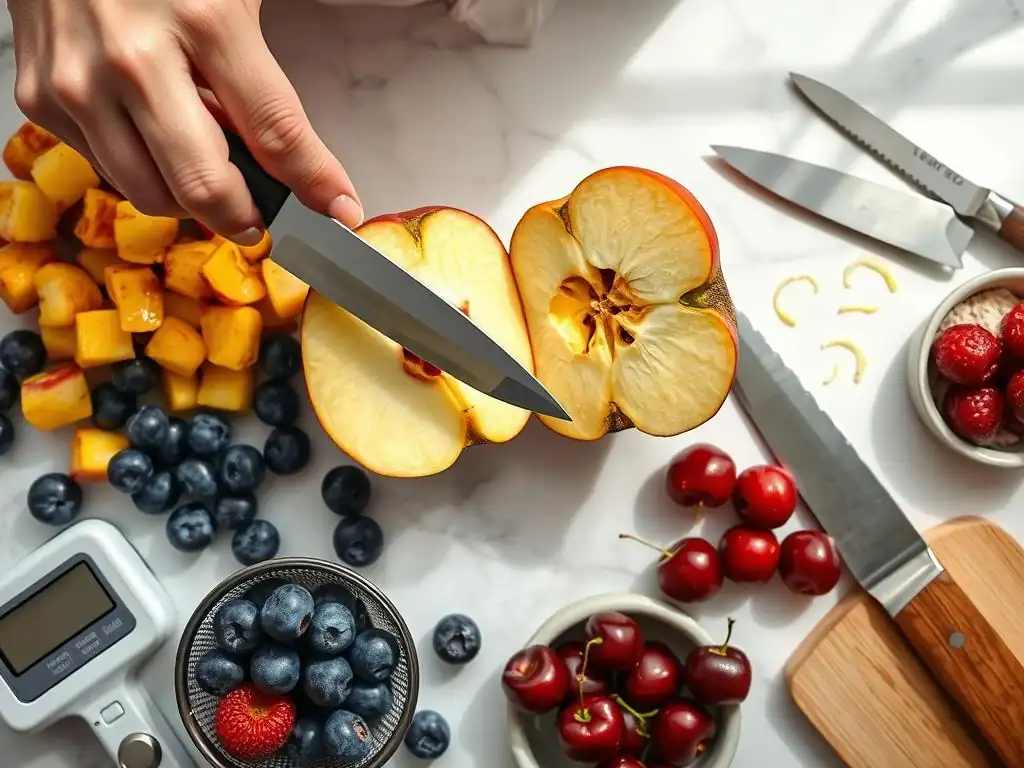
Washing and Drying Fruit for Baking
Washing fruit is a non-negotiable first step to remove dirt, pesticides, and potential bacteria. A gentle rinse under cool running water is usually sufficient for most fruits. For berries or fruits with textured skins, a quick soak in a bowl of water and then rinsing can help dislodge grit. Avoid letting delicate berries sit in water for too long, as they can absorb excess moisture and become waterlogged, which is detrimental to easy fruit prep baking.
Equally important as washing is thoroughly drying the fruit. Excess surface moisture can steam the fruit during baking or, worse, make your batter or dough too wet, leading to a heavy texture or soggy spots. After rinsing, spread fruit like berries or cherries on paper towels to air dry, or gently pat larger fruits like apples and pears dry with a clean towel. For small fruits like blueberries, a salad spinner lined with paper towels can be surprisingly effective for quick drying, streamlining your easy fruit prep baking process.
Peeling and Slicing Techniques
Peeling is necessary for fruits with tough or undesirable skins, such as apples, pears, peaches, and mangoes, especially in pies and tarts where smooth textures are desired. While some recipes might call for leaving the skin on (like in apple muffins for added fiber and rustic charm), peeling is standard for many classic baked goods.
A sharp vegetable peeler or a small paring knife makes this task easier. For peaches, a quick blanch in boiling water for 30 seconds followed by an ice bath makes the skin incredibly easy to slip off, a handy trick for easy fruit prep baking.
Slicing technique depends on the fruit and the recipe. For pies, apples and pears are typically sliced about 1/4 inch thick to ensure they soften evenly without turning to complete mush. Berries, if large, might be halved or quartered. Stone fruits like peaches or plums are usually sliced or diced after pitting. Consistent sizing is key for even cooking and distribution throughout the bake, making slicing a vital part of effective and easy fruit prep baking.
Peeling Apples and Pears
Use a sharp vegetable peeler or a paring knife, starting from the stem end and working your way down in a spiral motion. For apples, peeling is often followed by coring. Pears can be peeled, halved, and cored.
Slicing Berries and Stone Fruits
Large strawberries can be hulled and sliced vertically or horizontally. Blueberries are usually left whole. Cherries are pitted before use. Peaches, plums, and apricots are typically halved, pitted, and then sliced or diced depending on the recipe's needs, finishing the easy fruit prep baking for these fruits.
Removing Seeds, Pits, and Cores
Seeds, pits, and cores are undesirable in baked goods for obvious reasons – they're hard, inedible, and can be a hazard. Removing them is a fundamental step in preparing fruits like apples, pears, cherries, peaches, plums, and apricots. While it adds a step to your easy fruit prep baking, it's essential for a pleasant eating experience.
Each fruit requires a specific approach for pit or core removal. Apples and pears need coring, usually done with a specialized tool or a paring knife. Cherries and olives require pitting, for which a cherry pitter is invaluable, capable of pitting dozens of cherries in minutes compared to the time-consuming knife method. Stone fruits like peaches and plums often have pits that can be twisted out after halving the fruit. Mastering these techniques streamlines your easy fruit prep baking.
Cherry Pitting Methods
The most efficient method is using a dedicated cherry pitter. Alternatively, you can use a sturdy straw or chopstick to push the pit through the stem end. This is much faster than trying to cut around each pit.
Apple Coring Techniques
A standard apple corer is pushed through the center of the apple from stem to blossom end. If you don't have one, you can quarter the apple and then use a paring knife to cut out the core section from each quarter.
Preventing Fruit Sinking
Fruit sinking to the bottom is a common problem in cakes and muffins, leading to uneven distribution and potentially soggy bottoms. This happens because the fruit is denser than the batter. Fortunately, there are simple techniques to prevent this, making your easy fruit prep baking even more effective.
Tossing Fruit with Flour
One of the most effective methods is to toss the prepared fruit (sliced, diced, or whole) with a small amount of flour before adding it to the batter. About 1 to 2 tablespoons of all-purpose flour per cup of fruit is a good starting point. The flour coats the fruit, helping it adhere to the batter and suspending it more evenly during baking. This simple step is a cornerstone of easy fruit prep baking for cakes and muffins.
The flour coating creates a slightly stickier surface on the fruit, which helps it cling to the surrounding batter as it rises. This prevents the fruit pieces from simply sinking under their own weight. This technique works particularly well for berries, diced apples, or chopped bananas in quick breads and cakes. It's a quick, easy fruit prep baking trick that yields significantly better results.
Adjusting Batter Consistency
Sometimes, a batter that is too thin contributes to fruit sinking. A slightly thicker batter provides more structure to hold the fruit in place. If a recipe yields a very runny batter, you might consider if it's appropriate for adding large pieces of fruit, or if the fruit should be added in a specific way.
While you shouldn't drastically alter a tested recipe, understanding how batter consistency affects fruit suspension is part of mastering easy fruit prep baking. For instance, a standard muffin batter is usually thick enough that fruit tossed in flour stays put relatively well. A very liquid cake batter, however, might struggle to support heavier fruits.
Layering Fruit Within Batter
Another strategy, especially useful for cakes or deeper bakes, is to layer the fruit rather than mixing it all into the batter at once. Pour half the batter into the pan, scatter half or more of the fruit over it, then add the remaining batter and top with the rest of the fruit.
This layering technique ensures that there is fruit distributed throughout the bake, not just concentrated at the bottom. It's particularly helpful for heavier fruits or when baking in deeper pans. This adds a step to easy fruit prep baking but guarantees better fruit distribution in the final product.
Enhancing Fruit Flavor
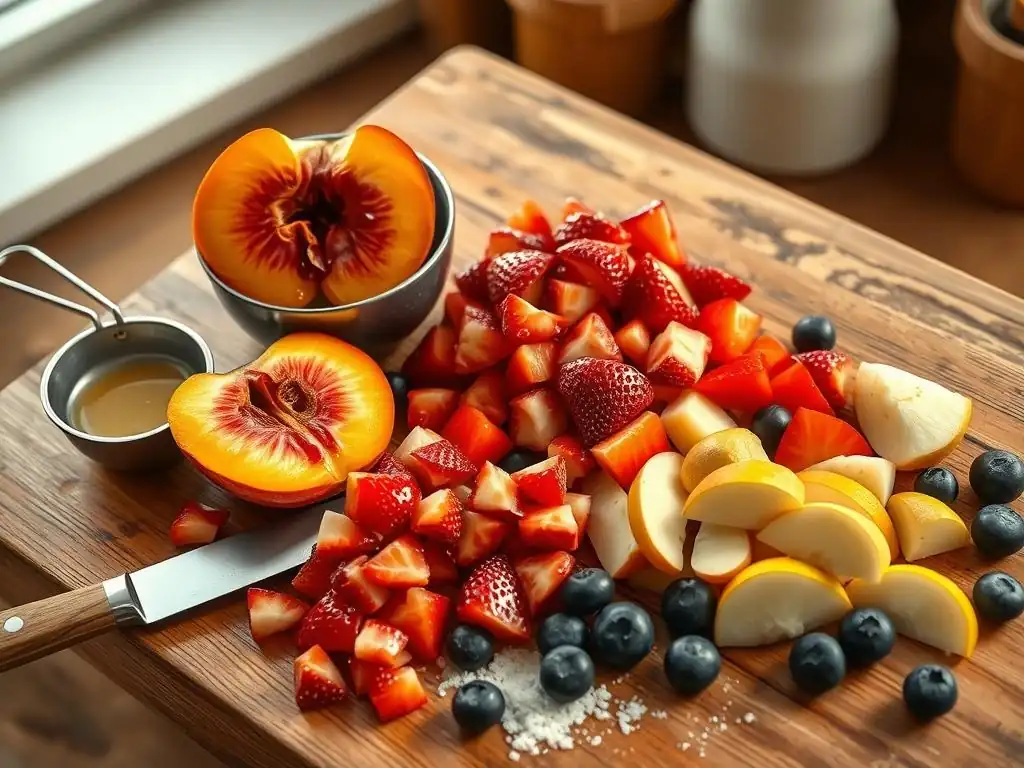
Simply adding fruit to a recipe is good, but taking a few extra steps to enhance its natural flavor can elevate your baked goods from good to outstanding. These techniques are simple additions to your easy fruit prep baking routine.
Macerating Fruit with Sugar and Spices
Macerating fruit involves tossing it with sugar (and sometimes spices like cinnamon, nutmeg, or ginger) and letting it sit. The sugar draws out the fruit's natural juices, creating a flavorful syrup. This is fantastic for berries or stone fruits for pies, crisps, or shortcakes. Letting sliced strawberries sit with a few tablespoons of sugar for 15-30 minutes produces a wonderful, syrupy sauce perfect for topping biscuits.
This process not only enhances sweetness but also tenderizes the fruit slightly and concentrates its flavor. The amount of sugar used depends on the fruit's natural sweetness and the recipe requirements, but typically ranges from 1/4 to 1/2 cup per pound of fruit. This simple step is a powerful technique in easy fruit prep baking for intensifying fruit taste.
Adding Citrus Zest or Juice
Citrus, like lemon, orange, or lime, pairs beautifully with many fruits. Adding a bit of zest or juice can brighten and lift the fruit's flavor, providing a counterpoint to its sweetness and preventing the final bake from tasting flat. Lemon juice is particularly good at enhancing the flavor of berries, apples, and stone fruits.
Just a teaspoon or two of fresh lemon juice tossed with apple slices for a pie can make a noticeable difference, balancing the sweetness and adding a subtle tang. Citrus zest, containing potent oils, adds intense aromatic notes. Incorporating citrus is an easy fruit prep baking tip that adds complexity to your desserts.
Using Extracts and Liqueurs
Flavor extracts and liqueurs can complement and deepen the fruit's natural taste. A splash of vanilla extract is a versatile addition to almost any fruit bake. Almond extract pairs wonderfully with cherries and stone fruits. Liqueurs like brandy with apples or rum with bananas add warmth and sophistication.
Use extracts sparingly, as they are potent; a little goes a long way, typically 1/4 to 1/2 teaspoon per batch of fruit filling. Liqueurs add both flavor and a bit of moisture, so consider how that might affect your recipe's liquid balance. Adding extracts or liqueurs is an advanced but still easy fruit prep baking technique for boosting flavor.
Freezing Fruit for Baking
Freezing is a fantastic way to preserve seasonal fruit for baking throughout the year. Properly frozen fruit retains much of its flavor and nutritional value, making easy fruit prep baking possible even when fresh options are out of season.
Best Practices for Freezing Fruit
To prevent fruit from clumping into a solid block, it's best to flash freeze it first. Spread prepared fruit (washed, dried, peeled, pitted, and sliced if necessary) in a single layer on a baking sheet lined with parchment paper. Place the sheet in the freezer until the fruit is solid, usually a few hours.
Once frozen solid, transfer the fruit to freezer bags or airtight containers. Remove as much air as possible to prevent freezer burn. Properly stored, most fruits can last 6-12 months in the freezer, ready for your next easy fruit prep baking project.
Thawing Frozen Fruit
Most recipes recommend using frozen fruit without thawing it completely, especially for pies, crisps, or crumbles. Adding fruit directly from the freezer helps it hold its shape better during baking. However, frozen fruit will release more juice than fresh fruit as it bakes.
If a recipe specifically calls for thawed fruit (like for a cake batter), thaw it in a bowl set over a sieve to catch the excess liquid. You may need to discard this liquid or reduce it on the stovetop to a syrup if the recipe requires. Understanding how to handle thawed fruit is part of effective easy fruit prep baking.
How Frozen Fruit Affects Baking
As mentioned, frozen fruit releases more liquid as it bakes. This extra moisture can make fillings runnier or batters wetter. For pies or crisps, you might need to increase the amount of thickener (like flour, cornstarch, or tapioca starch) used in the filling. An extra tablespoon or two of cornstarch per 4 cups of frozen fruit is a common adjustment.
Baking time may also need to be increased slightly to account for the frozen fruit lowering the temperature of the bake and the extra moisture needing to evaporate. Don't be surprised if a pie with frozen berries takes 10-15 minutes longer than one made with fresh. Adjusting for these factors is key to successful easy fruit prep baking with frozen produce.
Fruit Prep: Troubleshooting and Tips
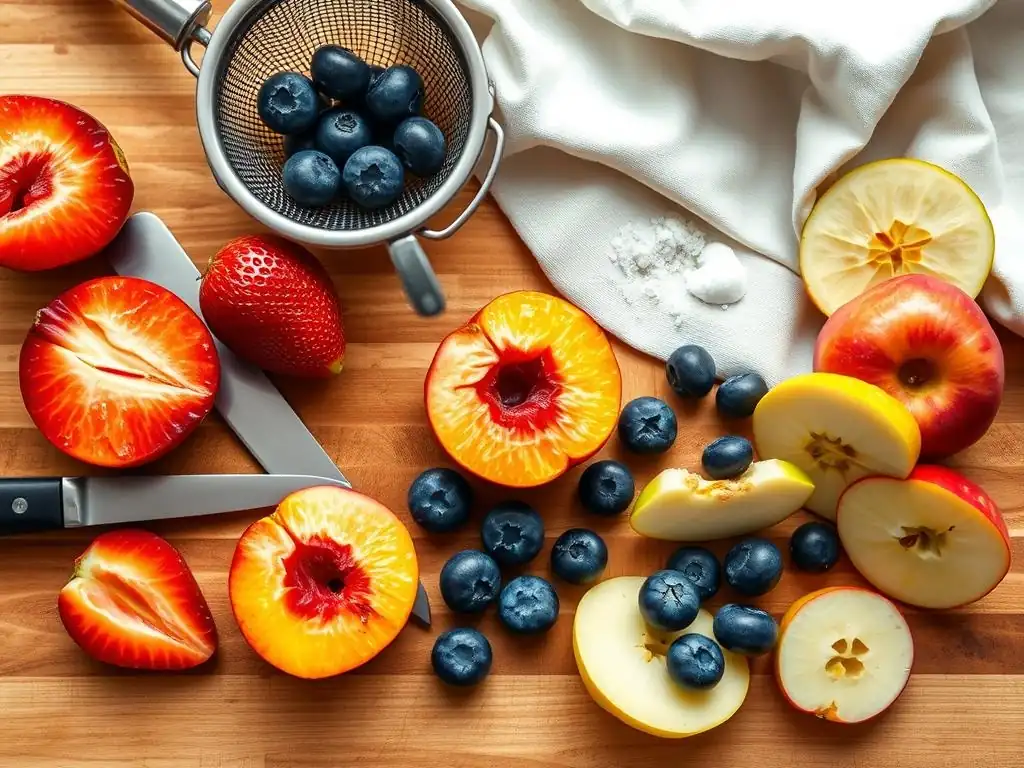
Even with careful planning, sometimes issues arise when baking with fresh fruit. Knowing how to troubleshoot common problems is part of mastering easy fruit prep baking.
Dealing with Excess Moisture
Excess moisture is perhaps the most frequent challenge. If your fruit is particularly juicy (like ripe berries or stone fruits), consider macerating it and then draining off some of the released juice before adding it to your recipe. For pie fillings, always use a thickener and potentially increase the amount slightly if using very juicy fruit or frozen fruit.
For cakes and muffins, ensuring the fruit is thoroughly dried after washing is critical. If you've added your fruit and the batter looks too wet, you might try adding a tablespoon or two of flour to the batter itself (if the recipe can handle a slight change in dry ingredients) or ensure you've used the flour-tossing method correctly. These adjustments are key aspects of easy fruit prep baking problem-solving.
Preventing Fruit Browning
Some fruits, like apples, pears, and bananas, oxidize and turn brown quickly once cut due to enzymatic reactions. This doesn't necessarily affect flavor or safety, but it's visually unappealing. To prevent browning during your easy fruit prep baking, toss cut fruit immediately with an acidic solution.
A common method is to toss the cut fruit with a tablespoon or two of lemon juice or a solution of ascorbic acid (vitamin C powder) mixed with water. For larger quantities, soaking apple slices in a bowl of water with a squeeze of lemon juice for a few minutes works well, just remember to drain and dry them thoroughly afterwards. This simple step keeps your fruit looking fresh until it goes into the oven.
Adjusting Recipes for Fruit Sweetness
The sweetness of fresh fruit can vary greatly depending on ripeness, variety, and even the time of year. An underripe apple or a late-season berry might be less sweet than a peak-season counterpart. This variability means you might need to adjust the amount of sugar in your recipe.
Taste your fruit! If it's very sweet, you might slightly reduce the sugar called for in the recipe. If it's tart, you might need to add a little extra sugar, or rely on other flavors like spices or citrus to balance the tartness. Learning to make these minor adjustments based on your ingredients is an important skill in easy fruit prep baking, leading to perfectly balanced flavors.
Conclusion: Mastering Fruit Preparation
Recap of Key Techniques
Mastering easy fruit prep baking is all about understanding your ingredients and applying a few fundamental techniques. It starts with selecting ripe, flavorful fruit. Then, proper washing and thorough drying are non-negotiable steps to control moisture. Peeling, slicing, and removing pits or cores correctly ensures pleasant texture and ease of eating.
Furthermore, techniques like tossing fruit with flour prevent sinking, while macerating or adding citrus and extracts enhances flavor. Knowing how to handle frozen fruit and troubleshoot common issues like excess moisture or browning completes your easy fruit prep baking toolkit. Each step contributes to transforming simple fruit into a star ingredient in your baked creations.
Experimenting with Fresh Fruit
With these easy fruit prep baking skills in hand, you're ready to explore the wonderful world of baking with fresh fruit. Don't be afraid to experiment with different fruits and combinations. Try substituting one fruit for another in a familiar recipe (considering their moisture content and structure), or develop your own unique fruit fillings and batters.
The beauty of baking with fresh fruit lies in its seasonality and variety. Each season brings new flavors and textures to work with. By applying the simple yet effective easy fruit prep baking techniques discussed here, you can ensure delicious, consistent results and enjoy the rewarding process of creating beautiful baked goods from nature's bounty.
Frequently Asked Questions
How important is it to properly dry fruit before adding it to a cake batter?
It's crucial! Excess moisture from improperly dried fruit can lead to a soggy cake and prevent it from baking evenly. Drying helps ensure the fruit remains intact and doesn't sink to the bottom.
What's the best way to prevent fruit from sinking to the bottom of my baked goods?
Tossing the fruit in a small amount of flour before adding it to the batter is a common trick. This creates a coating that helps the fruit stay suspended throughout the baking process.
Can I use frozen fruit instead of fresh fruit in your "Easy Fruit Prep Baking" recipes?
Yes, but with some adjustments. Frozen fruit tends to release more moisture, so be sure to thaw and drain it well before using. You might also need to slightly reduce the liquid in your recipe.
What are some fruits that work exceptionally well in "Easy Fruit Prep Baking"?
Berries (like blueberries and raspberries), apples, peaches, and cherries are all excellent choices. Consider the flavor profile you're aiming for and choose fruits that complement the other ingredients.
Do I need to peel all fruits before adding them to my baking recipes?
Not necessarily. For some fruits like apples and peaches, peeling is a matter of preference. However, thicker-skinned fruits like oranges or grapefruits generally benefit from being peeled to improve texture and flavor integration in the final baked product.
Final Reflection: The Sweetness of Simplicity in Baking
The art of baking often hinges on seemingly insignificant details, and the preparation of fruit is no exception. Mastering simple, efficient fruit prep techniques isn't just about saving time; it's about unlocking the full potential of your baked goods, ensuring vibrant flavors and textures that elevate your creations from good to extraordinary. This is especially relevant today, as more and more people are seeking efficient and rewarding ways to enjoy homemade treats.
The impact of readily available, high-quality fruit on our baking landscape is undeniable. We've moved beyond simply adding fruit as an afterthought; now, it's a star ingredient, demanding careful consideration. The methods discussed – from preventing browning to achieving optimal moisture – directly influence the final product's success. As Julia Child wisely said, Find something you're passionate about and keep tremendously interested in it.
For me, that passion lies in the transformative power of simple techniques, and how they can empower anyone to create delicious baked goods.
Now, it's your turn. Consider the next time you reach for that bowl of fruit, ready to bake. Remember the simple yet powerful techniques outlined in this article. Don't just chop and toss; prepare your fruit with intention. Experiment with different methods, discover your own preferences, and most importantly, enjoy the process of creating something delicious and beautiful. The journey to baking success begins with a single, perfectly prepped piece of fruit.
Unlock Your Baking Potential: Fresh Fruit, Fresh Starts!
Thanks for taking the time to explore the world of fresh fruit baking! We hope you've gained valuable insights and are ready to create some delicious treats. Now, let's put that knowledge to work!
- Try our recommended fruit prep techniques today: Start with your favorite fruit and try one of the preparation methods outlined in the article. See the difference it makes in your baking!
- Share your baking triumphs (and challenges!): Post pictures of your creations on social media and tag us – we'd love to see your fresh fruit masterpieces!
- Discover new fruit combinations: Explore beyond your usual choices. What exciting flavor pairings will you uncover?
Ready to transform your baking game with fresh fruit?