
From Beginner Baker to Basic Piping Pro

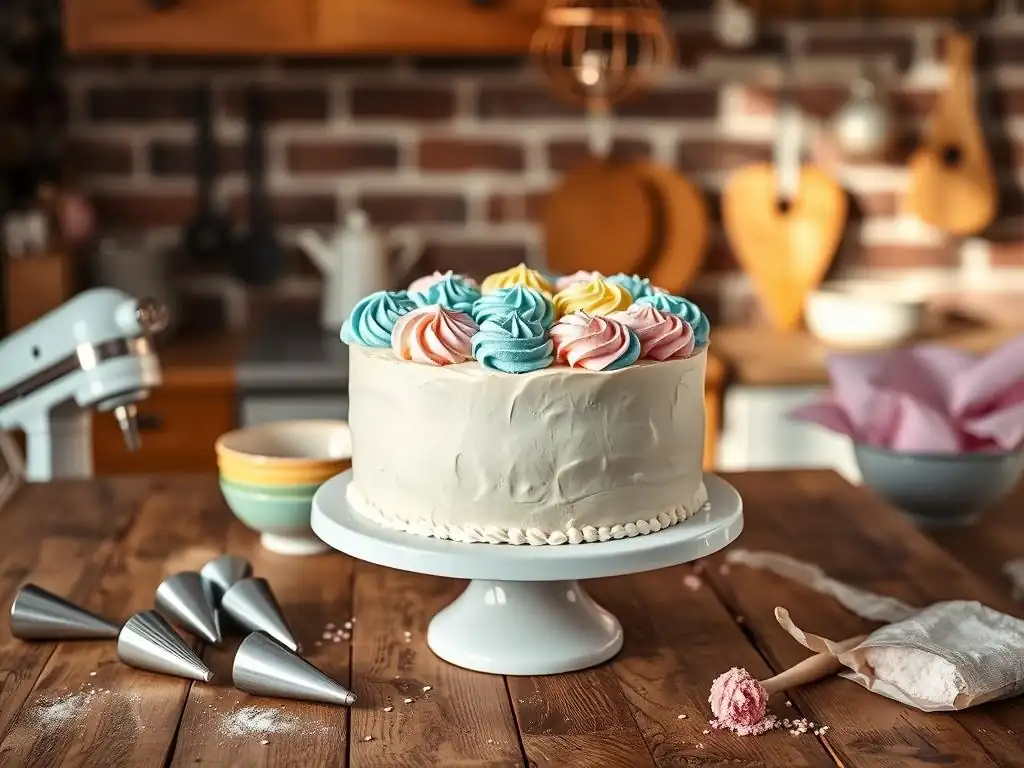
Welcome to BakeWithEase, where the joy of baking meets the simplicity of easy-to-follow guidance. Ready to transform your desserts? Dive into our "From Beginner Baker to Basic Piping Pro" guide and discover how to master easy buttercream frosting recipes beginners can actually achieve. Unlock the secrets to smooth, delectable frosting that will elevate every bake, and leave you eager to perfect your piping techniques.
- From Beginner Baker to Basic Piping Pro: Mastering Buttercream Frosting
- Introduction to Basic Buttercream Piping for Beginners
- Easy Buttercream Frosting Recipes Beginners Can Master
- Essential Piping Tools for Beginner Bakers
- Preparing Your Buttercream for Piping Perfection
- Basic Buttercream Piping Techniques for Beginners
- Practice Makes Perfect: Tips for Improving Your Piping Skills
- Troubleshooting Common Buttercream Piping Problems
- Advanced Buttercream Piping Techniques to Explore Later
- Conclusion: Your Journey to Buttercream Piping Mastery with BakeWithEase
-
Frequently Asked Questions
- What makes a buttercream frosting recipe "easy" for beginners?
- What are the essential ingredients for a basic buttercream frosting?
- How do I achieve a smooth, lump-free buttercream frosting?
- What piping techniques are considered "basic" for beginner bakers?
- Can I customize my buttercream frosting with different flavors?
- Final Reflection: The Sweetness of Skill and the Joy of Creation
- Unleash Your Inner Piping Artist!
From Beginner Baker to Basic Piping Pro: Mastering Buttercream Frosting
Introduction to Basic Buttercream Piping for Beginners
Why Learn Buttercream Piping? Elevating Your Baking
Learning basic buttercream piping is a fantastic skill that truly takes your baking from homemade to wow. It's the difference between a simple cake and a beautifully decorated centerpiece, or a plain cupcake and a delightful treat topped with a swirl of frosting.
Mastering easy buttercream frosting recipes beginners can tackle opens up a world of creative expression, allowing you to personalize desserts for birthdays, holidays, or just because. Think about the joy of presenting a cake you've not only baked but also decorated yourself with elegant swirls or fun stars – it's incredibly rewarding and makes your baked goods look as good as they taste.
Beyond aesthetics, piping skills offer practical advantages. You can use piping to fill cupcakes, create borders that contain fillings on tarts, or even pipe meringue cookies. It provides control and precision that simply spreading frosting with a knife cannot achieve. For a beginner baker, starting with simple techniques like piping dots or stars is a great way to build confidence before moving on to more complex designs. Plus, working with a smooth, easy buttercream frosting makes the learning process much more enjoyable and less frustrating.
Understanding the Essentials Before You Start Piping
Before you dive into making easy buttercream frosting recipes beginners will love and grabbing a piping bag, it's helpful to understand a few foundational concepts. First, the consistency of your buttercream is paramount. It needs to be smooth, lump-free, and the right thickness – not too runny that it won't hold its shape, and not too stiff that it's impossible to squeeze through the piping tip. Achieving this often involves adjusting the amount of liquid (like milk or cream) or powdered sugar.
Secondly, having the right, basic tools makes a huge difference. You don't need a professional setup, but good quality piping bags and a few essential tips (like round and star tips) are crucial. Understanding how to properly fill a piping bag and hold it correctly will save you a lot of mess and frustration. Think of it like learning to hold a pen before writing; good technique from the start makes everything easier down the line. Focusing on these essentials ensures you have a solid base for success when you start practicing your piping skills.
Easy Buttercream Frosting Recipes Beginners Can Master
Classic American Buttercream: A Simple Starting Point
Classic American buttercream is often the first easy buttercream frosting beginners try, and for good reason. It's incredibly simple, typically made by creaming together butter, powdered sugar, a splash of liquid (like milk or vanilla extract), and sometimes a pinch of salt. The ratio is usually quite forgiving, often around one part butter to two to three parts powdered sugar by weight, although many beginners use volume measurements like 1 cup butter to 3-4 cups powdered sugar. Its simplicity means fewer steps and ingredients, reducing the chances of errors.
This type of buttercream is known for being sweet and stable, making it excellent for piping simple decorations like swirls, stars, and basic borders. While it can sometimes feel a bit grainy due to the powdered sugar, sifting the sugar and beating the mixture for several minutes can help create a smoother texture. It crusts slightly when exposed to air, which helps decorations hold their shape well, a definite plus when you're just starting out and need your piped designs to stay put.
Italian Meringue Buttercream: A Silky and Stable Option
While it sounds fancy, Italian meringue buttercream is an easy buttercream frosting beginners can learn with a little practice, and it offers significant benefits. Unlike American buttercream, it starts with a meringue made from whipping egg whites and pouring a hot sugar syrup into them. This cooked sugar stabilizes the meringue, which is then whipped until cool before softened butter is added. The process results in an incredibly smooth, light, and less sweet frosting compared to its American counterpart.
The stability provided by the meringue makes Italian buttercream excellent for more defined piping work and for frosting cakes in warmer environments where other buttercreams might melt. Although it involves handling hot sugar syrup, which requires caution, the steps are straightforward: make the syrup, whip the meringue, add butter. Its silky texture not only feels luxurious but also pipes beautifully, creating sharp, clean lines and shapes perfect for showcasing your developing piping skills.
French Buttercream: Rich and Custardy for Special Occasions
French buttercream is another delicious option, slightly less common as an initial easy buttercream frosting beginners attempt, but certainly within reach with a little care. It's made using egg yolks (or whole eggs) whipped with hot sugar syrup, similar to Italian meringue buttercream but using yolks instead of whites. This gives it a rich, custardy flavor and a beautiful pale yellow hue. Softened butter is then incorporated, resulting in a very smooth, melt-in-your-mouth texture.
Because it's enriched with egg yolks, French buttercream is wonderfully decadent and perfect for pairing with lighter cakes or as a filling. It's generally softer than American or Italian buttercream, which can make intricate piping slightly trickier for a complete novice, but it's still excellent for piping softer swirls, dots, and fillings. If you're looking for an easy buttercream frosting recipe that feels a bit more gourmet for your early piping projects, French buttercream is a delightful choice, offering a different flavor profile to explore.
Essential Piping Tools for Beginner Bakers
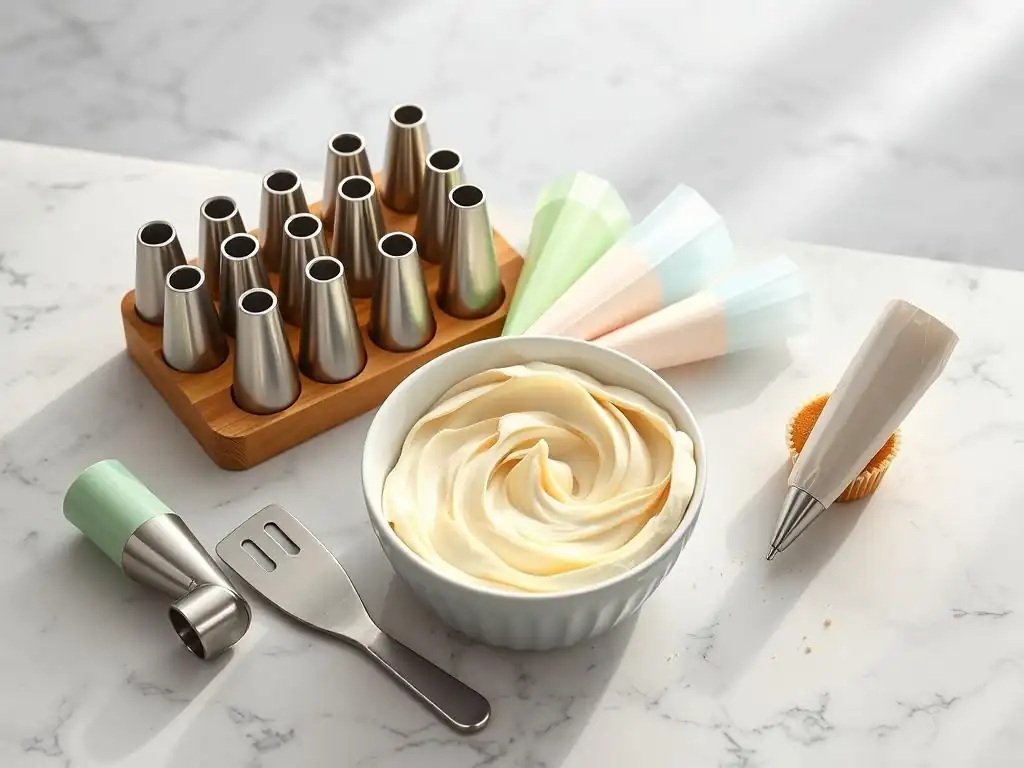
Piping Bags: Choosing the Right Size and Material
Piping bags are your primary tool for directing buttercream onto your baked goods. For beginners, there are a few options. Disposable plastic bags are popular because they require no cleanup – you just toss them when you're done. They come in various sizes, and for general cupcake decorating or small cake details, an 12-inch or 16-inch bag is a good starting point, holding enough frosting without being unwieldy.
Alternatively, reusable piping bags made from canvas or silicone are more environmentally friendly and durable. Canvas bags are traditional and sturdy, while silicone bags offer a non-slip grip. Whichever type you choose, ensure it feels comfortable in your hand and is strong enough not to burst under pressure, which can happen with very thin or cheap disposable bags, leading to a messy situation you want to avoid when mastering easy buttercream frosting recipes beginners.
Piping Tips: A Beginner's Guide to Essential Shapes
Piping tips are the small cones inserted into the end of the piping bag that shape the frosting as it comes out. You don't need dozens to start; a few basic tips will allow you to create a wide range of decorations. Most tips are made of metal, which holds its shape well and provides clean lines. Plastic tips are also available but can sometimes yield less defined shapes.
Investing in a small set that includes a few common shapes is ideal. Look for tips numbered, as these numbers indicate size and style and are standard across brands like Wilton or Ateco. A good starter set might include a few round tips, a couple of star tips, and maybe a petal tip to begin exploring different effects with your easy buttercream frosting recipes beginners.
Round Tips: For Lines, Dots, and Writing
Round tips have a simple circular opening. They are incredibly versatile and essential for any beginner. Small round tips (like Ateco #3 or Wilton #4) are perfect for piping fine lines, dots, beads, and writing messages on cakes.
Larger round tips (like Ateco #12 or Wilton #1A) are excellent for piping large dots, filling in areas, or creating smooth, rounded swirls on top of cupcakes. They are straightforward to use and provide immediate satisfying results.
Star Tips: For Shells, Stars, and Rosettes
Star tips have a serrated opening and are fantastic for creating textured decorations. Open star tips (like Wilton #1M or Ateco #32) produce defined stars, shells, and the ever-popular rosettes.
Closed star tips (like Wilton #2D or Ateco #844) create more ruffled or crimped textures, producing beautiful swirls and borders with tighter ridges. Both types are fundamental for adding texture and volume to your piped designs using easy buttercream frosting beginners have made.
Petal Tips: Creating Realistic Flower Petals
Petal tips have a teardrop or angled opening, with one side wider than the other. By holding the tip with the wider end towards the base of your design and varying pressure, you can create realistic-looking flower petals, ruffles, and swags.
While perhaps slightly less intuitive than round or star tips initially, practicing with a petal tip (like Wilton #104 or Ateco #150) opens up the possibility of piping simple buttercream flowers directly onto your cakes and cupcakes.
Couplers: Making Tip Changes Easy
A coupler is a two-part plastic piece that fits inside the piping bag before the tip. The base goes inside, the tip sits on the outside, and a ring screws onto the base from the outside, securing the tip.
Using a coupler allows you to change piping tips on the same bag of frosting without having to empty the bag or use multiple bags. This is incredibly convenient when you want to use different tips with the same color of easy buttercream frosting beginners have prepared, saving time and reducing waste.
Preparing Your Buttercream for Piping Perfection
Achieving the Right Consistency: Stiff vs. Soft Peak Buttercream
The consistency of your easy buttercream frosting is crucial for successful piping. Too stiff, and it will be hard to squeeze and might break; too soft, and your piped shapes won't hold. American buttercream should generally be firm enough to hold a peak but soft enough to flow smoothly. If it's too stiff, beat in a tiny amount of milk or cream (start with half a teaspoon) until it loosens up.
If your buttercream is too soft, it likely needs more powdered sugar. Add a tablespoon or two at a time, mixing thoroughly until the desired consistency is reached. For Italian or French buttercream, temperature is key – ensure your butter is soft but not melted and that the meringue or egg base is cool before adding it. A good test is to pipe a practice shape; if it holds its form without drooping, you're likely good to go.
Coloring Your Buttercream: Gel Food Coloring vs. Liquid Food Coloring
Adding color can make your piped designs pop! For coloring easy buttercream frosting beginners should definitely opt for gel food coloring. Gel colors are concentrated and vibrant, meaning you need only a small amount to achieve intense colors. This is important because adding too much liquid food coloring can alter the consistency of your buttercream, making it too thin for piping.
Liquid food coloring is water-based and much less concentrated. You would need to add a significant amount to get bright colors, which introduces too much liquid and can break your emulsion, resulting in a greasy or runny frosting that is impossible to pipe effectively. Start with a tiny amount of gel color on a toothpick, mix it in thoroughly, and add more gradually until you reach your desired shade. Remember that colors can deepen slightly as they sit.
Filling Your Piping Bag: Tips and Tricks for a Mess-Free Experience
Filling a piping bag can be messy, but a simple trick makes it much easier. Fold the top edges of the piping bag down, creating a cuff. Place the cuffed bag into a tall glass or container, folding the cuff over the rim. This holds the bag open and stable, leaving both your hands free to spoon the buttercream into the bag.
Fill the bag only about two-thirds full. Overfilling makes the bag hard to handle and control, and frosting tends to squeeze out the wrong end. Once filled, lift the bag out of the glass, unfold the cuff, and twist the top of the bag just above the level of the frosting. This twisted section is where you will apply pressure to push the frosting down and out through the tip, keeping the top sealed and your hands clean.
Basic Buttercream Piping Techniques for Beginners
The Rosette: A Classic and Elegant Decoration
The rosette is a beautiful, classic swirl that looks much more complicated than it is, making it perfect for showcasing easy buttercream frosting beginners have mastered. It's typically piped using an open star tip, like the popular Wilton 1M. To create a rosette, hold the piping bag with the tip perpendicular to the surface (like a cupcake top). Start in the center and apply steady pressure while moving the tip in a continuous spiral outwards, or start on the outside and spiral inwards.
Release pressure as you reach the end of the swirl. The key is steady pressure and a smooth, continuous motion. Practice on parchment paper first to get a feel for the pressure needed and the speed of your spiral. Once you're comfortable, rosettes are a quick and lovely way to decorate cupcakes or add flourishes to a cake top.
The Star: Creating Simple Star Borders and Accents
Stars are perhaps the most fundamental shape you can pipe with a star tip. They are created by simply holding the star tip perpendicular to the surface, applying pressure until the star reaches the desired size, and then stopping pressure and pulling the bag straight up. This motion leaves a distinct star shape.
Stars can be piped individually as accents, grouped together to fill spaces, or piped side-by-side in rows to create borders or cover an entire surface, giving a textured look. They are forgiving and quick, perfect for adding simple decorations to cakes or cupcakes using easy buttercream frosting recipes beginners have whipped up.
The Shell: A Versatile Border and Design Element
The shell border is a classic piping technique that creates a lovely, flowing edge. It's typically done with a star tip. Start by holding the bag at about a 45-degree angle to the surface. Apply firm pressure to create the base of the shell, then gradually decrease pressure as you pull the bag slightly towards you, tapering the shell to a point.
Stop pressure completely before lifting the bag away. To create a continuous border, pipe the next shell so its wide base slightly overlaps the tail of the previous shell. Shells can be piped in straight lines, curves, or around the edge of a cake, offering a versatile way to finish your decoration.
The Dot: Adding Simple Accents and Details
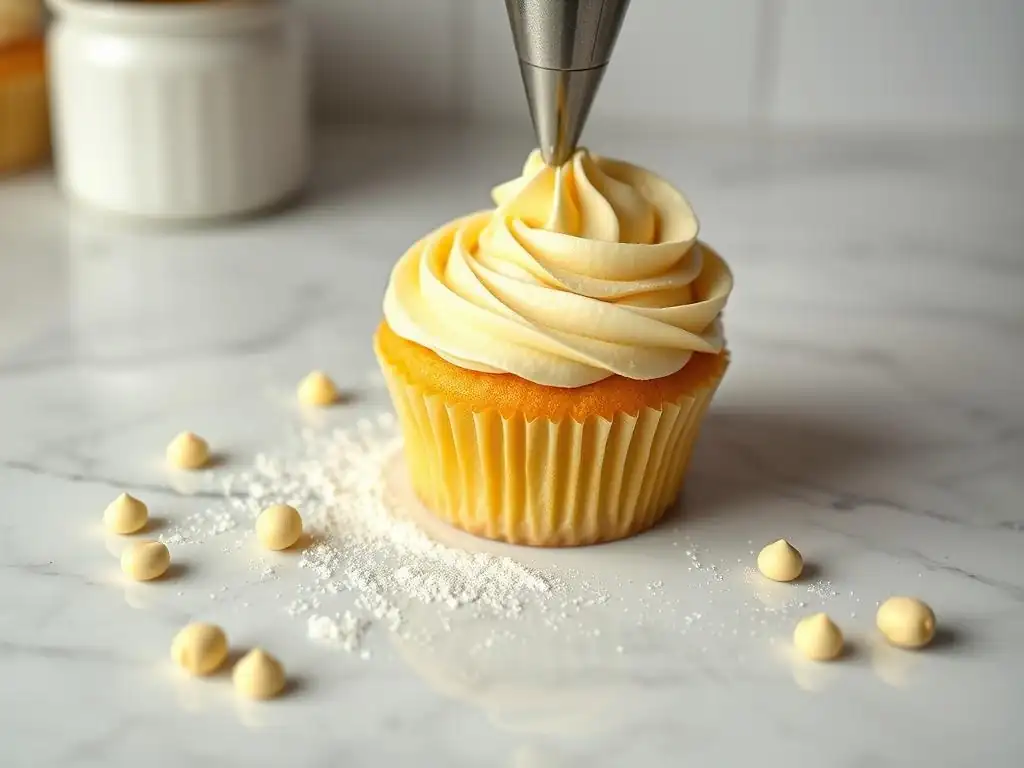
Dots are the simplest piping technique using a round tip, but incredibly effective for adding detail and visual interest. Hold a round tip perpendicular to the surface, apply gentle, steady pressure until the dot is the size you want, then stop pressure and pull the bag straight up.
Varying the size of the round tip and the amount of pressure applied allows you to create dots from tiny beads to large mounds. Dots can be used to outline shapes, create simple patterns, add eyes or buttons to characters, or form bead borders around the base of a cake. They are a great way to use up leftover easy buttercream frosting beginners might have.
Simple Borders: Creating Clean and Professional Edges
Simple borders frame your cake and give it a finished, professional look. Beyond shells, you can create borders using stars piped side-by-side, or a simple rope effect. A basic rope border involves piping a series of connected "S" shapes or overlapping swirls along the edge, often with a star or round tip.
Another easy border is the bead border, created by piping uniform dots closely together around the base or top edge of the cake using a round tip. These simple borders help hide any imperfections where the cake meets the board or where the top meets the sides, adding a polished touch to your easy buttercream frosting beginners' creations.
Practice Makes Perfect: Tips for Improving Your Piping Skills
Start with Simple Designs and Gradually Increase Complexity
When you're new to piping easy buttercream frosting, it's best to start simple. Focus on mastering basic techniques like piping consistent dots, stars, and simple lines on a flat surface. Don't try to tackle a complex floral arrangement on your first go. Build your muscle memory and control with fundamental shapes.
Once you feel comfortable and your shapes are consistent, gradually introduce slightly more complex techniques like rosettes, shells, or simple borders. As your confidence grows, you can experiment with different tips and combinations of techniques. This step-by-step approach prevents frustration and builds a solid foundation for learning more advanced piping later.
Practice on Parchment Paper Before Piping on Your Cake
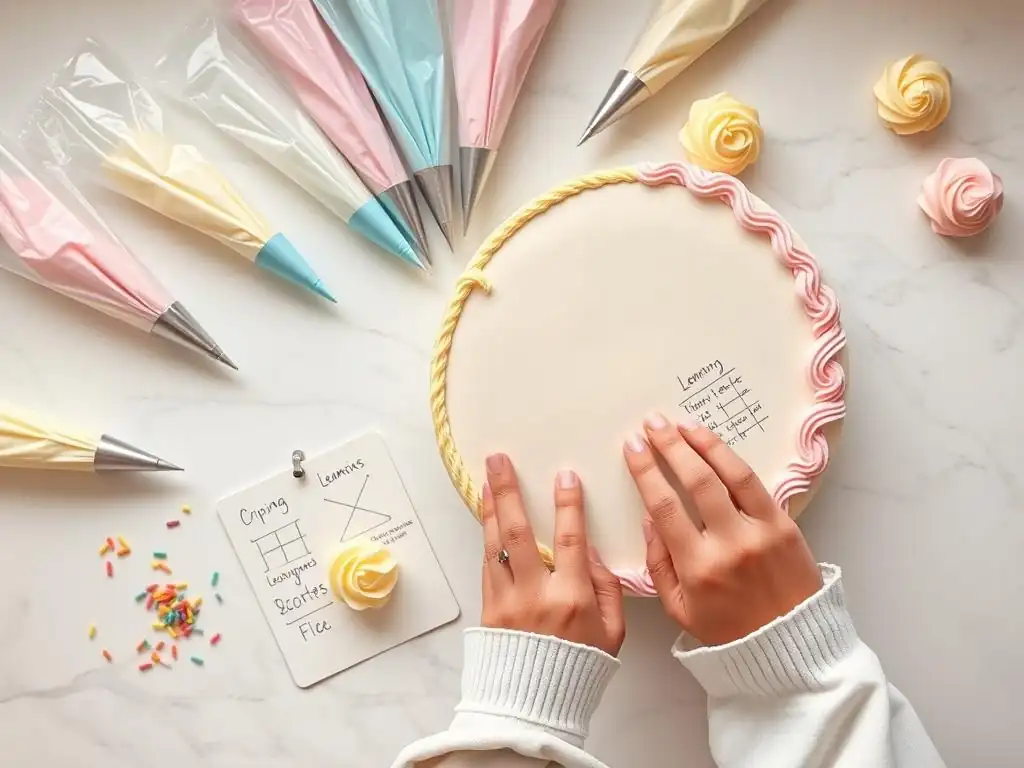
A fantastic way to practice piping without wasting frosting or messing up your final baked good is to pipe onto sheets of parchment paper. Draw lines, circles, or shapes on the paper beforehand if you want guides. Practice piping stars, shells, rosettes, or writing your name repeatedly.
The beauty of practicing on parchment is that you can scrape the buttercream back into the piping bag and reuse it! This allows for endless practice without needing to make batch after batch of easy buttercream frosting. Once you're happy with how a technique looks on paper, you can confidently transfer it to your cake or cupcakes.
Don't Be Afraid to Experiment with Different Tips and Techniques
Once you've mastered the basics, don't hesitate to experiment. Try using a star tip to pipe dots for a different texture, or use a large round tip to pipe shell-like shapes. See what happens when you vary the pressure or angle with a petal tip.
Experimenting helps you understand the capabilities of different tools and how subtle changes in your hand motion or pressure affect the final result. It's through playful exploration that you discover new favorite techniques and develop your own unique piping style using your easy buttercream frosting beginners recipes.
Troubleshooting Common Buttercream Piping Problems
Buttercream Too Stiff: How to Soften It
If your easy buttercream frosting feels too stiff to pipe smoothly, it's likely too cold or has too much powdered sugar relative to liquid/fat. The simplest fix is often temperature related. If it's cold, let it sit at room temperature for a bit, then beat it again with a paddle attachment on a mixer for a minute or two to warm it up and loosen it.
If temperature isn't the issue, add a very small amount of liquid – like a teaspoon of milk, cream, or even just vanilla extract – and beat it in thoroughly. Add only a tiny bit at a time, as adding too much liquid can quickly make it too soft. You're aiming for a smooth, pliable consistency.
Buttercream Too Soft: How to Thicken It
Buttercream that's too soft won't hold its shape when piped, resulting in slumped or melted-looking decorations. This usually means it's too warm or has too much liquid. If it feels warm, refrigerate the entire bowl of buttercream for 10-15 minutes, then re-whip it. The cooling will help the butter firm up.
If cooling doesn't work, you likely need to add more powdered sugar (for American buttercream) or, less commonly, more softened butter (for meringue-based buttercreams). Add powdered sugar a tablespoon at a time, beating well after each addition, until the desired piping consistency is achieved. For meringue buttercreams, chilling is often the first step.
Air Bubbles in Your Buttercream: How to Remove Them
Air bubbles can cause frustrating interruptions and breaks in your piped lines and shapes. They often get incorporated when the buttercream is whipped at too high a speed or for too long. To remove them, switch to a low speed on your mixer and let the buttercream mix for several minutes. This helps push the air out.
Alternatively, you can manually push the air out. Place the buttercream on a clean counter or piece of parchment paper and use an offset spatula to smear and press the frosting down, working it back and forth. This action forces the air pockets out, resulting in a smoother, denser buttercream perfect for consistent piping.
Piping Bag Leaking: How to Prevent It
A leaking piping bag is a common and annoying problem for beginners. It usually happens because the bag is either cut too large for the tip/coupler, or the seam of the bag splits under pressure. When cutting the tip off a disposable bag, fit the tip or coupler base into the bag first and mark where the bottom of the base sits. Cut just below that mark so the tip/coupler fits snugly and there's no gap for frosting to escape.
If the bag itself is splitting, it might be due to overfilling, buttercream that's too stiff requiring excessive pressure, or using a low-quality bag. Try not to overfill the bag, ensure your easy buttercream frosting beginners recipe yields a pliable consistency, and consider using sturdier bags, especially reusable ones if disposable ones are frequently failing.
Advanced Buttercream Piping Techniques to Explore Later
Basketweave: Creating Intricate Woven Designs
Once you're comfortable with basic borders and lines, the basketweave is a beautiful technique to try. It involves using a basketweave tip (which is flat or slightly ridged) to pipe horizontal and vertical bands of frosting that interlock, creating the appearance of a woven basket.
This technique requires steady hand control and consistent pressure to create even strips, but the result is an impressive, textured finish on the side of a cake. It's a great next step after mastering simple borders and helps develop precision.
Buttercream Flowers: Piping Realistic Floral Decorations
Piping realistic buttercream flowers directly onto cakes or onto parchment paper (to be added later) is a stunning skill. Techniques like piping roses, peonies, or hydrangeas typically involve using petal tips, leaf tips, and often a flower nail to build the flower layer by layer.
While more challenging and requiring practice, learning to pipe buttercream flowers is incredibly rewarding and allows for truly artistic cake decoration. It's a fantastic goal to work towards after you've become proficient with easy buttercream frosting recipes beginners and basic piping methods.
Conclusion: Your Journey to Buttercream Piping Mastery with BakeWithEase
Embarking on the journey from beginner baker to piping pro is exciting and achievable! Starting with easy buttercream frosting recipes beginners can confidently make is the perfect first step. By understanding the tools, preparing your frosting correctly, and practicing fundamental techniques like dots, stars, and rosettes, you'll quickly gain skill and confidence.
Remember that every baker, even the most experienced, started somewhere. Don't be discouraged by initial imperfections. Embrace the practice, learn from any troubleshooting moments, and most importantly, have fun experimenting with your easy buttercream frosting creations. With the guidance and resources from BakeWithEase, you're well on your way to adding beautiful, piped finishes to all your delicious baked goods!
Frequently Asked Questions
What makes a buttercream frosting recipe "easy" for beginners?
An "easy" buttercream frosting recipe typically involves simple ingredients, straightforward instructions, and minimal equipment. It focuses on achieving a smooth and stable frosting without complex techniques.
What are the essential ingredients for a basic buttercream frosting?
The core ingredients for a basic buttercream usually include butter, powdered sugar, milk or cream, and vanilla extract. Some recipes may also include a pinch of salt for balanced flavor.
How do I achieve a smooth, lump-free buttercream frosting?
To avoid lumps, ensure your butter is at room temperature and gradually add the powdered sugar. Be sure to sift the powdered sugar before adding it to the mixture.
What piping techniques are considered "basic" for beginner bakers?
Basic piping techniques include creating simple rosettes, stars, and borders. These techniques focus on controlled pressure and consistent movement with the piping bag.
Can I customize my buttercream frosting with different flavors?
Absolutely! You can easily customize your buttercream by adding extracts, fruit purees, or even melted chocolate. Remember to adjust the liquid content if necessary to maintain the frosting's consistency.
Final Reflection: The Sweetness of Skill and the Joy of Creation
Mastering the art of buttercream frosting isn't just about creating beautiful cakes; it's about unlocking a world of creative expression and the satisfaction of building something delicious from scratch. This journey, from hesitant beginner to confident basic piping pro, highlights the power of accessible learning and the transformative potential of even the simplest culinary skills. The ease of these recipes, combined with the visual impact of beautifully piped frosting, makes baking accessible to everyone, regardless of prior experience.
The impact of simple, achievable recipes extends far beyond the kitchen. It's about fostering a sense of accomplishment, building confidence, and connecting with a timeless tradition. Baking, and particularly the decorative aspect of frosting, offers a tangible way to express creativity and share joy with others. The best things in life are homemade,
a sentiment that resonates deeply when you've poured your heart (and a little buttercream) into a creation. This sentiment transcends generations and cultures, reminding us of the simple pleasures found in making something beautiful and delicious.
Now, it's your turn. Don't be intimidated by the swirling possibilities of a piping bag. Pick a recipe, gather your ingredients, and let your creativity flow. Embrace the mess, celebrate the small victories, and savor the sweet taste of success. You might surprise yourself with what you can create, and the joy you can share, with just a little practice and a whole lot of buttercream.
Unleash Your Inner Piping Artist!
Thanks for joining us on this baking adventure! We hope you've gained the confidence to tackle basic piping techniques and create stunning desserts. Ready to put your new skills to the test?
- Craft your masterpiece: Try piping a simple rose or swirl onto your next cake or cupcake. Share your creation with us – we’d love to see it!
- Explore new piping tips and techniques: Dive deeper into the world of cake decorating by searching for tutorials online. You might surprise yourself with what you discover.
- Challenge a friend to a piping duel: Turn this newfound skill into a fun competition! See who can create the most impressive design.
Ready to take your baking game to the next level? What delicious creation will you pipe first?