
Fill Like a Pro: Basic Piping for Pastries and Doughnuts

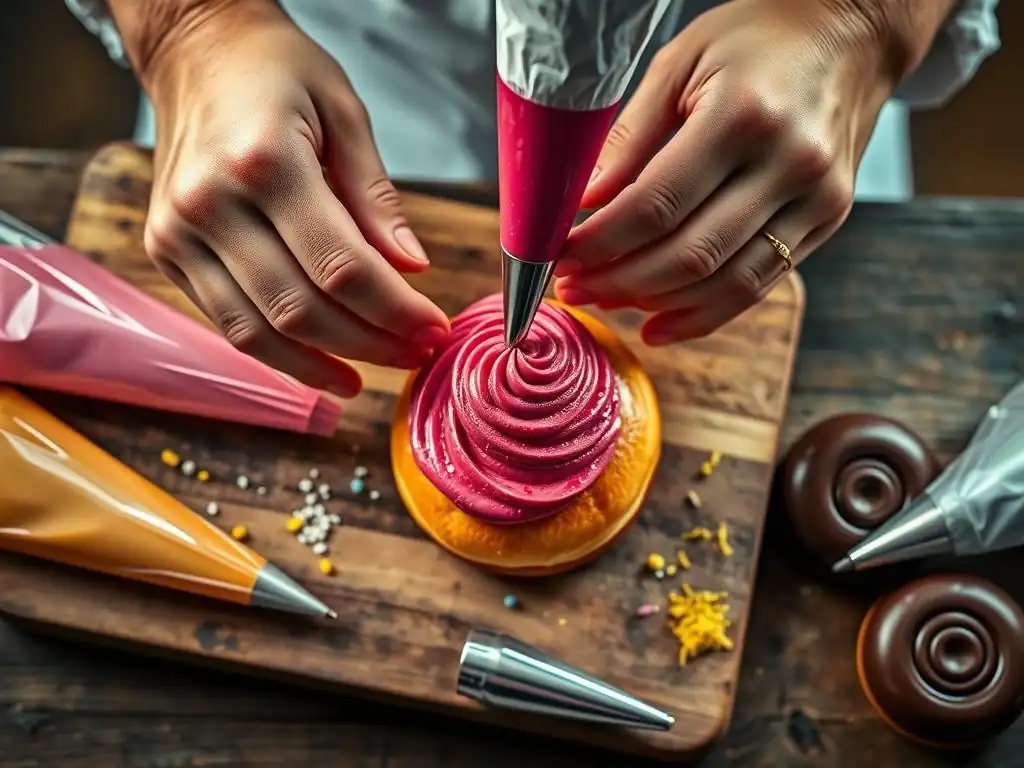
Welcome to BakeWithEase, where delicious baking becomes delightfully simple! Ever wondered how professionals achieve those perfectly filled doughnuts and pastries? This week, we're unlocking the secrets with our guide to easy doughnut piping techniques. Learn the essential skills to elevate your baking from amateur to artisan, and discover how to create pastries that are as beautiful as they are delicious. Ready to take your filling game to the next level? Let's get piping!
- Fill Like a Pro: Basic Piping for Pastries and Doughnuts - BakeWithEase
- Introduction to Easy Doughnut Piping Techniques for Baking Enthusiasts
- Essential Piping Tools for Doughnut and Pastry Filling
- Preparing Your Filling for Optimal Piping Results
- Step-by-Step Guide to Piping Doughnuts Like a Pro
- Advanced Piping Techniques for Doughnut Decoration
- Troubleshooting Common Doughnut and Pastry Piping Problems
- Cleaning and Storing Your Piping Equipment
- Elevate Your Baking: The Art of Professional Pastry and Doughnut Filling
-
Frequently Asked Questions
- What is the best piping bag to use for filling doughnuts?
- What is the ideal consistency for doughnut filling to ensure easy piping?
- What are some essential piping tips for filling doughnuts neatly?
- How do I prevent air bubbles from forming in my doughnut filling during piping?
- What are some alternative piping techniques if I don't have a piping bag?
- Final Reflection: Mastering the Art of Doughnut Piping
- Unleash Your Inner Pastry Chef!
Fill Like a Pro: Basic Piping for Pastries and Doughnuts - BakeWithEase
Introduction to Easy Doughnut Piping Techniques for Baking Enthusiasts
Welcome to BakeWithEase: Mastering Pastry and Doughnut Filling
Welcome, fellow baking enthusiasts, to BakeWithEase! We're thrilled to guide you through the satisfying world of pastry and doughnut filling. Mastering basic piping skills is a game-changer for home bakers, elevating simple treats to professional-looking delights. Whether you're aiming for perfectly filled doughnuts or elegantly decorated pastries, understanding these fundamental techniques will unlock a new level of creativity and precision in your kitchen.
This guide focuses on making these techniques accessible and enjoyable, proving that achieving beautiful results is well within your reach. We'll break down the process into simple, manageable steps, ensuring that even if you're new to piping, you can quickly gain confidence and start creating delicious, filled baked goods that impress everyone. Get ready to transform your baking with some easy doughnut piping techniques and versatile pastry skills!
Why Learn Basic Piping for Doughnuts and Pastries?
Learning basic piping isn't just about aesthetics; it's a crucial skill for many classic and modern baked goods. For doughnuts, piping allows you to inject creamy fillings like custard, jam, or chocolate ganache directly into the center, transforming a simple fried or baked ring into a decadent treat. Think of a classic Boston cream doughnut – its signature appeal comes entirely from a generous, well-placed filling.
Beyond doughnuts, piping is essential for pastries like éclairs, cream puffs (profiteroles), cannoli, and even cupcakes. It provides control over filling volume and placement, ensuring consistent results. Moreover, mastering easy doughnut piping techniques and pastry applications opens doors to more complex recipes and decorative finishes, significantly expanding your baking repertoire and allowing you to replicate bakery-quality items at home with ease.
Essential Piping Tools for Doughnut and Pastry Filling
Piping Bags: Choosing the Right Type for Easy Filling
The foundation of successful piping is the bag itself. Piping bags come in various materials, each with pros and cons. Disposable plastic bags are popular for their convenience; you simply use them and discard, minimizing cleanup, which is great when learning easy doughnut piping techniques. They are typically available in rolls or boxes, often in sizes like 12-inch or 16-inch, with the larger size being useful for bigger batches of filling.
Reusable bags are generally made from canvas, silicone, or nylon. Canvas bags are durable but require thorough cleaning and drying to prevent mold. Silicone bags are flexible and easy to clean, while nylon offers a good balance of durability and ease of maintenance. For beginners practicing easy doughnut piping techniques, disposable bags are often recommended due to their simplicity and hygiene, though reusable bags are more environmentally friendly in the long run. Choose a size appropriate for the amount of filling you'll use to avoid overfilling or needing to refill too frequently.
Piping Tips: A Guide to Essential Nozzles for Doughnut Decoration and Filling
Piping tips, or nozzles, are the metal or plastic attachments that shape the filling as it exits the bag. For filling doughnuts, you'll primarily need tips designed for injection. A common choice is a plain round tip with a relatively small opening (perhaps around 1/4 to 1/2 inch in diameter) or a specialized bismarck tip, which is long and narrow with a rounded or pointed end, specifically designed for inserting into pastries and doughnuts for internal filling.
While this article focuses on filling, it's worth noting that other tips exist for decoration. Star tips (open or closed) create ruffled textures, round tips (various sizes) are used for dots and lines, and petal tips form ruffles or flower petals.
When selecting tips for easy doughnut piping techniques, focus on the injection tips first, but having a few basic round and star tips (like a Wilton 1A for large round fillings or a 1M for decorative swirls) can be useful for other applications. Tips are often made of stainless steel and come in numbered sets indicating size and shape.
Couplers: Simplifying Tip Changes During Pastry Piping
Couplers are ingenious two-part plastic connectors that allow you to change piping tips on the same bag without emptying the filling. They consist of a base that goes inside the bag before the tip, and a ring that screws onto the outside, holding the tip in place. This is particularly useful when you need to use different tips with the same color or type of filling, or if a tip becomes clogged and you need to swap it quickly.
Using a coupler is straightforward: drop the base inside the bag, push it down so the narrow end pokes through the cut opening, place the tip over the coupler base on the outside, and screw the ring on tightly. While not strictly necessary for simple filling tasks using a single tip, they are invaluable if you plan to both fill and decorate with the same bag or practice various easy doughnut piping techniques and pastry decorations simultaneously. Standard couplers fit most medium-sized tips.
Spatulas and Scrapers: Helpful Tools for Managing Filling
While not directly part of the piping setup, spatulas and bowl scrapers are essential for efficiently working with your filling. A rubber or silicone spatula is perfect for stirring the filling to ensure it's smooth and lump-free before loading it into the piping bag. It's also crucial for scraping down the sides of your mixing bowl to gather every last bit of that delicious filling.
Bowl scrapers, often made of flexible plastic, are excellent for transferring larger quantities of filling from the bowl into the piping bag with minimal mess. They help push the filling deep into the bag, reducing air pockets. Having both a sturdy spatula and a flexible scraper makes the process of preparing and loading your filling much cleaner and more efficient, contributing to smoother execution of your easy doughnut piping techniques.
Preparing Your Filling for Optimal Piping Results
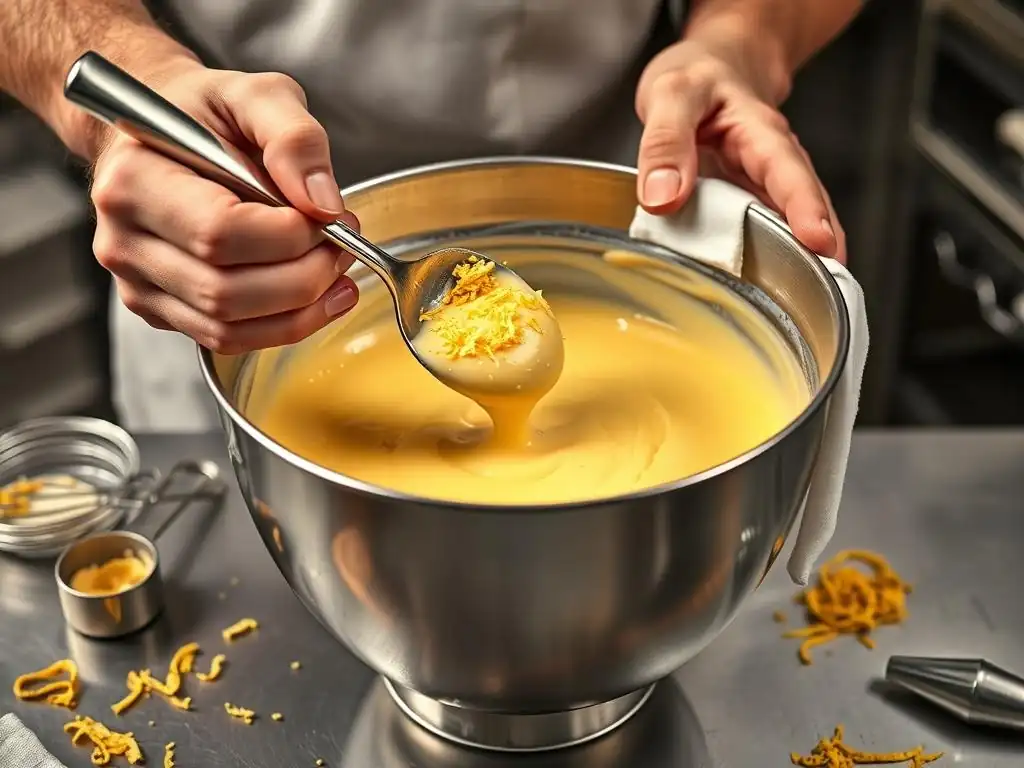
Achieve the Perfect Consistency for Easy Doughnut Filling
The success of your easy doughnut piping techniques heavily depends on the consistency of your filling. It needs to be thick enough to hold its shape somewhat but smooth and fluid enough to pass easily through the piping tip without clogging. For instance, a classic pastry cream should be thick and well-chilled, not runny. A fruit jam might need to be strained to remove seeds or large fruit pieces, and potentially slightly warmed to make it more pliable.
Fillings that are too thick, like stiff buttercream, can be difficult to pipe and may even burst the bag. Conversely, fillings that are too thin, like liquid ganache, will simply run out of the doughnut or pastry and won't stay put. Achieving the "just right" consistency often involves careful recipe execution and sometimes slight adjustments.
For example, a chocolate ganache for filling might use a slightly higher chocolate-to-cream ratio (perhaps 2:1 chocolate to cream by weight) compared to a pouring ganache (often 1:1), and be allowed to cool until spreadable but still pipeable. Practice helps you recognize the ideal texture for different filling types.
Avoiding Air Bubbles in Your Pastry Filling: A Key to Professional Results
Air bubbles are the enemy of smooth, consistent piping. They can cause gaps in your filling, make your piping bag feel uneven, and even cause splatters when you try to pipe. Incorporating air can happen during mixing, especially if you whip the filling too vigorously or fold in ingredients carelessly. For instance, over-beating a custard after it thickens can introduce air.
To minimize air bubbles when preparing filling for easy doughnut piping techniques, stir gently rather than whip once the desired consistency is reached. When transferring the filling to the piping bag, use a spatula or scraper to push the filling in slowly, pressing it down as you go to eliminate trapped air pockets. Tapping the filled bag gently on the counter can also help air rise to the top, where you can push it out before beginning to pipe.
Temperature Control: Ensuring Smooth and Consistent Piping
The temperature of your filling significantly impacts its viscosity and how easily it pipes. Many fillings, like pastry cream, ganache, or cream cheese frosting, need to be chilled to firm up before piping. Piping warm filling can result in a runny mess. However, if a chilled filling becomes too cold, it can become stiff and difficult to pipe, potentially causing clogs.
For optimal results with easy doughnut piping techniques, aim for a temperature where the filling is firm but still pliable. For something like pastry cream or ganache, this might be slightly cooler than room temperature, perhaps around 60-65°F (15-18°C). If your filling is too cold, knead the bag gently with your hands for a moment or let it sit at room temperature for a few minutes to soften slightly. Conversely, if it's too warm, pop the bag in the refrigerator for 10-15 minutes until it reaches the desired firmness.
Step-by-Step Guide to Piping Doughnuts Like a Pro
Step 1: Properly Filling Your Piping Bag for Doughnut Injection
Filling the piping bag correctly is the first crucial step for successful easy doughnut piping techniques. Start by fitting your chosen tip (or coupler and tip) to the bag. If using a disposable bag, cut the tip end just enough for the tip base (or coupler base) to peek out. Then, fold the top edges of the bag down over your hand or a tall glass or container – this creates a wide opening and keeps the top edge clean.
Use a spatula or scraper to spoon your prepared filling into the bag, pushing it down towards the tip as you go. Fill the bag no more than two-thirds full; overfilling makes the bag difficult to handle and control. Once filled, unfold the top edges and twist the top of the bag tightly to seal the filling and create pressure. Push the filling down towards the tip again, expelling any large air pockets.
Step 2: Mastering the Grip and Pressure for Controlled Piping
Holding the piping bag correctly is key to controlled application, especially when executing easy doughnut piping techniques. Grip the twisted top of the bag firmly with your dominant hand – this hand will control the pressure. Your non-dominant hand should gently guide the body of the bag near the tip, directing the flow of filling. Avoid squeezing the middle of the bag, as this can force air bubbles down and cause uneven pressure.
Maintain consistent, steady pressure with your dominant hand as you pipe. The amount of pressure needed will depend on the consistency of your filling and the size of your tip. Practice squeezing the bag over a bowl or piece of parchment paper to get a feel for the pressure required before attempting to fill your doughnuts. Consistent pressure ensures an even flow of filling into the pastry.
Step 3: Injecting Filling into Doughnuts: Techniques for Even Distribution
To inject filling into a doughnut, you first need to create an entry point. For ring doughnuts, you might pipe into one or more spots around the inner or outer ring, or even into the side. For filled doughnuts (like Berliners or sufganiyot), you'll typically make a small hole in the side or bottom using a skewer or the bismarck tip itself.
Insert the piping tip into the prepared hole, pushing it gently towards the center of the doughnut. Begin applying steady pressure to fill. You'll usually feel the doughnut become heavier or see it expand slightly as it fills. Avoid overfilling, which can cause the doughnut to burst. For even distribution, especially in larger doughnuts, you might insert the tip in a few different spots around the perimeter, injecting a smaller amount of filling in each location rather than trying to fill from just one point. This is a core skill for successful easy doughnut piping techniques.
Step 4: Piping Pastries: Adapting Your Technique for Different Shapes and Sizes
Piping techniques vary slightly depending on the pastry type. For éclairs or cream puffs made from choux pastry, you typically pipe the filling (often pastry cream) through a small hole poked in the bottom or side after baking and cooling. Insert the tip and fill until the pastry feels heavy and slightly resistant, similar to filling a doughnut.
For other pastries like cannoli, you pipe the filling (often ricotta-based) directly into the fried shells using a round tip. For cupcakes, you can pipe filling into the center by inserting a tip (like a bismarck or a large round tip) directly into the top of the cooled cupcake and squeezing gently while pulling up slightly. Mastering these variations on easy doughnut piping techniques allows you to tackle a wide range of delicious treats. The key is adapting your insertion point and pressure based on the pastry's structure and size.
Advanced Piping Techniques for Doughnut Decoration
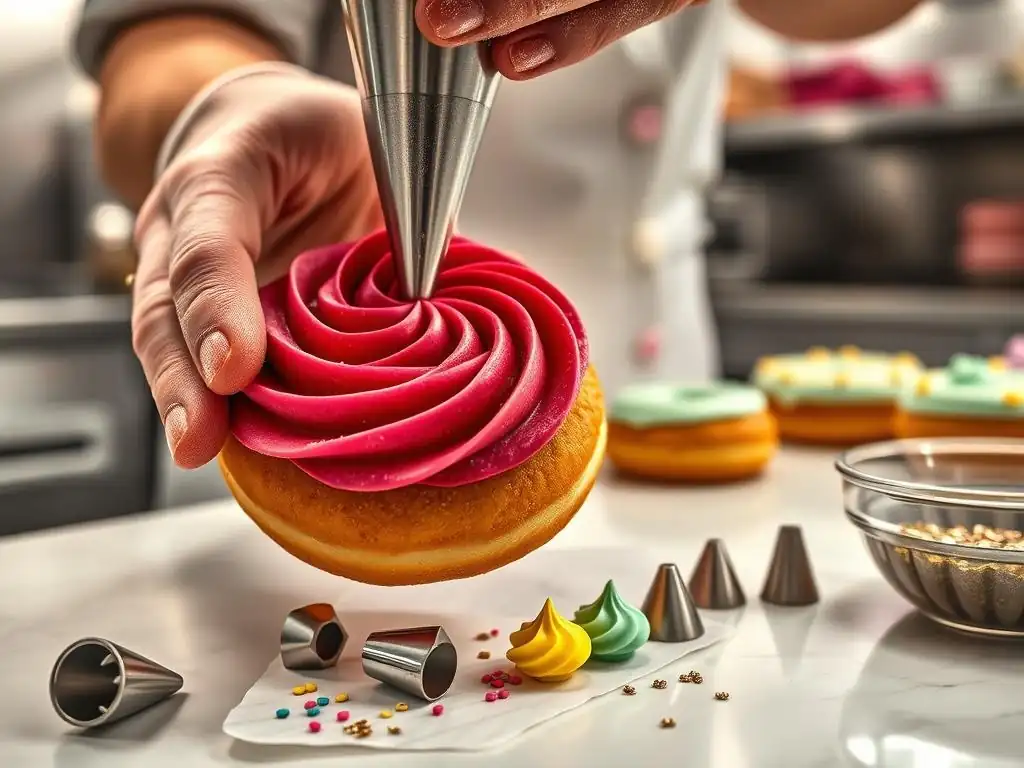
Creating Decorative Swirls on Filled Doughnuts
Once your doughnuts are filled, you might want to add a decorative flourish on top, often masking the filling hole or simply adding visual appeal. A common technique is piping a swirl of complementary frosting or ganache. Using a star tip (like an open star tip, e.g., Wilton 1M) or a large round tip (e.g., Wilton 1A), start piping from the center of the doughnut, applying steady pressure.
Guide the tip in a circular motion, working outwards from the center, allowing the frosting to build up into a swirl. For a more rustic look, you can swirl inwards. Practice on parchment paper first to perfect your motion and pressure. This adds a professional touch and provides a perfect base for sprinkles or other garnishes. While focusing on easy doughnut piping techniques for filling, adding a simple swirl elevates the final product significantly.
Piping Multiple Fillings for Unique Flavor Combinations
Don't limit yourself to just one filling per doughnut! For a more complex flavor profile, you can pipe two different fillings into the same doughnut. This requires a bit more care with injection points and quantities. For example, you could inject a small amount of raspberry jam into one side of a doughnut and then pipe vanilla custard into the other side.
Alternatively, you can create a marbled effect within a single filling by swirling two colors or flavors together before putting them in the bag, or by carefully layering two fillings side-by-side in the bag. When piping multiple fillings, ensure they have similar consistencies so they pipe evenly. This technique adds an exciting element of surprise with every bite and is a fun extension of basic easy doughnut piping techniques.
Using Different Piping Tips for Varied Decorative Effects
Beyond filling tips, exploring a variety of decorative tips can transform your filled doughnuts and pastries. As mentioned, star tips create beautiful textured swirls. A large round tip can be used for smooth domes of frosting or ganache. Even simple lines or dots piped with a small round tip can add detail.
Consider the overall look you want to achieve. For a classic look on a filled éclair, a simple glaze might suffice, but a decorative flourish of whipped cream piped with a star tip adds elegance. On a filled cupcake, the frosting piped with a decorative tip is often the main visual element. Experimenting with different tips allows you to expand your easy doughnut piping techniques into the realm of stunning presentation. A set of basic tips (round, star, perhaps a leaf tip) provides many possibilities.
Troubleshooting Common Doughnut and Pastry Piping Problems
Bag Bursting: Preventing Leaks and Messes
A bursting piping bag is a frustrating and messy problem. It's often caused by overfilling the bag, using a bag that's too thin for a stiff filling, or applying too much pressure, especially if the tip is clogged or the filling is too thick. Using easy doughnut piping techniques relies on a sturdy bag and appropriate pressure.
To prevent bursts, avoid filling the bag more than two-thirds full. Choose a sturdy bag, especially for thicker fillings like dense cream cheese frosting. Ensure your filling consistency is appropriate for piping – if it's too stiff, try warming it slightly or adding a tiny amount of liquid (like milk or cream) if the recipe allows. Always twist the top of the bag tightly to channel pressure towards the tip, not the seams of the bag. If you feel excessive resistance when piping, stop and check for clogs or filling consistency issues rather than forcing it.
Uneven Filling Distribution: Achieving Consistent Results
Piping unevenly can result in some pastries being generously filled while others are almost empty. This is often due to inconsistent pressure or not inserting the tip far enough into the pastry. When practicing easy doughnut piping techniques, consistency is key.
To achieve even filling, maintain steady, consistent pressure on the bag from start to finish. When injecting into doughnuts or pastries, insert the tip to roughly the same depth each time. For larger items, consider injecting from multiple points to ensure the filling reaches all areas. As you pipe, you'll develop a feel for when the doughnut or pastry is adequately filled – it will become noticeably heavier and offer slight resistance. Practice helps you gauge the correct amount of filling for different sizes and types of baked goods.
Clogged Piping Tips: Quick Solutions for Smooth Flow
A clogged piping tip interrupts your flow and can lead to bursting bags or uneven piping. Clogs are typically caused by pieces of fruit, seeds, lumps in the filling (like unmixed sugar or flour), or filling that is too cold or thick. This is a common hurdle when mastering easy doughnut piping techniques.
If your tip clogs, stop piping immediately. You can try gently squeezing the bag to dislodge the clog, but be careful not to apply too much pressure. Often, the best solution is to remove the tip (if using a coupler) or the bag end and clear the obstruction with a skewer or toothpick. If the filling itself is too thick, you may need to empty the bag, adjust the filling consistency (warm it slightly or remix), and then refill the bag. Straining fillings with potential lumps or seeds before piping can prevent many clogs.
Cleaning and Storing Your Piping Equipment
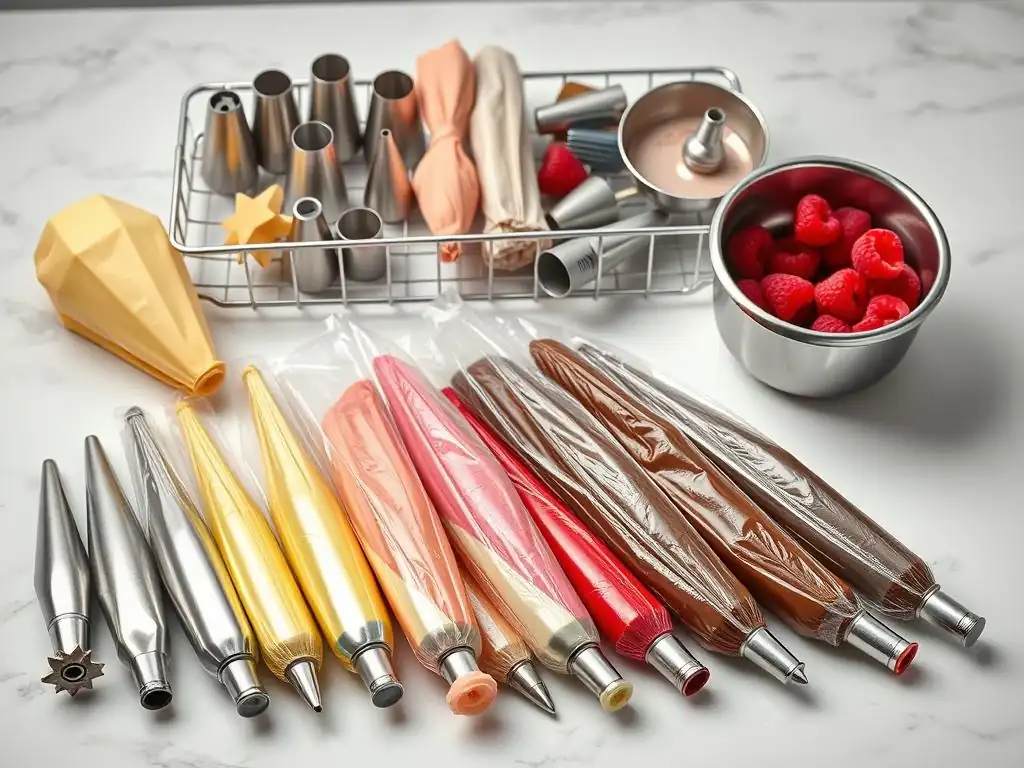
Proper Cleaning Techniques for Longevity
Proper cleaning is essential to keep your piping equipment hygienic and in good condition for future use with easy doughnut piping techniques. As soon as you finish piping, empty any remaining filling from the bag and tips. For disposable bags, simply discard them.
For reusable bags and tips, rinse them thoroughly under warm running water immediately. Use a small brush (a bottle brush or even an old toothbrush works well) to scrub inside the tips and bags to remove all traces of filling, especially from intricate star tips. Wash everything with hot, soapy water. Rinse again completely and dry thoroughly. Bags can be hung upside down to air dry. Ensure everything is completely dry before storing to prevent mold or rust on metal tips.
Safe Storage Practices to Prevent Contamination
Once clean and dry, store your piping equipment properly to keep it organized and free from dust or contaminants. Piping tips are often sold with small storage cases or containers, which are ideal for keeping them together and preventing them from getting lost.
Reusable bags should be stored in a clean, dry place, perhaps folded neatly in a drawer or container. Keeping tips and bags together in a dedicated container makes them easy to find the next time you want to practice your easy doughnut piping techniques or fill pastries. Avoid storing them near strong odors or in damp environments.
Elevate Your Baking: The Art of Professional Pastry and Doughnut Filling
Practicing Your Piping Skills: Tips for Continuous Improvement
Like any skill, mastering easy doughnut piping techniques and pastry filling requires practice. Don't be discouraged if your first attempts aren't perfect. Start with simple fillings and techniques. You can practice filling on less precious items initially, or even practice piping water or mashed potatoes onto parchment paper to get a feel for pressure and control before working with your actual filling.
Set aside dedicated time to practice different grips, pressures, and insertion techniques. Try filling different shapes and sizes of baked goods. Pay attention to the consistency of your filling and how it behaves. Consistent practice will build your muscle memory and confidence, allowing you to tackle more challenging recipes and techniques with ease.
Exploring Creative Filling Combinations for Unique Doughnuts and Pastries
Once you're comfortable with the basic easy doughnut piping techniques, the fun really begins with exploring creative filling combinations. Move beyond classic custard and jam. Consider fillings like salted caramel, passion fruit curd, speculoos cream, or even savory options like cheese sauce for certain pastries.
Think about complementary flavors that pair well with your pastry or doughnut base. For a chocolate doughnut, a peanut butter or mint chocolate chip filling could be delicious. For a light choux pastry, a delicate raspberry mousse or lemon curd might be perfect. Experimenting with different textures too – combining a smooth cream with a slightly chunky fruit compote, for instance. The possibilities are nearly endless, allowing you to create truly unique and memorable baked goods.
BakeWithEase: Your Partner in Mastering Baking Techniques
At BakeWithEase, we believe that mastering baking techniques, including easy doughnut piping techniques, should be an enjoyable and rewarding journey. We are dedicated to providing you with clear, step-by-step guidance to help you build your skills and confidence in the kitchen.
From choosing the right tools to troubleshooting common issues, we're here to support you every step of the way. Keep exploring our resources for recipes, tips, and inspiration. With practice and a willingness to experiment, you'll soon be filling pastries and doughnuts like a seasoned pro, delighting yourself and others with your delicious creations. Happy Baking!
Frequently Asked Questions
What is the best piping bag to use for filling doughnuts?
For ease of use and control, a disposable piping bag is often recommended. They're sanitary and you can easily snip the tip to your desired size. Consider using a heavy-duty bag for thicker fillings.
What is the ideal consistency for doughnut filling to ensure easy piping?
The filling should be smooth, creamy, and easily flowable, but not too runny. A consistency similar to that of soft-serve ice cream is generally perfect for piping.
What are some essential piping tips for filling doughnuts neatly?
Use a round piping tip or a plain nozzle for a smooth, even fill. Insert the tip into the doughnut and gently squeeze the bag, stopping before the filling overflows.
How do I prevent air bubbles from forming in my doughnut filling during piping?
Ensure your filling is thoroughly mixed to eliminate any air pockets. When filling, maintain consistent pressure on the piping bag and avoid stopping and starting abruptly.
What are some alternative piping techniques if I don't have a piping bag?
In a pinch, you can use a ziplock bag with a small corner snipped off. Alternatively, a spoon can be used to carefully fill the doughnuts, although it may be less precise.
Final Reflection: Mastering the Art of Doughnut Piping
The seemingly simple act of piping a doughnut holds a surprising power: it transforms a humble treat into a personalized masterpiece. From the perfectly swirled glaze to the intricate designs adorning the surface, the skill of piping elevates the baking experience, making even the most basic doughnut a testament to creativity and precision. This is more than just a culinary skill; it's a gateway to expressing individuality through food.
The impact of accessible baking techniques, like those explored in this article, is undeniable. It empowers home bakers to take control of their creations, moving beyond pre-made decorations and embracing the joy of hands-on artistry. The best things in life are homemade,
a sentiment that resonates deeply as we connect with the process of creation. This simple act of piping not only enhances the visual appeal of our baked goods but also fosters a deeper appreciation for the ingredients and the time invested in crafting something beautiful. It's a tangible connection to tradition, yet simultaneously a platform for innovation and self-expression.
Now, consider your own baking journey. What designs will you create? What flavors will you explore? This article provided the foundation; now it's your turn to experiment, to innovate, and to discover the unique joy of transforming simple ingredients into extraordinary doughnuts. Don't be afraid to try new things, to push your boundaries, and to share your creations with the world. The possibilities are as endless as your imagination, and the sweet reward is well worth the effort.
Unleash Your Inner Pastry Chef!
Thanks for taking the time to explore the world of piping with us! We hope you now feel confident in tackling basic piping techniques for creating stunning pastries and doughnuts. Ready to put your new skills to the test?
- Master a new piping technique: Try creating your own unique design using the tips and tricks we've shared. Challenge yourself to go beyond the basics!
- Share your creations: Show us your piped masterpieces on social media using #BakeWithEasePiping – we’d love to see them!
- Explore advanced piping techniques: Dive deeper into the world of piping by researching different nozzles and decorative techniques.
What delicious creation will you pipe first?