
Elevate Your Cupcakes: Basic Piping Designs Made Easy

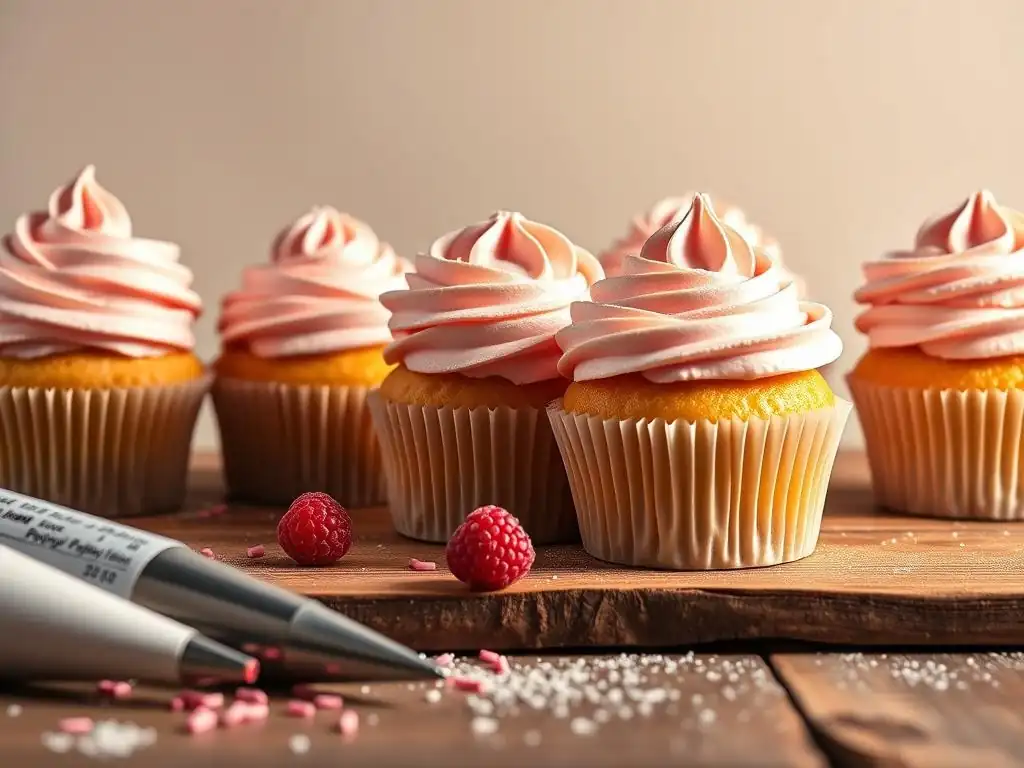
Welcome to BakeWithEase, your haven for baking bliss! Ready to transform ordinary cupcakes into edible masterpieces? Discover the secrets to achieving stunning, yet surprisingly easy cupcake piping designs. We'll break down the fundamentals, even if you're new to the piping bag. Intrigued? Let's unlock your inner cupcake artist and create desserts that are as beautiful as they are delicious!
- Elevate Your Cupcakes: Mastering Essential Piping Designs
- Introduction to Cupcake Piping
- Essential Cupcake Piping Techniques
- Step-by-Step Piping Tutorials
- Tips and Tricks for Flawless Piping
- Creative Cupcake Piping Ideas
- Cleaning and Storing Piping Tools
- Conclusion: Enjoying Your Decorated Cupcakes
-
Frequently Asked Questions
- What are some easy cupcake piping designs for beginners?
- What type of frosting is best for easy cupcake piping designs?
- What are the essential tools needed for easy cupcake piping designs?
- How do I achieve a smooth and professional look for my easy cupcake piping designs?
- Where can I find more inspiration for easy cupcake piping designs beyond the basics?
- Final Reflection: The Sweet Art of Simple Elegance
- Unleash Your Inner Pastry Artist!
Elevate Your Cupcakes: Mastering Essential Piping Designs
Introduction to Cupcake Piping
Decorating cupcakes with beautiful icing designs might seem intimidating at first glance, but it's a skill that's surprisingly accessible and incredibly rewarding. Mastering some basic piping techniques can transform simple cupcakes into stunning treats perfect for any occasion, from casual gatherings to special celebrations. This guide will walk you through achieving gorgeous finishes using easy cupcake piping designs, helping you build confidence and creativity in your baking journey. We'll cover the essential tools, preparation, key techniques, and helpful tips to ensure your icing flows smoothly and your designs look fantastic.
Learning simple cupcake piping designs opens up a world of possibilities for personalizing your baked goods. Whether you're aiming for elegant swirls, delicate rosettes, or classic star patterns, the principles are the same. By understanding how your tools work and how to prepare your icing correctly, you can achieve professional-looking results right in your own kitchen. Get ready to add that extra touch of flair to your cupcakes and delight everyone with your decorating prowess!
Essential Tools for Cupcake Piping
To start creating beautiful easy cupcake piping designs, you'll need a few key tools. The most fundamental is a piping bag, which can be reusable silicone or canvas, or disposable plastic. Disposable bags are convenient for quick clean-up, while reusable ones are more eco-friendly. You'll also need piping tips, which are small metal or plastic nozzles that attach to the end of the bag to shape the icing. A basic set often includes tips for swirls (like the 1M or 2D), stars (like the 18 or 21), and round openings (like the 12).
Another helpful tool is a coupler, which is a two-part plastic piece that allows you to change piping tips on a single bag without emptying the icing. This is particularly useful when you want to use the same color icing but create multiple different designs on your cupcakes. While not strictly necessary for every design, a coupler adds versatility and makes experimenting with different basic piping techniques much easier. Having a variety of tip sizes and shapes will enable you to execute a wider range of simple piping designs.
Preparing Piping Bags and Icing
Proper preparation is key to successful cupcake piping. If you're using a reusable piping bag, ensure it's clean and dry before use. For both reusable and disposable bags, you'll need to fit the piping tip. If using a coupler, place the inner ring inside the bag, push it through the opening, place the tip over the ring, and screw the outer ring on to secure it. If not using a coupler, snip off the very end of the bag, just enough for the tip to fit snugly and not fall through. Test this with the tip before cutting.
Filling the bag correctly prevents air bubbles and mess. Fold the top edge of the piping bag down to create a cuff. Use a spatula or spoon to scoop the icing into the bag, pushing it down towards the tip. Fill the bag about two-thirds full – overfilling makes it hard to control. Unfold the cuff and twist the top of the bag tightly to seal the icing in and create pressure for piping. This simple step ensures a smooth flow of icing, crucial for achieving clean, easy cupcake piping designs.
Achieving the Right Icing Consistency
The consistency of your icing is paramount for successful piping. If the icing is too stiff, it will be difficult to pipe smoothly and can tear the bag. If it's too soft or runny, your designs won't hold their shape. A good piping consistency is firm enough to hold a peak when lifted but soft enough to flow smoothly through the piping tip with steady pressure. Buttercream is a popular choice for cupcake piping because it holds shapes well, but other icings like cream cheese frosting or ganache can also be used if adjusted correctly.
To adjust the consistency, you can add a liquid (like milk, cream, or a few drops of water or lemon juice) to soften stiff icing, or add more powdered sugar or a bit of cornstarch to thicken runny icing. Add liquids or dry ingredients very gradually, mixing thoroughly after each addition, until you reach the desired texture. A common issue is icing becoming too soft from the heat of your hands; chilling the filled piping bag in the refrigerator for 15-20 minutes can often firm it back up to the ideal piping consistency for easy cupcake piping designs.
Essential Cupcake Piping Techniques
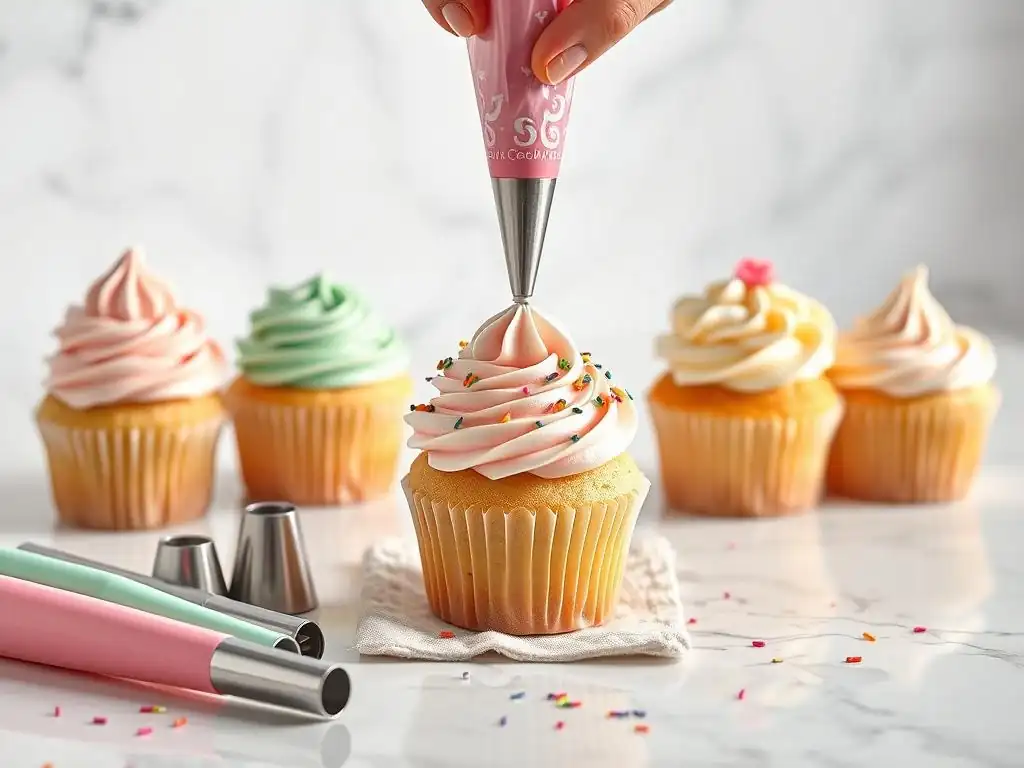
Once you have your tools ready and your icing prepared to the perfect consistency, you can explore several essential techniques that form the foundation of beautiful cupcake decoration. These basic piping designs are simple enough for beginners but versatile enough to look impressive. Mastering these few techniques will give you the confidence to decorate a variety of cupcakes for any occasion.
Understanding the basic movements and pressure control for each technique is key. Practice on a piece of parchment paper first to get a feel for how the icing flows and how much pressure is needed. This saves you from potentially messing up your actual cupcakes while you're learning. Let's dive into some of the most popular and easy cupcake piping designs.
The Classic Swirl
The classic swirl is perhaps the most iconic and widely used cupcake decoration. It creates a beautiful, rounded peak of icing that looks both elegant and generous. This technique typically uses a large open or closed star tip (like the 1M or 2D). The key to a perfect swirl is consistent pressure and a steady hand, moving in a circular motion.
This easy cupcake piping design is incredibly forgiving and looks great even with slight imperfections. It's a fantastic starting point for anyone learning how to pipe icing onto cupcakes. You can vary the height and width of the swirl depending on how many layers you build and how much pressure you apply.
Rosette Piping
Rosettes are lovely, floral-like designs that add a touch of sophistication to cupcakes. They are essentially a tight swirl that starts from the center and works its way outwards, or vice versa. Rosettes are typically piped using a closed star tip, which creates more defined ridges than an open star tip.
This technique looks intricate but is surprisingly simple once you get the hang of it. It's another excellent example of an easy cupcake piping design that elevates the look of your baked goods significantly. Practicing the circular motion and maintaining even pressure will result in beautiful, uniform rosettes.
Star Piping
Star piping involves creating multiple small stars or a textured surface using a star tip. This can be done by piping individual stars or by covering the entire surface with small star-like bursts. This technique is versatile and can create different textures depending on the size of the star tip used and the pressure applied.
Using a small star tip (like size 18 or 21) allows you to create detailed patterns or cover the cupcake with a dense, textured finish. This is a straightforward and easy cupcake piping design perfect for adding visual interest without complex movements. It's also great for covering any imperfections on the cupcake surface.
Shell Border
While often used on cakes, the shell border can also be applied to cupcakes, typically around the edge or as a decorative element. It's a classic technique using a star tip where you pipe a teardrop shape, lifting slightly at the end to create a tail. Repeating these side-by-side forms a border.
On cupcakes, a single shell or a few shells can be used as a simple accent rather than a full border. This technique helps refine your pressure control and lifting motion, which are fundamental skills for many piping designs. It's a good technique to practice for developing precision in your easy cupcake piping designs.
Step-by-Step Piping Tutorials
Now that you're familiar with the essential techniques, let's break down how to execute each one with step-by-step instructions. Following these guides will help you practice the necessary movements and pressure control for each easy cupcake piping design. Remember, patience and practice are your best friends when learning to pipe!
It's highly recommended to practice these steps on parchment paper or a baking sheet before decorating your actual cupcakes. This allows you to get a feel for the pressure needed and the required motion without the pressure of potentially messing up your finished product. You can scrape the practice icing back into the bag and reuse it.
Piping the Perfect Swirl
To pipe the classic swirl, use a large open or closed star tip (like 1M or 2D) and fill your piping bag with prepared icing. Hold the bag upright, perpendicular to the cupcake, with the tip just above the center. Start applying steady, even pressure.
Begin piping in the center of the cupcake and move outwards in a spiral motion, overlapping the previous layer slightly. Once you reach the edge of the cupcake, continue the spiral motion, building upwards towards the center. Release pressure as you reach the desired height and pull the bag straight up to finish the swirl, creating a peak. Aim for 2-3 layers for a standard swirl height.
Creating Rosettes with Ease
For rosettes, use a closed star tip (like 2D or 1E). Hold the piping bag at a slight angle (around 45 degrees) to the cupcake surface. Start piping from the center of the cupcake, applying steady pressure.
Pipe a tight spiral, moving outwards in a circular motion from the center point. Keep the spiral compact to create the rose shape. Once you reach the desired size, stop applying pressure and gently lift the bag away. Alternatively, some prefer starting at the edge and spiraling inwards towards the center. Both methods create beautiful easy cupcake piping designs.
Star Piping Techniques
To create individual stars, use a star tip (size 18, 21, or similar). Hold the piping bag perpendicular to the cupcake surface. Apply quick, firm pressure to pipe a star shape, then stop pressure and lift the bag straight up. Repeat this motion across the cupcake surface to cover it with stars.
For a textured star covering, hold the bag perpendicular and apply steady, consistent pressure while moving the bag slowly across the surface, covering it with small, connected star bursts. This creates a fluffy, textured look. This is one of the most straightforward and easy cupcake piping designs to master.
Mastering the Shell Border
To pipe a shell, use a star tip (like 21 or 32). Hold the bag at a 45-degree angle to the surface. Apply pressure to start piping, letting the icing fan out slightly. As you move the bag forward slightly, gradually decrease pressure while lifting the bag away, creating a tail.
For a border effect on a cupcake, you might pipe a single shell at the base of the swirl or pipe a few shells around the edge. Practice the teardrop shape and the lifting motion to get clean, defined shells. This technique hones your pressure control, valuable for many easy cupcake piping designs.
Tips and Tricks for Flawless Piping
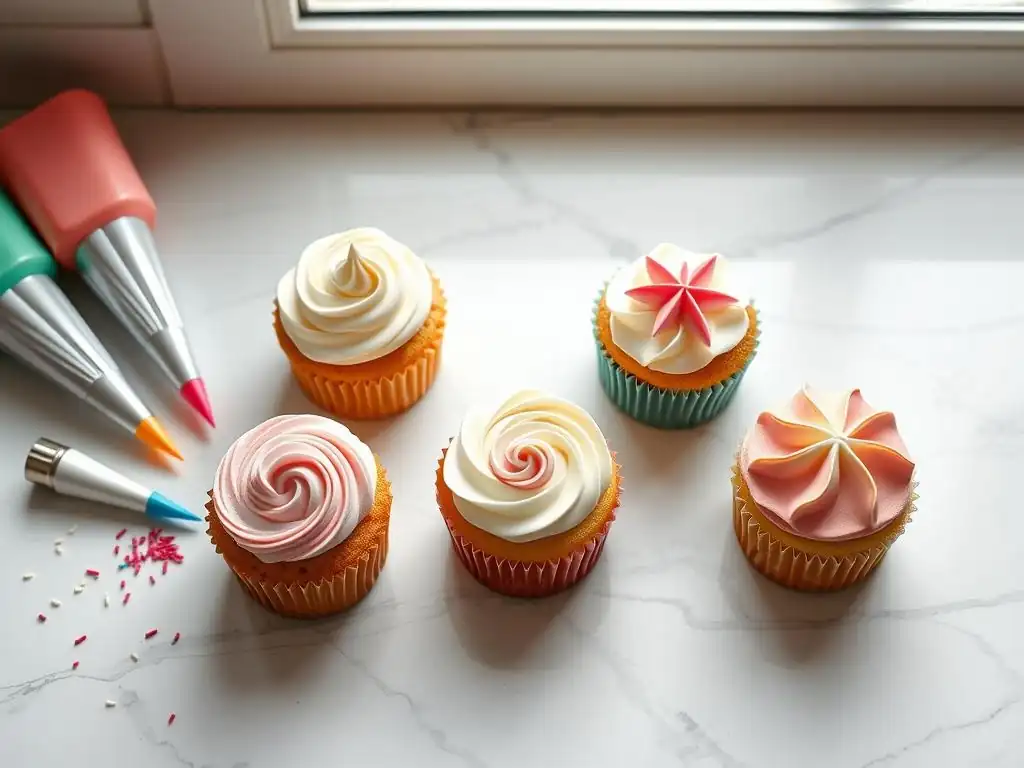
Beyond the basic techniques, a few insider tips can significantly improve your piping results. Achieving smooth, professional-looking designs comes down to attention to detail, proper technique, and a bit of practice. These pointers will help you avoid common pitfalls and make your easy cupcake piping designs truly shine.
Remember that even experienced decorators have off days. Don't get discouraged if your first attempts aren't perfect. Piping is a skill that improves with repetition. Focus on understanding why something isn't working – is the icing consistency wrong? Is your pressure uneven? Is your angle off? Troubleshooting is part of the learning process.
Avoiding Common Piping Mistakes
One common mistake is inconsistent pressure. This leads to uneven lines or misshapen designs. Try to maintain steady pressure on the bag for a smooth, continuous flow of icing. Another issue is air bubbles in the bag, which cause frustrating breaks in the icing stream. To avoid this, fill your bag carefully, pushing the icing down, and gently squeeze out any trapped air before you start piping.
Holding the bag at the wrong angle or moving too quickly can also ruin designs. Most techniques require holding the bag perpendicular or at a slight angle. Practice the correct angle for each design and move at a steady pace that allows the icing to form the desired shape. Overfilling the bag is another pitfall, making it hard to grip and control pressure effectively. Stick to filling the bag about two-thirds full for optimal control over your easy cupcake piping designs.
Achieving Smooth Icing Application
For a smooth, even application, ensuring your icing is free of lumps is crucial. Sifting powdered sugar before making buttercream helps prevent grainy texture. The icing consistency, as discussed earlier, is also vital; it should be smooth and pliable, not stiff or runny. Mixing your icing thoroughly helps achieve this uniform texture.
When piping techniques like covering the surface with stars or simple swirls, try to maintain an even distance between the tip and the cupcake surface. This consistency in distance, combined with steady pressure and movement, contributes significantly to a smooth and professional finish for your easy cupcake piping designs. If piping multiple layers, ensure each layer is relatively even before building on top.
Practice Exercises for Piping Skills
Regular practice is the best way to improve your piping skills. Instead of just decorating cupcakes, dedicate time to practicing on parchment paper. Draw lines, dots, zigzags, and shapes to work on pressure control and straight lines. Practice the specific movements for swirls, rosettes, and stars repeatedly until they feel natural.
You can even print out templates of shapes or cupcake tops to practice piping within confined areas. Scrape the icing off the parchment paper and put it back in the bag to minimize waste. Aim for 10-15 minutes of dedicated practice a few times a week. Consistent practice on these basic piping techniques will significantly boost your confidence and ability to create stunning easy cupcake piping designs.
Creative Cupcake Piping Ideas
Once you're comfortable with the basic piping techniques, you can start combining them and experimenting with different colors and decorations to create more unique and eye-catching cupcakes. Simple variations on classic designs can lead to surprising and beautiful results. Let your creativity flow!
Think about how different tips create different textures and shapes. How can you layer a swirl on top of a star base? Can you use different sized tips on the same cupcake? Exploring these possibilities is part of the fun of decorating easy cupcake piping designs and making them your own.
Simple Cupcake Piping Design Showcase
A simple showcase of easy cupcake piping designs might include a classic tall swirl topped with sprinkles, a cupcake covered entirely in small stars of a single color, or a rosette placed off-center with a few leaves piped alongside it (though leaves require a different tip, it's a simple addition). Another easy design is a flat-top covering using a large round tip, then adding a smaller piped detail on top, like a contrasting color dot or a tiny swirl.
Consider using two different colors of icing in one bag for a marbled effect on swirls, or piping different sections of the cupcake with different colors or techniques. For instance, pipe a smooth base layer with a round tip, then add a small star pattern only around the edge. These combinations of basic piping techniques offer endless possibilities for creative and easy cupcake piping designs.
Icing Color and Combination Ideas
The colors of your icing can dramatically change the look and feel of your easy cupcake piping designs. Using vibrant colors can make cupcakes look fun and festive, while pastels create a softer, more elegant look. Consider using food coloring gels for rich, intense colors without adding too much liquid to your icing.
Combining colors within a single design is another great idea. You can stripe the inside of a piping bag with a different color before filling it with the main icing for a two-tone effect on swirls or stars. Using contrasting colors for different elements, like a blue swirl with white stars piped on top, adds visual interest. Think about color palettes that fit the occasion – reds and greens for holidays, pastels for spring, or team colors for a sports event. Experimenting with icing color is a simple way to enhance your easy cupcake piping designs.
Cleaning and Storing Piping Tools
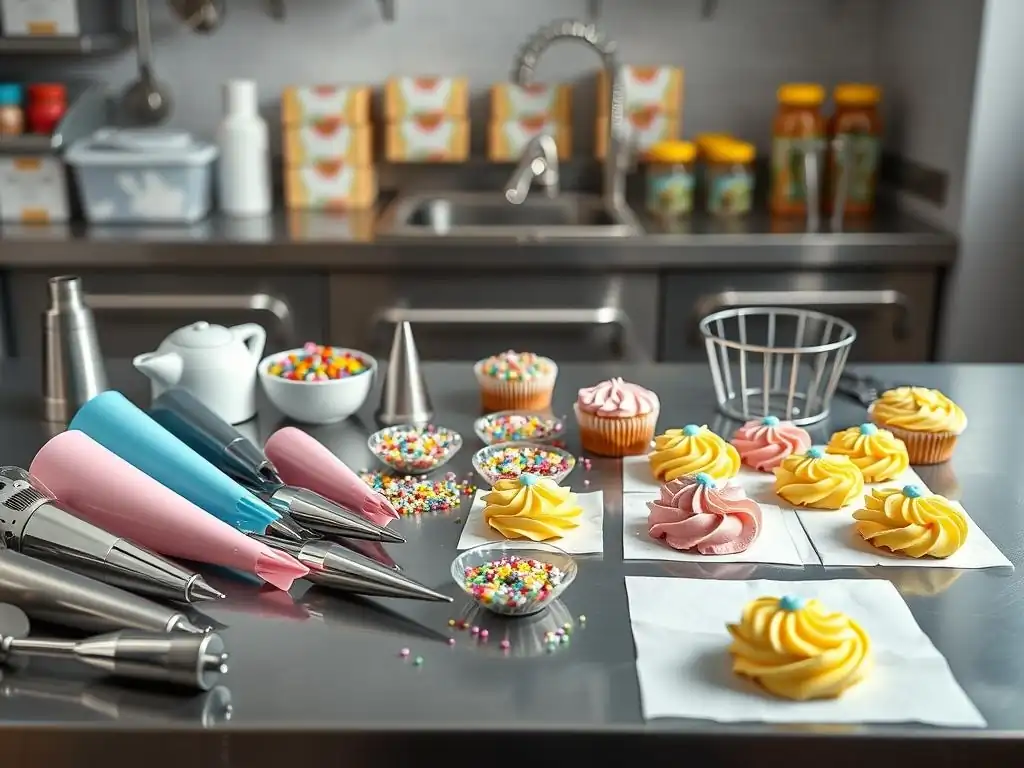
Proper care of your piping tools ensures they last longer and are ready to go the next time inspiration strikes. Icing can harden quickly, making cleaning more difficult, so it's best to clean your tools as soon as possible after use. Storing leftover icing correctly also saves time and reduces waste.
Taking a few minutes for cleaning and storage after you've finished decorating your easy cupcake piping designs will make your next baking session much smoother. It's a small but important step in the overall process.
Proper Cleaning Techniques
For piping tips and couplers, rinse off as much icing as possible immediately after use. A small brush, like a pastry brush or even an old toothbrush, is excellent for scrubbing inside the tips to remove stubborn icing caught in the crevices. Wash them in warm, soapy water, rinse thoroughly, and let them air dry completely before storing.
Reusable piping bags should also be rinsed immediately. Turn them inside out to get to all the corners. Wash them in warm, soapy water, scrubbing gently if needed. Rinse thoroughly and hang them upside down to dry completely. Ensuring tools are fully dry prevents mold and mildew. Disposable bags can simply be discarded after use, making cleanup for easy cupcake piping designs even quicker.
Storing Icing for Freshness
Leftover buttercream or other stable icings can often be stored for later use. Place the icing in an airtight container. Buttercream can typically be stored at room temperature for 1-2 days, in the refrigerator for up to a week, and in the freezer for several months. Always check the specific type of icing for best storage practices.
When ready to use refrigerated or frozen icing, let it come back to room temperature. You may need to re-whip it briefly with a mixer to restore its smooth, pipeable consistency. Sometimes, adding a tiny bit of liquid might be necessary if it seems too stiff. Proper storage ensures you have ready-to-use icing for future easy cupcake piping designs without having to make a fresh batch every time.
Conclusion: Enjoying Your Decorated Cupcakes
You've now learned the essential tools, preparation steps, basic techniques, and helpful tips for creating beautiful easy cupcake piping designs. From the classic swirl to elegant rosettes and versatile stars, these skills provide a solid foundation for cupcake decoration. You've also got ideas for creative variations and the know-how for proper tool care.
The most important step now is to enjoy your beautifully decorated cupcakes! Share them with friends and family, admire your handiwork, and savor the delicious results of your effort.
Continuing Your Decorating Journey
Mastering these basic piping techniques is just the beginning of your decorating adventure. Keep practicing, try new tips and techniques, and experiment with different icing flavors and colors. There are countless easy cupcake piping designs and more advanced techniques to explore as you grow in confidence. Don't be afraid to try something new or combine techniques in unexpected ways. Every cupcake you decorate is an opportunity to learn and improve. Keep baking, keep piping, and most importantly, keep having fun!
Frequently Asked Questions
What are some easy cupcake piping designs for beginners?
Beginners can start with simple swirls, rosettes, or even just spreading the frosting evenly. Focus on consistent pressure and a simple tip like a round or star tip.
What type of frosting is best for easy cupcake piping designs?
A stable buttercream frosting is ideal for piping, as it holds its shape well. Consider American buttercream or Swiss meringue buttercream for defined designs.
What are the essential tools needed for easy cupcake piping designs?
You'll need piping bags, piping tips (round, star, and petal are good starting points), a coupler (optional), and a spatula. A turntable can also be helpful for even frosting.
How do I achieve a smooth and professional look for my easy cupcake piping designs?
Practice! Start by practicing on parchment paper before frosting the cupcakes. Consistent pressure and a steady hand are key to achieving a polished look.
Where can I find more inspiration for easy cupcake piping designs beyond the basics?
BakeWithEase.com offers a variety of tutorials and recipes. You can also find inspiration on social media platforms like Pinterest and Instagram, searching for cupcake decorating ideas.
Final Reflection: The Sweet Art of Simple Elegance
Mastering basic cupcake piping designs isn't just about creating beautiful treats; it's about unlocking a world of creative expression accessible to everyone. The ease with which even the most novice baker can transform a plain cupcake into a miniature masterpiece is truly remarkable. This accessibility empowers individuals to personalize their baking, adding a touch of artistry to everyday moments.
The impact of simple, achievable baking projects like these extends far beyond the kitchen. It fosters a sense of accomplishment and pride, particularly in a world often focused on complex, intimidating culinary feats. The joy of creating something beautiful with your own hands is a powerful antidote to the pressures of daily life. Baking is at once child's play and adult joy. And love, of course.
– Alma Flor Ada. This quote perfectly encapsulates the feeling of satisfaction and connection that comes from mastering even the simplest of baking techniques.
Now, it's your turn. Don't be intimidated by the seemingly endless possibilities of cupcake decorating. Pick up a piping bag, choose your favorite frosting, and experiment! Let this article be your springboard to unleashing your inner artist. The beauty of a perfectly piped rose, a whimsical swirl, or even a simple dot, lies not just in the technique, but in the joy and personal touch you bring to each creation. Embrace the simplicity, celebrate the process, and savor the sweet rewards.
Unleash Your Inner Pastry Artist!
Thanks for joining us on this cupcake decorating adventure! You've just unlocked the secrets to creating beautiful, professional-looking piped designs – even if you're a complete beginner. Now it's time to put your new skills into practice!
- Master a new piping technique this week: Choose your favorite design from the article and practice until you feel confident. Challenge yourself to create a whole batch of beautifully decorated cupcakes!
- Share your creations: Show us your amazing cupcake art on social media – we’d love to see what you bake! Use #BakeWithEaseCupcakes.
- Experiment with different colors and flavors: Take your piping skills to the next level by exploring different color combinations and adding unique flavor profiles to your cupcakes.
Ready to transform your baking game? What's your favorite cupcake flavor to decorate?