
From Plain to Piped Perfection: The Basics You Must Know

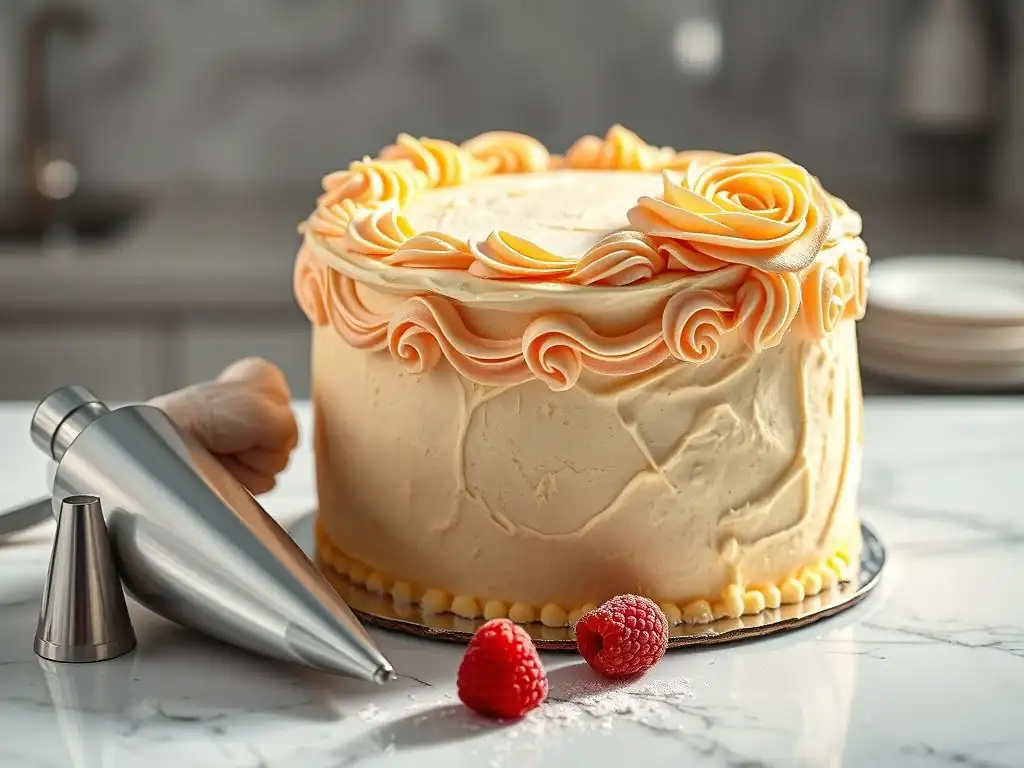
Welcome to BakeWithEase, where baking dreams become delicious realities! Are you ready to transform your cakes and cupcakes from ordinary to extraordinary? In this article, we'll unlock the secrets to achieving perfectly piped buttercream frosting. Intrigued by the elegant swirls you see on professional cakes? We'll guide you through the essential techniques and tools needed to create stunning designs, even if you're a beginner. Let's dive in and discover how you can elevate your baking game!
- Mastering Buttercream Piping: A Comprehensive Guide
- Introduction to Buttercream Piping for Cake Decorating
- Essential Tools for Buttercream Piping: Your Starter Kit
- Preparing Your Buttercream for Piping: The Key to Smooth Results
- Basic Buttercream Piping Techniques: A Step-by-Step Guide
- Piping Common Buttercream Designs: Techniques for Stunning Results
- Troubleshooting Common Buttercream Piping Problems
- Practicing and Improving Your Buttercream Piping Skills
- Mastering Buttercream Piping: Next Steps
-
Frequently Asked Questions
- How do I choose the right consistency of buttercream for piping?
- What are the essential tools needed for piping buttercream frosting?
- How do I properly fill a piping bag with buttercream?
- What are some basic piping techniques a beginner should learn?
- How do I prevent air bubbles from ruining my piped buttercream designs?
- Final Reflection: Mastering the Art of Buttercream Piping
- Unlock Your Inner Pastry Chef!
Mastering Buttercream Piping: A Comprehensive Guide
Introduction to Buttercream Piping for Cake Decorating
Why Learn Buttercream Piping? Elevating Your Cake Decorating Skills
Learning how to pipe buttercream frosting is a game-changer for anyone looking to take their baking creations from simple to stunning. It’s more than just a skill; it's an art form that allows you to personalize cakes, cupcakes, cookies, and other desserts with intricate details, elegant borders, and beautiful floral designs.
Mastering piping techniques opens up a world of creative possibilities, transforming plain baked goods into edible masterpieces that impress friends, family, or customers. Think about the difference between a cake simply frosted with a spatula and one adorned with delicate swirls, precise lines, or realistic flowers – the visual impact is immense.
Beyond aesthetics, understanding how to pipe buttercream frosting gives you control over texture and presentation. You can create everything from smooth, even coatings to dramatic peaks and ruffles. For instance, a simple swirl on a cupcake, achievable with a single piping tip, instantly elevates its appearance compared to just spreading the frosting. This skill is fundamental for many classic decorating styles and is highly sought after in both home baking and professional patisserie. Investing time in learning these basics will pay dividends in the quality and appeal of your finished baked goods, making them truly special.
Understanding Basic Piping Techniques: A Foundation for Success
A solid foundation in basic piping techniques is crucial for anyone learning how to pipe buttercream frosting effectively. This involves mastering the fundamental principles of controlling the piping bag, applying consistent pressure, and understanding how different tips shape the frosting. Without these basics, attempting more complex designs can be frustrating and yield inconsistent results. It’s like trying to write a novel before learning the alphabet; you need the building blocks first.
The core techniques include holding the bag correctly, applying steady, even pressure from the top of the bag, and guiding the tip smoothly to create desired shapes. For example, piping a straight line requires maintaining constant pressure and moving the tip at a consistent speed. Piping a dot involves holding the tip still while applying pressure, then stopping pressure and pulling straight up. These simple actions, when practiced, become intuitive and are the basis for all more elaborate piping work, such as creating borders, writing messages, or forming flower petals.
Essential Tools for Buttercream Piping: Your Starter Kit
Piping Bags: Choosing the Right Type
Selecting the right piping bag is the first step in learning how to pipe buttercream frosting effectively. There are several types available, each with its own advantages. Disposable piping bags, typically made of plastic, are popular for their convenience; you use them once and discard them, which makes cleanup incredibly easy. They come in various sizes, from small 8-inch bags suitable for delicate details to larger 16-inch bags that hold more frosting for bigger projects like covering a cake or piping many cupcakes. A standard 12-inch bag is a versatile size for beginners.
Reusable piping bags, often made of canvas, nylon, or silicone, are an eco-friendly option. While they require washing, they are durable and can last for years. Canvas bags offer good grip, nylon bags are smooth and easy to clean, and silicone bags are flexible. When choosing, consider the amount of piping you plan to do and your preference for cleaning versus convenience. Many bakers start with a pack of disposable bags to get a feel for piping before investing in reusable ones.
Piping Nozzles: A Guide to Different Tips and Their Uses
Piping nozzles, or tips, are the heart of buttercream piping, determining the shape and style of the frosting as it exits the bag. They are typically made of metal or plastic and come in a vast array of shapes and sizes, each designed for specific purposes. Understanding the basic categories of tips is essential for anyone learning how to pipe buttercream frosting. Most tips are numbered, and these numbers often indicate size or a specific pattern.
Round Piping Tips: Creating Lines, Dots, and Outlines
Round piping tips are perhaps the most fundamental type and are indispensable for learning how to pipe buttercream frosting. They have a simple circular opening and are incredibly versatile. Sizes range from very fine openings (like #1, #2, or #3) perfect for delicate details, writing, and fine outlines, to larger openings (like #10, #12, or #A1) used for piping dots, beads, filling areas, or creating thick lines.
To pipe a smooth line with a round tip, apply steady pressure while moving the bag at a consistent speed. For dots, hold the bag perpendicular to the surface, apply pressure until the dot reaches the desired size, then stop pressure and lift straight up. A medium-sized round tip like #12 is excellent for practicing basic techniques like dots and lines before moving onto more complex designs.
Star Piping Tips: Mastering Stars, Shells, and Rosettes
Star piping tips are easily recognizable by their serrated opening, which produces frosting with ridges. They are among the most popular tips for decorating cupcakes and cakes. Star tips come in two main varieties: open star tips (where the points are flared outwards, like #1M, #2D, #21) and closed star tips (where the points curve slightly inwards, like #32, #199). Open star tips generally produce sharper ridges, while closed star tips create more defined, often deeper, grooves.
These tips are perfect for piping classic star shapes, which are created similarly to dots but result in a star pattern. They are also used for shell borders, where you pipe a short line of frosting while gradually decreasing pressure and pulling away to create a tail, and for beautiful rosettes, made by piping a spiral outwards from the center or inwards from the edge. The #1M open star tip is a widely recommended tip for beginners learning how to pipe buttercream frosting swirls on cupcakes.
Petal Piping Tips: Crafting Realistic Buttercream Flowers
Petal piping tips have a distinct teardrop shape with one side wider and flatter than the other. These tips are specifically designed for creating realistic-looking buttercream flowers, such as roses, carnations, and ruffles. The technique involves holding the tip with the wider end facing downwards (or towards the center of the flower) and the narrower end facing upwards (or outwards).
By varying pressure and movement, you can create delicate petals that overlap, mimicking the natural structure of a flower. For example, to pipe a basic rose petal, hold the tip with the wide end down and pipe a curved stroke, letting the frosting fan out from the wider end. Tips like #104, #124, or #127 are common petal tips. Mastering these requires practice, often using a flower nail to build the flower layer by layer.
Specialty Piping Tips: Exploring Unique Textures and Designs
Beyond the basic round, star, and petal tips, there is a vast world of specialty piping tips designed to create unique textures and designs. These include basketweave tips (which have a flat, serrated side and a flat smooth side for creating woven patterns, like #46, #47), leaf tips (shaped like a V for piping leaves, like #352, #67), and grass/hair tips (with multiple small holes for creating fine strands, like #233).
Exploring specialty tips allows you to add intricate and distinctive elements to your cake decorating. While not essential for basic piping, they offer exciting possibilities once you've mastered the fundamentals of how to pipe buttercream frosting. For example, a basketweave tip can create a visually interesting side texture on a cake, while a leaf tip adds a natural touch to piped flowers.
Couplers: Switching Tips with Ease
Couplers are ingenious little tools that allow you to change piping tips on a single bag of frosting without having to empty the bag. This is incredibly useful when you need to use multiple tips with the same color of buttercream, saving time and reducing the number of bags you need to fill. A standard coupler consists of two parts: an inner ring that goes inside the piping bag before the tip, and an outer ring that screws onto the inner ring, securing the tip on the outside of the bag.
To use a coupler, drop the inner ring into the bag so the narrow end points towards the tip opening. Push it down firmly and mark where the end of the inner ring meets the outside of the bag. Trim the bag just below this mark.
Insert the desired tip over the narrow end of the inner ring on the outside of the bag, then screw the outer ring onto the inner ring to hold the tip in place. When you want to switch tips, simply unscrew the outer ring, swap the tip, and screw the outer ring back on. This simple system is a must-have for efficient piping.
Parchment Paper and Templates: Essential for Practice
When learning how to pipe buttercream frosting, practice is key, and parchment paper and templates are your best friends. Piping directly onto a cake can be intimidating and wasteful if you're still perfecting your technique. Parchment paper provides a smooth, non-stick surface that you can pipe onto repeatedly. You can scrape the frosting off the parchment paper and put it back in the bag (as long as it hasn't gotten too warm or messy) to practice again.
Templates, which can be printed from online resources or drawn yourself, provide guides for piping various shapes like lines, dots, swirls, letters, and even basic flower patterns. Place a template under a sheet of parchment paper and pipe directly over the lines. This helps you practice consistency in size, shape, and pressure. Practicing on parchment paper with templates allows you to build muscle memory and confidence before attempting to pipe onto your actual baked goods. A few hours spent practicing lines and dots on parchment paper can dramatically improve your results on a finished cake.
Preparing Your Buttercream for Piping: The Key to Smooth Results
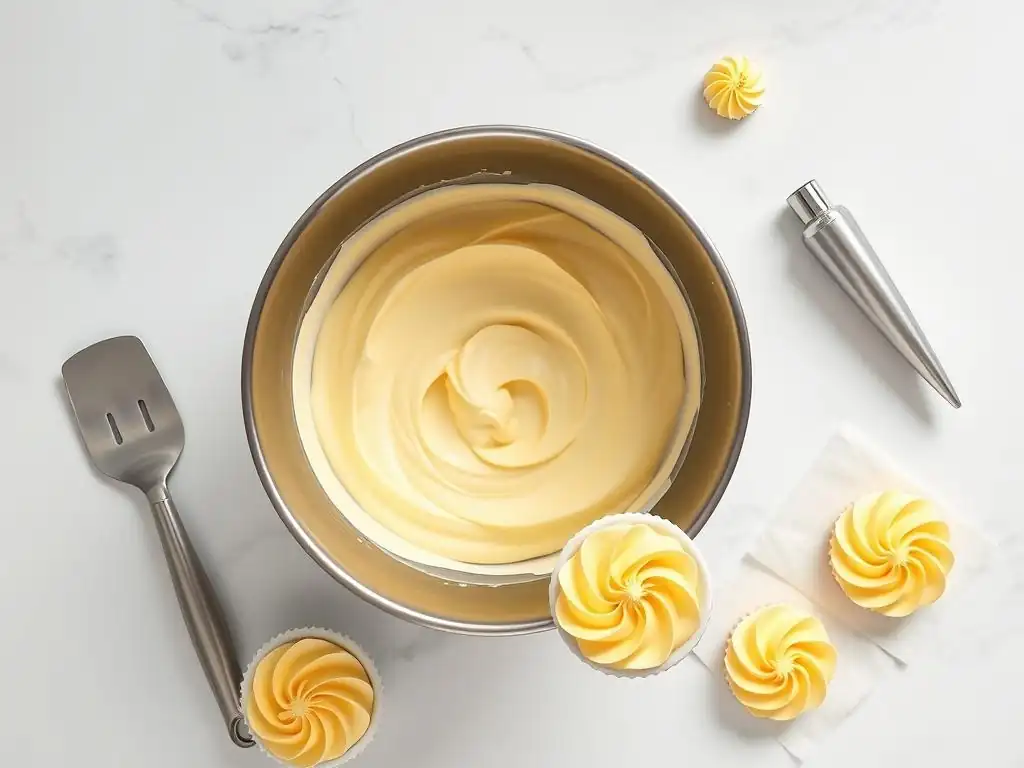
Achieving the Perfect Buttercream Consistency for Piping
The consistency of your buttercream is paramount for successful piping. It needs to be firm enough to hold its shape when piped but soft enough to flow smoothly through the tip without requiring excessive force. If the buttercream is too stiff, it will be difficult to pipe, can strain your hand, and may cause the bag to burst. If it's too soft, the piped shapes will lose definition and may melt or droop.
Finding the sweet spot usually means the buttercream is smooth, creamy, and holds a stiff peak when lifted with a spatula. Different piping tasks require slightly different consistencies. For detailed work like writing or fine lines, a slightly firmer buttercream is often preferred. For piping swirls on cupcakes or creating shell borders, a slightly softer consistency might be easier to work with, as long as it still holds its shape. Always test a small amount before filling your entire bag.
Tips for Adjusting Buttercream Consistency: Too Stiff or Too Soft?
Adjusting buttercream consistency is a common step when learning how to pipe buttercream frosting. If your buttercream is too stiff, you can loosen it by adding a very small amount of liquid, such as milk, cream, or even a bit of water, one teaspoon at a time. Beat the buttercream thoroughly after each addition until the desired consistency is reached. Another method is to beat the buttercream for a few minutes on low speed; the friction from the mixer can slightly warm and soften it.
If your buttercream is too soft, the easiest way to firm it up is to add more sifted powdered sugar, a tablespoon at a time, beating until incorporated. Alternatively, if the softness is due to warmth (perhaps from a warm kitchen or over-mixing), chilling the buttercream in the refrigerator for 10-20 minutes can help it firm up. Be sure to stir it again after chilling, as it can become very firm around the edges. Always make small adjustments and test as you go to avoid over-correcting.
Coloring Buttercream: Achieving Vibrant and Consistent Hues
Coloring buttercream is a fun way to add personality to your piped designs. For vibrant and consistent colors, gel food coloring is generally preferred over liquid food coloring. Gel colors are highly concentrated, meaning you need only a small amount to achieve intense colors, and they don't add excess liquid that could alter your buttercream's consistency. Liquid food coloring can sometimes thin the buttercream and may not produce as bright colors without using a large quantity.
Add food coloring gradually, using a toothpick or the tip of a knife, and mix thoroughly after each addition to assess the color. Remember that colors often deepen slightly as they sit, so it's better to start with a lighter shade than you think you need. If you're making a large batch of a single color, color it all at once to ensure consistency across all your piping bags. For instance, achieving a true red or deep black often requires using a significant amount of gel color or specific "no-taste" red/black colors designed for buttercream.
Filling Your Piping Bag: Preventing Air Bubbles and Messes
Properly filling your piping bag is essential for smooth, uninterrupted piping and preventing frustrating air bubbles. The easiest way to fill a piping bag is to place it tip-down into a tall glass or container and fold the top edge of the bag over the rim of the glass. This creates a wide opening that is easy to spoon the buttercream into, keeping the outside of the bag clean.
Spoon the buttercream into the bag using a spatula or spoon, filling it no more than two-thirds full. Overfilling makes the bag difficult to handle and control, and the warmth from your hand can quickly soften the frosting. Once filled, unfold the top of the bag and gently push the buttercream down towards the tip, using a bench scraper or your hand to eliminate any air pockets.
Twist or tie off the top of the bag to prevent frosting from squeezing out the wrong end. This technique ensures the buttercream flows smoothly when you apply pressure, which is key to learning how to pipe buttercream frosting without frustration.
Basic Buttercream Piping Techniques: A Step-by-Step Guide
How to Hold a Piping Bag: Achieving Control and Stability
Learning how to properly hold a piping bag is the very first technical skill you need to master when learning how to pipe buttercream frosting. Incorrect grip can lead to hand fatigue, inconsistent pressure, and lack of control over the tip. The standard grip involves holding the twisted or tied-off end of the bag in your dominant hand, using the palm and fingers to apply steady, even pressure. This is your "working hand."
Your non-dominant hand should guide the tip of the bag, providing stability and directing the flow of frosting. Keep the bag relaxed in your guiding hand, allowing the frosting to flow freely, while your working hand does the pushing. Think of your dominant hand as the engine providing power and your non-dominant hand as the steering wheel. Maintain a consistent angle relative to your surface (cake, cupcake, practice board) depending on the design you are piping.
Applying Pressure: Creating Consistent Lines and Shapes
Consistent pressure is arguably the most important element in achieving clean, uniform piped designs when learning how to pipe buttercream frosting. Uneven pressure results in lines that are thick and thin, dots of varying sizes, and wobbly shapes. The goal is to apply steady, gentle pressure with your working hand, allowing the buttercream to flow out smoothly through the tip at a constant rate.
Practice applying pressure evenly by piping simple straight lines on parchment paper. Start with light pressure, then increase it slightly to see how the thickness of the line changes. Try to maintain a level of pressure that produces a smooth, even line from start to finish. Remember to release pressure completely before lifting the bag away at the end of a design to avoid creating messy tails. It takes practice to develop a feel for the right amount of pressure needed for different tips and techniques.
Practicing Basic Piping Shapes: Mastering the Fundamentals
Mastering a few basic shapes is fundamental to learning how to pipe buttercream frosting. These shapes form the building blocks for more complex designs. Dedicate practice time specifically to these fundamentals before moving on to decorating actual baked goods. Use parchment paper and templates as described earlier.
Piping Straight Lines: A Foundation for More Complex Designs
Piping straight lines seems simple, but it's a crucial exercise for developing consistent pressure and control. Use a round tip, like a #12. Draw parallel lines on a piece of paper and place parchment over it. Hold the bag at a consistent angle (often around 45 degrees), apply steady pressure, and move the tip smoothly along the line. Try to keep the thickness of the line uniform from beginning to end. Practice piping lines of different lengths and thicknesses. This skill is vital for borders, lattice work, and many other designs.
Piping Dots and Beads: Adding Delicate Accents
Piping dots is another essential basic technique. Use a round tip, ranging from a small #3 for fine dots to a larger #12 for bigger ones. Hold the bag perpendicular to your surface. Apply quick, firm pressure, allowing the buttercream to create a dot of the desired size. Stop pressure completely and lift the bag straight up. Practice making dots of consistent size and spacing. Piping beads is similar, but you pipe a series of connected dots, letting each new dot slightly overlap the previous one to create a continuous string.
Piping Simple Swirls: Creating Elegant Borders
Simple swirls are easy to learn and versatile for decorating cupcakes or creating elegant borders. Use a star tip, like a #1M. For a cupcake swirl, start in the center and pipe a spiral outwards, moving the bag around the top of the cupcake while maintaining steady pressure. For a border swirl, hold the bag at an angle and pipe a series of connected, C-shaped swirls along the edge of the cake. Practice making swirls of consistent size and shape on parchment paper or inverted cupcake liners.
Piping Common Buttercream Designs: Techniques for Stunning Results
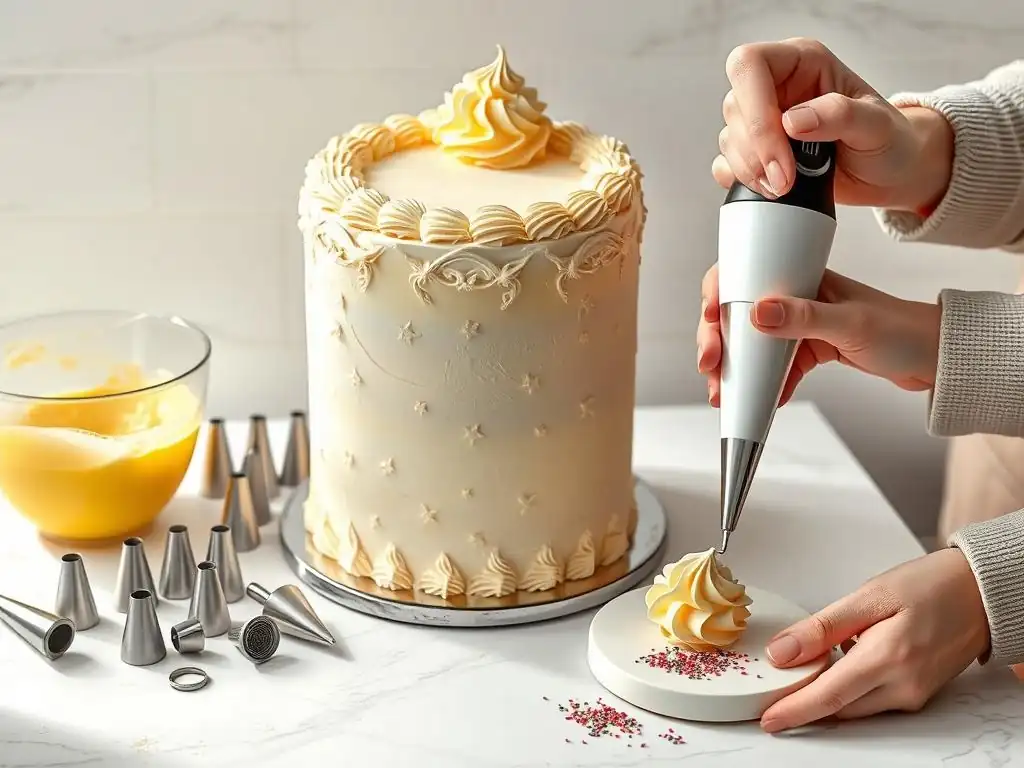
Piping Rosettes: Creating Classic Floral Accents
Rosettes are beautiful, classic designs often used on cupcakes or as decorative elements on cakes. They are typically piped using a star tip, most commonly an open star tip like the popular #1M. To pipe a rosette, hold the piping bag perpendicular to the surface (or slightly angled depending on the desired look). Start in the center of where you want the rosette to be. Apply steady pressure and pipe in a tight spiral motion, either moving outwards from the center or inwards from the edge, until the rosette is the desired size.
Release pressure and pull the tip away cleanly. The key to a beautiful rosette is consistent pressure and a smooth, continuous spiral motion. Practice piping rosettes on parchment paper until you can create uniform shapes. A standard size rosette on a cupcake uses roughly 1/4 to 1/3 cup of buttercream, depending on the size of the cupcake and the height of the swirl.
Piping Shell Borders: Adding a Touch of Elegance
Shell borders are a traditional and elegant way to finish the edge of a cake. They are typically piped using a star tip (open or closed, like #21, #32, or #1M). To pipe a shell, hold the bag at about a 45-degree angle to the cake surface. Apply firm pressure to pipe a mound of buttercream, then gradually decrease the pressure while pulling the bag towards you, creating a tapered "tail."
Release pressure completely before lifting the bag. Pipe the next shell so it slightly overlaps the tail of the previous one, creating a continuous, scalloped effect around the cake's edge. Maintaining consistent pressure at the start of each shell and consistent length for the tails is key to a uniform border. Practice the motion on parchment paper or a cake dummy before attempting it on your final project.
Piping Stars: Versatile Decorations for Cakes and Cupcakes
Piping individual stars is a simple yet effective way to add texture and decoration. This technique uses any star tip. Hold the bag perpendicular to the surface. Apply quick, firm pressure to create a star shape, then stop pressure and lift straight up.
Stars can be piped individually, placed close together to cover an area (creating a textured surface sometimes called "star fill"), or used to create simple borders. For example, piping stars side-by-side along the top edge of a cake creates a simple, decorative border. Varying the size of the star tip allows for different looks, from small delicate stars using a #21 tip to larger, bolder stars using a #1M tip.
Piping Simple Flowers: A Beginner-Friendly Floral Design
While realistic buttercream flowers often require petal tips and a flower nail, you can create simple, charming flowers using just star or round tips. A popular beginner flower is the "drop flower," made with a closed star tip like #2D or #1M. Hold the bag perpendicular to the surface and apply firm pressure, keeping the tip still, allowing the buttercream to fan out and form a ruffled flower shape. Release pressure and lift straight up.
Another simple flower involves piping five dots in a circle using a small round tip ( #5 or #8) for petals and then piping a single dot in the center with a different color or tip for the stamen. These simple techniques are a great introduction to piping floral elements without the complexity of multi-petal designs.
Troubleshooting Common Buttercream Piping Problems
Air Bubbles in Your Piping: Prevention and Solutions
Air bubbles are a common frustration when learning how to pipe buttercream frosting, causing gaps or sudden bursts of air in your piped lines and shapes. They occur when air gets trapped in the buttercream or the piping bag during filling or mixing. To prevent them, ensure you mix your buttercream thoroughly to a smooth consistency before coloring and filling. When filling the bag, push the buttercream down towards the tip gently to force air upwards and out. Avoid whipping too much air into the buttercream initially.
If you encounter an air bubble while piping, stop applying pressure, lift the bag slightly, and gently squeeze the bag above the bubble to move it up and out. You can also briefly point the tip upwards and squeeze until the air pocket is expelled. Sometimes, a quick knead of the bag can help move stubborn bubbles.
Buttercream Separating: Rescuing Your Frosting
Sometimes buttercream can appear curdled or separated, looking like butter and liquid have split. This often happens if the ingredients were not at the correct temperature (e.g., butter was too cold or too warm) or if the mixture was over-mixed or under-mixed. Don't panic; it can usually be rescued.
If it looks curdled, try gently warming a small portion of the buttercream (maybe 1/4 cup) in a microwave for a few seconds until just melted, then slowly add it back into the main batch while beating on low speed. Alternatively, you can try beating the mixture on medium speed for several minutes; sometimes, continued mixing helps it emulsify again. If it's too warm and greasy, chill it briefly in the refrigerator, then re-beat it.
Uneven Piping Pressure: Achieving Consistent Results
Uneven piping pressure is a primary cause of inconsistent lines and shapes. This often stems from squeezing the bag with your fingers rather than using the steady pressure from the palm of your dominant hand and forearm. To improve, focus on using your whole hand to squeeze from the twisted top of the bag, not just your fingers near the tip.
Practice exercises like piping long, straight lines or rows of dots, consciously focusing on maintaining constant pressure. If you notice lines getting thinner, you're likely easing up pressure. If they get thicker suddenly, you're squeezing too hard or unevenly. It takes mindful practice to develop the muscle control needed for consistent pressure. Using a task list like: - Focus on palm pressure, - Keep hand relaxed, - Pipe slow and steady during practice can help reinforce good habits.
Piping Bag Leaking: Preventing Messes and Waste
A leaking piping bag is messy and wasteful. Leaks usually occur if the bag is cut too large for the tip/coupler, if the seams of the bag split, or if the bag is overfilled and pressure is applied too high up. To prevent leaks at the tip, ensure you cut the bag opening just large enough for the tip or coupler to fit snugly. If using reusable bags, inspect seams for wear and tear.
Avoid overfilling the bag; fill it only two-thirds full as recommended. Twist or tie off the top securely to prevent frosting from coming out the wrong end when you apply pressure. If a disposable bag splits its seam while you're piping, the best solution is often to carefully transfer the buttercream to a new, stronger bag.
Practicing and Improving Your Buttercream Piping Skills
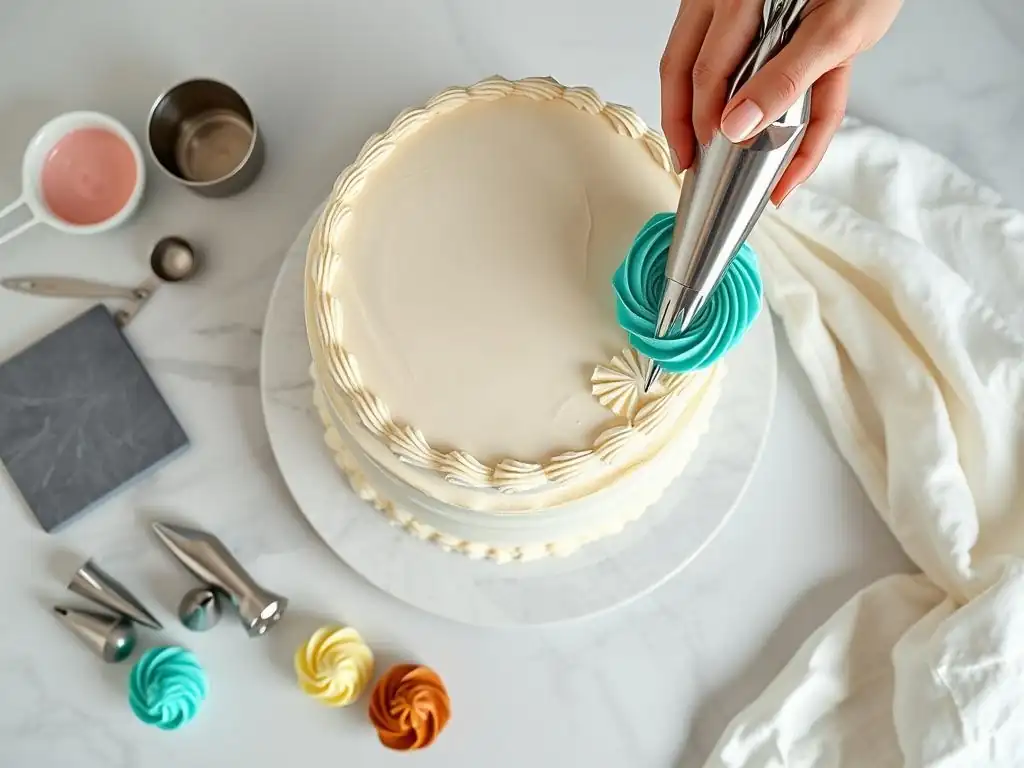
The Importance of Practice: Building Muscle Memory and Confidence
Consistent practice is the single most important factor in mastering how to pipe buttercream frosting. Like learning any new skill, whether it's playing an instrument or riding a bike, piping requires repetition to build muscle memory and coordination. Aim for regular practice sessions, even if they are short. Fifteen to twenty minutes a few times a week is more effective than one long session every month.
Practice helps you develop the feel for buttercream consistency, the right amount of pressure, and the smooth movement needed for clean lines and shapes. As you practice, you'll gain confidence in your abilities, making you more comfortable tackling larger and more complex decorating projects on actual cakes and cupcakes. Don't be discouraged by imperfect results initially; every practice session is a step towards improvement.
Using Templates and Guides: Refining Your Technique
As mentioned earlier, templates and guides are invaluable tools for structured practice. They provide clear objectives and visual cues to help you refine your technique. Using templates for lines helps you practice piping straight and parallel, while templates for circles and curves improve your control over rounded shapes. Lettering templates are excellent for practicing writing with different tips.
You can easily find free piping templates online or create your own based on designs you want to master. Place the template under parchment paper and pipe directly over the lines. This guided practice helps you develop precision, consistency in size and spacing, and control over the piping bag's movement relative to the surface.
Exploring Different Piping Tips and Designs: Expanding Your Skillset
Once you've mastered the basic techniques with a few common tips, challenge yourself by exploring different piping tips and designs. Acquire a basic set of tips that includes various sizes of round, star, and perhaps a petal tip. Experiment with each one to understand how it transforms the buttercream.
Try piping the same basic shapes (lines, dots, swirls) with different tips to see the variations. Then, move on to the common designs discussed earlier, like rosettes, shells, and simple flowers. Experimenting keeps practice interesting and expands your repertoire of decorating techniques. A set of 10-20 assorted tips offers a good range for exploration.
Documenting Your Progress: Tracking Your Improvement
Tracking your progress can be incredibly motivating when learning how to pipe buttercream frosting. Take photos of your practice sessions or finished decorated items. Keep a small notebook where you jot down notes about what worked well, what challenges you faced, and what you want to practice next.
Reviewing your earlier work against your current efforts will clearly show how much you've improved. This documentation serves as a positive reinforcement loop, encouraging you to continue practicing and refining your skills. Seeing your own progress can be a powerful motivator to keep pushing yourself to learn new techniques and designs.
Mastering Buttercream Piping: Next Steps
Advanced Piping Techniques: Exploring More Complex Designs
After mastering the fundamentals and common designs, you might be ready to explore more advanced buttercream piping techniques. This includes methods like brush embroidery (where you pipe an outline and then use a small brush to pull the frosting inwards), ruffles (creating flowing, layered textures), or intricate lattice work.
Advanced techniques often require more precise control over pressure, angle, and movement, and sometimes involve using specialty tips or working with multiple colors simultaneously. Resources like online tutorials, specialized books, or classes can guide you through these more complex methods.
Buttercream Flower Piping: Creating Realistic and Intricate Blooms
Piping realistic buttercream flowers is a skill that many decorators aspire to. This typically involves using petal tips (like #104, #124, #127) and often requires a flower nail – a small, flat-topped tool that you rotate as you pipe petals onto it, building the flower layer by layer before transferring it to the cake.
Mastering flowers like roses, peonies, or chrysanthemums takes significant practice, focusing on petal shape, size, and placement. Learning how to pipe buttercream frosting into delicate, lifelike blooms is a rewarding challenge that adds a stunning dimension to cake decorating.
Using Multiple Colors in Piping: Adding Depth and Dimension
Incorporating multiple colors into your piping adds visual interest and allows for more complex designs. This can be done by filling separate bags with different colors and piping elements side-by-side, or by using techniques like marbling colors within a single bag.
For striped effects, you can smear stripes of different colored buttercream inside a piping bag before filling it with your main color. Using a coupler allows you to switch between different colored bags while keeping the same tip. Mastering the use of multiple colors opens up possibilities for vibrant borders, multi-colored rosettes, and detailed pictorial piping.
Incorporating Piping into Cake Decorating: Elevating Your Cakes
Ultimately, the goal of learning how to pipe buttercream frosting is to use these skills to decorate beautiful cakes and other baked goods. Think about how you can combine different techniques you've learned – a shell border on the bottom, rosettes on top, a piped message, and maybe some piped flowers.
Consider the overall design of your cake and how piping can enhance it. Piping can be used for functional purposes like creating a dam for fillings or purely for decorative elements. Experiment with different combinations of tips and techniques to develop your own decorating style and elevate your cakes from simple layers to stunning edible art.
Frequently Asked Questions
How do I choose the right consistency of buttercream for piping?
The best buttercream for piping should be smooth and stiff, but not too stiff that it's difficult to squeeze. You want it to hold its shape well, so achieving the right consistency is crucial for defined designs.
What are the essential tools needed for piping buttercream frosting?
The essential tools include piping bags, piping tips of various shapes and sizes, a coupler to change tips easily, and a spatula for filling the bag. You may also find a turntable helpful for smooth frosting application.
How do I properly fill a piping bag with buttercream?
Fold the top of the piping bag down to create a cuff. Use a spatula to scoop the buttercream into the bag, being careful not to overfill it. Unfold the cuff, twist the top of the bag tightly, and apply pressure to pipe.
What are some basic piping techniques a beginner should learn?
Beginners should master simple techniques like dots, stars, shells, and lines. Practicing these basics will help build your muscle memory and control, allowing you to tackle more complex designs later.
How do I prevent air bubbles from ruining my piped buttercream designs?
Before piping, gently press out any air bubbles trapped in the piping bag by squeezing the buttercream towards the tip. Also, ensure your buttercream is smooth and free of lumps to minimize air pockets.
Final Reflection: Mastering the Art of Buttercream Piping
The ability to create stunning buttercream designs is no longer a niche skill; it's a widely accessible form of artistic expression that adds a touch of magic to any occasion. From simple swirls to intricate flowers, mastering buttercream piping empowers both professional bakers and home cooks to elevate their creations and share their passion with others. The techniques discussed in this article, while seemingly basic, are the foundational building blocks for a world of creative possibilities.
The impact of beautifully decorated cakes and pastries extends far beyond the simple act of eating. They are visual feasts, capable of evoking joy, nostalgia, and celebration. These edible works of art become cherished memories, shared amongst loved ones and passed down through generations. A cake is a celebration of life, a moment of joy, a symbol of happiness.
This sentiment perfectly encapsulates the power of a well-piped buttercream rose, or even a simple, perfectly executed swirl. The skill itself becomes a vehicle for connection and shared experience.
Now, it's your turn. Don't be intimidated by the seemingly complex world of buttercream piping. Take the time to practice the techniques outlined in this article, experiment with different tips and nozzles, and most importantly, have fun! Let your creativity flow, and discover the joy of transforming a simple cake into a breathtaking masterpiece. The journey from plain to piped perfection is a rewarding one, filled with delicious discoveries and the satisfaction of creating something beautiful with your own hands.
Unlock Your Inner Pastry Chef!
Thanks for joining us on this delicious journey into the world of piping! We hope you've gained the confidence to tackle even the most intricate cake designs. Ready to put your new skills to the test?
- Master a new piping technique: Choose your favorite design from the article and practice until you achieve perfection. Don't be afraid to experiment with different pressures and angles!
- Share your creations: Tag us on social media with your piped masterpieces – we'd love to see your progress!
- Challenge yourself with a new recipe: Find a cake recipe that incorporates piping and put your newfound expertise to the test!
What stunning design will you create next?