
Avoid the Blob: Fixing Common Piping Mistakes

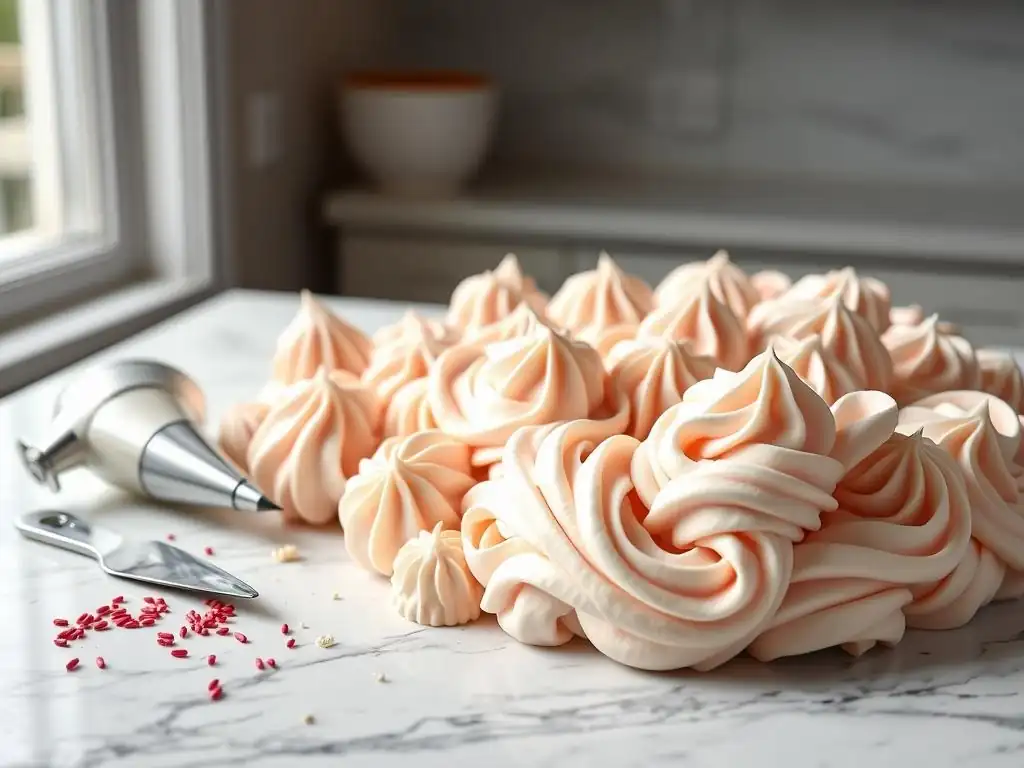
Welcome to BakeWithEase, your partner in conquering the sweetest challenges! Ever wrestled with piping buttercream and ended up with unsightly blobs instead of elegant swirls? You're not alone! Discover the secrets to achieving flawlessly smooth decorations and avoid common pitfalls. Ready to transform your frosting game? Let's dive in and fix those piping buttercream blobs!
- Introduction to Perfect Piping: Mastering Buttercream Application
- Identifying the Culprits: Common Causes of Buttercream Blobs
- Troubleshooting Piping Problems: Solutions for Blob-Free Designs
- Step-by-Step Guide: Piping Exercises to Improve Your Skills
- Advanced Tips for Flawless Buttercream Piping
- Preventing Future Piping Problems: Best Practices for Consistent Results
- Conclusion: Enjoying the Art of Smooth Buttercream Piping
-
Frequently Asked Questions
- How can I prevent buttercream blobs when piping decorations?
- What if my buttercream is too stiff, causing blobs?
- My piping bag keeps getting air bubbles, which then result in blobs. How do I fix this?
- I'm using the right tip, but still getting blobs. What am I doing wrong?
- Can the temperature of my buttercream affect blob formation?
- Final Reflection: Beyond the Blob: Mastering the Art of Piping
- Unleash Your Inner Piping Pro!
Introduction to Perfect Piping: Mastering Buttercream Application
Why is Smooth Buttercream Piping Important?
Achieving smooth, consistent buttercream piping is crucial for elevating the visual appeal of your baked goods. Whether you're decorating a birthday cake, filling cupcakes, or adding delicate borders to cookies, the finish of your buttercream work directly impacts the overall aesthetic. A smooth, well-executed piped design looks professional, clean, and inviting, making your treats not just delicious but also beautiful. Conversely, blobs and inconsistencies can make even the most delicious dessert look unfinished or amateurish, detracting from the effort you've put in.
Beyond just looks, smooth piping ensures even distribution of flavor and texture. When you pipe a consistent amount of frosting onto each cupcake, every bite offers a similar balance of cake and buttercream. Blobs can lead to uneven layers or awkward mounds, disrupting the intended structure and eating experience. Mastering this skill is a fundamental step in becoming a confident decorator, moving beyond simply frosting to creating edible works of art. Fixing piping buttercream blobs is often the first challenge bakers tackle when aiming for a polished look.
Understanding the Basics of Buttercream Consistency for Piping
Buttercream consistency is arguably the most critical factor in achieving successful piping results. The ideal consistency should be firm enough to hold its shape when piped, yet soft and pliable enough to flow smoothly through a piping tip without requiring excessive force. Think of it like toothpaste – it holds its shape but can be squeezed out easily. Buttercream that is too stiff will be difficult to pipe, potentially causing hand cramps and resulting in jagged edges or breaks in your design.
On the other hand, buttercream that is too soft or runny will spread, lose definition quickly, and create shapeless blobs rather than defined lines, stars, or swirls. Environmental factors like room temperature play a significant role; warm conditions can quickly soften buttercream, making fixing piping buttercream blobs a frequent necessity. Understanding how ingredients like butter and powdered sugar behave at different temperatures and ratios is key to controlling this consistency and ensuring your buttercream is pipe-ready.
Identifying the Culprits: Common Causes of Buttercream Blobs
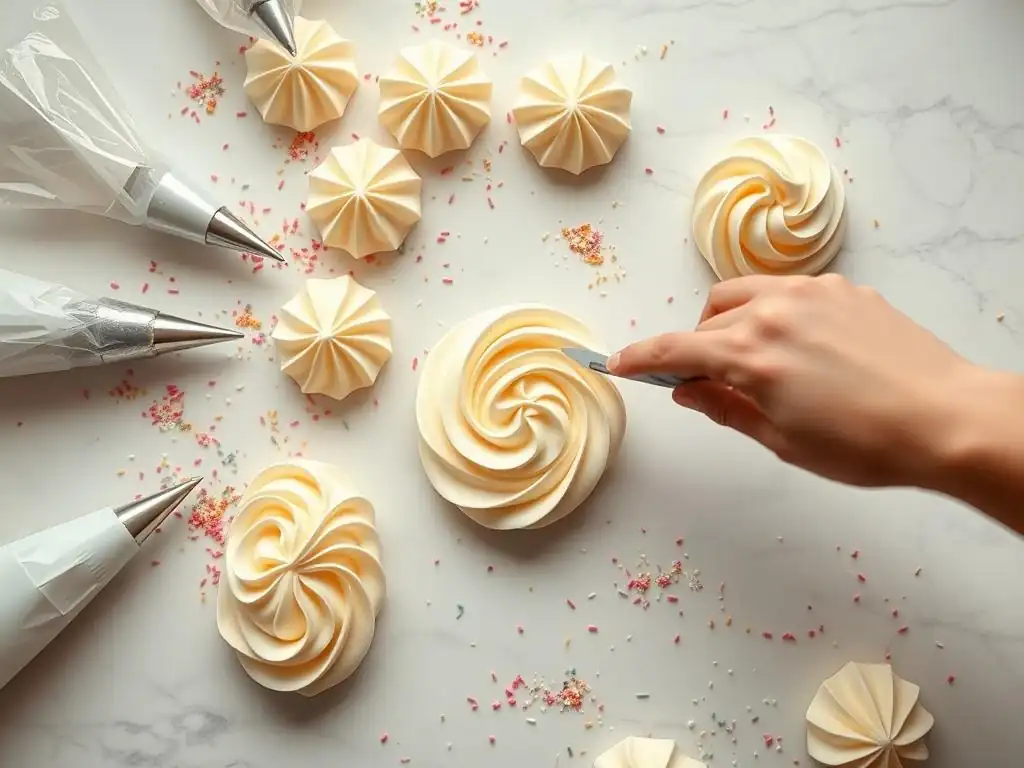
Incorrect Buttercream Consistency: Too Thick or Too Thin?
One of the most frequent reasons for encountering blobs or uneven piping is working with buttercream that isn't the right consistency. If your buttercream is too thick, it will resist flowing smoothly through the piping tip. This often results in jerky movements, requiring excessive pressure, and producing designs that look rough, broken, or chunky instead of smooth and continuous. You might see the buttercream breaking or tearing as it exits the nozzle.
Conversely, buttercream that is too thin is a primary cause of the dreaded blob. When the mixture is too soft, it simply won't hold the shape dictated by the piping tip. Instead of forming a crisp star point or a defined swirl, it will collapse under its own weight, spreading out into a formless blob.
This can happen if there's too much liquid (milk, cream, extract) added, or if the butter is too soft due to a warm environment. Recognizing whether your issue stems from buttercream being too thick or too thin is the first step in fixing piping buttercream blobs.
Air Bubbles in Buttercream: A Recipe for Disaster
Trapped air bubbles within your buttercream can wreak havoc on your piping efforts, leading to frustrating gaps and inconsistencies in your design, often manifesting as sudden bursts of air followed by a blobby deposit of frosting. These bubbles are frequently incorporated during the mixing process, especially if the buttercream is whipped at high speeds for extended periods or if ingredients aren't fully incorporated before whipping.
As you apply pressure to the piping bag, the buttercream flows out until it hits an air bubble. The pressure momentarily drops or becomes uneven, and when the buttercream flow resumes after the bubble passes, it can create a break in your line or a sudden, irregular deposit of frosting – essentially a blob. Fixing piping buttercream blobs often involves addressing these hidden air pockets before you even start piping.
Improper Piping Technique: Pressure and Movement
Even with perfectly consistent buttercream, poor technique can result in blobs and uneven designs. One common issue is inconsistent pressure on the piping bag. If you squeeze harder in some spots than others, the flow of buttercream will vary, creating thicker sections or blobs where pressure was higher, and thinner or broken lines where it was lower. Maintaining steady, even pressure is vital for smooth, continuous piping.
Another technical pitfall is incorrect movement or angle. Lifting the bag too high, moving too quickly or too slowly, or holding the bag at the wrong angle relative to the surface can all cause problems. For example, when piping stars or rosettes, lifting the bag straight up at the end of the squeeze is necessary for a clean break; pulling sideways can drag the buttercream, creating a tail or a misshapen blob. Understanding the correct angle and movement for specific techniques is crucial for clean results, making it a key aspect of fixing piping buttercream blobs.
Nozzle Selection: Choosing the Right Tip for the Job
Using the wrong piping nozzle (or tip) for your intended design can also contribute to a blobby appearance. Piping tips are designed for specific purposes – some create defined stars, others smooth rounds, petals, leaves, and so on. Using a tip that is too large for delicate details will result in thick, clumsy lines or oversized elements that look blobby rather than refined.
Conversely, trying to pipe a large surface area or bold border with a tip that is too small will require excessive time and effort, and can lead to overlapping, uneven layers that appear blobby. The opening size and shape of the tip directly influence how the buttercream is extruded. For instance, attempting a sharp star design with a wide-open round tip will simply produce a round blob. Selecting the appropriate tip size and shape is a fundamental step in preventing and fixing piping buttercream blobs.
Troubleshooting Piping Problems: Solutions for Blob-Free Designs
Achieving the Ideal Buttercream Consistency for Clean Piping
The cornerstone of successful piping is starting with buttercream at the perfect consistency. This means it should be smooth and creamy, easily spreadable but firm enough to hold a peak. A good test is to scoop some buttercream onto a spoon and let it fall back into the bowl; it should fall slowly and fold into the mixture, not plop or run off quickly. Another check is to try piping a small test swirl on a piece of parchment paper; it should hold its shape without slumping.
Achieving this consistency often requires careful attention to temperature and ingredient ratios. American buttercream, for instance, typically performs best for piping when made with a ratio of about 1 part butter to 2 parts powdered sugar by weight, plus a small amount of liquid. Swiss or Italian meringue buttercreams, which are more stable due to the meringue base, are often naturally well-suited for piping but can still be affected by temperature. Getting the consistency right upfront significantly reduces the need for fixing piping buttercream blobs later.
Adjusting Buttercream Thickness: Adding Liquid or Powdered Sugar
If your buttercream is too thick and stiff, you need to loosen it. This is best done by adding a small amount of liquid, such as milk, cream, or even water, one teaspoon at a time. Mix thoroughly after each addition, preferably on low speed, until the desired consistency is reached. Be cautious not to add too much at once, as it's easier to add more liquid than to correct overly thin buttercream.
If your buttercream is too thin and soft, you need to thicken it. The most common way to do this is by adding more powdered sugar. Add powdered sugar a tablespoon or two at a time, mixing well after each addition until the buttercream firms up. If the issue is primarily due to warmth, chilling the buttercream in the refrigerator for 15-30 minutes can also help firm it up. Remember to stir or briefly re-whip it after chilling to restore smoothness before piping.
Whipping Buttercream for Smoothness: Avoiding Over-Mixing
The way you whip your buttercream affects its texture and smoothness. After incorporating the main ingredients (butter, sugar, liquid, flavorings), whip the buttercream on medium-low speed for several minutes. This helps to make it light and fluffy while also smoothing out any lumps of sugar and helping to push out some of the larger air bubbles. A common timeframe is whipping for 3-5 minutes after initial mixing.
However, be careful not to over-mix, especially at high speeds, as this can incorporate excessive amounts of tiny air bubbles, which are harder to remove and can lead to a foamy texture that breaks easily when piped. Over-mixing can also sometimes cause the buttercream to break or curdle slightly. The goal is a smooth, creamy texture, not necessarily maximum volume. Proper whipping contributes significantly to preventing and fixing piping buttercream blobs.
Eliminating Air Bubbles: Techniques for a Smooth Finish
Air bubbles are a common nuisance in piping. While some air is inevitable, excessive bubbles can ruin a smooth design. The primary way to deal with bubbles is to minimize their incorporation during mixing and then remove them before piping. After your buttercream is mixed to the right consistency, you can gently stir it by hand with a spatula for a few minutes. This slow, deliberate stirring helps to force many of the trapped air bubbles to the surface and out of the mixture, resulting in a denser, smoother buttercream ideal for piping fine details.
Alternatively, you can press the buttercream through a sieve or fine-mesh strainer using a spatula. This forces the mixture through small holes, breaking up lumps and pushing out trapped air. This method is particularly effective for achieving an ultra-smooth finish, perfect for techniques like smooth coverage or delicate lettering where even tiny bubbles are noticeable. Taking these steps proactively reduces the likelihood of needing to focus on fixing piping buttercream blobs caused by air pockets.
Burping the Piping Bag: Releasing Trapped Air
Even if you remove most air bubbles from the buttercream before filling the bag, some can get trapped during the filling process, especially near the tip. To expel these, hold the piping bag with the tip pointed upwards. Gently twist the bag closed above the buttercream.
Then, squeeze the bag slowly until the buttercream moves down towards the tip. You'll likely see or feel air pockets moving up. Once the buttercream is right at the tip opening, give a firm but controlled squeeze over a spare bowl or piece of parchment paper until only buttercream comes out smoothly, free of air pockets.
This simple step, often called "burping" the bag, ensures that the first bit of buttercream you pipe onto your dessert is free of large bubbles. It's a quick but essential practice, particularly when using smaller tips or attempting intricate work where even a small bubble can disrupt the pattern. Making this a habit is a straightforward way of proactively fixing piping buttercream blobs before they even form on your cake or cookie.
Mixing Buttercream Effectively: Avoiding Air Incorporation
The mixing process itself is where many air bubbles are introduced. To minimize this, ensure your butter is at the correct temperature (softened but not melted – around 68-70°F or 20-21°C is often ideal). Creaming butter and sugar initially can incorporate some air, which is fine, but adding powdered sugar and liquid should be done on low speed.
When adding powdered sugar, add it gradually or cover the mixer to avoid a cloud of dust, and mix on the lowest speed until just combined before increasing speed slightly to whip smooth. Avoid whipping at the highest speed for extended periods, especially with American buttercream, as this incorporates lots of tiny bubbles. Mixing for a few minutes on medium-low speed after all ingredients are combined is usually sufficient to achieve a smooth, pipeable consistency without excessive air.
Perfecting Your Piping Technique: Pressure Control and Angle
Beyond the buttercream itself, how you handle the piping bag is paramount. Consistent pressure is perhaps the single most important technical skill. Imagine your piping bag is a tube of toothpaste; you want to apply steady, even pressure from the top (where it's twisted) down towards the tip. Avoid squeezing intermittently or with varying strength. Practice squeezing onto parchment paper, trying to create lines or dots of uniform thickness and size.
The angle at which you hold the bag relative to your surface also matters. For most basic techniques like writing or piping lines, holding the bag at a 45-degree angle is standard. For shells or borders, you might hold it at a 90-degree angle. For rosettes, you might hold it perpendicular to the surface. Practicing these angles helps you achieve cleaner, more defined shapes, reducing the likelihood of misshapen blobs. Focusing on these technical aspects is crucial for fixing piping buttercream blobs caused by inconsistent application.
Maintaining Consistent Pressure: A Key to Smooth Lines
Developing consistent pressure requires practice and control. Use the hand you write with to apply pressure from the top of the bag, twisting it down as you pipe to keep the pressure even. Your other hand should guide the tip. Try piping straight lines or zigzags on parchment paper, focusing solely on keeping the width of the line uniform from start to finish. Notice how changes in pressure affect the thickness.
One common issue is hand fatigue, which can lead to inconsistent pressure. Work in stages if decorating a large item. Squeeze from the top, near the twist, using the palm of your hand, rather than just your fingers, to provide more stable pressure. This consistent squeeze is fundamental to preventing breaks and blobs in your piping, ensuring smooth, professional-looking results.
Proper Nozzle Angle: Achieving Precise Placement
The angle of the nozzle dictates how the buttercream lands on your surface and forms its shape. For example, when piping a simple dot or mound (like for a cupcake swirl base), hold the bag perpendicular (90 degrees) to the surface, squeeze, and then stop squeezing and lift straight up. If you angle the bag, the dot will be lopsided.
When piping a shell border (using a star tip), you typically hold the bag at about a 45-degree angle, squeeze to form the base of the shell, then decrease pressure as you pull the bag towards you to create the tail, lifting slightly at the end. Practicing these specific angles for different techniques is essential. Many piping guides or videos demonstrate the correct angle for various tips and designs, providing a visual aid for mastering placement and preventing blobby outcomes.
Selecting the Right Nozzle: Matching Tip to Design
Choosing the correct piping tip is fundamental to achieving the desired look and preventing issues like blobs. Tips come in various shapes and sizes, each designed for specific effects, from delicate details to bold statements. Using the right tool for the job makes piping easier and the results cleaner.
For instance, if you want to pipe small star details or fill in small areas, you'll need a small star tip (like Wilton 1M or 21). If you want to pipe large swirls on cupcakes, a large open star tip (like Wilton 1M or Ateco 826) is appropriate. Trying to pipe tiny details with a huge tip, or large swirls with a tiny tip, will lead to frustration and likely blobby or messy results. Consult a piping tip guide or chart to understand what each tip number and shape is designed to do.
Understanding Nozzle Types: Star, Round, Petal, and More
Piping tips fall into several main categories:
- Round tips: Produce smooth lines and dots (e.g., Wilton 1, 3, 12). Used for writing, outlines, dots, and filling.
- Star tips: Have serrated edges and produce stars, shells, rosettes, and zigzags (e.g., Wilton 1M, 21, 32). Come in open and closed star varieties, affecting the definition of the points.
- Petal tips: Are teardrop-shaped and used for piping ruffles, petals, and swags (e.g., Wilton 104).
- Leaf tips: Are V-shaped and used for piping leaves (e.g., Wilton 352).
- Specialty tips: Create specific shapes like grass, baskets, or specific flowers.
Familiarize yourself with these types and what they create. Using a star tip for a smooth line will result in a serrated line, not a blob, but using a tip completely unsuited to the task (like a leaf tip for writing) will certainly lead to a messy, blob-like outcome.
Choosing the Right Size: Small Details vs. Bold Statements
The size of the tip matters significantly. Tips are numbered, and typically, lower numbers indicate smaller tips, while higher numbers indicate larger tips within a category. For very fine details, delicate writing, or small dots, you'll need small tips (e.g., round tips like #1, #2, #3 or small star tips like #16, #21).
For piping borders on larger cakes, filling cupcakes, or creating prominent swirls and rosettes, you'll need larger tips (e.g., round tips like #10, #12, #2A or large star tips like #1M, #32, #826). Using a tip that is too small for a large area is inefficient and can look messy, while using one too large for fine work looks clumsy. Matching the tip size to the scale and detail level of your design is a key step in avoiding blobby results and achieving clean, professional piping.
Step-by-Step Guide: Piping Exercises to Improve Your Skills
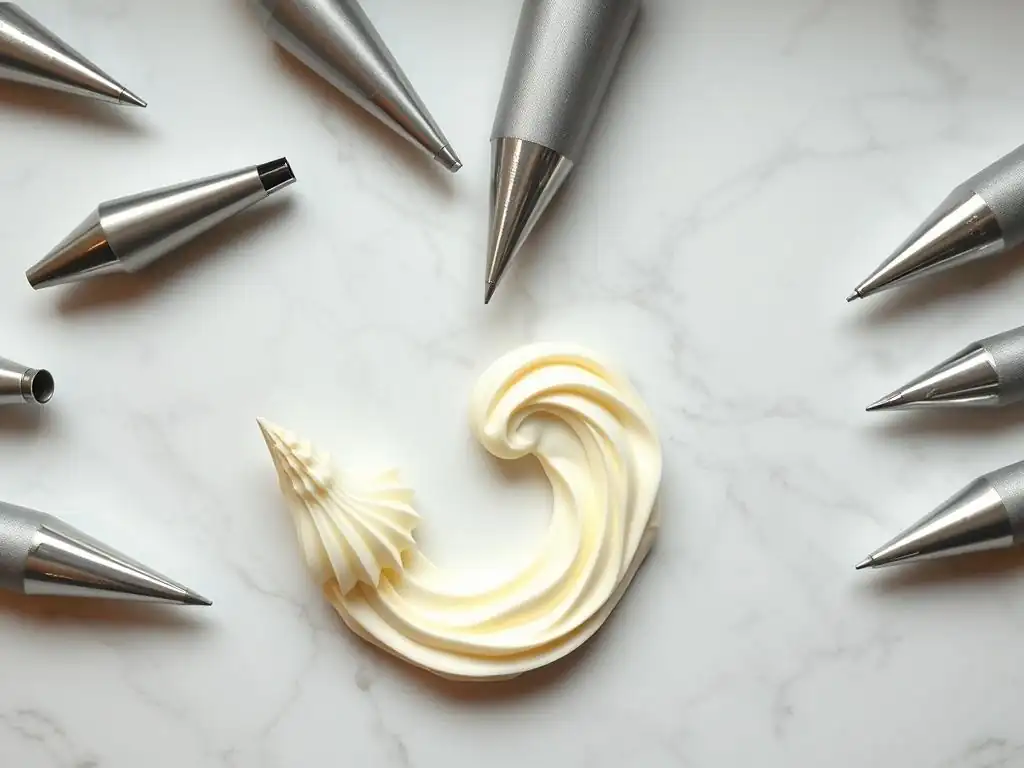
Improving piping skills, and thus fixing piping buttercream blobs through practice, is essential. The best way to get better is to pipe, pipe, pipe! You don't need to waste buttercream; you can practice on parchment paper placed over printed templates, then scrape the buttercream back into the bowl to reuse. Start with basic exercises and gradually move to more complex designs.
Practice Swirls and Rosettes: Mastering Basic Piping Techniques
Swirls (like those on cupcakes) and rosettes (circular star patterns) are fundamental techniques using star tips (like the popular 1M).
- Cupcake Swirl: Hold the bag with a large star tip (e.g., 1M) perpendicular to the surface. Start piping in the center, applying steady pressure. Move in a circular motion, spiraling outwards towards the edge, then inwards and upwards to create height. Stop squeezing and lift straight up. Focus on maintaining even pressure and a smooth, continuous motion.
- Rosette: Hold the bag with a star tip perpendicular to the surface. Start in the center, squeeze to anchor the buttercream, then move in a tight spiral outwards, overlapping slightly. Stop squeezing and lift away. Practice making them uniform in size and shape.
These exercises help build muscle memory for consistent pressure and controlled movement, directly addressing common causes of blobby piping. Aim for smooth lines and defined points or edges on your swirls and rosettes.
Creating Borders and Edges: Achieving Clean and Defined Lines
Piping borders around the base or top edge of a cake requires control and consistency.
- Shell Border: Using a star tip (e.g., 21 or 32), hold the bag at a 45-degree angle to the cake surface. Squeeze to form the base of the first shell, then gradually decrease pressure as you pull the bag slightly towards you, creating a tail. Stop squeezing and lift away. Start the next shell by overlapping the tail of the previous one. Focus on uniform size and overlap for a clean, continuous border.
- Rope Border: Using a round tip (e.g., 12) or a large star tip (e.g., 1M), pipe a series of overlapping S-shapes or curved lines along the edge. This requires consistent pressure and fluid motion.
Practicing these borders helps you control the flow of buttercream while moving along a defined line, improving your ability to create sharp edges and preventing the unevenness that leads to blobby-looking borders.
Piping Lettering and Intricate Designs: Advanced Techniques
Once you've mastered basic shapes, move on to more detailed work like writing or piping intricate patterns.
- Lettering: Use a small round tip (e.g., 3, 4, or 5). Hold the bag at a 45-degree angle just above the surface. Apply light, consistent pressure to start the line, lift slightly off the surface (letting the buttercream fall onto it), guide the buttercream to form the letter, then stop squeezing and touch down to break the line. Focus on smooth, continuous lines and uniform thickness.
- Intricate Patterns: For techniques like basketweave (using a basketweave tip) or elaborate lacework (using small round tips), precision in placement and pressure is key. Practice piping grids or repetitive patterns on parchment paper.
These advanced exercises demand greater control over pressure and movement, highlighting the impact of even slight inconsistencies. Mastering them significantly improves your overall piping dexterity and your ability to create clean, detailed work, minimizing the appearance of blobs.
Advanced Tips for Flawless Buttercream Piping
Once you've got the basics down, a few extra tips can help you achieve truly flawless results and make fixing piping buttercream blobs a rare occurrence. These techniques focus on optimizing your setup and materials.
Using a Turntable for Even Coverage
When decorating cakes, especially round ones, a cake turntable is an invaluable tool. It allows you to rotate the cake smoothly while you pipe, making it much easier to create continuous borders, swirls, or smooth side coverage without awkwardly moving your body or the cake itself.
For borders or side decorations, place the cake on the turntable and rotate it slowly with one hand while piping with the other, maintaining a consistent angle and pressure. This leads to seamless designs without breaks or inconsistencies that can look blobby. Even for piping tops, being able to easily spin the cake helps you access all areas comfortably and maintain a consistent approach.
Working with Cold Buttercream for Stability
While buttercream needs to be pliable enough to pipe, slightly cooler buttercream is often more stable and holds intricate shapes better, especially in warm environments. If your kitchen is warm or you're working on a complex design that takes time, consider chilling your buttercream briefly (15-20 minutes in the fridge) before piping.
Just be aware that chilling can make it too stiff. If it becomes too firm, let it sit at room temperature for a few minutes or gently knead the bag with your hands to warm it slightly. Alternatively, you can scoop some buttercream into a small bowl and stir it vigorously with a spatula for a minute or two; the friction will warm and soften it just enough for piping. This added stability helps prevent designs from slumping into blobs, particularly with delicate details.
Adding Color to Buttercream: Achieving Vibrant and Consistent Shades
Adding color to buttercream is straightforward, but consistency is key. Use gel or paste food coloring rather than liquid, as liquid can alter the buttercream's consistency, potentially making it too thin and prone to blobs. Add color a little at a time, mixing thoroughly to achieve the desired shade.
When mixing color, mix until the color is uniform throughout. Streaks or uneven color can make piped designs look messy. If you need a large amount of a specific color, it's best to color one large batch rather than multiple small ones to ensure consistency. Remember that colors can deepen slightly over time, so aim for a shade just shy of your target. Consistent color application contributes to a professional finish alongside smooth piping.
Preventing Future Piping Problems: Best Practices for Consistent Results
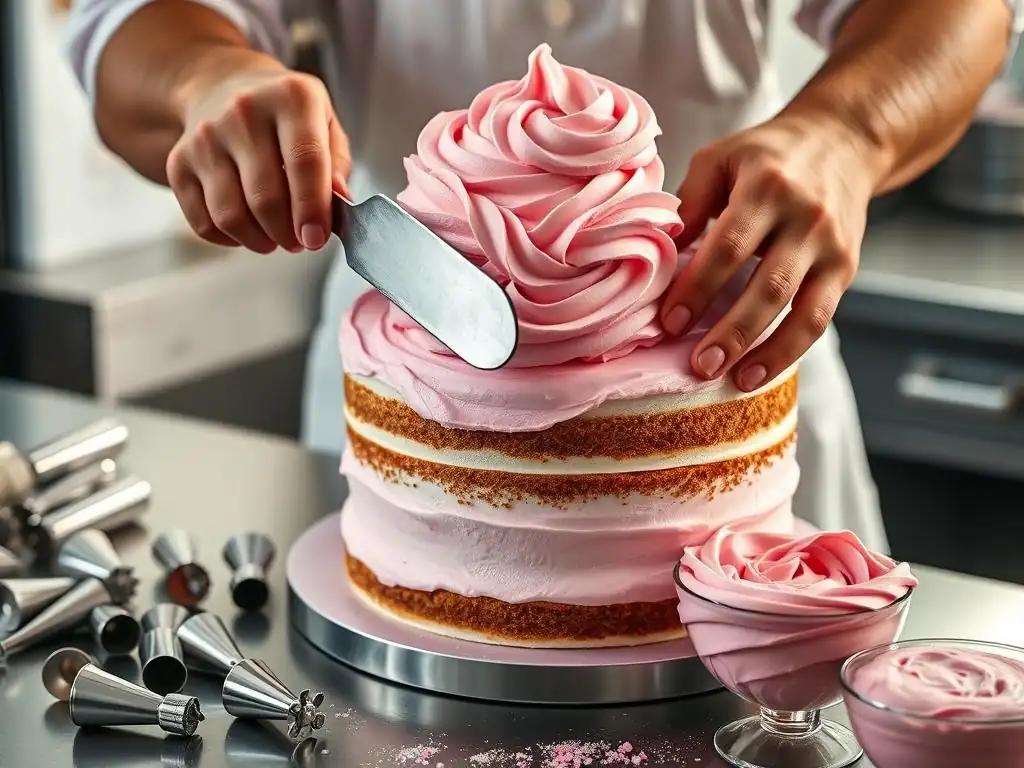
Preventing piping problems is always better than fixing piping buttercream blobs after they appear. By adopting some best practices, you can significantly reduce the likelihood of encountering issues and ensure more consistent success with your piping endeavors.
Maintaining Equipment: Cleaning and Storing Piping Bags and Nozzles
Proper care of your piping equipment is essential for optimal performance. Always wash piping bags and nozzles immediately after use. Buttercream can harden and become difficult to remove if left to dry. Use warm, soapy water and a small brush (like a bottle brush or a special tip brush) to clean inside nozzles, ensuring no residue is left that could obstruct the flow of buttercream.
Dry equipment thoroughly before storing to prevent mold or damage. Store piping tips in an organized container (many sets come with cases) so they don't get lost and are easy to find. Reusable piping bags should be washed inside and out and hung to dry completely before storing. Clean equipment ensures a smooth passage for buttercream every time.
Preparing Buttercream in Advance: Storage and Re-Whipping Techniques
Buttercream can often be made ahead of time, which is a great time-saver. Store it in an airtight container in the refrigerator for up to a week or freeze it for several months. However, buttercream will firm up significantly when chilled.
Before using chilled buttercream for piping, it needs to be brought back to a pipeable consistency. Let it sit at room temperature for an hour or two until softened, then re-whip it in a stand mixer or with a hand mixer on low-medium speed for a few minutes. This restores its smooth, creamy texture and incorporates a small amount of air to make it pliable again. Re-whipping is crucial; trying to pipe cold, stiff buttercream will inevitably lead to problems.
Continuous Learning: Exploring New Piping Techniques and Designs
The world of buttercream piping is vast, with endless techniques and designs to explore. Don't stop at basic swirls and borders. Challenge yourself to learn new tips and methods – perhaps French swirls with a closed star tip, delicate ruffles with a petal tip, or intricate stringwork.
Watch tutorials, read articles (like this one! ), and practice regularly. Each new technique teaches you more about controlling pressure, angle, and consistency. The more you practice and learn, the more intuitive piping becomes, and the less you'll struggle with common issues like blobs. Embrace the learning process, and you'll see continuous improvement in your ability to create beautiful, flawless buttercream decorations.
Conclusion: Enjoying the Art of Smooth Buttercream Piping
Piping buttercream can transform a simple baked good into a stunning centerpiece. While frustrating blobs and inconsistencies can sometimes occur, they are almost always fixable or preventable with a little knowledge and practice. By understanding the importance of correct buttercream consistency, eliminating air bubbles, mastering your piping technique, and selecting the right tools, you can overcome these common hurdles.
Remember that practice makes perfect. Don't be discouraged by initial imperfections. Keep practicing basic shapes, focusing on consistent pressure and smooth movement. As you gain confidence and skill, fixing piping buttercream blobs will become less of a concern, and you'll be able to pipe with greater ease and precision, truly enjoying the creative process of decorating your delicious creations. Happy piping!
Frequently Asked Questions
How can I prevent buttercream blobs when piping decorations?
Prevention involves several factors, including using the correct buttercream consistency, applying consistent pressure to your piping bag, and using the appropriate tip for the desired effect.
What if my buttercream is too stiff, causing blobs?
If your buttercream is too stiff, it will be difficult to pipe smoothly. Try adding a small amount of milk or cream, a teaspoon at a time, until you achieve a softer, more pliable consistency.
My piping bag keeps getting air bubbles, which then result in blobs. How do I fix this?
Air bubbles are a common culprit! To minimize them, burp your piping bag by gently squeezing out the air from the top before piping. Also, avoid overfilling the bag to prevent trapped air.
I'm using the right tip, but still getting blobs. What am I doing wrong?
Even with the correct tip, technique matters. Ensure you're holding the bag at a consistent angle and applying even pressure. Practice on parchment paper first to refine your technique.
Can the temperature of my buttercream affect blob formation?
Yes! Buttercream that is too warm can become greasy and difficult to pipe cleanly. Ensure your buttercream is at a cool, but pipeable temperature – ideally, room temperature or slightly cooler. If it's too warm, refrigerate it briefly before using.
Final Reflection: Beyond the Blob: Mastering the Art of Piping
The pursuit of perfectly piped buttercream is more than just aesthetics; it's a reflection of precision, patience, and a deep understanding of your tools and ingredients. A seemingly small detail like a buttercream blob can significantly impact the overall presentation of a cake, highlighting the importance of mastering fundamental piping techniques. This isn't just about avoiding imperfections; it's about elevating your baking to a new level of artistry.
The struggle with buttercream blobs is a universal experience for bakers of all skill levels. It's a testament to the delicate balance required to achieve smooth, consistent piping. The difference between ordinary and extraordinary is that little extra.
This quote perfectly encapsulates the effort and attention to detail needed to transform a potentially disastrous blob into a flawlessly piped design. The journey from frustrating lumps to elegant swirls is a rewarding one, teaching valuable lessons in technique and self-improvement that extend far beyond the kitchen.
Now, it's your turn. Take the knowledge gained from this article, practice the techniques discussed, and experiment with different piping tips and pressures. Don't be discouraged by initial imperfections; embrace the learning process. Remember, every blob is a stepping stone towards mastering the art of buttercream piping, allowing you to create stunning cakes that reflect your skill and passion. The journey to perfection is paved with practice, and the results are undeniably sweet.
Unleash Your Inner Piping Pro!
Thanks for taking the time to level up your piping skills! We hope you now feel more confident in tackling those tricky frosting techniques. Ready to put your newfound knowledge into practice?
- Master a new piping technique: Choose one of the designs we covered and dedicate some time this week to perfecting it. Practice makes perfect!
- Share your creations: Show us your piping masterpieces on social media using #BakeWithEasePiping – we'd love to see them!
- Experiment with different tips and consistencies: What unexpected designs can you create?
What delicious treat will you pipe first?