
Quick & Easy Piping Borders for Any Cake

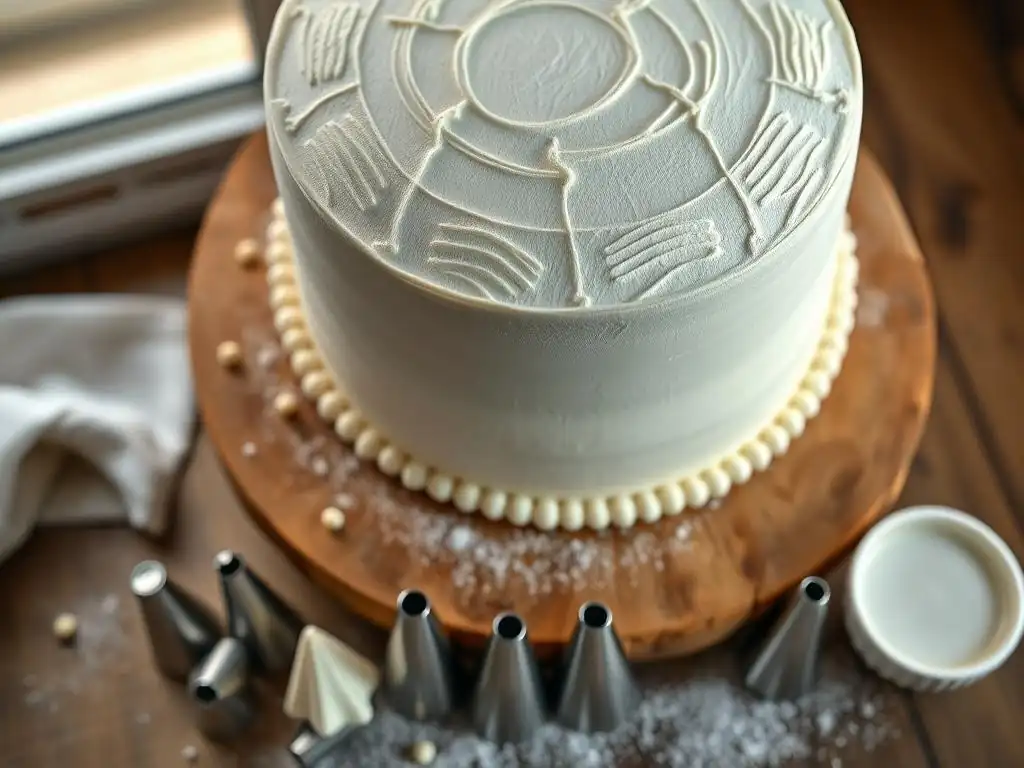
Welcome to BakeWithEase, where baking dreams become delicious realities! Are you ready to transform your cakes from simple to stunning? In this guide, we unlock the secrets to achieving elegant and easy cake piping borders that will elevate your creations to a professional level. Discover simple techniques and tips that even beginner bakers can master, and leave your guests wondering: How did they do that? Let's get started and unveil the magic of cake decorating!
- Quick & Easy Piping Borders for Any Cake: BakeWithEase Guide
- Master Easy Cake Piping Borders: A Beginner's Guide
- Step-by-Step: Creating Basic Cake Piping Borders
- Troubleshooting Common Cake Piping Border Issues
- Beyond the Basics: Exploring More Advanced Cake Border Designs
- Tips & Tricks for Professional-Looking Cake Borders
- Easy Cake Border Ideas for Different Occasions
- Conclusion: Elevate Your Cakes with Easy Piping Borders
-
Frequently Asked Questions
- How do I choose the right piping tip for easy cake piping borders?
- What consistency should my frosting be for easy cake piping borders?
- What's the easiest piping border for a beginner?
- How do I avoid air bubbles in my frosting while piping easy cake piping borders?
- Can I use store-bought frosting for easy cake piping borders?
- Final Reflection: Mastering the Art of Easy Cake Piping
- Unleash Your Inner Cake Artist!
Quick & Easy Piping Borders for Any Cake: BakeWithEase Guide
Master Easy Cake Piping Borders: A Beginner's Guide
Learning to pipe borders is one of the most satisfying steps in cake decorating. It's the finishing touch that transforms a simple frosted cake into a professional-looking masterpiece. Even mastering easy cake piping borders can make a huge difference, adding polish, covering imperfections where cake meets the board, and providing a base for further decoration. It's a fundamental skill that opens up a world of creative possibilities without requiring advanced techniques.
This guide will walk you through the essentials of creating simple cake border piping designs. We'll cover the necessary tools, step-by-step instructions for several popular and easy border styles, and tips to help you troubleshoot common issues. Whether you're just starting out or looking to refine your basic skills, these quick cake borders will give your cakes that extra flair.
Why Learn Simple Cake Border Piping Techniques?
Learning easy cake piping borders is a fantastic way to elevate your baking game without feeling overwhelmed. These basic techniques provide a clean, finished look to your cakes, acting like a frame around your edible art. They can hide any slight unevenness where the cake meets the cake board or the sides meet the top, instantly giving your creation a more professional appearance.
Beyond aesthetics, mastering simple cake border piping builds crucial hand-eye coordination and pressure control skills that are fundamental for all types of piping, from writing messages to creating intricate floral designs. Starting with easy borders allows you to practice these foundational movements with less pressure, making subsequent decorating techniques feel much more accessible and achievable.
Essential Tools for Easy Cake Borders
To get started with easy cake piping borders, you'll need a few key pieces of equipment. The most important are piping bags, piping tips, and optionally, couplers. Piping bags come in disposable plastic or reusable cloth/silicone versions; disposable are convenient for quick clean-up, while reusable are more environmentally friendly. You'll typically use medium-sized bags, perhaps 12-inch or 16-inch, for comfortable handling with most border tips.
Piping tips are metal or plastic nozzles that shape the icing as it comes out of the bag. For simple cake border piping, you'll primarily use star tips (like Wilton 1M, 21, or Ateco 32), round tips (like Wilton 10, 12, or Ateco 806), and potentially a shell tip (which is essentially a star tip with one side removed). Couplers are two-part plastic pieces that allow you to change tips on a piping bag without changing the bag itself, which is handy if you want to use the same color icing with different border designs.
Step-by-Step: Creating Basic Cake Piping Borders
Let's dive into some of the most popular and easy cake piping borders you can master today. These techniques are foundational and can be adapted using different tip sizes for varied effects. Practice these on parchment paper before moving to your cake to build confidence.
Preparing Your Piping Bag for Cake Borders
Proper preparation of your piping bag is crucial for smooth and consistent easy cake piping borders. First, insert your chosen piping tip into the bag.
If using a coupler, drop the inner ring into the bag first, push it towards the tip opening, snip off the end of the bag just enough for the ring to poke through, place the tip over the ring on the outside, and screw the outer ring on to secure the tip. If not using a coupler, simply drop the tip into the bag and snip the end just enough for the tip to poke through firmly.
Next, fill the bag with your prepared icing. The best method is to fold down the top edge of the bag to create a cuff, then use a spatula to scoop icing into the bag, filling it about half to two-thirds full. This prevents icing from spilling out the top. Unfold the cuff and twist the top of the bag closed, pushing the icing down towards the tip. This twisted end is where you'll apply pressure.
Simple Shell Border: A Classic Cake Decorating Technique
The simple shell border is perhaps the most iconic and easy cake piping border. It creates a lovely, flowing edge that looks sophisticated yet is surprisingly simple to execute. You'll typically use a star tip for this, such as a Wilton #21 or #1M. The #21 gives a slightly smaller, more defined shell, while the #1M creates a larger, bolder design, perfect for quick coverage.
To pipe a shell border, hold the bag at about a 45-degree angle to the cake surface. Apply consistent pressure to the bag, allowing the icing to build up and form the base of the shell. As the icing flows, slowly pull the bag towards you while gradually decreasing pressure. The shell will taper off into a tail as you release pressure completely and lift the bag away. Overlap the tail of each shell slightly with the beginning of the next one to create a continuous border around the cake.
The Rosette Border: An Elegant and Easy Cake Piping Option
Rosettes are beautiful, swirled dollops of icing that can form a charming and relatively easy cake piping border. They add texture and volume and are perfect for a quick, decorative edge. A large open star tip, like the Wilton 1M, is ideal for creating bold, defined rosettes, while a smaller star tip, such as the Wilton 4B, can produce mini-rosettes for a more delicate look.
To create a rosette border, hold the piping bag perpendicular to the cake surface (straight up and down). Start piping in the center of where you want your rosette to be, applying steady pressure. Without lifting the tip, swirl the icing outwards in a circular motion, either clockwise or counter-clockwise. Complete the circle back where you started, then stop applying pressure and lift the tip straight up. Place each subsequent rosette right next to the previous one, or slightly overlapping, to form a continuous border.
Bead Border: A Quick and Easy Cake Border for Beginners
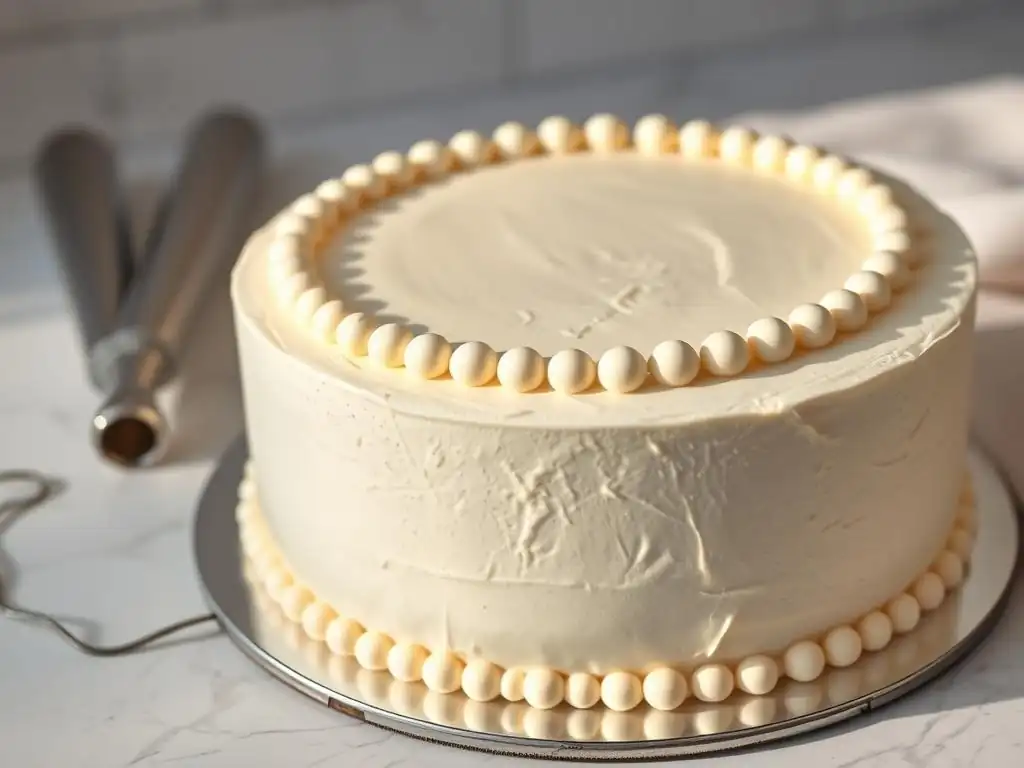
The bead border is arguably the most easy cake piping border for absolute beginners. It consists of simple, round dots of icing piped consistently around the edge of the cake. This border is clean, modern, and very forgiving. You'll need a round piping tip for this, such as a Wilton #10 or #12 for medium-sized beads, or a smaller tip like a #5 for tiny, delicate beads.
To pipe a bead border, hold the piping bag perpendicular to the cake surface. Touch the tip to the cake and apply consistent pressure for just a moment, allowing a round dot of icing to form. Stop applying pressure and lift the tip straight up quickly. The key to a successful bead border is maintaining consistent pressure and duration for each dot so they are all roughly the same size. Space them evenly around the cake edge, either touching or with a small gap between them.
Rope Border: Adding Texture to Your Cake with Piping
The rope border adds a lovely braided or twisted texture to the edge of your cake and is another versatile and easy cake piping border variation. It looks more complex than it is and provides a nice alternative to simple shells or beads. You can use either a star tip (like Wilton #18 or #21) or a round tip (like Wilton #10 or #12) for this technique, depending on whether you want a textured or smooth rope.
To create a rope border, start by piping a 'C' shape on the cake surface, positioning it so the open part of the 'C' faces the direction you are moving (e.g., to the right if moving counter-clockwise). Next, pipe another 'C' shape right next to the first, overlapping the tail of the first 'C' with the beginning of the second 'C'. Continue piping overlapping 'C' shapes around the cake, ensuring they interlock and form a continuous, twisted pattern resembling a rope. Maintain consistent pressure and size for each 'C' for an even look.
Troubleshooting Common Cake Piping Border Issues
Even when creating easy cake piping borders, you might encounter a few common challenges. Don't get discouraged! Most issues can be easily fixed with a little adjustment to your technique or icing consistency.
Uneven Piping: Tips for Consistent Cake Borders
One of the most common issues when piping easy cake piping borders is unevenness – some shells are big, some small, some beads are lopsided. This is usually due to inconsistent pressure on the piping bag or unsteady hand movement. Practice is key here; try piping lines or shapes on parchment paper first to get a feel for applying steady, even pressure.
Ensure you are holding the bag correctly, twisted tightly at the top, and using the palm of your hand or both hands to apply pressure evenly. Maintain a consistent angle relative to the cake surface for borders like shells. For bead borders, focus on applying pressure for the same amount of time for each dot. Piping slowly and deliberately rather than rushing can also significantly improve consistency.
Air Bubbles in Icing: Preventing and Fixing Them
Air bubbles trapped in your icing can cause frustrating gaps or bursts in your easy cake piping borders, ruining the smooth flow of the design. Air can get incorporated into icing during mixing, especially if whipped too vigorously, or when loading the piping bag.
To prevent air bubbles, try to mix your icing on a lower speed once ingredients are combined. When filling the bag, don't just plop the icing in; use a spatula to gently press it down into the bag as you fill it, eliminating pockets of air. If you notice bubbles while piping, stop, gently squeeze the bag to move the air pocket forward, and if necessary, snip off the very end of the tip's icing flow to release the bubble before continuing your border.
Icing Consistency: Achieving the Perfect Texture for Cake Borders
The consistency of your icing is paramount for successful easy cake piping borders. If the icing is too stiff, it will be hard to squeeze and won't flow smoothly, resulting in jagged or broken borders. If it's too soft or runny, your borders won't hold their shape and will slump or spread out.
For most simple cake border piping techniques like shells, rosettes, or beads, you want a medium consistency buttercream. It should be stiff enough to hold its shape when piped but soft enough to flow smoothly and easily through the tip without requiring excessive force. You can adjust consistency by adding a tiny amount of liquid (like milk, water, or cream) to thin stiff icing, or by adding a little more powdered sugar or cornstarch to thicken soft icing. Add adjustments very gradually, mixing well after each addition, until the desired consistency is reached.
Beyond the Basics: Exploring More Advanced Cake Border Designs
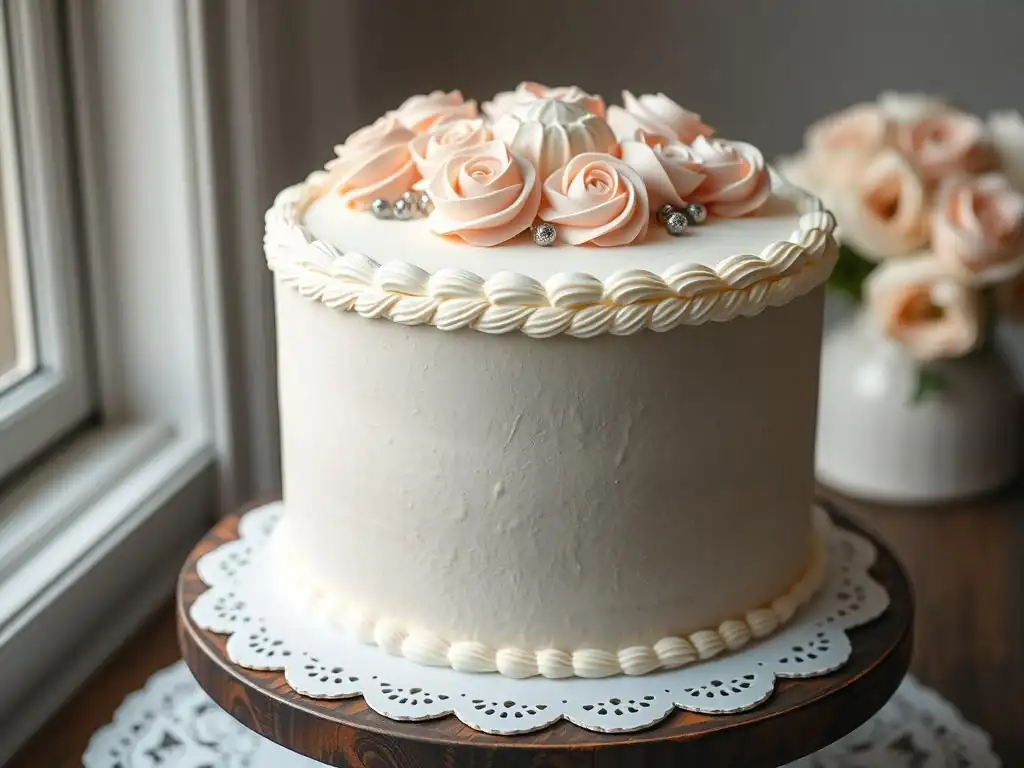
Once you feel comfortable with easy cake piping borders, you might be ready to try techniques that require slightly more control and practice. These borders build upon the foundational skills you've already developed.
Ruffled Cake Border: A Step Up in Difficulty
The ruffled border creates a beautiful, delicate, wavy edge around the cake, resembling fabric ruffles. It requires a bit more finesse with hand movement and pressure control than basic shells or beads. For this border, you'll typically use a petal tip (like Wilton #104 or #125), which has one wide end and one narrow end.
To pipe a ruffled border, hold the piping bag so the narrow end of the petal tip is facing outwards (away from the cake) and the wide end is touching the cake surface. Apply consistent pressure and move your hand in a gentle, wavy motion along the edge of the cake. The icing will fan out from the wide end of the tip, creating the ruffled effect. Practice maintaining a smooth, continuous wavy line and consistent pressure for even ruffles.
Braided Cake Border: A More Complex Piping Technique
The braided border is a decorative technique that creates an interwoven pattern around the cake, similar to a braid. While not overly difficult, it requires precise overlapping and consistent sizing of the piped lines to achieve the braided look. You can use a round tip (like Wilton #10 or #12) or a small star tip (like Wilton #18 or #21) for this design.
To pipe a braided border, start by piping a diagonal line. Then, pipe a second diagonal line next to it, overlapping the first line slightly at the top and crossing underneath it at the bottom. Continue piping diagonal lines, always overlapping the previous line at the top and crossing under at the bottom, alternating which side you pipe from to create the woven effect. It's essentially a series of overlapping 'V' or 'A' shapes tilted on their side.
Combining Different Piping Techniques for Unique Cake Borders
One of the best ways to create visually interesting cake borders is by combining different easy cake piping borders or mixing basic techniques with more advanced ones. This allows you to add layers of texture and design.
For example, you could pipe a base layer of simple shells around the bottom edge of the cake, then pipe a bead border just above it in a contrasting color or using a different size tip. Another idea is to alternate rosettes and shells for a varied look, or use a simple round tip to pipe a smooth line border and then add small star accents on top of it. Experimenting with different tips and techniques on parchment paper will help you discover combinations that create unique and appealing cake borders.
Tips & Tricks for Professional-Looking Cake Borders
Achieving clean, sharp, and consistent easy cake piping borders often comes down to technique and practice. Here are some tips to help you get that polished, professional finish.
Practice Makes Perfect: Honing Your Cake Piping Skills
Just like any skill, mastering easy cake piping borders requires practice. Don't expect your first attempt to be perfect. Dedicate some time to practicing piping motions on a flat surface like a cutting board or a sheet of parchment paper. You can scrape the icing off the parchment, put it back in the bag, and reuse it, minimizing waste.
Set specific goals for your practice sessions, such as piping ten consistent shells in a row or piping a perfectly straight line of beads. Aim for consistent pressure, speed, and angle. As you practice, you'll develop muscle memory and control, which will translate directly to cleaner, more confident piping on your actual cakes.
Choosing the Right Icing for Your Cake Borders (Buttercream, Royal Icing, etc.)
The type of icing you use significantly impacts how your easy cake piping borders will look and behave. Buttercream, especially American buttercream (made with butter, powdered sugar, and a liquid), is an excellent choice for most simple cake border piping as it holds its shape well, is easy to work with, and tastes delicious. It's versatile enough for shells, rosettes, beads, and ropes.
Royal icing, made from powdered sugar and egg whites or meringue powder, dries hard and is ideal for very fine, detailed work or borders that need to be sturdy, but it's less commonly used for softer, more voluminous borders like shells. Ganache can also be piped for borders, but its consistency is highly temperature-dependent. For beginners focusing on easy cake piping borders, a stable buttercream is usually the recommended choice.
Color Coordination: Creating Visually Appealing Cake Borders
The color of your icing border can dramatically enhance the overall look of your cake. Think about the cake's theme, the base icing color, and the occasion. A contrasting color for the border can make it pop and define the edge clearly. For example, a white cake with a vibrant blue shell border is eye-catching.
Alternatively, using a slightly darker or lighter shade of the cake's main color for the border can create a subtle, sophisticated effect. Use gel food coloring rather than liquid colors, as gels are more concentrated and won't thin out your icing consistency too much. Start with a small amount of color and gradually add more until you achieve the desired hue. Consider using two different colors for alternating elements in a border design for extra visual interest.
Easy Cake Border Ideas for Different Occasions
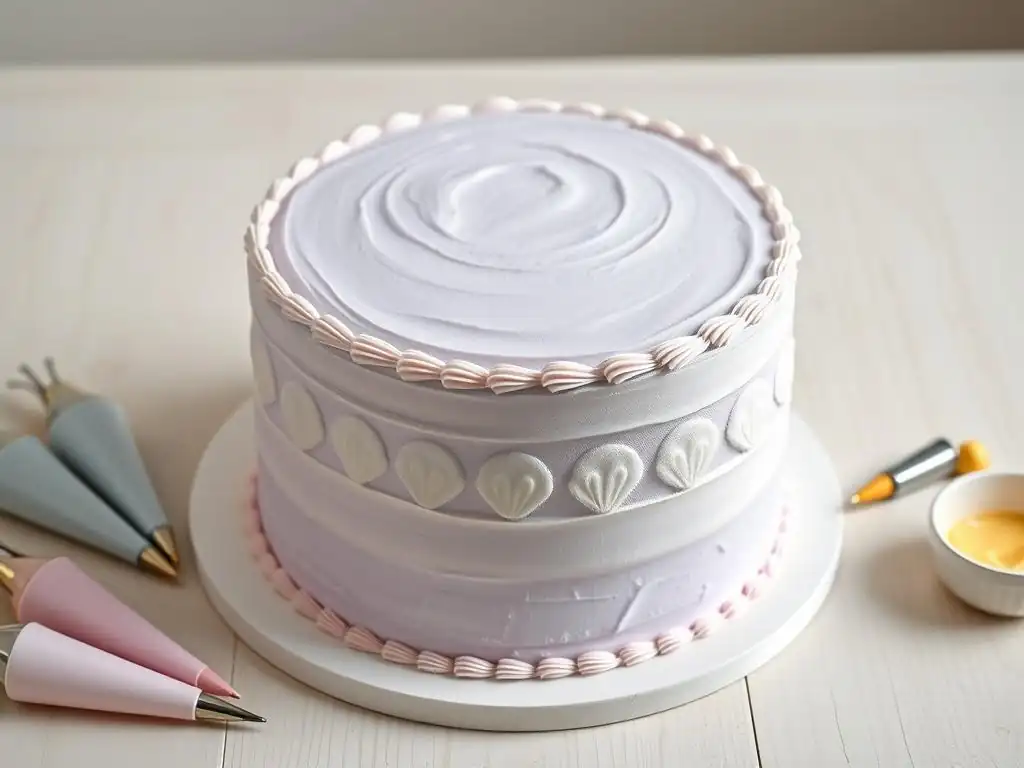
Applying easy cake piping borders can tailor your cake perfectly to any celebration. Here are some ideas for specific occasions.
Birthday Cake Piping Borders: Fun and Festive Designs
For birthday cakes, particularly for children, you can go bold and bright with your easy cake piping borders. Simple bead borders in multiple bright colors piped side-by-side can create a festive look. A large, open star tip like the Wilton 1M can create quick, fun rosettes or shells in vibrant hues like red, yellow, or blue.
Consider the age and interests of the birthday person. For a child's cake, a bright green bead border might complement a dinosaur theme, while alternating pink and white shells could be perfect for a princess party. For adults, more subdued colors or elegant single-color borders like classic white shells or elegant buttercream rosettes are often preferred, adding a touch of sophistication without being overly complicated.
Wedding Cake Piping Borders: Elegant and Sophisticated Options
Wedding cakes often call for elegance and subtlety. Easy cake piping borders like delicate shell borders or classic buttercream rosettes are perfect choices. These are typically done in white, ivory, or colors that match the wedding theme. Using a smaller star tip (like Wilton #18) for shells can create a more refined look than larger tips.
A simple bead border using a medium-sized round tip (like Wilton #12) can also provide a clean, understated edge. For a multi-tiered wedding cake, consistency is key, so mastering one or two simple cake border piping techniques is more valuable than attempting overly complex designs. The goal is a polished, cohesive look across all tiers.
Holiday Cake Piping Borders: Seasonal and Themed Ideas
Holidays offer a fantastic opportunity to play with color and themed easy cake piping borders. For Christmas, think red and green bead borders, or white shell borders dusted with edible glitter to mimic snow. A large star tip can create quick "trees" or "stars" along the border.
Halloween cakes might feature orange and black shell borders, or perhaps purple and green rosettes. For Easter, pastel-colored bead or shell borders are perfect. The key is using colors associated with the holiday and choosing border styles that are quick to execute, allowing you to focus on other themed decorations if desired. Easy cake piping borders make it simple to add a festive touch to any holiday treat.
Conclusion: Elevate Your Cakes with Easy Piping Borders
Mastering easy cake piping borders is a rewarding step in your baking journey. These fundamental techniques provide a professional finish, cover imperfections, and serve as a canvas for further decoration. From the classic shell and elegant rosette to the simple bead and textured rope, there are numerous simple cake border piping styles accessible to bakers of all levels.
With a few essential tools, a bit of practice, and attention to icing consistency, you can confidently create beautiful edges on any cake. Don't be afraid to troubleshoot common issues or combine different techniques to develop your own unique style. By incorporating these quick cake borders, you'll not only enhance the visual appeal of your baked goods but also build foundational skills that will benefit you in all your future cake decorating endeavors. Happy piping!
Frequently Asked Questions
How do I choose the right piping tip for easy cake piping borders?
Choosing the right tip depends on the desired effect. A star tip is great for simple borders, while a round tip creates smooth lines. Experiment with different sizes to achieve your desired look!
What consistency should my frosting be for easy cake piping borders?
The frosting should be smooth and stiff enough to hold its shape. If it's too soft, the borders will droop. Adding a little powdered sugar can help stiffen it.
What's the easiest piping border for a beginner?
The simple dot border is the easiest. Just squeeze and release! Practicing on parchment paper first is recommended to get the hang of it. It is very beginner friendly.
How do I avoid air bubbles in my frosting while piping easy cake piping borders?
Burp the piping bag by gently squeezing it to release trapped air. Also, make sure to fill the bag properly, avoiding creating air pockets in the first place.
Can I use store-bought frosting for easy cake piping borders?
Yes, store-bought frosting can work, but it's often too soft. You may need to stiffen it with powdered sugar. Make sure to taste test as you add more sugar!
Final Reflection: Mastering the Art of Easy Cake Piping
The pursuit of visually stunning cakes is no longer confined to professional bakers; with a little practice and the right techniques, anyone can create breathtaking piping borders. This article has demonstrated that achieving elegant and impressive cake decorations is surprisingly accessible, dispelling the myth that intricate piping is only for experts. The simple methods outlined here empower home bakers to elevate their creations with minimal effort and maximum impact.
The joy of creating something beautiful and delicious with your own hands is profoundly satisfying. It's more than just frosting a cake; it's about expressing creativity, adding a personal touch, and sharing joy with others. This simple skill, once mastered, becomes a powerful tool for self-expression and celebration. The best things in life are homemade.
This sentiment rings true, especially when considering the personal connection forged through the act of baking and decorating a cake, a connection amplified by the beautiful borders you can now easily create.
Now, it's your turn. Don't be intimidated by the seemingly complex world of cake decorating. Pick up a piping bag, choose your favorite frosting, and experiment with the techniques outlined in this article. Let your creativity flow, and remember that even small details, like a perfectly piped border, can transform an ordinary cake into a masterpiece. The journey of mastering cake piping is a rewarding one, filled with delicious results and the satisfaction of creating something truly special. So, go forth and decorate!
Unleash Your Inner Cake Artist!
Thanks for taking the time to explore the world of piping borders with us! We hope you've gained the confidence to create stunning cakes. Now it's time to put your new skills into action.
- Master a new piping technique: Choose your favorite border design from the article and practice it today! Even five minutes of practice will make a difference.
- Share your creations: Show off your beautifully piped cakes on social media – tag us, we'd love to see them!
- Explore further: Try experimenting with different frosting consistencies and nozzle sizes to achieve unique looks.
Ready to transform your next cake into a masterpiece? What exciting border design will you tackle first?