
Ready to Pipe? Essential Prep Before You Start

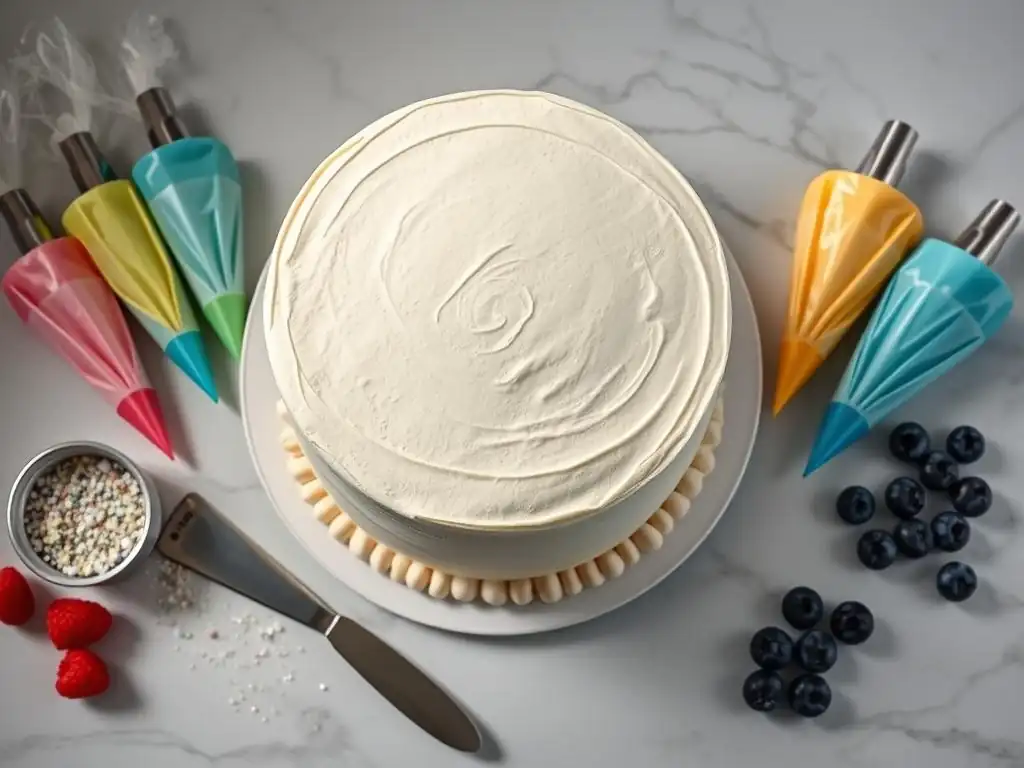
Welcome to BakeWithEase, your trusted guide to delicious homemade creations! Are you ready to transform your baked goods from ordinary to extraordinary? Then you're in the right place. Before you even think about squeezing that first swirl, discover the essential preparations for mastering the art of how to pipe frosting. Knowing these secrets ensures a smooth, stress-free, and stunning finish. Curious about the critical steps you might be missing? Let's dive in and unlock the secrets to professional-looking results!
- Introduction: Elevating Your Cakes with Piping
- Gathering Your Piping Supplies: A Comprehensive Checklist
- Preparing Your Buttercream: The Ideal Base for Piping
- Setting Up Your Piping Bag: A Detailed Guide
- Practice Exercises for Piping Mastery
- Tips for Polished and Professional Piping
- Conclusion: Unleash Your Cake Decorating Potential!
-
Frequently Asked Questions
- How important is the consistency of frosting when piping?
- What tools do I absolutely need to start piping frosting?
- How do I properly fill a piping bag without making a mess?
- What is the best way to practice piping techniques before decorating a cake?
- How do I prevent air bubbles from ruining my piped frosting designs?
- Final Reflection: Mastering the Art of Piping: From Prep to Perfection
- Unleash Your Inner Baker: Get Piping!
Introduction: Elevating Your Cakes with Piping
Decorating a cake is often the grand finale of the baking process, and mastering how to pipe frosting is a fundamental skill that can transform a simple cake into a stunning centerpiece. Whether you're aiming for elegant swirls, intricate borders, or delicate flowers, learning the basics of piping opens up a world of creative possibilities. It's not just about making things pretty; proper piping techniques ensure even distribution of frosting and can even help structurally with certain designs.
Embarking on your piping journey can feel a little daunting at first, but with the right tools, preparation, and practice, you'll gain the confidence to create beautiful decorations. This guide will walk you through the essential steps, from gathering your supplies and preparing your buttercream to setting up your piping bag and practicing fundamental techniques. By understanding the nuances of frosting consistency and pressure control, you'll be well on your way to decorating cakes like a pro.
Mastering Basic Piping Skills for Stunning Cake Designs
Understanding basic piping skills is the cornerstone of cake decorating. These foundational techniques, such as piping simple dots, lines, swirls, and stars, are the building blocks for more complex designs. Learning how to apply consistent pressure and control the flow of frosting from the piping bag is crucial for achieving clean, professional-looking results. This initial practice helps develop the muscle memory needed for smooth, even piping.
For instance, practicing piping simple lines on parchment paper allows you to focus solely on pressure control and maintaining a steady hand. Try piping lines of varying thickness to see how pressure affects the outcome. Similarly, practicing dots of uniform size helps you perfect the technique of starting and stopping the flow of frosting cleanly. These seemingly simple exercises are vital steps in learning how to pipe frosting effectively and build the dexterity required for piping more elaborate decorations like shells or rosettes.
Gathering Your Piping Supplies: A Comprehensive Checklist
Before you even think about loading a piping bag, having the right equipment on hand is essential. Just as a painter needs brushes and colors, a cake decorator relies on specific tools to execute their vision. A well-stocked piping kit can make the process smoother and significantly improve the quality of your finished work.
Here’s a checklist of the key supplies you’ll need:
- Piping Bags (disposable or reusable)
- Piping Nozzles (a starter set with various shapes is recommended)
- Couplers (optional, but very helpful)
- Offset Spatulas (for smoothing)
- Turntable (for easy cake rotation)
- Parchment paper or wax paper (for practice)
- Small bowls or containers (for coloring buttercream)
- Rubber spatulas or spoons (for filling bags)
Piping Bags: Disposable vs. Reusable - A Detailed Comparison
Choosing between disposable and reusable piping bags depends largely on your personal preference, frequency of use, and willingness to clean. Disposable bags, typically made from plastic or polyethylene, offer convenience; you simply use them and throw them away, eliminating the need for washing. They are particularly useful when working with multiple colors or small quantities of frosting, or when decorating away from home. A standard roll might contain 100 bags, costing around $10-$20 depending on the size and brand.
Reusable piping bags, often made from coated cotton or polyester, are more environmentally friendly and tend to be more durable. They require thorough washing and drying after each use to prevent bacterial growth and mold. While the initial cost might be slightly higher (perhaps $5-$15 for a set of 2-3 bags), they are a more economical choice in the long run if you pipe frosting regularly. Some decorators find reusable bags offer a better grip, though this can vary by material and personal feel.
Piping Nozzles: Understanding Different Types and Their Uses
Piping nozzles, also known as piping tips, are the small metal or plastic cones that attach to the end of the piping bag and shape the frosting as it is squeezed out. They come in a vast array of shapes and sizes, each designed to create a specific effect. Common types include round tips (for dots, lines, and writing), star tips (open and closed, for stars, shells, and rosettes), petal tips (for flowers and ruffles), and leaf tips.
A basic starter set might include tips like a small round tip (e.g., Wilton #3 or #4) for details and writing, a medium star tip (e.g., Wilton #1M or #21) for swirls and borders, and a large round tip (e.g., Wilton #12) for filling or large dots. Understanding the number coding system used by manufacturers like Wilton or Ateco can help you identify tip sizes and styles. For example, smaller numbers on round tips indicate a smaller opening, producing finer lines, while larger numbers mean wider openings.
Couplers: Streamlining Nozzle Switching
Couplers are incredibly useful tools, especially when you plan to use the same color of frosting with multiple piping tips on a single project. A standard coupler consists of two parts: a base that goes inside the piping bag before you cut the tip off, and a ring that screws onto the outside of the bag, securing the piping nozzle in place.
The main advantage of using a coupler is the ability to swap out piping nozzles without changing the piping bag or emptying the frosting. If you're piping rosettes with a star tip and then want to switch to a round tip for dots, you simply unscrew the ring, remove the star tip, place the round tip on the base, and screw the ring back on. This saves time and reduces the number of bags you need, streamlining the process of how to pipe frosting with different effects.
Offset Spatulas: Achieving Smooth Frosting Application
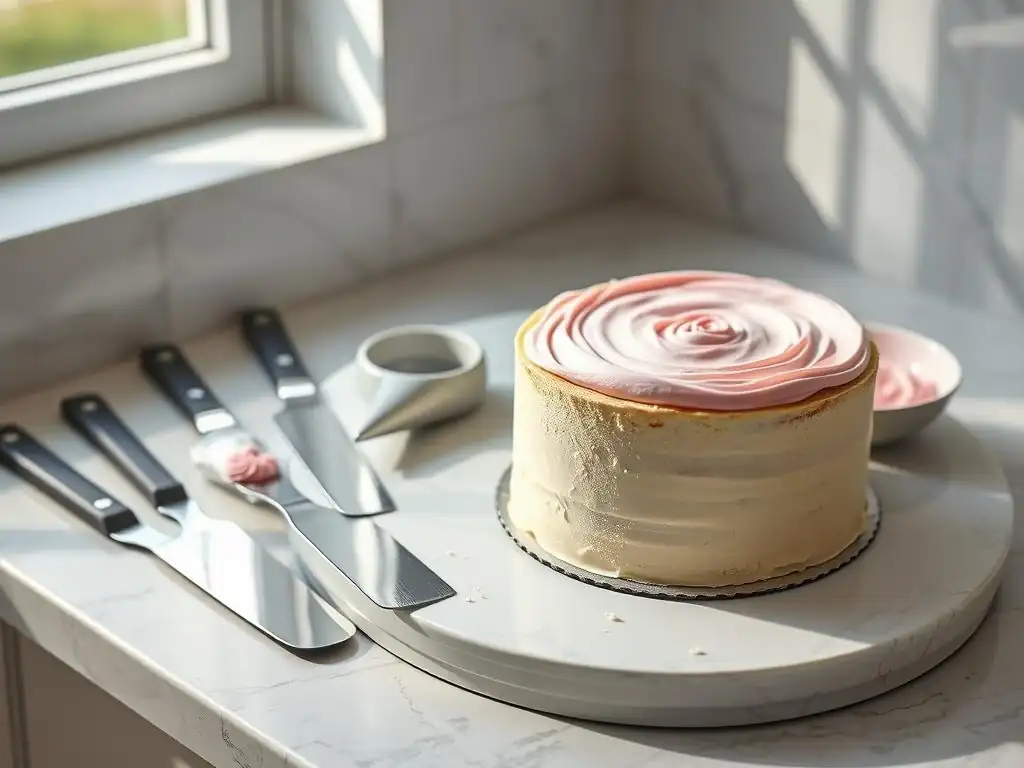
While not strictly for piping itself, an offset spatula is an indispensable tool for preparing your cake before piping and for applying base layers of frosting smoothly. An offset spatula has a blade that is angled away from the handle, which keeps your knuckles from dragging in the frosting as you spread it.
Offset spatulas come in various sizes, from small 4-inch blades perfect for cupcakes and smaller cakes to large 10-inch blades suitable for frosting the sides and tops of multi-tiered cakes. Using an offset spatula to create a smooth, level surface or a crumb coat provides an ideal canvas for your piping work. A smooth base layer ensures that your piped decorations adhere properly and stand out beautifully.
Turntables: Essential for Even Cake Decorating
A cake turntable, also known as a revolving cake stand, is a rotating platform that holds your cake while you decorate it. This simple tool makes it significantly easier to apply frosting evenly to the sides of the cake, create smooth finishes with an offset spatula, and pipe continuous borders or designs around the circumference without having to constantly move yourself or the cake.
Turntables are available in various materials, including plastic, metal, and glass, and range from basic manual models to professional ball-bearing versions that spin effortlessly for extended periods. Even a basic plastic turntable, often available for around $15-$30, provides a distinct advantage over trying to decorate a stationary cake. Using a turntable allows for smoother, more consistent application when you pipe frosting along the sides of your cake.
Preparing Your Buttercream: The Ideal Base for Piping
The success of your piping efforts heavily depends on the quality and consistency of your buttercream. Too stiff, and it will be hard to squeeze and might tear the bag; too soft, and your piped shapes will lose definition and melt. Achieving the right texture is key to beautiful, controlled piping.
Consider the type of buttercream you are using. American buttercream, made from butter and powdered sugar, tends to be quite stable for piping but can be very sweet and sometimes grainy if not mixed properly. Swiss meringue, Italian meringue, or French buttercream are smoother and less sweet but require more precise temperature control and technique to get the right piping consistency. Regardless of the type, the goal is a smooth, pliable texture that holds its shape when piped.
Achieving the Right Buttercream Consistency for Various Techniques
Different piping techniques require slightly different buttercream consistencies. For intricate details, fine lines, or delicate flowers, a slightly firmer buttercream is ideal. This is usually achieved by adding a little more powdered sugar (for American buttercream) or ensuring the butter is incorporated at the correct temperature (for meringue-based buttercreams). A consistency similar to toothpaste or soft-serve ice cream often works well for these detailed tasks.
For covering cakes smoothly with an offset spatula or piping simple borders like shells or stars, a slightly softer consistency is acceptable, similar to a thick pudding. If your buttercream is too stiff, you can loosen it by mixing in a very small amount of milk, cream, or even water, about a teaspoon at a time, until the desired texture is reached. Conversely, if it's too soft, chilling it briefly in the refrigerator for 10-15 minutes or adding a bit more powdered sugar can help firm it up, making it easier to pipe frosting with clean lines.
Coloring Buttercream: Gel Colors for Vibrant Results
When adding color to your buttercream for piping, gel food colors are highly recommended over liquid food colors. Gel colors are concentrated and vibrant, meaning you need only a small amount to achieve intense hues, which is crucial because adding too much liquid can alter the consistency of your buttercream, making it too thin for piping. A tiny dab of gel color, often less than a quarter teaspoon per cup of buttercream, can produce a rich shade.
Start by adding just a tiny amount of gel color with a toothpick and mixing it thoroughly. Remember that colors often deepen slightly as they sit, especially over time. If you're trying to achieve a very deep or dark color like red or black, it's often easier to start with a pre-colored frosting base or use a specific "no-taste" deep color gel designed for buttercream. Always mix the color completely before loading the piping bag to ensure an even shade throughout.
Removing Air Pockets: Achieving a Flawless Finish
Air pockets trapped in your buttercream can cause frustrating interruptions and unevenness when you pipe frosting. As you squeeze the bag, trapped air will suddenly push through, creating gaps or bursts in your piped design. To avoid this, it's essential to remove as much air as possible before you start piping.
After coloring your buttercream, stir it vigorously with a spatula, pressing it against the sides of the bowl to release any trapped air bubbles. When filling your piping bag, use a spatula to scoop the buttercream and press it down into the bag, pushing it towards the tip. Avoid simply spooning large dollops into the bag, which can trap air. Once the bag is filled, twist the top closed and gently squeeze the bag towards the tip a few times to force any remaining air out before attaching the nozzle or beginning to pipe.
Buttercream Storage: Maintaining Freshness and Consistency
Properly storing your buttercream is important for maintaining its freshness and ensuring it's ready to use when you need it, especially if you're preparing it in advance or have leftovers. Buttercream can typically be stored at room temperature for 1-2 days if made with butter and powdered sugar, provided the room isn't excessively warm.
For longer storage, buttercream can be kept in an airtight container in the refrigerator for up to 2 weeks. Before using refrigerated buttercream for piping, allow it to come back to room temperature (this can take several hours depending on the quantity) and then re-whip it thoroughly with a mixer or spatula. Refrigeration can sometimes cause the butter and sugar to separate slightly or the texture to become firm.
Re-whipping restores its smooth, pliable consistency needed to pipe frosting beautifully. For even longer storage, it can be frozen for up to 3 months; thaw it in the refrigerator overnight and then re-whip before use.
Setting Up Your Piping Bag: A Detailed Guide
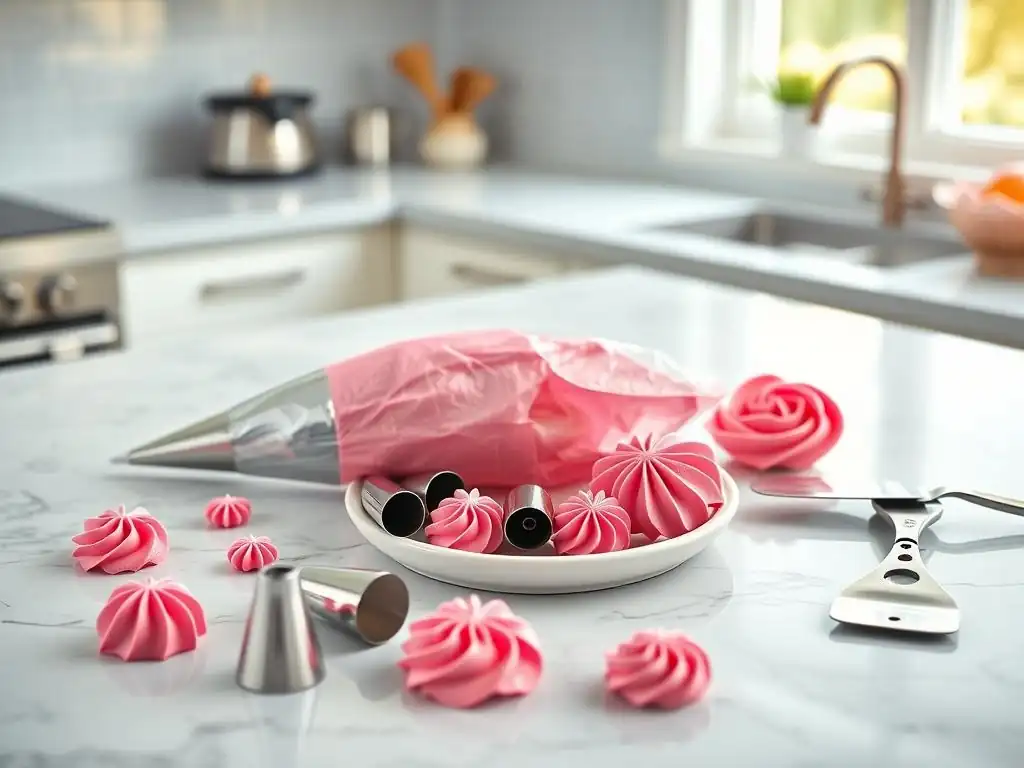
Once your buttercream is prepared and at the perfect consistency, the next step is to properly set up your piping bag. Whether you're using a disposable bag with a coupler or a reusable bag with a large tip inserted directly, correct setup is crucial for ease of use and successful piping.
Getting the bag ready involves a few simple steps: cutting the tip correctly (if using a coupler or inserting a tip directly), assembling the coupler (if using one), and securely placing the nozzle. Taking a moment to ensure everything is set up correctly will prevent leaks and frustration while you're in the middle of decorating.
Cutting the Piping Bag: Precise Measurement for Optimal Results
If you are using a coupler, insert the coupler base into the bag first, pushing it down towards the narrow tip. Mark the bag just below the top of the coupler base's threads. Use sharp scissors to cut straight across the bag at this mark. The goal is to cut just enough so that the coupler base pokes through, allowing the piping nozzle to sit snugly against the bag when the ring is screwed on, but not so much that the nozzle can fall out.
If you are inserting a piping tip directly into the bag without a coupler, insert the tip into the bag and push it down firmly. Gather the bag around the tip to determine where to cut. Cut the bag just below the narrowest point of the tip's opening, ensuring the tip cannot pass through the hole but sits securely with its opening exposed. An overly large cut will cause the tip to wobble or even fall out, while too small a cut will obstruct the frosting flow when you pipe frosting.
Assembling the Coupler: Step-by-Step Instructions
Assembling a standard two-piece coupler is straightforward.
- Insert the coupler base (the part with the threads) inside the piping bag, pushing it down into the cut opening you just made. The threaded part should protrude through the hole you cut.
- Place the desired piping nozzle over the threaded part of the coupler base on the outside of the bag. The wider end of the nozzle should fit against the cut edge of the bag.
- Screw the coupler ring over the piping nozzle and onto the threads of the coupler base, which are now visible outside the bag. Tighten the ring until the nozzle is securely held in place against the bag.
- Task: Verify the nozzle is snug and doesn't wobble.
- Task: Ensure the coupler ring is finger-tight, but not overtightened, which could damage the bag or coupler.
This assembly allows you to easily unscrew the ring and swap nozzles whenever needed without changing the bag or frosting.
Securing the Piping Nozzle: Ensuring a Tight Seal
Whether using a coupler or inserting the tip directly, ensuring a tight seal between the piping bag and the nozzle is critical. A poor seal will lead to frosting leaking out around the sides of the tip instead of cleanly through the opening, creating a mess and preventing you from piping defined shapes.
If using a coupler, the coupler ring should be screwed on tightly enough to hold the nozzle firmly against the bag material. If the bag material is preventing a tight fit, the initial cut might be slightly off. If inserting the tip directly, push the tip down firmly into the narrow end of the bag.
Then, twist the bag material around the top of the piping tip on the inside of the bag. This twisting action helps create a snug seal and directs the flow of frosting down into the tip. Practicing this twisting method is a simple yet effective way to improve how you pipe frosting cleanly.
Practice Exercises for Piping Mastery
Learning how to pipe frosting effectively requires practice. Just like learning to write or draw, consistent repetition builds skill and confidence. Don't expect perfection on your first try! Dedicate some time to practicing basic movements and shapes before attempting to decorate your final cake.
Using parchment paper or wax paper taped to a flat surface is an excellent way to practice. You can even scrape the practice frosting back into the bowl and reuse it (provided it hasn't been out for too long) to minimize waste. Focus on maintaining steady pressure and a consistent speed as you pipe.
Practicing on Parchment: Developing Essential Muscle Memory
Piping on parchment paper allows you to isolate the physical act of piping without the pressure of working directly on a cake. Start with simple exercises using a round tip: pipe straight lines, wavy lines, zigzags, and dots. Focus on starting and stopping cleanly. To pipe a dot, hold the bag perpendicular to the surface, squeeze until the dot is the desired size, then stop squeezing and pull the bag straight up.
Next, switch to a star tip and practice piping stars and rosettes. To pipe a star, hold the bag perpendicular, squeeze firmly until the star forms, then stop squeezing and pull straight up. To pipe a rosette, start in the center, squeeze while moving the tip in a tight circle (clockwise or counterclockwise), and stop squeezing when you meet your starting point, pulling away cleanly. Practicing these fundamental shapes repeatedly on parchment paper helps build the necessary muscle memory and control needed when you pipe frosting onto a cake.
Mastering Basic Piping Techniques: Shell Borders, Rosettes, and Swags
Once you're comfortable with basic lines and shapes on parchment, move on to practicing common decorative techniques. The shell border is a classic and versatile technique typically made with a star tip. Pipe a star, then, without stopping pressure, drag the tip slightly while decreasing pressure, creating a tapered tail. Release pressure completely as you lift the bag. For the next shell, overlap the tail of the previous one.
Rosettes, as practiced earlier, can be scaled up or down depending on the tip size and how long you pipe the circle. Swags are curved lines or draped effects, often piped along the sides of a cake using round or star tips. Practice piping smooth, even curves, maintaining consistent pressure throughout the arc. Mastering these basic techniques on a flat surface will make transferring them to the vertical sides or curved surface of a cake much easier when you're ready to pipe frosting decorations.
Troubleshooting Common Piping Challenges: Separation, Clogging, and Uneven Pressure
Even with careful preparation, you might encounter issues when you pipe frosting. Separation can occur if your buttercream was too warm or if it's been sitting for a while; the fat might start to separate from the sugar/liquid. Often, a quick stir or re-whipping can bring it back together. If it's too warm, chill it briefly.
Clogging usually happens if there are unincorporated lumps (like powdered sugar or bits of butter) in your buttercream, or if the consistency is too stiff for the tip size. Ensure your powdered sugar is sifted and your buttercream is smooth before filling the bag. If it's too stiff, loosen it slightly as described earlier. Uneven pressure is a common issue for beginners, leading to inconsistent lines or shapes. This is best addressed through practice, focusing on squeezing from the top of the bag with steady, even force.
Tips for Polished and Professional Piping
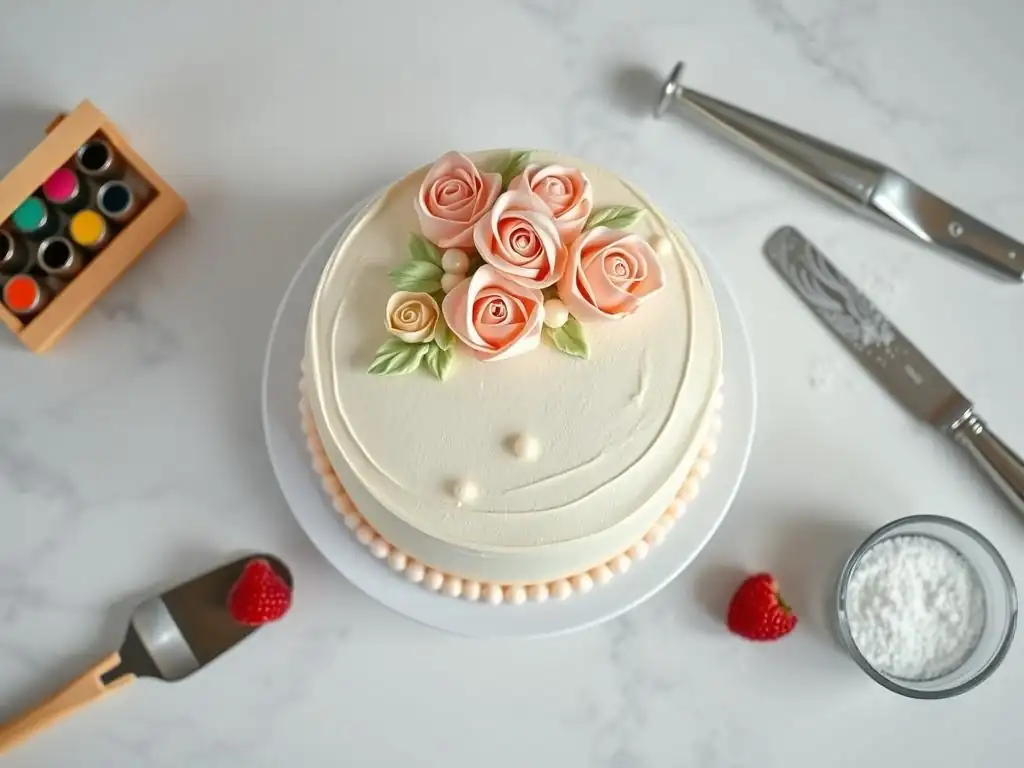
Achieving professional-looking results when you pipe frosting goes beyond just mastering the techniques; it also involves paying attention to details like posture, pressure control, and tool maintenance. These finer points can significantly impact the overall appearance of your decorated cake.
Think of it like calligraphy or drawing – your body position and how you hold the tool influence the outcome. Being mindful of these aspects will help you produce cleaner, more consistent piping work that truly elevates your cake designs.
Maintaining a Steady Hand: Proper Posture and Hand Placement
A steady hand is fundamental for clean piping. To achieve this, proper posture is key. Stand or sit comfortably with your elbows slightly bent and close to your body for support. Avoid hovering or reaching awkwardly, as this can lead to shaky lines. Hold the piping bag correctly: twist the top of the bag closed, holding the twisted end securely in your dominant hand (this hand controls the pressure). Your non-dominant hand should guide the bag near the tip, providing stability and direction.
Keep your wrists relatively straight and use your arm and shoulder muscles for larger movements, especially when piping along the sides of a cake or creating large swirls. Practice moving your whole arm smoothly rather than just flicking your wrist. This stable grip and posture are essential for controlled execution when you pipe frosting designs.
Controlling Pressure: Achieving Consistent Lines and Designs
Consistent pressure is arguably the most important factor in achieving uniform piping. Varying pressure will result in lines that are thick and thin, dots of different sizes, or shells that are inconsistent. The pressure should come from your dominant hand, squeezing the twisted top of the bag steadily and evenly.
Imagine squeezing a tube of toothpaste evenly from the bottom – that's the kind of consistent pressure you're aiming for. As you pipe, maintain that steady squeeze. The speed at which you move the bag will then determine the thickness of the line or the size of the shape (assuming consistent pressure). Practice applying steady pressure while moving the bag at different speeds to see how it affects the outcome. Gradually releasing pressure as you finish a shape is also key to achieving clean stops when you pipe frosting.
Cleaning and Storing Piping Tools: Ensuring Longevity and Hygiene
Proper cleaning and storage of your piping tools are crucial for hygiene and ensuring your equipment lasts. Frosting, especially buttercream, can harden and be difficult to remove if left for too long. As soon as you finish piping, rinse your tips and bags with hot water to remove as much frosting as possible.
For piping tips, a small brush (like a pastry brush or even an old toothbrush) can help remove stubborn bits of frosting from intricate designs. Wash tips, couplers, and reusable bags thoroughly with warm, soapy water. Rinse well and ensure reusable bags are turned inside out to dry completely to prevent mold or mildew. Store clean, dry tips and couplers in a dedicated container or organizer to keep them together and easily accessible for your next cake decorating project where you'll need to pipe frosting.
Conclusion: Unleash Your Cake Decorating Potential!
Mastering how to pipe frosting is a rewarding skill that significantly enhances your ability to decorate cakes and other baked goods. By understanding your tools, preparing your frosting correctly, and dedicating time to practice, you can achieve beautiful, professional-looking results. From simple dots and stars to intricate borders and flowers, the techniques you've learned here provide a solid foundation for creativity.
Don't be discouraged by imperfections initially. Every baker, no matter how experienced, has had a less-than-perfect piping day. The key is persistence and practice. Keep experimenting with different tips and techniques, and soon you'll be piping with confidence and ease.
Embrace the Art of Cake Piping: Creating Show-Stopping Designs
Cake piping is more than just a technical skill; it's an art form that allows you to add personal flair and elegance to your creations. The ability to pipe frosting opens up possibilities for custom messages, intricate patterns, and detailed edible decorations that truly make a cake unique. Think about the classic elegance of a perfectly piped shell border on a wedding cake or the fun, whimsical swirls on a birthday cake.
With practice, you'll develop your own style and learn how to troubleshoot issues on the fly. The satisfaction of transforming a simply frosted cake into a visually stunning masterpiece using just a piping bag and some buttercream is immense. Continue to practice the basic techniques regularly, and you'll find yourself creating increasingly elaborate and impressive designs.
Next Steps: Exploring Advanced Techniques
Once you feel comfortable with the basic piping skills covered here, you might be ready to explore more advanced techniques. This could include learning how to pipe specific types of buttercream flowers like roses, peonies, or hydrangeas using petal tips. It might also involve techniques like basketweave patterns, brush embroidery, or string work, which require precise control and practice.
Exploring different types of frosting beyond buttercream, such as royal icing (used for very fine details and structures) or ganache (which can also be piped), will further expand your decorating repertoire. Look for tutorials and classes that focus on specific advanced skills you're interested in. Remember that even complex techniques are built upon the foundational knowledge of how to pipe frosting effectively with control and consistency.
Frequently Asked Questions
How important is the consistency of frosting when piping?
The consistency is crucial. If your frosting is too stiff, it will be difficult to pipe and may break. If it's too thin, it won't hold its shape and will result in messy decorations.
What tools do I absolutely need to start piping frosting?
You'll need a piping bag, a piping tip (the size and style depend on your desired design), and frosting. Couplers are also helpful for easily switching tips.
How do I properly fill a piping bag without making a mess?
Fold the top of the bag down over your hand, forming a cuff. Spoon the frosting into the bag, being careful not to overfill it. Then, unfold the cuff and twist the top of the bag to seal it.
What is the best way to practice piping techniques before decorating a cake?
Practice on a sheet of parchment paper! This allows you to perfect your technique and easily scrape the frosting back into the bowl to reuse it. This is a great way to avoid wasting frosting.
How do I prevent air bubbles from ruining my piped frosting designs?
After filling the bag, gently squeeze it to release any trapped air. Burp the bag from the top, ensuring that the frosting is pushed down to the tip. This helps to achieve smooth and consistent lines.
Final Reflection: Mastering the Art of Piping: From Prep to Perfection
The meticulous preparation detailed in this guide isn't just about achieving flawlessly smooth buttercream roses; it's about embracing a process that translates to success in any creative endeavor. The seemingly small details—choosing the right piping bag, understanding your frosting consistency, and practicing your techniques—are the foundation upon which beautiful, edible artistry is built. Ignoring these steps can lead to frustration, but mastering them unlocks a world of creative possibilities.
The journey of learning to pipe frosting is more than just acquiring a new skill; it's a testament to the power of patience and practice. It's a reflection of the dedication required to transform a simple ingredient into something truly beautiful. This process mirrors many aspects of life, where careful preparation and persistent effort yield the most rewarding results. As the renowned chef Julia Child once said, Find something you're passionate about and keep tremendously interested in it.
This applies not only to baking but to any pursuit where skill and dedication are key.
Now, it's your turn. Don't just read about piping; do it. Gather your supplies, experiment with different techniques, and embrace the inevitable imperfections along the way. Each piped swirl, each imperfectly formed rose, is a step closer to mastering your craft. Remember the joy of creation, the satisfaction of seeing your vision take shape, and the delicious reward at the end. You've got this!
Unleash Your Inner Baker: Get Piping!
Thanks for joining us on this piping adventure! We hope you now feel confident and prepared to create stunning cake decorations. Ready to put your new skills to the test?
- Master the art of piping: Practice the basic piping techniques we've covered – start with swirls and roses, then try more complex designs. Remember, practice makes perfect!
- Share your creations: Tag us on social media with your piping masterpieces! We'd love to see what you bake.
- Explore advanced piping techniques: Dive deeper into our website for tutorials on advanced piping methods and discover new tools and decorating ideas.
What incredible cake masterpiece will you create with your newfound piping skills?