
The Golden Rule of Baking Choux: Drying It Out Properly

Welcome to BakeWithEase, where baking becomes a joy, not a chore! Ever wondered what the secret is to perfectly puffed éclairs and ethereal cream puffs? It all boils down to mastering one crucial technique. Dive into our latest article and discover the golden rule of choux pastry: how to dry choux dough for that irresistible, airy texture. Ready to unlock the secrets of this intermediate baking skill and elevate your pastry game?
- Mastering Choux Pastry: The Importance of Drying the Dough
- Understanding the Drying Process for Optimal Puff and Structure
- Achieving the Perfect Consistency: A Step-by-Step Drying Guide
- Common Pitfalls and How to Avoid Them
- Beyond Drying: Achieving Choux Pastry Perfection
- Choux Pastry Recipes to Showcase Proper Drying
- Advanced Techniques: Exploring Drying Variables
- Choux Pastry Success: The Drying Dough Checklist
- Frequently Asked Questions
- Final Reflection: The Enduring Power of a Perfectly Dried Choux
- Unlock Your Perfect Choux Pastry: Master the Drying Technique!
Mastering Choux Pastry: The Importance of Drying the Dough
Understanding the Drying Process for Optimal Puff and Structure
Why Drying Choux Dough is Essential for Hollow Centers and Stability
Knowing how to dry choux dough correctly is arguably the most critical step in creating those wonderfully light and airy pastries. When you cook the flour, water, and fat mixture on the stovetop, you're not just combining ingredients; you're actively reducing the moisture content of the dough.
This reduction is key because it concentrates the starches, making the dough stiff enough to hold its shape when piped and, more importantly, creating a structure that can trap steam effectively during baking. Without this crucial drying phase, the dough would be too wet, spreading out on the baking sheet rather than puffing upwards.
The goal of properly drying choux dough is twofold: achieving a dough consistency that's firm yet pliable and ensuring there's sufficient structure to withstand the internal pressure generated by steam during baking. This steam is what forces the dough to expand rapidly, forming that characteristic hollow cavity inside. If the dough hasn't been dried enough, it lacks the structural integrity to support this expansion, leading to flat, dense, or collapsed pastries. Mastering the art of drying choux pastry on the stovetop sets the stage for achieving those coveted crisp exteriors and spacious interiors perfect for filling.
The Science Behind Drying: Starch Gelatinization and Steam Creation
The drying process for choux dough is a fascinating interplay of heat, moisture, and starch. When you combine hot liquid (water or milk) and fat with flour, the starch granules in the flour begin to absorb the liquid and swell. This process is called starch gelatinization. As you cook the mixture over heat, stirring continuously, this gelatinization is completed, forming a thick paste known as the panade. The subsequent step of drying the dough involves continuing to cook this panade, actively evaporating excess moisture.
As moisture is driven off, the starch structure becomes more concentrated and rigid. This is vital because when the dough later hits the high heat of the oven (often around 400-425°F or 200-220°C), the remaining water within the dough turns rapidly into steam. Because the dough's exterior quickly sets, this steam is trapped, forcing the dough to expand dramatically.
A properly dried dough has the right balance of moisture and structural strength from the gelatinized starches to inflate without collapsing. If the dough is too wet from insufficient drying, there's too much steam, and the weaker structure can't contain it, resulting in a pastry that might puff initially but then deflate.
Achieving the Perfect Consistency: A Step-by-Step Drying Guide
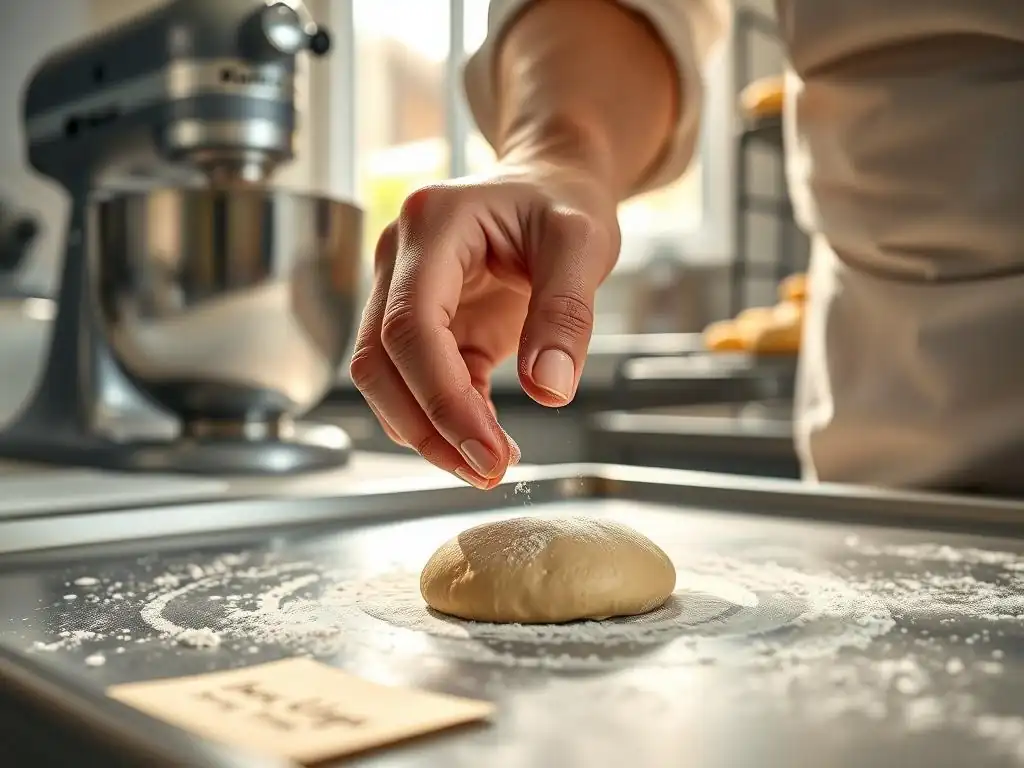
Detailed Instructions: From Initial Cooking to Ideal Dough Texture
1. Combining Ingredients and Forming the Panade
Begin by heating your liquid (water, milk, or a mix) and fat (butter) together with salt and sugar (if using) in a heavy-bottomed saucepan over medium heat until the fat is melted and the liquid is simmering. Remove the pan from the heat and immediately add all the flour at once. Stir vigorously with a sturdy wooden spoon or spatula until the mixture comes together into a rough ball. This initial mixing phase is quick, taking perhaps 30-60 seconds, and forms the basic panade.
2. The Drying Process: Evaporating Moisture Over Heat
Return the saucepan to medium-low heat. This is where you actively learn how to dry choux dough. Continue to cook the dough, stirring and pressing it against the bottom and sides of the pan. You'll notice steam rising from the dough.
Keep stirring and cooking for several minutes, scraping the bottom of the pan to prevent sticking. The dough will become smoother and more cohesive, pulling away from the sides of the pan cleanly. A good indicator is when a thin film starts to form on the bottom of the pan as you stir. This process typically takes about 3 to 5 minutes, depending on the quantity of dough and the heat level.
3. Identifying the Correct Dough Consistency: Smooth and Forms a Ball
You're looking for a dough that is smooth, glossy, and pulls away from the sides of the pan easily, forming a relatively firm ball. When you press the dough against the side of the pan, it shouldn't be excessively sticky or wet. A classic test is to see if a thin film forms on the bottom of the pan after a minute or two of cooking.
Another sign is that the dough will feel heavier and more resistant as you stir. If the dough still seems overly wet or sticky after 5 minutes of cooking and stirring over heat, continue for another minute or two, focusing on pressing it against the hot surface.
Essential Tools for Efficient Drying
Selecting the Right Saucepan and Spatula
Choosing the right equipment makes the drying process much smoother. A heavy-bottomed saucepan is crucial. Its weight helps distribute heat evenly and prevents scorching, which is a common problem when drying choux pastry. A pan with a capacity slightly larger than the volume of your ingredients is ideal, allowing you room to stir vigorously without splashing. Stainless steel or non-stick pans work well, but a good quality non-stick pan can make scraping the film off the bottom easier.
For stirring, a sturdy wooden spoon or a heatproof silicone spatula is essential. You need a tool that is strong enough to work the thick dough and scrape the bottom and sides of the pan effectively. A flexible silicone spatula is excellent for ensuring no dough sticks to the pan, allowing for even drying and making it easier to see that tell-tale film forming on the bottom.
Oven Considerations: Preheating and Ventilation
While the primary drying happens on the stovetop, the oven plays a key role in the overall success. Ensuring your oven is accurately preheated to the specified high temperature (often 400-425°F) is vital for the initial steam expansion. An oven that isn't hot enough won't generate sufficient steam pressure, leading to poor puff.
Ventilation during baking is also important, especially in the later stages. Some recipes recommend slightly opening the oven door towards the end of the baking time. This allows steam to escape, helping the pastries dry out further and crisp up the exterior, preventing them from becoming soggy or collapsing upon cooling. Check your specific recipe instructions, but understanding the need for ventilation helps explain why some recipes call for this step.
Common Pitfalls and How to Avoid Them
Identifying Over-Dried vs. Under-Dried Dough
Identifying the correct dough consistency after the stovetop drying phase is critical. Under-dried dough will appear very wet, sticky, and won't form a cohesive ball easily. It might slide around the pan rather than sticking together. When you add eggs, it will become very loose, almost batter-like. Pastries made from under-dried dough will spread excessively, lack structure, and likely won't puff properly or will collapse quickly.
Over-dried dough, while less common than under-drying, can also cause issues. If you cook the dough for too long or over too high heat during the drying process, it can become stiff, pasty, and difficult to work with. It might even look slightly grainy. When eggs are added, it will struggle to absorb them properly, resulting in a lumpy or uneven mixture. While it might hold its shape, over-dried dough can lead to pastries with a tougher texture and potentially less impressive puff compared to perfectly dried dough.
Troubleshooting Common Problems: Stickiness and Lack of Puff
The most frequent problem when learning how to dry choux dough is ending up with a dough that's too sticky or wet after the stovetop step. If your dough is still very sticky and doesn't pull away cleanly from the pan after several minutes of cooking and stirring, it simply needs more time over the heat. Continue stirring and pressing it against the hot pan for another 1-3 minutes, focusing on evaporating that excess moisture. You should see more steam rising. Ensure your heat isn't too low, but also not so high that the bottom burns.
Lack of puff in the oven is often a direct consequence of under-dried dough, but it can also be related to adding too many eggs (which also makes the dough too wet) or an oven that isn't hot enough. If you're confident you dried the dough sufficiently on the stove, double-check your egg incorporation (add them one at a time, ensuring each is fully absorbed before adding the next, and stop when the dough reaches the correct consistency – often described as the "beak" or "ribbon" stage).
Also, always ensure your oven is fully preheated and accurate. A simple oven thermometer can be a baker's best friend!
Preventing Deflation: Key Drying and Baking Techniques
Preventing your beautiful choux puffs from deflating after coming out of the oven is the final hurdle, and proper drying plays a significant role. A well-dried dough creates a strong structure that can support itself as it cools. If the dough was under-dried, the structure is weak and prone to collapsing. Beyond the initial drying process on the stove, the baking method is crucial.
Baking at a high temperature initially (e.g., 400-425°F for 15-20 minutes) is necessary for maximum steam generation and puff. However, reducing the temperature later in the baking process (often to 350-375°F or 175-190°C for another 15-25 minutes) allows the pastry to continue baking and dry out internally without burning the exterior. This two-stage baking method is standard for choux.
Some bakers also prick the finished pastries or make a small slit to allow steam to escape before cooling, further preventing internal condensation that can lead to sogginess and deflation. Avoid opening the oven door during the crucial initial puffing phase (the first 15-20 minutes), as the sudden temperature drop can cause them to collapse.
Beyond Drying: Achieving Choux Pastry Perfection
Piping Techniques for Consistent Shape and Size
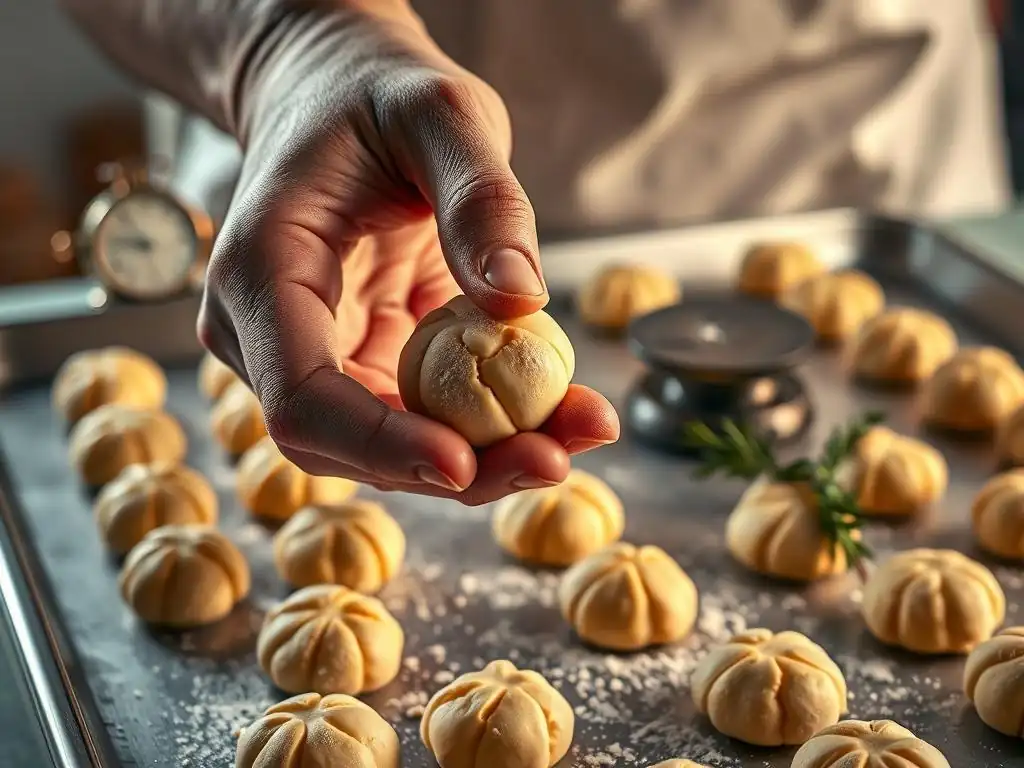
Once you've mastered how to dry choux dough to the perfect consistency and incorporated the eggs, proper piping is the next step towards beautiful pastries. Using a piping bag fitted with a plain or star tip allows you to create uniform shapes, which ensures even baking. For classic cream puffs, a round tip is common, piping mounds about 1.5 to 2 inches in diameter. For éclairs, a large plain tip is used to pipe straight logs about 4-5 inches long.
Consistency in size and shape is key. If your pastries vary greatly in size, smaller ones will burn before larger ones are cooked through. Practice piping on parchment paper before transferring to the baking sheet if needed. Holding the piping bag at a consistent angle and pressure helps achieve uniformity. You can also lightly wet your finger and smooth out any tips or irregularities before baking to prevent them from burning.
Baking for Golden Brown Color and Structural Integrity
Baking choux pastry isn't just about getting it to puff; it's about baking it long enough to develop a deep golden-brown color and a firm, dry shell. The color is a good indicator that the pastry is cooked through and has developed sufficient structural strength. Pale choux pastries are often underbaked and will likely collapse or become soggy upon cooling.
As mentioned earlier, a two-stage baking process is often recommended: high heat initially for puff, followed by a lower temperature to cook the interior and dry out the shell. The total baking time for medium-sized cream puffs might range from 30 to 45 minutes, depending on the size and your oven. Don't be afraid to bake them until they are a rich, dark golden color. They should feel light and hollow when lifted.
Cooling and Storage for Optimal Texture and Freshness
Proper cooling and storage are the final steps to maintaining the texture achieved through careful drying and baking. Choux pastries should be cooled completely on a wire rack. This allows air to circulate around them, preventing condensation from forming on the bottom, which can make them soggy. If you pricked them after baking, place them cut-side down on the rack to help steam escape.
Once cooled, choux pastries are best filled immediately before serving to prevent the shell from becoming soggy from the filling's moisture. Unfilled baked choux shells can be stored at room temperature in an airtight container for a day or two, or frozen for longer storage (up to 1-2 months). To serve frozen shells, thaw them at room temperature and then crisp them up in a moderate oven (around 300°F or 150°C) for 5-10 minutes before filling.
Choux Pastry Recipes to Showcase Proper Drying
Cream Puffs: A Classic Application of Choux
Cream puffs (or pâtes à choux) are perhaps the most iconic example demonstrating the success of properly dried choux dough. Their spherical shape and large, hollow interior are a direct result of the steam trapped within the strong, dried dough structure during baking. A perfectly baked cream puff is light, crisp on the outside, and completely empty inside, making it ideal for filling with whipped cream, pastry cream, or ice cream. The process of drying the dough for choux is paramount here; if the dough is too wet, you simply won't get that beautiful, round puff.
Éclairs: Mastering the Elongated Shape
Éclairs present a slightly different challenge due to their elongated shape, but they rely just as heavily on a well-dried choux dough. The dough needs to be stiff enough to hold a neat, straight line when piped, which comes from sufficient moisture evaporation on the stovetop. During baking, the steam must expand the log evenly along its length.
An under-dried dough might spread into an amorphous blob, while a perfectly dried dough will expand into a beautiful, hollow cylinder ready to be filled with pastry cream and topped with ganache. Mastering how to dry choux dough allows for these elegant results.
Profiteroles: Versatile Bite-Sized Choux
Profiteroles are essentially small cream puffs, often used in desserts like croquembouche or served simply with chocolate sauce. Their small size means they bake relatively quickly, but the principle remains the same: the dough must be properly dried on the stove to ensure they puff into neat, bite-sized spheres with hollow centers. Because they are smaller, the effects of under-drying (flatness) or over-baking (becoming too hard) can be more pronounced. Getting the initial dough consistency right by carefully drying the dough for choux is key to achieving uniform, perfectly puffed profiteroles.
Advanced Techniques: Exploring Drying Variables
Adjusting Drying Times for Altitude and Humidity
While standard recipes provide a good starting point for how to dry choux dough, environmental factors like altitude and humidity can affect the process. At higher altitudes, water boils at a lower temperature, meaning it evaporates more quickly. This could potentially lead to slightly shorter drying times on the stovetop, or you might need to be more vigilant to avoid over-drying. Conversely, in very humid environments, it might take slightly longer to evaporate enough moisture from the dough.
Bakers in different climates or locations may need to slightly adjust the cooking time on the stove, relying more on the visual and tactile cues (the film on the pan, the dough pulling away, the consistency) rather than sticking rigidly to a specific minute count. This fine-tuning comes with practice and understanding the goal of the drying process – achieving that specific dough texture.
Incorporating Different Flours for Texture Variations
While most classic choux recipes use all-purpose flour, variations in flour type can subtly affect the starch content and absorption, thus influencing the drying process and final texture. Using a flour with a slightly different protein or starch content might require minor adjustments to the initial liquid amount or the drying time. For instance, a lower-protein flour might absorb less liquid initially, potentially requiring slightly less drying time.
However, for most home bakers, sticking to the recommended all-purpose flour is best while learning how to dry choux dough. Once you've mastered the technique with standard ingredients, you can experiment with small batches using different flours, noting how the dough consistency during drying and the final pastry texture change. Always prioritize achieving the correct dough texture on the stovetop regardless of the flour type.
Choux Pastry Success: The Drying Dough Checklist
Ensuring Consistent and Repeatable Results
To consistently achieve perfect choux pastry, keep this drying dough checklist in mind during the stovetop phase:
- [x] Use a heavy-bottomed saucepan to ensure even heat distribution.
- [x] Add flour all at once after removing the pan from the heat initially.
- [x] Return to medium-low heat and stir vigorously and constantly.
- [x] Cook until a thin film forms on the bottom of the pan.
- [x] Continue cooking and stirring until the dough pulls away cleanly from the sides and forms a cohesive ball.
- [x] Look for a smooth, slightly glossy dough texture after drying.
- [x] Ensure steam is visibly rising from the dough during the process.
- [x] Aim for the correct consistency (not too sticky, not too stiff) rather than a strict time limit.
- [x] Allow the dough to cool slightly (1-2 minutes) before adding eggs.
By focusing on these points, you'll significantly improve your ability to properly dry choux dough, laying the essential foundation for light, airy, and perfectly puffed pastries every time.
Frequently Asked Questions
How important is drying the choux dough for a successful bake?
Drying choux dough is extremely important because it allows the dough to form a stable structure that can hold its shape during baking and develop the desired hollow interior.
What happens if I don't dry my choux dough enough?
If you don't dry the dough sufficiently, it will likely spread out too much during baking, resulting in flat, dense pastries that lack the characteristic airy texture and may not puff up properly.
How can I tell if my choux dough is dry enough?
The dough should form a smooth, glossy ball that pulls away from the sides of the pan. You should see a thin film forming on the bottom of the pan and the dough should hold its shape when piped.
Can I over-dry my choux dough?
Yes, over-drying can lead to problems. Over-dried dough will become stiff and difficult to pipe, and the resulting pastries may be too hard and dry. Watch carefully and stop when the dough reaches the correct consistency.
What's the best way to dry choux dough on a stovetop?
Use a low to medium heat and stir constantly with a wooden spoon to prevent burning. The goal is to evaporate excess moisture while simultaneously cooking the flour, creating a sturdy base for the pastry.
Final Reflection: The Enduring Power of a Perfectly Dried Choux
The seemingly simple act of drying choux pastry is, in reality, the cornerstone of its success. A perfectly crisp, airy choux bun, a delicate profiterole, or a majestic éclair – all hinge on this crucial step. Mastering this technique unlocks a world of pastry possibilities, transforming a potentially gummy disaster into a culinary masterpiece.
The impact of proper choux drying extends far beyond the individual baker's kitchen. It represents a connection to generations of pastry chefs who have honed this technique, passing down their knowledge and experience. The subtle art of achieving that perfect balance between moisture and crispness speaks to a deeper appreciation for precision and patience in cooking. The proof of the pudding is in the eating,
they say, and the same holds true for choux. The reward for meticulous drying is a pastry that sings with texture and flavor.
Now, I invite you to consider your own baking journey. Perhaps you've experienced the frustration of a soggy choux, or the elation of achieving that perfect crisp. Whatever your experience, remember the power of the seemingly small details. Take the time to truly understand the drying process, to experiment and refine your technique. The next time you face a bowl of choux pastry, remember the golden rule: dry it out properly, and unlock the magic within. Let your baking be a testament to patience, precision, and the enduring satisfaction of a perfectly executed recipe.
Unlock Your Perfect Choux Pastry: Master the Drying Technique!
Thanks for taking the time to explore the secrets of perfectly crisp choux pastry! You've now got the knowledge to elevate your baking game. Ready to put it into practice?
- Try the drying method described: Start with a small batch of your favorite choux recipe and focus on achieving that perfect, dry surface before baking. Note the texture differences!
- Share your results: Post a picture of your choux creations on social media and tag us – we'd love to see your success! Use #BakeWithEaseChoux.
- Explore other Choux variations: Use what you've learned to experiment with different fillings and shapes. What delightful choux creations will you dream up?
What unique twist will you add to your next batch of choux pastry?