
Coffee Eclairs Recipe: A Caffeinated Intermediate Bake

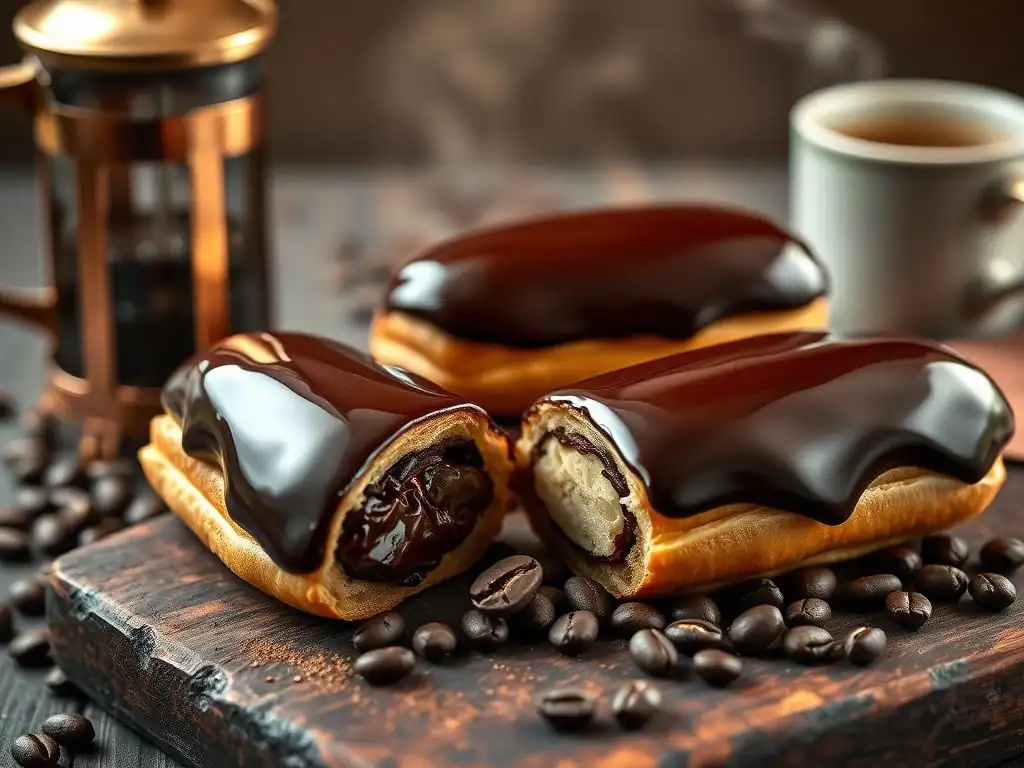
Welcome to BakeWithEase, your haven for unlocking the secrets of baking! Ready to elevate your skills? Dive into our Easy Coffee Eclair Recipe and discover how to create these elegant pastries with a delightful caffeinated twist. Intrigued? Let's transform your kitchen into a patisserie – the full recipe awaits!
- Introduction to Coffee Eclairs: An Intermediate Baking Project
- Easy Coffee Eclair Recipe: Ingredients and Equipment
- Step-by-Step Guide: Baking the Perfect Coffee Eclairs
- Tips and Tricks for Baking Exceptional Coffee Eclairs
- Coffee Eclair Variations and Customizations
- Troubleshooting Common Coffee Eclair Baking Issues
- Conclusion: Enjoy Your Homemade Coffee Eclairs
-
Frequently Asked Questions
- What makes this coffee eclair recipe "easy" compared to other eclair recipes?
- What kind of coffee flavor should I use for the filling?
- Can I make the choux pastry ahead of time?
- What's the best way to prevent eclairs from collapsing after baking?
- What are some variations I can try with this coffee eclair recipe?
- Final Reflection: The Sweet Symphony of Coffee and Pastry
- Unlock Your Inner Pâtissier: Master the Coffee Éclair!
Introduction to Coffee Eclairs: An Intermediate Baking Project
BakeWithEase Presents: Mastering the Coffee Eclair
Welcome to BakeWithEase, your guide to tackling rewarding baking projects like the classic eclair, enhanced with a delightful coffee twist! This easy coffee eclair recipe is designed for intermediate bakers ready to elevate their skills beyond basic cookies and cakes. We'll walk you through the process of creating delicate choux pastry shells, filling them with a rich coffee crème pâtissière, and topping them off with a decadent chocolate coffee glaze. It's a bake that requires precision and patience, but the result is a truly impressive dessert.
Making eclairs is a fantastic way to build confidence in several fundamental baking techniques simultaneously. From understanding the science of choux pastry puffing up in the oven to mastering the art of a smooth, stable custard, this recipe covers essential ground. By following this guide, you'll gain valuable experience that can be applied to other pastries like profiteroles, gougères, and even cream puffs, making your efforts worthwhile and expanding your baking repertoire significantly.
Why Coffee Eclairs are the Perfect Intermediate Baking Challenge
Crafting coffee eclairs is a prime example of an intermediate baking challenge because it requires proficiency in multiple distinct techniques. The foundation is choux pastry, which relies on a specific process involving boiling water and fat, adding flour off-heat to create a panada, and then incorporating eggs to achieve the correct consistency before baking. A common pitfall is adding too much or too little egg, which can lead to shells that don't puff or collapse. Mastering this requires careful observation and understanding of dough texture, often described as forming a "v" shape when lifted with a spoon.
Beyond the choux, the coffee crème pâtissière introduces the challenge of making a cooked custard. This involves tempering egg yolks with hot milk, cooking the mixture until it thickens properly (typically reaching 180-190°F or 82-88°C), and cooling it correctly to prevent a skin from forming. Getting the balance of coffee flavor right – whether using instant espresso powder or coffee extract – requires careful measurement and tasting. Successfully making both the pastry and the filling, and then combining them neatly, demonstrates a significant step up in baking skill from simpler recipes.
Easy Coffee Eclair Recipe: Ingredients and Equipment
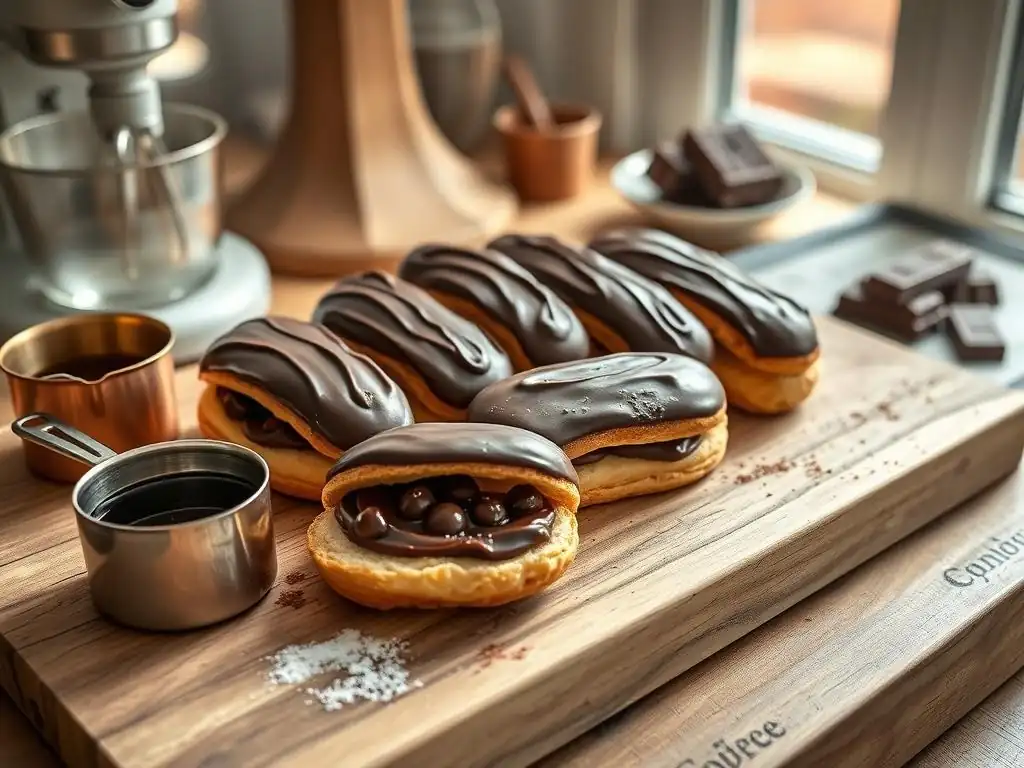
List of Ingredients for the Perfect Coffee Eclairs
Gathering all your ingredients and having them measured out before you begin is crucial for a smooth baking process. This easy coffee eclair recipe requires precision, so accurate measurements are key, ideally using a kitchen scale for flour and liquids for the most consistent results. For instance, using exactly 125 grams of all-purpose flour versus a cup measure that might contain 115 or 130 grams can significantly impact the choux pastry consistency.
Ensure your ingredients are at the correct temperature where specified. For example, eggs for the choux pastry are typically added one at a time at room temperature to ensure they incorporate smoothly into the warm dough. Cold milk for the crème pâtissière is heated, but the egg yolks should also ideally be at room temperature for easier tempering. Using high-quality butter will also contribute to the richness and flavor of both the pastry and the filling.
Choux Pastry Ingredients
- 1 cup (240ml) water
- 1/2 cup (113g) unsalted butter, cut into cubes
- 1 tablespoon granulated sugar
- 1/4 teaspoon salt
- 1 cup (125g) all-purpose flour, sifted
- 4 large eggs, at room temperature
Coffee Crème Pâtissière Ingredients
- 2 cups (480ml) whole milk
- 1/4 cup (50g) granulated sugar, divided
- 1/4 cup cornstarch
- 4 large egg yolks
- 2 tablespoons unsalted butter, softened
- 1 teaspoon vanilla extract
- 2-3 teaspoons instant espresso powder or strong coffee extract (adjust to taste)
Chocolate Coffee Glaze Ingredients
- 1 cup (170g) semi-sweet chocolate chips
- 2 tablespoons unsalted butter
- 1/4 cup (60ml) strong brewed coffee or hot water
- 1 teaspoon instant espresso powder (optional, for extra coffee kick)
- 1/2 teaspoon light corn syrup (optional, for shine)
Essential Baking Equipment for Making Eclairs
Having the right tools on hand will make the process of creating this easy coffee eclair recipe much more manageable and enjoyable. A sturdy saucepan is essential for making both the choux pastry dough and the crème pâtissière, ideally one with a heavy bottom to prevent scorching. Parchment paper or a silicone baking mat is non-negotiable for lining your baking sheets; choux pastry sticks readily to ungreased surfaces, leading to deflated shells.
A good quality piping bag fitted with a large open star or round tip (like an Ateco 806 or 826) is critical for shaping the eclairs evenly. While you can spoon the dough, piping results in a much more uniform shape, which helps them bake evenly. For the filling, a piping bag with a smaller tip (like a Bismark tip or a small round tip) or even just a knife tip to make holes is needed to inject the cream without tearing the delicate shells.
Tools for Choux Pastry
- Medium saucepan (2-3 quart)
- Wooden spoon or heatproof spatula
- Large mixing bowl
- Stand mixer with paddle attachment (optional, but helpful) or hand mixer
- Piping bag
- Large open star or round piping tip (e.g., Ateco 806, 826, 808)
- Baking sheets
- Parchment paper or silicone baking mats
- Sharp knife or bench scraper (for shaping/smoothing)
Tools for Coffee Cream Filling
- Medium saucepan
- Whisk
- Medium bowl
- Fine-mesh sieve
- Heatproof rubber spatula
- Plastic wrap
- Piping bag
- Bismark tip or small round piping tip (e.g., Ateco 230)
Glazing Equipment
- Small saucepan or double boiler setup
- Heatproof bowl
- Rubber spatula or spoon
- Wire rack
- Baking sheet or parchment paper placed under the wire rack (to catch drips)
Step-by-Step Guide: Baking the Perfect Coffee Eclairs
Step 1: Preparing the Choux Pastry for Coffee Eclairs
The success of your easy coffee eclair recipe hinges significantly on getting the choux pastry right. This stage involves cooking a base panada on the stovetop and then incorporating eggs off the heat. The goal is a smooth, thick dough that is glossy and falls slowly from a spoon, forming that characteristic "v" shape. Overworking the dough or adding eggs too quickly can result in a pastry that doesn't puff properly.
The temperature during the initial cooking phase is critical; you want to cook the flour and liquid mixture long enough (typically 1-2 minutes over medium heat) after adding the flour to cook out the raw flour taste and create a smooth, cohesive ball that pulls away from the sides of the pan, leaving a thin film on the bottom. This process gelatinizes the starch in the flour, which is essential for the pastry's structure.
Making the Dough: Detailed Instructions
Combine the water, butter, sugar, and salt in the saucepan. Heat over medium heat, stirring occasionally, until the butter is completely melted and the mixture comes to a rolling boil. Remove the pan immediately from the heat and add the sifted flour all at once. Stir vigorously with a wooden spoon or heatproof spatula until the mixture comes together to form a smooth ball of dough.
Return the pan to low heat and cook the dough, stirring constantly and pressing it against the bottom and sides of the pan, for about 1-2 minutes. This step helps dry out the dough slightly and cook the flour.
You should see a thin film form on the bottom of the pan. Transfer the dough to a large bowl or the bowl of a stand mixer and let it cool for about 5-10 minutes, stirring it occasionally to release steam, until it's warm but not hot to the touch (around 140°F or 60°C).
Add the eggs one at a time, beating well after each addition, until the dough is smooth, glossy, and has the correct consistency – when you lift the paddle or spoon, the dough should hang in a "v" shape and slowly drop off. This typically requires all 4 eggs, but humidity and flour type can vary results, so check the consistency.
Baking the Eclair Shells: Achieving the Perfect Puff
Preheat your oven to 400°F (200°C). Line baking sheets with parchment paper or silicone mats. Fit a piping bag with your chosen tip and fill it with the choux pastry dough. Pipe 4-5 inch long strips onto the prepared baking sheets, leaving about 2 inches of space between them as they will expand significantly. You should get approximately 12-15 eclairs from this batch of dough. Smooth the tops and edges if necessary using a damp fingertip or knife.
Place the baking sheets in the preheated oven. Bake for 15 minutes at 400°F (200°C) to get the initial puff. Without opening the oven door, reduce the temperature to 375°F (190°C) and continue baking for another 10-15 minutes, or until the eclairs are deep golden brown, firm, and feel light when lifted. The dark color is crucial for ensuring they are baked through and will not collapse.
Turn off the oven, prop the door open slightly with a wooden spoon, and let the eclairs cool inside for 10-15 minutes. This slow cooling helps prevent them from deflating. Transfer to a wire rack to cool completely.
Step 2: Crafting the Coffee Crème Pâtissière Filling
The coffee crème pâtissière is the heart of this easy coffee eclair recipe, providing the creamy contrast to the light pastry shell. Making a smooth, thick custard requires careful attention to temperature and constant stirring. The goal is a silky, lump-free cream that holds its shape when piped but is still soft enough to melt in your mouth. Infusing it with coffee flavor adds a sophisticated layer.
Cooking the custard involves heating milk, tempering egg yolks with sugar and starch, and then cooking the combined mixture until it thickens. Tempering is essential to prevent scrambling the eggs; slowly whisking a small amount of hot milk into the egg mixture raises its temperature gradually before adding it back to the main batch. This process typically takes about 5-8 minutes of cooking over medium heat once the mixture is back in the saucepan.
Infusing the Cream with Coffee Flavor
In a medium saucepan, combine the whole milk and half of the granulated sugar (1/8 cup). Heat over medium heat until the milk is hot and just simmering, but not boiling. Remove from the heat. In a separate medium bowl, whisk together the egg yolks, the remaining sugar (1/8 cup), and the cornstarch until pale and well combined. Gradually pour about half of the hot milk mixture into the egg yolk mixture, whisking constantly to temper the yolks.
Pour the tempered egg yolk mixture back into the saucepan with the remaining hot milk. Whisk constantly over medium heat. Add the instant espresso powder or coffee extract now, whisking to dissolve and distribute the flavor. Continue to cook, whisking constantly and scraping the bottom of the pan, until the mixture thickens significantly and comes to a gentle boil (you should see a few large bubbles pop). This usually takes about 5-8 minutes.
Cooking the Crème Pâtissière to Perfection
Once the crème pâtissière has thickened, remove it from the heat. Stir in the softened unsalted butter and vanilla extract until completely smooth and incorporated. For an extra smooth texture, you can strain the crème pâtissière through a fine-mesh sieve into a clean bowl.
Cover the surface of the crème pâtissière directly with plastic wrap to prevent a skin from forming as it cools. Chill in the refrigerator for at least 2-3 hours, or preferably until completely cold and firm. The cream will thicken further as it cools. Before filling the eclairs, whisk the chilled crème pâtissière vigorously for a minute or two to loosen it up and make it smooth for piping.
Step 3: Assembling the Coffee Eclairs
Assembling the eclairs is the satisfying step where the pastry shells meet their creamy coffee filling. There are a couple of methods for filling, but the goal is to get a generous amount of crème pâtissière inside each shell without breaking the delicate pastry. Using a piping bag is the most common and neatest way.
Ensure your choux shells are completely cool before filling. Filling warm shells will cause the steam to soften the pastry and can potentially melt the cream. Having the crème pâtissière well-chilled is also crucial for it to hold its shape and be easy to pipe.
Filling the Eclair Shells with Coffee Cream
Once the choux shells and crème pâtissière are fully chilled, you're ready to fill. There are two main ways to do this:
- Cutting Slits: Use a sharp knife to make 2-3 small slits on the underside of each eclair shell.
- Making Holes: Use the tip of a small round piping tip (like an Ateco 230), a chopstick, or a skewer to poke 2-3 holes in the underside of each eclair.
Fit a piping bag with a Bismark tip (which is designed for filling) or a small round tip. Fill the bag with the chilled, whisked crème pâtissière. Insert the tip into one of the holes/slits and gently squeeze the bag, filling the eclair until you feel it become heavy or see the cream start to emerge from another opening. Repeat for each hole/slit on the eclair, ensuring it is generously filled. A batch of 12-15 eclairs typically requires all of the prepared crème pâtissière.
Techniques for a Neat and Professional Filling
To achieve a professional look when filling, avoid overfilling, which can cause the shells to burst or crack. Fill until you feel slight resistance or see the cream just starting to push out. For the slit method, make the cuts along one side of the eclair length-wise rather than across the width, which can make them easier to fill evenly.
Using a dedicated Bismark tip is highly recommended as its shape helps distribute the cream inside the cavity more effectively. If using a regular round tip or just poking holes, ensure the holes are large enough for the tip to enter but not so large they are obvious after filling. Wipe away any excess cream that escapes the holes with a clean finger or small offset spatula.
Step 4: Creating the Chocolate Coffee Glaze
The final touch for this easy coffee eclair recipe is the chocolate coffee glaze. This glaze adds richness, flavor, and a beautiful professional finish. The key is getting the right consistency – shiny, smooth, and thick enough to coat the eclair tops without being too heavy or runny.
Melting chocolate requires gentle heat to prevent it from seizing or burning. Using a double boiler or melting it slowly in a saucepan over low heat is best. Adding a small amount of liquid (like coffee or water) and butter helps create a smooth, pourable consistency and adds shine.
Making a Rich and Shiny Coffee Glaze
In a small saucepan or the top of a double boiler, combine the semi-sweet chocolate chips and butter. Melt over low heat or simmering water, stirring constantly, until the chocolate and butter are completely melted and smooth. This typically takes 5-7 minutes. Be careful not to overheat the chocolate.
Remove from the heat. Stir in the strong brewed coffee (or hot water) and optional instant espresso powder until the glaze is smooth and has a pourable consistency. If using, stir in the light corn syrup for extra shine. If the glaze seems too thick, you can add another teaspoon or two of hot coffee or water, one at a time, until the desired consistency is reached. The glaze should be warm enough to dip the eclairs but not hot.
Glazing the Eclairs for a Professional Finish
Hold each filled eclair by the sides. Dip the top surface of the eclair into the warm chocolate coffee glaze, ensuring the entire top is coated evenly. Lift the eclair straight up from the glaze and gently shake off any excess drips.
Place the glazed eclairs on a wire rack set over a baking sheet or parchment paper (to catch drips). Allow the glaze to set at room temperature or in the refrigerator for about 15-20 minutes. For the neatest finish, try to make one smooth dip per eclair. If the glaze starts to thicken as you work, gently warm it again over low heat or a warm water bath.
Tips and Tricks for Baking Exceptional Coffee Eclairs
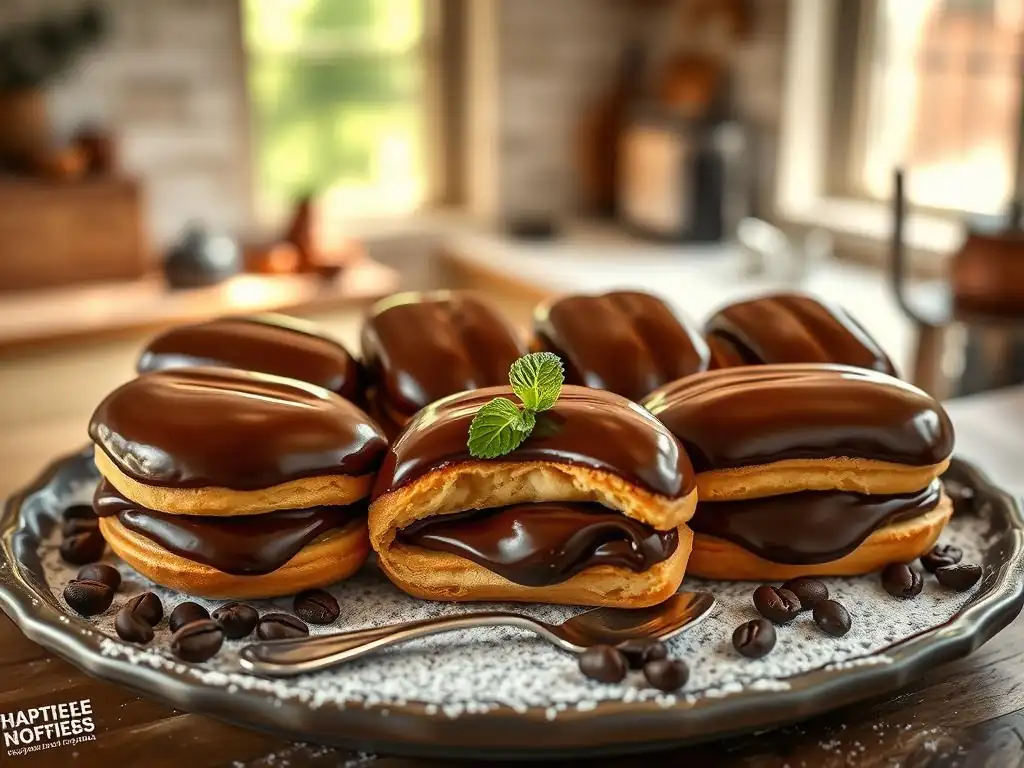
Achieving the Perfect Choux Pastry Texture
The ideal choux pastry shell for this easy coffee eclair recipe is light, airy, hollow, and crisp. This texture is achieved through a combination of proper dough consistency and correct baking. The dough must have enough moisture from the eggs to create steam during baking, which causes the shells to puff dramatically, but not so much that they become weak and collapse. The "v" test when adding eggs is a crucial indicator; if the dough is too stiff, add a little more beaten egg; if too runny, start over as it cannot be corrected.
Baking temperature and time are equally vital. Starting at a high temperature (400°F / 200°C) creates a rapid burst of steam, causing the shells to expand quickly. Reducing the temperature (to 375°F / 190°C) for the remainder of the baking time allows the shells to dry out and crisp up without burning. Baking until they are a deep golden brown, not just pale yellow, ensures the structure is set and they won't deflate upon cooling. Avoid opening the oven door during the first 20 minutes of baking.
Preventing Common Eclair Baking Mistakes
One of the most frustrating issues when making an easy coffee eclair recipe is collapsed shells. This is often caused by underbaking or opening the oven door too early. Ensure your eclairs are baked until very firm and deeply colored; they should feel light and hollow. Slow cooling in a slightly propped-open oven also helps stabilize the structure.
Another common problem is a grainy or lumpy crème pâtissière. This usually happens if the eggs aren't tempered properly, the custard isn't cooked long enough to fully thicken the starch, or it isn't stirred constantly during cooking, causing it to stick and burn on the bottom. Whisking vigorously while cooking and straining the finished cream can help prevent lumps. If your glaze is too thick, it will be hard to dip and look uneven; too thin, and it will run off. Adjust consistency with small amounts of hot liquid or powdered sugar (for chocolate glaze, hot liquid is better).
Enhancing the Coffee Flavor in Your Eclairs
To truly make this an easy coffee eclair recipe that delivers on flavor, consider the intensity of your coffee components. For the crème pâtissière, using high-quality instant espresso powder (not just instant coffee) dissolved in a tiny bit of hot milk or extract provides a stronger, purer coffee taste. You can adjust the amount from 2 teaspoons up to 3 or even 4 teaspoons depending on how robust you want the coffee flavor to be.
For the chocolate coffee glaze, using strong brewed coffee or espresso instead of water adds another layer of coffee flavor. You can also stir in a teaspoon of instant espresso powder directly into the melted chocolate mixture. Consider using a coffee-flavored liqueur (like Kahlúa or Tia Maria) as part of the liquid in the glaze, though this will introduce alcohol. Pairing the coffee flavors with semi-sweet or dark chocolate rather than milk chocolate will create a more sophisticated and less cloyingly sweet result.
Storing Your Coffee Eclairs for Maximum Freshness
Eclairs are best enjoyed the day they are filled and glazed, as the pastry shells can soften over time from the moisture in the filling. If you need to make components ahead of time for your easy coffee eclair recipe, bake the choux shells and store them unfilled in an airtight container at room temperature for up to 2 days, or freeze them for up to 2 weeks. Re-crisp frozen shells in a 300°F (150°C) oven for 5-10 minutes before filling.
The crème pâtissière can be made up to 2 days in advance and stored in the refrigerator, covered directly with plastic wrap. Whisk it well before piping. The glaze can also be made ahead and gently reheated when ready to use. Once assembled and glazed, store eclairs in a single layer in an airtight container in the refrigerator. They are best eaten within 24 hours, but can last up to 2 days, although the pastry will be softer.
Coffee Eclair Variations and Customizations
Experimenting with Different Coffee Flavors
This easy coffee eclair recipe is a great base for exploring various coffee profiles. Instead of standard coffee extract or espresso powder, consider using flavored coffee syrups (like caramel or vanilla coffee syrup) in the crème pâtissière, adjusting the sugar slightly. You could also infuse the milk for the crème pâtissière with coffee beans before heating, straining them out before proceeding with the recipe – use about 1/4 cup of lightly crushed beans per 2 cups of milk, letting them steep in the warm milk for 15-20 minutes off the heat before straining and reheating.
Another variation is to use cold brew coffee concentrate. Substitute a portion of the milk in the crème pâtissière with cold brew concentrate, ensuring the total liquid amount remains the same. This can offer a smoother, less bitter coffee note. For the glaze, using different roast levels of coffee (light, medium, dark) for the brewed coffee component will subtly change the flavor profile of the chocolate glaze.
Adding Chocolate Chips or Other Fillings
While the coffee crème pâtissière is delicious on its own, you can add texture and flavor by incorporating mix-ins. Fold a small amount of mini chocolate chips or finely chopped chocolate into the cooled crème pâtissière before filling. About 1/4 cup of mini chips per batch of cream adds a nice textural contrast.
Beyond chocolate, consider adding other complementary flavors. A layer of caramel sauce can be piped into the eclair shell before or after the coffee cream. You could also add a swirl of whipped cream on top of the coffee cream inside the shell before glazing, or even substitute some of the crème pâtissière with a coffee-flavored whipped ganache for a richer filling. A small amount of coffee-soaked cake or cookie pieces could also be placed inside for texture.
Decorating Your Coffee Eclairs with Creative Toppings
Once glazed, coffee eclairs offer a canvas for additional decoration. Sprinkle the wet glaze immediately with finely chopped roasted coffee beans, chocolate shavings, cocoa nibs, or edible glitter for visual appeal and extra texture. A drizzle of contrasting glaze, such as white chocolate or caramel, can also look stunning.
For a more elaborate touch, pipe small rosettes of whipped cream or reserved crème pâtissière on top of the set glaze. Dusting with cocoa powder or powdered sugar through a stencil can add a professional flourish. Consider adding a single chocolate-covered coffee bean to the top of each eclair for an elegant finish that reinforces the coffee theme of this easy coffee eclair recipe.
Troubleshooting Common Coffee Eclair Baking Issues
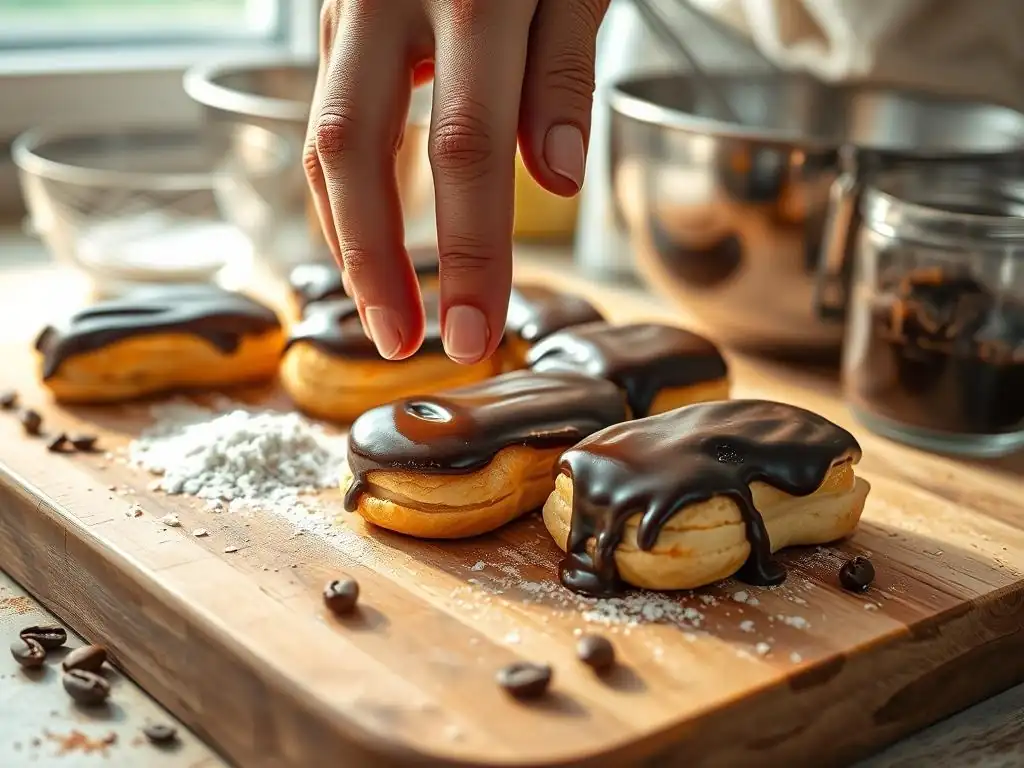
Choux Pastry Not Puffing Up
The most common cause for choux pastry not puffing in this easy coffee eclair recipe is insufficient heat or moisture. Ensure your oven is accurately preheated to 400°F (200°C) before placing the eclairs inside. An oven thermometer can verify the temperature. The dough itself must have the correct consistency after adding the eggs – it should be smooth, glossy, and fall slowly from a spoon in a "v" shape. If the dough was too stiff (not enough egg), there won't be enough steam generated to create the cavity.
Another factor is opening the oven door too early. The steam that causes the puff is trapped inside the oven during the initial high-heat baking phase. Opening the door releases this steam and can cause the delicate structure to collapse before it has set. Avoid opening the oven for at least the first 20 minutes of baking. Also, ensure you cook the panada on the stovetop long enough (1-2 minutes after adding flour) to dry out the dough slightly and gelatinize the starch, which provides structure.
Crème Pâtissière Too Runny or Thick
If your coffee crème pâtissière is too runny for this easy coffee eclair recipe, it's likely due to not cooking it long enough or not using enough starch (cornstarch). The mixture needs to come to a boil and cook for a minute or two while whisking constantly to allow the starch to fully activate and thicken the cream. If it's still too thin after cooling, you can try gently reheating it and cooking it for another minute or two, whisking vigorously. Ensure you used the correct amount of cornstarch specified in the recipe (1/4 cup).
Conversely, if the crème pâtissière is too thick, you may have overcooked it or used too much starch. While it will thicken significantly upon cooling, it should still be whiskable. If it's excessively stiff, you can try whisking in a tablespoon or two of cold milk or cream, one spoonful at a time, until it reaches the desired consistency. Straining the warm cream through a sieve after cooking can also help break up any lumps and improve texture.
Glaze Not Setting Properly
A chocolate coffee glaze that doesn't set properly is often a matter of consistency or temperature. If the glaze is too thin, it won't set into a firm coating; this can happen if too much liquid (coffee or water) was added. You can try gently reheating the glaze and stirring in a few more chocolate chips or a teaspoon of cocoa powder to thicken it slightly.
If the glaze is too thick, it will set too quickly and be difficult to dip evenly, resulting in a messy finish. This can happen if not enough liquid was added or if it wasn't warm enough when dipping. Gently reheat the glaze over low heat or a warm water bath, and stir in a tiny amount (1 teaspoon at a time) of hot coffee or water until it reaches a smooth, pourable consistency.
Ensure the eclairs are dipped while the glaze is still warm but not hot enough to melt the pastry. Placing the glazed eclairs in the refrigerator helps speed up the setting process.
Conclusion: Enjoy Your Homemade Coffee Eclairs
Congratulations on mastering this easy coffee eclair recipe! You've successfully navigated the challenges of choux pastry, smooth crème pâtissière, and glossy glaze to create a truly impressive dessert. Baking, especially complex pastries like eclairs, is a journey of learning and practice. Each attempt builds your skill set and understanding of ingredients and techniques. Don't worry if your first batch isn't perfect; every bake teaches you something new.
We love seeing what you create! Share photos of your beautiful coffee eclairs on social media and tag us or use #BakeWithEase. Connecting with our community is a great way to get inspiration, share tips, and celebrate your accomplishments. Your success can also inspire other intermediate bakers to take on this rewarding project. We're here to support your baking adventures every step of the way.
Further Baking Adventures: What's Next?
Now that you've conquered this easy coffee eclair recipe, you have a strong foundation in choux pastry and custard making. These skills open up a world of other delicious possibilities. Why not try making classic cream puffs filled with whipped cream and chocolate sauce? Or venture into savory choux with gougères, cheesy puffs perfect as an appetizer?
You could also adapt this recipe to create different eclair flavors – think vanilla bean crème pâtissière with a raspberry glaze, or a lemon curd filling with a meringue topping. Explore other intermediate baking challenges on BakeWithEase, such as croissants, macarons, or layered cakes. Your confidence in handling temperature, consistency, and timing will serve you well as you continue to expand your baking horizons! Happy baking!
Frequently Asked Questions
What makes this coffee eclair recipe "easy" compared to other eclair recipes?
This recipe focuses on simplified steps and readily available ingredients, making it more accessible for intermediate bakers. We break down the process to avoid common pitfalls.
What kind of coffee flavor should I use for the filling?
You can use a variety of coffee flavors! Strong brewed coffee extract or instant espresso powder will provide the most intense coffee flavor. Consider also a coffee liqueur.
Can I make the choux pastry ahead of time?
Yes, you can! The unbaked choux pastry can be piped onto a baking sheet and frozen. Bake directly from frozen, adding a few extra minutes to the baking time.
What's the best way to prevent eclairs from collapsing after baking?
Ensure the eclairs are baked thoroughly until golden brown and hollow. Pricking them with a toothpick after baking can release steam and prevent collapsing.
What are some variations I can try with this coffee eclair recipe?
You could try adding a chocolate glaze instead of coffee glaze, or filling the eclairs with a mocha cream for an extra chocolatey experience. You can also try different coffee flavors.
Final Reflection: The Sweet Symphony of Coffee and Pastry
The enduring appeal of the classic éclair, elevated by the rich aroma of coffee, proves that sometimes the simplest combinations yield the most rewarding results. This recipe, designed for intermediate bakers, demonstrates that creating sophisticated pastries isn't as daunting as it might seem. The satisfaction of crafting these delicate, creamy treats from scratch is a testament to the power of accessible culinary adventures.
The journey of baking, much like the enjoyment of a perfectly brewed cup of coffee, is a process of careful attention and mindful creation. It's a journey that connects us to traditions, allowing us to build upon the skills and knowledge passed down through generations. The best things in life are simple,
a sentiment that rings true when savoring the delicate balance of pastry cream, coffee, and choux pastry. This recipe, I hope, has helped you appreciate the artistry and joy inherent in even the most seemingly simple recipes.
Now, I invite you to embrace the challenge. Don't be intimidated by the seemingly complex steps; instead, see them as opportunities to learn, grow, and create something truly special. Experiment with different coffee beans, adjust the sweetness to your liking, and most importantly, share your creations with those you love. The aroma of freshly baked coffee éclairs, the delight on the faces of your loved ones – these are the true rewards of this culinary journey. So, grab your apron, gather your ingredients, and let the sweet symphony of coffee and pastry begin!
Unlock Your Inner Pâtissier: Master the Coffee Éclair!
Thanks for joining us on this caffeinated baking adventure! We hope you've gained the confidence to tackle this delicious and surprisingly manageable recipe. Ready to take your skills to the next level?
- Bake your own batch of Coffee Éclairs: This is your chance to put your new knowledge into practice and impress friends and family with your newly acquired pastry prowess! Remember those tips on piping and baking for perfectly puffed shells?
- Share your creations: Post a picture of your finished coffee éclairs on social media using #BakeWithEaseCoffeeEclair and let's see those stunning results! We might even feature your masterpiece!
- Explore other advanced recipes on BakeWithEase.com – We have tons of exciting recipes waiting for you to discover!
Ready to transform your kitchen into a patisserie? What's your next baking challenge?