
Your First Perfect Batch of Pâte à Choux: Simple Steps for Intermediate Bakers

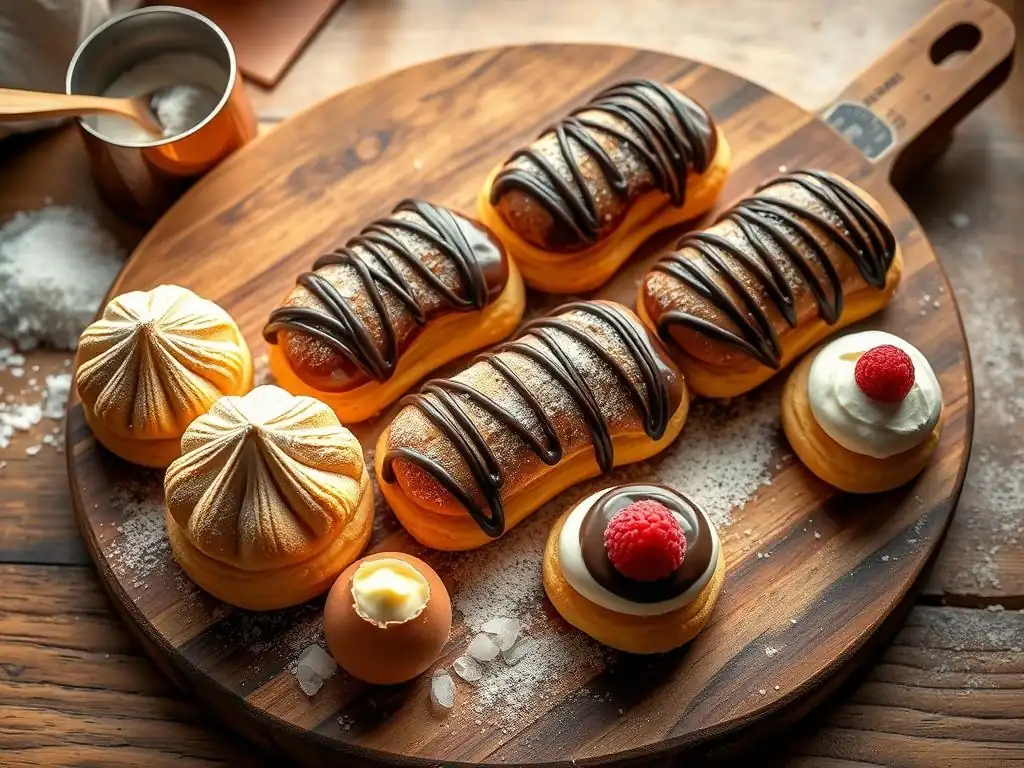
Welcome to BakeWithEase, where mastering baking is made simple! Ever dreamed of creating those light, airy pastries that seem impossibly delicate? Our guide to the perfect pâte à choux recipe unlocks the secrets to achieving foolproof results, even if you're just beyond the beginner stage. Ready to transform simple ingredients into something extraordinary? Let's get baking!
- Mastering Pâte à Choux: An Intermediate Baker's Guide
- Understanding Pâte à Choux: The Foundation of Classic Pastries
- Step-by-Step: Crafting the Perfect Pâte à Choux Recipe
- Baking Your Pâte à Choux: Techniques for Optimal Rise
- Troubleshooting Pâte à Choux: Common Problems and Solutions
- Pâte à Choux Recipe Variations: Expanding Your Baking Repertoire
- Perfect Pâte à Choux Recipe: Tips & Tricks from BakeWithEase
- Beyond the Basics: Advanced Pâte à Choux Techniques for Intermediate Bakers
-
Frequently Asked Questions
- What exactly is pâte à choux, and what is it used for?
- What are the key ingredients needed for a perfect pâte à choux recipe?
- What makes this recipe particularly suitable for intermediate bakers?
- What are some common mistakes to avoid when making pâte à choux?
- Can pâte à choux dough be made in advance?
- Final Reflection: Mastering the Art of Pâte à Choux – A Journey to Perfection
- Unlock Your Inner Pastry Chef: Master Pâte à Choux Today!
Mastering Pâte à Choux: An Intermediate Baker's Guide
Welcome, intermediate bakers, to the exciting world of pâte à choux! This versatile dough is the foundation for many classic pastries like éclairs, cream puffs, and gougères. While it might seem intimidating at first glance, understanding the science behind it and following a precise perfect pâte à choux recipe can lead to consistently successful results. This guide will walk you through each stage, demystifying the process and equipping you with the knowledge to achieve that beautiful, hollow shell every time.
Achieving a perfect pâte à choux recipe relies on a delicate balance of ingredients and technique. Unlike most doughs that rely on leavening agents like yeast or baking powder, pâte à choux expands dramatically in the oven due to the high moisture content turning into steam, which inflates the structure created during the initial cooking phase. Mastering this unique steam leavening is the key to light, airy pastries. We'll explore how precise temperature control and proper mixing are crucial for unlocking this potential.
Understanding Pâte à Choux: The Foundation of Classic Pastries
What is Pâte à Choux and Why It's Essential for Intermediate Baking?
Pâte à choux, also known as choux pastry, is a light dough used in many French pastries. Its name, meaning "cabbage paste," likely refers to the shape of the baked puffs which resemble small cabbages. What makes it essential for intermediate bakers is that it teaches fundamental skills: precise temperature management, understanding dough hydration, and developing gluten structure through cooking rather than kneading. It's a stepping stone to more complex pastry work.
Mastering a perfect pâte à choux recipe opens doors to a wide range of applications. From sweet treats filled with pastry cream or whipped cream to savory appetizers incorporating cheese and herbs, the possibilities are vast. Successfully making pâte à choux builds confidence in handling doughs with unique properties and prepares you for other technical baking challenges. It's a foundational skill that truly elevates your baking repertoire beyond basic cakes and cookies.
Key Ingredients for a Successful Pâte à Choux Recipe
A successful perfect pâte à choux recipe relies on just four basic ingredients: water (or milk), butter, flour, and eggs. The quality and proper handling of each play a critical role in the final outcome. Using fresh ingredients is paramount; stale flour or old eggs can compromise the dough's structure and rise.
Getting the proportions right is non-negotiable. Standard ratios often hover around 1 part liquid, 1 part fat, 1 part flour, and 2 parts eggs by weight, though variations exist. For example, a common starting point might be 240ml water, 100g butter, 150g flour, and 4-5 large eggs (approx. 200-250g). Precision here, ideally using a kitchen scale, significantly increases your chances of achieving a perfect pâte à choux recipe.
Flour Selection: Choosing the Right Flour for Pâte à Choux
For most perfect pâte à choux recipes, all-purpose flour is the standard choice. Its moderate protein content (typically 10-12%) provides enough structure to hold the steam during baking without making the dough too tough. Avoid using high-protein bread flour, which can result in a chewier texture, or low-protein cake flour, which might not provide enough structure for a good rise.
Sifting your flour before adding it to the cooked liquid and butter mixture is highly recommended. Sifting removes lumps, ensuring smoother incorporation and a more uniform dough. This simple step contributes to a more consistent texture throughout the batch, vital for a truly perfect pâte à choux recipe.
The Role of Butter, Water, and Eggs in Perfecting Your Dough
Water and butter form the initial liquid base. Using water results in a crispier shell, while milk can yield a softer, richer texture due to its fat and protein content. The butter adds richness and helps tenderize the dough. When heated together, they create the medium in which the flour is cooked.
Eggs are perhaps the most variable and crucial ingredient. They provide structure, richness, and contribute significantly to the dough's leavening power by adding moisture and protein. The number of eggs needed can vary based on their size and the hydration of your flour. Adding them gradually allows you to control the consistency, ensuring you reach the perfect state for piping and rising.
Step-by-Step: Crafting the Perfect Pâte à Choux Recipe
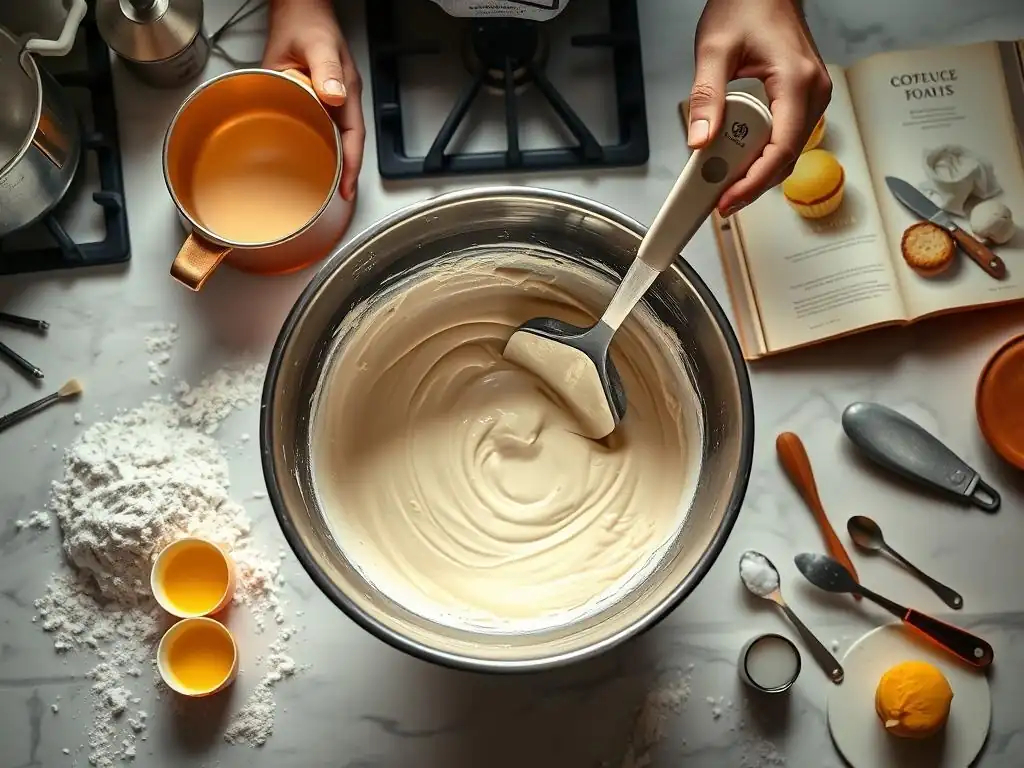
Step 1: Combining Water and Butter for the Base
The very first step in any perfect pâte à choux recipe involves heating the liquid (water or milk) and butter together in a saucepan. Add the butter, cut into pieces for faster melting, to the liquid. You can also add a pinch of salt and a little sugar at this stage if your recipe calls for it.
Place the saucepan over medium heat. Allow the butter to melt completely into the liquid. Bring the mixture to a rolling boil. This boiling point is crucial as it ensures the correct initial temperature for cooking the flour in the next step. Don't let it simmer for too long before adding the flour, as too much liquid will evaporate.
Achieving the Right Temperature and Consistency
The goal here is to have a mixture that is just at a boil when you add the flour. If the mixture isn't hot enough, the flour won't cook properly. If it boils too vigorously for too long, you'll lose too much water, affecting the final dough hydration. A gentle, rolling boil is ideal before removing the pan from the heat momentarily to add the flour.
Once the butter is melted and the liquid is boiling, you're ready for the next phase. This hot base is what gelatinizes the starch in the flour, creating a paste that is essential for the structure of your perfect pâte à choux recipe.
Step 2: Incorporating Flour: The Key to a Smooth Roux
Remove the saucepan from the heat immediately after it reaches a rolling boil and the butter is melted. Add all of the sifted flour in one go. This might seem counter-intuitive, but adding it all at once helps prevent lumps and ensures the flour cooks evenly.
Return the pan to medium heat and begin stirring vigorously with a wooden spoon or sturdy spatula. The mixture will initially look lumpy, but keep stirring. The flour will absorb the liquid and butter, forming a thick paste or "roux" that pulls away from the sides of the pan.
Stirring Techniques for a Lump-Free Pâte à Choux
Stir continuously and firmly, pressing the dough against the bottom and sides of the pan. This process, often called "drying out the dough," is critical. You are cooking the flour, gelatinizing the starches, and evaporating excess moisture. Keep stirring for 1-2 minutes after the dough forms a ball and leaves a slight film on the bottom of the pan. This ensures the flour is properly cooked and the dough is the right consistency to absorb the eggs later. The temperature of the dough at this stage should be around 160-170°F (70-75°C).
Proper stirring at this stage is vital for a smooth dough that can later accept the eggs evenly. Lumps here will result in an uneven dough texture and potentially poor rise. Focus on developing a smooth, thick paste that holds its shape. This cooked flour paste is the backbone of a perfect pâte à choux recipe.
Step 3: Adding Eggs: The Transformation of the Dough
Once the dough has been cooked and dried out, transfer it to a mixing bowl. If using a stand mixer, use the paddle attachment. If mixing by hand, use a sturdy wooden spoon. Let the dough cool for a few minutes before adding the eggs. It should be warm, but not so hot that it cooks the eggs on contact (ideally below 140°F / 60°C).
Add the eggs one at a time, incorporating each egg completely before adding the next. This is where the magic happens – the stiff dough will transform into a smooth, glossy, pipeable paste. Scrape down the sides of the bowl between additions to ensure everything is fully mixed.
The Importance of Egg Temperature and Gradual Incorporation
Using room temperature eggs is often recommended. Cold eggs can seize the dough and make it harder to incorporate smoothly. By adding eggs one by one, you can carefully control the dough's consistency. The dough needs to be hydrated correctly; too little egg and it's too stiff, too much and it's too wet and won't hold its shape or rise properly.
The number of eggs specified in a perfect pâte à choux recipe is often an estimate. You might need slightly more or less depending on the size of your eggs, how much moisture evaporated during cooking, and the type of flour used. This is why adding them gradually and checking the consistency is key.
Achieving the Right Dough Consistency: The Ribbon Test
The best way to know when your dough has the perfect consistency is the "ribbon test." Lift the paddle or spoon out of the dough. The dough should hang from it in a smooth, glossy ribbon or 'v' shape, breaking cleanly after a few seconds and leaving a small amount clinging to the tool.
If the dough is too stiff and breaks immediately, you need to add a little more egg. Beat another egg in a separate bowl and add it to the dough a teaspoon at a time, mixing thoroughly after each addition, until the ribbon consistency is achieved. If it's too wet and runs off the spoon like batter, unfortunately, there's no easy fix, though some bakers attempt to dry it out slightly over low heat again. Aim for that perfect ribbon for a truly great perfect pâte à choux recipe.
Baking Your Pâte à Choux: Techniques for Optimal Rise
Preheating Your Oven: Critical for Pâte à Choux Success
Proper oven temperature is perhaps the most critical factor for a perfect pâte à choux recipe. A hot oven is essential to create the initial burst of steam that makes the dough puff up dramatically. Most recipes recommend starting at a high temperature, typically between 400°F and 425°F (200°C to 220°C).
Ensure your oven is fully preheated before you put the choux in. Give it at least 15-20 minutes after the oven light indicates it's ready to ensure the temperature is stable and the walls of the oven are hot. This initial high heat sets the structure quickly and generates maximum steam leavening.
Piping the Dough: Creating Uniform Shapes
Transfer the prepared pâte à choux dough into a piping bag fitted with your desired nozzle (a large round tip like an Ateco 805 or star tip like an Ateco 826 are common). Piping allows you to create uniform shapes and sizes, which is important for even baking.
Pipe the dough onto a baking sheet lined with parchment paper or a silicone baking mat. Leave ample space between each piece, as they will expand significantly. For round puffs, hold the bag perpendicular to the tray and apply steady pressure. For éclairs, hold the bag at an angle and pipe straight lines of even thickness.
Tips for Using a Piping Bag and Nozzle
- Fill the piping bag no more than two-thirds full to make it easier to handle.
- Twist the top of the bag to seal the dough and apply even pressure from the top.
- Practice on a piece of parchment paper first if you're new to piping.
- If making puffs, you can smooth down any peaks with a wet fingertip before baking to prevent them from burning.
- Consider freezing piped shapes for about 15-20 minutes before baking; this can sometimes help them hold their shape better in the oven.
Baking Time and Temperature: Achieving a Golden-Brown Finish
Baking pâte à choux typically involves two stages: an initial period at high heat followed by a lower temperature to dry them out. For example, bake at 425°F (220°C) for 10-15 minutes, then reduce the temperature to 375°F (190°C) and bake for another 15-25 minutes, depending on the size of your pastries, until they are deep golden brown and feel light and hollow when lifted.
Do not open the oven door during the first 15-20 minutes of baking, especially during the high-heat phase. Opening the door releases the steam that is crucial for leavening and can cause the pastries to collapse. Trust the process and watch through the oven window if possible.
Avoiding Common Baking Mistakes: Preventing Collapsed Pâte à Choux
The most common mistake leading to collapsed choux is underbaking. Pâte à choux must be baked long enough for the structure to set and the inside to dry out. They should be a deep golden brown, not just pale yellow. If they are removed too early, the fragile steam-inflated structure will deflate as they cool.
Another crucial point is cooling. Once baked, turn off the oven, prop the door open slightly, and let the choux cool gradually inside for 10-15 minutes. This slow cooling prevents a sudden temperature shock that can also lead to collapse. For a perfect pâte à choux recipe, patience during baking and cooling is key.
Troubleshooting Pâte à Choux: Common Problems and Solutions
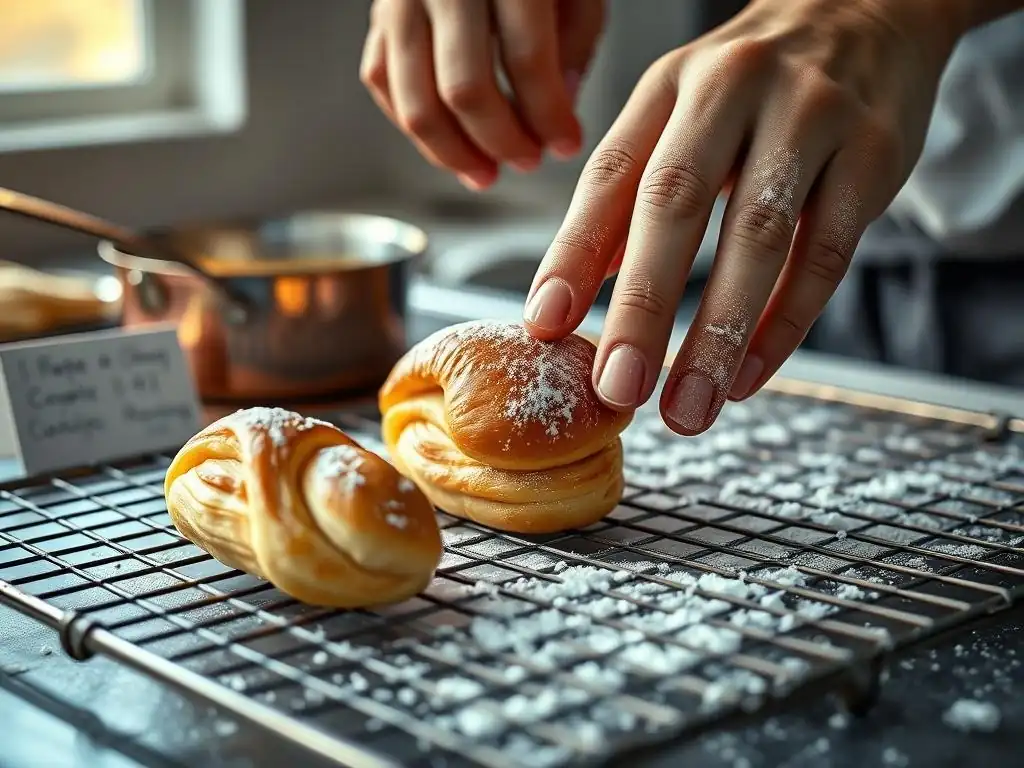
Even with a perfect pâte à choux recipe, issues can arise. Understanding common problems helps you diagnose and fix them for future batches. Don't be discouraged if your first attempt isn't perfect; it's part of the learning process.
Why is My Pâte à Choux Flat?
Flat pâte à choux is a frustrating issue, often stemming from insufficient steam or a weak structure. Common culprits include:
- Dough too wet: Too much egg or not enough drying out of the flour paste. The dough needs to hold its shape when piped.
- Oven not hot enough: The initial high heat is crucial for the steam burst. Ensure your oven is fully preheated.
- Opening the oven door too early: Releasing steam prematurely prevents proper leavening.
- Underbaking: The structure didn't have time to set before cooling.
Addressing a Dough That's Too Wet or Too Dry
Getting the dough consistency right is paramount for a perfect pâte à choux recipe.
- If the dough is too wet after adding the eggs (runs off the spoon, doesn't hold shape), it's difficult to salvage. Some attempt to cook it gently over low heat again for a minute or two, stirring constantly, but this is often unreliable. Prevention is key – add eggs gradually!
- If the dough is too dry (very stiff, breaks immediately in the ribbon test), you need to add more egg. Beat another egg and add it a teaspoon at a time, mixing thoroughly, until the desired consistency is reached. A dry dough won't expand properly due to lack of moisture for steam.
Preventing Hollow Centers: Ensuring Even Baking
A hallmark of a perfect pâte à choux recipe is a large, hollow cavity inside, perfect for filling. If your choux are dense or have solid centers, it's usually due to underbaking or uneven heat.
- Underbaking: As mentioned, bake until deep golden and light. The inside needs to dry out completely.
- Uneven oven temperature: Hot spots can cause some choux to bake faster than others. Consider rotating your baking sheet halfway through the lower-temperature baking phase.
- Piping inconsistency: Unevenly sized choux will bake at different rates. Strive for uniformity when piping.
Pâte à Choux Recipe Variations: Expanding Your Baking Repertoire
Once you've mastered the basic perfect pâte à choux recipe, you can explore endless variations. The beauty of this dough lies in its versatility, serving as a base for both sweet and savory applications.
Savory Pâte à Choux: Gougères and Cheese Puffs
One of the most popular savory variations is Gougères, which are essentially cheese puffs. To make Gougères, simply incorporate grated cheese (like Gruyère or Comté) into the finished pâte à choux dough before piping. About 50-75g of finely grated cheese per standard batch is a good starting point.
Other savory additions can include black pepper, herbs (like chives or thyme), or even a pinch of cayenne for heat. These savory puffs are fantastic served warm as appetizers or alongside soups and salads. They demonstrate how easily the basic perfect pâte à choux recipe can be adapted.
Sweet Pâte à Choux: Éclairs, Cream Puffs, and Profiteroles
The classic sweet applications are where pâte à choux truly shines.
- Éclairs: Pipe the dough into elongated shapes. Once baked and cooled, fill with pastry cream or flavored cream and top with chocolate glaze.
- Cream Puffs: Pipe round mounds. Fill with whipped cream, pastry cream, or ice cream (for profiteroles). Dust with powdered sugar or drizzle with chocolate sauce.
- Profiteroles: Smaller versions of cream puffs, often served piled high and drizzled with chocolate.
These variations show the structural integrity of a perfect pâte à choux recipe, capable of holding generous amounts of filling.
Adding Flavors and Extracts to Elevate Your Pâte à Choux Creations
You can infuse your basic perfect pâte à choux recipe with flavors directly into the dough.
- Add a teaspoon of vanilla extract along with the eggs for a subtle sweetness.
- For chocolate choux, replace a small amount of flour (e.g., 10-15g) with unsweetened cocoa powder, sifting it with the flour.
- Citrus zest can be added for a bright note, particularly good for cream puffs with fruit fillings.
- Coffee extract or espresso powder can be added for coffee-flavored choux.
Adding dry ingredients like cocoa powder might slightly affect hydration, so you might need a tiny splash more egg if the dough feels too stiff.
Perfect Pâte à Choux Recipe: Tips & Tricks from BakeWithEase
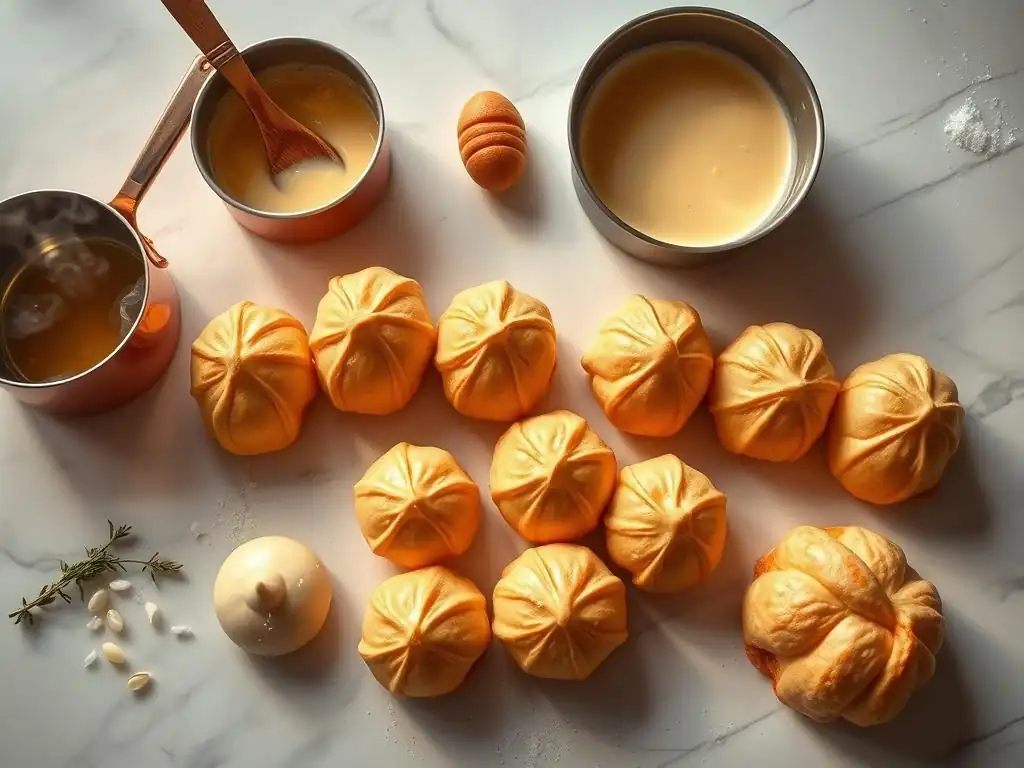
Here are some essential tips and tricks from BakeWithEase to help you achieve a truly perfect pâte à choux recipe every time. These small details can make a significant difference in your results.
The Importance of Measuring Ingredients Accurately
Baking is a science, and pâte à choux is particularly sensitive to ratios. Using a kitchen scale to weigh your ingredients (especially flour and eggs) is far more accurate than using volume measurements (cups). Flour can pack differently into cups, and egg sizes vary.
For example, 1 cup of all-purpose flour can weigh anywhere from 120g to 140g depending on how it's measured. This 20g difference can drastically alter the dough's hydration. Weighing ensures you are using the precise amounts specified in your perfect pâte à choux recipe, leading to consistent results.
Resting the Dough: Is It Necessary?
While not strictly mandatory in all recipes, letting the dough rest after cooking and before adding eggs can be beneficial. Allowing it to cool down slightly (to around 140°F / 60°C) prevents the eggs from scrambling.
Some bakers also advocate for resting the finished dough (after eggs are incorporated) in the refrigerator for 30-60 minutes before piping. This can firm up the dough, making it easier to handle and potentially helping the piped shapes hold better, contributing to a more perfect pâte à choux recipe structure.
Storing Pâte à Choux: Freshness and Preservation
Baked, unfilled pâte à choux shells are best stored at room temperature in an airtight container for 1-2 days. For longer storage, they freeze exceptionally well.
- To freeze: Once baked and cooled completely, place the unfilled shells in a single layer on a baking sheet and freeze until solid. Then transfer them to a freezer bag or container. They can be stored for up to 1-2 months.
- To refresh: Reheat frozen shells directly from the freezer on a baking sheet in a preheated oven at 350°F (175°C) for 5-10 minutes until crisp again. Cooled, unfrozen shells can also be refreshed this way for a few minutes.
- Filled choux pastry should be stored in the refrigerator and are best consumed within 24 hours as the shell can become soggy.
Beyond the Basics: Advanced Pâte à Choux Techniques for Intermediate Bakers
Once you're confident with the basic perfect pâte à choux recipe, you can explore techniques that add extra crispness or allow for ingredient substitutions.
Double Baking for Extra Crispness
For exceptionally crisp shells, consider a technique called "double baking." After the initial baking at high and then lower temperatures, turn off the oven and leave the choux inside with the door propped open for an additional 15-20 minutes.
This extended drying time in the residual heat helps draw out any remaining moisture from the center and walls of the pastry, resulting in a sturdier, crispier shell that resists becoming soggy when filled, a definite upgrade for a perfect pâte à choux recipe aimed at longevity.
Working with Different Types of Fat: Butter vs. Lard
While butter is standard for its flavor, experimenting with other fats can alter the texture. Some traditional recipes use a mix of butter and lard or shortening. Lard has a higher melting point than butter.
Using a portion of lard (e.g., replacing 25-50% of the butter) can potentially result in a slightly crispier, flakier crust due to how the fat renders and creates layers. However, butter generally provides superior flavor. Experimentation can help you find your preferred fat combination for your perfect pâte à choux recipe.
Exploring Fillings and Glazes for Your Pâte à Choux Creations
The filling and glaze are where you truly customize your pâte à choux.
- Classic fillings: Pastry cream (crème pâtissière), whipped cream, diplomat cream (pastry cream lightened with whipped cream), or flavored mousses.
- Savory fillings: Cheese sauces, mushroom fillings, or savory mousses.
- Glazes: Simple powdered sugar glaze, chocolate ganache, caramel, or fondant icing for éclairs.
- Toppings: Crème craquelin (a sweet cookie-like topping baked on top of the choux), pearl sugar, nuts, or chocolate shavings.
Mastering the basic perfect pâte à choux recipe provides the perfect canvas for these delicious additions. Don't hesitate to get creative with your flavor combinations!
Frequently Asked Questions
What exactly is pâte à choux, and what is it used for?
Pâte à choux is a light, hollow pastry dough made by cooking flour, butter, water (or milk), and eggs. It's primarily used to make classic pastries like éclairs, cream puffs, and gougères.
What are the key ingredients needed for a perfect pâte à choux recipe?
The essential ingredients are butter, water, flour, eggs, and a pinch of salt. The ratio of these ingredients is crucial for achieving the desired light and airy texture.
What makes this recipe particularly suitable for intermediate bakers?
This recipe provides clear, step-by-step instructions and emphasizes techniques for achieving the perfect consistency, building upon basic baking knowledge. It bridges the gap between beginner recipes and more complex variations.
What are some common mistakes to avoid when making pâte à choux?
Avoid adding the eggs all at once, as this can lower the dough's temperature too quickly. Also, ensure the dough is properly cooked on the stovetop to avoid a runny batter.
Can pâte à choux dough be made in advance?
Yes, pâte à choux dough can be made ahead of time. Store it in an airtight container in the refrigerator for up to 24 hours. Allow it to come to room temperature slightly before piping and baking.
Final Reflection: Mastering the Art of Pâte à Choux – A Journey to Perfection
The pursuit of the perfect pâte à choux is more than just a recipe; it's a testament to the power of precision and patience in baking. This seemingly simple dough, the foundation for iconic treats like cream puffs and éclairs, demands meticulous attention to detail. Getting it right unlocks a world of culinary creativity, transforming simple ingredients into elegant and delicious pastries. The journey, as detailed in this article, highlights the importance of understanding the science behind the process, not just blindly following instructions.
The impact of mastering pâte à choux extends beyond the individual baker. It's a connection to a rich culinary history, a tradition passed down through generations. The satisfaction of creating these delicate puffs, perfectly browned and crisp, is deeply rewarding. It's a feeling that transcends the simple act of baking; it's about achieving mastery over a challenging technique and experiencing the joy of creation. As Julia Child once said, Find something you're passionate about and keep tremendously interested in it.
For me, that passion is found in the pursuit of the perfect pâte à choux, and I hope this article has inspired you to share that passion.
Now, it's your turn. Don't be intimidated by the seemingly complex nature of pâte à choux. Take the steps outlined in this article, experiment with the techniques, and embrace the learning process. The journey to perfection is rarely linear, but the rewards – the taste, the texture, the sheer satisfaction of creating something beautiful and delicious – are well worth the effort. So, gather your ingredients, preheat your oven, and embark on your own culinary adventure. The perfect pâte à choux awaits.
Unlock Your Inner Pastry Chef: Master Pâte à Choux Today!
Thanks for joining us on this delicious journey into the world of pâte à choux! We hope you gained valuable insights and confidence to tackle this classic pastry. Now it's time to put your newfound knowledge into practice!
- Bake your first perfect batch: Grab your ingredients, revisit the recipe, and let's make those airy puffs! Remember those crucial tips we discussed—don't overmix the batter!
- Share your creation: Show us your beautiful pâte à choux creations on social media using #BakeWithEasePateChoux. We’d love to see your results!
- Explore creative fillings and toppings: Once you've mastered the base, experiment with different fillings and toppings to customize your pastries. What unique flavor combinations will you try?
Ready to transform your baking game? What’s your first planned pâte à choux creation?