
The BakeWithEase Approach to StressFree Choux Pastry

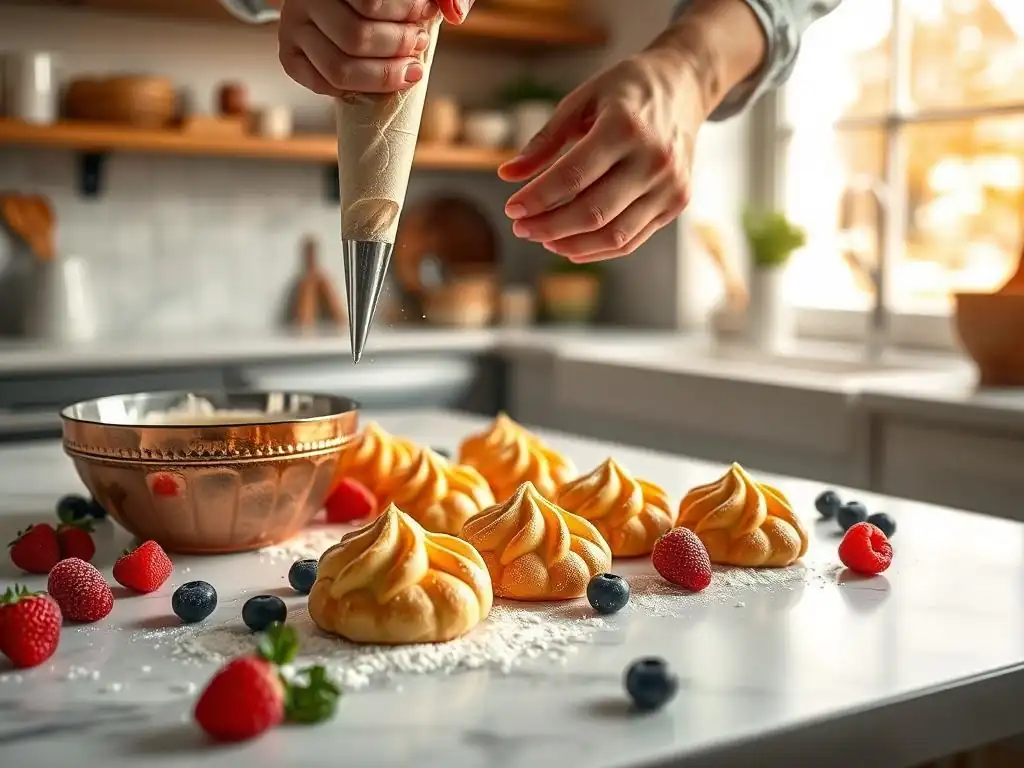
Welcome to BakeWithEase, your haven for conquering the kitchen! Are you ready to banish baking anxiety and create show-stopping treats? This week, we're diving into the delightful world of choux pastry, but with a twist. Forget the intimidating recipes and complex techniques. We're unveiling our Stressfree Choux Pastry Recipe, designed to make even a novice baker feel like a pro. Curious how we achieve light, airy perfection without the stress? Let's get baking!
- Mastering Choux Pastry: A Comprehensive Guide
- Understanding Choux Pastry
- The Perfect Choux Pastry Recipe: A Step-by-Step Guide
- Troubleshooting Common Choux Pastry Issues
- Pro Tips for Exceptional Choux Pastry
- Choux Pastry Variations: Expanding Your Repertoire
- Advanced Techniques for Choux Pastry Perfection
- Printable Choux Pastry Recipe
- Conclusion: Unleash Your Choux Pastry Potential
-
Frequently Asked Questions
- What makes the BakeWithEase choux pastry recipe "stress-free"?
- What are the key ingredients in a BakeWithEase choux pastry?
- What kind of baking experience is required to successfully use the BakeWithEase choux pastry recipe?
- How can I troubleshoot common choux pastry problems using BakeWithEase resources?
- What types of desserts can I make using the BakeWithEase choux pastry recipe?
- Final Reflection: Mastering the Art of Effortless Choux
- Unleash Your Inner Pâtissier: Master Choux Pastry Today!
Mastering Choux Pastry: A Comprehensive Guide
Understanding Choux Pastry
Demystifying Choux Pastry: Why It's Easier Than You Think
Many home bakers shy away from choux pastry, envisioning complex techniques and guaranteed failures. However, the truth is that choux pastry, or pâte à choux, is fundamentally simple. It requires only a handful of basic ingredients – water, butter, flour, and eggs – and relies on a straightforward process involving cooking a dough on the stovetop before adding eggs. The magic happens in the oven, where the high water content in the dough turns to steam, puffing up the pastries and creating a hollow interior perfect for filling.
Think of it less like delicate cake batter and more like a sturdy dough that you cook first. The key steps are logical and forgiving if you understand the 'why' behind them. For instance, cooking the flour mixture well on the stovetop isn't just a random step; it gelatinizes the starches in the flour, allowing the dough to absorb a significant amount of liquid later without becoming too wet. This creates a stable structure capable of capturing steam and rising dramatically in the oven, making a truly stressfree choux pastry recipe achievable for anyone.
Key Principles for Successful Choux Pastry
Success with choux pastry hinges on a few core principles. First, proper hydration of the panade is critical. This means accurately measuring the liquid (water, milk, or a mix) and butter and ensuring they reach a rolling boil before adding the flour all at once.
The subsequent cooking of this flour mixture, often referred to as the panade, is equally important. You need to stir vigorously over medium heat for 2-3 minutes until the dough pulls away from the sides of the pan and a thin film forms on the bottom. This step dries out the dough slightly and develops the gluten structure.
The second principle involves the careful incorporation of eggs. The panade must cool slightly (to around 60-65°C or 140-150°F) before adding the eggs, one at a time. Each egg must be fully incorporated before adding the next. The final consistency of the dough is paramount; it should be smooth, glossy, and fall from a spoon in a thick 'ribbon' or 'volcano' shape, holding its form briefly.
Too few eggs results in a stiff dough that won't rise; too many results in a batter that collapses. Finally, the baking process requires high heat initially (around 220°C or 425°F) for about 10-15 minutes to generate steam and achieve maximum puff, followed by a lower temperature (around 180°C or 350°F) for another 10-15 minutes or until golden brown and firm, allowing the shells to dry out and hold their shape. Crucially, avoid opening the oven door during the initial high-heat phase.
The Perfect Choux Pastry Recipe: A Step-by-Step Guide
Ingredients for Classic Choux Pastry
A classic stressfree choux pastry recipe relies on just four main ingredients, plus a pinch of salt. You'll typically need:
- 1 cup water (or a mix of water and milk)
- 1/2 cup unsalted butter, cut into pieces (approximately 115 grams)
- 1/4 teaspoon salt
- 1 cup all-purpose flour (approximately 125 grams)
- 4-5 large eggs, at room temperature
Using room temperature eggs helps them incorporate more smoothly into the dough. While these measurements provide a standard starting point, the exact number of eggs needed can vary slightly based on their size and the moisture content of your panade. The goal is to achieve the correct consistency, which we'll detail in the next step. This simple list is part of what makes choux pastry approachable; you likely have these items in your pantry already.
Step-by-Step Instructions: Mastering the Technique
Creating beautiful choux pastry involves a few key stages, each building on the last. Following these steps precisely is the key to a successful, stressfree choux pastry recipe.
Preparing the Panade: Achieving the Right Consistency
Begin by combining the water, butter, and salt in a medium saucepan over medium heat. Bring the mixture to a rolling boil, ensuring all the butter has melted. Remove the pan from the heat and immediately add all the flour at once. Stir vigorously with a wooden spoon until the mixture comes together and forms a cohesive ball.
Return the pan to medium heat and continue to cook the dough, stirring and pressing it against the sides and bottom of the pan, for about 2 to 3 minutes. This process helps dry out the dough and further develops the starch structure. You'll notice a thin film forming on the bottom of the pan, which is a good indicator that sufficient moisture has evaporated. Transfer the panade to a large bowl or the bowl of a stand mixer fitted with the paddle attachment.
Allow the panade to cool for a few minutes, stirring occasionally, until it's warm but not hot enough to scramble the eggs (again, around 60-65°C or 140-150°F). This cooling step is crucial for the next stage. The dough should still be warm enough to readily accept the eggs but cool enough to prevent them from cooking upon contact.
Incorporating Eggs: The Crucial Step
Once the panade has cooled slightly, begin adding the eggs one at a time. If using a stand mixer, mix on medium speed. If doing it by hand, continue to beat vigorously with a wooden spoon or sturdy whisk. Add the first egg and mix until it is completely incorporated into the dough and no streaks of yolk or white remain. The dough will look like it's separating at first, but keep mixing; it will come back together. Repeat this process with the second, third, and fourth eggs.
After the fourth egg, assess the consistency of the dough. It should be smooth, glossy, and thick, but not stiff. To test for the correct consistency, lift the paddle or spoon; the dough should fall slowly from it in a thick ribbon, forming a 'V' shape at the end that holds its form for a moment before slowly collapsing.
If the dough is too stiff and doesn't ribbon easily, beat in a lightly beaten fifth egg a little at a time until the desired consistency is reached. This egg incorporation phase is perhaps the most variable part of the process, as egg sizes differ, and getting the consistency right is key to achieving good puff in your stressfree choux pastry recipe.
Baking the Choux: Temperature and Visual Cues
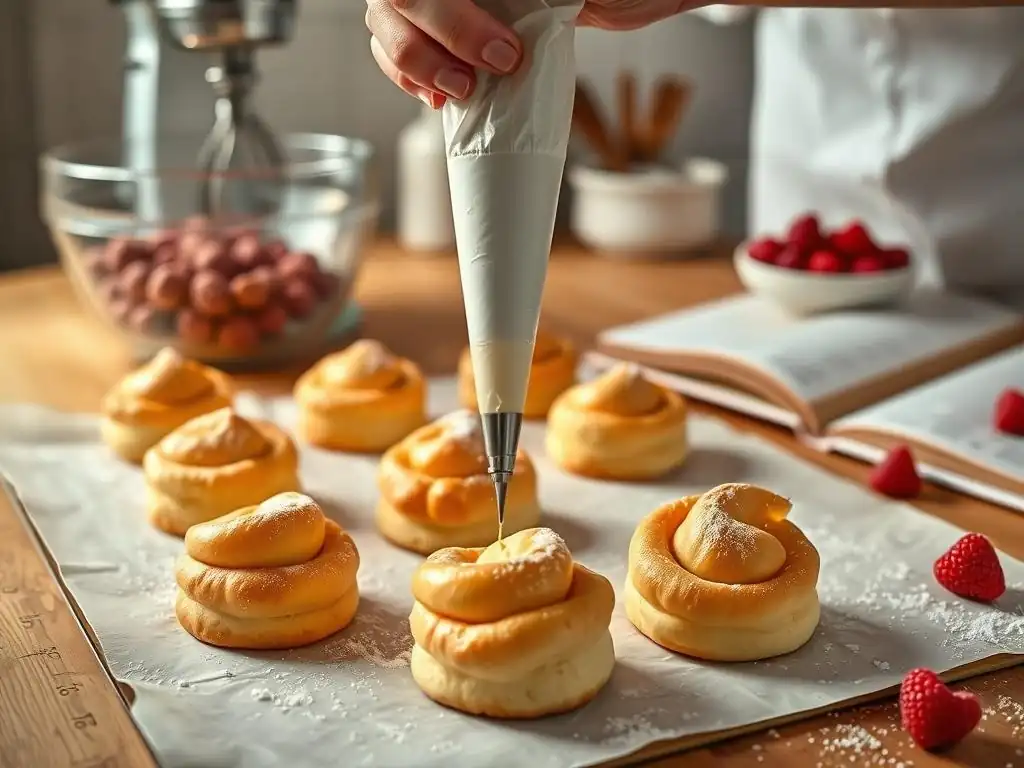
Preheat your oven to a high temperature, typically around 220°C (425°F). Line a baking sheet with parchment paper. Transfer the choux pastry dough to a piping bag fitted with a large plain or star tip, or simply use two spoons to dollop mounds onto the prepared baking sheet, leaving about 2 inches of space between them to allow for expansion. For consistent results, aim for uniform size when piping or spooning the dough.
Place the baking sheet in the preheated oven. Bake at the high temperature for 10-15 minutes, or until the choux have puffed up significantly and just begin to turn golden. Do not open the oven door during this initial stage, as the sudden drop in temperature can cause the pastries to collapse.
After 10-15 minutes, reduce the oven temperature to 180°C (350°F) and continue baking for another 10-15 minutes, or until the choux are deeply golden brown and feel light and hollow when lifted. This lower temperature phase is crucial for drying out the interiors. If they aren't baked long enough, they will collapse upon cooling.
You can even poke a small hole in the side of each choux puff with a skewer in the last few minutes of baking to allow steam to escape, further ensuring a dry interior. Remove from the oven and let cool completely on a wire rack before filling.
Troubleshooting Common Choux Pastry Issues
Soggy Choux: Causes and Solutions
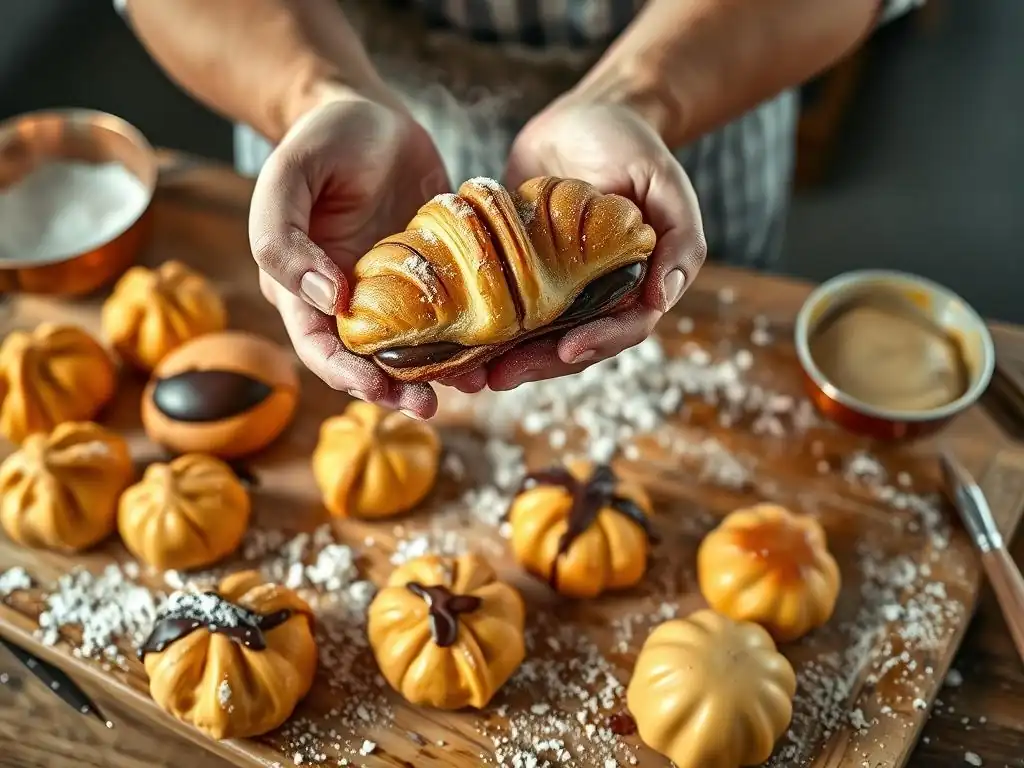
One frustrating outcome when making choux pastry is ending up with shells that are soft, damp, or collapse after cooling, often referred to as being 'soggy.' The primary cause of soggy choux is under-baking. If the pastries are removed from the oven before the interior has fully dried out, the trapped steam condenses as they cool, leading to a soft, wet center and a collapsed structure. This often happens when bakers are impatient or hesitant to leave them in the oven long enough at the lower temperature setting.
To prevent soggy choux, ensure they bake until they are a deep golden brown color and feel very light when lifted. The lower temperature baking phase (around 180°C or 350°F) is essential for drying. If you're unsure, bake them for a few extra minutes. As a final measure, you can poke a small hole in the side of each puff with a skewer immediately after removing them from the oven; this allows any remaining steam to escape, promoting a drier interior and a firmer shell, contributing to a more reliable stressfree choux pastry recipe experience.
Flat Choux: Achieving Proper Rise
Flat choux pastries that don't puff up are usually a result of issues with the dough consistency or baking environment. Common culprits include not cooking the panade long enough on the stovetop (meaning the starch isn't properly developed to absorb enough liquid), adding eggs when the panade is too hot (partially cooking the eggs and affecting their leavening power), or not adding enough eggs (resulting in a dough that is too stiff and lacks sufficient moisture to create steam).
An oven that isn't preheated properly or opening the oven door too early during the initial high-heat phase can also cause the pastries to deflate.
To achieve proper rise, make sure you cook the panade for the full 2-3 minutes, stirring vigorously until a film forms on the bottom of the pan. Allow the panade to cool slightly before adding eggs, and add enough eggs until the dough reaches the correct 'ribbon' consistency. Always preheat your oven fully to the initial high temperature (around 220°C or 425°F) and resist the urge to open the door for at least the first 10-15 minutes of baking. These steps ensure maximum steam production and structure development, leading to beautifully puffed pastries.
Unevenly Baked Choux: Tips for Consistent Results
Sometimes, you might find that some choux puffs on the same baking sheet bake perfectly while others are under-baked or even burnt. This is most often due to hot spots in your oven or overcrowding the baking sheet. Ovens rarely heat completely evenly, and placing too many pastries too close together can impede air circulation, leading to inconsistent baking.
To ensure consistent results across all your choux, avoid overcrowding the baking sheet. Leave ample space (at least 2 inches) between each piped or spooned puff. If you are baking a large batch, use two baking sheets and bake them one rack at a time, or swap their positions and rotate the sheets halfway through the baking process (specifically during the lower-temperature phase, after the initial high-heat puffing is complete). Knowing your oven's quirks and adjusting placement or timing slightly can make a big difference in achieving uniformly golden and perfectly baked choux every time.
Pro Tips for Exceptional Choux Pastry
Enhancing Flavor: Ingredient Variations
While the classic stressfree choux pastry recipe is delicious on its own, you can easily enhance its flavor profile with simple ingredient variations. Replacing some or all of the water with milk will result in a richer, slightly softer choux shell with a creamier flavor. Adding a small pinch of sugar (around 1/2 to 1 teaspoon) to the liquid mixture when making sweet choux variations like cream puffs or éclairs can subtly enhance the sweetness and promote browning, though too much sugar can negatively impact the puff.
For savory applications like gougères, you can add salt (perhaps a little more than the standard pinch), pepper, and even a dash of cayenne or other spices to the liquid. Incorporating finely grated cheese, such as Gruyère or Parmesan (typically 50-100 grams per standard batch), into the dough after adding the eggs transforms it into a flavorful base for savory bites. Fresh herbs like chives or thyme can also be folded in at this stage for an extra layer of flavor.
Piping Techniques: Achieving Professional Shapes
Using a piping bag is the easiest way to achieve uniformly shaped choux pastries, which helps ensure even baking. For classic cream puffs, use a large round tip (like an Ateco #805 or #807) to pipe mounds of dough about 1.5 to 2 inches in diameter onto the baking sheet. Apply steady, even pressure and stop piping with a quick flick of the wrist to minimize peaks. If peaks occur, gently smooth them down with a damp fingertip.
For éclairs, use a large plain tip or a star tip (like an Ateco #826 or #827) to pipe elongated strips, typically 4-5 inches long. Pipe them straight and try to maintain a consistent width. The star tip will give the éclairs ridges, which can add visual appeal and a slightly crispier texture. Piping consistency in size and shape is key not only for aesthetics but also for ensuring all pastries on the sheet bake at the same rate, contributing to a truly stressfree choux pastry recipe experience.
Storage Solutions: Maintaining Freshness
Baked choux pastry shells are best enjoyed the day they are made, as they can soften over time. However, you can store unfilled, baked shells for later use. Allow them to cool completely on a wire rack. Store them in an airtight container at room temperature for up to 1-2 days. For longer storage, unfilled shells freeze exceptionally well. Place the cooled shells in a single layer on a baking sheet and freeze until solid, then transfer them to a freezer bag or airtight container. They can be frozen for up to 1-2 months.
When ready to use frozen shells, thaw them at room temperature. To restore their crispness, place the thawed or day-old shells on a baking sheet and warm them in a preheated oven at around 150°C (300°F) for 5-10 minutes. Let them cool slightly before filling. Filled choux pastries, especially those with dairy-based fillings like pastry cream or whipped cream, should always be stored in the refrigerator and are best consumed within 1-2 days.
Choux Pastry Variations: Expanding Your Repertoire
Classic Cream Puffs: A Step-by-Step Guide
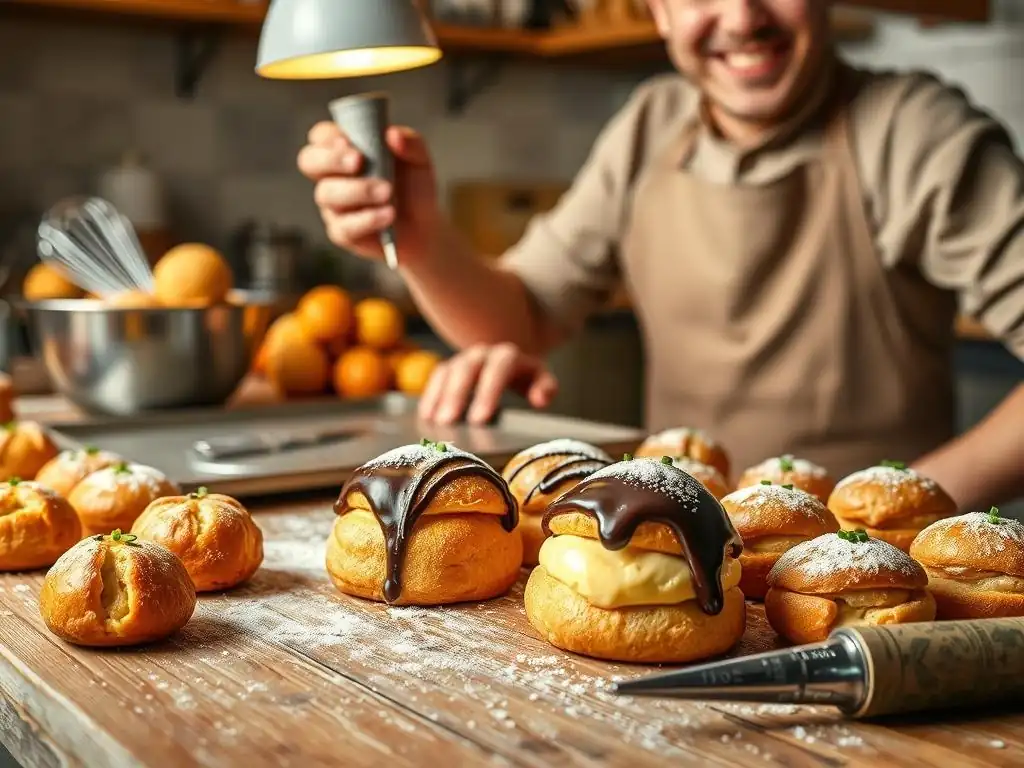
Classic cream puffs, or profiteroles, are perhaps the most iconic use of choux pastry. Once you've mastered the basic stressfree choux pastry recipe, making cream puffs is simply the next step. After baking and cooling your choux shells, you need to fill them. This can be done by slicing the puff horizontally and spooning the filling inside, or by making a small hole in the bottom or side and piping the filling in using a piping bag fitted with a bismarck or small plain tip.
Popular fillings include classic vanilla pastry cream ( crème pâtissière), sweetened whipped cream, or even ice cream for profiteroles au chocolat. Once filled, the tops can be dusted with powdered sugar, drizzled with chocolate sauce, or glazed. A standard batch of choux pastry dough typically yields about 12-15 medium-sized cream puffs, perfect for a dessert or afternoon treat.
Elegant Éclairs: Mastering the Shape and Filling
Éclairs are another beloved choux pastry creation, distinguished by their elongated shape. The process begins by piping the choux dough into straight, finger-like lengths, usually around 4-5 inches long, onto a baking sheet. Baking follows the same temperature guidelines as cream puffs, ensuring they are fully puffed and dried out. Once baked and cooled, éclairs are traditionally filled with pastry cream, often flavored with vanilla, coffee, or chocolate. The filling is typically piped into the éclair through one or two small holes poked in the bottom.
The final touch for an éclair is the glaze. A classic French éclair is often topped with fondant icing (a cooked sugar glaze) or a simple chocolate glaze made from melted chocolate and a bit of cream or butter. The glaze should be applied smoothly to the top surface of the cooled, filled éclair. Mastering the piping of uniform shapes and achieving a clean glaze are the keys to elegant, bakery-worthy éclairs.
Savory Gougères: Adding Cheese and Herbs
Choux pastry isn't just for sweets; it makes delightful savory bites too, known as gougères. These are particularly popular in French cuisine and make excellent appetizers or accompaniments to soups and salads. The basic choux dough is adapted by increasing the salt slightly and incorporating finely grated cheese and sometimes herbs. Gruyère cheese is a classic choice for its nutty flavor and excellent melting properties, but Parmesan, Comté, or a sharp cheddar also work well.
The grated cheese (typically 50-100 grams per standard batch of dough) is usually folded into the dough after all the eggs have been incorporated, along with any finely chopped fresh herbs like chives, thyme, or rosemary. The dough is then piped or spooned into small mounds (about 1 inch in diameter) and baked following the standard choux pastry method. Gougères are best served warm, when the cheese is still slightly gooey inside and the exterior is crisp.
Advanced Techniques for Choux Pastry Perfection
Craquelin Topping: Adding Texture and Flavor
For an extra layer of texture and a touch of sweetness, consider adding a craquelin topping to your choux. Craquelin is a simple mixture of butter, sugar (often brown sugar), and flour, resembling a thin cookie dough. It's typically made by creaming together equal parts (by weight) softened butter, sugar, and flour until a dough forms. This dough is then rolled very thinly (about 1-2 mm thick) between two sheets of parchment paper and chilled until firm.
Once firm, cut the craquelin dough into circles or squares slightly larger than your piped choux mounds. Place one piece of chilled craquelin on top of each piped choux puff before baking. As the choux bakes and expands, the craquelin melts and spreads, creating a beautiful, crisp, cracked surface. This not only adds a delightful crunch and sweetness but also helps the choux puff evenly, making your stressfree choux pastry recipe even more impressive.
Exploring Different Flours: Impact on Texture and Taste
While all-purpose flour is standard and works perfectly for a reliable stressfree choux pastry recipe, experimenting with different flours can subtly alter the texture. Bread flour, with its higher protein content (typically 12-14%), can yield a slightly chewier choux shell due to stronger gluten development. This might be desirable for certain applications where a sturdier shell is needed.
Conversely, using a lower-protein flour like pastry flour (around 8-9% protein) could result in a more tender, delicate choux. However, the difference is often subtle in choux pastry compared to other baked goods like bread or cakes. For consistency and ease, especially when starting out, sticking with a good quality all-purpose flour (around 10-11% protein) is recommended, as it provides a reliable balance of structure and tenderness.
Creative Flavor Infusions: Elevating Your Choux
Beyond adding ingredients directly to the dough, you can infuse flavor into the liquid base for the panade. This is a simple yet effective way to add subtle notes to your choux shells. For example, simmering milk or water with tea leaves (like Earl Grey or matcha), coffee beans, or even spices like cinnamon sticks or star anise for 10-15 minutes before straining and using the flavored liquid can impart unique aromas and tastes.
Another method is to add extracts (vanilla, almond, citrus) or citrus zest to the liquid or directly to the panade after it has cooled slightly and before adding the eggs. For savory choux, simmering the liquid with herbs like bay leaves or a garlic clove can add depth. These infusions should be subtle enough not to overpower the filling but add an unexpected layer of flavor to your choux pastry creations.
Printable Choux Pastry Recipe
[Link to Printable Recipe Card]
Conclusion: Unleash Your Choux Pastry Potential
Embrace the Art of Choux Pastry
Mastering choux pastry is a rewarding journey that opens the door to a world of delicious possibilities, from classic cream puffs and elegant éclairs to savory gougères. While it might seem intimidating at first glance, by understanding the fundamental principles and following a reliable stressfree choux pastry recipe, you can achieve impressive results in your own kitchen. The key is attention to detail during the panade cooking and egg incorporation stages, coupled with proper baking temperatures and timing.
Remember that baking is also about practice and observation. Your first batch might not be perfect, but each attempt will teach you more about the dough's consistency and how your oven behaves. Don't be afraid to experiment with fillings and flavors once you have the basic technique down.
Baking is meant to be shared! Once you've whipped up a batch of beautiful, airy choux pastries, fill them with your favorite cream, mousse, or savory mixture and share them with friends and family. The look on their faces when they bite into a perfectly crisp shell is incredibly satisfying.
Whether you stick to a simple, stressfree choux pastry recipe or venture into more advanced techniques like craquelin or flavor infusions, the process of creating these versatile pastries is enjoyable. So, gather your ingredients, preheat your oven, and get ready to impress yourself and others with your choux pastry skills!
Frequently Asked Questions
What makes the BakeWithEase choux pastry recipe "stress-free"?
The BakeWithEase approach focuses on clear, concise instructions and easy-to-find ingredients. We break down the process into manageable steps to eliminate common pitfalls.
What are the key ingredients in a BakeWithEase choux pastry?
The core ingredients remain the same: water, butter, flour, and eggs. However, we emphasize precise measurements and the correct order of addition for optimal results.
What kind of baking experience is required to successfully use the BakeWithEase choux pastry recipe?
Our recipe is designed for all skill levels. We provide detailed explanations and tips suitable for beginners, but also offer insights for more experienced bakers.
How can I troubleshoot common choux pastry problems using BakeWithEase resources?
BakeWithEase provides a dedicated troubleshooting section with solutions for common issues like flat pastry or a batter that's too runny. We also encourage community interaction for support.
What types of desserts can I make using the BakeWithEase choux pastry recipe?
The BakeWithEase choux pastry recipe is incredibly versatile! You can use it for éclairs, cream puffs, profiteroles, and even savory gougères.
Final Reflection: Mastering the Art of Effortless Choux
The pursuit of the perfect choux pastry, once a culinary Everest, is now within everyone's reach. This article has demonstrated that with the right techniques and a mindful approach, the seemingly daunting task of choux pastry creation can be transformed into a relaxing and rewarding experience. No longer need the fear of deflated puffs or gummy interiors hold you back from exploring this versatile and delicious pastry.
The BakeWithEase method, focusing on precise measurements, controlled temperature, and a gentle hand, has profoundly shifted my own perspective on baking. It's not just about achieving a visually stunning result; it's about the journey, the process of mindful creation, and the satisfaction of overcoming a perceived challenge. As Julia Child wisely said, Find something you're passionate about and keep tremendously interested in it.
This approach to choux pastry embodies that sentiment, turning a potentially stressful task into a source of joy and accomplishment.
Now, it's your turn. Don't let the myth of difficult choux pastry intimidate you. Embrace the BakeWithEase method, experiment with different fillings and flavors, and discover the immense satisfaction of creating these delicate, airy puffs.
The journey to mastering choux pastry is not just about the recipe; it's about cultivating a calm, confident approach to baking, a skill that extends far beyond the kitchen. So, gather your ingredients, take a deep breath, and embark on your own stress-free choux pastry adventure. The perfectly puffed result, and the peace of mind you'll gain along the way, are well worth the effort.
Unleash Your Inner Pâtissier: Master Choux Pastry Today!
Thanks for taking the time to explore the BakeWithEase approach to stress-free choux pastry! We hope you now feel empowered to tackle this classic dessert with confidence. Ready to put your newfound skills to the test?
- Bake your dream choux: Try our recipe today – you might be surprised at how easy it is! Experiment with different fillings and toppings to create your signature masterpiece.
- Share your creations: Show off your choux pastry prowess on social media using #BakeWithEaseChoux – we'd love to see your beautiful bakes!
- Join our community: Connect with fellow baking enthusiasts on our forums to share tips, ask questions, and get inspired by others' creations.
What exciting choux pastry adventure will you embark on next?