
The Simple Science Behind Light & Airy Choux Pastry

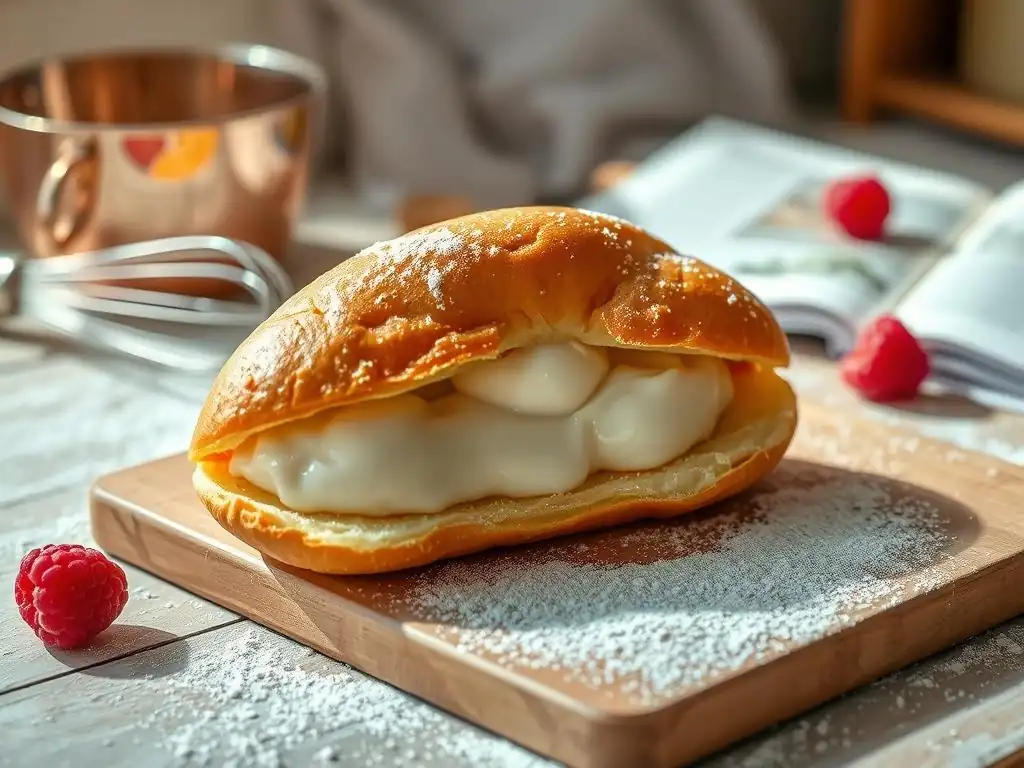
Welcome to BakeWithEase, where the magic of baking meets effortless execution! Ever wondered what secrets lie behind achieving that perfectly light and airy choux pastry? We're about to unlock them. Dive in to discover the simple science that transforms humble ingredients into delicate, delectable creations, and prepare to elevate your baking game. Ready to master the art?
- BakeWithEase: Mastering Light and Airy Choux Pastry
- Understanding the Science of Choux Pastry: The Key to Airiness
- Key Ingredients for Light and Airy Choux Pastry
-
The Choux Pastry Making Process: Step-by-Step for Optimal Airiness
- Step 1: Combining Water and Butter: The Foundation of Flavor and Texture
- Step 2: Adding Flour and Creating a Panade: Cooking the Starch
- Step 3: Incorporating Eggs: Achieving the Perfect Choux Pastry Consistency
- Step 4: Piping the Choux Pastry: Uniformity for Even Baking
- Step 5: Baking Choux Pastry: The Critical Temperature and Time
- Troubleshooting Common Choux Pastry Problems: Achieving Lightness and Airiness
- Tips and Tricks for Consistently Light and Airy Choux Pastry
- Choux Pastry Recipe: BakeWithEase's Guide to Light and Airy Perfection
- Beyond the Basics: Creative Choux Pastry Variations
- Enjoying Your Light and Airy Choux Pastry Creations
- Conclusion: Achieving Choux Pastry Perfection with BakeWithEase
-
Frequently Asked Questions
- How does steam contribute to the lightness of choux pastry?
- What role do eggs play in achieving a light and airy choux pastry?
- Why is it important to cook the dough on the stovetop before baking choux pastry?
- What happens if you don't add enough eggs to choux pastry dough?
- How can I prevent my choux pastry from collapsing after baking?
- Final Reflection: The Enduring Allure of the Perfect Choux
- Unleash Your Inner Pâtissier: Master the Art of Choux!
BakeWithEase: Mastering Light and Airy Choux Pastry
Welcome to BakeWithEase's Choux Pastry Creations
Welcome to BakeWithEase, where we believe that mastering baking should be an enjoyable journey, not a daunting task! Choux pastry, often seen as a challenge, is actually a fundamental technique that unlocks a world of delightful possibilities, from delicate éclairs to impressive cream puffs. It's a dough unlike any other, relying on a unique scientific process to achieve its signature hollow interior and crisp exterior.
Here at BakeWithEase, we're excited to guide you through the nuances of this classic dough. Our goal is to demystify the process, breaking down the steps and explaining the 'why' behind them. By understanding the simple science involved, you'll gain the confidence needed to consistently create choux pastry light and airy that is perfect for all your sweet and savory creations.
Intermediate Baking: Achieving Perfect Choux Pastry
Choux pastry falls squarely into the realm of intermediate baking, requiring a bit more precision and attention to detail than basic cookies or quick breads. It's a fantastic skill builder, pushing you to refine techniques like proper dough consistency and temperature control. Achieving perfect choux involves understanding how key ingredients interact under heat, which is a valuable lesson for many pastry applications.
Working with choux pastry teaches crucial lessons in observation and adjustment. For example, correctly identifying the "panade" stage or knowing when you've added just the right amount of egg requires practice and sensory evaluation. This foundational knowledge gained from mastering choux pastry light and airy will serve you well as you explore more complex recipes and techniques in your baking adventures.
Understanding the Science of Choux Pastry: The Key to Airiness
What Makes Choux Pastry Rise? The Science Explained
The magic behind a choux pastry light and airy puff is steam – pure and simple! Unlike yeast-leavened doughs or those relying on chemical leaveners like baking soda, choux pastry gets its dramatic lift from the rapid expansion of water vapor during baking. The dough starts with a relatively high moisture content. When placed in a hot oven, this water quickly turns to steam.
This steam is trapped within the dough's structure, which is formed by cooked flour (starch) and egg proteins. As the steam builds pressure inside, it forces the walls of the dough outwards, causing the pastry to puff up dramatically. The intense heat, typically starting around 400-425°F (200-220°C), is essential to generate enough steam quickly before the outer crust sets.
The Role of Steam in Creating Hollow Choux Pastry
As the steam expands, it pushes the moist interior of the dough towards the outer edges. Because the exterior of the choux pastry begins to set quickly in the high heat, the steam pressure creates a large, hollow cavity in the center. This is the defining characteristic of a successful choux puff – a crisp, firm shell surrounding an empty space ready to be filled.
After the initial rapid rise, the oven temperature is usually reduced to around 350-375°F (175-190°C). This lower temperature allows the pastry walls to continue baking and dry out completely, solidifying the structure and preventing the puff from collapsing as it cools. Properly dried walls are key to maintaining that wonderful hollow interior and achieving a choux pastry light and airy texture.
Key Ingredients for Light and Airy Choux Pastry
Flour Power: Choosing the Right Flour for Choux
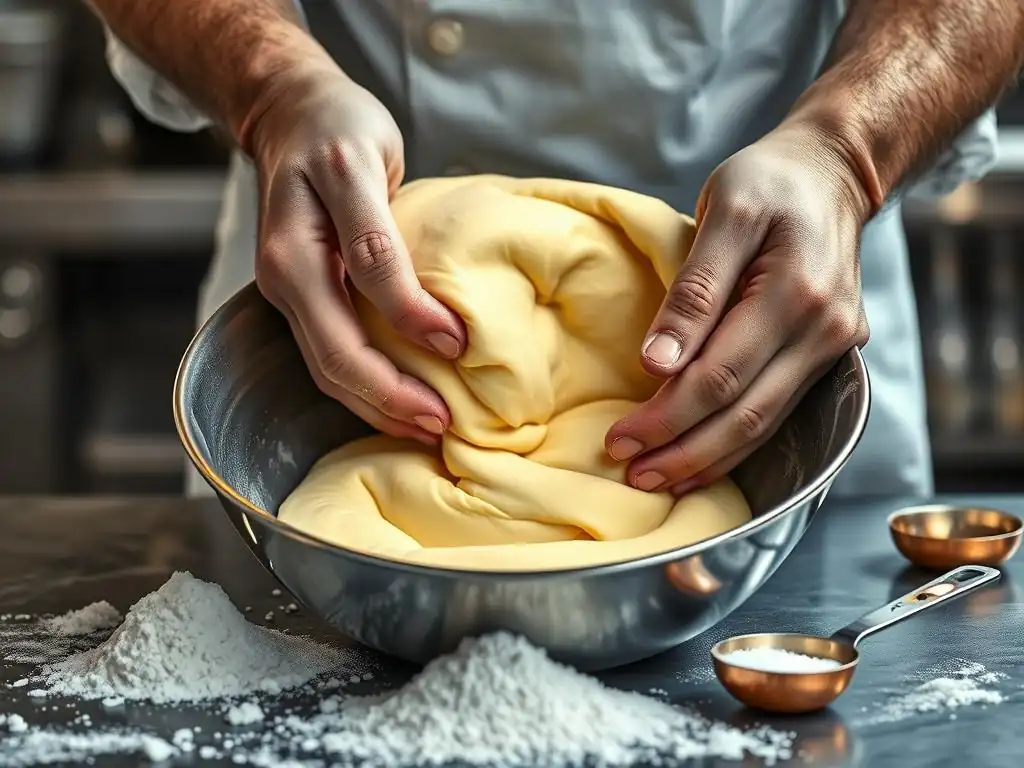
The type of flour used plays a role in the structure of your choux pastry. All-purpose flour is the standard choice for a reason. Its moderate protein content, typically between 10-12%, provides enough gluten development to create a sturdy framework capable of holding the steam, yet not so much that the pastry becomes tough or overly chewy.
Using a kitchen scale to measure your flour by weight (a standard cup is approximately 125g) is highly recommended for consistency. While sifting isn't always mandatory, it helps aerate the flour and prevents lumps, contributing to a smoother dough and a more uniform choux pastry light and airy. Avoid using high-protein bread flour or low-protein cake flour, as they can negatively impact the texture.
Egg-cellent Eggs: The Importance of Eggs in Choux Pastry
Eggs are arguably the most variable, yet crucial, ingredient in choux pastry. They serve multiple functions: providing structure through protein coagulation, adding richness and flavor with their fat, contributing moisture, and most importantly, giving the dough elasticity and helping it emulsify into a smooth batter. The number of eggs isn't fixed; it depends on the size of the eggs and how much moisture cooked out of your panade.
Eggs are added one at a time to the cooled panade, mixing thoroughly after each addition. You're looking for a specific consistency: the dough should be thick and glossy, falling from a spoon in a "ribbon" or "V" shape. Too few eggs results in a stiff dough that won't expand well, while too many makes the dough too wet, leading to collapse. A typical batch might use 3-4 large eggs.
Butter's Contribution: Fat's Role in Tenderizing Choux
Butter adds delicious flavor and richness to choux pastry. Its fat content also serves an important structural purpose: it coats the flour particles, which helps to inhibit excessive gluten development during the panade stage. This results in a more tender crumb and contributes to the overall delicate quality of a choux pastry light and airy.
Unsalted butter is generally preferred as it gives you control over the salt level in the finished product, especially important if you plan to make savory gougères. The butter is melted with the liquid (water or milk) at the beginning of the process. Ensuring it's fully melted before the liquid boils is key for proper incorporation.
Water's Vital Function: Creating Steam for Lift
The high proportion of liquid, usually water or a mix of water and milk, is fundamental to choux pastry. This liquid is the source of the steam that provides the dramatic lift. When heated rapidly in a hot oven, the water turns into vapor, creating the internal pressure needed to puff the dough into its characteristic hollow shape.
Using water alone typically results in a crispier shell due to maximum steam generation. A mix of water and milk (a common ratio is 1 cup liquid to 1 stick butter and 1 cup flour) adds richness from the milk fat and helps the pastry brown more evenly. The liquid must be brought to a rolling boil with the butter before the flour is added.
The Choux Pastry Making Process: Step-by-Step for Optimal Airiness
Step 1: Combining Water and Butter: The Foundation of Flavor and Texture
The first step in creating choux pastry light and airy involves combining your liquid (water, milk, or a mix) and butter in a heavy-bottomed saucepan. Add a pinch of salt, and optionally, a little sugar if making sweet pastries (about 1/4 teaspoon salt and 1 teaspoon sugar per standard batch). Place the pan over medium-high heat.
Bring the mixture to a rolling boil, ensuring the butter is completely melted before the liquid reaches the boil. This high heat is crucial for the next step, as it ensures the liquid is hot enough to immediately gelatinize the starch in the flour. Once a rolling boil is achieved, remove the pan from the heat immediately to prevent excessive evaporation of the liquid.
Step 2: Adding Flour and Creating a Panade: Cooking the Starch
With the pan off the heat, add all of the measured flour (e.g., 125g or 1 cup) to the hot liquid/butter mixture at once. Stir vigorously and quickly with a wooden spoon or sturdy spatula. The mixture will look shaggy at first but will rapidly come together to form a cohesive dough ball that pulls away cleanly from the sides of the pan.
Return the pan to medium heat and continue to cook the dough, stirring and pressing it against the bottom and sides of the pan for 1-2 minutes. This crucial step, called creating the "panade," cooks out excess moisture from the flour, gelatinizes the starch, and develops a strong yet pliable dough structure. You'll know it's ready when a thin film forms on the bottom of the pan, and the dough reaches an internal temperature around 175°F (80°C).
Step 3: Incorporating Eggs: Achieving the Perfect Choux Pastry Consistency
Transfer the cooked panade to a mixing bowl or a stand mixer fitted with the paddle attachment. Let it cool for 5-10 minutes until it's warm but not hot to the touch (around 140°F or 60°C). This cooling prevents the eggs from scrambling when added. Add the eggs one at a time, beating thoroughly after each addition until the egg is fully incorporated and the dough is smooth before adding the next.
The consistency is critical for a choux pastry light and airy. After adding the last egg (or potentially only part of it), the dough should be thick, glossy, and sticky. Test by lifting the paddle or spoon; the dough should hang and then fall slowly in a "V" shape or thick ribbon. It shouldn't break off cleanly, nor should it be thin and runny. This consistency allows for maximum steam expansion during baking.
Step 4: Piping the Choux Pastry: Uniformity for Even Baking
Transfer the finished choux dough to a piping bag fitted with your desired tip (a plain round tip or a large star tip are common). Line a baking sheet with parchment paper or a silicone baking mat. Pipe uniform shapes – rounds for cream puffs (about 1.5-2 inches wide) or logs for éclairs (about 4-5 inches long).
Ensure you leave adequate space (at least 2 inches or 5 cm) between each piped shape, as they will expand significantly in the oven. For round puffs, you can use a slightly dampened finger to gently smooth down any peaks on top; this prevents them from burning. Uniform size is essential for even baking, ensuring all your choux pastry light and airy pieces are cooked perfectly.
Step 5: Baking Choux Pastry: The Critical Temperature and Time
Baking is the moment of truth for choux pastry light and airy. Preheat your oven to a high temperature, typically 425°F (220°C). Place the baking sheet in the hot oven and bake for the first 10-15 minutes. This initial high heat is crucial for generating the rapid steam expansion that creates the puff. Do NOT open the oven door during this phase, or the steam will escape and your pastries will collapse.
After the initial high-heat period, reduce the oven temperature to a lower setting, usually 350-375°F (175-190°C), and continue baking for another 20-30 minutes, or until the pastries are deeply golden brown, look dry, and feel light when lifted. The lower temperature allows the interior to dry out and the shell to crisp. Again, resist the urge to open the oven door until they are fully baked and firm, ensuring a stable, choux pastry light and airy structure.
Troubleshooting Common Choux Pastry Problems: Achieving Lightness and Airiness
Why Isn't My Choux Pastry Rising? Common Causes and Solutions
A common frustration is choux pastry that doesn't puff up. This is often due to insufficient steam generation or a weak dough structure. Causes can include the oven not being hot enough initially (verify with an oven thermometer! ), not cooking the panade long enough to dry it out and develop starch structure, or adding too few eggs, resulting in a stiff dough that can't expand.
To troubleshoot, ensure your oven is accurately preheated to the high starting temperature. Cook the panade for the full 1-2 minutes until a film forms on the pan. Pay close attention to the egg incorporation step – the dough must reach the glossy ribbon consistency. If your dough was too stiff, it simply lacked the elasticity and moisture needed for significant steam lift.
Soggy Choux Pastry? Identifying and Preventing Dampness
Soggy choux pastry is usually a sign it hasn't been baked long enough to thoroughly dry out the interior walls and crisp the shell. This can also happen if the pastries cool in a humid environment or are filled before they are completely cool. Moisture from the filling or the air can migrate into the shell, making it soft and damp.
To prevent sogginess, bake your pastries until they are a deep, golden brown and feel very light. Consider turning off the oven once they are fully baked and leaving them inside with the door slightly ajar for 10-15 minutes to cool gradually and ensure maximum dryness. Always cool choux completely on a wire rack to allow air circulation before filling.
Dense and Heavy Choux Pastry? Addressing Texture Issues
If your choux pastry is dense and heavy instead of choux pastry light and airy, several factors could be at play. The panade might not have been cooked long enough, leaving too much moisture. Adding too many eggs can also result in a dough that is too wet, leading to a denser texture or even collapse. Insufficient initial oven heat can also contribute to poor expansion and density.
Ensure the panade is cooked until a visible film forms on the bottom of the pan, indicating sufficient moisture has evaporated. Be precise with egg addition, stopping when the dough reaches the correct ribbon consistency. Verify your oven temperature with an oven thermometer to guarantee the high heat needed for proper steam lift. Avoid overworking the dough once the flour is added, as this can develop too much gluten, resulting in a tougher, denser texture.
Burst Choux Pastry? Controlling Expansion and Cracking
While some cracking on the surface is normal and indicates good puff, excessive bursting can occur. This might happen if the oven temperature is too high throughout the bake, causing the crust to set too rapidly before the interior has fully expanded. A dough that is slightly too stiff (not quite enough eggs) can also lead to more dramatic, uncontrolled cracking.
To mitigate excessive bursting while still achieving a choux pastry light and airy result, ensure your egg consistency is spot on – the dough should be elastic, not stiff. You can also try lightly spraying the piped shapes with water before placing them in the oven; the steam from the surface water can help the crust expand more smoothly initially. Double-check your oven temperature to ensure it's not running excessively hot.
Tips and Tricks for Consistently Light and Airy Choux Pastry
Measuring Accurately: Precision for Perfect Results
Baking, especially with sensitive doughs like choux, is a science where ratios matter. Accurate measurement is paramount for consistent, choux pastry light and airy results. Using a kitchen scale to weigh ingredients, particularly flour ( 125g per cup approximation), is the most reliable method. Liquid measuring cups should be used for water or milk.
Even small variations in ingredient amounts can significantly impact the final outcome. Too much flour makes a stiff dough resistant to rising, while too little leads to a weak structure. Getting the egg amount just right based on dough consistency, not just a fixed number, is perhaps the most critical measurement decision you'll make.
Controlling Oven Temperature: Avoiding Over-Browning and Collapsing
Precise oven temperature control is non-negotiable for perfect choux. The standard two-stage baking method (high heat then lower heat) maximizes puff and ensures the shell dries out. Using an independent oven thermometer is highly recommended, as built-in oven thermostats can be off by as much as 25-50°F (15-30°C).
Starting too low won't generate enough steam for proper lift. Baking too hot for too long can cause the outsides to burn before the insides are cooked, or lead to collapse if the structure isn't fully set. Not baking long enough at the lower temperature results in soggy bottoms and potential deflation as they cool. Follow the temperature guide closely for a truly choux pastry light and airy.
Cooling Choux Pastry: Preventing Soggy Bottoms
Proper cooling is the final step to ensuring your choux pastry stays crisp and choux pastry light and airy. Once baked (and potentially dried slightly in the turned-off oven), immediately transfer the pastries to a wire rack. This allows air to circulate around them, preventing trapped steam from condensing underneath and making the bottoms soggy.
Crucially, ensure the pastries are completely cool before filling them. Filling warm choux with a cool or room-temperature filling will create condensation inside the shell, leading to a soggy interior and a compromised texture. Allow at least 30-60 minutes for cooling, depending on the size of your puffs or éclairs.
Mastering the Piping Technique: Achieving Uniform Shapes
While not strictly scientific, mastering the piping technique contributes significantly to successful choux baking. Piping uniform shapes and sizes is important because pieces of different sizes will bake at different rates. This makes it difficult to know when the batch is done, potentially resulting in some burnt or undercooked pieces.
Practice piping consistent rounds or logs. Avoid lifting the piping bag too high, which can create uneven shapes. Gently smoothing peaks with a wet finger ensures a smoother surface that bakes evenly. Uniformity in shape and size helps guarantee that every single piece of your choux pastry light and airy batch achieves perfect crispness and puff.
Choux Pastry Recipe: BakeWithEase's Guide to Light and Airy Perfection
Ingredients List for Light and Airy Choux Pastry
Here is a reliable recipe foundation for creating beautiful choux pastry light and airy puffs or éclairs. Precision in measuring these ingredients is key!
**Yields:** Approximately 12-15 medium puffs or 10-12 éclairs

*   1 cup (240ml) Water
*   1 stick (113g) Unsalted butter, cut into pieces
*   1/4 teaspoon Salt
*   1 teaspoon Sugar (optional, for sweet applications)
*   1 cup (125g) All-purpose flour
*   3 to 4 Large eggs
Notes: Use large eggs, about 50-55g each. Weighing the flour ( 125g) is more accurate than using a measuring cup. The number of eggs required can vary slightly based on how much moisture evaporates during the panade stage and the exact size of your eggs; you may only need part of the last egg.
Step-by-Step Baking Instructions for BakeWithEase's Choux Recipe
Follow these steps carefully to achieve perfect choux pastry light and airy every time:
- Prepare: Preheat oven to
425°F (220°C). Line a baking sheet with parchment paper or a silicone mat. - Boil: In a heavy-bottomed saucepan, combine water, butter, salt, and optional sugar. Bring to a rolling boil over medium-high heat, ensuring butter is fully melted. Remove from heat.
- Add Flour: Add all the flour at once. Stir vigorously with a wooden spoon or sturdy spatula until the mixture comes together into a smooth ball that pulls away from the sides of the pan.
- Cook Panade: Return pan to medium heat. Cook the dough ball, stirring and pressing it against the pan, for
1-2 minutes, until a thin film forms on the bottom of the pan. - Cool Slightly: Transfer dough to a mixing bowl. Let cool for
5-10 minutesuntil warm (~140°F/60°C). - Add Eggs: Add eggs one at a time, beating thoroughly after each addition until fully incorporated and the dough is smooth. Continue adding eggs until the dough is glossy and falls from a spoon in a "V" or ribbon shape.
- Pipe: Transfer dough to a piping bag fitted with a tip. Pipe desired shapes onto the prepared baking sheet, leaving
~2 inchesspace between pieces. Smooth peaks with a wet finger if needed. - Bake (High Heat): Place in the preheated
425°F (220°C)oven. Bake for10-15 minutes. DO NOT open the oven door. - Bake (Lower Heat): Reduce oven temperature to
375°F (190°C). Continue baking for20-30 minutes, or until pastries are deeply golden brown, firm, and feel light. DO NOT open the oven door until they are fully baked. - Dry (Optional): Turn off the oven, prop the door open slightly, and leave pastries inside for
10-15 minutesto cool and dry further. - Cool Completely: Transfer baked pastries to a wire rack and cool completely before filling.
Beyond the Basics: Creative Choux Pastry Variations
Éclairs: Filling and Glazing for a Classic Treat
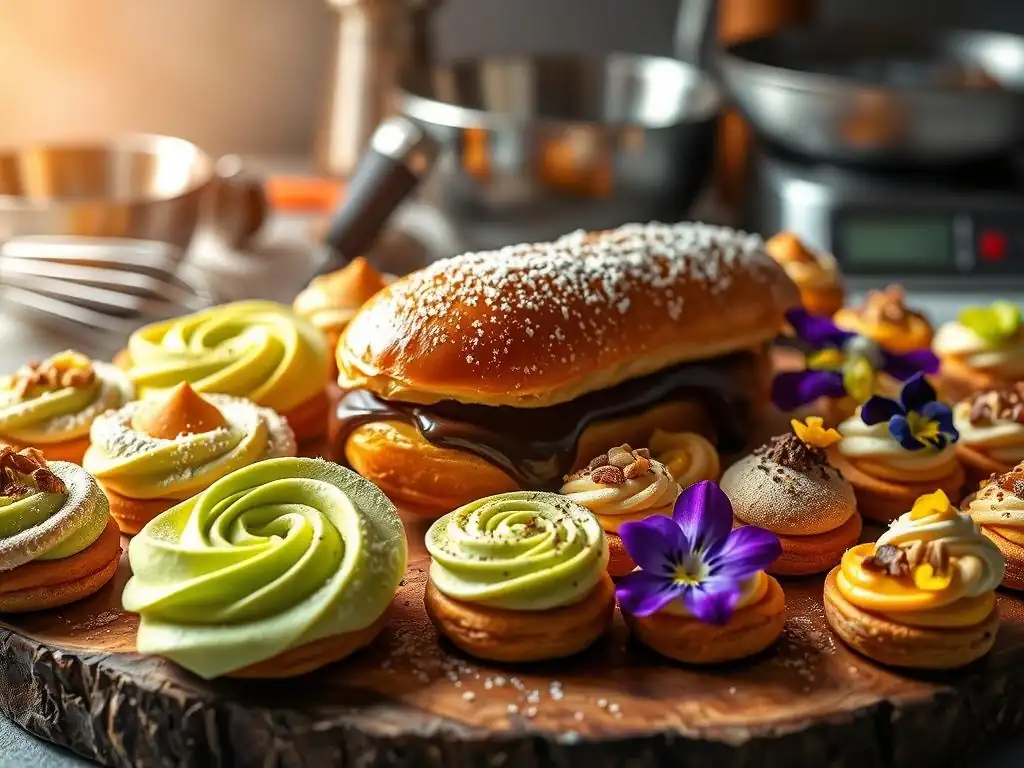
Éclairs are one of the most beloved applications of choux pastry light and airy. Instead of piping rounds, the dough is piped into elongated logs, typically around 4-5 inches in length, onto the baking sheet. They are then baked using the standard two-stage method until golden, crisp, and hollow.
Once completely cooled, éclairs are traditionally filled with rich pastry cream (crème pâtissière). This is usually done by making small holes in the ends or bottom of the éclair shell and piping the cream inside. The top is then dipped or spread with a classic chocolate glaze or fondant, creating the iconic finish.
Cream Puffs: Mastering the Art of the Perfect Cream Filling
Cream puffs, or Profiteroles, are perhaps the simplest form of choux pastry light and airy to pipe – just round mounds of dough. Piped to about 1.5-2 inches in diameter, they puff up into delightful spheres during baking, creating the perfect vessel for sweet fillings.
The classic filling for cream puffs is whipped cream or pastry cream. They can be filled by slicing them horizontally and spooning or piping the filling inside, or by making a small hole in the bottom and piping the filling in. Cream puffs are often finished with a dusting of powdered sugar, a drizzle of chocolate sauce, or stacked into impressive desserts.
Gougères: Savory Choux Pastry with Cheese
Choux pastry isn't just for sweets! Gougères are a fantastic savory variation, perfect as an appetizer or side dish. The basic choux dough recipe is adapted by incorporating finely grated cheese, most commonly Gruyère, Emmental, or Parmesan, into the dough after the eggs have been fully mixed in.
Add about 1/2 cup (50g) of grated cheese per standard batch of dough. Mix just until the cheese is evenly distributed. Pipe into small rounds (about 1 inch wide) and bake as usual. The cheese melts and creates a wonderfully savory flavor and slightly different texture. Gougères are best served warm, straight from the oven.
Croquembouche: Building a Show-Stopping Choux Pastry Tower
For those looking to truly challenge their choux skills, the Croquembouche is the ultimate project. This traditional French dessert is a grand cone-shaped tower constructed from numerous small choux pastry light and airy puffs, typically filled with pastry cream.
The individual cream puffs are dipped in caramel, which serves as the glue to hold them together as they are stacked around a cone mold. The tower is often decorated with spun sugar, nougatine, or other confectionery elements. Building a Croquembouche requires patience and mastery of creating many consistently perfect small choux puffs.
Enjoying Your Light and Airy Choux Pastry Creations
Serving Suggestions for Choux Pastry
Once you've successfully created your choux pastry light and airy shells, the fun truly begins with filling and serving! Sweet choux puffs and éclairs are wonderfully versatile. Classic fillings include vanilla pastry cream, chocolate pastry cream, whipped cream, or a lighter diplomat cream (pastry cream folded with whipped cream). For a simple treat, they can be filled with ice cream and drizzled with chocolate sauce.
Savory gougères are best served warm. They make an excellent appetizer on their own or can accompany soups, salads, or cheese boards. Consider adding herbs like chives or black pepper to the dough along with the cheese for extra flavor.
Storing Choux Pastry for Optimal Freshness
To keep your choux pastry light and airy shells crisp, proper storage is important. Unfilled baked choux shells can be stored in an airtight container at room temperature for 1-2 days. If they lose some crispness, you can reheat them in a 300°F (150°C) oven for 5-10 minutes before filling.
For longer storage, unfilled shells freeze beautifully. Freeze them in a single layer on a baking sheet until solid, then transfer to a freezer bag or airtight container. They can be stored in the freezer for 1-2 months. Reheat directly from frozen in a 300°F (150°C) oven for 10-15 minutes to re-crisp before filling. Filled choux pastry is best enjoyed within a few hours; if refrigerated, the shells will soften due to moisture from the filling. Store filled pastries in an airtight container in the refrigerator for up to 1-2 days, but be prepared for a softer texture.
Conclusion: Achieving Choux Pastry Perfection with BakeWithEase
Creating choux pastry light and airy might seem intimidating at first, but by understanding the science behind the steam, using quality ingredients, and following the process with care, it's a truly achievable goal for any intermediate baker. Pay close attention to the panade stage, the egg consistency, and the critical oven temperatures.
With a little practice and patience, you'll be confidently piping beautiful choux puffs and éclairs in no time. We encourage you to try the BakeWithEase recipe provided and experiment with different fillings and variations. Happy baking, and enjoy the satisfaction of mastering this delightful classic!
Frequently Asked Questions
How does steam contribute to the lightness of choux pastry?
Steam is crucial because it expands rapidly during baking. This expansion creates the hollow cavity characteristic of choux pastry, making it light and airy.
What role do eggs play in achieving a light and airy choux pastry?
Eggs provide both structure and moisture. The proteins in the eggs coagulate, setting the pastry, while the moisture contributes to steam production for lift and airiness.
Why is it important to cook the dough on the stovetop before baking choux pastry?
Cooking the dough before baking allows the flour to gelatinize, creating a stable base. This also helps to reduce the moisture content, which is essential for achieving a light texture.
What happens if you don't add enough eggs to choux pastry dough?
Insufficient eggs can result in a dough that is too stiff. This will prevent the pastry from properly expanding during baking, leading to a dense and heavy result.
How can I prevent my choux pastry from collapsing after baking?
Ensure the pastry is completely baked through and golden brown. Piercing the baked pastry to release steam can also help to prevent collapsing as it cools down.
Final Reflection: The Enduring Allure of the Perfect Choux
The pursuit of the light and airy choux pastry is not merely a culinary quest; it's a testament to the power of understanding fundamental scientific principles. A perfectly executed choux, with its delicate crispness and airy interior, is a triumph of precision and patience, a delicious demonstration of how seemingly simple ingredients can transform into something truly extraordinary. This understanding, applied meticulously, elevates the humble choux from a simple pastry to a work of art.
The impact of mastering choux pastry extends far beyond the kitchen. It’s a lesson in the importance of attention to detail, the beauty of controlled chaos (in the whipping of the eggs!), and the rewarding feeling of achieving something technically challenging. The joy of cooking lies in the transformation of simple ingredients into something delicious and beautiful.
This quote, though not specifically about choux, perfectly encapsulates the satisfaction derived from perfecting this delicate pastry. The ongoing influence of this pursuit is evident in the countless variations and creative applications of choux, from the classic cream puffs to modern savory creations, proving its enduring appeal across cultures and generations.
Now, I invite you to consider your own culinary journey. Perhaps you've wrestled with a stubbornly dense choux, or perhaps you've already mastered the art of achieving that perfect lightness. Regardless, remember the science behind the seemingly simple: the precise ratio of ingredients, the careful technique, the understanding of heat and steam. Embrace the challenge, experiment fearlessly, and savor the delicious reward of a perfectly executed choux pastry – a testament to your dedication and a delightful treat for your senses.
Unleash Your Inner Pâtissier: Master the Art of Choux!
Thanks for diving into the world of light and airy choux pastry with us! You've just unlocked a secret to creating delicious profiteroles, éclairs, and more. Now it's time to put your newfound knowledge into practice.
- Bake your masterpiece: Try out the choux recipe from the article today! Even a small batch is a rewarding experience.
- Share your creations: Show us your choux creations on social media using #BakeWithEaseChoux – we’d love to see your results!
- Explore variations: Experiment with different fillings and glazes. What unique twist will you add to your choux pastry?
Ready to transform your baking skills? What flavor combination are you most excited to try in your first choux pastry creation?