
Troubleshooting Tough Sweet Roll Dough: Get That Perfect Texture

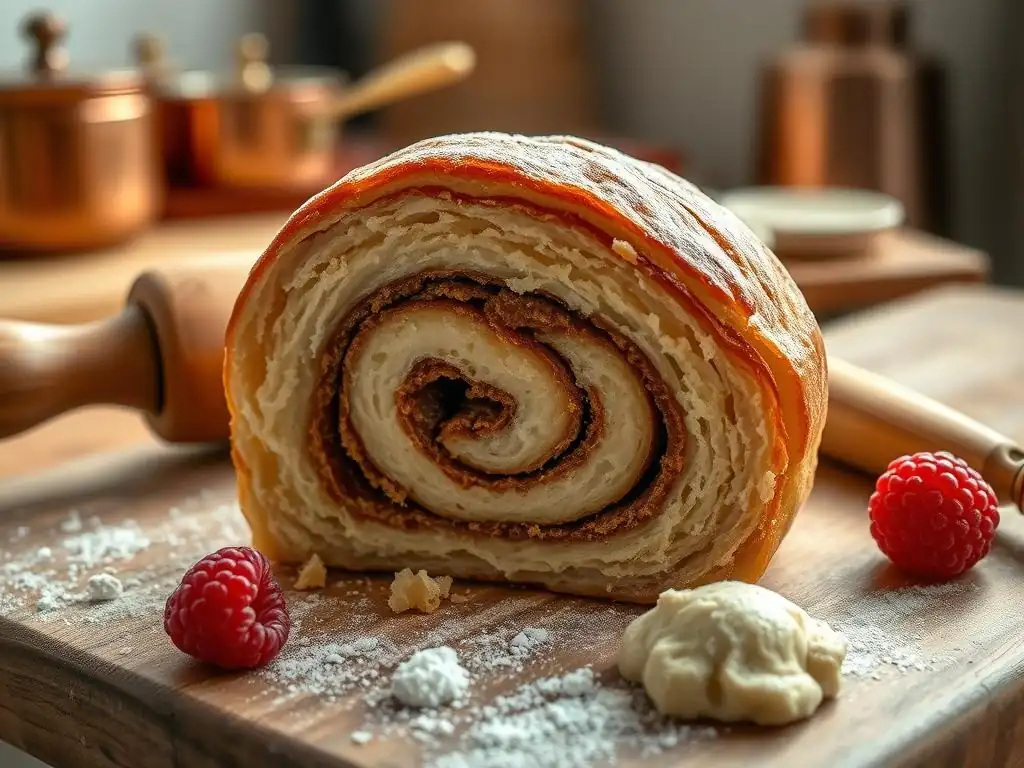
Welcome to BakeWithEase, where we unlock the secrets to exceptional baking! Ever dream of achieving that perfect, pillowy-soft texture in your sweet rolls? You're in the right place! This guide dives deep into troubleshooting tough sweet roll dough, revealing the common pitfalls and simple solutions that will transform your baking. Discover the nuances of ingredient ratios, kneading techniques, and proofing times that separate the ordinary from the extraordinary. Are you ready to finally master the art of perfect sweet roll dough texture? Let's get started!
- Achieving the Perfect Sweet Roll Dough Texture: An Introduction
- Understanding the Science Behind Sweet Roll Dough Texture
- Common Causes of Tough Sweet Roll Dough
- Troubleshooting Techniques for Tough Sweet Roll Dough
- Preventing Tough Dough: Proactive Tips for Perfect Sweet Rolls
- Sweet Roll Dough Texture Checklist: Ensuring Success
- Perfect Sweet Roll Dough Texture Recipe Adaptation: Cinnamon Roll Case Study
-
Frequently Asked Questions
- What causes sweet roll dough to become tough?
- How do I know if I've over-mixed my sweet roll dough?
- What ingredients are essential for achieving a soft sweet roll dough?
- How long should I knead sweet roll dough for the perfect texture?
- What temperature should my ingredients be for optimal sweet roll dough development?
- Final Reflection: The Sweet Science of Perfect Dough
- Unlock Your Inner Baker: Perfect Sweet Rolls Await!
Achieving the Perfect Sweet Roll Dough Texture: An Introduction
Baking sweet rolls is a delightful culinary adventure, promising soft, tender, and fluffy treats that melt in your mouth. However, achieving that perfect sweet roll dough texture can sometimes feel like hitting a wall. Instead of yielding a light and airy crumb, you might end up with rolls that are dense, chewy, or just plain tough. This can be incredibly frustrating after investing time and ingredients. Understanding the common pitfalls and how to correct them is key to transforming your baking results from disappointing to absolutely divine.
Whether you're aiming for classic cinnamon rolls, sticky buns, or any other sweet rolled pastry, the dough is the foundation. Its texture dictates the final outcome of your bake. A tough dough often signals issues in the mixing, kneading, or proofing stages. By delving into the science behind dough development and learning practical troubleshooting techniques, you can confidently tackle those tough dough moments and consistently achieve the perfect sweet roll dough texture you dream of. This guide will walk you through identifying the problems and implementing solutions to ensure your sweet rolls are always a success.
Understanding the Science Behind Sweet Roll Dough Texture
The Role of Gluten in Sweet Roll Dough
Gluten, a network formed by two proteins (glutenin and gliadin) when flour is combined with liquid and kneaded, is the backbone of most doughs. It provides structure, elasticity, and chewiness. In sweet roll dough, gluten development is crucial for trapping the gases produced by yeast, allowing the dough to rise and create a light, airy texture.
However, enriched doughs, which contain ingredients like sugar, fat (butter, oil), and eggs, present unique challenges to gluten development. Sugar can compete with flour for water, slowing down gluten formation, while fat and eggs can coat the gluten strands, inhibiting their ability to connect and form a strong network.
Achieving the perfect sweet roll dough texture requires careful management of gluten development. Too little kneading results in a weak gluten structure, leading to a dense crumb that collapses easily. Too much kneading, especially in enriched doughs, can overwork the gluten, making the dough tight, difficult to shape, and resulting in a tough, rubbery texture after baking. The presence of fat and sugar often means enriched doughs require slightly less aggressive or prolonged kneading compared to lean bread doughs. The goal is to develop just enough gluten to provide structure without making it overly strong or tight.
The Impact of Yeast on Dough Texture
Yeast is a living organism that consumes sugars in the dough and produces carbon dioxide gas and alcohol through fermentation. The carbon dioxide gas gets trapped within the gluten network, causing the dough to rise (proof). This process is fundamental to achieving a light and airy texture in sweet rolls. The health and activity of your yeast, alongalled with the conditions for fermentation, directly impact the final dough texture. If the yeast is inactive or the environment isn't right, the dough won't rise properly, resulting in a dense, heavy texture.
Sugar plays a dual role in yeast activity in sweet roll doughs. In small amounts, sugar provides readily available food for the yeast, boosting fermentation. However, in higher concentrations typical of sweet rolls, sugar can draw water away from the yeast cells through osmosis, slowing down their activity. Fat and eggs can also encapsulate yeast cells, further inhibiting fermentation. Therefore, ensuring your yeast is active before adding it to the dough and providing optimal proofing conditions (warmth, humidity) are critical steps for achieving the perfect sweet roll dough texture by allowing sufficient gas production and dough expansion.
Hydration's Influence on Crust Characteristics
While sweet rolls don't have a 'crust' in the same way bread or pizza does, the term 'crust characteristics' here refers to the outer layer of the baked roll, which should be soft and tender, not hard or dry. Hydration, the ratio of liquid to flour in a dough, significantly influences the final texture, both inside and out.
A dough with sufficient hydration will be softer, more pliable, and easier to work with, leading to a moister crumb and a tender exterior after baking. Sweet roll doughs are typically enriched with milk, eggs, and butter, contributing to their hydration and richness.
Insufficient hydration in sweet roll dough results in a dry, stiff dough that is difficult to knead and shape. It won't rise as well because the gluten network struggles to expand without enough moisture, and the resulting baked rolls will be dry and potentially tough. Conversely, overly high hydration can make the dough too sticky to handle without excessive flour, which then dries it out.
The ideal hydration level for achieving the perfect sweet roll dough texture is one that results in a dough that is soft, slightly tacky but manageable, and elastic enough to develop a good gluten structure and rise properly. The type of flour used also impacts hydration needs, as different flours absorb liquid differently.
Common Causes of Tough Sweet Roll Dough
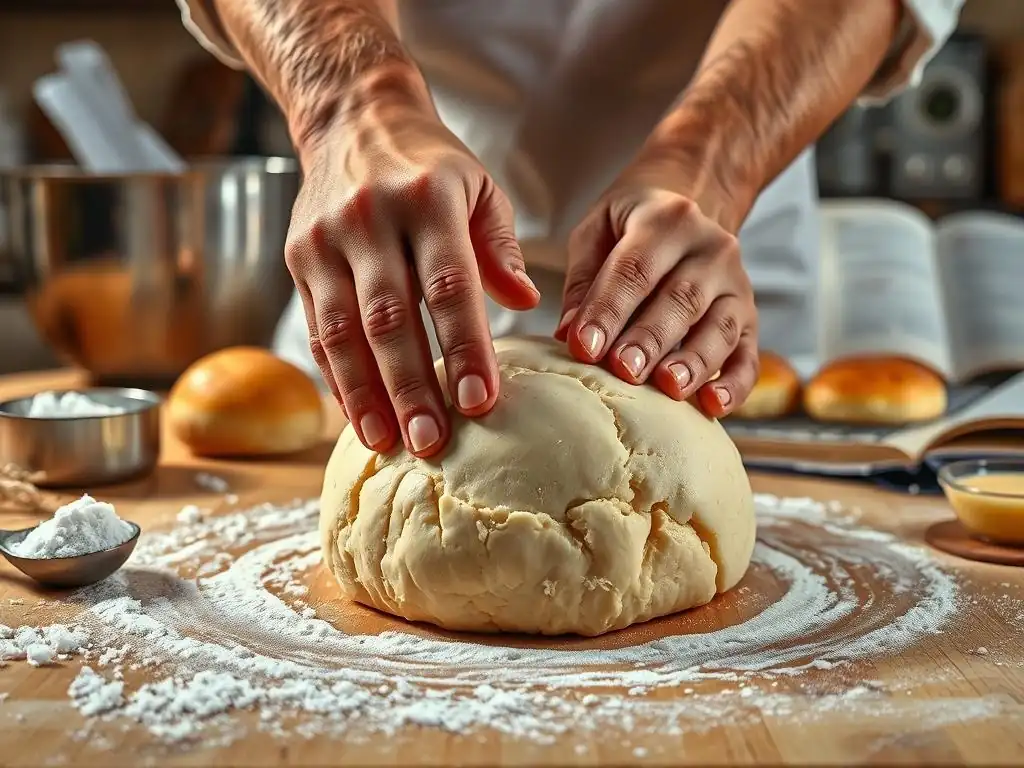
Overmixing the Dough: Gluten Overdevelopment
One of the most frequent culprits behind tough sweet roll dough is overmixing, particularly when using a stand mixer. While mixing is essential to develop the gluten network, too much mixing can lead to gluten overdevelopment. This causes the gluten strands to become excessively tight and aligned, making the dough very elastic but also resistant to stretching (short). The dough will feel stiff and may even start to tear or look shaggy and wet even after prolonged mixing.
When dough is overmixed, the tightly wound gluten network prevents the dough from relaxing and expanding easily during proofing and baking. The resulting sweet rolls will have a dense, rubbery texture because the internal structure is too strong and doesn't allow for a light, open crumb.
This is especially easy to do with enriched doughs containing fat and sugar, as the point of overmixing can be reached faster or be less obvious than with lean doughs. It's crucial to pay attention to the dough's texture and feel during mixing and stop as soon as the dough is smooth, elastic, and passes the windowpane test.
Using Too Much Flour: Dry Dough Syndrome
Adding too much flour, whether during the initial mixing or while kneading and shaping, is another primary cause of tough sweet roll dough. Dough hydration is a delicate balance. When too much dry flour is incorporated, the overall hydration ratio decreases significantly. This leaves less liquid available for the gluten to absorb and develop properly, and less moisture for the yeast to thrive.
A dough that is too dry will feel stiff, heavy, and difficult to work with. It will resist stretching and may crack easily. During proofing, the lack of moisture and tight structure inhibits the dough's ability to rise fully.
The baked sweet rolls will inevitably be dry, dense, and tough because the insufficient hydration prevented the development of a tender crumb and a soft exterior. It's always better to work with a slightly tacky dough and use minimal flour on your work surface and hands during kneading and shaping, adding just enough to prevent sticking, rather than incorporating large amounts into the dough itself.
Insufficient Kneading: Weak Gluten Structure
While overmixing causes toughness through excessive gluten development, insufficient kneading leads to toughness due to a lack of proper gluten development. Kneading aligns the gluten proteins and strengthens the network, providing the necessary structure for the dough to hold its shape and trap gases. If the dough is not kneaded enough, the gluten network remains weak and underdeveloped.
A dough with insufficient kneading will feel slack, potentially sticky, and won't hold its shape well. It may tear easily when stretched. During proofing, the weak structure struggles to support the rise, and the dough may spread out rather than rising upwards.
The resulting sweet rolls will have a dense, crumbly texture that lacks the characteristic chewiness and structure of a well-baked roll. They may also collapse after baking. Proper kneading, until the dough is smooth, elastic, and passes the windowpane test, is essential for developing a strong yet pliable gluten network that contributes to a perfect sweet roll dough texture.
Incorrect Yeast Activation: A Dough That Won't Rise
Yeast is the leavening agent that gives sweet rolls their airy texture. If the yeast is inactive or improperly activated, the dough won't rise, leading to a dense, heavy, and tough result. Yeast requires specific conditions to become active: warmth and moisture, and sometimes a little sugar for a quick start. Using expired yeast, water that is too hot (which kills the yeast) or too cold (which doesn't activate it), or failing to proof the yeast (if required by the recipe) are common mistakes.
An inactive yeast will result in a dough that shows little to no signs of rising during the proofing periods, even when given ample time. Without the internal structure created by trapped carbon dioxide gas, the dough remains compact. The baked rolls will be small, heavy, and have a dense, brick-like texture instead of a light, tender crumb.
Always check the expiration date on your yeast and, if using active dry yeast, bloom it in warm liquid (around 105-115°F or 40-46°C) with a pinch of sugar for 5-10 minutes until it becomes foamy before adding it to the dry ingredients. Instant yeast can often be mixed directly with dry ingredients, but ensuring the liquid is warm is still important.
Baking at the Wrong Temperature: Affecting Dough Structure
The temperature at which sweet rolls are baked significantly impacts their final texture. Baking at too low a temperature can cause the rolls to spread excessively before the structure sets, resulting in flat, dense rolls. The prolonged baking time at a low temperature can also dry out the dough. Conversely, baking at too high a temperature can cause the exterior to brown and set too quickly before the interior is fully cooked and the gluten structure has stabilized.
Baking at an incorrect temperature can lead to tough sweet rolls in several ways. Low temperatures prevent the rapid oven spring needed for a light texture and can lead to a dry crumb. High temperatures can result in a hard, thick outer layer and a doughy, potentially tough interior.
The ideal baking temperature for most sweet rolls typically ranges from 350°F to 375°F (175°C to 190°C). Using an oven thermometer is highly recommended, as oven thermostats can be inaccurate. This ensures you are baking at the temperature specified in the recipe, which is calibrated to achieve the desired perfect sweet roll dough texture – a tender interior and a soft, golden exterior.
Troubleshooting Techniques for Tough Sweet Roll Dough
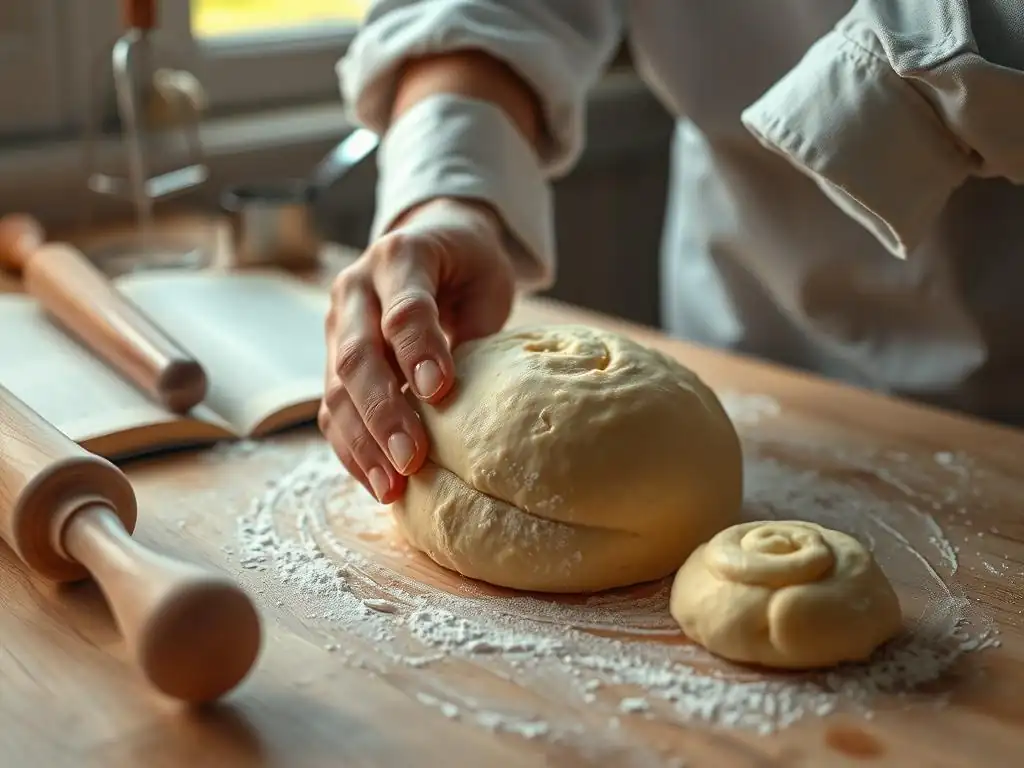
Remedy 1: Adjusting Hydration Levels for a Softer Dough
If your sweet roll dough feels stiff and dry after the initial mix, it likely needs more liquid. Dry dough is a common precursor to tough rolls. The goal is to achieve a dough that is soft, pliable, and slightly tacky, not dry or crumbly. This ensures adequate moisture for gluten development and yeast activity, leading to a tender crumb.
How to Add Moisture to Dry Sweet Roll Dough
If you notice your dough is too dry during mixing or kneading, you can gradually add small amounts of liquid (milk, water, or even a beaten egg, depending on the recipe's base liquid) one teaspoon or one tablespoon at a time. Knead the dough briefly after each addition to incorporate the liquid before adding more. Continue this process until the dough reaches the desired consistency – it should be soft, elastic, and slightly tacky but not sticky.
Be patient and add the liquid slowly to avoid over-hydrating the dough. This adjustment can significantly improve the perfect sweet roll dough texture.
Remedy 2: Mastering the Kneading Process for Optimal Gluten Development
Insufficient or improper kneading is a major cause of tough dough. The dough needs enough kneading to develop a strong, elastic gluten network, but not so much that it becomes overworked and tight. The key is knowing when the dough is ready.
Techniques for Hand Kneading Sweet Roll Dough
Hand kneading involves repeatedly folding, pushing, and stretching the dough. For sweet roll dough, which is often enriched, the initial stage might be messy due to fat and sugar. Knead on a lightly floured surface, using the heel of your hand to push the dough away from you, then fold it back towards you. Rotate the dough and repeat.
As you knead, the dough will become less sticky and more smooth and elastic. Aim for about 10-15 minutes of hand kneading until the dough passes the windowpane test – stretching a small piece of dough until you can see light through it without it tearing. This indicates sufficient gluten development for perfect sweet roll dough texture.
Using a Stand Mixer for Perfect Kneading
A stand mixer with a dough hook is highly efficient for kneading sweet roll dough. Mix on low speed until the ingredients are just combined, then increase the speed to low-medium (usually speed 2 or 3) and knead for typically 5-8 minutes. Watch the dough carefully; it should gather around the hook and pull away from the sides of the bowl, although enriched doughs might stick to the bottom.
Stop kneading as soon as the dough looks smooth, elastic, and passes the windowpane test. Overmixing happens quickly in a stand mixer, so err on the side of slightly less kneading if unsure.
Remedy 3: Controlling Yeast Activity for a Light and Airy Texture
Ensuring your yeast is active and the dough proofs correctly is vital for a light crumb. If your dough isn't rising, the yeast is likely the issue or the proofing environment isn't warm enough.
Testing Yeast Activity Before Baking
If using active dry yeast, always proof it first. Dissolve the yeast in the warm liquid (around 105-115°F or 40-46°C) with a pinch of sugar. Let it sit for 5-10 minutes. If it becomes foamy and bubbly, the yeast is active. If nothing happens, the yeast is dead or the liquid temperature was wrong. Start over with fresh yeast and correct temperature water. Instant yeast doesn't require proofing but benefits from warm liquid. This simple test prevents wasting ingredients on a dough that won't rise, ensuring your path to perfect sweet roll dough texture isn't blocked by inactive yeast.
Proofing Dough Properly for the Right Rise
Proofing allows the yeast to produce gas and the dough to expand. Sweet roll dough typically requires one or two proofing periods. The first proofing (bulk fermentation) usually takes 1-1.5 hours in a warm place (around 75-80°F or 24-27°C) until doubled in size. The second proofing (after shaping) takes less time, often 30-45 minutes, until the rolls look puffy.
Ensure the dough is covered to prevent drying. A warm oven (turned off, with the light on) or a microwave (with a cup of hot water) can create an ideal proofing environment. Insufficient proofing leads to dense rolls; over-proofing can lead to collapse.
Remedy 4: Correcting Baking Temperature and Time for a Tender Crumb
Baking sweet rolls at the correct temperature and for the right duration is crucial for achieving a tender, cooked-through interior and a soft, golden exterior.
Ideal Baking Temperatures for Sweet Rolls
Most sweet roll recipes call for baking temperatures between 350°F and 375°F (175°C and 190°C). This temperature range allows the rolls to rise fully (oven spring) before the structure sets and encourages even browning without drying out the interior. Using an oven thermometer is highly recommended to verify your oven's actual temperature. Preheating the oven fully is also important to ensure a consistent baking environment from the moment the rolls enter.
Preventing Over-Baking: Signs of a Perfectly Baked Sweet Roll
Over-baking is a sure way to get tough, dry sweet rolls. Bake time is typically 20-30 minutes, depending on the size and your oven. Look for visual cues: the rolls should be golden brown on top and around the edges.
A more reliable method is to check the internal temperature using an instant-read thermometer; perfectly baked sweet rolls should register around 190°F (88°C) in the center. If they are browning too quickly, you can loosely tent them with foil. Removing them from the oven as soon as they reach the correct internal temperature prevents them from drying out, helping you achieve the desired perfect sweet roll dough texture and a moist, tender crumb.
Preventing Tough Dough: Proactive Tips for Perfect Sweet Rolls
Measuring Ingredients Accurately: The Key to Consistent Results
Baking is a science, and accuracy matters. Using too much flour or too little liquid throws off the delicate hydration balance, a common cause of tough dough. Weighing ingredients, especially flour, with a digital kitchen scale is the most accurate method. If using volume measurements, spoon the flour lightly into the measuring cup and level it off without packing it down.
Inaccurate measurements can lead to unpredictable results. For instance, just a few tablespoons of extra flour can significantly reduce the dough's hydration, making it stiff and difficult to work with. Similarly, not enough liquid will result in a dry dough from the start. Consistent, accurate measurement is the fundamental step towards reliably achieving the perfect sweet roll dough texture batch after batch. It eliminates guesswork and provides a reliable starting point for successful baking.
Choosing the Right Flour for Sweet Rolls
The type of flour you use impacts gluten development and hydration. Most sweet roll recipes call for all-purpose flour, which has a moderate protein content (around 10-12%) suitable for creating a tender crumb with enough structure. Bread flour, with a higher protein content (12-14%), can be used for a chewier result, but might contribute to toughness if over-kneaded. Pastry or cake flour, with lower protein, won't develop enough gluten for structure.
Using the flour specified in the recipe is the best approach for achieving the intended perfect sweet roll dough texture. If substituting, understand how the protein content of the new flour will affect the dough. For example, using bread flour might require slightly less kneading or a bit more liquid compared to all-purpose flour to prevent toughness. High-quality flour from a reputable brand also contributes to better results, as protein content and consistency can vary between brands.
The Importance of Using Quality Ingredients
Beyond flour, the quality of other ingredients like yeast, butter, eggs, and sugar also affects the dough's texture and the final baked product. Fresh, active yeast is non-negotiable for proper rising. High-quality butter contributes richness and tenderness, while margarine or spreads might behave differently in the dough. Fresh eggs add structure and richness.
Using expired or poor-quality ingredients can negatively impact everything from yeast activity to gluten development and the overall richness and tenderness of the sweet rolls. For instance, rancid butter can impart off-flavors and affect dough handling. Stale yeast won't provide the necessary lift, leading to dense rolls. Investing in quality ingredients ensures that each component is performing its intended role in creating the perfect sweet roll dough texture and delicious flavor.
Allowing Enough Time for Proofing: Patience is Key
Rushing the proofing process is a common mistake that results in dense, underdeveloped sweet rolls. Proofing is not just about the dough doubling in size; it's also about allowing the gluten to relax and the flavors to develop. Yeast activity is dependent on time and temperature.
Allowing the dough to proof fully, according to the recipe's recommended time and visual cues (like doubling in size), is crucial for achieving a light and airy texture. Insufficient proofing means the dough hasn't trapped enough gas to expand properly in the oven, leading to a heavy, tough roll. Over-proofing, while less common than under-proofing as a cause of toughness (it usually leads to collapse), can also affect texture negatively. Be patient and give your dough the time it needs in a warm, draft-free environment to develop that perfect sweet roll dough texture.
Sweet Roll Dough Texture Checklist: Ensuring Success
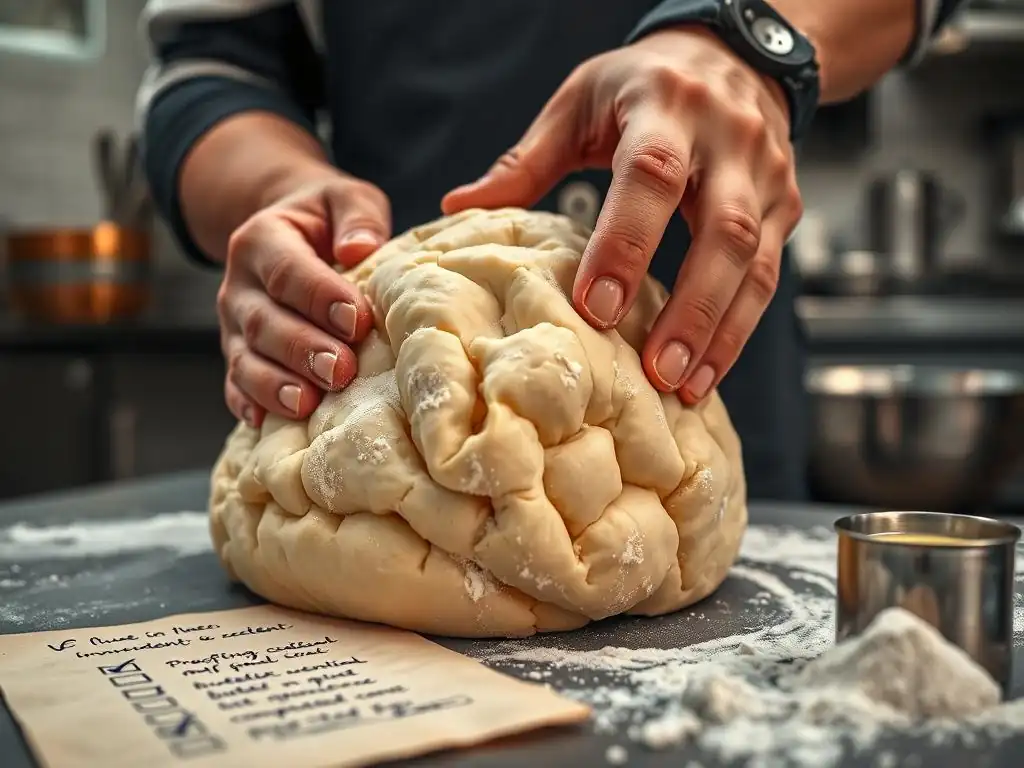
When aiming for the perfect sweet roll dough texture, it helps to have a checklist of what to look for during the process. These simple tests provide reassurance that you're on the right track before you even put the rolls in the oven.
Visual Cues for Perfect Dough Texture
Look at your dough throughout the process. After initial mixing and kneading, it should transform from shaggy and rough to smooth, elastic, and cohesive. It should pull away from the sides of the bowl (if using a mixer) or form a smooth ball that holds its shape (if hand kneading).
During the first proofing, the dough should visibly increase in volume, typically doubling. After shaping and the second proofing, the rolls should look puffy and soft, filling out their space in the pan. A dough that remains stiff, shaggy, or doesn't rise is a visual indicator that something is amiss and might lead to tough rolls.
The Touch Test: Feeling for a Soft and Elastic Dough
The feel of the dough is one of the best indicators of its texture. After kneading, the dough should feel soft, pliable, and elastic. When you gently press it with a finger, it should spring back slowly. If it feels stiff, dense, or tears easily, it might be under-kneaded or too dry.
If it feels overly sticky and slack, it might be over-hydrated or not kneaded enough. After proofing, the dough should feel light and airy. A gentle poke should leave an indentation that slowly springs back. This 'poke test' indicates proper proofing and is a good sign that you're on your way to achieving that perfect sweet roll dough texture.
Adapting Recipes for Optimal Sweet Roll Results
Sometimes, a recipe might need slight adjustments based on your environment (humidity, altitude) or ingredients (flour type, brand). Don't be afraid to tweak hydration levels slightly if your dough consistently feels too dry or wet, or adjust kneading time based on the dough's visual and touch cues rather than sticking rigidly to a timer. For instance, if using a different brand of flour known to absorb more liquid, you might need a tablespoon or two of extra milk.
Successful bakers learn to read their dough and adapt. Pay attention to how the dough feels and looks relative to the descriptions of perfect sweet roll dough texture. Keep notes on adjustments you make and their results. Over time, you'll develop an intuition for what your dough needs. Remember that recipes are guides, and slight modifications can often lead to superior results tailored to your specific conditions and ingredients, helping you consistently bake tender, delicious sweet rolls.
Perfect Sweet Roll Dough Texture Recipe Adaptation: Cinnamon Roll Case Study
Let's consider a classic example: cinnamon rolls. A common issue is tough, dry rolls instead of soft, gooey centers and tender exteriors. This often stems from issues discussed earlier.
A typical cinnamon roll recipe might call for 4 cups all-purpose flour, 1/2 cup sugar, 2 1/4 tsp instant yeast, 1/2 tsp salt, 1/2 cup milk, 1/4 cup water, 1/4 cup melted butter, and 1 egg. If your resulting dough is tough, here's how you might adapt:
- Check Flour Measurement: Ensure you are measuring flour accurately, preferably by weight (
4 cupsAP flour is roughly480-500g). Using too much flour is a common pitfall. - Verify Liquid Temperature: Ensure milk and water are warmed to
120-130°F (49-54°C)if mixing yeast directly with dry ingredients, or105-115°F (40-46°C)if proofing active dry yeast first. - Adjust Hydration: If the dough feels stiff after initial mixing, add an extra tablespoon or two of warm milk or water slowly while kneading until it becomes soft and slightly tacky. Avoid adding large amounts of flour during kneading.
- Monitor Kneading: Knead until the dough is smooth and elastic and passes the windowpane test, but stop before it becomes overly tight or resistant. This might be
5-7 minutesin a stand mixer on medium-low speed. - Proper Proofing: Ensure the dough doubles in size during the first proof, typically
1-1.5 hoursin a warm place (75-80°For24-27°C). Shaped rolls should look visibly puffy after the second proof (30-45 minutes). - Correct Baking: Bake at the recipe's recommended temperature, likely
350-375°F (175-190°C). Use an oven thermometer. Bake until golden brown and the internal temperature is~190°F (88°C), typically20-25 minutesfor standard-sized rolls.
By paying close attention to these steps and making small adjustments based on how the dough behaves, you can troubleshoot toughness and achieve that coveted perfect sweet roll dough texture for your cinnamon rolls, resulting in tender, delicious treats every time.
Frequently Asked Questions
What causes sweet roll dough to become tough?
Tough sweet roll dough is often caused by over-mixing the dough, which develops too much gluten. Other factors include using too much flour or not enough fat.
How do I know if I've over-mixed my sweet roll dough?
Over-mixed dough will be very elastic and difficult to stretch without tearing. It may also feel tight and resist shaping.
What ingredients are essential for achieving a soft sweet roll dough?
Key ingredients include fat (butter or shortening) to tenderize the dough, sugar to inhibit gluten development, and milk or cream for moisture.
How long should I knead sweet roll dough for the perfect texture?
Knead until the dough is smooth and elastic, typically 5-8 minutes in a stand mixer. Avoid over-kneading.
What temperature should my ingredients be for optimal sweet roll dough development?
Ingredients should generally be at room temperature. This allows for better emulsification and a more consistent dough.
Final Reflection: The Sweet Science of Perfect Dough
The pursuit of the perfect sweet roll dough transcends mere baking; it's a journey into the heart of texture, a testament to the power of precision and patience. From understanding the role of hydration to mastering the art of kneading, achieving that ideal soft, fluffy interior with a delicate, slightly crisp exterior requires a deep understanding of the interplay between ingredients and technique. This knowledge, once acquired, unlocks a world of baking possibilities far beyond the humble sweet roll.
The quest for the perfect texture has resonated throughout culinary history, a constant striving for that elusive balance between structure and tenderness. The proof of the pudding is in the eating,
they say, and nowhere is this truer than in the realm of baking. The subtle nuances of dough – its elasticity, its rise, its final crumb – are a reflection of the baker's skill and understanding. This article has hopefully provided the tools to elevate your baking game, allowing you to experience the profound satisfaction of creating truly exceptional sweet rolls.
Now, I invite you to take what you've learned and apply it to your own baking adventures. Don't be afraid to experiment, to tweak the recipe, to embrace the occasional imperfection. Each batch, each rise, each perfectly golden-brown roll is a step closer to mastering your craft. The journey to perfect sweet roll dough is ongoing, a continuous process of learning and refinement. But with the right knowledge and a little dedication, the reward – that exquisite, melt-in-your-mouth texture – is well worth the effort.
Unlock Your Inner Baker: Perfect Sweet Rolls Await!
Thanks for joining us on this sweet journey! You've learned valuable tips for troubleshooting tricky sweet roll dough, and now it's time to put your newfound knowledge into action. Let's bake!
- Bake a batch of glorious sweet rolls today! Use what you've learned to create the perfectly soft and fluffy dough you've always dreamed of. Experiment with different fillings and glazes – the possibilities are endless!
- Share your baking triumphs (or even your challenges!) with us on social media. We’d love to see your creations and hear your stories! Use #BakeWithEaseSweetRolls to connect with our community.
- Try adapting these techniques to other yeast-based doughs, like cinnamon buns or even pizza dough!
Ready to transform your baking game? What new flavor combination will you try first?