
Bake Classic Easter Biscuits with a Twist


Welcome to BakeWithEase, your kitchen companion for baking adventures! Ever dreamt of creating picture-perfect Easter biscuits that are both delicious and surprisingly simple? This week, we're unveiling an easy Easter biscuit recipe that even beginner bakers can master. Get ready to impress your family and friends with these delightful treats – but be warned, they disappear fast! Intrigued? Let’s get baking...
- Classic Shortbread Easter Biscuits with a Twist | BakeWithEase.com
- Introduction to Easy Easter Biscuit Baking
- Mastering the Basic Shortbread Easter Biscuit Dough
- Adding a Twist: Creative Easter Biscuit Variations
- Decorating Your Easter Biscuits: Fun and Easy Ideas
- Baking Your Easter Biscuits to Perfection
- Storing Your Homemade Easter Biscuits
- Troubleshooting Common Easter Biscuit Baking Problems
- Easy Easter Biscuit Recipe: Printable Version
- Conclusion: Enjoy Your Delicious Easter Biscuits!
-
Frequently Asked Questions
- ### What makes this Easter biscuit recipe "easy," even for beginners?
- ### What kind of "twist" does this Easter biscuit recipe offer compared to traditional recipes?
- ### What essential equipment do I need to successfully bake these Easter biscuits?
- ### Can I substitute ingredients in this Easter biscuit recipe to suit dietary restrictions?
- ### How long will these Easter biscuits stay fresh after baking?
- Final Reflection: The Enduring Sweetness of Tradition with a Twist
- Unleash Your Inner Easter Baker!
Classic Shortbread Easter Biscuits with a Twist | BakeWithEase.com
Introduction to Easy Easter Biscuit Baking
Welcome Spring with Delicious Homemade Shortbread Biscuits
Spring arrives, bringing with it the vibrant energy of Easter, a perfect time to fill your kitchen with the aroma of freshly baked goods. There's something truly special about homemade treats during the holidays, and these classic shortbread biscuits, with their buttery richness and tender crumb, are an ideal canvas for festive creativity. Baking Easter biscuits is a delightful activity for the whole family, offering a chance to gather, mix, cut shapes, and decorate, creating edible art that's as fun to make as it is to eat.
This simple approach to making Easter biscuits ensures that even those new to baking can achieve beautiful and delicious results. Unlike some complex pastries, shortbread relies on a few basic ingredients combined in a specific way to yield its characteristic texture. We'll guide you through each step, from mixing the dough to adding unique flavor twists and decorating your festive shapes. Get ready to bake a batch of treats that will brighten your Easter table and become a cherished part of your spring traditions.
Why This Easy Easter Shortbread Biscuit Recipe is Perfect for All Bakers
Searching for an easy Easter biscuit recipe that guarantees success? Look no further. This shortbread base is incredibly forgiving and versatile, making it suitable for bakers of all skill levels. For beginners, the straightforward ingredient list and minimal steps reduce the chances of common baking pitfalls. The dough is robust enough to handle being rolled out and cut into various Easter shapes like eggs, bunnies, chicks, and crosses without becoming too fragile.
Experienced bakers will appreciate the classic foundation that allows for endless customization. The "twist" section introduces exciting flavor combinations that elevate the simple shortbread, transforming it into something unique and memorable. Furthermore, the decorating ideas provided range from super simple glazes to more intricate icing techniques, allowing you to tailor the complexity to your comfort level and available time. This easy Easter biscuit recipe truly offers something for everyone, promising delicious results with minimal stress.
Mastering the Basic Shortbread Easter Biscuit Dough
Simple Ingredients for Classic Shortbread Easter Biscuits
The magic of classic shortbread lies in its simplicity, requiring just a few pantry staples. Typically, the ratio of ingredients is crucial for achieving the perfect texture. A common and reliable ratio is approximately 3 parts flour, 2 parts butter, and 1 part sugar by weight.
For a standard batch yielding roughly 24-30 biscuits (depending on cutter size), you might use around 225 grams (about 1 ½ cups) of all-purpose flour, 150 grams (about ⅔ cup or 1 ½ sticks) of unsalted butter, and 75 grams (about ⅓ cup) of granulated or caster sugar. Some recipes also include a pinch of salt to enhance the flavor, and occasionally a touch of vanilla extract, though traditionally shortbread is just flour, butter, and sugar.
Using good quality butter is paramount, as it's the dominant flavor. Ensure your butter is unsalted so you can control the salt level yourself, and it should be at room temperature, but not melted, for the best results when creaming with the sugar.
The type of sugar can slightly affect texture; caster sugar (superfine sugar) dissolves more readily, leading to a smoother biscuit, while granulated sugar can give a slightly crunchier texture. All-purpose flour works well, but using a portion of rice flour (substituting about 25-50 grams of the wheat flour) can create an even more tender, crumbly biscuit, characteristic of traditional Scottish shortbread.
Step-by-Step Guide to Preparing the Shortbread Dough
Preparing the dough for this easy Easter biscuit recipe is quite simple. Begin by creaming the softened butter and sugar together in a bowl until light and fluffy. This process incorporates air, contributing to the biscuit's texture. Using an electric mixer on medium speed usually takes about 3-5 minutes. If adding vanilla or salt, incorporate them at this stage.
Next, gradually add the flour (and rice flour, if using), mixing on a low speed or using a wooden spoon until the mixture just comes together to form a soft dough. Be careful not to overmix, as this can develop the gluten in the flour too much, resulting in tough biscuits rather than the desired tender crumb. The dough might appear crumbly at first, but it should come together when pressed.
Gently bring the dough together with your hands, form it into a disc or rectangle, wrap it in plastic wrap, and chill it in the refrigerator for at least 30 minutes. Chilling is crucial as it firms up the butter, making the dough easier to roll and cut, and helps the biscuits hold their shape during baking.
Tips for the Perfect Shortbread Biscuit Dough Consistency
Achieving the right dough consistency is key to successful shortbread. The dough should be firm but pliable after chilling, not sticky or overly hard. If your dough seems too dry and crumbly after mixing, it might be because your butter wasn't soft enough, or you didn't mix quite long enough for it to come together.
You can try kneading it gently for a few seconds on a clean surface; the warmth from your hands can help. If it's still too dry, add a tiny amount (like half a teaspoon) of milk or cream and knead just until it comes together – but be very cautious, as too much liquid will make the biscuits tough.
Conversely, if your dough is too soft or oily, it could be due to overly soft or melted butter, or perhaps too much butter relative to flour. Chilling the dough adequately (for at least 30 minutes, but up to 2 days) is the primary solution for overly soft dough.
If it's still too soft after chilling for an hour, you can try incorporating another tablespoon or two of flour, mixing it in gently until the dough reaches a workable consistency. Remember, the dough needs to hold its shape when rolled and cut, so a firm texture post-chilling is essential for those festive Easter biscuit shapes.
Adding a Twist: Creative Easter Biscuit Variations
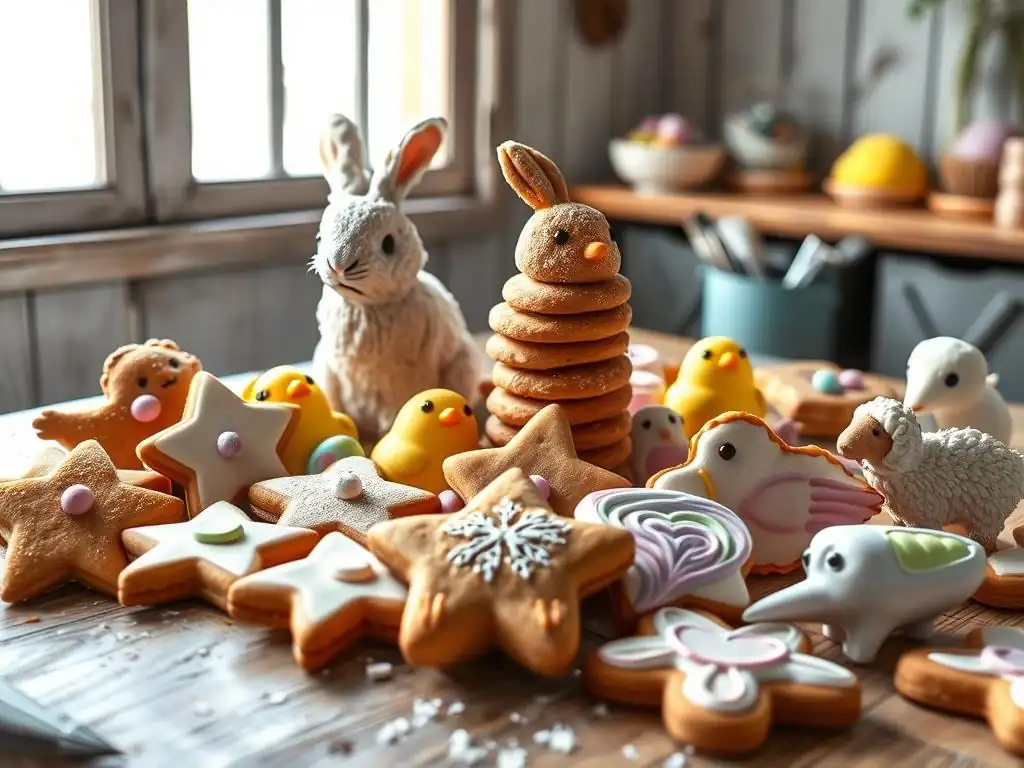
Lavender Honey Easter Shortbread: A Floral Infusion
Adding edible lavender and honey introduces a sophisticated floral note to the classic buttery shortbread, perfect for a unique easy Easter biscuit recipe. To achieve this, finely chop about 1 to 1.5 teaspoons of culinary-grade dried lavender flowers. Incorporate the lavender into the butter and sugar creaming step. For the honey flavor, you can substitute about 15-20 grams of the granulated sugar with an equal weight of runny honey. Be mindful that honey adds moisture, so you might need a tiny bit more flour (perhaps an extra tablespoon) to get the right dough consistency.
The combination of lavender and honey creates a delicate aroma and subtle sweetness that is both elegant and surprising. The floral notes are distinct but not overpowering, complementing the rich butter. Ensure you use culinary lavender, as other types may not be suitable for consumption and can have a bitter taste. Bake these biscuits until they are pale golden, as over-baking can diminish the delicate floral aroma. These make a beautiful addition to an Easter tea party spread.
Orange Blossom Easter Shortbread: A Zesty Aroma
For a bright, fragrant variation on your easy Easter biscuit recipe, introduce the lovely scent of orange blossom. This can be done by adding orange zest and a touch of orange blossom water. Finely grate the zest of one large orange (ensure it's unwaxed) and add it to the butter and sugar during the creaming process. Orange zest contains oils that release a wonderful aroma and flavor.
Incorporate about ½ to 1 teaspoon of high-quality orange blossom water when you add the flour. Start with ½ teaspoon and add more to taste if desired, but be cautious as it is potent. The citrus zest provides a vibrant, tangy note, while the orange blossom water adds a deeper, perfumed aroma. This combination is particularly lovely for spring and pairs wonderfully with coffee or tea. The vibrant zest also adds tiny flecks of color to the dough.
Cardamom Rose Easter Shortbread: An Exotic Blend
Transport your taste buds with an exotic blend of cardamom and rose in your Easter biscuits. This twist adds warmth and a subtle, romantic floral note. To incorporate cardamom, add about ¾ to 1 teaspoon of ground cardamom to the flour before mixing it into the butter and sugar. Freshly ground cardamom pods will yield the most potent and aromatic flavor.
For the rose element, add about ½ to ¾ teaspoon of food-grade rose water when you add the flour. Like orange blossom water, rose water is potent, so start with less and add more if needed. The pairing of spicy cardamom with delicate rose is a classic in many cuisines and brings a unique dimension to the simple shortbread. These biscuits are wonderfully fragrant and offer a departure from more traditional flavors, making your easy Easter biscuit recipe truly stand out.
Decorating Your Easter Biscuits: Fun and Easy Ideas
Simple Glaze Techniques for Easter Shortbread
Once your easy Easter biscuits are baked and cooled, decorating adds that festive touch. A simple glaze is perhaps the easiest way to add color and sweetness. A basic glaze can be made by whisking together about 1 cup of powdered sugar with 2-3 tablespoons of milk or lemon juice until smooth and pourable. For a thicker glaze, use less liquid; for a thinner glaze, add a little more. You can divide the glaze into small bowls and add a drop or two of food coloring to create pastel Easter shades like pink, yellow, green, and blue.
To apply the glaze, you can dip the top of each biscuit into the glaze, letting the excess drip off, or use a spoon to drizzle it over the top. For a neater finish, you can outline the biscuit shape first with a slightly thicker glaze (less liquid) and then fill it in with a thinner glaze. Allow the glaze to set completely before stacking or storing the biscuits, which usually takes about 30-60 minutes depending on humidity. This simple technique instantly transforms plain shortbread into cheerful Easter treats.
Using Easter Sprinkles and Edible Decorations
Sprinkles and edible decorations are fantastic for adding immediate visual appeal to your easy Easter biscuits, especially when baking with children. Apply sprinkles while the simple glaze is still wet so they adhere properly. There's a vast array of Easter-themed sprinkles available, from pastel jimmies and nonpareils to shaped sprinkles like bunnies, eggs, and flowers.
Beyond sprinkles, you can use edible glitter for a touch of sparkle, or edible pearls and dragees for a more elegant look. Small edible sugar flowers, fondant cutouts (like tiny carrots or leaves), or even mini chocolate chips can be pressed gently into the wet glaze or attached with a tiny dab of icing. Get creative with combinations – maybe green sprinkles for grass on a bunny shape, or colorful nonpareils on an egg biscuit. These decorations are quick to apply and make a big impact.
Royal Icing Designs for Impressive Easter Shortbread
For those wanting a more polished or intricate look for their easy Easter biscuit recipe, royal icing is the way to go. Royal icing is made from powdered sugar, egg whites (or meringue powder), and water, drying to a hard, smooth finish. A basic recipe might use 2 cups of powdered sugar, 2 tablespoons of meringue powder, and about 4-5 tablespoons of water, whisked until smooth. You can adjust the consistency by adding more water (for flooding areas) or more powdered sugar (for outlining and details).
Color the royal icing using gel food colors for vibrant shades. Use piping bags fitted with small tips (like PME #1 or #2) for outlining shapes and adding fine details like bunny whiskers or floral patterns. For 'flooding' (filling in areas), thin the icing slightly and use a piping bag or squeeze bottle to fill the outlined area, using a scribe tool or toothpick to spread it evenly and pop any air bubbles.
Royal icing takes several hours to dry completely, sometimes overnight, so plan ahead. While more time-consuming, the results can be stunning, turning your Easter biscuits into beautiful, edible works of art.
Natural Food Colorings: Beetroot Pink and Turmeric Yellow
If you prefer to avoid artificial food colorings, several natural alternatives can create lovely pastel shades for your easy Easter biscuit glazes or royal icing. For a soft pink, use a small amount of beetroot juice or finely ground beetroot powder. Start with just a drop or a pinch and mix thoroughly, as beetroot is quite potent. It imparts a beautiful range from blush pink to vibrant fuchsia, depending on the amount used.
To achieve a sunny yellow, turmeric powder is an excellent choice. Add a tiny pinch of turmeric powder to your glaze or icing mixture. Be very sparing, as too much will result in a strong flavor and a muddy color. A small amount creates a lovely pastel yellow perfect for chick or sun shapes. Other options include spirulina powder for green (use sparingly as flavor can be strong) or a tiny amount of activated charcoal for grey/black details (again, check flavor). These natural colorings allow you to create a beautiful, naturally vibrant palette for your Easter biscuits.
Baking Your Easter Biscuits to Perfection
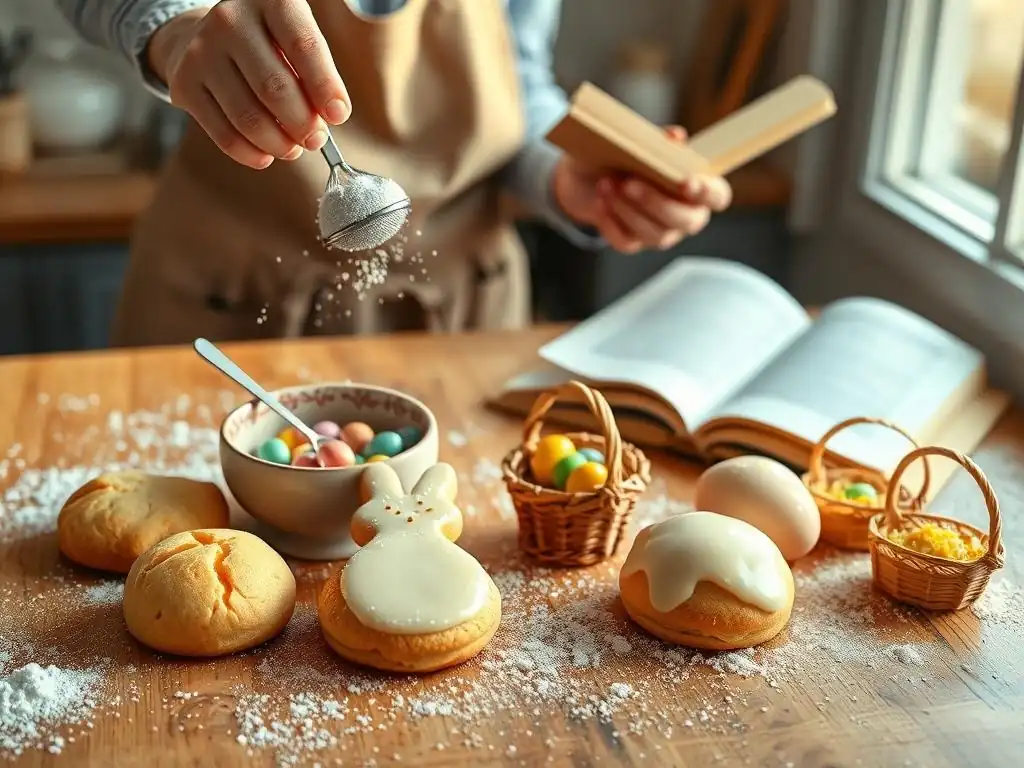
Oven Temperature and Baking Time for Shortbread Easter Biscuits
Baking shortbread requires a relatively low and consistent oven temperature to ensure it bakes through evenly without browning too quickly. The ideal temperature is typically between 150°C and 160°C (300°F to 325°F). Baking at a lower temperature allows the butter to melt slowly and coat the flour particles, resulting in that characteristic tender, crumbly texture, rather than melting too fast and causing the biscuits to spread excessively.
The baking time will vary depending on the thickness of your biscuits and your oven's calibration, but it generally ranges from 15 to 25 minutes. Thicker biscuits (around 1 cm or ½ inch) will take longer than thinner ones (around 0.5 cm or ¼ inch). You'll know the biscuits are done when they are pale gold around the edges and appear set in the center. They shouldn't be deeply browned. Baking time for a batch of 24-30 biscuits on a standard baking sheet is usually around 18-22 minutes at 155°C (310°F).
Ensuring Even Baking for Uniformly Golden Biscuits
To ensure all your easy Easter biscuits bake evenly and achieve a uniform pale golden color, proper oven management is key. Firstly, always preheat your oven completely to the specified temperature before putting the biscuits in. An oven thermometer can help verify your oven's actual temperature, as they can often be off by 10-20 degrees Celsius (20-40 degrees Fahrenheit).
Arrange the biscuits on the baking sheet with adequate space between them, typically 1-2 cm (½-1 inch), to allow heat to circulate evenly. Avoid overcrowding the tray. If baking more than one tray at a time, rotate the trays halfway through the baking time (switching racks and turning the trays around). This compensates for potential hot spots in your oven and ensures consistent baking across all biscuits. Baking on parchment paper also helps prevent sticking and promotes even heat distribution on the bottom.
Tips for Preventing Burnt or Underbaked Shortbread Biscuits
Preventing baking mishaps is part of mastering any easy Easter biscuit recipe. If your biscuits are burning on the bottom, your oven rack might be too low, or the baking sheet is too thin, causing the bottoms to heat up too quickly. Try moving the rack up one level or using a heavier gauge baking sheet. Using parchment paper is also highly effective at preventing burnt bottoms.
If biscuits are underbaked in the center while the edges are done, it might mean your oven temperature is too high, causing the outside to cook before the inside. Lower the temperature slightly and increase the baking time. Alternatively, the biscuits might be too thick; try rolling them slightly thinner next time. Keep a close eye on the biscuits during the last few minutes of baking. They go from perfectly baked to slightly burnt quite quickly. If you notice edges browning too fast, you can sometimes shield them loosely with strips of aluminum foil.
Storing Your Homemade Easter Biscuits
Keeping Easter Shortbread Biscuits Fresh for Longer
Once your easy Easter biscuits are baked, cooled, and decorated (if using glaze or royal icing, ensure they are completely dry), proper storage is essential to maintain their freshness and that delightful crumbly texture. Shortbread, due to its high butter content and low moisture, has a relatively good shelf life compared to many other cookies, but exposure to air can make them stale or lose their crispness.
The key is to protect them from moisture and air. Store them at room temperature; refrigeration is not necessary and can actually make them seem harder. If you've used decorations that might melt or become sticky in humid conditions, keep them in a cool, dry place. Avoid storing them with other types of cookies or baked goods that have different moisture levels, as this can affect their texture. Properly stored, plain or simply glazed shortbread can stay fresh for up to 1-2 weeks.
Best Storage Containers and Methods
The best way to store your homemade Easter biscuits is in an airtight container. Metal tins with tight-fitting lids are traditional and work wonderfully, but plastic food storage containers with secure seals are also effective. Ensure the container is clean and completely dry before placing the biscuits inside.
Layering the biscuits carefully can prevent breakage. If stacking multiple layers, place a sheet of parchment paper or wax paper between each layer to prevent them from sticking together, especially if they are glazed or decorated. Fill the container as full as possible to minimize the amount of air inside. Keep the container in a cool pantry or cupboard away from direct sunlight or heat sources, which could cause the butter to soften and potentially damage decorations.
Troubleshooting Common Easter Biscuit Baking Problems
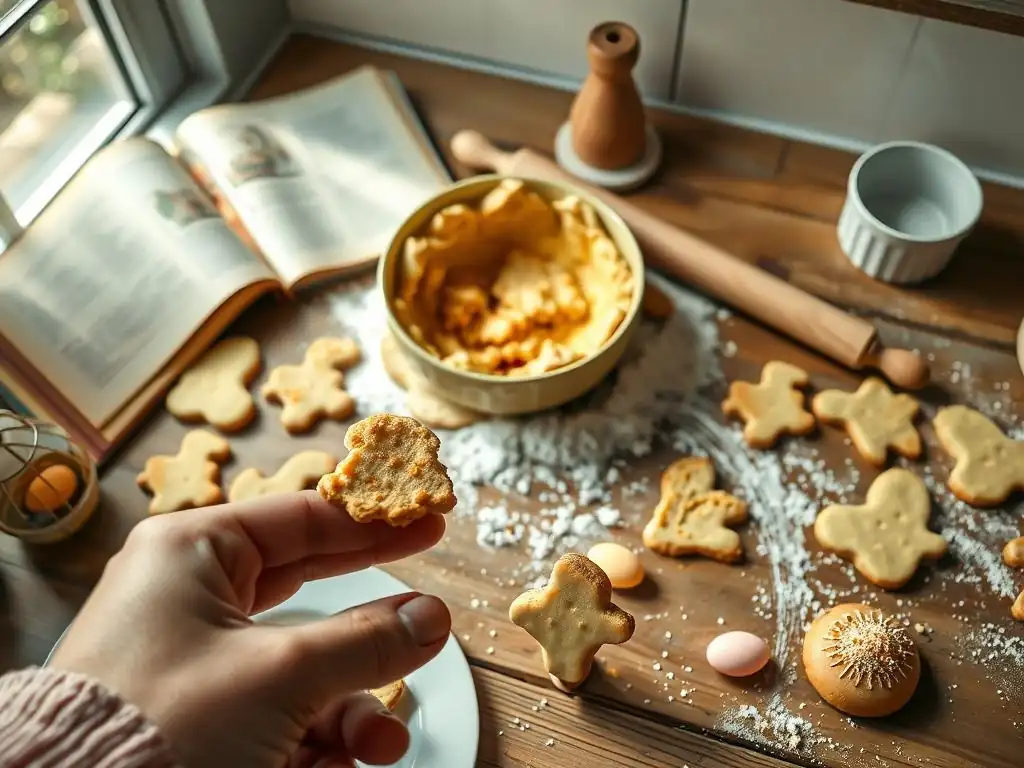
Dough Too Crumbly or Oily? Solutions Explained
Encountering a dough that's either too crumbly or too oily are common issues when making shortbread for an easy Easter biscuit recipe. If your dough is excessively crumbly and won't come together, it's likely too dry. This can happen if your butter wasn't soft enough, you didn't cream it adequately with the sugar, or you added slightly too much flour.
Try kneading it gently on a clean surface for a minute; the heat from your hands often helps bring it together. If still too dry, add very small amounts (half a teaspoon at a time) of milk or cream and knead minimally until it forms a cohesive dough.
If the dough is too oily, it's often due to the butter being too soft or melted when you started, or the dough getting too warm during mixing or handling. Ensure your butter is just softened (you should be able to press a dent into it easily, but it shouldn't be greasy). If the dough becomes oily while working with it, pop it back into the refrigerator for 10-15 minutes to firm up the butter. Working quickly on a cool surface can also help prevent this.
Biscuits Spreading Too Much During Baking?
Biscuits spreading too much during baking is frustrating after carefully cutting out festive shapes for your easy Easter biscuit recipe. The primary culprit is usually the butter being too soft or warm when the biscuits go into the oven. If the butter melts too quickly, the dough loses its structure before it has a chance to set.
To prevent excessive spreading, ensure your dough is well-chilled before rolling and cutting. After cutting out the shapes and placing them on the baking sheet, it's highly recommended to chill the cut-out biscuits on the tray in the refrigerator for another 15-20 minutes (or even the freezer for 5-10 minutes) before baking. This firms up the butter one last time. Also, ensure your oven is properly preheated to the correct, relatively low temperature (150-160°C / 300-325°F). Baking on parchment paper can also offer a slight barrier against too rapid heat transfer from the tray.
Glaze Not Setting Properly?
If your simple glaze or royal icing isn't setting correctly on your easy Easter biscuits, several factors could be at play. For simple powdered sugar glazes (powdered sugar + liquid), the most common reason is too much liquid. The glaze should be thick enough that it coats the back of a spoon and doesn't run off too quickly. If it's too thin, whisk in more powdered sugar until the desired consistency is reached. High humidity can also prevent glazes from drying hard; try to let them set in a cool, dry room.
For royal icing, improper mixing or incorrect ratios can be the issue. Ensure you are using fresh meringue powder or egg whites. The consistency is key – icing for outlining should be like toothpaste, and icing for flooding should be like honey or thick syrup. If flood icing isn't setting, it might be too thin; add more powdered sugar. Allow adequate drying time, which can be several hours or overnight, especially for thicker applications or in humid conditions. Ensuring the biscuits are completely cool before decorating is also important, as residual heat can affect the icing's setting.
Easy Easter Biscuit Recipe: Printable Version
Quick Reference Ingredient List
- [ ] 225g (1 ½ cups) all-purpose flour (or 200g flour + 25g rice flour)
- [ ] 150g (⅔ cup / 1 ½ sticks) unsalted butter, softened
- [ ] 75g (⅓ cup) granulated or caster sugar
- [ ] Pinch of salt (optional)
- [ ] ½ tsp vanilla extract (optional)
- [ ] Your choice of "Twist" ingredients (see section 4)
- [ ] Ingredients for glaze/icing and decorations (see section 5)
Detailed Step-by-Step Baking Instructions
- Preheat oven to 155°C (310°F). Line baking sheets with parchment paper.
- In a large bowl, cream the softened butter and sugar until light and fluffy (3-5 minutes with electric mixer). Add salt and vanilla, if using, and any 'twist' ingredients like zest or lavender.
- Gradually add the flour (and rice flour, if using). Mix on low speed or with a spoon until the dough just comes together. Be careful not to overmix.
- Gather the dough into a ball, flatten into a disc, wrap in plastic wrap, and chill in the refrigerator for at least 30 minutes.
- On a lightly floured surface, roll the chilled dough to your desired thickness (about 0.5-1 cm or ¼-½ inch).
- Use Easter-themed cookie cutters to cut out shapes. Carefully transfer the cut-outs to the prepared baking sheets.
- Chill the cut biscuits on the baking sheets for another 15-20 minutes in the refrigerator.
- Bake for 18-22 minutes, or until the edges are lightly golden and the centers appear set. Baking time will depend on thickness and oven.
- Let the biscuits cool on the baking sheets for 5-10 minutes before carefully transferring them to a wire rack to cool completely.
- Once completely cool, decorate the biscuits as desired using glazes, icing, or sprinkles. Allow decorations to set fully.
- Store cooled, decorated biscuits in an airtight container at room temperature.
Conclusion: Enjoy Your Delicious Easter Biscuits!
You've successfully baked a batch of delicious Easter biscuits, maybe even with a unique twist! Baking is a joy that's meant to be shared, whether with family, friends, or the wider baking community. We love seeing what our readers create using our easy Easter biscuit recipe guides. Your successes, your creative decorations, and even your troubleshooting stories inspire others and help us refine our tips and recipes.
We encourage you to snap photos of your finished Easter biscuit masterpieces. Show off those perfectly cut shapes, the vibrant glazes, or the intricate royal icing designs. Sharing your experience helps others feel confident to try this easy Easter biscuit recipe themselves. It's a wonderful way to connect with fellow baking enthusiasts and celebrate the joy of homemade treats during the Easter season.
Happy Easter Baking!
As you gather with loved ones this Easter, these homemade shortbread biscuits will add a personal and delicious touch to your celebrations. The simple act of baking, especially for a holiday, creates lasting memories and fills your home with warmth and sweet aromas. This easy Easter biscuit recipe provides a flexible foundation for countless creative possibilities, allowing you to tailor your treats to your personal taste and style.
Whether you stuck to the classic buttery shortbread, experimented with a floral or zesty twist, or went all out with elaborate decorations, you've created something special. Enjoy the process, share the results, and savor the simple pleasure of a perfect homemade biscuit. From our kitchen at BakeWithEase.com to yours, we wish you a very Happy Easter filled with joy, delicious food, and plenty of successful baking!
Frequently Asked Questions
### What makes this Easter biscuit recipe "easy," even for beginners?
The recipe focuses on simple ingredients and straightforward instructions, minimizing complex techniques often found in advanced baking recipes. We prioritize easy-to-follow steps for guaranteed success.
### What kind of "twist" does this Easter biscuit recipe offer compared to traditional recipes?
The "twist" might involve unique flavor combinations, such as adding citrus zest or spices, or creative decorating techniques beyond simple icing. It could also include using a less common biscuit shape or cutter.
### What essential equipment do I need to successfully bake these Easter biscuits?
You'll need basic baking tools like mixing bowls, measuring cups and spoons, a rolling pin, biscuit cutters (Easter-themed recommended), and a baking sheet. Optional items include parchment paper and decorating supplies.
### Can I substitute ingredients in this Easter biscuit recipe to suit dietary restrictions?
While substitutions are possible, be mindful of the impact on texture and flavor. For example, gluten-free flour can replace regular flour, but may require adjustments to liquid. Sugar substitutes can also be used.
### How long will these Easter biscuits stay fresh after baking?
Properly stored in an airtight container, these biscuits will typically stay fresh for 3-5 days. The freshness depends on ingredients used and storage conditions, like keeping them away from moisture.
Final Reflection: The Enduring Sweetness of Tradition with a Twist
The simple act of baking, especially during holidays like Easter, connects us to generations past while simultaneously offering a canvas for our own creativity. This seemingly small act of making Easter biscuits holds a surprising power to bring joy and a sense of shared experience, whether you're following a classic recipe or adding your own personal flair.
The enduring appeal of traditional recipes lies not just in their deliciousness, but in the comforting familiarity they provide. They are anchors to our heritage, linking us to family memories and cherished rituals. Yet, the beauty of baking lies in its adaptability. Adding a personal twist – a unique ingredient, a playful shape, a vibrant glaze – allows us to infuse these traditions with our own individuality, creating something both familiar and uniquely ours. The best things in life are the simple things.
This sentiment perfectly captures the essence of these Easter biscuits, where the pleasure lies not just in the final product, but in the process of creation itself.
Now, I invite you to step into your kitchen, gather your ingredients, and embark on your own Easter baking adventure. Don't be afraid to experiment, to add your own personal touch, to make these biscuits truly your own. Let the aroma of warm spices and sweet dough fill your home, creating memories that will be cherished for years to come. Let the simple act of baking be a testament to the enduring power of tradition, reimagined and revitalized through the lens of your own creativity.
Unleash Your Inner Easter Baker!
Thanks for joining us on this delicious Easter baking journey! We hope you've gained some inspiration and new techniques to create truly memorable treats. Ready to take your baking to the next level?
- Whip up a batch of these Easter biscuits today! Use the recipe as a starting point and experiment with different flavor combinations.
- Share your creations with us! Post a picture on social media and tag BakeWithEase – we'd love to see your baking masterpieces!
- Challenge yourself to try a new decorating technique – think beyond the usual pastel colors and get creative!
What unique twist will you add to your Easter biscuits this year?