
How to Bake a Perfectly Even Vanilla Cake

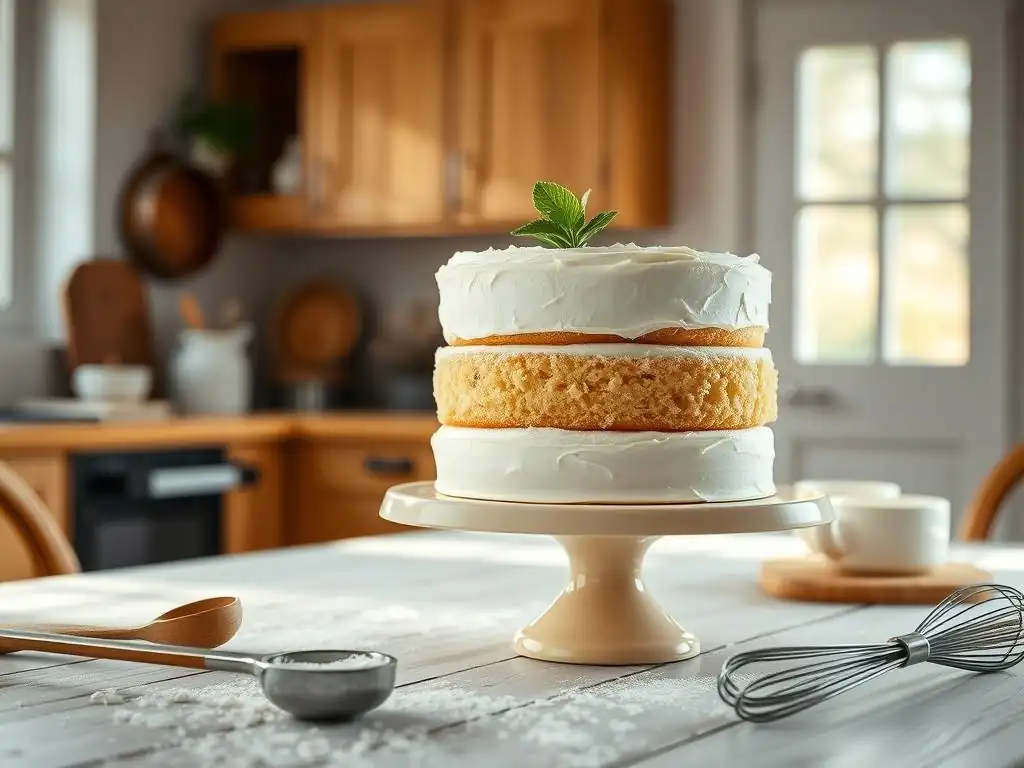
Welcome to BakeWithEase, your secret ingredient to baking brilliance! Tired of lopsided cakes? Unlock the secrets to achieving that flawless, bakery-worthy finish with our guide on crafting the perfectly even vanilla cake recipe. Discover the simple techniques that will transform your baking and leave everyone wondering how you did it... Ready to rise to the occasion?
- Achieving Baking Success: The Ultimate Guide to a Perfectly Even Vanilla Cake
- Introduction: The Pursuit of Baking Excellence
- Understanding the Science of Even Baking
- The Even Vanilla Cake Recipe: A Detailed Guide
- Tips and Tricks for Avoiding Uneven Cakes
- Leveling Your Cake: Techniques and Tools
- Frosting and Decoration Ideas
- Troubleshooting Baking Issues
- Conclusion: Mastering the Art of Even Baking
-
Frequently Asked Questions
- How can I ensure my vanilla cake layers bake evenly?
- What kind of flour is best for a perfectly even vanilla cake?
- Why is creaming the butter and sugar so important in this vanilla cake recipe?
- What temperature should the ingredients be for the best results?
- How do I prevent my vanilla cake from sticking to the pan?
- Final Reflection: The Sweet Science of a Perfectly Even Cake
- Unlock Your Inner Baker: Bake the Perfect Vanilla Cake Today!
Achieving Baking Success: The Ultimate Guide to a Perfectly Even Vanilla Cake
Introduction: The Pursuit of Baking Excellence
Baking a cake is often seen as a delightful process, but achieving that picture-perfect, level surface can sometimes feel like a challenge. A perfectly even vanilla cake is not just aesthetically pleasing; it's the ideal foundation for frosting, stacking, and decorating, ensuring every slice is consistent in texture and height. This guide aims to unlock the secrets behind mastering a truly even bake, transforming your baking from good to consistently great.
Whether you're a novice baker or looking to refine your skills, understanding the nuances of the baking process is key. We'll delve into the science, share a reliable perfectly even vanilla cake recipe, and provide practical tips to help you avoid common pitfalls. Get ready to bake cakes that rise beautifully, evenly, and are ready for their delicious frosting.
The Importance of Even Baking
Achieving an even bake is fundamental to successful cake making. When a cake bakes unevenly, you often end up with a large dome in the center and thinner edges, or worse, a sunken middle and dense sides. This not only makes frosting difficult but also affects the cake's overall texture and moisture distribution. An even cake bakes uniformly throughout, resulting in a tender crumb from edge to center.
Beyond aesthetics, an even cake ensures structural integrity, especially when baking layer cakes. Trying to stack uneven layers can lead to leaning towers of dessert disaster. A flat, consistent surface provides a stable base, allowing for easier assembly and a professional finish. Mastering the art of baking a perfectly even vanilla cake sets you up for success in countless other baking endeavors.
Why an Even Bake Matters
An even bake is crucial for both the visual appeal and the structural integrity of your cake. A cake with a prominent dome or a sunken center is much harder to frost smoothly and stack securely, especially for multi-layered creations. Imagine trying to build a three-tier cake with lopsided layers – it's a recipe for frustration and potential collapse. A flat, even surface simplifies the frosting process significantly, allowing you to achieve clean lines and sharp edges effortlessly.
Furthermore, an even bake contributes to a superior eating experience. Unevenly baked cakes can have varying textures, with the domed center potentially being drier or the edges overdone while the center is still moist. A cake that bakes evenly ensures consistent moisture and tenderness throughout, from the first bite to the last crumb. This consistency is what elevates a good cake to a truly memorable one, making your perfectly even vanilla cake recipe a go-to favorite.
Understanding the Science of Even Baking
Baking is a science, and understanding the chemical and physical processes involved is key to troubleshooting and achieving consistent results. Heat transfer, ingredient interaction, and leavening agents all play critical roles in how a cake rises and sets. When these elements work in harmony, you get a beautiful, even crumb structure and a level surface. Conversely, imbalances can lead to domes, cracks, and sunken centers.
The distribution of heat within your oven and cake batter is perhaps the most significant factor influencing evenness. Hot spots in an oven can cause one part of the cake to bake and set faster than another. Similarly, variations in batter consistency or ingredient temperature can affect how the batter reacts to heat. Mastering an even bake requires attention to detail at every step, from mixing to cooling.
Heat Distribution Explained
Heat distribution is the primary driver of how a cake bakes. In an oven, heat energy is transferred through conduction (from the pan to the batter), convection (through the movement of hot air), and radiation (from the oven walls and elements). Ideally, this heat is distributed uniformly, causing the cake to rise and set at the same rate across the entire surface. However, ovens rarely heat perfectly evenly.
Typically, the edges of a cake, being closer to the hot pan and oven walls, heat up and set faster than the center. As the edges set, the still-liquid center continues to rise from the leavening action (often baking powder and soda reacting with moisture and heat). This continued rise in the constrained center creates the classic dome shape. Understanding this process helps us implement techniques to slow down the heating of the edges and encourage the center to catch up, resulting in a perfectly even vanilla cake.
The Impact of Ingredient Temperature
The temperature of your ingredients significantly impacts the texture and rise of your cake. Using room temperature ingredients, particularly butter and eggs, is crucial for creating a stable emulsion during the creaming process. Butter creamed with sugar incorporates air bubbles; these bubbles are essential for leavening and contribute to a tender crumb. Cold butter won't cream properly, resulting in fewer air pockets and a denser cake.
Similarly, cold eggs can curdle the batter when added to creamed butter and sugar, affecting the texture. Room temperature eggs integrate smoothly, maintaining the emulsion. Using liquids like milk or buttermilk at room temperature also ensures they combine seamlessly with the batter without causing the butter to seize up. Consistent ingredient temperature leads to a consistent batter, which in turn, promotes a more even rise and bake.
The Even Vanilla Cake Recipe: A Detailed Guide
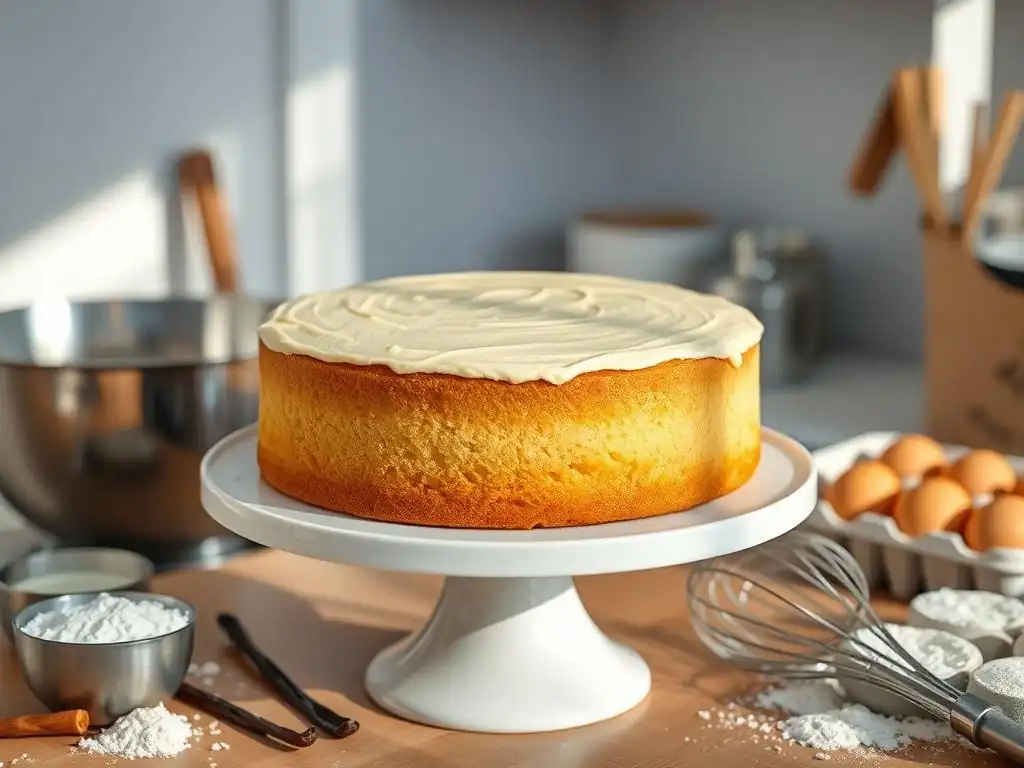
This perfectly even vanilla cake recipe focuses on techniques that promote a level bake, alongside delivering a moist and flavorful result. Follow these steps carefully, paying close attention to detail, and you'll be well on your way to baking success. This recipe is designed for a standard 8 or 9-inch round cake pan.
### Ingredients for Success

*   2 ½ cups (315g) All-purpose flour, sifted
*   1 ½ teaspoons Baking powder
*   ¼ teaspoon Baking soda
*   ½ teaspoon Salt
*   1 cup (227g) Unsalted butter, softened to room temperature
*   1 ¾ cups (350g) Granulated sugar
*   3 large Eggs, at room temperature
*   2 teaspoons Pure vanilla extract
*   1 ¼ cups (300ml) Buttermilk, at room temperature
These ingredients are carefully balanced to provide structure, tenderness, and lift. Using buttermilk adds moisture and reacts with the baking soda to enhance leavening, contributing to a tender crumb. Sifting the flour helps prevent lumps and ensures the dry ingredients are evenly distributed. Ensure all cold ingredients are brought to room temperature, which typically takes about 30-60 minutes for eggs and butter left on the counter.
The weights provided offer greater accuracy than volume measurements, especially for flour. A slight variation in flour amount can significantly impact the cake's structure and moisture. Using a kitchen scale is highly recommended for consistent results. This precise ingredient list is the first step towards achieving that sought-after perfectly even vanilla cake.
Essential Equipment
Having the right tools makes the baking process smoother and contributes to better results. For this perfectly even vanilla cake recipe, you'll need a few key items:
- Stand mixer or hand mixer: For creaming butter and sugar and mixing the batter.
- Mixing bowls: Several are needed for separating wet and dry ingredients.
- Measuring cups and spoons: For accuracy, especially for smaller amounts.
- Kitchen scale: Highly recommended for precise ingredient measurements (flour, sugar, butter).
- Sifter or fine-mesh sieve: For sifting dry ingredients.
- Rubber spatula: For scraping down bowls and folding ingredients.
- Cake pans: 8 or 9-inch round pans are standard. Use light-colored metal pans for best results, as dark pans can cause edges to overbake.
- Parchment paper: For lining the bottom of the pans.
- Wire cooling rack: For cooling the baked cakes evenly.
- Oven thermometer: To verify your oven's temperature accuracy.
Optional but recommended tools for achieving an even bake include baking strips (like Wilton Bake Even Strips) and a cake leveler or serrated knife. These tools specifically address the challenge of uneven rising and make preparing layers for frosting much simpler. Investing in quality equipment can significantly improve your baking outcomes.
Step 1: Precise Measurement
Accuracy in measuring ingredients is paramount in baking, particularly for achieving a perfectly even vanilla cake. Unlike cooking, where you can often adjust as you go, baking relies on precise ratios to ensure the chemical reactions happen correctly. Using too much flour, for example, can result in a dense, dry cake that struggles to rise evenly. Using too little leavening can lead to a flat cake.
For dry ingredients like flour, use the spoon-and-level method if you don't have a scale: gently spoon the flour into your measuring cup until it's overflowing, then level it off with a straight edge like a knife. Do not scoop directly from the bag, as this compacts the flour and results in too much. For sugar, granulated sugar can be scooped and leveled. Butter and eggs should be measured by weight or count and brought to the correct temperature. Precise measurement lays the foundation for a successful and even bake.
Step 2: Creaming Technique
Creaming the butter and sugar is a critical step that incorporates air into the batter, contributing significantly to the cake's rise and texture. Use softened, room-temperature butter (it should yield slightly when pressed but not be greasy). Beat the butter on medium speed until it's light and fluffy, about 1-2 minutes. Gradually add the sugar and continue beating for 3-5 minutes more.
During this creaming process, the sugar crystals cut into the butter, creating tiny air pockets. As the mixture is beaten, these pockets expand, and the mixture becomes lighter in color and texture. The volume will increase noticeably. Properly creamed butter and sugar is the base upon which a light, tender, and perfectly even vanilla cake is built. Scrape down the sides and bottom of the bowl frequently to ensure everything is evenly mixed.
Step 3: Incorporating Eggs
Eggs provide structure, richness, and also contribute to leavening. They act as emulsifiers, binding the fat and liquid ingredients together. For this perfectly even vanilla cake recipe, it's important that your eggs are at room temperature so they incorporate smoothly into the creamed butter and sugar mixture without causing it to curdle.
Add the eggs one at a time, beating well after each addition until the yolk is fully incorporated before adding the next. This process helps maintain the emulsion and ensures the eggs are evenly distributed throughout the batter. Adding them all at once can overwhelm the mixture and lead to a broken emulsion. After adding the last egg, beat for another minute until the mixture is smooth and slightly increased in volume.
Step 4: Combining Dry and Wet Ingredients
Alternating the addition of dry and wet ingredients to the creamed mixture is a standard technique in cake baking that helps create a smooth, well-emulsified batter and prevents overmixing. Begin and end with the dry ingredients. First, add about one-third of the sifted dry ingredients (flour, baking powder, baking soda, salt) to the wet ingredients and mix on low speed just until partially combined.
Next, add about half of the buttermilk (or other liquid) and mix until just combined. Repeat this process, adding another third of the dry ingredients, then the remaining buttermilk, and finally the last of the dry ingredients. Mix on low speed only until just combined. Overmixing the batter at this stage develops the gluten in the flour, leading to a tough, dense cake and potentially contributing to an uneven rise. A few streaks of flour are okay; you can finish mixing gently by hand with a spatula.
Step 5: Pan Preparation Techniques
Proper pan preparation is crucial for preventing sticking and promoting an even bake. Grease your cake pans thoroughly with butter or baking spray, ensuring you get into all the corners and up the sides. For extra security and easier release, line the bottom of the pan with a circle of parchment paper. Place the parchment paper in the greased pan, and then grease the parchment paper as well. This double layer of non-stick protection ensures your perfectly even vanilla cake releases cleanly.
For an even better chance at a level top, consider using specific techniques discussed below. Filling the pans evenly is also key; use a scale to weigh the batter into each pan if baking multiple layers to ensure they are identical in volume and will bake at the same rate. Distribute the batter evenly in the pan, smoothing the top gently with a spatula.
Using Baking Strips
Baking strips are a popular tool specifically designed to help cakes bake more evenly and reduce doming. These fabric strips are soaked in cold water and wrapped around the outside of the cake pan before baking. The wet strips insulate the sides of the pan, keeping them cooler than the center of the oven.
By keeping the edges cooler, the cake's edges don't set as quickly, allowing the center of the cake to rise at a similar pace. This results in a much flatter top. You can purchase commercial baking strips or even make your own from old towels or thick fabric soaked in water. This simple technique is highly effective for achieving a perfectly even vanilla cake.
Double Panning Method
Another effective technique to promote even baking and prevent overcooked edges is the double panning method. This involves placing your cake pan inside another, slightly larger pan. You can optionally place a layer of uncooked rice or baking beans in the bottom of the larger pan for added insulation.
Similar to baking strips, the extra layer of material and air (or rice/beans) around the cake pan acts as an insulator. It slows down the rate at which heat reaches the sides of the cake, allowing the center to catch up. This method helps prevent the edges from setting too quickly and encourages a more uniform rise, leading to a flatter, more perfectly even vanilla cake top.
Step 6: Baking Temperature and Time
Baking at the correct temperature and for the appropriate duration is vital for a perfectly even vanilla cake. Most vanilla cake recipes call for a moderate oven temperature, typically around 325°F to 350°F (160°C to 175°C). A temperature that is too high can cause the cake to rise too quickly and dome excessively, potentially cracking on top, while the center remains underbaked.
Always preheat your oven fully before placing the cake inside. Use an oven thermometer to verify that your oven's internal temperature matches the setting; oven thermostats can be inaccurate by as much as 25-50°F (15-30°C). Bake the cake for the time specified in the recipe, but start checking for doneness a few minutes early, as ovens vary. Typical baking time for an 8 or 9-inch layer cake might be 28-35 minutes at 350°F (175°C).
Step 7: Doneness Testing
Knowing exactly when your perfectly even vanilla cake is done baking is crucial for preventing it from being dry or gummy. The most common method is the toothpick test. Insert a wooden skewer or toothpick into the very center of the cake. When it comes out clean or with just a few moist crumbs attached, the cake is done. If it comes out with wet batter, it needs more time.
Avoid opening the oven door too early or too frequently, as this can cause the temperature to drop and potentially lead to a sunken cake. Check for doneness towards the end of the recommended baking time. The cake should also start to pull away slightly from the sides of the pan, and the top should spring back gently when lightly pressed.
Step 8: Cooling Process
Proper cooling is just as important as proper baking for the structure and texture of your perfectly even vanilla cake. Once the cake is removed from the oven, let it cool in the pan on a wire rack for 10-15 minutes. This allows the cake to finish setting and become firm enough to handle without breaking. Leaving it in the pan too long can cause condensation, making the bottom soggy.
After the initial cooling period in the pan, invert the cake onto the wire rack to cool completely. Cooling on a wire rack allows air to circulate around the entire cake, preventing moisture from accumulating and ensuring even cooling. Attempting to frost or handle a warm cake can lead to tears, crumbling, and melted frosting. Ensure the cake is completely cool, which can take 1-2 hours, before proceeding with leveling or frosting.
Tips and Tricks for Avoiding Uneven Cakes
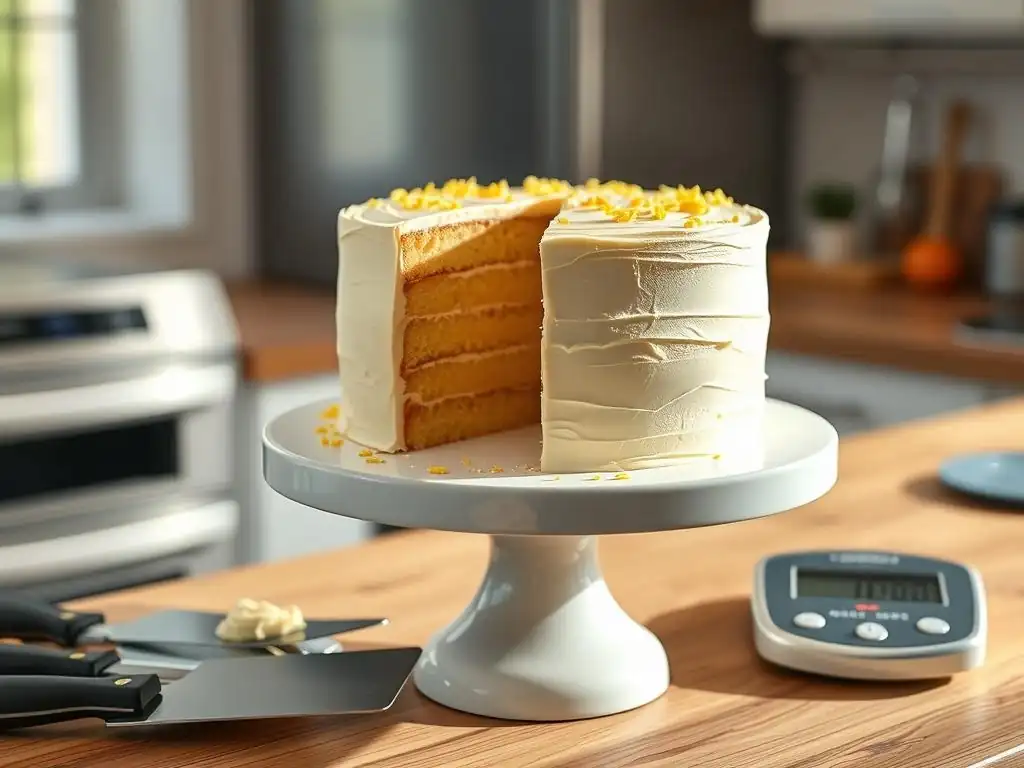
Achieving a perfectly even vanilla cake consistently involves more than just a good recipe; it requires attention to technique and understanding how to troubleshoot common issues. Even with careful preparation, factors like oven variations or subtle inconsistencies in mixing can lead to problems. Here are some tips to help you minimize uneven baking.
One of the most significant factors is managing heat distribution. As discussed, edges tend to bake faster than the center. Techniques like using baking strips or double panning are specifically designed to mitigate this. Beyond these, ensuring your oven is accurately calibrated and maintaining a consistent temperature throughout the bake are fundamental.
Common Baking Problems Addressed
Understanding the causes of common cake problems helps you prevent them. A domed top, for instance, is often caused by the edges setting too quickly while the center continues to rise. This can be due to high oven temperature, a pan that conducts heat too efficiently at the edges, or batter that is too cold. Conversely, a sunken center can result from opening the oven door too early, underbaking, or using too much leavening.
- Preventing a Domed Top:
- Verify oven temperature with a thermometer.
- Use baking strips or double pan.
- Ensure ingredients are at room temperature.
- Avoid overmixing the batter.
- Consider slightly reducing oven temperature if doming is severe.
- Avoiding a Sunken Center:
- Do not open the oven door during the first 2/3 of the baking time.
- Ensure the cake is fully baked using the toothpick test.
- Check leavening agent freshness and measure accurately.
- Avoid dramatic temperature changes (like placing a hot pan on a cold counter).
Addressing these specific issues improves your chances of baking a perfectly even vanilla cake.
Maintaining Consistent Oven Temperature
A stable oven temperature is crucial for even baking. Ovens cycle on and off to maintain the set temperature, but the actual temperature inside can fluctuate. An oven thermometer is your best friend here; place it in the center of the oven to get an accurate reading. If your oven runs hot or cold, adjust the dial accordingly. For example, if you set it to 350°F but the thermometer reads 375°F, set the dial to a lower temperature next time to achieve the desired 350°F.
Furthermore, avoid overloading the oven. Baking multiple cakes too close together can impede air circulation and create uneven heat zones. If baking more than one pan, ensure there is adequate space around each one for heat to circulate freely. Maintaining this consistent, accurate temperature environment is key to a reliable, perfectly even vanilla cake.
Rotating Pans for Even Heat
Even with a calibrated oven, slight variations in heat distribution are common. Some ovens are hotter towards the back, others towards the front or sides. To compensate for this, rotating your cake pans halfway through the baking time can help ensure a more even exposure to heat.
For example, if baking two cakes side-by-side, swap their positions and turn them 180 degrees. If baking a single cake, simply rotate the pan 180 degrees. Do this gently and quickly to minimize the time the oven door is open and prevent a significant temperature drop. This simple step helps ensure that all parts of the cake receive similar heat exposure, promoting a more uniform rise and a perfectly even vanilla cake.
Leveling Your Cake: Techniques and Tools
Even with the best techniques, you might still end up with a slight dome on your cake. This is perfectly normal! Fortunately, leveling is a straightforward process that ensures you have a flat surface for frosting and stacking. Leveling involves carefully slicing off the domed top to create a flat plane.
The goal is to remove just enough of the dome to make the top surface level with the highest point of the cake's edge. The discarded dome pieces are often called "cake scraps" and are perfect for snacking or making cake pops! Leveling is an essential skill for anyone wanting to create professional-looking layer cakes.
Using a Serrated Knife
A long serrated knife is a common and effective tool for leveling cakes. Once your cake is completely cool, place it on a flat surface. Hold the serrated knife parallel to the counter, positioning it just above the highest point of the cake's dome. Use a gentle sawing motion, keeping your hand steady and the knife level, to slice through the cake horizontally.
For more control, you can use toothpicks inserted around the cake at the desired height as a guide, or rest the knife on something of uniform height (like two stacks of books or cans) placed on either side of the cake. Practice helps improve your technique, leading to a cleaner, more even cut. This method is simple, accessible, and works well for creating a flat surface on your perfectly even vanilla cake.
Achieving a Flat Surface for Frosting
A perfectly flat cake surface is the ideal canvas for frosting. Once you've leveled your cake using a serrated knife or a dedicated cake leveler, brush away any loose crumbs from the cut surface. These crumbs can mix into your frosting and create an undesirable texture.
If you plan to stack layers, ensure both the bottom and top layers (if applicable) are leveled to create stable, flush surfaces for building your cake. A flat top allows you to spread frosting smoothly and evenly, achieving sharp edges and a professional finish. This step is crucial for transforming a beautifully baked perfectly even vanilla cake into a stunning decorated masterpiece.
Frosting and Decoration Ideas
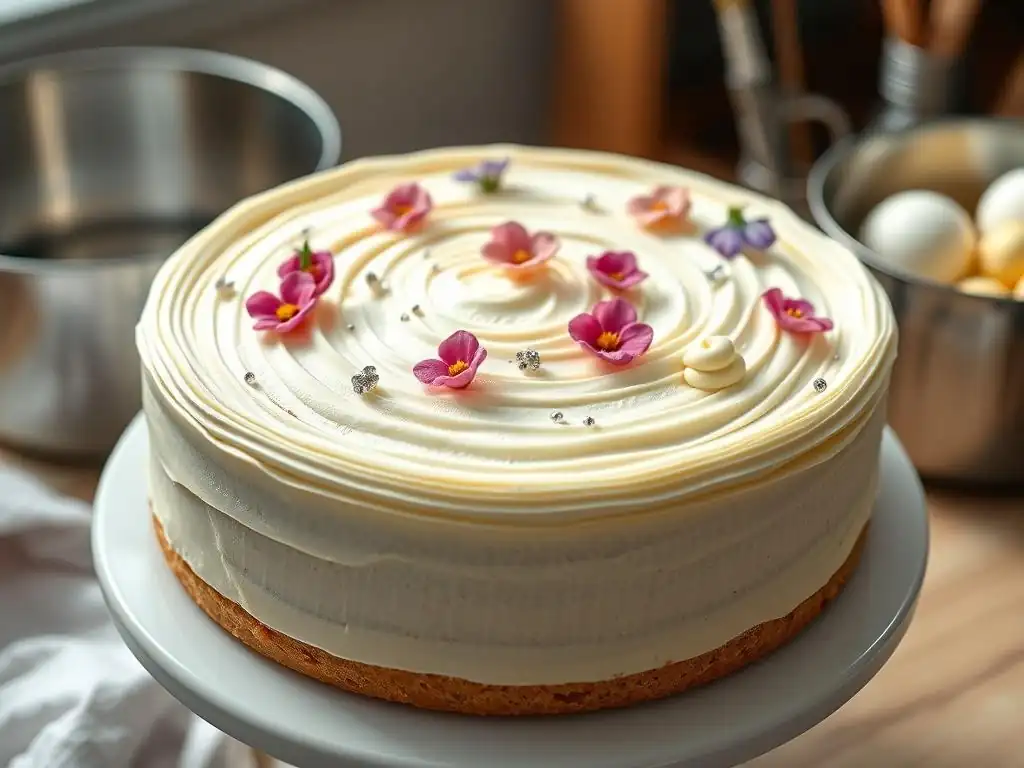
Once your perfectly even vanilla cake is baked and leveled, it's ready for the fun part: frosting and decorating! A classic vanilla cake pairs beautifully with a variety of frostings. The smooth, level surface you've achieved makes applying frosting a breeze, allowing for clean lines and creative decorative touches.
Choosing the right frosting complements the cake's flavor and texture. Whether you prefer something light and airy or rich and creamy, there are many options that work wonderfully with vanilla. Decoration is where you can let your creativity shine, turning a simple cake into a work of art.
Complementary Frosting Recipes
A classic vanilla cake is incredibly versatile and pairs well with numerous frosting types. Here are a few popular choices:
- Classic Vanilla Buttercream: A simple mix of butter, powdered sugar, milk or cream, and vanilla extract. It's easy to make, stable for decorating, and perfectly complements the vanilla flavor. A typical ratio is 1 cup butter to 3-4 cups powdered sugar.
- Cream Cheese Frosting: Tangy and rich, cream cheese frosting is a favorite pairing for many cakes, including vanilla. Made with cream cheese, butter, powdered sugar, and vanilla, it adds a delightful contrast. A common ratio is 8 oz cream cheese to ½ cup butter and 3 cups powdered sugar.
- Swiss Meringue Buttercream: Lighter and less sweet than traditional buttercream, made by whipping egg whites and sugar over heat, then whipping in butter. It has a silky texture and is excellent for smooth finishes and piping intricate designs.
- Chocolate Ganache: A simple yet decadent option made by melting chocolate into hot cream. It can be used as a glaze or whipped for a thicker frosting. A 1:1 ratio of chocolate to cream yields a pourable ganache; a 2:1 ratio makes a thicker frosting.
Choosing a frosting that holds its shape well is important if you plan on piping decorations. Ensure the frosting is at the right consistency – not too stiff or too runny – for easy spreading and decorating on your perfectly even vanilla cake.
Decorating for a Professional Look
With a perfectly level cake, achieving a professional look is much easier. Start with a thin "crumb coat" layer of frosting applied all over the cake. This traps any loose crumbs. Chill the cake in the refrigerator for 15-30 minutes until the crumb coat is firm.
Apply the final layer of frosting using an offset spatula. Use smooth, even strokes, rotating the cake on a turntable if you have one. For sharp edges, apply extra frosting around the top edge and use a bench scraper or offset spatula held perpendicular to the cake to smooth the sides, pulling excess frosting towards the top edge.
Then, use the spatula to pull the excess frosting from the edge towards the center of the cake. You can pipe borders, swirls, or use sprinkles, fresh fruit, or edible flowers to enhance the visual appeal of your perfectly even vanilla cake.
Troubleshooting Baking Issues
Even experienced bakers occasionally encounter issues. If your perfectly even vanilla cake didn't turn out quite as planned, don't despair! Understanding common problems and their likely causes is the first step to fixing them in the future. Baking is a learning process, and each cake provides an opportunity to refine your technique.
Troubleshooting involves reviewing each step of the process, from ingredient preparation to baking and cooling. Was the oven temperature accurate? Were ingredients measured precisely? Was the batter overmixed? Identifying the potential culprit helps you adjust for your next baking attempt.
Addressing Uneven Baking Problems
If you frequently experience uneven baking, despite using techniques like baking strips or double panning, consider these points:
- Oven Hot Spots: Use an oven thermometer and potentially rotate your pans more frequently or adjust placement on the rack. Some ovens have significant temperature variations in different areas.
- Pan Type and Color: Dark pans absorb more heat than light-colored pans, potentially leading to faster baking edges. Using light-colored metal pans is generally recommended for evenness. Glass or ceramic pans conduct heat differently and might require temperature or time adjustments.
- Batter Consistency: Ensure your batter is smooth and lump-free before pouring into the pan. Lumps can create denser spots that bake unevenly.
- Filling Pans Evenly: If baking multiple layers, weigh the batter into each pan to ensure they contain the exact same amount. Unequal amounts will bake unevenly.
Systematically addressing these factors can help you pinpoint why your perfectly even vanilla cake isn't quite living up to its name and make necessary adjustments.
Common Mistakes and Solutions
Here’s a quick look at some common baking mistakes that affect evenness and their solutions:
- Mistake: Opening the oven door too soon or too often.
- Solution: Resist the urge! Wait until the cake is mostly set (past the two-thirds mark of baking time) before checking.
- Mistake: Ingredients are too cold.
- Solution: Plan ahead and bring butter, eggs, and liquids to room temperature.
- Mistake: Overmixing the batter.
- Solution: Mix dry and wet ingredients on low speed only until just combined. Finish by hand if necessary.
- Mistake: Oven temperature is inaccurate.
- Solution: Use an oven thermometer and adjust your oven setting accordingly.
- Mistake: Not preparing pans properly.
- Solution: Grease and flour/line pans thoroughly. Consider baking strips or double panning.
By being mindful of these common errors and implementing the suggested solutions, you significantly increase your chances of baking a perfectly even vanilla cake every time.
Conclusion: Mastering the Art of Even Baking
Baking a perfectly even vanilla cake is a rewarding achievement that elevates your baking skills. It's a combination of following a reliable recipe, understanding the science behind the bake, and employing specific techniques to manage heat and batter consistency. From precise measurements and proper creaming to utilizing baking strips and maintaining accurate oven temperature, each step plays a vital role.
Don't be discouraged by imperfections along the way. Baking is a journey of learning and refinement. With practice and attention to the details outlined in this guide, you'll consistently produce cakes that are not only delicious but also beautifully level and ready for any frosting or decoration you envision.
Enjoying Your Perfect Cake
You've done it! You've baked a perfectly even vanilla cake. Now comes the best part: enjoying the fruits of your labor. Slice into your beautifully level cake, admire the even crumb, and savor each bite. This cake is the perfect base for any celebration, a comforting treat with a cup of tea, or simply a testament to your growing baking prowess.
Share it with friends and family, or simply enjoy a quiet moment with a slice. Remember the techniques you used to achieve this success and carry them forward into your future baking adventures. Every perfectly even vanilla cake you bake builds confidence and skill, bringing you closer to mastering the art of baking.
Frequently Asked Questions
How can I ensure my vanilla cake layers bake evenly?
The key is to use cake strips or improvised wet towels wrapped around the cake pans. This helps insulate the edges, preventing them from baking faster than the center, leading to a level bake.
What kind of flour is best for a perfectly even vanilla cake?
For a tender and even crumb, use cake flour. It has a lower protein content than all-purpose flour, which helps prevent a tough cake. If you don't have cake flour, you can substitute with a mixture of all-purpose flour and cornstarch.
Why is creaming the butter and sugar so important in this vanilla cake recipe?
Creaming creates air pockets, which contribute to the cake's light and fluffy texture. This process also helps to distribute the fat evenly, leading to a more uniform rise and even cake layers.
What temperature should the ingredients be for the best results?
Using room temperature ingredients, especially butter and eggs, is crucial. This allows them to emulsify properly, creating a stable batter and a smooth, even texture in your vanilla cake.
How do I prevent my vanilla cake from sticking to the pan?
Proper preparation is essential! Grease the cake pan thoroughly with shortening or butter, then dust with flour. Alternatively, use baking spray that contains flour. This ensures easy release after baking, leaving you with a perfect, even cake.
Final Reflection: The Sweet Science of a Perfectly Even Cake
The pursuit of the perfectly even vanilla cake transcends mere baking; it's a testament to precision, patience, and the enduring power of a classic recipe. In a world obsessed with quick fixes and instant gratification, the meticulous process of creating a flawlessly level cake offers a satisfying counterpoint. It's a reminder that sometimes, the most rewarding results come from careful attention to detail and a willingness to embrace the process.
The impact of a perfectly baked cake extends far beyond the simple act of eating it. It's a symbol of celebration, a centerpiece of gatherings, and a tangible representation of care and effort. A cake is a celebration of life, a moment of joy, a symbol of togetherness.
This sentiment, though not directly about baking technique, speaks to the emotional resonance a perfectly executed cake can hold. The quest for even layers, a smooth crumb, and a consistent texture reflects a deeper human desire for balance and harmony, mirrored in the beauty of a perfectly formed dessert.
Now, I invite you to consider your own approach to baking, and indeed, to life's challenges. Just as achieving a perfectly even vanilla cake requires careful measuring, consistent mixing, and precise baking time, so too does success in other areas of life demand dedication and attention to detail. Don't be afraid to experiment, to learn from your mistakes, and to savor the sweet rewards of your efforts. The next time you bake, remember the journey to perfection – and the joy it brings.
Unlock Your Inner Baker: Bake the Perfect Vanilla Cake Today!
Thanks for taking the time to explore the secrets of baking a perfectly even vanilla cake! We hope you've gained valuable insights and are ready to put your new skills to the test. Now it's time to bring those delicious dreams to life.
- Bake your masterpiece! Try out the recipe today and experience the joy of a perfectly risen, evenly baked cake. Share your baking journey with us!
- Experiment with variations: Once you've mastered the basics, try adding your own creative twist – different extracts, frostings, or decorations. Let your imagination run wild!
- Share your success: Post a picture of your creation on social media and tag us! We'd love to see your baking triumphs.
What delicious variations will you try first to make this recipe your own?