
Create Stunning Stained Glass Effects on Your Cookies

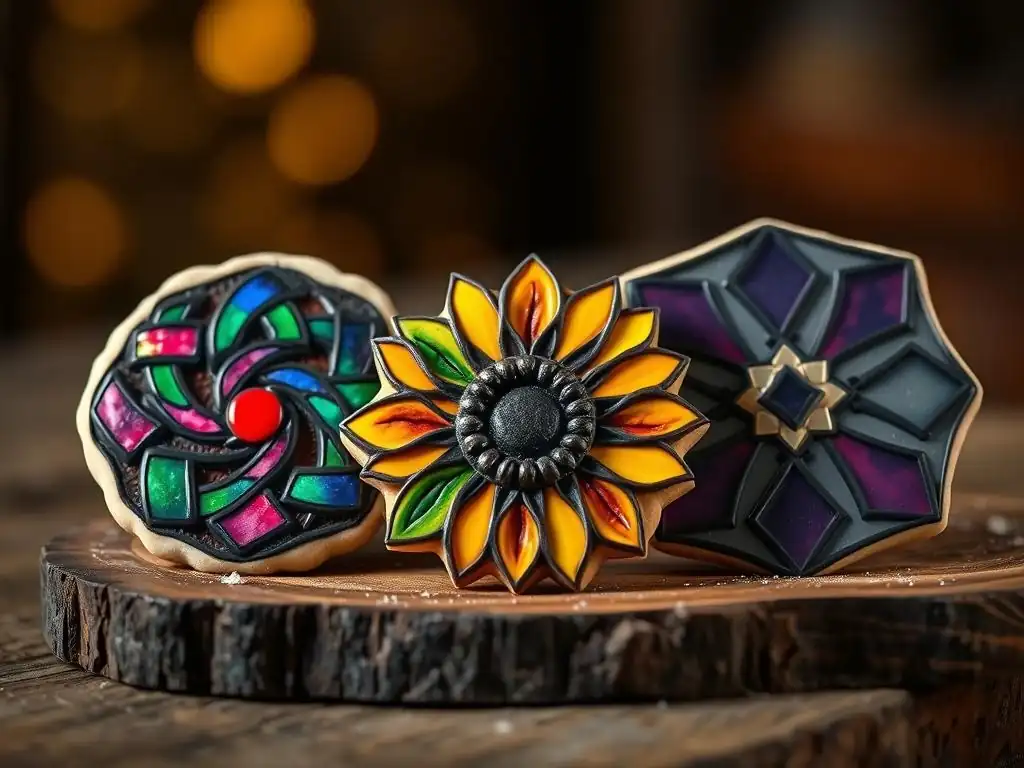
Welcome to BakeWithEase, your haven for baking brilliance! Ready to transform ordinary cookies into edible works of art? Dive into our latest recipe and discover the secrets to creating breathtaking stained glass cookies. Prepare to be amazed at how easily you can achieve this stunning effect, adding a touch of magic to your next batch! Curious to learn more? Let's get baking!
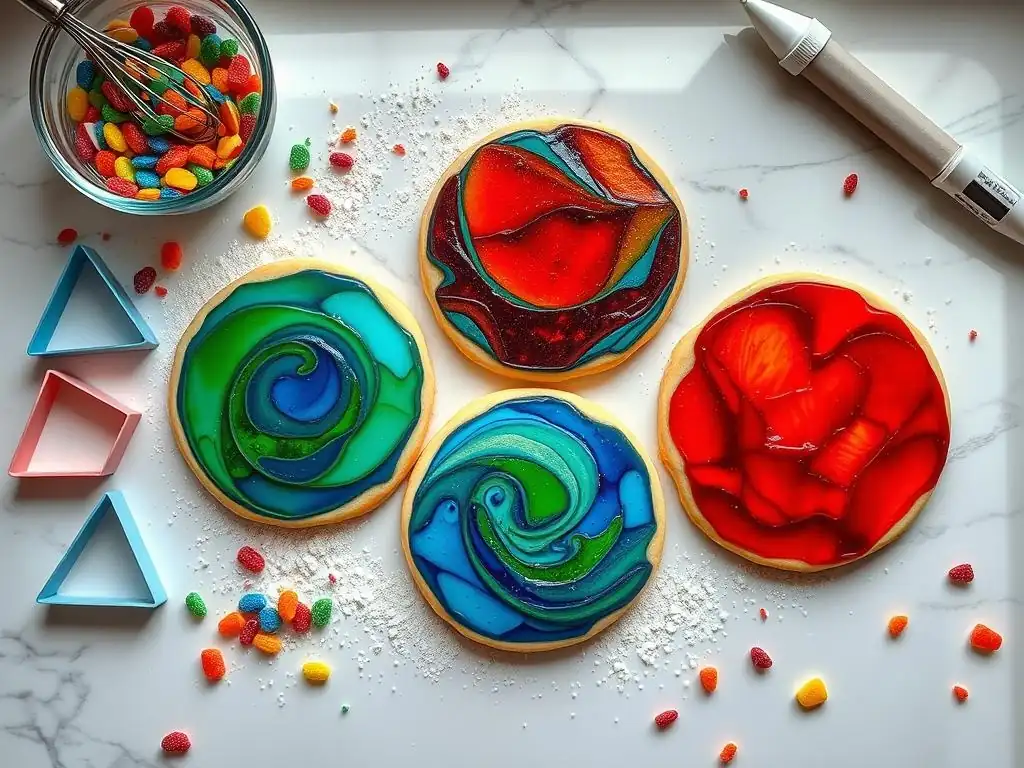
Creating beautiful stained glass cookies, a specific type of decorative cookie art, requires careful attention to both the ingredients you use and the tools you employ. The foundation of a great stained glass cookie recipe lies in a sturdy yet delicious cookie base that can support the delicate "glass" centers. Equally important is the selection and preparation of the candy that will melt into these vibrant, translucent windows. Getting these elements right is the first step towards achieving stunning results that will impress everyone.
Beyond the basic ingredients, having the correct tools makes the process significantly smoother and more precise. From selecting the right cookie cutters to safely and effectively preparing the candy, each tool plays a vital role in executing the stained glass effect successfully. This section will break down the essential components and equipment needed to master the stained glass cookies recipe, setting you up for success in your baking endeavors.
The quality and type of ingredients are paramount when embarking on a stained glass cookies recipe. The cookie base needs to be one that holds its shape well during baking, preventing the cutouts from collapsing or spreading excessively. The "glass" element, typically made from crushed hard candy, requires specific properties to melt clear and vibrant without burning. Choosing the right combination ensures both structural integrity and visual appeal.
A classic sugar cookie dough is often the preferred choice for this technique because it bakes up firm and stable, providing a reliable frame for the melted candy. The fat content in the dough is a key factor; a dough with slightly less fat than a very tender, crumbly cookie will hold its shape better. For the candy, hard, translucent candies are essential. Opaque candies or those with chewy centers will not produce the desired clear, glass-like effect. Specific types like butterscotch or peppermints offer unique colors and flavors.
The Ideal Sugar Cookie Dough for Stained Glass Effects
For a successful stained glass cookies recipe, the sugar cookie dough must be specifically formulated to minimize spread during baking. A good recipe typically includes a higher ratio of flour to fat compared to a standard drop cookie. Using cold butter, cut into the dry ingredients until the mixture resembles coarse crumbs, helps create a tender but stable dough structure. Adding just enough liquid (like milk or egg) to bring it together prevents toughness while ensuring it's pliable for rolling and cutting.
Chilling the dough before rolling and cutting is a non-negotiable step. Refrigerating the dough for at least 1-2 hours, or even overnight, solidifies the fat, which helps the cookies maintain their shape in the hot oven. This is crucial for preserving the intricate cutouts where the candy will later be placed. Some recipes even recommend chilling the cut cookies on the baking sheet before baking for an extra layer of shape insurance.
Hard Candy Selection: Achieving Vibrant Colors and Textures
The magic of stained glass cookies lies in the melted hard candy filling. The best candies to use are those that are clear or translucent when melted and contain no opaque centers or chewy fillings. Examples include Jolly Ranchers, Lifesavers (the hard candy variety), or clear fruit-flavored drops. Each type of candy offers a different color and can be mixed to create unique shades. For instance, crushing red and blue Jolly Ranchers separately and then combining the crushed pieces in a cutout can result in purple swirls when melted.
Consider the flavor profile when selecting candies, too. While many opt for fruit flavors, using peppermint candies in a star-shaped cutout for a holiday-themed stained glass cookies recipe adds a festive touch both visually and in taste. Avoid candies that contain cornstarch or have a powdery coating, as these can make the melted "glass" cloudy. Stick to hard, shiny candies for the clearest results.
Necessary Tools for Creating Intricate Designs
Having the right tools at your disposal significantly simplifies the process of making stained glass cookies and allows for greater precision and creativity. While you don't need highly specialized equipment, certain basic kitchen tools are essential for preparing both the dough and the candy effectively. Investing in quality versions of these tools will make the entire baking process more enjoyable and yield better results.
From rolling pins that provide even thickness to specific tools for crushing hard candy safely, each piece of equipment plays a role. Precision in cutting out the shapes and carefully filling the candy ensures the final cookies look professional and the "glass" effect is flawless. Let's look at the key tools you'll need to add to your baking arsenal for mastering the stained glass cookies recipe.
Cookie Cutters: Shapes and Sizes for Stained Glass
Cookie cutters are fundamental to creating the shape of your stained glass cookies. You will need two sets of cutters for each cookie: one larger cutter for the outer shape and a smaller cutter for the inner "window" where the candy will go. For example, you might use a large star cutter and a smaller star cutter, or a large circle and a small circle. The key is that the smaller cutter fits neatly within the larger one, leaving enough dough perimeter to form a stable frame.
Consider the complexity of the shapes. Simple shapes like circles, squares, or stars are excellent for beginners making their first stained glass cookies recipe. More intricate shapes might require a sturdier dough and more careful handling. Ensure the cutters have clean, sharp edges for precise cuts, which helps prevent the dough from sticking and ensures a defined window for the candy. Metal cutters are generally preferred for their sharp edges and durability.
Crushing Candy: Methods and Safety Precautions
Preparing the hard candy for your stained glass cookies involves crushing it into small pieces. There are several effective methods for doing this. A common and simple method is to place the unwrapped candies in a sturdy zip-top bag, remove excess air, and then gently but firmly hit the bag with a rolling pin or a meat tenderizer. Aim for a consistency ranging from fine powder to small chunks, no larger than a small pebble.
Alternatively, a food processor or blender can be used for faster crushing, though this often results in a finer powder. If using this method, pulse briefly to avoid turning the candy into a sticky paste due to friction heat. Safety is paramount regardless of the method; protect your hands and eyes, especially when hitting the candy with a hard object. Ensure the candy is completely dry before crushing. Using different grades of crushed candy (some fine, some slightly larger) can sometimes add interesting texture variations to the melted "glass" in your stained glass cookies.
Frequently Asked Questions
The stained glass effect is achieved by using hard candies crushed into the center of the cookie cutouts. The candy melts during baking, creating a translucent, colorful filling.
Clear, fruit-flavored hard candies work best. Avoid candies with fillings or coatings. Different colored candies will create a vibrant stained glass effect.
Can I use sugar instead of hard candies?
No, granulated sugar will not work the same way. Hard candies melt into a smooth, glass-like texture, while sugar will simply caramelize.
How do I prevent the candy from sticking to the baking sheet?
Line your baking sheet with parchment paper or a silicone baking mat. This will prevent the melted candy from sticking and make cleanup easier.
Store stained glass cookies in an airtight container at room temperature. Humidity can cause the candy to become sticky, so avoid refrigeration.
The art of creating stunning stained glass cookies isn't just a fleeting trend; it's a testament to the enduring power of visual artistry in the culinary world. These vibrant, translucent treats capture the imagination, transforming a simple cookie into a miniature work of art that delights both the eyes and the palate. Their intricate beauty and surprising simplicity make them perfect for bakers of all skill levels, proving that breathtaking results are within everyone's reach.
The impact of this technique extends beyond the individual baker, influencing the broader landscape of baking trends and social media aesthetics. The sheer visual appeal of stained glass cookies has made them incredibly popular online, sparking countless variations and inspiring countless creators. They've become a symbol of creativity and skill, a testament to the power of transforming everyday ingredients into something truly special. The beauty of baking lies not just in the taste, but in the artistry of creation.
This quote perfectly encapsulates the spirit of the stained glass cookie, showcasing how a simple recipe can become a canvas for artistic expression.
Now, it's your turn. Don't just admire these beautiful cookies; create them. Experiment with different colors, flavors, and techniques. Let the vibrant hues and delicate designs inspire you to explore your own culinary creativity. Embrace the joy of the process, share your creations with others, and discover the magic that unfolds when you transform a simple recipe into a breathtaking masterpiece. The world awaits your unique stained glass cookie creations!
Thanks for taking the time to explore the art of stained glass cookies! We hope you’re feeling inspired and ready to create some dazzling treats. Now it's time to put your new skills to the test!
- Craft your first stained glass cookie: Gather your ingredients and try out one of the designs we featured – the possibilities are endless! Remember to share your creation on social media using #BakeWithEaseStainedGlass.
- Experiment with different colors and candies: See how various combinations affect the overall look and feel of your cookies. What unique color palettes can you create?
- Share your cookie masterpiece: We'd love to see your results! Post a picture of your stunning stained glass cookies in the comments below.
Ready to transform your baking into a vibrant work of art? What delicious and colorful design will you create first?