
Master Fine Line Work for Detailed Cookie Art

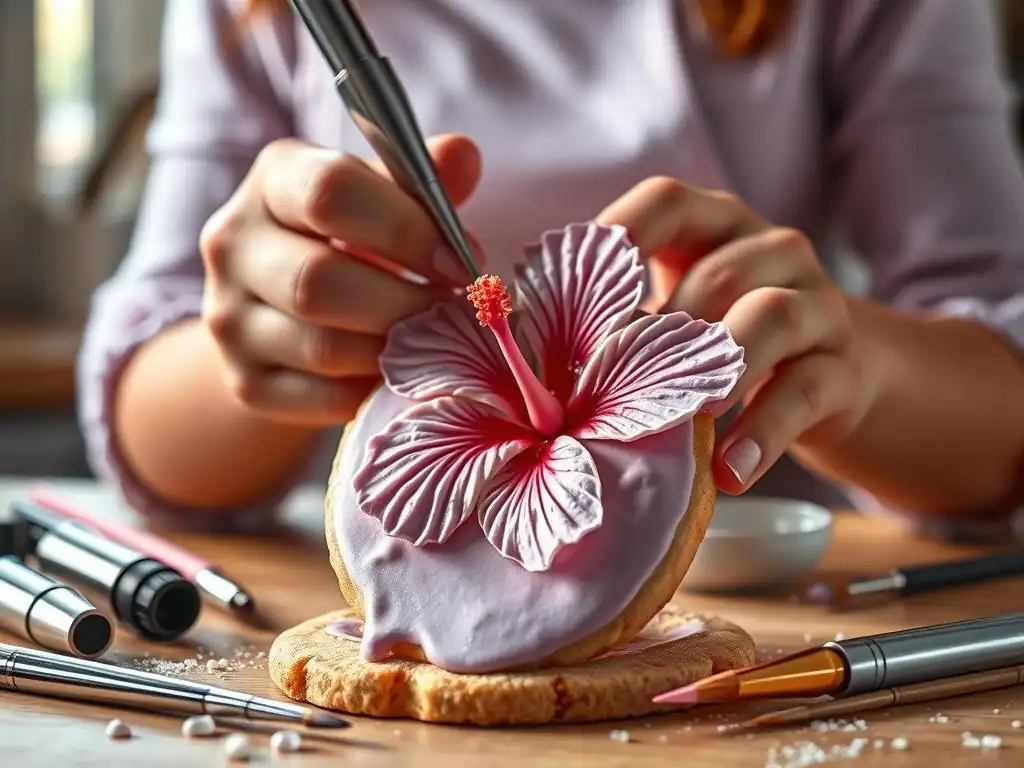
Welcome to BakeWithEase, your haven for all things baking! Are you ready to transform ordinary cookies into edible masterpieces? Dive into our latest guide where we unlock the secrets to detailed cookie art techniques. Learn how to create intricate designs with precision and finesse, and discover the tools and tips that will elevate your cookie decorating game. What are you waiting for? Let's turn your kitchen into an art studio!
- Mastering Fine Line Work for Detailed Cookie Art
- Introduction to Fine Line Cookie Decorating
- Preparing Your Royal Icing for Fine Line Details
- Mastering Basic Fine Line Techniques
- Advanced Fine Line Techniques for Cookie Art
- Common Challenges and Solutions in Fine Line Cookie Art
- Fine Line Cookie Art Projects: Step-by-Step Tutorials
- Tips for Achieving Professional Fine Line Cookie Art
- Inspiration and Resources for Detailed Cookie Art Techniques
- Conclusion: Elevate Your Cookie Decorating with Fine Line Skills
- Frequently Asked Questions
- Final Reflection: The Enduring Allure of Detailed Cookie Art
- Unleash Your Inner Cookie Artist: Take the Next Step!
Fine line work in cookie art refers to the intricate application of thin, precise lines of royal icing to create detailed designs on baked cookies. This technique moves beyond basic flooding and outlining, focusing on the delicate execution of patterns, textures, lettering, and illustrations using very small piping tips or specialized tools.
It's the cornerstone of achieving highly detailed cookie art techniques, allowing decorators to add depth, dimension, and a sense of realism or intricate complexity that would be impossible with thicker icing applications. Think of adding tiny veins to a leaf, delicate lace patterns, intricate mandalas, or precise lettering for personalized cookies.
Mastering fine line work elevates cookie decorating from a simple craft to a true art form. It requires patience, steady hands, and a deep understanding of royal icing consistency. Successful fine line work creates designs that are visually stunning, often appearing almost painted or etched onto the cookie surface. This level of detail is particularly popular for special occasions like weddings, intricate holiday themes, or personalized gifts where a high degree of customization and artistry is desired, showcasing truly detailed cookie art techniques.
Benefits of Mastering Fine Line Techniques
The ability to execute fine line work opens up a vast world of creative possibilities in cookie decorating. It allows you to create highly customized and intricate designs that stand out, making your cookies unique and memorable. For instance, you can replicate complex patterns from fabrics, architecture, or nature, adding a level of sophistication not achievable with simpler methods. This skill is essential for decorators aiming for professional-level results or those wanting to offer bespoke cookie services, enabling truly detailed cookie art techniques.
Furthermore, mastering fine lines enhances your overall control and precision with royal icing, skills that translate to all areas of cookie decorating. It improves your understanding of pressure control, consistency management, and design planning. Decorators who excel at fine line work can tackle more challenging projects, command higher prices for their intricate creations, and gain a reputation for exceptional artistry. It's a skill that continuously pushes your creative boundaries and refines your technical abilities in detailed cookie art techniques.
To achieve beautiful fine line work, having the right tools is crucial. The most important tool is a high-quality piping bag or bottle paired with fine-tipped piping tips. Tip sizes typically range from PME Supatube sizes 0, 00, or 000, or Wilton sizes 1 or 0. Smaller tips like a PME 000 can produce lines as thin as a human hair, essential for ultra-fine details. You'll also need couplers if using bags, or specialized fine-tip bottles with metal tips.
Beyond piping tools, essential supplies include good quality meringue powder or royal icing mix, powdered sugar, and water to create the icing. Food coloring, preferably gel or powder colors, is needed for vibrant hues without adding excess liquid. A scribe tool or toothpick is invaluable for guiding lines, fixing mistakes, and popping air bubbles. Practice sheets (laminated paper or acetate) are also highly recommended for honing your skills before working on actual cookies, making the practice of detailed cookie art techniques more efficient.
Preparing Your Royal Icing for Fine Line Details
Achieving the Ideal Royal Icing Consistency
The success of fine line work hinges almost entirely on having the correct royal icing consistency, often referred to as "piping consistency" or "detail consistency." This consistency should be thick enough to hold its shape when piped, preventing lines from spreading or bleeding, but fluid enough to flow smoothly without breaking or requiring excessive pressure. A good test is to lift your spoon or spatula from the icing; the ribbon of icing that falls should hold its shape briefly before slowly melting back into the main bowl, perhaps taking 10-15 seconds to disappear.
If the icing is too thick, it will be hard to pipe smoothly, may break, and can cause hand fatigue. If it's too thin, your fine lines will spread and lose their definition. Achieving this balance requires careful addition of water, often just a few drops at a time, and thorough mixing.
It's better to start slightly too thick and gradually thin it down. For very fine tips (size 00 or 000), the consistency might need to be slightly thinner than for a size 1 tip to ensure smooth flow through the tiny opening, which is key for detailed cookie art techniques.
Coloring Royal Icing for Fine Line Accuracy
Coloring royal icing for fine line work requires attention to detail, as adding color can change the consistency. Gel or powder food colorings are preferred over liquid drops because they are highly concentrated and add minimal moisture. When coloring, add the color gradually until you achieve the desired shade. Remember that colors often deepen slightly as the icing dries.
After adding color, check and adjust the consistency again. You may need to add a tiny amount more powdered sugar if the color added too much moisture, or a drop more water if the color thickened it. For very dark or vibrant colors like deep red, black, or navy, using a no-taste red or black food coloring base can help achieve the intense shade without using excessive amounts of color that might affect consistency or taste. Ensure the color is thoroughly mixed to avoid streaks, vital for clean detailed cookie art techniques.
Storing and Maintaining Royal Icing
Proper storage is essential to keep your royal icing in optimal condition for fine line piping. Royal icing dries out quickly when exposed to air. Always cover the surface of the icing directly with plastic wrap pressed down firmly to prevent a crust from forming. Store prepared icing in airtight containers at room temperature for up to two weeks, or in the refrigerator for longer periods (it may need to be brought back to room temperature and stirred before use).
When using icing for fine line work, keep the portion you are actively using covered as much as possible. If piping from a bowl, cover the surface with plastic wrap when not actively filling bags. If using piping bags, cover the tip with a damp paper towel secured with a rubber band or a specialized tip cover when taking breaks longer than a few minutes. This prevents the small tip opening from clogging with dried icing, a common frustration when working on detailed cookie art techniques.
Mastering Basic Fine Line Techniques
Optimizing Piping Bag Control
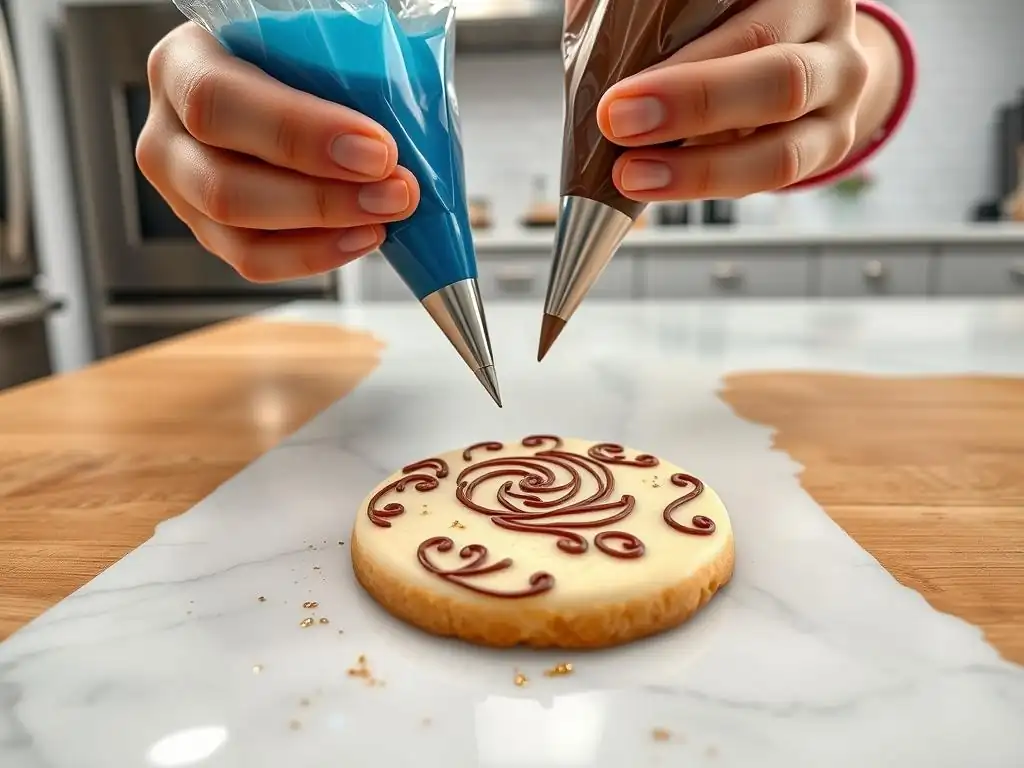
Effective piping bag control is fundamental to creating precise fine lines. Hold the piping bag comfortably in your dominant hand, using your fingers to apply gentle, consistent pressure from the top. Your non-dominant hand should guide the tip, but avoid squeezing with this hand. The goal is to maintain a steady stream of icing. Practice holding the bag at different angles – typically a 45-degree angle is good for outlining and general lines, while a 90-degree angle is better for dots or pulling straight up.
Start by practicing on a flat surface like a baking sheet or practice board. Get a feel for the pressure needed to produce a smooth, continuous line. Varying pressure will result in uneven line thickness, which you want to avoid for fine work. Consistent pressure is key to uniform lines, a cornerstone of detailed cookie art techniques.
Achieving Consistent Pressure for Uniform Lines
Consistency in pressure is paramount for uniform line thickness. Apply steady, even pressure from the moment you start piping until you finish the line. Avoid squeezing harder at the beginning or end. As you move the tip along the cookie surface (or just slightly above it), maintain the same gentle squeeze.
If you notice your line getting thicker or thinner, it's usually a sign of inconsistent pressure. Practice piping lines of the same length repeatedly, focusing solely on keeping the pressure constant. This muscle memory is vital. Think of it like drawing with a pen – you want an even flow of "ink," not a blotchy line. This focus on pressure is a key step in mastering detailed cookie art techniques.
Creating Straight Lines and Freehand Curves
To pipe a straight line, position the tip at your starting point, apply consistent pressure, and lift the tip slightly off the surface (about 1/4 to 1/2 inch). Let the icing fall onto the cookie as you move your hand smoothly and steadily in a straight line towards your endpoint. Touch the tip back down to the surface only when you reach the end of the line and are ready to stop. This "floating" technique helps prevent wobbly lines.
For freehand curves, use the same floating technique, but guide your hand in a smooth, sweeping motion. Practice drawing various curves, from gentle arcs to tight swirls. Your non-dominant hand can gently rotate the cookie or practice board to help facilitate smooth curves. The key is fluidity and maintaining that consistent pressure and distance from the surface, essential skills for detailed cookie art techniques.
Practicing Dots, Dashes, and Spirals
Basic shapes like dots, dashes, and spirals are building blocks for many detailed designs. To make a dot, hold the tip perpendicular to the surface, apply a quick burst of pressure, and then lift straight up. The size of the dot depends on the pressure and the tip size.
Dashes are short lines. Use the floating technique described for straight lines but stop after a short distance. Practice making dashes of uniform length and spacing.
Spirals involve piping a continuous curve that winds inward or outward. Start at the center or edge, apply pressure, lift slightly, and guide your hand in a circular motion, gradually moving inward or outward while maintaining consistent pressure and spacing between the coils. Mastering these basic elements provides a strong foundation for more complex detailed cookie art techniques.
Creating Complex Patterns and Designs
Once the basic strokes are mastered, you can begin creating complex patterns. This often involves combining straight lines, curves, dots, and dashes into intricate designs like mandalas, lace, filigree, or repeating geometric motifs. Planning is crucial; sketching your design on paper first can help visualize the layers and order of piping.
For repeating patterns, consider using a template or lightly marking guide points on the cookie surface with an edible marker. This ensures symmetry and accuracy. Layering lines and shapes can add depth. For example, piping a lattice pattern involves laying down parallel lines, letting them set slightly, and then piping perpendicular lines over the top. Patience is key, allowing sections to dry partially before adding adjacent or overlapping elements to prevent merging, vital for sophisticated detailed cookie art techniques.
Achieving Depth and Texture with Fine Lines
Fine lines aren't just for outlines; they can create incredible depth and texture. Techniques like cross-hatching (overlapping sets of parallel lines) can simulate shading or fabric texture. Stippling (using many small dots) can create granular textures or soft shading effects. Varying the thickness of lines within a design can also add visual interest and dimension.
Another method is "brush embroidery," where you pipe a line and then gently pull the wet icing inward with a small brush or scribe tool to create a feathered edge, mimicking embroidery stitches or soft petals. Layering lines of slightly different colors or shades can also add subtle depth. Experimenting with how lines interact and overlap allows you to move beyond flat designs towards more dynamic and realistic detailed cookie art techniques.
Multi-Color Fine Line Applications
Using multiple colors in fine line work adds complexity and vibrancy. When working with multiple colors, plan your design carefully. It's often best to pipe one color, allow it to set partially, and then pipe the next color. This prevents colors from bleeding into each other, especially crucial when dark and light colors are adjacent.
Consider the order of colors based on the design. Sometimes piping lighter colors first is easier, other times starting with dominant colors is best. Using multiple piping bags or bottles simultaneously is efficient. For a design requiring, say, three colors, prepare three bags with the correct consistency and tips ready to go. This minimizes downtime and keeps the icing at the right consistency while you work, facilitating smooth execution of detailed cookie art techniques.
Correcting Common Fine Line Errors
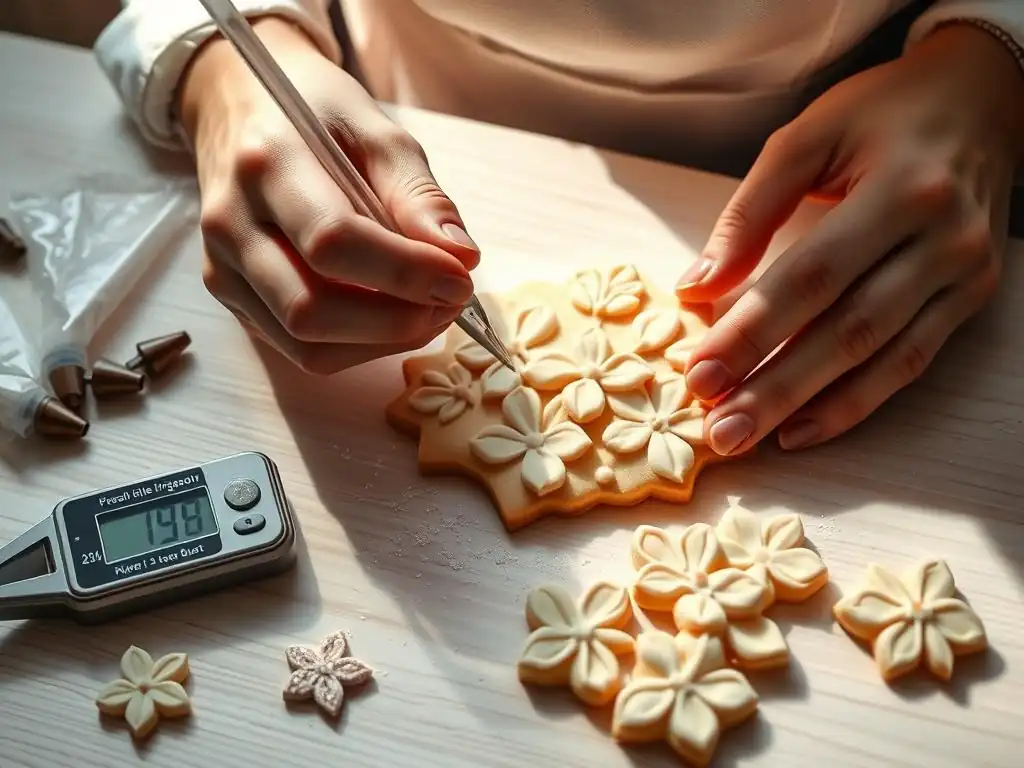
Even experienced decorators make mistakes. Having a scribe tool or a sharp toothpick handy is essential for correcting errors while the icing is still wet. A wobbly line can sometimes be smoothed out gently. A misplaced dot can often be carefully lifted or smoothed into the surrounding icing.
If a line is completely wrong and the icing is still wet, you can often scrape it off carefully using a scribe tool or a small palette knife, trying not to damage the base layer. Clean the area gently with a dry brush or paper towel before attempting to re-pipe. If the icing has already dried, correcting can be more challenging. Sometimes a small mistake can be incorporated into the design or covered up with another element. Learning how to gracefully correct or disguise errors is part of mastering detailed cookie art techniques.
Preventing Royal Icing Bleeding (Color Migration)
Color bleeding, where colors seep into each other, is a frustrating challenge in detailed cookie art techniques. It's often caused by icing that is too thin, excessive moisture, or colors that are too concentrated (especially reds and blacks). To prevent bleeding, ensure your icing consistency is correct – thick enough to hold its shape.
Allow adjacent colors to crust or dry partially before piping the next color next to them. For example, if piping a red line next to a white line, pipe the red, let it sit for 15-20 minutes until a light crust forms, then pipe the white line. Avoid placing cookies in overly humid environments to dry, as this can encourage bleeding. Using high-quality, non-bleeding food colors specifically designed for royal icing can also help significantly.
Resolving Piping Tip Clogging
Clogged piping tips interrupt your flow and can ruin a line. Clogging is usually caused by dried icing in the tip or air bubbles trapped in the icing. To prevent drying, keep tips covered with a damp paper towel when not actively piping.
If a tip clogs while you're working, stop piping immediately. Use a scribe tool or toothpick to carefully poke through the tip opening from the outside to dislodge the dried icing. Squeeze a bit of icing onto a paper towel to ensure it's flowing smoothly again before returning to the cookie.
If the clog is persistent, you may need to remove the tip, clear it thoroughly (perhaps rinsing with warm water if possible, then drying completely), and reattach it. Filtering your icing through a sieve before bagging can also help remove small lumps that might cause clogs, improving detailed cookie art techniques execution.
Eliminating Air Bubbles in Fine Lines
Air bubbles in royal icing can cause lines to break or create unsightly gaps. They are often introduced during mixing or when filling piping bags. To minimize bubbles, mix your royal icing on a low speed after the initial ingredients are combined – high speeds whip in too much air.
When filling piping bags, avoid scooping the icing vigorously. Gently spoon it in. After filling the bag, twist the top tightly and gently massage the bag, pushing the icing down towards the tip. You can also hold the bag tip-down and gently tap the bag against your counter surface to help bubbles rise. Before piping onto your cookie, squeeze a bit of icing onto a paper towel first to expel any initial bubbles, ensuring smooth, continuous lines for detailed cookie art techniques.
Troubleshooting Uneven Lines
Uneven lines can be caused by inconsistent pressure, unsteady hand movement, or incorrect icing consistency. If your lines are wobbly, focus on the floating technique described earlier – keeping the tip slightly above the surface and letting the icing fall. Practice drawing lines slowly and deliberately on a practice sheet.
If lines vary in thickness, the issue is likely inconsistent pressure. Practice applying steady pressure for extended periods. If the icing consistency is slightly off – maybe a little too thick – it can be harder to maintain a smooth flow, leading to unevenness. Adjusting the consistency slightly can help. Sometimes, simply taking a break to relax your hand can improve steadiness and lead to more consistent detailed cookie art techniques.
Step 1: Base Coating the Cookie
Bake and cool your cookie (a large circle or square works well). Prepare a batch of royal icing for flooding in your desired background color (e.g., white, ivory, or a soft pastel). Achieve a flood consistency (where a line disappears in 5-10 seconds). Outline the cookie edge with piping consistency icing in the same color, then immediately fill the outlined area with the flood consistency icing.
Use a scribe tool to gently spread the icing to the edges and pop any air bubbles. Allow this base layer to dry completely, ideally for 12-24 hours, before adding fine line details. This provides a smooth canvas for detailed cookie art techniques.
Step 2: Outlining the Floral Design
Once the base layer is dry, prepare piping consistency royal icing in the colors for your botanical design (e.g., green for stems/leaves, a floral color like pink or blue). Using a very fine tip (size 0 or 00), pipe the main outlines of your floral design – stems, leaf shapes, and basic flower shapes. You can freehand this or lightly sketch the design first with an edible marker. Focus on smooth, continuous lines. Let this initial outline dry for about 30-60 minutes to prevent smudging when you add details.
Step 3: Adding Intricate Lace Details
This is where the fine line work truly shines. Using a contrasting color (like white or a darker shade of your base color) and a very fine tip (size 00 or 000), begin adding intricate lace patterns around and within your floral outlines. This could include delicate scrolls, tiny dots, cross-hatching, or filigree elements. Work slowly and steadily, focusing on consistent pressure to maintain uniform line thickness. Allow sections of lace to crust slightly before adding adjacent elements to prevent them from merging. This step exemplifies detailed cookie art techniques.
Step 4: Highlighting and Detailing
Once the lace and main floral outlines are dry, add final details and highlights. Use even finer lines or dots to add veins to leaves, centers to flowers, or small accent dots within the lace pattern. Consider using a slightly lighter or darker shade of the original colors for subtle shading effects.
You could also use a touch of edible gold or silver dust mixed with clear alcohol (like vodka) to paint fine metallic accents onto the dried icing, adding a touch of elegance to your detailed cookie art techniques. Allow the entire cookie to dry completely before handling or packaging.
Step 1: Creating a Geometric Template
For a complex geometric design, creating or using a template is highly recommended. You can design a pattern on paper or a computer. Print it to the size of your cookie. For a roughly 4-inch square cookie, your pattern might feature multiple repeating triangles, squares, and zigzags within the area. Place the printed template under a piece of acetate or parchment paper. This becomes your guide for practicing piping the lines and for transferring the design if needed.
Step 2: Piping the Initial Geometric Outline
Base coat your cookie and let it dry completely as in Project 1. Prepare piping consistency icing in your main outline color (e.g., black or dark brown). Using a fine tip (size 1 or 0), pipe the main grid or structural lines of your geometric pattern. For straight lines, use the floating technique. If your design has symmetry, pipe corresponding lines on opposite sides to ensure balance. Let these main outlines dry for at least 1-2 hours until firm.
Step 3: Filling Internal Geometric Shapes
Prepare smaller batches of piping consistency icing in the various colors needed for the internal geometric shapes (e.g., red, yellow, blue, white). Using fine tips (size 1 or 0), carefully fill in the small areas defined by your initial outlines. For very small areas, you might need a slightly thinner piping consistency than for outlines to ensure the icing flows into tight corners without overflowing. Use a scribe tool to nudge the icing into place. Pipe adjacent shapes of different colors, allowing them to set for 15-20 minutes between colors if necessary to prevent bleeding.
Step 4: Refinement and Finishing Touches
Once the filled-in shapes are dry, add finer details within or around them using a very fine tip (size 00 or 000) and contrasting colors. This could involve piping tiny dots along lines, adding smaller internal shapes, or creating texture with cross-hatching within certain areas. Use a scribe tool to clean up any wobbly lines or smudges while the icing is wet. Allow the cookie to dry completely for 24 hours before packaging. This layered approach is key to achieving crisp, detailed cookie art techniques in geometric designs.
The Role of Practice and Precision
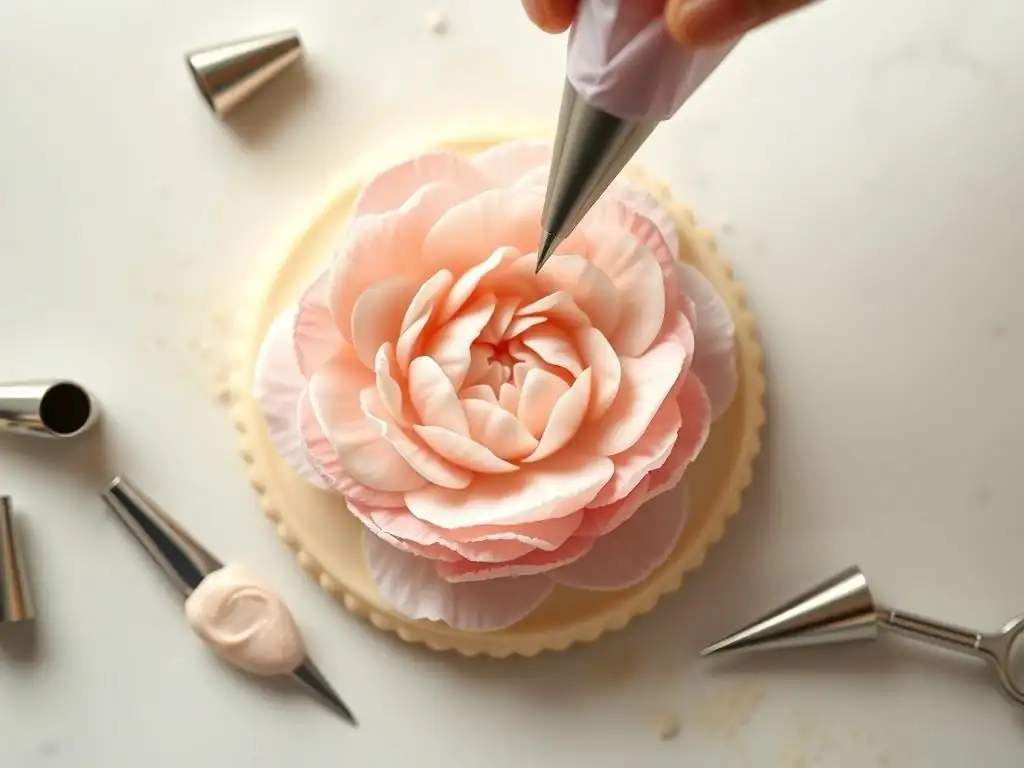
Mastering fine line work is primarily a matter of practice and developing muscle memory for precision. Don't expect perfection on your first attempt. Dedicate time specifically to practicing piping lines, curves, dots, and shapes on a practice sheet. Aim for consistent line thickness, smooth curves, and steady hand movements. Even 15-20 minutes of focused practice a few times a week can lead to significant improvement in your detailed cookie art techniques over time.
Precision comes from controlled movements and attention to detail. Pay close attention to your grip on the piping bag, the angle of the tip, and the pressure you apply. Learn to recognize the subtle signs that your icing consistency might be slightly off. The more you practice, the more intuitive these elements will become, allowing you to execute intricate designs with greater accuracy.
Exploring Various Piping Tip Sizes
Different piping tip sizes offer different possibilities for fine line work. A PME 000 tip creates incredibly delicate lines, perfect for tiny details like eyelashes on a character cookie or ultra-fine lace. A Wilton 1 or PME 0 tip is versatile for general outlining, script lettering, and slightly bolder fine lines. Experimenting with sizes helps you understand their effect on the final design and choose the right tip for different elements within your detailed cookie art techniques.
Consider using a coupler with your piping bags, which allows you to change tips easily without changing the bag of icing. This is invaluable when a design requires multiple line thicknesses or different tips (like a round tip for lines and a star tip for accents) with the same color icing.
Utilizing Stencils or Projectors for Complex Designs
For highly intricate or symmetrical designs, stencils or projectors can be incredibly helpful tools for detailed cookie art techniques. A stencil can be placed directly on a dry base layer, and piping consistency icing can be scraped over it with an offset spatula to transfer a precise pattern.
Alternatively, a cookie projector can project an image or design onto your cookie, allowing you to trace the lines with your piping bag. This is particularly useful for replicating logos, complex illustrations, or maintaining perfect symmetry on multiple cookies. While freehand piping is a valuable skill, using these tools can save time and ensure accuracy on challenging designs, allowing you to focus on the quality of your piping rather than the initial drawing.
Documenting Progress and Analyzing Results
Keeping a record of your fine line cookie art projects can be beneficial for growth. Take photos of your finished cookies, noting the date, the tips used, the icing consistency, and any challenges you encountered. Reviewing past work allows you to see your improvement over time and identify areas where you still need practice.
Analyze both successful and less successful attempts. Did the lines bleed? Was the pressure uneven? Did the tip clog frequently? Understanding why something went wrong is the first step to fixing it. Learn from every cookie you decorate. This reflective practice is crucial for continuous improvement in detailed cookie art techniques.
Online Communities and Tutorials
The online cookie decorating community is a treasure trove of inspiration and learning for detailed cookie art techniques. Platforms like Instagram, Pinterest, and Facebook groups dedicated to cookie decorating showcase stunning work from artists around the world. Following talented decorators can expose you to new techniques, styles, and design ideas.
YouTube is an excellent resource for visual learners, offering countless free tutorials on specific fine line techniques, project walkthroughs, and tips for troubleshooting common issues. Websites like BakeWithEase.com provide foundational knowledge and step-by-step guides. Engaging with online communities also allows you to ask questions and get advice from experienced decorators.
For a more structured learning experience, consider investing in books or online courses focused on royal icing and detailed cookie art techniques. Many talented cookie artists have published books that delve deep into techniques, color theory, and design principles, offering comprehensive guides to mastering fine line work.
Online courses, often available through platforms dedicated to craft or baking, can provide in-depth video instruction, personalized feedback, and a curriculum designed to build your skills progressively. While online resources are abundant and often free, books and paid courses can offer a more focused and comprehensive approach to learning advanced techniques.
Drawing Inspiration from Diverse Sources
Inspiration for detailed cookie art techniques can come from anywhere, not just other cookies. Look to other art forms like painting, illustration, and textile design (lace, embroidery patterns). Architecture, nature (floral patterns, animal prints), and even everyday objects can provide ideas for intricate patterns and motifs.
Collecting images, sketches, or photographs that catch your eye in a "swipe file" or digital folder can be a great way to build a library of potential design elements. Don't just copy; try to adapt elements you admire into your own unique cookie creations. The key is to observe the world around you with an artist's eye and translate that inspiration into edible art.
Frequently Asked Questions
The best icing for detailed cookie art is royal icing, known for its smooth consistency and ability to dry hard. It's crucial to adjust the consistency to achieve the desired fine lines and details.
How do I achieve a very thin, consistent icing line?
Using a fine-tipped piping bag or bottle is essential. Mastering the correct icing consistency, often referred to as "flood" or "outline" consistency, is also key for achieving consistent lines.
Besides piping bags, tools like scribe tools or toothpicks are invaluable for guiding icing, popping air bubbles, and achieving precise details. Projectors for tracing designs can also be useful for complex designs.
Allowing the base icing layer to completely dry before adding additional details is crucial. Also, ensure your icing consistency is not too thin, as this can contribute to bleeding or running.
Start with simple patterns and designs like polka dots, stripes, or basic floral motifs. Focus on mastering icing consistency and basic piping skills before tackling more complex techniques.
The meticulous art of creating detailed cookie designs isn't just a fleeting trend; it's a testament to human creativity and the enduring power of handcrafted beauty in a mass-produced world. These intricate works, born from patience and precision, offer a unique blend of artistry and edible delight, captivating audiences and inspiring countless others to pick up a piping bag. The level of detail achievable is truly astounding, pushing the boundaries of what's considered possible in cookie decorating.
The impact of detailed cookie art extends far beyond the simple act of baking. It fosters a sense of community, connecting artists through shared passion and inspiring countless tutorials, classes, and online communities. The beauty of baking lies not just in the finished product, but in the journey of creation itself.
This quote perfectly encapsulates the spirit of detailed cookie art, highlighting the meditative and fulfilling process involved in bringing these miniature masterpieces to life. It's a craft that transcends generations, offering a creative outlet for both seasoned bakers and enthusiastic beginners alike.
Now, it's your turn. Consider the techniques explored in this article – the importance of consistent pressure, the precision of piping, the careful blending of colors. Don't be intimidated by the complexity; embrace the challenge. Pick up your piping bag, experiment with different designs, and let your creativity flow. The world of detailed cookie art awaits, ready to be shaped by your unique vision and skill. The journey may be intricate, but the rewards – both personal and artistic – are immeasurable.
Thanks for diving into the world of fine-line cookie decorating! We hope you've gained the confidence to create truly stunning treats. Ready to put your new skills to the test?
- Master a new technique: Try decorating a challenging design – perhaps a delicate floral pattern or intricate lettering – using the tips we've shared. Challenge yourself!
- Share your creations: Post a picture of your masterpiece on social media and tag us! We'd love to see your cookie art.
- Join our community: Head over to our forums to connect with other bakers and share tips, tricks, and inspiration. Discover how others are mastering this art!
What intricate design are you dreaming of creating next? Let us know in the comments!