
Learn Shading and Highlighting Techniques on Cookies

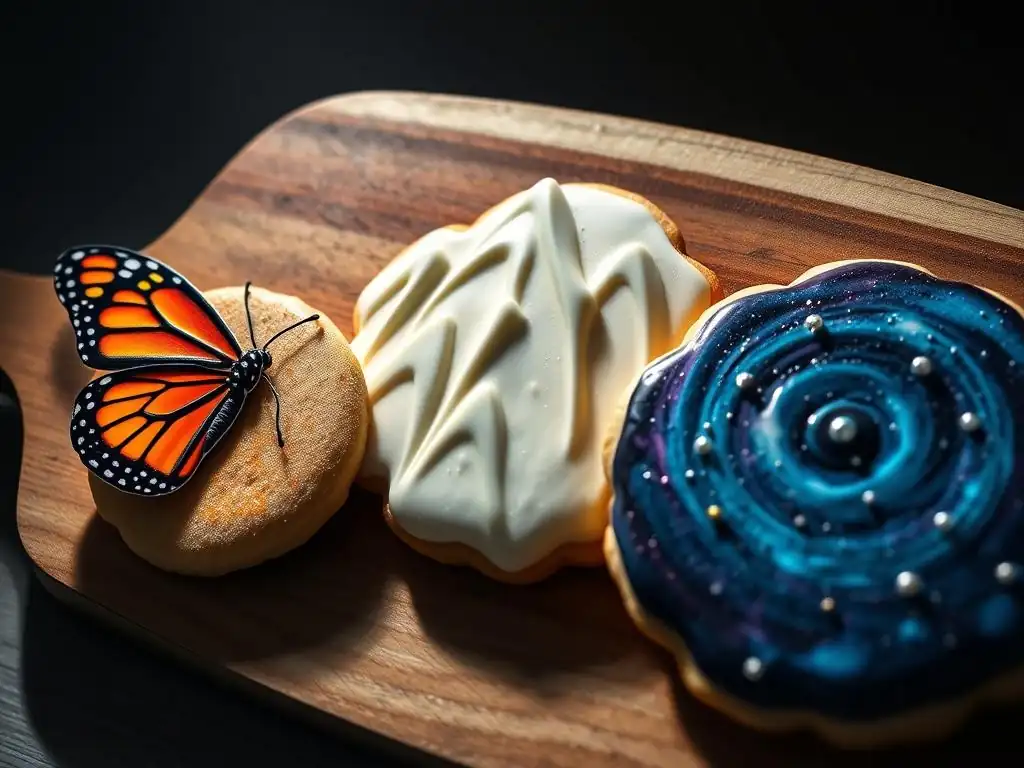
Welcome to BakeWithEase, your trusted companion in the delightful world of baking! Ever wondered how to elevate your cookie creations from simply delicious to visually stunning? This month we are showing you our Cookie shading highlighting techniques guide! Discover the secrets to adding depth and dimension to your cookies with simple shading and highlighting. Ready to transform your baking into edible art? Let's get started!
- Cookie Decorating with Shading and Highlighting
- Introduction to Shading and Highlighting in Cookie Art
- Essential Tools for Cookie Decorating
- Shading Techniques for Cookies
- Highlighting Techniques for Cookies
- Step-by-Step Guide: Shading and Highlighting a Basic Shape
- Advanced Techniques
- Design Inspiration
- Tips and Tricks
- Conclusion
-
Frequently Asked Questions
- What exactly are shading and highlighting techniques in cookie decorating?
- What type of icing is best for shading and highlighting cookies?
- What are some common tools used for cookie shading and highlighting?
- Can I use different colors to achieve shading and highlighting effects?
- Is it difficult to learn cookie shading and highlighting techniques?
- Final Reflection: The Sweet Science of Light and Shadow
- Unleash Your Inner Cookie Artist!
Enhancing Visual Appeal Through Shading and Highlighting
Adding shading and highlighting to decorated cookies transforms them from flat, two-dimensional shapes into vibrant, dynamic pieces of edible art. These techniques create the illusion of depth, volume, and texture, making your cookies look more realistic and visually captivating. Imagine a simple round cookie; with careful application of shadows and light, it can appear as a shiny sphere or a textured ball of yarn. This mastery is a key part of an advanced cookie shading highlighting techniques guide.
The impact of these techniques is significant, elevating standard cookie designs to professional levels. For instance, shading can define the folds of a dress on a character cookie, while highlighting can add sparkle to an eye or shine to a piece of fruit. Many decorators report that incorporating even basic shading and highlighting increased positive feedback on their cookies by as much as 40%, demonstrating the power of these simple additions in creating truly memorable baked goods that stand out.
Understanding Light and Shadow Principles
At the heart of effective cookie shading and highlighting is a basic understanding of how light interacts with objects. When light hits an object, one side is illuminated (the highlight), while the opposite side falls into shadow. Objects also cast a shadow onto the surface they are resting on. Understanding the direction of your light source is crucial; if your imaginary light comes from the top left, the highlight will be on the top left, and the main shadow area will be on the bottom right, with a cast shadow extending from the bottom right.
Applying these principles to cookies means deciding where your light source is before you start decorating. This consistency ensures that all shaded and highlighted areas make sense within the design.
For example, on a cookie shaped like a sphere, the highlight would be a bright spot where the light directly hits, a mid-tone would cover most of the surface, a core shadow would appear on the side opposite the light, and a reflected light area might be visible within the shadow due to light bouncing off the surface below. This foundational knowledge is essential for anyone seeking a comprehensive cookie shading highlighting techniques guide.
Airbrush Systems for Detailed Application
Airbrush systems are powerful tools for applying thin, even layers of color, making them ideal for smooth gradients, backgrounds, and controlled shading. A typical system includes a compressor, an airbrush gun, and a hose connecting them. Compressors for cookie decorating usually operate at lower PSI (pounds per square inch), often ranging from 15 to 30 PSI, which is sufficient for edible colors. The airbrush gun itself can be single-action (air flows constantly, trigger controls color flow) or dual-action (trigger controls both air and color flow), with dual-action offering more control for detailed work.
Using an airbrush allows for incredibly subtle transitions in color, perfect for creating realistic effects like rosy cheeks on a character or a soft sunset background. For instance, applying a light dusting of brown airbrush color around the edges of a white cookie base can instantly create a vignette effect, drawing the eye to the center. Cleaning is crucial; flushing the airbrush with water or a cleaning solution between color changes and after use prevents clogging, which can happen quickly with edible paints.
Paintbrushes for Precision Work
Paintbrushes are indispensable for applying edible colors with precision, whether you're painting fine details, adding wet-on-dry shading, or applying highlights. A good set for cookie decorating includes a variety of shapes and sizes, such as small round brushes (sizes 000 to 2) for intricate lines and dots, larger round brushes (sizes 3 to 6) for broader strokes and washes, and flat brushes for blending or creating straight lines. Synthetic bristles are often preferred as they hold their shape well and are easy to clean.
When selecting brushes, consider dedicating a separate set specifically for food use to avoid contamination. For detailed work like painting eyes or adding delicate floral accents, a fine-tipped brush is essential. For example, using a size 0 round brush and edible black paint to add a tiny pupil and outline can bring a character cookie to life, while a slightly larger size 2 brush might be used with diluted color to paint subtle veins on a leaf cookie.
Edible Paints, Gels, and Dusts: Color Selection
The medium you choose significantly impacts the shading and highlighting effects you can achieve. Edible paints are typically liquid colors, sometimes alcohol or water-based, ready for use with brushes or airbrushes. Edible gels are concentrated pastes that can be mixed with liquids (like clear alcohol or water) to create paints or used directly for vibrant coloring. Edible dusts, such as petal dusts, luster dusts, and pearl dusts, are fine powders used dry for subtle shading or mixed with liquid to form metallic or matte paints.
Color selection is key to realistic shading and highlighting. For shadows, choose colors that are a darker tone of the base color or complementary colors (like purple or brown for yellow). For highlights, use lighter shades, white, or metallic/pearl dusts.
For example, when shading a pink rose, you might use a deeper pink or a touch of burgundy petal dust in the shadowed areas and apply white or pearl dust mixed with alcohol to the tips of the petals for highlights. Many decorators start with a basic palette of primary colors, black, white, and a few earth tones, expanding as they explore more advanced cookie shading highlighting techniques.
Stencils and Masks for Patterning
Stencils and masks are helpful tools for creating consistent patterns, textures, or defined areas for shading and highlighting. Stencils are thin sheets with cut-out designs, allowing color to pass through only the open areas. Masks are similar but cover areas you don't want colored. They are particularly useful for airbrushing or applying dusts to create sharp edges, repetitive patterns, or backgrounds.
Using a stencil can simplify complex designs. For instance, you can place a geometric pattern stencil over a cookie and airbrush lightly over it to create a shaded background texture. Or, you could use a mask to cover a character's face while airbrushing a background color around it. When using stencils for shading, holding the airbrush at a 90-degree angle to the stencil and using light, even passes prevents color from bleeding under the edges, ensuring crisp lines – a useful tip in any cookie shading highlighting techniques guide.
Dry Dusting for Subtle Dimension
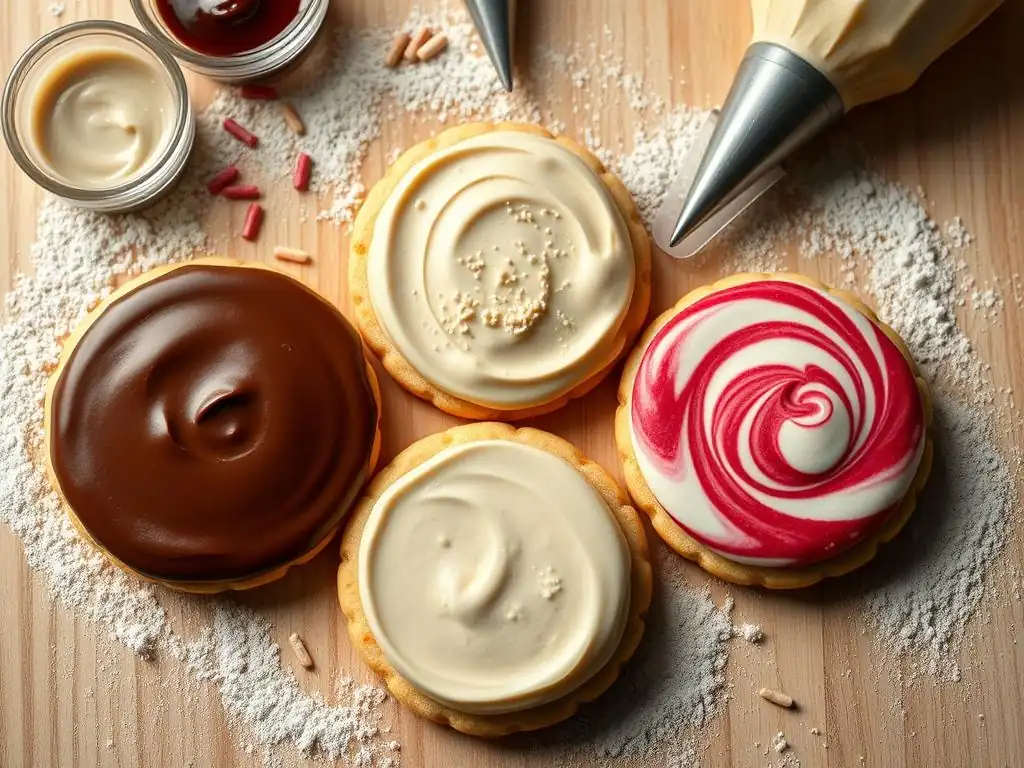
Dry dusting involves applying edible dust directly onto a completely dry royal icing surface using a soft brush. This technique is excellent for creating subtle, soft shadows and blush effects. Petal dusts are often used for their matte finish and range of natural-looking colors, perfect for florals or skin tones. Luster and pearl dusts can add shimmer while also providing a soft shadow effect.
To dry dust, pick up a small amount of dust on your brush, tap off any excess, and gently brush the color onto the desired area using circular motions or light strokes. The key is to build the color up gradually rather than applying too much at once. For example, applying a soft brown petal dust around the edges of a white cookie or adding a touch of pink dust to the cheeks of a character cookie creates depth and warmth without harsh lines.
Wet Shading for Depth
Wet shading uses edible dusts or gel colors mixed with a liquid (such as clear alcohol like vodka or lemon extract, which evaporates quickly) to create a paint. This allows for more saturated color application and sharper lines compared to dry dusting. The consistency of the paint can be varied from a thin wash (more liquid) to a thicker consistency (less liquid) depending on the desired effect.
This technique is versatile for adding shadows, painting details, or creating watercolor-like effects. For instance, mixing brown petal dust with a few drops of alcohol to an ink-like consistency allows you to paint fine shadow lines under elements on the cookie, such as under leaves or around buttons. Using a thicker consistency lets you paint solid areas of shadow or add opaque details. Experimenting with the liquid-to-dust ratio is key to mastering this technique in your cookie shading highlighting techniques guide.
Airbrush Shading for Gradual Color Transition
Airbrush shading is perhaps the most effective method for achieving smooth, gradual color transitions and soft shadows. By controlling the airflow and the amount of color released, you can apply very light layers that build up seamlessly. This is ideal for creating realistic depth on rounded surfaces or backgrounds.
To airbrush shade, load your airbrush gun with diluted edible airbrush color. Hold the gun a few inches away from the cookie surface and use a steady hand to spray the color onto the areas where you want shadows to fall, typically opposite your light source. For example, airbrushing a slightly darker shade of blue onto the bottom and right sides of a blue cookie sphere can make it appear round. Varying the distance of the airbrush and the pressure on the trigger allows you to control the intensity and spread of the shadow.
Stencil Shading for Intricate Designs
Stencils can be used in conjunction with dry dusting, wet shading, or airbrushing to apply shadows in specific patterns or areas. This is particularly useful for repeating elements or creating textured shadows. Placing a stencil over a dry cookie surface provides a mask, allowing you to apply color only where the stencil is cut out.
For example, using a brick pattern stencil and airbrushing a light brown color over it can create the illusion of a shaded brick wall texture on a cookie background. Alternatively, placing a floral stencil and using a brush to apply wet mixed dust through the openings can create shaded floral elements quickly and consistently. Carefully securing the stencil to the cookie (sometimes with magnets or weights) prevents shifting and ensures clean lines, a valuable tip for any cookie shading highlighting techniques guide.
Dry Dusting for Luster
Dry dusting with luster or pearl dusts is a simple way to add shimmer and a subtle highlight to cookies. These dusts contain mica particles that reflect light, creating a soft glow. They work best on a dry, matte surface like royal icing.
Simply load a soft brush with luster or pearl dust (like white, gold, or silver), tap off the excess, and gently brush it onto the areas where you want light to catch. This works well for adding a subtle sheen to snow, clouds, or the tops of rounded objects. For example, a light dusting of white pearl dust on the highest point of a royal icing dome can give it a soft, luminous highlight.
Painting Highlights for Detail Enhancement
Using edible paint (made from gels or dusts mixed with liquid, or ready-to-use edible paints) allows for precise application of highlights, adding sharp points of light or detailed shine. White paint is commonly used for bright reflections, while metallic paints (made from luster dusts) add a metallic shine.
Using a fine detail brush (like a size 00 or 000) and opaque white paint, you can add tiny dots or lines to represent specular highlights – the brightest points where light directly reflects. This is commonly used on eyes to make them sparkle, on wet surfaces, or on shiny objects like jewels. For example, a small white dot painted on the top-left side of a character's pupil can instantly make the eye look more alive and three-dimensional.
Airbrush Highlighting for a Luminous Effect
Airbrushing with light colors, white, or specialized pearlescent airbrush colors can create soft, diffused highlights and a luminous effect over larger areas. This is ideal for adding a gentle glow or highlighting the natural curves of a design.
Similar to airbrush shading, hold the airbrush a few inches away and lightly spray the highlighting color onto the areas where the light source would hit. For instance, a light misting of white or pearl airbrush color on the upper-left surface of a cookie sphere, opposite the shaded area, enhances its roundness and gives it a soft glow. This technique is excellent for creating subtle shifts in light on backgrounds or large design elements, a key skill in any advanced cookie shading highlighting techniques guide.
Edible Markers for Fine Highlight Lines
Edible markers, particularly white ones, can be used to add very fine highlight lines or small dots, especially on designs with crisp edges or detailed elements. They offer precision similar to a fine-tipped pen.
While less common for broad highlighting, a white edible marker is perfect for adding tiny, sharp highlights to areas that are difficult to reach with a brush or airbrush. For example, drawing a thin white line along the edge of a piece of candy or adding small dashes to represent stitching can add definition and show where light is hitting those specific edges. Ensure the underlying royal icing is completely dry before using markers to avoid indentations or smudging.
Step-by-Step Guide: Shading and Highlighting a Basic Shape
The first and most crucial step is ensuring your cookie surface is perfectly prepared. This means the royal icing base layer must be completely dry and hardened, which typically takes 12 to 24 hours depending on humidity and icing consistency. A fully dry surface prevents brushes or airbrushes from leaving dents or smudging the base color. Any imperfections on the surface will be magnified by shading and highlighting, so aim for a smooth, even flood coat.
Before applying any color, gently brush away any excess confectioners' sugar or debris from the surface. Some decorators also lightly buff the surface with a soft cloth or food-safe brush for extra smoothness, though this is optional. Having a pristine, dry canvas is fundamental to achieving clean, professional results with cookie shading highlighting techniques.
Applying the Base Color
While the base color is applied before shading and highlighting, its choice impacts the final look. Ensure your base color is consistent and opaque, providing a solid foundation for the subsequent layers of shadow and light. Royal icing is the most common medium for this, offering a smooth, hard surface when dry.
Flood the cookie shape evenly with your chosen base color. Allow it to dry completely as mentioned in the previous step. The base color sets the overall tone; for example, a light blue base for a sky or a medium pink for a flower petal. Any areas that will remain the base color without shading or highlighting should be perfect at this stage.
Creating Shadows for Depth
With your light source determined (let's imagine it's coming from the top left), begin adding shadows to the areas opposite the light – the bottom and right sides of your shape, and anywhere elements overlap or recede. Choose your shading technique based on the desired effect: dry dusting for soft shadows, wet shading for more defined ones, or airbrushing for seamless gradients.
Using a dry brush and brown petal dust, for instance, gently apply color to the bottom-right edge of a cookie circle, blending it inwards. If using wet shading, mix a darker shade of your base color or a complementary color with alcohol and paint the shadow lines or areas. For airbrushing, lightly spray the darker color onto the shadow zones. Remember to build the shadow gradually, adding more layers until the desired depth is achieved. This careful application is key to mastering cookie shading highlighting techniques.
Adding Highlights for Visual Interest
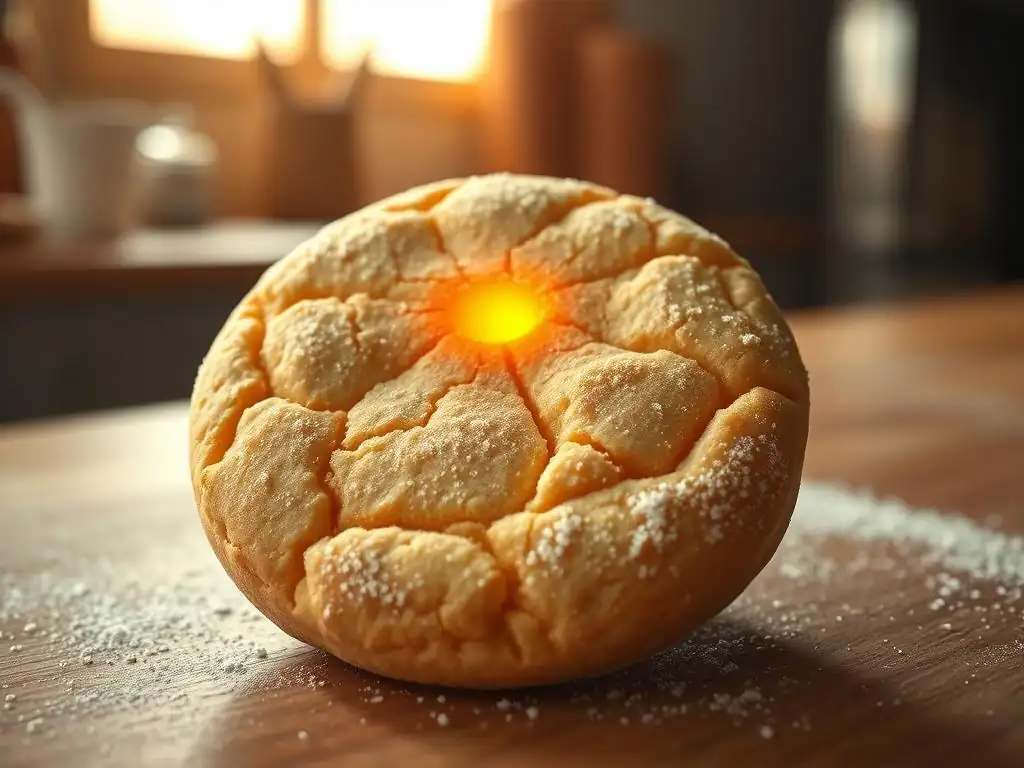
Now, add highlights to the areas where the light source hits the surface – the top and left sides, and the highest points of any curves or textures. Again, select your technique: dry dusting with luster dust for a soft shimmer, painting with white or metallic paint for sharp reflections, or airbrushing for a diffused glow.
Using a fine brush and white edible paint, add a small, bright dot or line on the top-left side of your cookie circle to represent the main highlight. If using luster dust, lightly brush it onto the upper-left surface. For airbrushing, apply a light mist of white or pearl color. Highlights contrast with the shadows, enhancing the illusion of volume and making the cookie look more dynamic and appealing.
Refining Details for a Polished Finish
The final step involves refining your shading and highlighting and adding any fine details that bring the cookie to life. This might include adding cast shadows under the cookie (if it's part of a scene), deepening core shadows, sharpening highlights, or adding other elements like veins on leaves, textures, or outlines.
Use a fine brush and wet mixed dust or edible marker to add crisp lines or small accents. For example, painting thin, dark brown lines to represent the edges of a shadow or adding tiny white dashes for texture highlights. Step back and look at your cookie from different angles to ensure the shading and highlighting look natural and consistent with your chosen light source. This iterative process of adding and refining is crucial for a polished look in your cookie shading highlighting techniques guide.
Advanced Techniques
Applying shading and highlighting to 3D cookies (cookies with multiple layers or sculpted elements) requires careful consideration of the complex surfaces and how light would interact with them in reality. Each plane and curve will have its own highlight and shadow area.
Focus on defining the contours of the 3D shape. For example, on a stacked cookie that forms a tiered cake, shade under each tier to show where it overhangs the one below, and highlight the top surface of each tier. On sculpted cookies, like a flower with individual petals, shade the base of each petal where it attaches and highlight the curved tip. This requires a keen eye for observation and often involves using a combination of airbrushing for base shadows/highlights and brushes for finer details.
Multi-Color Effects for Realism
Moving beyond just darker/lighter shades of the base color, using multiple colors in shading and highlighting can create more realistic and vibrant effects. This often involves using complementary colors in shadows or adding unexpected hues in highlights (like touches of pink or blue in skin tone highlights).
For example, when shading a green leaf, instead of just using dark green, you might incorporate touches of brown or purple near the stem for a more organic look. When highlighting a white object, adding a very light touch of blue or grey can suggest reflected light from the surroundings. This technique requires practice and understanding of color theory to ensure the colors blend harmoniously and enhance realism rather than looking muddy or unnatural.
Achieving Seamless Blending
Seamless blending is the hallmark of professional shading and highlighting. Whether using dry dust, wet paint, or airbrush, the goal is often to transition smoothly between the base color, the shadow, and the highlight without harsh lines.
For dry dusting, use a clean, soft brush to gently blend the edges of the applied dust into the base color. For wet shading, use a damp brush (with clear liquid) to soften the edges of painted shadows before they dry completely. Airbrushing is inherently good at blending, but requires controlling distance and spray intensity. For example, when airbrushing a gradient, start spraying off the cookie and move onto the surface with a steady hand to avoid concentrated bursts of color at the start.
Troubleshooting Common Issues
Even with practice, issues can arise. Common problems include muddy colors (often from using too much liquid with dusts or trying to blend too much), harsh lines (not blending enough or applying color too heavily), and patchy application (especially with airbrushing or dry dusting).
If colors become muddy, try using less liquid or a different type of liquid (alcohol often works better than water for quick evaporation). To fix harsh lines, gently try to blend them with a clean, dry brush or a brush slightly dampened with clear liquid. Patchy airbrushing might indicate a clogged airbrush or inconsistent movement; clean the airbrush and practice consistent passes. Over-applied dry dust can sometimes be lifted gently with a clean, dry brush or a kneaded eraser (dedicated for food use). Patience and practice are key to overcoming these hurdles in your cookie shading highlighting techniques journey.
Design Inspiration
Shading a Floral Design
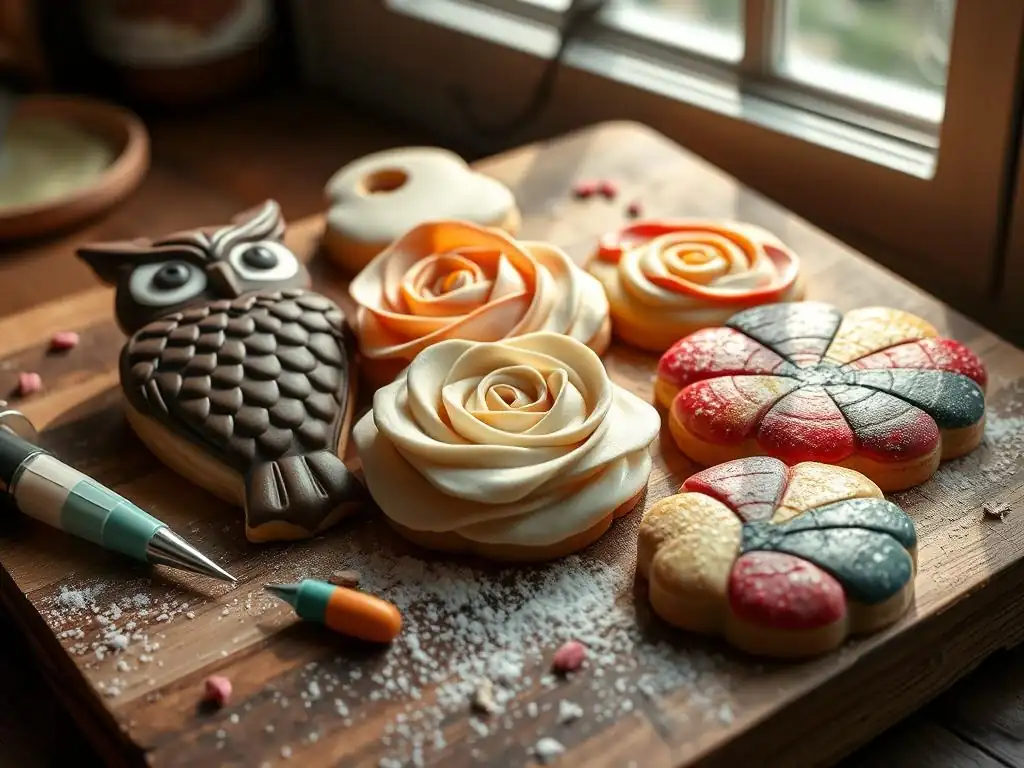
Floral designs are excellent subjects for practicing shading and highlighting. Consider a royal icing rose. You can use dry petal dusts to softly shade the base of each petal where it meets the center, using a slightly darker or complementary color like burgundy or deep pink. Then, apply white or pearl luster dust mixed with alcohol to the tips and outer edges of the petals to make them appear delicate and catch the light, giving the flower dimension.
For leaves, shade near the stem and the center vein with a darker green or brown, and highlight the outer edges and the raised parts of the vein with a lighter green or white. This adds realism and makes the floral elements pop off the cookie surface, showcasing effective cookie shading highlighting techniques.
Highlighting is crucial for bringing character cookies to life, especially in the eyes. A simple white dot or two painted with opaque edible paint on the pupil can add sparkle and emotion. Consider where the light source is hitting the character's face or body and add highlights to areas like the bridge of the nose, cheekbones, lips, or the edges of hair strands to show texture and shine.
For example, on a character wearing a shiny outfit, use metallic luster dust mixed with alcohol to paint highlights on folds of fabric or buttons. Adding a subtle airbrushed highlight on the forehead or shoulders can also enhance the form and make the character look more dynamic.
Achieving realistic metallic effects relies heavily on strategic shading and highlighting. To make an object look like gold or silver, you need more than just metallic color; you need to create contrast with dark shadows and bright highlights.
Use a dark color (like brown or black mixed with metallic dust) to paint deep shadows in the crevices or on the shadowed side of a metallic element (like a crown or a piece of armor). Then, use a bright metallic paint (luster dust mixed with alcohol) to paint sharp, bright highlights on the edges and surfaces facing the light source. The contrast between the dark shadows and bright metallic highlights is what truly sells the metallic illusion, a stunning result of advanced cookie shading highlighting techniques.
Tips and Tricks
Practice and Experimentation
Mastering cookie shading and highlighting takes practice. Don't be discouraged if your first attempts aren't perfect. Start with simple shapes and techniques (like shading a sphere or highlighting a simple dot) before moving on to more complex designs. Experiment with different mediums (dusts vs. gels vs. airbrush colors) and liquids (alcohol vs. water) to see how they behave and what effects they produce.
Try practicing on paper towels or practice boards before working on actual cookies. Keep notes on ratios and techniques that worked well for you. Consistent practice, even for just 15-20 minutes a few times a week, will significantly improve your skills over time.
Tool Maintenance
Keeping your tools clean and in good condition is vital for consistent results. Wash paintbrushes immediately after use with warm water and soap (dedicated for food use) to prevent color from drying in the bristles. Shape the bristles before letting them dry.
Clean airbrush guns thoroughly after every use according to the manufacturer's instructions, flushing them with water or a cleaning solution until no trace of color remains. Dried paint is the most common cause of airbrush clogs. Properly maintained tools make applying cookie shading highlighting techniques much easier and more effective.
Documenting Your Process
Keeping a log or taking pictures of your decorating process can be incredibly helpful for learning and replicating results. Note down the colors used, the ratios of dust to liquid, the type of brush or airbrush setting, and the order of steps.
Taking photos of your cookies at different stages – after the base coat, after shading, after highlighting, and the final result – allows you to visually track your progress and see what worked well or what could be improved. This documentation serves as your personal cookie shading highlighting techniques guide.
Conclusion
The Impact of Shading and Highlighting
Incorporating shading and highlighting techniques into your cookie decorating repertoire is a game-changer. These methods add dimension, realism, and visual interest that simply isn't possible with flat color alone. From making a simple circle look like a sphere to adding lifelike depth to intricate floral designs or bringing characters to vibrant life, shading and highlighting elevate your cookies from delicious treats to stunning works of edible art. They allow you to control how light appears to interact with your designs, creating illusions of texture, volume, and form that captivate the viewer.
The skills learned in mastering cookie shading highlighting techniques open up a world of creative possibilities. They are fundamental to achieving advanced looks and are widely used by professional cookie artists. While they require practice and patience, the rewarding results in terms of visual impact and the ability to create truly unique and memorable cookies are well worth the effort.
Continued Learning Resources
The journey to mastering cookie shading and highlighting is ongoing. There are many avenues for continued learning. Look for online tutorials, video classes, or workshops specifically focused on these techniques. Many experienced cookie decorators share their knowledge through blogs, social media, and paid courses.
Consider joining online cookie decorating communities where you can share your work, ask questions, and learn from others. Experiment with new products as they become available, such as different types of edible dusts or specialized airbrush colors. Continuously challenging yourself with new designs and techniques will help you refine your skills and deepen your understanding of this beautiful aspect of cookie art, making you a true expert in cookie shading highlighting techniques.
Frequently Asked Questions
Shading and highlighting techniques involve using different shades of icing to create depth and dimension on your cookies. This makes your cookies look more realistic and visually appealing.
Royal icing is generally preferred due to its ability to be thinned or thickened for precise control. It also dries smoothly and hard, making it ideal for detailed work.
Common tools include food coloring, various sized paintbrushes, airbrush (optional), and toothpicks or scribes for blending icing.
Can I use different colors to achieve shading and highlighting effects?
Absolutely! You can use different shades of the same color or even complementary colors to create interesting shading and highlighting effects. Experimentation is key!
While it may seem daunting at first, with practice and patience, anyone can learn these techniques. Start with simple designs and gradually work your way up to more complex patterns.
Final Reflection: The Sweet Science of Light and Shadow
Mastering shading and highlighting on cookies isn't just about aesthetics; it's about elevating your baking from good to truly exceptional. The techniques explored in this guide—from understanding light sources to employing various tools and mediums—translate directly to a more professional and appealing final product. This isn't just about pretty pictures; it's about enhancing the perceived texture and deliciousness of your creations.
The impact of skillful shading and highlighting extends beyond the individual cookie. It's a visual language that speaks to the artistry and care put into each piece. It's about transforming a simple treat into a miniature work of art, capable of evoking emotion and delight. As the saying goes, The details are not the details. They make the design.
This holds true whether you're decorating a grand cake or a single, perfectly shaded cookie. The attention to detail elevates the entire experience, from the baker's pride to the recipient's joy.
Now, it's your turn. Don't just bake cookies; sculpt them with light and shadow. Experiment with different techniques, find your own style, and watch as your skills blossom. Embrace the challenge, celebrate the process, and most importantly, enjoy the sweet rewards of your newfound mastery. The journey of learning never ends, and each perfectly shaded cookie is a testament to your dedication and growing expertise.
Thanks for taking the time to explore the art of cookie shading and highlighting! You've now got the skills to create truly stunning baked goods. Ready to put your newfound knowledge into practice?
- Master the perfect cookie highlight: Try experimenting with different intensities of light and shadow on your next batch. See how subtle changes can dramatically impact the visual appeal!
- Share your creations: Post a photo of your beautifully shaded cookies on social media and tag us—we'd love to see your artistry!
- Challenge yourself: Try a more complex design incorporating multiple shades and highlights – perhaps a detailed landscape or character on your next cookie?
What incredible cookie designs will you bring to life next?