
NoFuss Vanilla Glaze in 5 Minutes

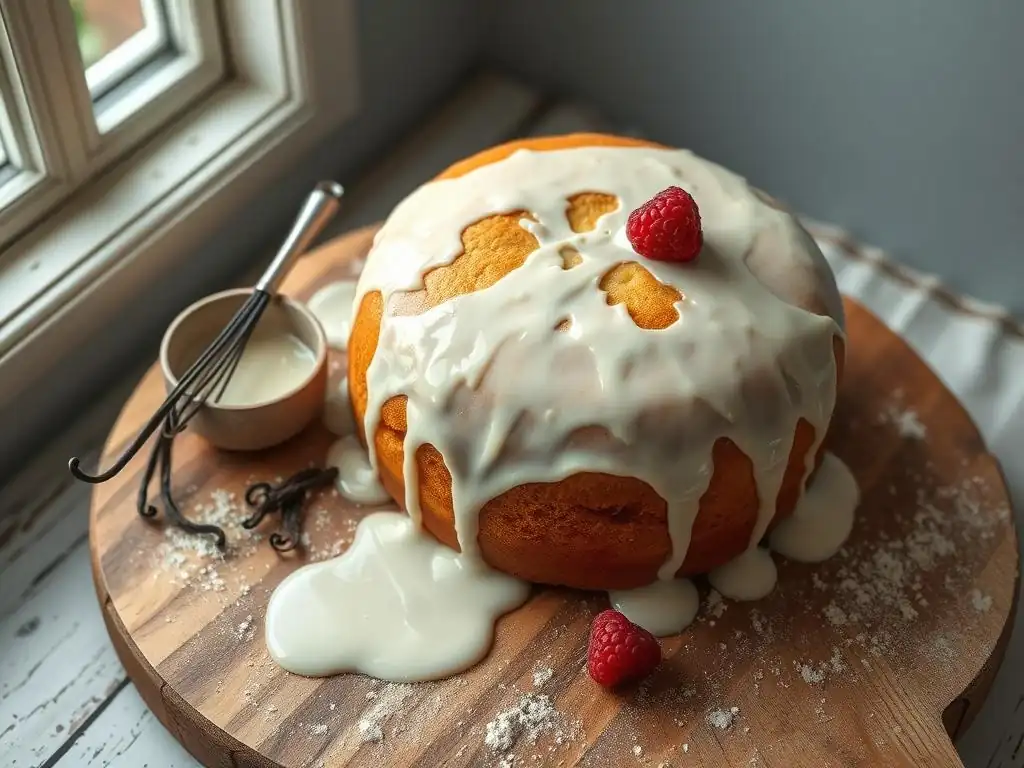
Welcome to BakeWithEase, where baking becomes a joy, not a chore! Ever craved that perfect, glossy finish on your pastries? Look no further! We're diving into the secrets of achieving bakery-worthy results in minutes. Ready to transform your creations with our No-Fuss Vanilla Glaze? Discover the easy vanilla glaze recipe that will elevate your treats and leave everyone wanting more. Intrigued? Keep reading and let's get glazing!
- No-Fuss Vanilla Glaze in 5 Minutes: The BakeWithEase Guide
- Introduction: Elevate Your Baking with a Quick Vanilla Glaze
- Why This Easy Vanilla Glaze Recipe Works
- Ingredients for Your 5-Minute Vanilla Glaze
- Step-by-Step: How to Make Vanilla Glaze in Minutes
- Tips for the Best Vanilla Glaze Every Time
- Using Your Easy Vanilla Glaze Recipe
- Storing Your Homemade Vanilla Glaze
- Variations and Flavor Enhancements for Vanilla Glaze
- Conclusion: Enjoy Baking with Ease and This Quick Vanilla Glaze
- Frequently Asked Questions
- Final Reflection: The Sweet Simplicity of Effortless Baking
- Unlock Your Inner Pastry Chef: Glaze Your Day!
No-Fuss Vanilla Glaze in 5 Minutes: The BakeWithEase Guide
Introduction: Elevate Your Baking with a Quick Vanilla Glaze
Transform Your Desserts with This Simple Vanilla Glaze Recipe
Adding a beautiful, glossy finish to your baked goods doesn't have to be a complicated affair. Often, the difference between a good cake or cookie and a truly memorable one is that final touch – a simple glaze. This guide from BakeWithEase introduces you to an incredibly fast and easy vanilla glaze recipe that you can whip up in just about 5 minutes.
Forget complicated icings; this no-fuss solution is perfect for those times you need a quick, elegant finish without the fuss. It's ideal for everything from pound cakes and muffins to sugar cookies and quick breads, providing a burst of sweet vanilla flavor and a professional look.
This easy vanilla glaze recipe is designed for busy bakers who want maximum impact with minimal effort. Whether you're finishing off a batch of morning muffins for an unexpected guest or adding a final flourish to a simple bundt cake, this glaze delivers. Its simplicity lies in its minimal ingredients and straightforward process, making it accessible even if you've never made a glaze before. We'll walk you through each step, ensuring you achieve perfect results every time, proving that a delicious and beautiful vanilla glaze is well within reach for any home baker.
Why This Easy Vanilla Glaze Recipe Works
The Secret to a Smooth and Shiny Vanilla Glaze
The secret to achieving a smooth and shiny vanilla glaze with minimal effort lies primarily in the ratio of powdered sugar to liquid and the temperature of the liquid. Powdered sugar, also known as confectioners' sugar or icing sugar, dissolves instantly and creates a fine, smooth base. When combined with a small amount of liquid, typically milk or water, it forms a thick yet pourable consistency.
The key is to start with just enough liquid to hydrate the sugar, adding more tiny drops at a time until the desired consistency is reached. Using slightly warm milk can help the sugar dissolve even more smoothly and contribute to a shinier finish once the glaze sets. For instance, using milk warmed to around 100°F (38°C) can make a noticeable difference in the glaze's sheen compared to using cold milk.
Furthermore, gentle mixing is crucial. Over-whipping can incorporate too much air, leading to a duller finish. A simple whisk or even a fork is sufficient to combine the ingredients until smooth. The natural properties of the powdered sugar, combined with careful handling of the liquid ratio and temperature, are what make this easy vanilla glaze recipe consistently smooth and appealing. It's a testament to how basic kitchen chemistry, understood and applied correctly, can yield impressive results in just moments.
Perfect Vanilla Glaze Consistency: Achieving the Right Texture
Achieving the perfect vanilla glaze consistency is paramount for how it performs on your baked goods. Too thick, and it's more like a frosting; too thin, and it runs right off. The ideal consistency for a glaze is usually thick enough to coat the back of a spoon but thin enough to drizzle or pour smoothly over a cake or cookie.
This is primarily controlled by the amount of liquid added to the powdered sugar. A standard ratio might start with 1 cup of powdered sugar to 1-2 tablespoons of milk, but humidity and the specific brand of powdered sugar can influence this. You'll typically add the liquid a teaspoon or even half-teaspoon at a time after the initial amount, mixing thoroughly after each addition, until the glaze flows just right.
Visual cues are important here. When you lift the whisk or spoon, the glaze should stream down in a thick ribbon, and if drizzled onto a surface, it should hold its shape briefly before settling slightly. For a glaze meant for dipping cookies, you might want it slightly thicker so it clings well.
For a glaze to be poured over a cake, a slightly thinner consistency allows it to spread beautifully down the sides. Mastering this easy vanilla glaze recipe means learning to adjust the liquid content by sight and feel, which becomes intuitive with practice. For example, if you add a tablespoon of milk to a cup of sugar and it's too thick, adding just another teaspoon can completely transform the texture.
Ingredients for Your 5-Minute Vanilla Glaze
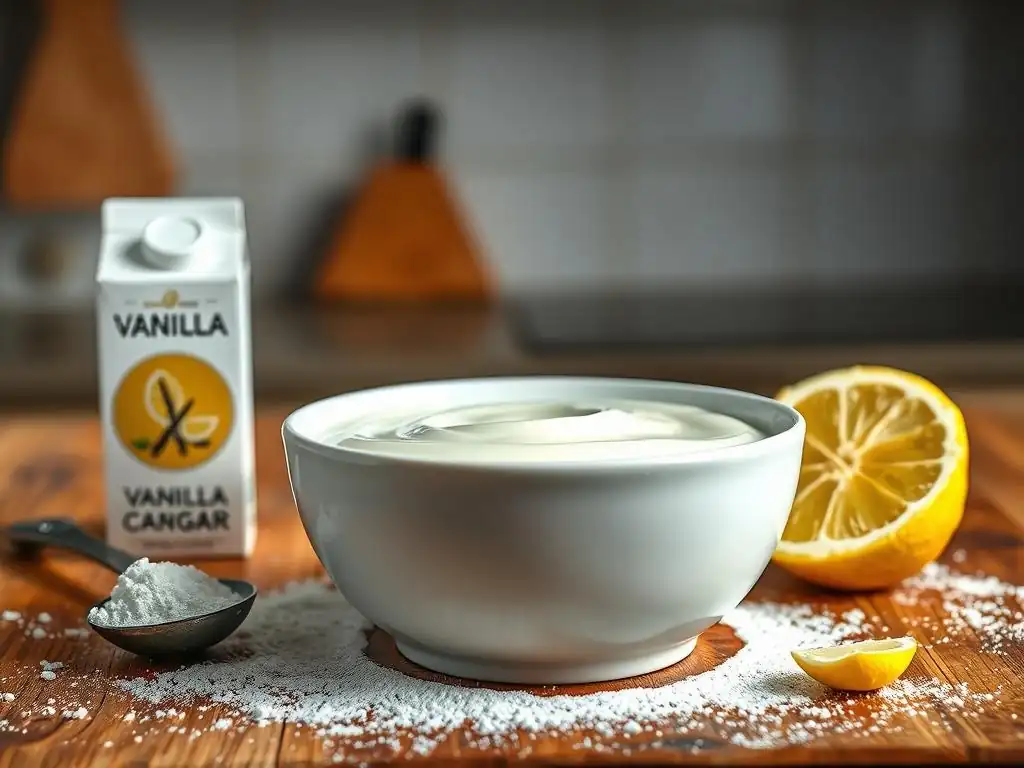
Simple Ingredients for a Delicious Vanilla Glaze: Powdered Sugar, Milk, Vanilla Extract
The beauty of this easy vanilla glaze recipe lies in its minimal and readily available ingredients. You only need three core items: powdered sugar (also known as confectioners' sugar or icing sugar), a liquid (most commonly milk or water), and vanilla extract. Powdered sugar forms the base, providing sweetness and structure. Its fine texture is essential for a smooth, lump-free glaze. About 1 cup (approximately 120 grams) is a typical starting point, enough to glaze a small cake or a dozen cookies.
The liquid, usually milk, is crucial for dissolving the sugar and creating the pourable consistency. Milk adds a slight richness and creaminess compared to water. You'll typically need just 1 to 3 tablespoons of liquid per cup of powdered sugar. Whole milk works well, but 2% or even skim milk can be used. Finally, pure vanilla extract provides that classic, comforting vanilla flavor. A teaspoon or two per cup of sugar is usually sufficient to impart a noticeable vanilla aroma without being overpowering. These three simple components, combined correctly, yield a delicious and versatile vanilla glaze.
Ingredient Substitutions and Variations for Your Vanilla Glaze
While the classic trio works perfectly, you can easily make ingredient substitutions and variations to adapt this easy vanilla glaze recipe. Instead of milk, you can use water for a slightly clearer, less rich glaze, or heavy cream for a richer, more opaque finish. Plant-based milks like almond milk, soy milk, or oat milk can also be used as a dairy-free alternative; note that the flavor might be slightly altered depending on the milk used. For example, using oat milk might lend a subtle nutty undertone.
Beyond the liquid, you can experiment with the vanilla component or add other flavors. While pure vanilla extract offers the best flavor, imitation vanilla extract is a more budget-friendly option.
For an extra boost of vanilla, consider adding a tiny pinch of vanilla bean powder or the seeds scraped from half a vanilla bean, which will also add lovely flecks. For a different twist, you could swap out half or all of the vanilla extract for almond extract, lemon extract, or even a dash of rum extract (non-alcoholic or alcoholic) to create a completely different flavor profile while still using the same simple glaze base.
Step-by-Step: How to Make Vanilla Glaze in Minutes
Step 1: Gather Your Ingredients for the Vanilla Glaze
The first and simplest step in making this easy vanilla glaze recipe is gathering your ingredients. You'll need powdered sugar, milk (or your chosen liquid), and vanilla extract. Measure out your powdered sugar into a medium-sized bowl. A sifter is recommended if your powdered sugar is clumpy, as this helps ensure a smoother final glaze, though it's not strictly necessary if your sugar is relatively lump-free. For about 1 cup of powdered sugar, have your milk and vanilla extract measured out or ready to add.
It's also helpful to have your whisk or fork ready. Ensure your bowl is clean and dry. Having everything laid out before you start mixing makes the process incredibly fast, living up to the "5-minute" promise. For instance, if you're glazing a batch of 12 standard muffins, 1 cup of powdered sugar is typically a good amount to start with.
Step 2: Mixing the Vanilla Glaze for Perfect Results
Once your ingredients are gathered, it's time to mix. Add your measured vanilla extract to the bowl with the powdered sugar. Then, add a small amount of your liquid – start with perhaps 1 tablespoon for 1 cup of powdered sugar. Begin whisking or stirring gently. The mixture will initially look very thick and pasty. Continue mixing until the liquid is incorporated.
Now, add the remaining liquid gradually, a teaspoon or half-teaspoon at a time, mixing thoroughly after each addition. This is the crucial step for achieving the perfect consistency. For example, if you start with 1 tablespoon of milk and the glaze is still too thick, add another teaspoon, mix, check the consistency, and repeat if needed. This controlled addition prevents the glaze from becoming too thin too quickly.
Step 3: Achieving a Smooth, Lump-Free Vanilla Glaze
The goal is a completely smooth, lump-free vanilla glaze. Continue whisking until all the powdered sugar is dissolved and the mixture is uniform. If you encounter small lumps, press them against the side of the bowl with the back of your spoon or whisk to break them up. If your powdered sugar was particularly clumpy or you didn't sift, a few persistent lumps might remain, but vigorous whisking for about 30-60 seconds should resolve most issues.
If the glaze is too thick after adding what you thought was enough liquid, simply add another tiny splash (about half a teaspoon) of milk and whisk again. If it accidentally becomes too thin, the fix is equally simple: add another tablespoon or two of powdered sugar and whisk until smooth. This iterative process of adding liquid or sugar in small amounts ensures you can easily adjust the consistency to be exactly right for your needs, whether you want a thick glaze for dipping or a thinner one for drizzling over a cake.
Tips for the Best Vanilla Glaze Every Time
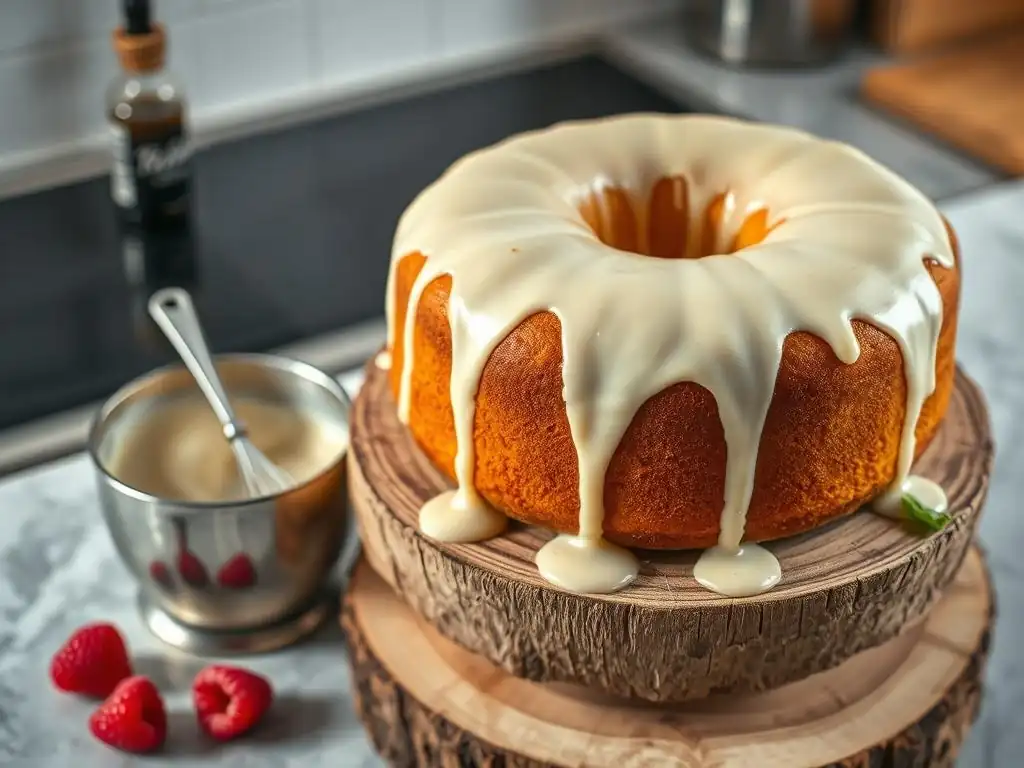
Pro Tips for a Shiny and Flavorful Vanilla Glaze
To ensure your easy vanilla glaze recipe turns out shiny and flavorful every time, consider a few pro tips. Firstly, the quality of your vanilla extract matters. Using pure vanilla extract, rather than imitation, provides a richer, more authentic vanilla flavor that truly elevates the glaze. Secondly, consider using warm milk (around 100°F/38°C) instead of cold milk. The warmth helps the powdered sugar dissolve more completely and can contribute to a noticeably shinier finish once the glaze sets. Just a gentle warming in the microwave for 15-20 seconds is usually sufficient for a small amount of milk.
Another tip for shine is to avoid over-mixing once the glaze reaches the desired consistency. Excessive whisking can incorporate air bubbles, which can make the glaze appear duller. Mix just until smooth. For maximum flavor, ensure your vanilla extract is relatively fresh; old extract can lose its potency. Finally, apply the glaze while your baked goods are slightly warm (not hot) for the best flow and adherence. For instance, letting a cake cool for about 20-30 minutes after baking before glazing is often ideal.
Troubleshooting Common Vanilla Glaze Issues
Even with a simple recipe, you might encounter issues when making your vanilla glaze. The most common problems are consistency issues: the glaze is too thick or too thin, or it's lumpy. If your vanilla glaze is too thick, simply add more liquid (milk or water), about half a teaspoon at a time, whisking well after each addition until the desired consistency is reached. This is the most common adjustment needed for this easy vanilla glaze recipe.
If the glaze is too thin and watery, add more powdered sugar, a tablespoon at a time, and whisk until smooth and thickened. For lumpy glaze, ensure you used fresh, lump-free powdered sugar or sifted it. If lumps remain, continue whisking vigorously or press them against the side of the bowl. If the lumps are very stubborn, a quick pass through a fine-mesh sieve can help, although this is rarely necessary with fresh powdered sugar and proper mixing. Sometimes, lumps form if the liquid is added too quickly at the start; adding it gradually prevents this.
Using Your Easy Vanilla Glaze Recipe
Perfect Pairings: Desserts That Shine with Vanilla Glaze
This easy vanilla glaze recipe is incredibly versatile and pairs beautifully with a wide range of baked goods. Its simple, sweet vanilla flavor complements many different textures and tastes without overpowering them. It's a classic choice for pound cakes, adding moisture and a touch of sweetness to the dense crumb. Quick breads like banana bread, zucchini bread, or lemon poppy seed bread are also excellent candidates, where the glaze adds a lovely finish and extra flavor dimension.
Muffins, particularly those made with fruit like blueberry or apple, benefit greatly from a drizzle of vanilla glaze, turning a simple breakfast item into a treat. Sugar cookies, especially those cut into shapes, are often finished with a simple glaze rather than frosting, allowing their crisp texture to shine through. Even simple yeast breads like challah or sweet rolls can be elevated with a brush or drizzle of this easy vanilla glaze after baking. Consider pairing it with a simple vanilla bean cake for a double dose of vanilla goodness.
Drizzling, Pouring, and Dipping: Application Techniques for Vanilla Glaze
How you apply your vanilla glaze depends on the desired look and the type of baked good. For a rustic, artful finish on cakes or quick breads, drizzling is a popular technique. You can use a spoon to drizzle the glaze back and forth over the top, allowing it to run down the sides naturally. For more controlled lines or patterns, a piping bag fitted with a small round tip, or even just a zip-top bag with a corner snipped off, works well.
Pouring is ideal for achieving a smooth, even coating, particularly on the top of cakes or bundt cakes. Place the cake on a wire rack set over a baking sheet (to catch drips) and slowly pour the glaze over the center, letting it spread and drip down the sides. For cookies or small pastries, dipping can create a fully coated surface.
Hold the cookie or pastry and dip the top surface directly into the bowl of glaze, then lift and let the excess drip off before placing it on a wire rack to set. Each method allows this easy vanilla glaze recipe to enhance your baked goods in different ways.
Storing Your Homemade Vanilla Glaze
How to Store Leftover Vanilla Glaze for Later Use
If you have leftover vanilla glaze, don't discard it! This easy vanilla glaze recipe can be stored for later use, making it even more convenient. The best way to store it is in an airtight container at room temperature if you plan to use it within a day or two. For longer storage, transfer the glaze to an airtight container and refrigerate it. Stored in the refrigerator, it should last for up to 1-2 weeks.
Ensure the container is truly airtight to prevent the glaze from drying out or absorbing odors from the refrigerator. A small glass jar with a tight-fitting lid is ideal. Labeling the container with the date is also a good practice to keep track of how long it has been stored. This makes having a batch of easy vanilla glaze ready to go a simple reality.
Maintaining the Quality and Flavor of Your Vanilla Glaze
When storing your vanilla glaze, the primary goal is to maintain its smooth texture and fresh vanilla flavor. If refrigerated, the glaze will thicken significantly. To use it again, simply let it come to room temperature or gently warm it slightly. You can do this by letting the container sit on the counter for 30-60 minutes or by placing the container in a bowl of warm water for a few minutes, stirring occasionally. Avoid overheating, as this can cause the sugar to crystallize.
Once warmed, the glaze might still be a bit thicker than when freshly made. If needed, add a tiny splash (a few drops at a time) of milk or water and whisk until it returns to the desired consistency. The vanilla flavor should remain strong if stored properly, but if you feel it needs a boost, you can stir in another tiny drop of fresh vanilla extract before using. This ensures your easy vanilla glaze recipe remains delicious and ready whenever a baking craving strikes.
Variations and Flavor Enhancements for Vanilla Glaze
Exploring Different Flavors: Adding Extracts and Spices to Your Vanilla Glaze
While the standard easy vanilla glaze recipe is delicious on its own, it serves as a fantastic base for exploring other flavors. Adding different extracts is the simplest way to create variations. Beyond vanilla, consider extracts like almond, coconut, rum, maple, or even a citrus extract like orange or lemon. For instance, swapping half the vanilla for almond extract creates a lovely almond-vanilla glaze perfect for fruit tarts or almond cakes. Start with a small amount, like half a teaspoon, as some extracts are quite potent.
Spices can also be added directly to the powdered sugar before mixing in the liquid. Ground cinnamon, nutmeg, cardamom, or a pinch of ginger can add warmth and complexity. A popular variation is adding about half a teaspoon of ground cinnamon to the dry powdered sugar for a cinnamon-vanilla glaze, perfect for apple or pumpkin baked goods. Ensure the spices are finely ground to avoid grittiness.
Lemon Vanilla Glaze: A Bright Twist on the Classic
A particularly popular and refreshing variation of the easy vanilla glaze recipe is the Lemon Vanilla Glaze. This twist adds a bright, zesty counterpoint to the sweet vanilla, making it perfect for citrus-based cakes, muffins, or scones. To make it, simply substitute some or all of the milk or water with fresh lemon juice. Start by replacing half the liquid amount with lemon juice and the other half with milk or water, then adjust the consistency as usual by adding more lemon juice or powdered sugar.
For a stronger lemon flavor, you can use only lemon juice as the liquid. You can also add a bit of lemon zest (finely grated yellow peel) to the powdered sugar for an extra burst of citrus aroma and flavor. For example, using 1 cup of powdered sugar, 1-2 tablespoons of lemon juice (adjusting for consistency), and 1 teaspoon of vanilla extract, plus perhaps half a teaspoon of lemon zest, creates a vibrant glaze ideal for a lemon loaf cake or blueberry muffins. This easy vanilla glaze recipe base truly allows for endless creativity.
Conclusion: Enjoy Baking with Ease and This Quick Vanilla Glaze
The Ultimate Vanilla Glaze for Cake and More: BakeWithEase's Simple Solution
Mastering this no-fuss, easy vanilla glaze recipe is a game-changer for any home baker. In just about 5 minutes, you can create a smooth, flavorful, and professional-looking finish for a wide variety of baked goods, from simple cakes and muffins to cookies and quick breads. It proves that you don't need complicated techniques or ingredients to achieve beautiful and delicious results. This recipe embodies the BakeWithEase philosophy: making baking accessible, enjoyable, and successful for everyone, regardless of their skill level.
Whether you stick to the classic vanilla version or experiment with exciting variations like the lemon vanilla glaze, this basic formula will become a staple in your baking repertoire. It's the perfect solution for those last-minute finishing touches or when you simply want to add a little extra sweetness and shine. Keep your pantry stocked with the few simple ingredients needed, and you'll always be ready to elevate your baking with this ultimate easy vanilla glaze. Enjoy the simplicity and the delicious outcome!
Frequently Asked Questions
What makes this vanilla glaze recipe "easy"?
This recipe prioritizes simplicity and speed. It uses readily available ingredients and requires minimal steps, promising a glaze ready in just five minutes.
Can I adjust the thickness of the glaze?
Yes! To make it thinner, add more milk or liquid. For a thicker glaze, gradually incorporate more powdered sugar.
What types of baked goods is this glaze best suited for?
It's incredibly versatile! This glaze works wonderfully on cakes, cookies, scones, and donuts. Its simple flavor complements a wide range of baked goods.
Can I use something other than vanilla extract?
Absolutely! You can experiment with other extracts like almond, lemon, or maple. This allows you to customize the glaze's flavor to suit your preferences.
How long does the vanilla glaze last once made?
The glaze is best used fresh, but it can be stored in an airtight container in the refrigerator for up to 3 days. Be sure to let it come to room temperature before using.
Final Reflection: The Sweet Simplicity of Effortless Baking
The pursuit of deliciousness shouldn't be a marathon; sometimes, the most satisfying treats are born from the simplest recipes. This article highlighted the ease and speed with which a truly delightful vanilla glaze can be created, proving that culinary excellence doesn't always require hours of meticulous work. The power of a few simple ingredients, expertly combined, is a testament to the beauty of uncomplicated recipes.
The impact of quick, accessible recipes like this one extends beyond the individual kitchen. It speaks to a broader cultural shift towards valuing efficiency without sacrificing quality. In our fast-paced world, finding joy in simple pleasures, like a perfectly glazed treat, becomes even more significant. The best things in life are simple,
a sentiment often repeated, rings especially true when considering the satisfaction derived from this easy vanilla glaze. It's a small act of self-care, a moment of mindful creation, accessible to everyone.
Now, I invite you to consider the possibilities. Don't let the fear of complexity deter you from exploring the joy of baking. Try this recipe, adapt it to your taste, and let it inspire you to create other simple, delicious treats. Embrace the ease, savor the flavor, and remember that sometimes, the most rewarding experiences are the ones that require the least effort. Let the sweet simplicity of this glaze be a reminder that even in a busy life, there's always room for a little bit of deliciousness.
Unlock Your Inner Pastry Chef: Glaze Your Day!
Thanks for joining us on this quick and delicious journey into the world of effortless baking! You've just learned how to create a stunning vanilla glaze in a flash – imagine the possibilities! Now, it's time to put your newfound skills to the test.
- Master the Glaze: Try experimenting with different extracts (almond, lemon, even peppermint!) to create your signature glaze. This is your chance to truly personalize your baking experience.
- Share Your Sweet Success: Post a picture of your glazed masterpiece on social media and tag us @BakeWithEase – we'd love to see your creations!
- Explore More Easy Recipes: Dive deeper into our collection of no-fuss baking recipes – you'll find plenty more simple yet stunning treats to surprise your friends and family.
What flavor will you glaze next? Let us know in the comments below!