
Velvety Rich Chocolate Cream Pie That Wows Everyone

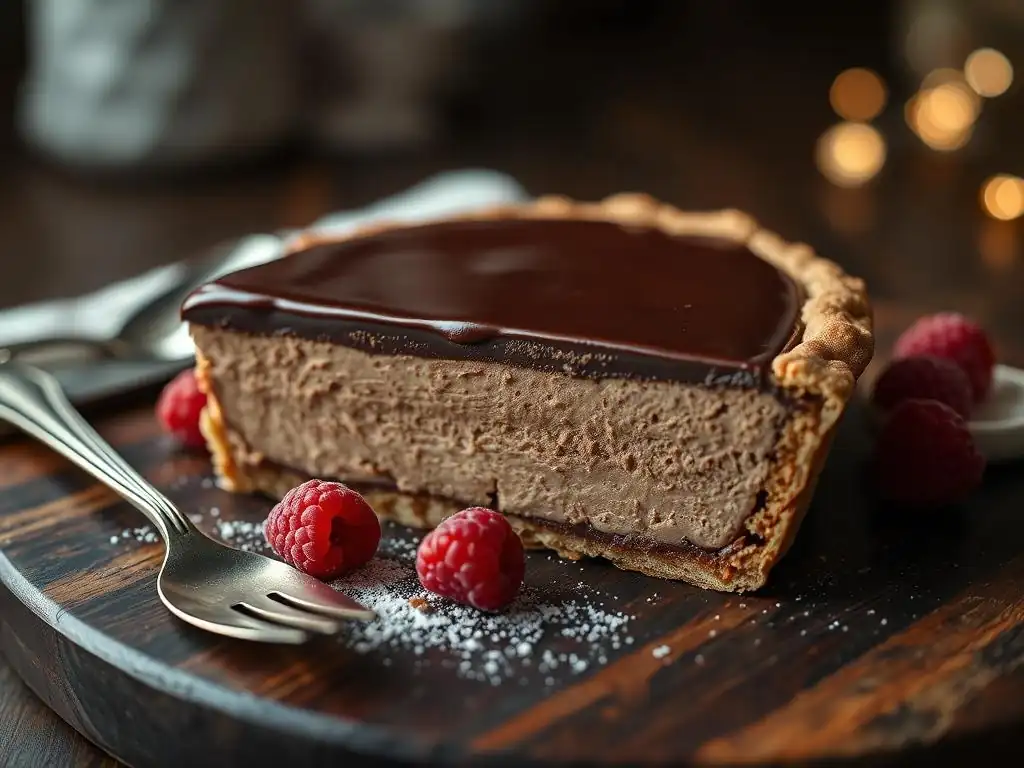
Welcome to BakeWithEase, your trusted guide to baking bliss! Ever dreamed of creating a dessert that's both decadent and surprisingly simple? Get ready to impress with our Velvety Rich Chocolate Cream Pie, a recipe so smooth and flavorful, it's guaranteed to become a family favorite. Discover the secrets to this show-stopping pie and learn how to achieve that perfect creamy texture – are you ready to unlock the secrets of effortless indulgence?
- Classic Chocolate Cream Pie Recipe
- Bake a Delicious Homemade Chocolate Cream Pie
- Why This Chocolate Cream Pie Recipe is a Favorite
- Ingredients for a Perfect Chocolate Cream Pie
- Step-by-Step Guide to Baking Your Chocolate Cream Pie
- Tips and Tricks for a Successful Chocolate Cream Pie
- Serving and Storing Your Chocolate Cream Pie
- Troubleshooting Your Chocolate Cream Pie
- More Pie Recipes You Might Enjoy
- Frequently Asked Questions
- Final Reflection: The Enduring Allure of a Perfect Pie
- Unleash Your Inner Pastry Chef!
Classic Chocolate Cream Pie Recipe
Bake a Delicious Homemade Chocolate Cream Pie
Dive into the comforting world of homemade desserts with a classic that never goes out of style: the chocolate cream pie. Forget store-bought versions; crafting this treat from scratch is incredibly rewarding, resulting in a dessert that's far richer and more satisfying. Our velvety chocolate cream pie recipe guides you through creating a flaky crust, a sumptuously smooth filling, and an optional cloud of whipped cream topping. It’s a dessert that promises to delight with every single bite, perfect for impressing guests or simply treating yourself.
This guide is designed for bakers of all skill levels, breaking down each step into manageable parts. We'll share tips for achieving that perfect texture and deep chocolate flavor that makes this pie so irresistible. Get ready to fill your kitchen with the wonderful aroma of baking chocolate and prepare for the ultimate dessert experience.
Why This Chocolate Cream Pie Recipe is a Favorite
This particular velvety chocolate cream pie recipe stands out for several reasons. It strikes a balance between indulgence and approachability, making it a joy to bake and an absolute pleasure to eat. It relies on simple, accessible ingredients transformed through careful technique into something truly special.
The combination of a crisp crust and a smooth, decadent filling topped with light whipped cream creates a textural and flavor harmony that is hard to resist. It's a recipe that has been tested and loved, consistently delivering results that live up to the promise of a truly velvety chocolate cream pie.
The Key to a Silky Smooth Chocolate Filling
Achieving that signature velvety texture in your chocolate cream pie filling is paramount, and it hinges on a few critical steps and ingredients. The primary thickener in this recipe is a combination of cornstarch and egg yolks. Using cornstarch provides a clean, smooth set without a starchy taste, while the egg yolks add richness and contribute to the creamy mouthfeel. It's crucial to whisk these thoroughly with the sugar and cocoa powder before adding the milk to prevent lumps.
Tempering the egg yolks is another non-negotiable step for a silky filling. This involves gradually whisking a small amount of the hot milk mixture into the egg yolk mixture before adding the tempered yolks back into the main pot. This gentle heating prevents the yolks from scrambling, ensuring a smooth, custard-like consistency once cooked. Cooking the filling gently over medium heat, stirring constantly until it visibly thickens and bubbles slightly, activates the cornstarch and cooks the eggs, setting the stage for that luscious texture.
Rich Chocolate Flavor Without Being Overly Sweet
A truly exceptional velvety chocolate cream pie recipe balances sweetness with deep, complex chocolate notes. This is achieved by using high-quality unsweetened cocoa powder. Dutch-process cocoa powder often yields a darker color and a smoother flavor profile, but natural cocoa powder works beautifully too, offering a slightly fruitier, more intense chocolate taste. Using a generous amount of cocoa powder ensures the chocolate flavor is prominent without relying solely on sugar for impact.
Incorporating a small amount of finely chopped or melted bittersweet or semi-sweet chocolate at the end of cooking further enhances the richness and provides a more rounded chocolate experience. A pinch of salt is also vital; it doesn't make the pie salty, but rather sharpens and intensifies the chocolate flavor, preventing it from tasting flat or one-dimensional. Finally, a splash of vanilla extract added off the heat contributes aromatic depth that complements the chocolate beautifully.
A Crowd-Pleasing Dessert for Any Occasion
Few desserts possess the universal appeal of a classic velvety chocolate cream pie. Its comforting familiarity makes it a welcome addition to any table, whether it's a casual family dinner, a holiday gathering, or a special celebration. The combination of rich chocolate and creamy texture appeals to a wide range of palates, from young children to seasoned dessert connoisseurs.
Compared to more complex layered cakes or intricate pastries, a chocolate cream pie feels both indulgent and approachable. It's a dessert that evokes a sense of nostalgia and warmth, often reminding people of classic diner pies or homemade treats from their childhood. Its straightforward presentation, often simply topped with a dollop of whipped cream, speaks to its humble yet utterly satisfying nature, making it a reliable hit for any event where you want to serve something genuinely delightful.
Ingredients for a Perfect Chocolate Cream Pie
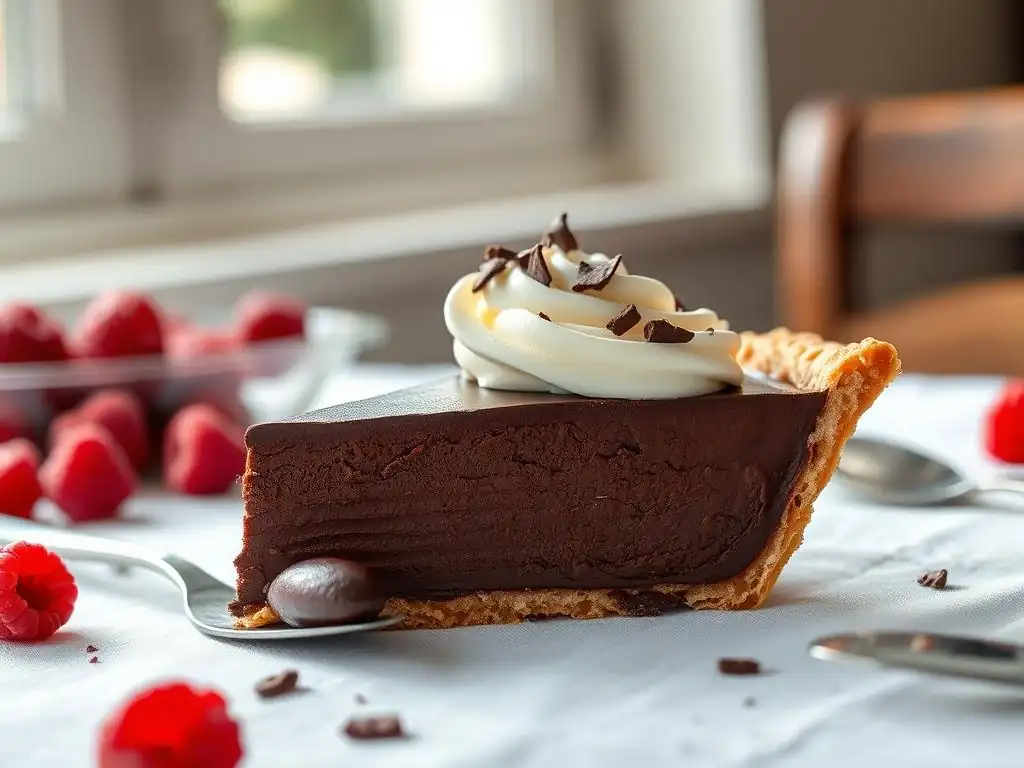
Gathering your ingredients is the first step to creating this wonderful velvety chocolate cream pie. Using fresh, high-quality components makes a noticeable difference in the final taste and texture.
For the Pie Crust:
- 1 ¼ cups all-purpose flour
- ½ teaspoon salt
- ½ cup (1 stick) cold unsalted butter, cut into ½-inch cubes
- ¼ cup cold shortening, cut into ½-inch pieces (or use all butter for a richer crust)
- 4-6 tablespoons ice water
For the Chocolate Cream Filling:
- ¾ cup granulated sugar
- ⅓ cup unsweetened cocoa powder (preferably Dutch-process)
- ¼ cup cornstarch
- ⅛ teaspoon salt
- 3 cups whole milk
- 4 large egg yolks
- 2 tablespoons unsalted butter
- 1 teaspoon vanilla extract
- 2 ounces bittersweet or semi-sweet chocolate, finely chopped (optional, for extra richness)
For the Whipped Cream Topping (Optional):
- 1 ½ cups cold heavy cream
- 3 tablespoons powdered sugar
- 1 teaspoon vanilla extract
Step-by-Step Guide to Baking Your Chocolate Cream Pie
Follow these steps carefully to ensure your velvety chocolate cream pie turns out perfectly every time. Precision in baking, especially with custards, is key!
Part 1: Preparing the Pie Crust
Making a flaky, golden pie crust is the foundation of a great cream pie. We'll use a classic method involving cold fat cut into the flour.
Baking the Pie Crust
Begin by combining the flour and salt in a large bowl. Cut in the cold butter and shortening using a pastry blender, fork, or your fingertips until the mixture resembles coarse crumbs with some pea-sized pieces of fat remaining. Gradually add the ice water, one tablespoon at a time, mixing until the dough just comes together. Be careful not to overmix. Form the dough into a disc, wrap it in plastic wrap, and chill it in the refrigerator for at least 30 minutes, or up to 2 days.
Once chilled, roll the dough out on a lightly floured surface to an 11 or 12-inch circle. Carefully transfer the dough to a standard 9-inch pie plate, pressing it gently into the bottom and up the sides. Trim and crimp the edges as desired. Prick the bottom of the crust all over with a fork (this is called docking). Chill the prepared crust in the freezer for at least 15-20 minutes before baking. This helps prevent shrinkage.
Preheat your oven to 375°F (190°C). Line the chilled crust with parchment paper or aluminum foil and fill with pie weights, dried beans, or rice. Bake for 15 minutes, then carefully remove the weights and foil. Continue baking for another 10-15 minutes, or until the crust is golden brown and looks dry. Let the baked crust cool completely on a wire rack before adding the filling.
Preventing Shrinkage
Shrinkage is a common issue with pie crusts, but easily avoided. The key is keeping the fat and dough cold throughout the process. Chilling the dough disc before rolling makes it easier to handle and ensures the fat stays solid. After fitting the dough into the pie plate, freezing it for 15-20 minutes is crucial. This sets the fat and gluten structure before the heat of the oven hits it.
Using pie weights during the initial blind baking phase provides support to the crust walls, preventing them from collapsing or shrinking down the sides of the plate. Ensure the weights fill the crust adequately, reaching up the sides to support the crimped edges. Removing the weights for the final few minutes of baking allows the bottom of the crust to brown and crisp up properly, ensuring a sturdy base for your velvety chocolate cream pie.
Part 2: Making the Chocolate Cream Filling
This is where the magic happens, transforming simple ingredients into the rich, velvety heart of the pie. Patience and constant stirring are your best friends here.
Achieving the Right Consistency
The desired consistency for this velvety chocolate cream pie filling is thick enough to hold its shape when sliced, yet smooth and luscious, not gummy or overly firm. This is achieved by carefully balancing the proportions of starch (cornstarch) and liquid (milk), and cooking the mixture properly. Using the specified amount of cornstarch is important; too little won't thicken enough, and too much can result in a pasty texture.
Mixing the dry ingredients (sugar, cocoa, cornstarch, salt) thoroughly before adding any liquid helps prevent lumps. Whisking them into a small amount of cold milk first to form a slurry can also help ensure a smooth start. As the mixture cooks, the starch granules absorb liquid and swell, causing the filling to thicken. Cooking it until it reaches a gentle boil and stirring constantly ensures the starch is fully activated and the filling is uniformly thick without scorching the bottom.
Cooking the Filling
In a medium saucepan, whisk together the sugar, cocoa powder, cornstarch, and salt. Gradually whisk in the cold whole milk until smooth. In a separate bowl, whisk the egg yolks. Slowly whisk about ½ cup of the milk mixture into the egg yolks to temper them, then pour the tempered egg yolks back into the saucepan with the remaining milk mixture.
Place the saucepan over medium heat and cook, whisking constantly, until the mixture thickens significantly and comes to a gentle boil. This should take about 8-10 minutes. Once it starts to boil, continue whisking and cook for an additional 1-2 minutes to ensure the starch is fully cooked and the filling is very thick. Remove the saucepan from the heat and stir in the butter and vanilla extract until the butter is melted and incorporated. If using, stir in the finely chopped chocolate until it's completely melted and smooth.
Cooling the Filling
Properly cooling the filling is essential for achieving that perfectly smooth, velvety texture and preventing a skin from forming on top. Once the filling is cooked and the butter and vanilla are stirred in, immediately pour it into a clean bowl or directly into the cooled baked pie crust.
If cooling in a bowl before transferring, press a piece of plastic wrap directly onto the surface of the filling. This prevents a skin from forming as it cools. Allow it to cool at room temperature for about 30-45 minutes, then transfer it to the refrigerator to chill completely.
If pouring directly into the crust, smooth the top and then cover the entire pie plate with plastic wrap, again ensuring the plastic touches the surface of the filling. The pie must chill in the refrigerator for at least 4 hours, preferably longer (up to 8 hours or overnight), for the filling to set fully.
Part 3: Assembling the Chocolate Cream Pie
With the crust baked and the filling cooked, the final assembly is straightforward, leading you closer to enjoying your velvety chocolate cream pie.
Pouring the Filling into the Crust
Once your baked pie crust has cooled completely on a wire rack – ensure it's truly cool, as a warm crust can make the filling watery or soggy – and your chocolate cream filling is ready (either freshly cooked or slightly cooled in a bowl), it's time to combine them. If the filling has cooled slightly in a bowl, give it a quick whisk to ensure it's smooth before pouring.
Carefully pour the warm or slightly cooled chocolate filling into the bottom of the cooled pie crust. Use a spatula or the back of a spoon to gently spread the filling evenly across the bottom and level the top. Ensure the filling reaches the edges of the crust. Avoid overworking the surface, as this can introduce air bubbles or disturb the smooth finish.
Chilling the Pie
Chilling is a non-negotiable step for any cream pie, and it's particularly important for setting the velvety texture of this chocolate filling. Once the filling is poured into the crust and the top is smoothed, cover the pie carefully. The best method is to place a piece of plastic wrap directly onto the surface of the filling, then loosely cover the entire pie plate. This prevents a skin from forming and protects the pie from absorbing refrigerator odors.
Refrigerate the assembled pie for a minimum of 4 hours. For the firmest, cleanest slices and the best set texture, chilling for 6-8 hours or even overnight is highly recommended. This extended chilling time allows the cornstarch and egg yolks to fully set the filling, resulting in that beautiful, sliceable, and indeed, velvety consistency that defines this chocolate cream pie recipe.
Part 4: Creating the Whipped Cream Topping (Optional)
A cloud of fresh whipped cream is the perfect complement to the rich chocolate filling, adding lightness and balancing the flavors.
Making Homemade Whipped Cream
Making homemade whipped cream is surprisingly simple and tastes infinitely better than aerosol cans or frozen tubs. Start with very cold heavy cream. Ensure your bowl and whisk attachment (if using a stand mixer) or beaters (if using a hand mixer) are also cold. Some bakers even pop their bowl and whisk into the freezer for 10-15 minutes before starting.
Pour the cold heavy cream into the chilled bowl. Begin whisking on medium speed. As the cream starts to thicken and soft peaks form (when you lift the whisk, the peaks curl over), gradually add the powdered sugar and vanilla extract. Increase the speed slightly and continue whisking until medium or stiff peaks form (the peaks stand up straight when the whisk is lifted). Be careful not to overbeat, or you'll end up with butter!
Sweetening the Whipped Cream
Powdered sugar is the preferred sweetener for whipped cream because it dissolves instantly, resulting in a smooth, non-gritty texture. The amount of powdered sugar can be adjusted to your preference, but 3 tablespoons per 1 ½ cups of heavy cream provides a nice balance – sweet enough to be dessert-like but not so sweet that it overwhelms the velvety chocolate cream pie filling.
Add the powdered sugar once the cream has begun to thicken slightly. This prevents the sugar from sinking to the bottom of the bowl or being flung out. Whisk it in gradually until fully incorporated and the desired level of sweetness is reached. The vanilla extract adds a lovely aromatic quality that pairs wonderfully with chocolate, enhancing the overall flavor profile of the topping.
Tips and Tricks for a Successful Chocolate Cream Pie
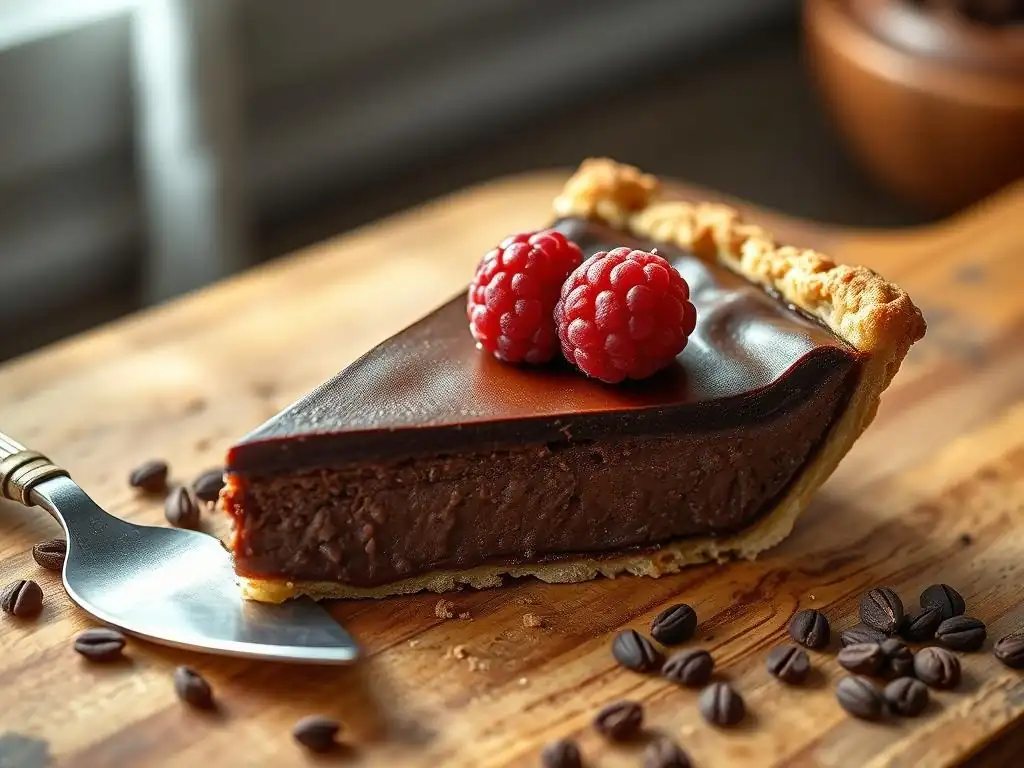
Even with a great recipe, a few extra tips can help ensure your velvety chocolate cream pie turns out flawlessly.
Achieving a Smooth Filling
- Sift dry ingredients: Sifting the cocoa powder, cornstarch, and sugar together before whisking in the milk helps break up any clumps in the cocoa and starch, leading to a smoother initial mixture.
- Whisk constantly: Once the saucepan is on the heat, do not stop whisking. Pay particular attention to the bottom and corners of the pan where the filling can scorch easily. Constant motion ensures even cooking and prevents lumps.
- Temper egg yolks properly: Slowly adding hot liquid to the yolks while whisking vigorously is key. This gently raises the temperature of the yolks without scrambling them.
- Press plastic wrap: Covering the filling directly with plastic wrap while it cools prevents the formation of a rubbery skin on the surface, which can ruin the smooth texture.
Preventing a Soggy Crust
- Blind bake thoroughly: Bake the crust until it is fully cooked and golden brown, not just pale. A fully baked crust is less likely to absorb moisture from the filling.
- Chill the crust: Freezing or refrigerating the formed crust before blind baking helps the fat stay solid longer in the oven, leading to a flakier, sturdier crust less prone to sogginess.
- Completely cool the crust: Ensure the baked crust is entirely cool before pouring in the warm filling. Heat can cause steam, which leads to a soggy bottom.
- Chill the assembled pie: The long chilling time allows the filling to set properly, reducing the time the crust is exposed to a loose, liquid filling.
Flavor Variations
While this velvety chocolate cream pie recipe is perfect as is, you can easily adapt it.
- Espresso: Add ½ to 1 teaspoon of instant espresso powder to the dry ingredients for a mocha flavor.
- Orange: Stir in ½ teaspoon of orange extract or the zest of one orange with the vanilla for a chocolate-orange twist.
- Mint: Add ¼ to ½ teaspoon of peppermint extract for a refreshing mint chocolate pie.
- Boozy: Stir in a tablespoon or two of rum, bourbon, or coffee liqueur with the butter and vanilla (adjust milk slightly if adding significant liquid).
Serving and Storing Your Chocolate Cream Pie
Presenting your beautiful velvety chocolate cream pie is almost as satisfying as eating it! Knowing how to store it properly ensures you can enjoy leftovers.
Garnishing Ideas
Elevate the presentation of your velvety chocolate cream pie with simple garnishes:
- Pipe or dollop generous amounts of fresh whipped cream over the top.
- Shave or grate some chocolate over the whipped cream.
- Dust lightly with cocoa powder.
- Add chocolate curls or chocolate chips.
- Top with fresh berries, such as raspberries or strawberries, which pair wonderfully with chocolate.
- Drizzle with chocolate syrup or a caramel sauce.
Storing Leftovers
Store leftover velvety chocolate cream pie in the refrigerator. The best way to keep it fresh is to cover the pie plate loosely with plastic wrap or aluminum foil. If you have individual slices, place them in an airtight container.
Properly stored, the pie will keep well in the refrigerator for 3 to 4 days. The crust may soften slightly over time, but the filling should remain creamy and delicious. It's generally not recommended to freeze a cream pie, as the filling's texture can become watery or grainy upon thawing due to the starch and egg base.
Enjoying the Pie
Serve your chilled velvety chocolate cream pie straight from the refrigerator. The cool temperature enhances the refreshing quality of the creamy filling. Slice the pie using a sharp knife, wiping the blade clean between slices for the neatest presentation.
Enjoy each bite of the smooth, rich chocolate filling against the backdrop of the flaky crust and light whipped cream. This pie is best enjoyed fresh, ideally within a couple of days of making it, to fully appreciate its textures and flavors. Pair it with a cup of coffee or tea for a truly delightful dessert experience.
Troubleshooting Your Chocolate Cream Pie
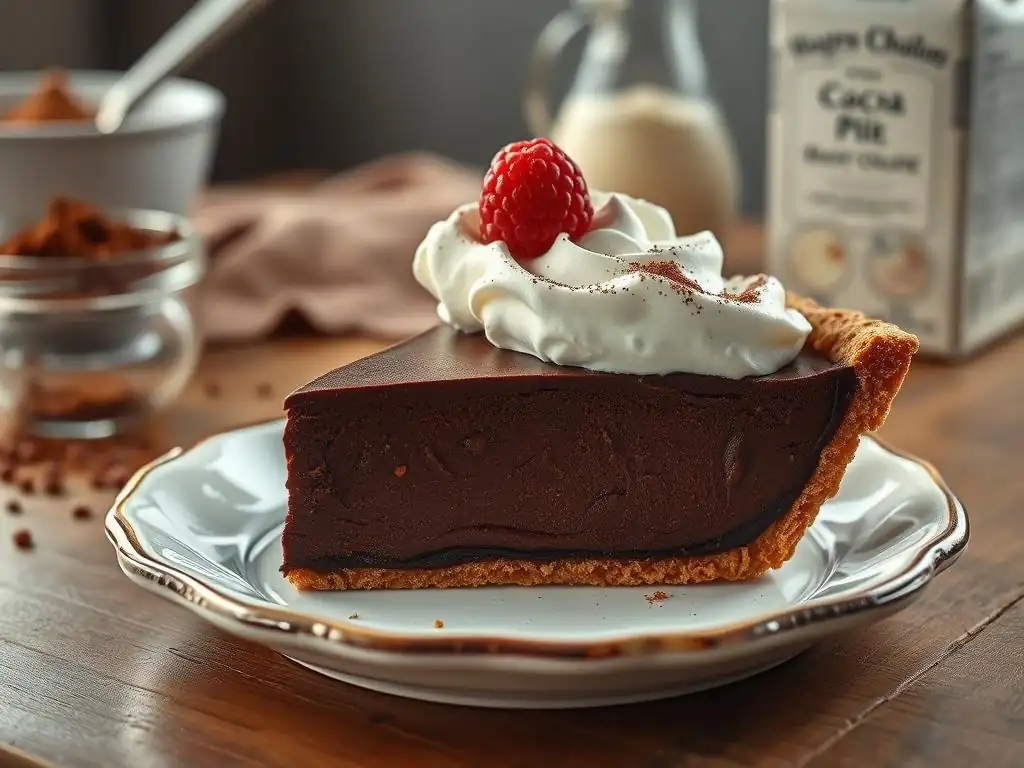
Even experienced bakers sometimes encounter minor issues. Here are solutions to common problems when making this velvety chocolate cream pie recipe.
Common Problems and Solutions
- Filling is too thin: This usually means the filling wasn't cooked long enough for the starch to fully thicken. Return the filling to the saucepan and cook over medium heat, whisking constantly, until it thickens to the desired consistency and boils gently for 1-2 minutes. If already in the crust and chilled, you might need to scoop it out, reheat gently with a tablespoon or two of cornstarch mixed with a little milk, cook until thick, and pour back into the crust (this can affect texture slightly).
- Filling is lumpy: Lumps typically occur if the dry ingredients weren't whisked thoroughly before adding liquid, or if the filling wasn't stirred constantly while cooking. Sifting dry ingredients helps prevent this. For a lumpy finished filling, you can try pressing it through a fine-mesh sieve while it's still warm before chilling, though this is a bit tedious.
- Crust is soggy: This often happens if the crust wasn't fully blind-baked, not chilled enough before baking, or if warm filling was added to a warm crust. Ensure your crust is golden and crisp when blind-baked, and always let it cool completely. Make sure the assembled pie chills for the minimum required time.
Filling is Too Thin
If, after chilling for the recommended 4+ hours, your velvety chocolate cream pie filling hasn't set properly and is still too runny, the most likely cause is insufficient cooking time or temperature. The cornstarch needs to reach a certain temperature and boil gently for a minute or two to activate its thickening power fully.
To fix this, you'll need to carefully scoop the filling out of the pie crust and return it to a saucepan. Create a slurry with 1-2 tablespoons of cornstarch mixed with an equal amount of cold milk or water, ensuring it's smooth. Whisk this slurry into the filling in the saucepan. Heat the mixture over medium heat, whisking constantly, until it comes back to a gentle boil and thickens significantly.
Boil for 1-2 minutes while whisking. Pour the thickened filling back into the cooled crust and re-chill thoroughly for several hours until set. While this method works, reheating and re-chilling can sometimes slightly alter the texture compared to getting it right the first time.
Crust is Cracked
A cracked pie crust can happen during rolling, transferring to the pie plate, or even during baking if it shrinks unevenly. Small cracks in the bottom of the crust aren't usually a major issue for a cream pie, as the filling will likely seal them. However, large cracks, especially on the sides or bottom, can allow the filling to seep through, resulting in a messy or soggy crust.
If you notice cracks before baking, you can patch them by moistening the edges of the crack slightly with water and pressing a small piece of reserved dough over the top, blending the edges. If cracks appear after baking, you can try sealing them with a thin layer of melted chocolate or a simple egg white wash brushed on and baked for a few more minutes, but this isn't always effective. The best approach is prevention: handle the dough gently, don't overwork it, ensure it's properly chilled, and use pie weights for support during blind baking.
More Pie Recipes You Might Enjoy
If you loved making this velvety chocolate cream pie, you might enjoy exploring other classic cream and custard pies. Expand your baking repertoire with these delicious options.
Key Lime Pie Recipe
Originating from Key West, Florida, Key Lime Pie is a tangy and sweet dessert made with Key lime juice, egg yolks, and sweetened condensed milk in a pie crust (often graham cracker, but sometimes pastry). The filling sets without baking, relying on the acidity of the lime juice to thicken the mixture. It's typically topped with meringue or whipped cream.
A classic recipe usually calls for about ½ cup of fresh Key lime juice whisked with one can (approx. 14 ounces) of sweetened condensed milk and 3-4 egg yolks, poured into a pre-baked crust, and chilled. Some versions bake the filling briefly.
Coconut Cream Pie Recipe
Another beloved classic, Coconut Cream Pie features a rich, creamy custard filling flavored with coconut, often containing shredded coconut within the filling itself. The filling is cooked on the stovetop, similar to chocolate cream pie, using milk, sugar, cornstarch or flour, and egg yolks, with coconut extract and shredded coconut added. It's poured into a pre-baked pastry crust and chilled until set.
It's traditionally generously topped with whipped cream and toasted coconut flakes for garnish. A typical recipe might use 2 cups of milk, ½ cup sugar, ¼ cup cornstarch, 3 egg yolks, 1 cup shredded coconut, and 1 teaspoon coconut extract for the filling of a 9-inch pie.
Frequently Asked Questions
What makes this chocolate cream pie recipe "velvety"?
The velvety texture comes from using high-quality chocolate and a custard base that is carefully tempered and then chilled. This ensures a smooth, rich, and creamy result.
Is this recipe difficult for beginner bakers?
While it involves a few steps, the recipe is designed with clear instructions and easy-to-find ingredients. Beginners can succeed by carefully following the step-by-step guide.
What kind of chocolate is best for this pie?
We recommend using a high-quality dark chocolate with a cocoa percentage between 60-70% for the best flavor and texture. Semi-sweet chocolate can also be used.
Can I use a pre-made pie crust?
Yes, using a pre-made pie crust is perfectly acceptable and can save you time. Just be sure to blind bake it according to the crust's instructions before adding the chocolate filling.
How long does the pie need to chill before serving?
The pie needs to chill for at least 4 hours, or preferably overnight, to allow the custard to fully set and the flavors to meld. This ensures the perfect consistency and taste.
Final Reflection: The Enduring Allure of a Perfect Pie
The velvety chocolate cream pie, a seemingly simple dessert, holds a power far beyond its deliciousness. It's a testament to the enduring human need for comfort, celebration, and the simple joy of sharing something truly special. In a world often dominated by fleeting trends, the classic appeal of this pie remains a constant, a comforting presence on tables across generations.
The recipe's impact extends beyond mere culinary satisfaction; it's a vehicle for connection. It's the shared experience of baking, the anticipation of the first bite, the happy murmurs around a table laden with this rich treat. This pie transcends mere sustenance; it becomes a symbol of togetherness, a tangible representation of love and care. The best things in life are the people we love, the places we've been, and the memories we've made along the way.
This sentiment perfectly encapsulates the emotional resonance of sharing a perfectly crafted chocolate cream pie.
Now, I invite you to consider the power of simple pleasures. Think about the recipes that hold special meaning in your life, the dishes that evoke cherished memories and connections. Perhaps this velvety chocolate cream pie recipe will inspire you to bake something special, to share a moment of joy with loved ones, or simply to savor the deliciousness of a perfectly crafted dessert. Let the rich, creamy texture and decadent flavor be a reminder to appreciate the simple things that bring profound happiness.
Unleash Your Inner Pastry Chef!
Thanks for joining us on this delicious journey into the world of chocolate cream pie! We hope you’ve gained some valuable tips and tricks to create a pie that's truly unforgettable. Ready to take your baking skills to the next level?
- Bake your masterpiece! Use the recipe from this article to create your own velvety smooth chocolate cream pie. Impress your friends and family with this showstopper dessert!
- Share your creation! Post a picture of your pie on social media and tag us @BakeWithEase – we’d love to see your baking success!
- Explore more decadent recipes: Dive into our recipe archive for more inspiration. Find countless amazing recipes to satisfy any sweet tooth!
What unique twist will you add to this classic recipe to make it your own?