
Authentic Chinese Egg Tarts Made Easy

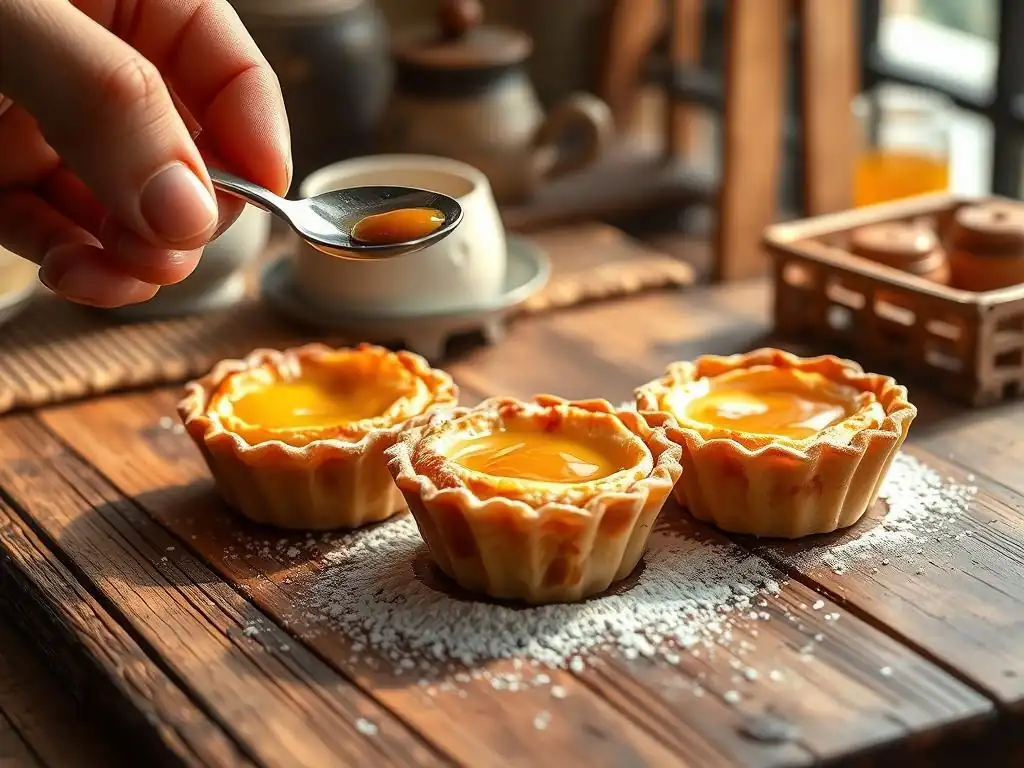
Welcome to BakeWithEase, your guide to baking bliss! Ever dreamt of creating those delicate, custard-filled wonders you find in dim sum restaurants? This week, we're demystifying the art of Easy Authentic Chinese Egg Tarts. Prepare to be amazed at how simple it is to recreate this iconic treat in your own kitchen. Curious about the secret to that flaky crust and silky smooth filling? Let's get baking!
- Authentic Portuguese Custard Tarts (Pastéis de Nata) Made Easy: A BakeWithEase Guide
- Bake Authentic Portuguese Custard Tarts at Home: A Simplified Recipe
- What Makes This Portuguese Custard Tart Recipe Easy?
- Mastering the Puff Pastry Crust: Step-by-Step
- Crafting the Silky Custard Filling
- Baking Your Portuguese Custard Tarts to Golden Perfection
- Troubleshooting Common Custard Tart Baking Problems
- Variations and Creative Twists on the Classic Custard Tart
- Storing and Reheating Your Custard Tarts
- Enjoy Your Easy Authentic Portuguese Custard Tarts!
- Frequently Asked Questions
- Final Reflection: The Enduring Allure of Authentic Flavors, Made Simple
- Unlock Your Inner Pastry Chef: Bake the Perfect Egg Tart Today!
Authentic Portuguese Custard Tarts (Pastéis de Nata) Made Easy: A BakeWithEase Guide
Bake Authentic Portuguese Custard Tarts at Home: A Simplified Recipe
Welcome to BakeWithEase, where we believe that authentic, delicious baking should be accessible to everyone! Today, we're diving into the world of Portuguese pastries to bring you a simplified recipe for the iconic Pastéis de Nata. These delightful custard tarts, with their flaky crust and rich, caramelized filling, are a taste of Portugal right in your kitchen. While they might seem intimidating at first glance, our step-by-step guide focuses on making this traditional treat achievable for bakers of all skill levels.
Our goal with this guide is to demystify the process of creating easy authentic Portuguese custard tarts. We'll walk you through preparing both the characteristic puff pastry shell and the silky-smooth custard filling, offering tips and tricks to ensure success. Forget complicated techniques; we've streamlined the steps so you can enjoy fresh, warm Pastéis de Nata with minimal fuss. Get ready to impress yourself and your loved ones with these irresistible homemade custard tarts!
What Makes This Portuguese Custard Tart Recipe Easy?
Simple Ingredients for Authentic Flavor
One of the secrets to making easy authentic Portuguese custard tarts is relying on high-quality, yet simple, ingredients. You don't need a long list of obscure items to achieve that classic taste. Our recipe primarily calls for pantry staples you likely already have: flour, sugar, eggs, milk, butter, and a hint of flavor from lemon zest or cinnamon stick. Using readily available ingredients cuts down on prep time and makes the process much less daunting.
For instance, the custard base relies on a straightforward combination of milk, egg yolks, and sugar thickened with a touch of flour or cornstarch. While some traditional recipes use a sugar syrup, our simplified approach integrates the sugar directly into the milk mixture, reducing a separate cooking step. This focus on basic, accessible components ensures that anyone can gather the necessary ingredients quickly and start baking their own delicious Pastéis de Nata without a special trip to a gourmet store.
Streamlined Baking Process for Beginners
Our BakeWithEase approach focuses on simplifying traditional techniques without sacrificing flavor or texture. For the pastry, while authentic Pastéis de Nata use a special laminated dough, we offer techniques that make working with puff pastry much more manageable, even suggesting using quality store-bought puff pastry as a fantastic shortcut for truly easy authentic Portuguese custard tarts. This eliminates the most time-consuming step for many home bakers.
The custard preparation is also designed for ease. Instead of complex tempering or multiple cooking stages, our method involves gently heating and thickening the mixture on the stovetop until it reaches the perfect consistency. We provide clear visual cues and timing guidelines to take the guesswork out of the process. By breaking down each stage into simple, manageable steps, we make baking these delightful custard tarts an enjoyable and successful experience for even the most novice baker.
Mastering the Puff Pastry Crust: Step-by-Step
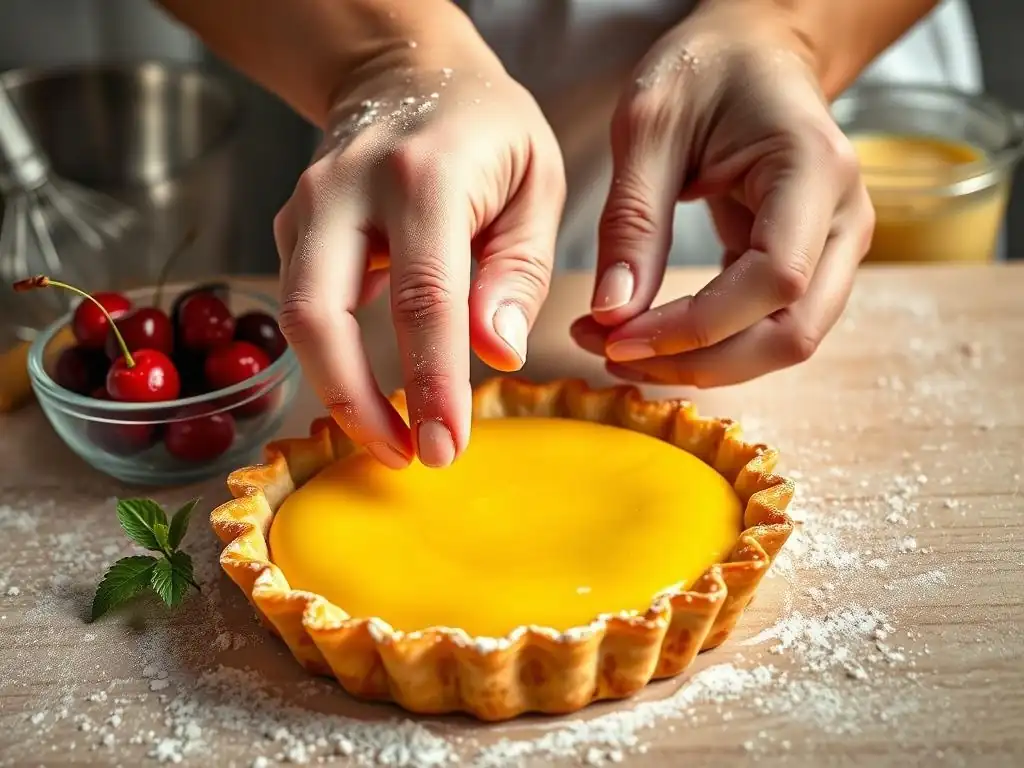
Ingredients for the Perfect Puff Pastry
To create the signature flaky base for your easy authentic Portuguese custard tarts, you'll need just a few key ingredients. If you're making your own rough puff pastry, you'll need cold unsalted butter (around 250-300 grams), all-purpose flour (approximately 250 grams), a pinch of salt, and very cold water (about 120-150 ml). The success of the pastry hinges on keeping everything cold, especially the butter, which should be cut into small cubes or grated.
Alternatively, for the ultimate in easy Pastéis de Nata, a high-quality, all-butter store-bought puff pastry is an excellent choice. Look for brands that use real butter, as this significantly impacts the flavor and flakiness. A standard pack, typically around 300-500 grams, is usually sufficient to make 12 standard-sized custard tarts. Using ready-made pastry drastically reduces preparation time, allowing you to get to the baking (and eating!) stage much faster.
Preparing the Puff Pastry: Tips and Tricks for Lamination
If you're venturing into making your own rough puff pastry for your homemade custard tarts, the key is creating layers of butter within the dough. Start by combining the flour and salt, then cut in the cold butter until the pieces are still visible, about the size of small peas. Gradually add the ice-cold water, mixing just until the dough comes together – avoid overworking it.
Once the dough forms, turn it onto a lightly floured surface and perform a series of "folds" or "turns." Roll the dough into a rectangle, fold one-third up and the other third down, like a letter. Rotate the dough 90 degrees and repeat the roll and fold process. Rest the dough in the refrigerator for at least 30 minutes between turns. Repeating this process 3-4 times builds the layers necessary for that characteristic puff. Remember to keep the dough and your workspace cold throughout this process.
Shaping the Dough for Custard Tarts
Properly shaping the puff pastry is crucial for creating those beautiful, crisp shells for your easy Portuguese custard tarts. Once your puff pastry (either homemade or store-bought) is well-chilled, roll it out on a lightly floured surface into a rectangle about 3-4 mm thick. For a rustic, authentic look and optimal layers, tightly roll the dough into a log shape along the longer edge.
Cut the log into slices about 1.5-2 cm thick. Each slice will become one tart shell. Place each slice cut-side down into the cups of a well-greased muffin tin (traditional Pastéis de Nata tins are ideal, but muffin tins work perfectly).
Using your thumbs, press the dough from the center outwards and up the sides of the tin, creating a thin, even cup. Aim for the pastry to come slightly above the rim, as it will shrink down during baking. This pressing technique ensures the layers of the puff pastry are oriented vertically, allowing them to puff up beautifully in the oven.
Crafting the Silky Custard Filling
Ingredients for a Smooth Custard
The heart of the easy authentic Portuguese custard tart is its rich, smooth filling. You'll need milk (whole milk is recommended for richness, about 500-600 ml), granulated sugar (around 200-250 grams), egg yolks (typically 6-8 yolks, depending on size), and a thickening agent like cornstarch or flour (about 2-3 tablespoons). For that classic flavor, include a strip of lemon zest and/or a cinnamon stick to infuse the milk.
Using fresh, large egg yolks is key to achieving a vibrant yellow color and creamy texture. The sugar provides sweetness and contributes to the caramelization on top during baking. The cornstarch or flour helps thicken the custard to the right consistency so it sets properly within the pastry shell. These simple components, when combined and cooked correctly, transform into the luxurious filling that defines Pastéis de Nata.
Preparing the Custard: Achieving the Right Consistency
To prepare the custard for your homemade custard tarts, begin by gently heating the milk with the lemon zest and cinnamon stick in a saucepan over medium heat until it's warm but not boiling. While the milk heats, whisk together the sugar, egg yolks, and cornstarch (or flour) in a separate bowl until smooth and pale.
Once the milk is warm, remove the lemon zest and cinnamon stick. Slowly pour about half of the warm milk into the egg yolk mixture while whisking constantly – this is tempering the yolks and prevents them from scrambling. Pour the tempered mixture back into the saucepan with the remaining milk.
Cook over medium-low heat, stirring constantly with a wooden spoon or whisk, until the custard thickens enough to coat the back of the spoon (this usually takes 5-10 minutes). Avoid boiling, as this can make the custard lumpy or rubbery. Strain the custard through a fine-mesh sieve into a clean bowl to ensure it's perfectly smooth, then cover the surface directly with plastic wrap to prevent a skin from forming as it cools slightly.
Tips for Preventing a Burnt Custard Top
Achieving the characteristic dark, blistered top on Pastéis de Nata is part of their charm, but you want it caramelized, not burnt. The key is the high baking temperature and the position in the oven. Bake your easy authentic Portuguese custard tarts at a very high temperature, typically 250°C (475°F) or even higher, using the top rack of the oven.
This intense heat quickly bakes the pastry while caramelizing the surface of the custard. Keep a close eye on them during the last few minutes of baking. The tops should develop dark brown spots and blisters, but if they start to turn uniformly black, they are burning. If your oven has a broiler function, you can also finish them under the broiler for a minute or two at the very end to achieve the char, but watch them very carefully as this happens extremely quickly.
Baking Your Portuguese Custard Tarts to Golden Perfection
Oven Temperature and Baking Time: The Key to Success
Baking Pastéis de Nata requires a very hot oven to achieve that unique combination of flaky pastry and caramelized custard. Preheat your oven to a high temperature, ideally between 250°C (475°F) and 275°C (525°F). This intense heat is critical for developing the puff pastry layers quickly and creating the signature dark spots on the custard surface.
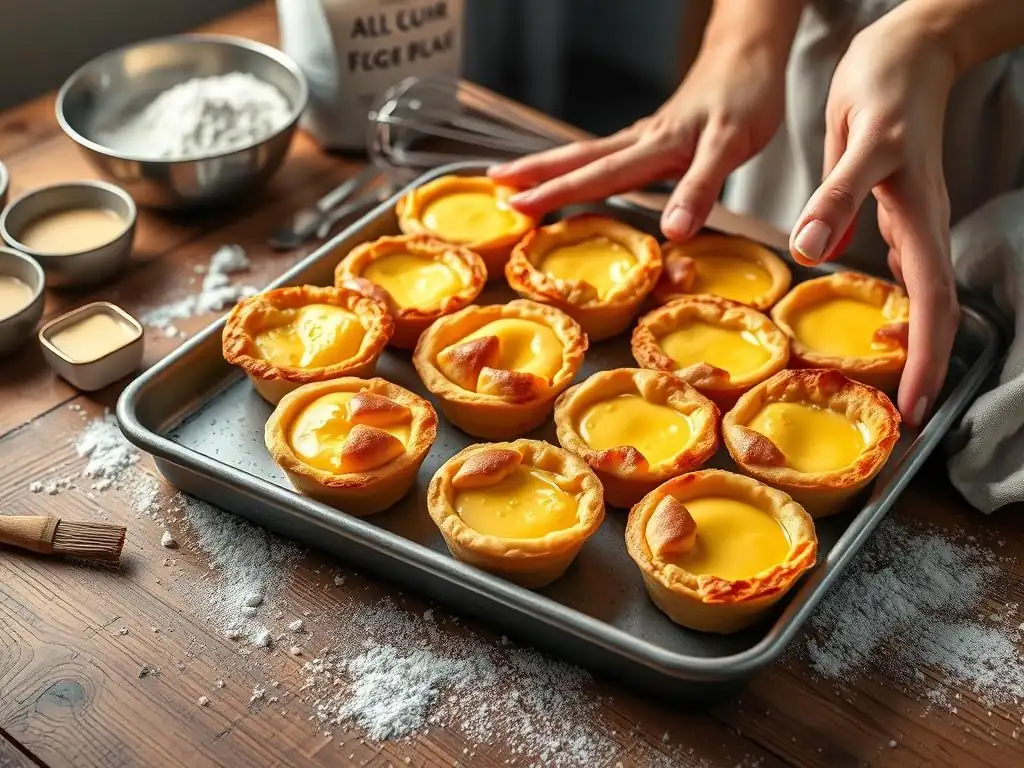
Place the muffin tin containing the filled pastry shells on the top rack of the preheated oven. The baking time is surprisingly short, usually between 10 and 15 minutes, depending on your oven's temperature and how dark you like the custard tops. The pastry should be golden brown and crisp, and the custard should be bubbling and have developed those desirable dark, blistered patches on the surface. Do not be afraid of the high heat; it's essential for authentic results.
Achieving the Perfect Charred Top
The hallmark of a truly authentic Pastéis de Nata is the surface of the custard, which features scattered dark brown to black blisters and spots. This isn't burnt; it's caramelized sugar and milk solids created by the intense heat. To achieve this, ensure your oven is at the specified very high temperature and the tarts are on the top rack, close to the heating element.
As the tarts bake, the custard will bubble up. The areas that bubble highest and are closest to the heat source will develop these dark spots. If after 10-12 minutes the pastry is golden but the custard tops are still pale yellow, you can carefully move the tin closer to the top heating element or use the broiler for 30-60 seconds (watch constantly as they can burn in seconds). The goal is distinct dark spots, not a uniformly dark surface.
Cooling and Serving Your Homemade Custard Tarts
Once your easy authentic Portuguese custard tarts have achieved their golden pastry and perfectly blistered tops, carefully remove the tin from the oven. It's crucial to let them cool slightly in the tin for a few minutes before attempting to remove them. This allows the structure to set and prevents them from falling apart.
After 5-10 minutes, use a small offset spatula or knife to gently loosen the edges and transfer the tarts to a wire rack to cool further. While they are delicious warm, allowing them to cool for at least 15-20 minutes helps the custard set completely. Serve them warm or at room temperature, traditionally dusted with cinnamon and/or powdered sugar. The contrast between the warm, creamy filling and the crisp, flaky crust is simply divine.
Troubleshooting Common Custard Tart Baking Problems
Soggy Crust Solutions
A soggy bottom is a common frustration when baking custard tarts, including homemade custard tarts like Pastéis de Nata. This usually happens when the pastry isn't fully baked before the moisture from the custard seeps into it. To prevent this with your easy authentic Portuguese custard tarts, ensure your oven is preheated to the correct, very high temperature. The intense heat is necessary to quickly set and crisp the pastry.
Also, make sure the pastry cups are pressed thinly and evenly into the tin, especially the bottom. A thicker bottom takes longer to bake and is more prone to sogginess. Some bakers also find success by briefly blind-baking the pastry shells for 3-5 minutes before adding the custard, though this recipe is designed to work without that extra step if baked at the proper high temperature. Using well-chilled, good quality puff pastry is also key.
Overcooked or Underbaked Filling Fixes
Getting the custard filling just right is crucial for perfect easy Portuguese custard tarts. An underbaked filling will be runny and won't set, while an overcooked filling can become rubbery or curdled. When cooking the custard on the stovetop, stir constantly over medium-low heat until it thickens to coat the back of a spoon. If it seems too thick, you might have cooked it too long or used too much thickener; a splash of milk can sometimes rescue it if caught early.
During the final oven bake, if the pastry is golden but the custard still looks liquidy or wobbly throughout (not just bubbling), it needs more time. If the tops are getting too dark, loosely tent the tin with foil. If the custard looks set but the tops aren't caramelized, use the broiler very briefly, watching constantly. Remember, the custard will continue to set slightly as it cools.
Avoiding a Rubbery Custard
A rubbery texture in your homemade custard tarts is usually a sign of overcooking the custard, either on the stovetop or in the oven, or using too much egg yolk or thickener relative to the liquid. When cooking the custard base, heat it gently and remove it from the heat as soon as it thickens to the desired consistency – it should be smooth and pourable, not stiff like pudding.
During the final bake, rely on the high heat and short baking time. While the tops should caramelize and bubble, the internal temperature of the custard shouldn't get excessively high for too long. Baking at the recommended very high temperature for 10-15 minutes is typically sufficient to set the custard while keeping it silky. Ensure your measurements for egg yolks and thickener (cornstarch/flour) are accurate according to the recipe.
Variations and Creative Twists on the Classic Custard Tart
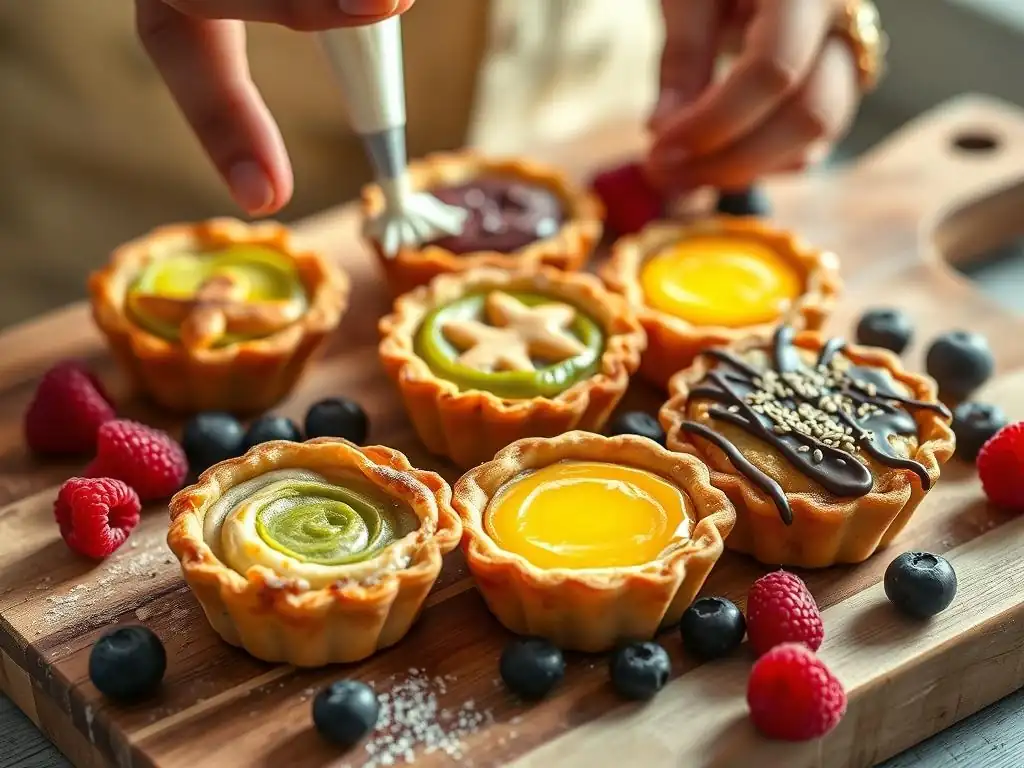
Adding Flavors: Lemon, Cinnamon, or Vanilla
While the classic Pastéis de Nata features simple lemon and cinnamon infusion, you can easily add other flavors to your easy authentic Portuguese custard tarts. For a stronger citrus note, add more lemon zest or even a strip of orange zest to the milk as it heats. Ensure you remove the zest before adding the egg mixture.
Vanilla is another popular addition. You can scrape the seeds from half a vanilla bean and add them to the milk, or use a teaspoon of high-quality vanilla extract added to the finished custard after it's cooked and strained. Be cautious not to add too much, as it can overpower the delicate custard flavor. Experiment with these simple additions to find your favorite variation on the classic.
Infusing the Custard: Citrus Zest or Spices
Infusing the milk is the traditional way to impart subtle flavor into the custard for authentic Pastéis de Nata. The most common infusions are a strip of lemon peel (avoiding the bitter white pith) and a cinnamon stick. Add these to the cold milk at the start and heat gently. Let them steep in the warm milk for 10-15 minutes before removing them prior to tempering the egg yolks.
Beyond lemon and cinnamon, consider infusing other spices like a star anise pod or a few cardamom pods for a different aromatic profile. For a warmer, spicier note, a small piece of fresh ginger can also be added during the milk heating phase. Remember to strain the custard thoroughly after cooking to remove any solid pieces of zest or spice.
Caramelizing the Top: Broiler Techniques
As mentioned earlier, achieving the signature charred spots on your homemade custard tarts is key. While a super-hot oven often does the job, using your broiler can give you more control over the caramelization process, especially if your oven doesn't reach very high temperatures or heats unevenly.
After the tarts have baked and the pastry is golden, if the custard tops are still pale, carefully place the tin under a preheated broiler set to high. Position the rack about 6-8 inches from the heating element. Watch the tarts continuously. The tops will blister and brown rapidly, often in under a minute. As soon as they reach your desired level of caramelization, remove them immediately. This technique requires vigilance but can yield beautifully charred tops quickly.
Storing and Reheating Your Custard Tarts
Best Practices for Keeping Custard Tarts Fresh
Easy authentic Portuguese custard tarts are undeniably best enjoyed warm from the oven, but they can be stored. Once completely cooled, store them in an airtight container at room temperature for 1-2 days. If your kitchen is particularly warm or humid, or if you plan to keep them longer, storing them in the refrigerator is advisable.
When refrigerating, place them in a single layer in an airtight container. Stored this way, they will keep for up to 3-4 days. Be aware that refrigeration can slightly affect the crispness of the pastry. For longer storage, you can freeze baked and cooled tarts. Wrap each tart individually in plastic wrap, then place them in a freezer-safe container or bag. They can be frozen for up to 2-3 months.
Reheating Tips for Optimal Texture and Flavor
To revive the glorious texture of your homemade custard tarts, reheating is highly recommended, especially if they've been refrigerated. Avoid using a microwave, as it will make the pastry soggy. The best way to reheat is in a conventional oven or a toaster oven.
Preheat your oven to around 180°C (350°F). Place the tarts directly on a baking sheet or the oven rack. Bake for 5-10 minutes, or until the pastry is crisp again and the custard is warmed through. If reheating from frozen, you can often bake them directly from frozen at the same temperature, adding a few extra minutes (around 15-20 minutes total), until they are heated through and the pastry is crisp. Reheating them restores much of their original charm and makes them feel freshly baked.
Enjoy Your Easy Authentic Portuguese Custard Tarts!
You've done it! You've successfully made easy authentic Portuguese custard tarts right in your own kitchen. From mastering the puff pastry to crafting the silky custard and achieving that perfect caramelized top, you've experienced the joy of baking these iconic treats with BakeWithEase.
Now comes the best part: enjoying the fruits of your labor. Serve your homemade custard tarts warm, perhaps with a dusting of cinnamon, just like they do in Lisbon. Share them with friends and family, or savor them all yourself – we won't tell! We hope this simplified guide has empowered you to bake these delightful Pastéis de Nata with confidence and ease. Happy baking!
Frequently Asked Questions
What makes these Chinese egg tarts "easy" to make?
This recipe simplifies the process by focusing on easily accessible ingredients and clear, concise instructions, eliminating complex techniques often found in traditional recipes.
Are the ingredients for these egg tarts readily available?
Yes, the recipe uses common baking ingredients such as flour, butter, sugar, eggs, and milk, all of which are easily found in most grocery stores.
How do these egg tarts compare to authentic Hong Kong-style egg tarts?
While simplified for ease, the recipe aims to capture the authentic flavor and texture of Hong Kong-style egg tarts, focusing on the essential elements of the custard and pastry.
What are some tips for preventing the egg tarts from cracking during baking?
Avoid overbaking the tarts. Bake until the custard is just set, with a slight wobble in the center. Cooling them slowly can also prevent rapid temperature changes that lead to cracking.
Can I freeze these egg tarts for later?
Yes, you can freeze baked egg tarts. Allow them to cool completely, then wrap them individually or in a container. Thaw completely before enjoying for best results.
Final Reflection: The Enduring Allure of Authentic Flavors, Made Simple
The pursuit of authentic culinary experiences needn't be daunting; mastering the art of the perfect Chinese egg tart is a testament to this. This article has demonstrated that achieving the delicate balance of flaky pastry and creamy, custard-like filling, synonymous with authentic Chinese egg tarts, is entirely within reach, even for novice bakers. The simplicity of the recipes presented proves that tradition and ease can coexist beautifully.
The enduring appeal of these little pastries lies not just in their deliciousness, but in their ability to transport us to another time and place. They represent a connection to culinary heritage, a shared experience across generations and cultures. Food is symbolic of love when words are inadequate.
– Alan D. Wolfelt. This sentiment rings especially true when considering the effort and love poured into creating these tarts, whether for oneself or to share with others. The act of baking them becomes a form of storytelling, a way to pass on tradition and create lasting memories.
Now, it's your turn. Don't let the perceived complexity of authentic recipes hold you back. Gather your ingredients, embrace the process, and experience the joy of creating these exquisite treats. The satisfaction of biting into a perfectly baked egg tart, knowing you made it with your own hands, is a reward far greater than any store-bought version could offer. So, roll up your sleeves, and let the adventure of authentic baking begin!
Unlock Your Inner Pastry Chef: Bake the Perfect Egg Tart Today!
Thanks for joining us on this delicious journey into the world of authentic Chinese egg tarts! We hope you’ve gained the confidence to tackle this seemingly complex recipe. Now it's time to put your newfound skills to the test.
- Bake your own batch of egg tarts! Use the recipe we shared and let your creativity shine. Try adding a twist – perhaps a sprinkle of cinnamon or a different type of pastry crust.
- Share your baking adventure! Post pictures of your creations on social media and tag us – we’d love to see your delicious results.
- Join our baking community! Head over to the BakeWithEase forum to share tips, ask questions, and connect with fellow baking enthusiasts. We're always happy to help!
So, what flavour twist will you add to your first perfect egg tart? Let's hear about it in the comments below!