
Bake With Ease: Simple Steps to a Classic Treacle Tart

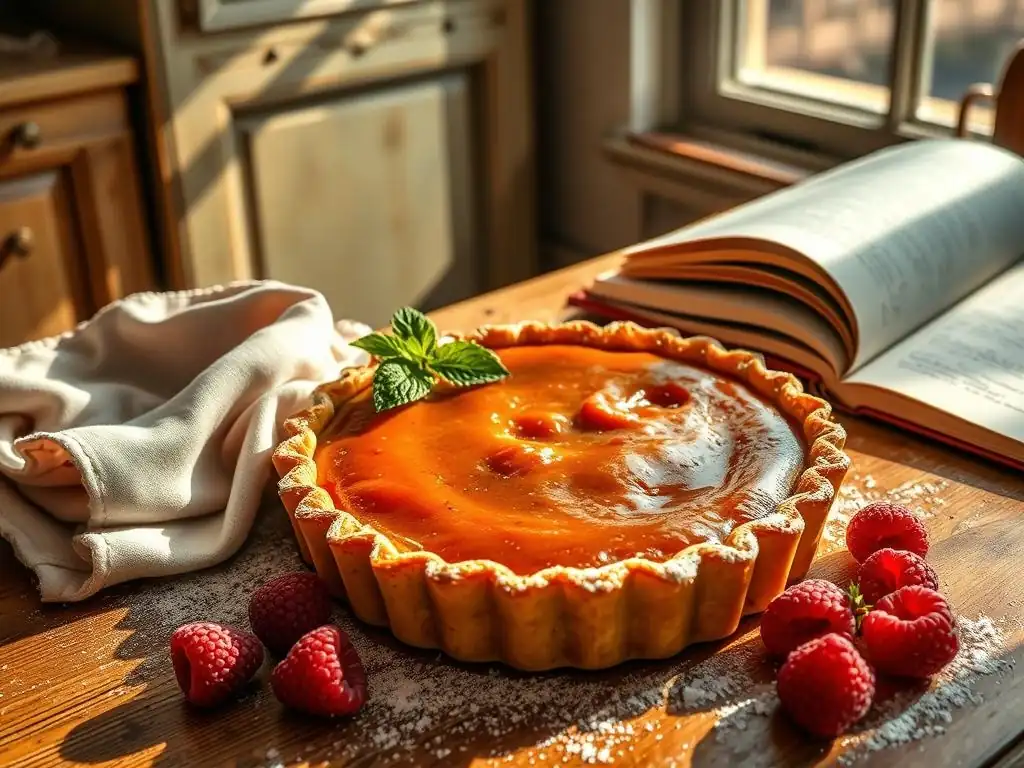
Welcome to BakeWithEase, where baking dreams become delicious realities! Ever wondered if you could conquer a classic British dessert with minimal fuss? This week, we're diving deep into the golden, gooey goodness of an easy treacle tart recipe. Get ready to unlock the secrets to a perfectly balanced, melt-in-your-mouth treat. What if we told you that achieving bakery-quality results is simpler than you think? Let's get started and discover the magic!
- Introduction to Treacle Tart: A British Baking Favorite
- Gathering Your Ingredients for the Perfect Treacle Tart
- Step-by-Step Guide: Making the Shortcrust Pastry from Scratch
- Preparing the Delicious Treacle Filling
- Assembling and Baking Your Treacle Tart
- Tips for a Flawless Treacle Tart
- Serving and Storing Your Treacle Tart
- Variations on the Classic Treacle Tart Recipe
- Conclusion: Enjoy Your Homemade Treacle Tart!
-
Frequently Asked Questions
- What exactly is a treacle tart, and what makes it "easy"?
- Can I use pre-made pastry to make the treacle tart even easier?
- What kind of golden syrup should I use for the best results?
- What if I don't have lemon juice? Can I substitute it with something else?
- How do I prevent the pastry crust from becoming soggy?
- Final Reflection: The Enduring Sweetness of Simple Baking
- Unlock Your Inner Baker: Master the Art of Treacle Tart!
Introduction to Treacle Tart: A British Baking Favorite
What is Treacle Tart? A Brief History
Treacle tart is a beloved classic of British baking, a sweet and sticky dessert that has graced tables for generations. At its heart, it's a simple pastry case filled with a rich mixture primarily made from golden syrup and fresh breadcrumbs, often with a hint of lemon. While its exact origins are debated, recipes for treacle tart began appearing in cookbooks around the late 19th and early 20th centuries. It quickly became a staple, particularly associated with school dinners and traditional tea rooms, valued for its comforting warmth and satisfying sweetness.
The defining ingredient, golden syrup, was invented in 1883 by Abram Lyle and is a key component that gives the tart its unique glossy texture and characteristic flavour. Unlike darker treacles, golden syrup is a lighter, partially inverted sugar syrup with a distinct buttery caramel note. Paired with breadcrumbs, which act as a binder and provide texture, and the bright counterpoint of lemon, the treacle tart is a testament to how simple ingredients can create something truly delicious and enduringly popular in the British culinary landscape.
Why This Easy Treacle Tart Recipe is Perfect for Beginners
Embarking on the journey of making a classic British dessert might seem daunting, especially if you're new to baking. However, this easy treacle tart recipe is specifically designed to make the process approachable and enjoyable for beginners. We break down each step into manageable tasks, from creating a simple shortcrust pastry (don't worry, we'll guide you!) to mastering the sticky-sweet filling. Many common baking anxieties, like working with pastry or achieving the right filling consistency, are addressed with clear instructions and helpful hints built into the steps.
This easy treacle tart recipe focuses on fundamental techniques that are transferable to many other baking projects. You'll learn the basics of making and handling pastry dough, understanding how different ingredients interact, and recognizing visual cues for doneness. We simplify traditional methods where possible without sacrificing the authentic taste and texture of a perfect treacle tart. By following these simple steps, you'll gain confidence in the kitchen and be able to produce a truly satisfying dessert that tastes like it came from a professional bakery, proving that classic baking can indeed be done with ease.
Gathering Your Ingredients for the Perfect Treacle Tart
Ingredients List for the Shortcrust Pastry
Making a good treacle tart starts with a reliable pastry base. For a standard 20-23cm tart tin, you'll typically need about 200-225 grams of plain flour. This provides the structure for the crust. Alongside the flour, you'll need around 100-115 grams of cold fat – a mix of cold butter and lard is traditional for flakiness, but cold butter alone works well too. A pinch of salt (about 1/4 teaspoon) enhances the flavour, and a little sugar (maybe a tablespoon) can be added for a slightly sweeter crust, though it's optional.
The final essential ingredient for the pastry is cold water, usually just a few tablespoons, enough to bring the dough together without making it sticky. The exact amount of water can vary slightly depending on the flour and humidity, so it's always best to add it gradually. Using cold ingredients and handling the dough minimally are key secrets to achieving a tender, flaky shortcrust pastry that will perfectly complement the sweet filling of your easy treacle tart recipe.
Ingredients List for the Treacle Filling
The heart of the treacle tart is its rich, gooey filling, and it requires just a few key components. The star is undoubtedly golden syrup, and you'll need a generous amount – typically around 400-450 grams for a standard tart. This provides the signature sweetness, colour, and texture. A smaller amount of darker treacle, maybe 1-2 tablespoons, can be added for a deeper, slightly more complex flavour, though some prefer pure golden syrup.
To thicken the syrup and give the filling body, fresh white breadcrumbs are crucial. You'll need approximately 75-100 grams of these, ideally made from slightly stale white bread processed into fine crumbs. The zest of one lemon is traditionally added to cut through the sweetness and add a bright, fresh note. Sometimes, a small egg (or just the yolk) is included to help bind the filling, but many simple treacle tart recipes omit it for ease and still achieve a perfect result.
Essential Baking Equipment for a Treacle Tart
Having the right tools makes the process of creating this easy treacle tart recipe much smoother. A key piece of equipment is a tart tin, ideally one with a removable bottom, usually around 20-23cm (8-9 inches) in diameter and about 3-4cm deep. The removable bottom makes it incredibly easy to get the finished tart out without damaging the crust. You'll also need at least two mixing bowls – one for the pastry ingredients and one for the filling.
Other essential items include measuring cups and spoons for accurate ingredient quantities, a rolling pin for rolling out the pastry dough, and a sieve for sifting the flour (though this is sometimes optional). A saucepan is needed to gently warm the syrup for the filling, and a whisk or spoon for mixing. While not strictly essential, baking beans or dried rice are very helpful if you plan to blind bake your pastry shell, which is a recommended step for preventing a soggy bottom on your easy treacle tart.
Step-by-Step Guide: Making the Shortcrust Pastry from Scratch
Step 1: Combining the Dry Ingredients
The first step in making your simple shortcrust pastry is to gather your dry ingredients: the plain flour, salt, and any optional sugar. Measure the flour accurately, either by weight (recommended for consistency) or by using the spoon-and-level method with cups. Place the flour in a large mixing bowl. Add the pinch of salt and the optional sugar, if using.
Using a whisk or a spoon, give the dry ingredients a quick mix. This helps to distribute the salt and sugar evenly throughout the flour before the fat is added. While sifting the flour isn't always strictly necessary for shortcrust pastry, it can help to aerate it slightly and prevent lumps, contributing to a smoother dough. This initial mixing step is simple but ensures your base ingredients are ready for the next crucial stage of incorporating the fat.
Step 2: Adding the Fat (Butter or Lard)
Once your dry ingredients are combined, it's time to add the cold fat. Ensure your butter and/or lard are well-chilled, preferably straight from the fridge. Cut the fat into small cubes, roughly 1-2cm in size. Add these cold cubes directly to the flour mixture in the bowl. The key here is to keep the fat cold; this is what creates the flaky layers in the pastry.
Now, using your fingertips, a pastry blender, or even a food processor on a pulse setting, quickly rub or cut the fat into the flour. The goal is to break down the fat cubes until the mixture resembles coarse breadcrumbs or small peas. Work quickly to avoid letting the fat melt from the heat of your hands. This process typically takes about 5-10 minutes by hand. You should see small flecks of fat still visible in the mixture; these will melt during baking to create pockets of flakiness.
Step 3: Incorporating the Liquid (Water)
With the fat successfully rubbed into the flour, the next step is to add the cold liquid to bring the dough together. Have a small bowl of ice-cold water ready. Add the water a tablespoon at a time, sprinkling it over the flour-and-fat mixture. After adding each tablespoon, use a knife or a spatula to gently mix the water into the dry ingredients. Avoid using your hands at this stage, as the warmth can melt the fat.
Continue adding cold water, one tablespoon at a time, mixing gently after each addition, until the dough just starts to come together into a cohesive mass. You'll know you've added enough water when the mixture looks shaggy and you can gently press a handful together and it holds its shape without being overly wet or sticky. For a typical batch of pastry, this might be anywhere from 3 to 5 tablespoons of water. Be cautious not to add too much water, as this can make the pastry tough.
Step 4: Resting the Pastry Dough
Once the dough has just come together, turn it out onto a lightly floured surface. Gently bring the shaggy mass together with your hands to form a rough disc or rectangle, depending on the shape of your tart tin. Avoid kneading the dough, as this develops gluten and can result in tough pastry. The goal is simply to consolidate the dough.
Wrap the dough disc tightly in plastic wrap. It is absolutely essential to rest the pastry dough in the refrigerator for at least 30 minutes, and preferably for an hour or even longer. Resting allows the gluten to relax, which prevents the pastry from shrinking excessively during baking. It also gives the fat a chance to firm up again, making the dough easier to roll out. This simple resting step is crucial for a successful, easy treacle tart base.
Preparing the Delicious Treacle Filling
Step 1: Warming the Golden Syrup and Treacle
The first step in creating the luscious treacle tart filling is to gently warm the main liquid ingredients. Measure your golden syrup and any optional darker treacle directly into a medium-sized saucepan. Place the saucepan over a low to medium heat on your hob. The goal is not to boil the syrup, but simply to warm it slightly.
Warming the syrup makes it more fluid and much easier to handle and mix with the other ingredients. Stir the syrup gently as it warms to ensure even heating and prevent it from sticking to the bottom of the pan. This process usually only takes a few minutes until the syrup is warm to the touch and easily pours. Be careful not to overheat it, as extremely hot syrup can be dangerous.
Once the golden syrup and treacle are gently warmed, remove the saucepan from the heat. Now, carefully stir in the fresh white breadcrumbs. Ensure you are using fresh breadcrumbs made from slightly stale white bread, as these absorb the syrup better than dried breadcrumbs. Stir them in thoroughly until they are evenly coated by the warm syrup.
Next, add the finely grated zest of one lemon to the mixture. Use a fine grater or microplane to get just the yellow part of the skin, avoiding the bitter white pith. Stir the lemon zest through the syrup and breadcrumbs. The bright, citrusy aroma should immediately become apparent. This combination of sweet syrup, absorbent breadcrumbs, and fragrant lemon zest forms the classic base of your easy treacle tart filling.
Step 3: Combining the Filling Ingredients
After adding the breadcrumbs and lemon zest to the warm syrup, give the mixture a final thorough stir. Ensure there are no dry pockets of breadcrumbs and that the lemon zest is evenly distributed. At this point, if your easy treacle tart recipe calls for an egg to be added for binding, whisk it lightly in a separate small bowl and then stir it into the warm filling mixture. The residual heat from the syrup will help to partially cook the egg and prevent it from scrambling, while also helping to thicken the filling as it bakes.
Check the consistency of the filling. It should be thick but still pourable, similar to a very thick syrup or thin jam. If it seems too thick (perhaps due to very dry breadcrumbs), you can add another tablespoon or two of golden syrup. If it seems too thin, adding a few more breadcrumbs can help. This simple mixture is now ready to be poured into your prepared pastry case, bringing you one step closer to enjoying your delicious homemade treacle tart.
Assembling and Baking Your Treacle Tart
Step 1: Rolling Out the Pastry
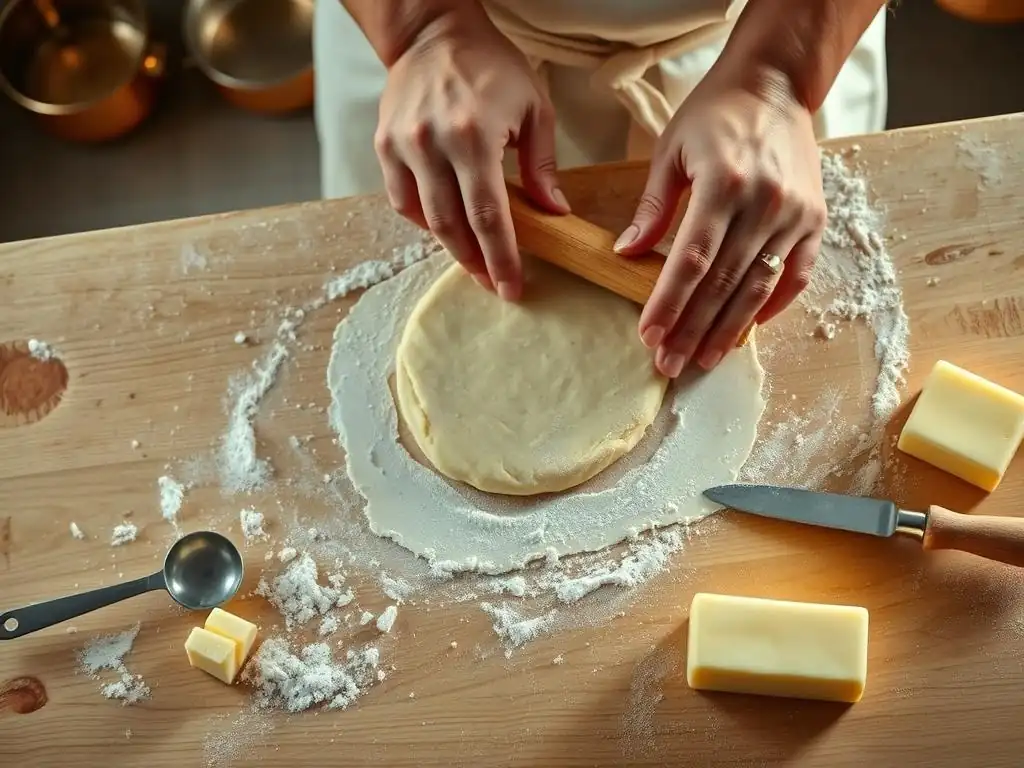
After your pastry dough has rested sufficiently in the refrigerator (at least 30 minutes), take it out. Lightly flour a clean work surface and your rolling pin. Place the chilled dough on the floured surface. Begin to roll the dough out evenly from the center outwards, turning the dough occasionally to prevent sticking and ensure an even thickness.
Aim to roll the dough into a circle large enough to comfortably line your 20-23cm tart tin, including enough to come up the sides and perhaps slightly over the edge. A thickness of about 3-4mm is ideal – not too thick and heavy, but sturdy enough to hold the filling. If the dough cracks, simply push it back together; shortcrust pastry is forgiving. Once rolled, you can carefully lift the pastry using your rolling pin or by gently folding it in half or quarters before transferring it to the tin.
Step 2: Lining the Tart Tin
Carefully place the rolled-out pastry into your tart tin. Gently press the pastry into the base and up the sides of the tin, ensuring it fits snugly into all the flutes (if your tin has them). Be careful not to stretch the pastry, as this can cause it to shrink back during baking. Use a small ball of excess dough or your fingers to gently press the pastry into the corners and sides.
Trim any excess pastry from the edges. You can do this by rolling the rolling pin over the top of the tin or by using a sharp knife. Reserve any pastry trimmings; you can use these to make decorative shapes like leaves or a lattice top if desired, which is a classic touch for a treacle tart.
At this stage, many recipes for an easy treacle tart recommend chilling the lined tin again for about 15-20 minutes, or even blind baking the shell (baking it partially before adding the filling) to help prevent a soggy bottom, especially if you are using a very wet filling. Blind baking involves lining the pastry with baking paper, filling it with baking beans, and baking for about 15-20 minutes at 180°C (350°F), then removing the beans and paper and baking for another 5-10 minutes until the base looks dry.
Step 3: Pouring in the Treacle Filling
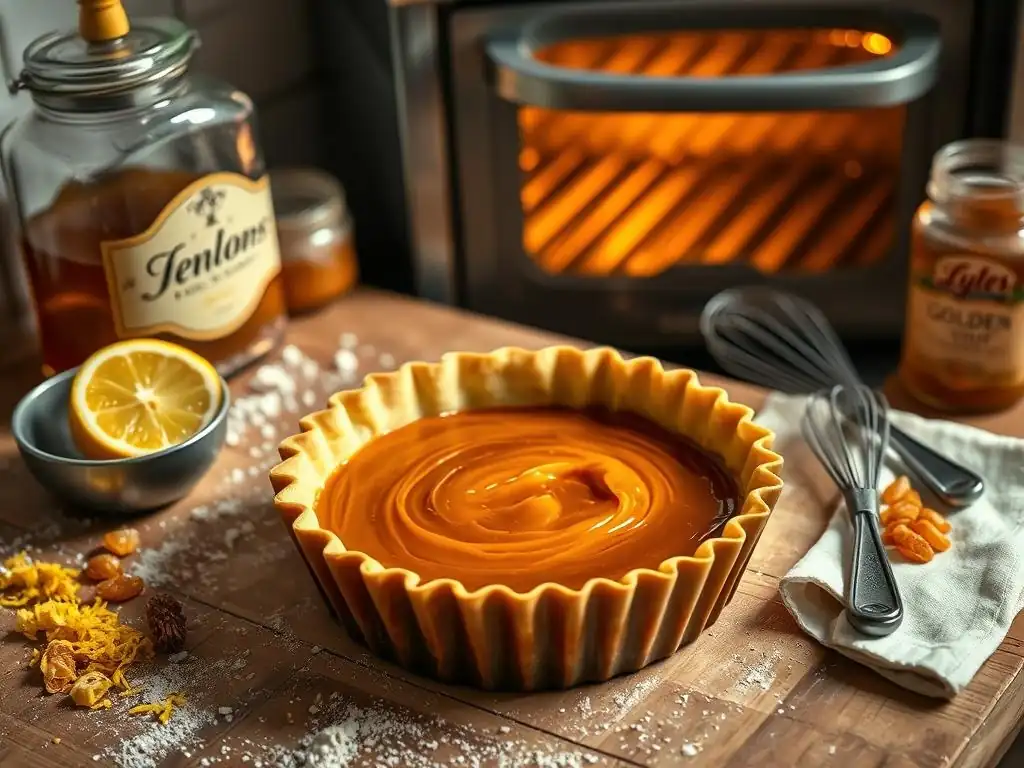
Once your pastry shell is prepared and, if desired, blind-baked and cooled slightly, it's time to add the delicious treacle filling. Give the filling mixture a quick stir just before pouring to ensure everything is well combined. Carefully pour the warm treacle filling into the lined tart tin.
Pour slowly and evenly, distributing the filling across the bottom of the pastry case. Fill the tart most of the way up, leaving about 1-1.5 cm of space from the top edge of the pastry. This space is important because the filling will bubble up slightly as it bakes. If you've made decorative pastry shapes from the trimmings, you can arrange these on top of the filling now.
Step 4: Baking to Golden Perfection
Place the assembled treacle tart carefully into a preheated oven. A common baking temperature for treacle tart is around 180°C (350°F) or slightly lower, perhaps 170°C (340°F) if using a fan oven. The baking time will vary depending on your oven, the size of the tart, and whether you blind baked the pastry, but it typically takes between 30 and 45 minutes.
Keep an eye on the tart as it bakes. The pastry edges should turn a lovely golden brown, and the filling should appear set around the edges but may still have a slight wobble in the very center. If the pastry edges start to brown too quickly before the filling is set, you can loosely cover the edges with strips of aluminum foil. Once baked, carefully remove the tart from the oven and place it on a wire rack to cool. The filling will continue to set as it cools.
Tips for a Flawless Treacle Tart
Preventing a Soggy Bottom
A common pitfall when baking tarts, especially those with wet fillings like this easy treacle tart recipe, is ending up with a soggy bottom crust. Fortunately, there are several effective strategies to prevent this disappointing outcome. Firstly, ensure your pastry is well-chilled before baking; cold fat creates a waterproof barrier as it melts. Secondly, and perhaps most crucially, consider blind baking your pastry shell.
Blind baking involves partially baking the pastry case before adding the filling. This pre-cooks the base, making it less susceptible to becoming saturated by the wet filling. As mentioned earlier, this involves lining the raw pastry with baking paper, filling it with baking beans or rice, baking for a set time (e.g., 15-20 minutes), removing the weights and paper, and baking for a few more minutes until the base looks dry and slightly cooked. Using a metal tart tin also helps conduct heat efficiently to the base, further aiding in preventing sogginess compared to ceramic or glass dishes.
Achieving a Golden Brown Crust
The visual appeal of a treacle tart is greatly enhanced by a beautifully golden brown crust. Achieving this requires paying attention during the baking process. The pastry edges should be evenly coloured, not pale or burnt. One simple tip is to give the pastry a wash before baking.
An egg wash (a beaten egg mixed with a little milk or water) brushed lightly over the pastry before it goes into the oven encourages a rich, glossy, golden finish. Alternatively, a simple milk wash will also help promote browning, though the colour may be less intense.
Monitor the tart as it bakes; if the edges are browning too quickly while the filling still needs more time, loosely cover the edges with strips of aluminum foil to shield them from the direct heat. Removing the tart from the oven at the right time, when the crust is golden and the filling is set, ensures both perfect texture and colour.
Troubleshooting Common Treacle Tart Issues
Even with an easy treacle tart recipe, sometimes things don't go exactly as planned. One common issue is the filling sinking in the middle after baking. This can happen if the filling was too wet, if there weren't enough breadcrumbs to absorb the syrup, or if the tart wasn't baked quite long enough. Ensuring you use fresh breadcrumbs and bake until the edges of the filling are set can help.
Another issue can be pastry shrinkage during baking. This is often a result of not resting the pastry dough sufficiently before rolling and lining the tin. Gluten needs time to relax after being worked; if it doesn't, it will contract in the heat of the oven.
Overworking the dough can also contribute to shrinkage. If your filling bubbles up and overflows, the tin might have been overfilled, or the oven temperature might be too high, causing the syrup to boil too vigorously. Learning to recognize these issues and adjusting your technique slightly for the next bake is part of the fun of mastering any recipe.
Serving and Storing Your Treacle Tart
Serving Suggestions: Warm or Cold?
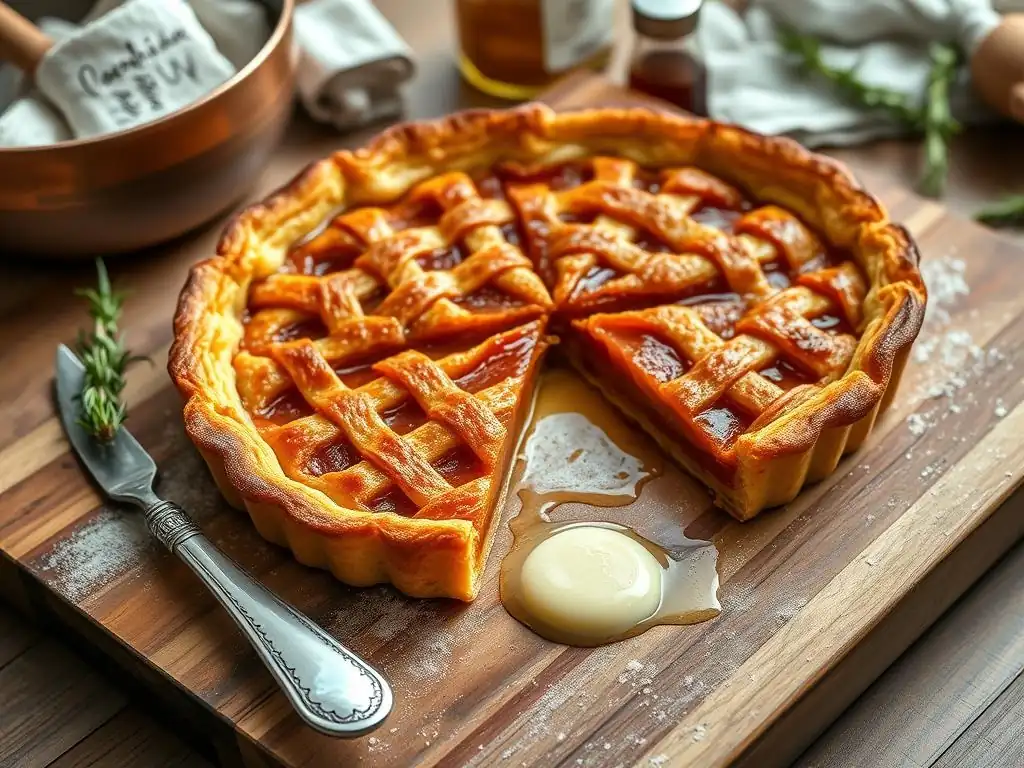
One of the wonderful things about a classic treacle tart is its versatility when it comes to serving temperature. It is absolutely delicious served warm, straight from the oven (after cooling for about 10-15 minutes so the filling sets slightly and you don't burn your tongue!). When warm, the filling is soft, gooey, and intensely flavourful, melting beautifully with accompaniments.
Alternatively, treacle tart can be served completely cold, after it has cooled and set fully. When cold, the filling firms up considerably, becoming more like a soft caramel or fudge texture. Both warm and cold versions are classic and delightful, often served with a dollop of clotted cream, a scoop of vanilla ice cream, or the traditional British accompaniment: hot custard. Experiment to see which way you prefer your easy treacle tart!
Storing Leftover Treacle Tart
If you are lucky enough to have any leftover treacle tart (it's quite moreish, so this might not happen often! ), proper storage will keep it fresh and delicious for a few days. Once the tart has completely cooled to room temperature, cover it loosely with plastic wrap or aluminum foil, or transfer slices to an airtight container.
You can store treacle tart at cool room temperature for a day or two, or in the refrigerator for up to 3-4 days. Storing it in the fridge will make the filling firmer. If you prefer to eat it warm, individual slices can be gently reheated in a microwave for 20-30 seconds or in a warm oven (around 160°C/325°F) for about 10-15 minutes until warmed through.
Variations on the Classic Treacle Tart Recipe
Adding Nuts or Dried Fruit
While the classic easy treacle tart recipe is perfect as is, adding nuts or dried fruit can introduce wonderful new textures and flavours. For instance, stirring in a handful of chopped walnuts or pecans (perhaps 50-75 grams) into the filling mixture before pouring it into the tart shell adds a lovely crunch and nutty flavour that complements the sweet syrup beautifully.
Similarly, dried fruits like sultanas, raisins, or chopped dried apricots (around 50-75 grams) can be stirred into the treacle filling. These fruits plump up slightly during baking and add chewy pockets of sweetness and a different dimension of flavour. Ensure they are evenly distributed throughout the filling before baking.
Experimenting with Different Citrus Zest
Lemon zest is the traditional citrus addition to treacle tart, providing a bright counterpoint to the richness of the syrup. However, you can easily experiment with other citrus zests to create interesting variations. Using the zest of an orange instead of a lemon will result in a slightly sweeter, more aromatic filling with warm, citrus notes that pair wonderfully with the caramel flavour of golden syrup.
For a tangier twist, consider using the zest of a lime. Lime zest offers a sharper, more intense citrus flavour that can cut through the sweetness even more effectively than lemon. Simply substitute the zest of one lime for the lemon zest in the filling recipe. This simple substitution can subtly transform your easy treacle tart, offering a fresh take on the classic.
Creating a Chocolate Treacle Tart
For chocolate lovers, a chocolate treacle tart offers a decadent variation on the classic. There are a couple of ways to incorporate chocolate. You could stir 20-30 grams of good quality cocoa powder into the warm syrup mixture along with the breadcrumbs, ensuring it's well blended to avoid lumps. This will give the filling a subtle, darker, slightly bitter edge that balances the sweetness.
Alternatively, or in addition to cocoa, you could stir in 50-75 grams of chopped dark or milk chocolate into the warm filling. The chocolate will melt into the syrup, creating a richer, more intensely flavoured filling. This variation results in a truly indulgent dessert, proving that the easy treacle tart recipe is a fantastic base for creative experimentation.
Conclusion: Enjoy Your Homemade Treacle Tart!
You've now successfully navigated the simple steps to creating a classic British treacle tart right in your own kitchen! From mastering the basics of shortcrust pastry to preparing that signature sticky filling, you've learned the techniques needed to bake this comforting dessert with ease. There's immense satisfaction in pulling a warm, golden treacle tart from the oven, knowing you made it yourself from scratch.
We hope this easy treacle tart recipe inspires you to get baking. Don't hesitate to try it out, even if you're a beginner – that's what BakeWithEase is all about! We love seeing what our readers create. Share your photos, tell us about your baking experience, and let us know how your treacle tart turned out. Whether you stuck to the classic or tried one of the variations, we'd love to hear about your delicious results and celebrate your baking success!
Frequently Asked Questions
What exactly is a treacle tart, and what makes it "easy"?
A treacle tart is a traditional British dessert featuring a golden syrup and breadcrumb filling in a pastry crust. This recipe focuses on simplified steps and readily available ingredients to make it easy for home bakers.
Can I use pre-made pastry to make the treacle tart even easier?
Yes, using store-bought shortcrust pastry is perfectly acceptable and significantly reduces preparation time. Just ensure it is of good quality and fits your tart tin.
What kind of golden syrup should I use for the best results?
Use a high-quality golden syrup, preferably one that is clear and not too thick. This will ensure a smooth and delicious filling.
What if I don't have lemon juice? Can I substitute it with something else?
While lemon juice adds a crucial tangy flavor to balance the sweetness, a small amount of orange juice or even a pinch of citric acid can be used as a substitute in a pinch.
How do I prevent the pastry crust from becoming soggy?
Blind baking the pastry crust before adding the filling is essential. You can also brush the baked crust with a thin layer of melted chocolate to create a moisture barrier.
Final Reflection: The Enduring Sweetness of Simple Baking
The humble treacle tart, a seemingly simple dessert, speaks volumes about the power of accessible recipes and the joy found in creating something delicious from scratch. In a world increasingly dominated by complex culinary creations and instant gratification, the enduring appeal of this classic recipe highlights a return to fundamental pleasures – the satisfaction of creating something beautiful and tasty with minimal fuss. It's a reminder that sometimes, the most rewarding experiences are the simplest.
The process of making a treacle tart, from the careful mixing of ingredients to the satisfying aroma filling the kitchen, is a meditative experience. It connects us to a culinary heritage, a tradition passed down through generations. Baking is at once child's play and adult joy. And love, of course.
This quote perfectly encapsulates the feeling of creating this simple yet deeply satisfying dessert. The ease of the recipe makes it accessible to everyone, regardless of baking experience, fostering a sense of accomplishment and shared culinary joy.
Now, I invite you to roll up your sleeves, gather your ingredients, and embark on your own treacle tart adventure. Don't be intimidated by the seemingly simple instructions; let the process be a moment of mindful creation, a chance to slow down and appreciate the beauty of simple pleasures. The sweet reward awaits, but the true satisfaction lies in the journey itself. So, bake with ease, and savor the sweetness of success.
Unlock Your Inner Baker: Master the Art of Treacle Tart!
Thanks for joining us on this delicious journey into the world of treacle tarts! We hope you've gained the confidence to tackle this classic bake. Ready to put your new skills to the test?
- Bake your own masterpiece: Grab those ingredients and whip up your treacle tart today! We're confident you'll impress yourself (and maybe even some friends! ).
- Share your success: Post a picture of your creation on social media and tag us – we'd love to see your baking brilliance! Use #BakeWithEaseTreacleTart.
- Explore other delicious recipes: Head over to our website (bakewithease.com) and discover a whole world of simple yet stunning baking recipes waiting to be explored.
So, what unique twist will you add to your next treacle tart? Let's hear about it in the comments!