
Homemade Digestive Biscuits: Better Than StoreBought

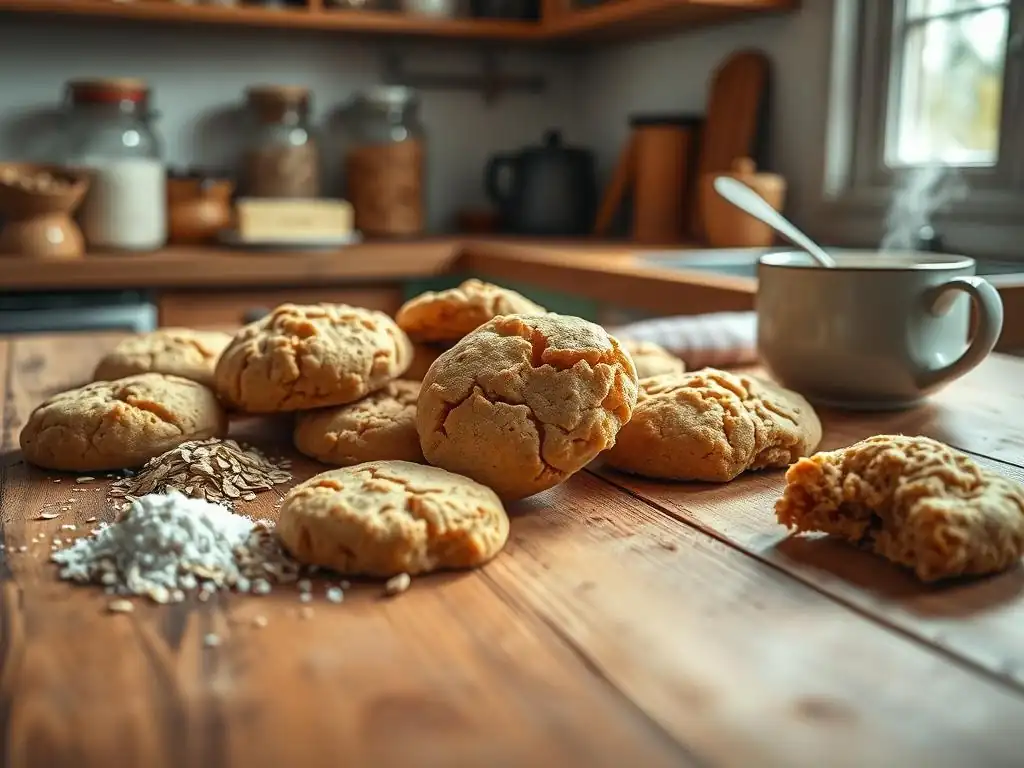
Welcome to BakeWithEase, your guide to unlocking the delicious world of baking! Are you ready to ditch the store-bought and create something truly special? This week, we're diving into the heart of Regional & Cultural Baking with a recipe that's both comforting and surprisingly simple: our easy homemade digestive biscuit recipe. But what makes these biscuits so much better than the packaged kind? Prepare to discover the secret to their irresistible flavor and satisfying crunch – read on to find out!
- Homemade Digestive Biscuits: A Delicious and Healthy Treat
- Why Bake Your Own Digestive Biscuits?
-
Easy Homemade Digestive Biscuit Recipe: Step-by-Step
- Gathering Your Ingredients
- Essential Equipment
- Step 1: Combining Dry Ingredients
- Step 2: Adding Butter and Creating Crumbs
- Step 3: Incorporating Milk and Forming the Dough
- Step 4: Chilling the Digestive Biscuit Dough
- Step 5: Rolling and Cutting the Biscuits
- Step 6: Baking Your Homemade Digestives
- Step 7: Cooling and Enjoying
- Tips for Perfect Homemade Digestive Biscuits
- Variations on the Classic Digestive Biscuit Recipe
- The History of Digestive Biscuits
- Serving Suggestions
- Troubleshooting Your Homemade Digestive Biscuits
-
Frequently Asked Questions
- What makes this digestive biscuit recipe "easy"?
- Are the ingredients for this digestive biscuit recipe easy to find?
- How are these homemade digestive biscuits "better than store-bought"?
- Can I adapt this easy homemade digestive biscuit recipe to be gluten-free?
- How long do these homemade digestive biscuits stay fresh?
- Final Reflection: The Enduring Appeal of the Homemade Digestive
- Unleash Your Inner Baker: Bake These Biscuits Today!
Homemade Digestive Biscuits: A Delicious and Healthy Treat
Why Bake Your Own Digestive Biscuits?
Superior Taste of Homemade Digestives
There's a distinct difference in flavor and texture when you bake something from scratch, and homemade digestive biscuits are no exception. The aroma filling your kitchen as they bake is the first clue – a warm, nutty scent from the whole wheat flour and rich butter that you simply don't get from opening a package. Unlike mass-produced versions that can taste flat or overly processed, your homemade digestives will have a fresh, buttery depth of flavor that truly stands out.
Furthermore, the texture of an easy homemade digestive biscuit recipe is often superior. You can achieve that perfect balance of a satisfying snap followed by a tender, crumbly melt-in-your-mouth quality. This comes from controlling the quality of your ingredients and the baking process itself. The freshness of the butter and the way the dough is handled contribute significantly to this delightful texture, making each bite a more enjoyable experience compared to the sometimes dry or overly hard store-bought options.
Healthier Biscuit Choice: Control Your Ingredients
Baking your own digestive biscuits gives you complete control over what goes into them, making them a potentially healthier alternative to many commercial varieties. You can choose high-quality whole wheat flour, control the amount and type of sugar used, and opt for real butter instead of cheaper, often less healthy fats like palm oil or hydrogenated oils that are prevalent in many packaged goods. This allows you to avoid artificial flavors, preservatives, and unnecessary additives.
For instance, a typical store-bought digestive biscuit might contain around 4-5 grams of sugar per biscuit and use palm oil as a primary fat. By making your own, you can potentially reduce the added sugar content by 20-30% or more, depending on your recipe and preference. You can also ensure you're using butter, which while still a fat, offers a different nutritional profile and avoids the concerns surrounding some industrial fats. This control is invaluable if you're mindful of your intake of processed ingredients, added sugars, and certain types of fats.
Easy Homemade Digestive Biscuit Recipe: Step-by-Step
Gathering Your Ingredients
To embark on this easy homemade digestive biscuit recipe, you'll need a few simple pantry staples. The core ingredients typically include whole wheat flour, plain flour, sugar (often a mix of granulated and brown sugar for flavor and texture), butter, a leavening agent like baking soda, and a liquid, usually milk. Some recipes might include a touch of salt or golden syrup for added depth.
Ensure your ingredients are fresh for the best results. Using good quality butter is particularly important as it significantly impacts the flavor and texture of the finished biscuits. Having everything measured out before you begin will streamline the process and help ensure accuracy, which is key in baking.
Essential Equipment
You don't need a lot of fancy tools for this easy homemade digestive biscuit recipe, making it accessible for most home bakers. Basic equipment includes:
- A large mixing bowl
- Measuring cups and spoons
- A baking sheet (or two)
- Parchment paper or silicone baking mats
- A rolling pin
- A round cookie cutter (about 6-7 cm or 2.5-3 inches in diameter is classic)
- A fork (for pricking the biscuits)
- A wire cooling rack
Having these items ready before you start mixing will make the process smooth and enjoyable. Using parchment paper is highly recommended as it prevents sticking and makes cleanup much easier.
Step 1: Combining Dry Ingredients
The first step in many easy homemade digestive biscuit recipes is to combine the dry ingredients. In a large mixing bowl, whisk together the whole wheat flour, plain flour, sugar (both granulated and brown, if using), and baking soda. Some recipes may also call for a pinch of salt here.
Whisking ensures that the leavening agent (baking soda) is evenly distributed throughout the flour mixture. This is crucial for achieving the proper rise and texture in your digestive biscuits. Take a moment to break up any clumps of brown sugar if present, ensuring a smooth, uniform blend of dry ingredients.
Step 2: Adding Butter and Creating Crumbs
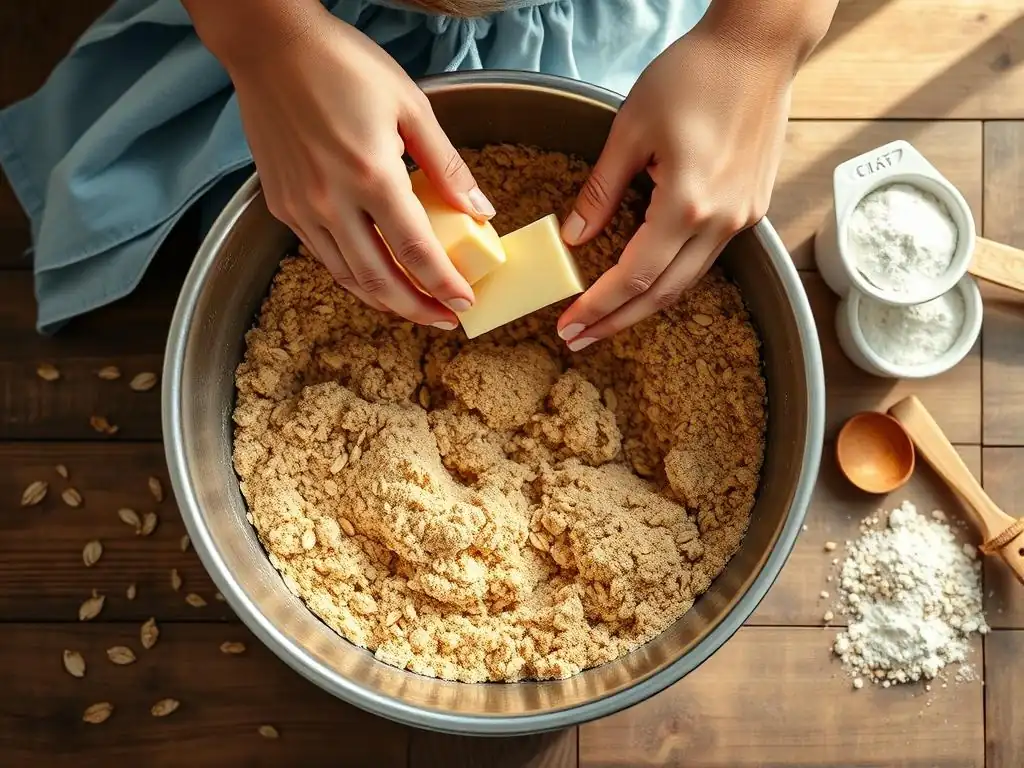
Next, you'll incorporate the cold butter into the dry ingredients. Cube the cold butter into small pieces (about 1-2 cm or 0.5-0.75 inches) and add it to the flour mixture. Using cold butter is essential as it helps create that signature crumbly texture when baked.
Using your fingertips or a pastry blender, work the butter into the dry ingredients until the mixture resembles coarse breadcrumbs. The goal is to coat the flour particles with butter, creating small pockets of fat that will melt during baking, leaving behind a tender crumb. Avoid overworking the mixture; stop once no large pieces of butter remain and the texture is uniform.
Step 3: Incorporating Milk and Forming the Dough
Now it's time to bring the crumb mixture together into a dough. Add the milk (usually cold) to the bowl. Start with the amount specified in your easy homemade digestive biscuit recipe, but be prepared to add a tiny bit more if needed, as flour absorption can vary.
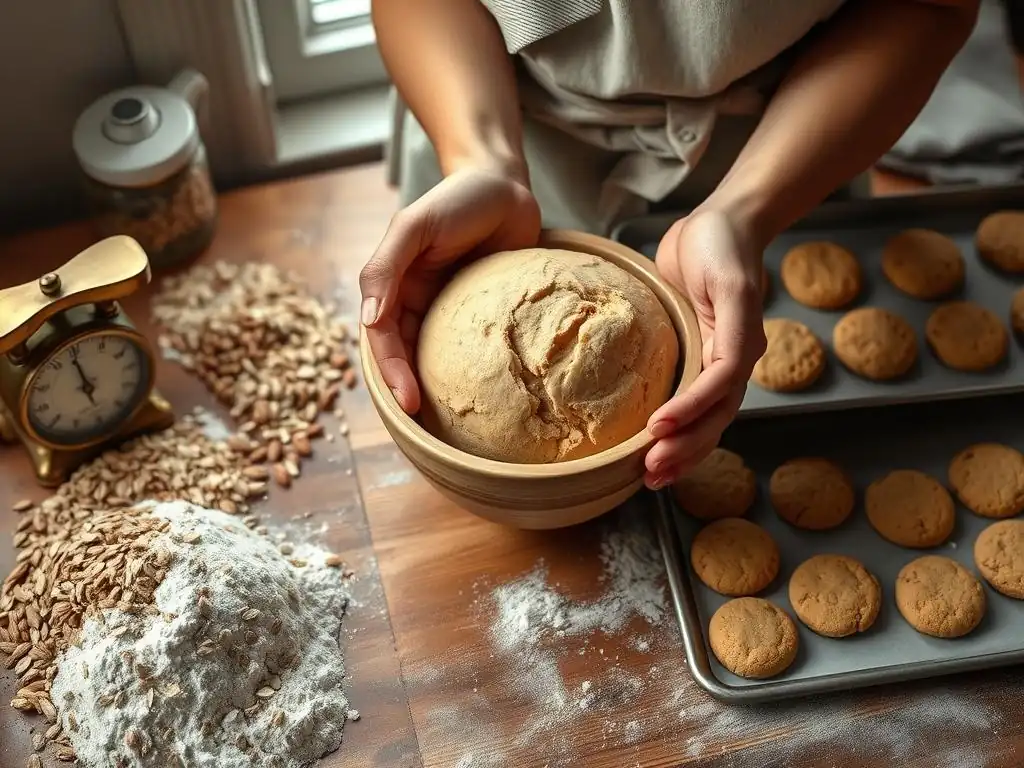
Use a knife or your hands to gently bring the mixture together into a cohesive dough. Be careful not to knead the dough like bread dough. Overworking the dough at this stage will develop the gluten in the flour too much, resulting in tough, hard biscuits instead of the desired crumbly texture. Mix just until the ingredients are combined and the dough holds together.
Step 4: Chilling the Digestive Biscuit Dough
Once the dough has come together, flatten it into a disc, wrap it tightly in plastic wrap, and refrigerate it for at least 30 minutes, or up to several days. Chilling the dough is a critical step in this easy homemade digestive biscuit recipe.
Chilling allows the gluten in the flour to relax, which again contributes to a more tender biscuit. It also solidifies the butter, making the dough much easier to roll out without sticking and helping the biscuits hold their shape during baking. Don't skip this step for the best results!
Step 5: Rolling and Cutting the Biscuits
After the dough has chilled, unwrap it and place it on a lightly floured surface. Roll the dough out evenly to a thickness of about 3-4 mm (approximately 1/8 inch). Aim for an even thickness across the entire sheet of dough to ensure the biscuits bake uniformly.
Use your round cookie cutter to cut out biscuit shapes. Place the cutouts onto your prepared baking sheet lined with parchment paper. Gather the scraps, gently press them together (without kneading), and re-roll once more to cut out more biscuits. Before baking, gently prick each biscuit several times with a fork; this helps prevent them from puffing up too much and encourages even baking.
Step 6: Baking Your Homemade Digestives
Preheat your oven to the temperature specified in your recipe, typically around 180°C (350°F) or 160°C (320°F) fan/convection. Bake the biscuits for 12-15 minutes, or until they are lightly golden brown around the edges. The exact baking time will depend on your oven and the thickness of your biscuits.
Keep a close eye on the biscuits, especially towards the end of the baking time, as they can go from perfectly baked to burnt quite quickly. They should look dry on the surface and have a faint golden hue. The bottoms will likely be a slightly deeper gold.
Step 7: Cooling and Enjoying
Once baked, carefully remove the baking sheet from the oven. Let the digestive biscuits sit on the hot baking sheet for just a minute or two before transferring them to a wire cooling rack. This brief resting period helps them firm up slightly before you move them.
Allow the biscuits to cool completely on the wire rack before handling them too much or storing them. They will be quite fragile when hot. Once fully cooled, they should have that classic firm yet crumbly texture. Now they are ready to be enjoyed with your favorite hot beverage or used in a dessert!
Tips for Perfect Homemade Digestive Biscuits
Achieving the Ideal Crumbly Texture
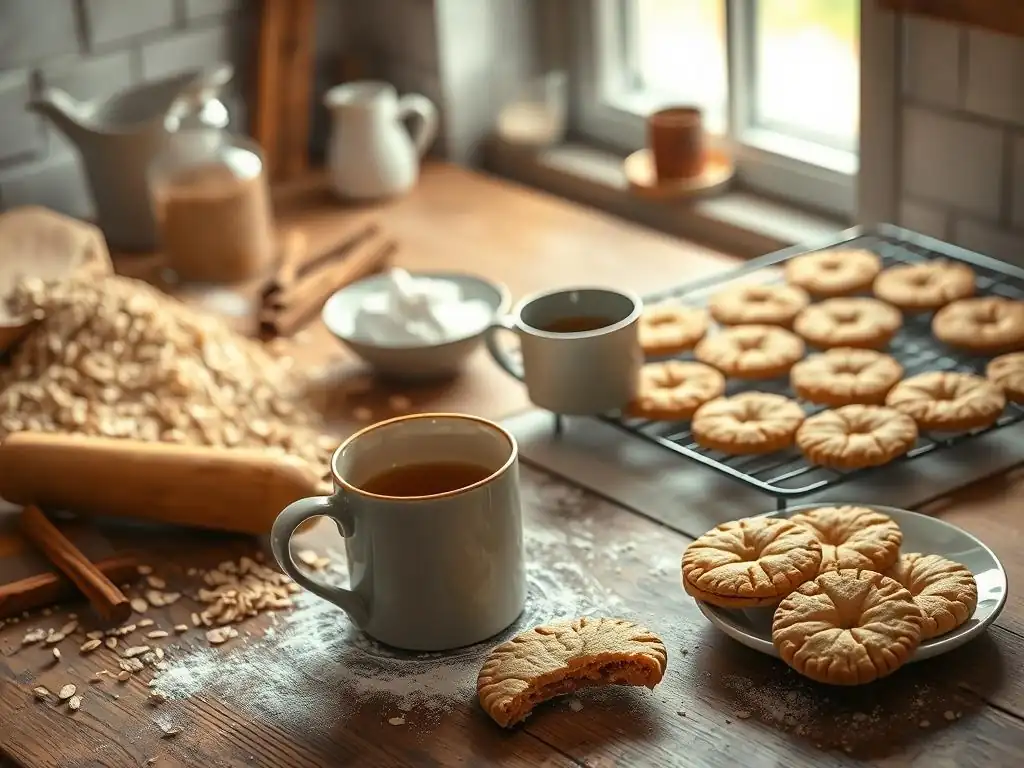
The signature characteristic of a great digestive biscuit is its delightful crumbly texture. This is primarily achieved by using cold butter and incorporating it into the dry ingredients until the mixture resembles coarse crumbs, as described in Step 2 of our easy homemade digestive biscuit recipe. The cold butter melts slowly in the oven, creating steam pockets that separate the layers of dough, resulting in flakiness and crumbliness.
Another crucial factor is avoiding overworking the dough after adding the liquid. Gentle mixing until just combined is key. Over-kneading develops gluten, leading to a tough, chewy biscuit. Additionally, ensuring the dough is well-chilled before rolling helps maintain the structure and prevents the butter from melting prematurely, further contributing to a tender crumb. Rolling the dough to an even thickness also promotes uniform baking, preventing some parts from being too hard while others are too soft.
Preventing Soggy Biscuits
Soggy digestive biscuits are a common disappointment, and this is usually related to moisture. One primary cause is not baking them long enough. Even if they look golden on top, the centers might still hold too much moisture. Ensure they are baked until they are dry on the surface and lightly browned around the edges and on the bottom. If unsure, bake one or two extra minutes.
Proper cooling and storage are also vital. Biscuits need to cool completely on a wire rack to allow steam to escape. Storing warm biscuits in an airtight container traps moisture, making them soft and potentially soggy. Always wait until they are fully cooled to room temperature before transferring them to storage. Using parchment paper during baking can also help promote even cooking and prevent the bottoms from steaming on the hot pan.
Storing Your Homemade Digestive Biscuits
Proper storage is essential to maintain the freshness and crisp texture of your easy homemade digestive biscuits. Once they are completely cooled, stack them carefully in an airtight container. A tin box or a container with a tight-fitting lid works best to keep moisture out and prevent them from going soft.
Store the container in a cool, dry place, away from direct sunlight or humidity. Properly stored homemade digestive biscuits can last for 1-2 weeks, maintaining their crispness and flavor. Avoid storing them in the refrigerator, as the condensation can make them soft. If they do lose a bit of their crispness over time, you can briefly warm them in a low oven (around 150°C or 300°F) for a few minutes to help dry them out again.
Variations on the Classic Digestive Biscuit Recipe
Chocolate Digestive Biscuits
Elevating your easy homemade digestive biscuit recipe with chocolate is a popular variation. Once your classic digestives have cooled completely, you can dip half or the entire biscuit in melted chocolate. Dark, milk, or even white chocolate works wonderfully.
To do this, melt your chosen chocolate gently, either in a double boiler or in the microwave in short intervals, stirring frequently. Dip the cooled biscuits and place them on a piece of parchment paper or a wire rack set over parchment paper to allow the chocolate to set. For an extra touch, you can sprinkle the wet chocolate with sea salt flakes or chopped nuts before it hardens. Allow the chocolate to set fully at room temperature or in the refrigerator before storing.
Spiced Digestive Biscuits
Adding warming spices can give your easy homemade digestive biscuit recipe a cozy twist, perfect for autumn or winter. Common additions include ground cinnamon, nutmeg, ginger, or a mixed spice blend. These can be added to the dry ingredients in Step 1.
Start with a small amount, perhaps 1/2 teaspoon of cinnamon or ginger, and adjust to your preference in future batches. The spices complement the nutty flavor of the whole wheat flour beautifully. You could also consider adding a pinch of ground cloves or cardamom for a more complex flavor profile. Experiment with different spice combinations to find your favorite!
Gluten-Free Digestive Biscuits
Adapting an easy homemade digestive biscuit recipe for gluten-free diets requires substituting the wheat flours with a gluten-free blend. Look for a good quality gluten-free plain flour blend that is suitable for baking. Some blends may also contain gluten-free whole grain flours like brown rice flour or oat flour (ensure oats are certified gluten-free).
You might need to slightly adjust the amount of liquid used, as gluten-free flours can absorb moisture differently. Adding a binder like xanthan gum (often included in blends, but sometimes needed separately) can help replicate the structure that gluten provides. The process of creaming butter and flour and chilling the dough remains similar, but the texture of the raw dough might feel slightly different. Baking times might also need slight adjustment.
Vegan Digestive Biscuits
Making your easy homemade digestive biscuit recipe vegan is straightforward. The main substitutions are butter and milk. Replace the dairy butter with a good quality vegan butter alternative or margarine that is suitable for baking. Look for options that are firm when cold.
Substitute the dairy milk with a plant-based milk such as almond milk, soy milk, or oat milk. Ensure the plant milk is unsweetened or adjust the sugar in the recipe accordingly. The method of combining ingredients and baking remains essentially the same. The resulting vegan digestives will still have a lovely crumbly texture and can be just as delicious as the traditional version.
The History of Digestive Biscuits
From Digestive Aid to Beloved Treat
The digestive biscuit was originally developed in the mid-19th century in Scotland. Two doctors, Alexander Pantech and John Montgomerie, are credited with creating the biscuit as a way to aid digestion. The name "digestive" comes from the belief at the time that baking soda (sodium bicarbonate), a key ingredient, had antacid properties that could help settle the stomach.
These early biscuits were often quite plain and seen more as a health food than a treat. They were made with coarse wholemeal flour and baking soda, intended to be wholesome and beneficial for the digestive system. While modern science has debunked the significant digestive aid claim, the name stuck, and the biscuit evolved from a therapeutic item into a popular everyday snack.
McVitie's and the Rise of the Digestive Biscuit
While earlier versions existed, the digestive biscuit gained widespread popularity thanks to commercial production, most notably by McVitie & Price. Sir Alexander Grant, an employee of McVitie's, developed a specific recipe in 1892 that became incredibly successful. His recipe refined the texture and flavor, making the biscuit more palatable and appealing to a broader market.
McVitie's registered the term "Digestive" as a trademark in 1890, though it later became a generic term for the type of biscuit. The McVitie's Digestive quickly became a household name in the UK and beyond, setting the standard for what a digestive biscuit should be. Today, billions of McVitie's Digestives are sold annually, demonstrating the enduring appeal of this simple biscuit, a testament to its journey from a purported health aid to a global favorite.
Serving Suggestions
Pairing Digestives with Tea and Coffee
Perhaps the most classic way to enjoy an easy homemade digestive biscuit is dunked in a hot beverage. Their sturdy structure makes them ideal for a quick dip in a cup of tea or coffee without immediately disintegrating (though finding the perfect dunking time is a skill! ).
The slightly sweet, nutty flavor of the digestive biscuit complements the bitterness of coffee and the tannins in tea beautifully. It's a simple, comforting ritual enjoyed by many. Whether it's your morning coffee or an afternoon tea break, a couple of homemade digestives are the perfect accompaniment.
Using Digestive Biscuits in Desserts
Digestive biscuits are a foundational ingredient in many popular desserts, particularly in British baking. Their crumbly texture and mild sweetness make them perfect for creating biscuit bases for cheesecakes, tarts, and icebox cakes.
To make a classic biscuit base, simply crush the homemade digestives into fine crumbs (a food processor works well, or place them in a bag and bash with a rolling pin). Mix the crumbs with melted butter, press the mixture firmly into the bottom of a cake tin or dessert dish, and chill or bake as the recipe requires. Approximately 250 grams of crushed digestives mixed with about 100-120 grams of melted butter is a common ratio for a standard cheesecake base.
The Perfect Snack
Beyond pairing with drinks or using in desserts, homemade digestive biscuits are simply a wonderful snack on their own. Their satisfying crunch and wholesome flavor make them a great option for a mid-morning or afternoon treat.
They offer a more substantial bite than many sweet cookies, and when made at home with control over ingredients, they can be a more mindful snack choice. Pack a couple for lunch, enjoy them after dinner, or simply grab one whenever you need a little pick-me-up. They are versatile and genuinely enjoyable as a standalone treat.
Troubleshooting Your Homemade Digestive Biscuits
Digestives are Too Hard: Possible Causes and Solutions
If your easy homemade digestive biscuit recipe resulted in biscuits that are too hard, there are a few common culprits. One primary reason is overworking the dough after adding the liquid. Excessive mixing or kneading develops gluten, leading to a tough texture. Ensure you mix only until the dough just comes together.
Another cause could be using too much flour or not enough liquid, resulting in a dry, stiff dough. Ensure you measure your ingredients accurately, preferably using a kitchen scale for flour for the most precise results (1 cup of plain flour is approximately 125 grams, whole wheat can vary slightly). Baking them for too long or at too high a temperature can also dry them out and make them hard; check your oven temperature with an oven thermometer and stick to the recommended baking time, adjusting slightly as needed.
Conversely, if your homemade digestive biscuits turned out too soft or even soggy, moisture is likely the issue. The most common reason is under-baking. They need to be baked until they are dry on the surface and lightly golden, indicating that enough moisture has evaporated. Don't rely solely on the clock; look for the visual cues.
Storing the biscuits before they are completely cool will trap steam and make them soft. Always let them cool fully on a wire rack. High humidity in your kitchen can also affect their crispness; store them promptly in an airtight container once cooled. If they've gone soft in storage, a brief warm-up in a low oven can often restore some of their crispness.
Digestives Spread Too Much During Baking: Possible Causes and Solutions
If your easy homemade digestive biscuit recipe resulted in biscuits that spread excessively in the oven, several factors might be at play. Using butter that is too soft or melted when incorporating it into the dry ingredients can cause spreading, as the fat melts too quickly during baking. Always use cold, firm butter.
Another reason for spreading can be insufficient chilling time for the dough. Chilling solidifies the butter, which helps the biscuits hold their shape in the initial stages of baking. Ensure the dough is well-chilled for at least 30 minutes. Also, check that you haven't added too much sugar or too little flour, as an imbalance in these ingredients can affect the dough's structure and cause it to spread. Finally, an oven that is not hot enough can cause the fat to melt before the structure of the biscuit sets, leading to spreading; verify your oven temperature.
Frequently Asked Questions
What makes this digestive biscuit recipe "easy"?
This recipe focuses on simple ingredients and straightforward steps, avoiding complicated techniques. We aim to provide a hassle-free baking experience, even for beginners.
Are the ingredients for this digestive biscuit recipe easy to find?
Yes, the recipe uses common pantry staples like flour, butter, sugar, and oats. You should be able to find everything at your local grocery store without difficulty.
How are these homemade digestive biscuits "better than store-bought"?
Homemade biscuits allow you to control the ingredients, avoiding preservatives and artificial flavors. Plus, the freshly baked taste is undeniably superior to pre-packaged options.
Can I adapt this easy homemade digestive biscuit recipe to be gluten-free?
While the original recipe contains gluten, you can try substituting gluten-free flour blends. Be mindful of the texture; you may need to adjust liquid amounts for optimal results.
How long do these homemade digestive biscuits stay fresh?
Stored in an airtight container, these biscuits typically stay fresh for up to a week. The crisp texture will gradually soften over time, but they'll still be delicious.
Final Reflection: The Enduring Appeal of the Homemade Digestive
The simple act of baking a digestive biscuit transcends mere culinary creation; it's a connection to tradition, a testament to the power of simple ingredients, and a surprisingly satisfying antidote to the homogenized offerings of the supermarket. In a world increasingly dominated by convenience and pre-packaged goods, the resurgence of homemade baking, particularly with recipes as accessible as the digestive biscuit, speaks volumes about our desire for authenticity and control over what we consume.
The enduring appeal of the homemade digestive lies not just in its delicious crumbly texture and subtly sweet flavor, but in the process itself. It's a mindful activity, a chance to slow down and connect with something tangible and rewarding. The best things in life are homemade.
This sentiment, often repeated, rings especially true when considering the satisfaction derived from creating something delicious and wholesome from scratch. The aroma alone, filling the kitchen with the comforting scent of baking spices and buttery goodness, is a powerful reminder of simpler times and the joy of shared meals.
Now, consider your own kitchen. Imagine the warmth of the oven, the gentle clinking of mixing bowls, and the pride in presenting a plate of perfectly golden-brown biscuits, made with your own two hands. Don't let the perceived complexity of baking deter you. This recipe, designed for ease and accessibility, is your invitation to rediscover the pleasure of homemade goodness. Embrace the simplicity, savor the process, and share the joy of a truly delicious, and entirely personal, digestive biscuit.
Unleash Your Inner Baker: Bake These Biscuits Today!
Thanks for joining us on this delicious journey into the world of homemade digestive biscuits! We hope you've gained the confidence to tackle this classic recipe and discover the joy of baking from scratch. Ready to get your hands messy?
- Bake a batch of these amazing biscuits: The recipe is right here, waiting for you! Let us know how yours turn out.
- Share your baking success: Post a picture of your biscuits on social media – tag us! We'd love to see your creations.
- Experiment with flavors: Try adding different spices or dried fruits to personalize your biscuits. What unique twist will you create?
What delicious adventure will your next baking project be?