
Unlock the Secret to a Perfect Victoria Sponge Cake

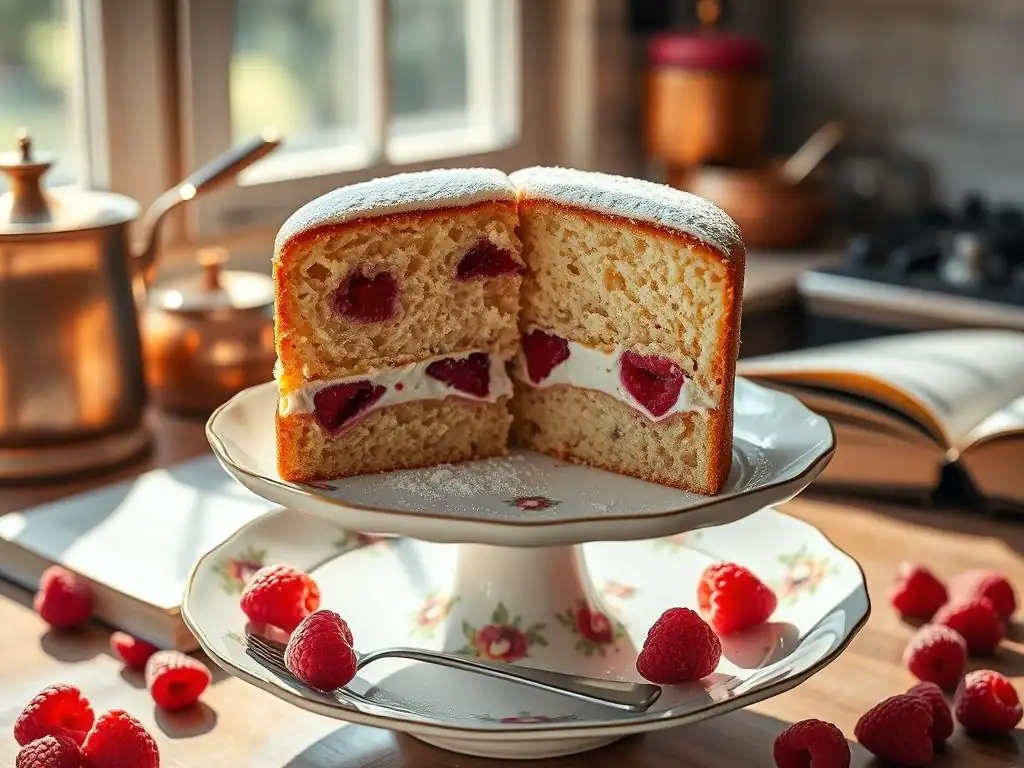
Welcome to BakeWithEase, where the joy of baking is always within reach! Ever wondered how to achieve that perfect, airy texture and golden crumb in a Victoria Sponge? This classic British bake is simpler than you think. Dive into our guide and unlock the secret to a perfect Victoria sponge cake recipe, transforming ordinary ingredients into an extraordinary treat. Prepare to impress with this beloved bake – let's get started!
- Unlock the Secret to a Perfect Victoria Sponge Cake: A BakeWithEase Guide
- Introduction: Mastering the Classic Victoria Sponge Cake
- The Essential Ingredients for Your Best Victoria Sponge
- Step-by-Step Guide to Baking a Flawless Victoria Sponge
- Assembling and Filling Your Victoria Sponge Cake
- Tips and Tricks for a Victoria Sponge Cake That Rises Perfectly
- Storing Your Victoria Sponge Cake for Maximum Freshness
- Conclusion: Enjoy Your Homemade Victoria Sponge!
-
Frequently Asked Questions
- What makes BakeWithEase's Victoria Sponge Cake recipe "perfect"?
- What are the key ingredients for a Victoria Sponge Cake according to BakeWithEase?
- How does BakeWithEase ensure the Victoria Sponge Cake rises evenly?
- What kind of jam does BakeWithEase recommend for a Victoria Sponge Cake?
- What are some common mistakes to avoid when making a Victoria Sponge Cake based on BakeWithEase's advice?
- Final Reflection: The Enduring Allure of the Perfect Slice
- Unleash Your Inner Baker: Bake the Perfect Victoria Sponge!
Unlock the Secret to a Perfect Victoria Sponge Cake: A BakeWithEase Guide
Introduction: Mastering the Classic Victoria Sponge Cake
Why the Victoria Sponge is a British Baking Favorite
The Victoria Sponge holds a cherished place in the heart of British baking, embodying simplicity, elegance, and pure comfort. Its origins trace back to the Victorian era, when it was a favored treat of Queen Victoria herself for her afternoon tea. This classic cake, consisting of two light sponge layers sandwiched together with jam and cream, became synonymous with celebratory gatherings, picnics, and everyday indulgence across the United Kingdom.
Its enduring popularity lies in its unassuming nature – using readily available ingredients and a straightforward method, yet delivering a taste that is both nostalgic and utterly delightful. It's a foundational bake many learn early on, serving as a benchmark for simple sponge cakes.
Its appeal extends beyond just taste; the Victoria Sponge is a symbol of home baking and tradition. From village fêtes to family birthdays, this cake makes frequent appearances, often adorned simply with a dusting of icing sugar. Its adaptability is also a key factor; while the classic filling is raspberry jam and whipped cream, variations using buttercream, fresh berries, or different preserves are common and welcomed.
For many, mastering a Perfect Victoria sponge cake recipe is a rite of passage, a testament to their baking skills, promising a consistently light and moist result that brings smiles with every slice. It’s a bake that truly stands the test of time.
What Makes a Truly Perfect Victoria Sponge?
Achieving a truly Perfect Victoria Sponge Cake goes beyond simply combining ingredients. The ideal cake boasts a golden, slightly crisp exterior crust that gives way to an incredibly light, tender, and evenly textured crumb. The sponge should be moist, never dry or dense, with a consistent rise and flat tops perfect for layering. There should be no heavy, sunken middle or large air pockets indicating poor technique.
The filling is equally crucial to the definition of a perfect cake. A generous layer of good quality raspberry jam provides a sweet and slightly tart contrast to the rich, creamy filling – traditionally whipped double cream, but often buttercream in modern recipes. The balance of flavors is key: the sweetness of the sponge and filling should complement each other without being cloying.
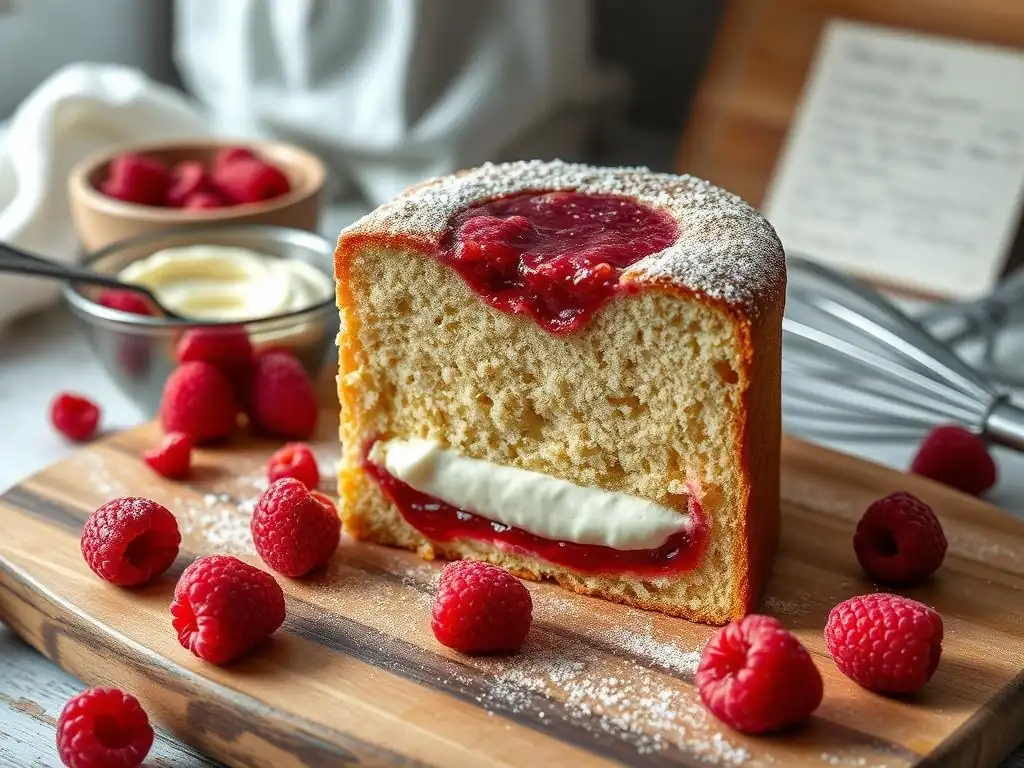
When you cut into a Perfect Victoria Sponge, it should slice cleanly, revealing distinct layers of tender sponge, vibrant jam, and luxurious cream. It's this combination of flawless texture, balanced flavor, and classic presentation that elevates a simple sponge to a truly perfect bake.
The Essential Ingredients for Your Best Victoria Sponge
Understanding Key Ingredients: Flour, Sugar, Eggs, and Butter
The foundation of any Perfect Victoria Sponge Cake lies in understanding the role of its four core ingredients: flour, sugar, eggs, and butter. Plain flour (or all-purpose flour) is standard, but using a soft cake flour with a lower protein content can contribute to a more tender crumb. The flour provides the structure for the cake. Caster sugar (fine granulated sugar) is preferred over standard granulated sugar because its smaller crystals dissolve more easily into the butter, creating a smoother mixture and helping to incorporate air during the creaming process.
Eggs are vital for binding the ingredients, adding richness, and contributing to the cake's rise and structure. Using eggs at room temperature is crucial as they emulsify better with the fat, leading to a more stable batter and finer texture. Butter is the primary fat, providing moisture, flavor, and tenderness. Softened, but not melted, unsalted butter is ideal for creaming with sugar. The quality of these basic ingredients significantly impacts the final outcome, so choosing good quality products is a worthy investment for a truly Perfect Victoria sponge cake recipe.
Ingredient Ratios for Light and Airy Victoria Sponge
While variations exist, a classic and reliable ratio for a Perfect Victoria Sponge Cake often follows the principle of using equal weights of butter, sugar, and flour, with eggs added to balance the mixture. A common starting point for two 8-inch (approx. 20cm) cake tins is around 6oz (or roughly 175g) each of self-raising flour, caster sugar, and softened unsalted butter, combined with 3 large room-temperature eggs. Using self-raising flour provides the necessary lift, though plain flour with a precise amount of baking powder (typically 1 teaspoon per 4oz/115g flour) can also be used for fine control.
This balanced ratio ensures the cake is neither too dense (too much flour/egg) nor too fragile (too much butter/sugar). The fat from the butter tenderizes the crumb, the sugar sweetens and helps with browning and moisture retention, the flour provides structure, and the eggs bind and enrich. Adhering closely to these weights and ensuring ingredients are prepared correctly (like butter being properly softened) is fundamental to achieving the characteristic light and airy texture that defines a Perfect Victoria sponge cake recipe.
Choosing the Right Jam for a Classic Filling
The traditional filling for a Victoria Sponge is raspberry jam, and for good reason. Raspberry jam offers a beautiful balance of sweetness and tartness that cuts through the richness of the cream or buttercream. When selecting your jam, look for a good quality preserve with a high fruit content. Jams with whole or large pieces of fruit can add lovely texture and visual appeal to the finished cake.
Avoid overly set or jelly-like jams; a slightly softer set jam spreads more easily and melts slightly into the sponge, enhancing moisture. While raspberry is classic, other berry jams like strawberry or mixed berry can also work well, offering slightly different flavor profiles. Ultimately, the "right" jam is often a matter of personal preference, but a quality raspberry jam remains the gold standard for achieving that authentic, classic taste in your Perfect Victoria Sponge.
Adding a Touch of Flavor with Lemon Zest
While not strictly traditional, adding a touch of fresh lemon zest can elevate your Victoria Sponge, introducing a subtle brightness that complements the sweetness of the cake and filling. The fragrant oils in the lemon zest infuse the batter with a delicate citrus note that is refreshing without being overpowering. It's a simple addition that adds complexity and lifts the overall flavor profile.
To incorporate lemon zest, simply finely grate the zest of about half a small lemon (or to taste) and add it to the butter and sugar mixture during the creaming stage. The oils will be released and distributed evenly throughout the batter as you continue mixing. This small step can transform a standard sponge into a Lemon Victoria Sponge variation, offering a delightful twist on the classic Perfect Victoria sponge cake recipe.
Step-by-Step Guide to Baking a Flawless Victoria Sponge
Preparing Your Baking Pans: Greasing and Lining
Proper pan preparation is the first critical step to ensure your Perfect Victoria Sponge Cake releases cleanly and bakes evenly. You will typically need two identical round cake pans, usually 8 inches (approx. 20 cm) in diameter. Start by lightly greasing the inside of each pan with softened butter or a baking spray, ensuring you cover the bottom and sides thoroughly.
Next, line the base of each pan with a circle of parchment paper (also known as baking paper). Cut circles slightly larger than the base of the tin, then trim them to fit snugly. The grease helps the paper stick. This creates a non-stick barrier at the bottom, preventing the cake from sticking. Some bakers also lightly grease the parchment paper itself for extra insurance. Taking the time to prepare your pans meticulously will save you frustration later when it's time to turn out your beautifully baked sponges.
The Creaming Method: Achieving a Light and Fluffy Batter
The creaming method is fundamental to achieving the signature light and airy texture of a Perfect Victoria Sponge Cake. It involves beating softened butter and sugar together until the mixture is pale, light, and fluffy. This process incorporates tiny air bubbles into the fat, which expand during baking, contributing significantly to the cake's rise and tender crumb.
Start with truly softened butter – it should be pliable but not melted. Beat the butter and sugar together using an electric mixer or a wooden spoon. Initially, it will look granular, but as you continue beating, it will become much lighter in color and texture, almost whipped. This typically takes at least 3-5 minutes with an electric mixer on medium speed. Scrape down the sides of the bowl frequently to ensure everything is evenly combined. You'll notice a significant increase in volume as air is incorporated. This well-aerated base is key to a successful sponge.
Gently Folding in the Dry Ingredients
Once the eggs have been incorporated into the creamed butter and sugar mixture, it's time to add the dry ingredients – the self-raising flour (or plain flour mixed with baking powder). This step requires a gentle touch to avoid deflating the air you've worked hard to incorporate during creaming. Sift the flour directly over the wet mixture to ensure there are no lumps and to further aerate it slightly.
Using a large metal spoon or spatula, gently fold the flour into the batter using a cutting and folding motion. Cut down through the mixture, then scoop the mixture from the bottom of the bowl up and over the top. Rotate the bowl as you go. Mix just until the flour is just incorporated and no dry streaks remain. Do not overmix, as this can develop the gluten in the flour, resulting in a tough cake. The batter should remain light and airy.
Baking Time and Temperature: The Key to Even Baking
Baking at the correct temperature for the right amount of time is crucial for an evenly baked and perfectly risen Victoria Sponge. Preheat your oven to the recommended temperature, typically around 180°C (160°C Fan/350°F). Fan ovens usually require a slightly lower temperature as they distribute heat more efficiently.
Divide the batter equally between your two prepared cake pans. Smooth the tops gently. Place the pans on the middle shelf of your preheated oven. Avoid opening the oven door during the first 15-20 minutes of baking, as the sudden drop in temperature can cause the cakes to sink. The baking time for 8-inch cakes is usually between 20 and 25 minutes. You'll know they are getting close when they are golden brown, have shrunk slightly from the sides of the tin, and smell wonderfully of cake.
Checking for Doneness: The Skewer Test
To be certain your Victoria Sponge cakes are perfectly baked through and not undercooked in the center, the skewer test is the most reliable method. After the initial recommended baking time (e.g., 20-25 minutes), gently open the oven door and carefully insert a thin skewer or toothpick into the center of one of the cakes.
If the skewer comes out clean, with no wet batter clinging to it, the cake is done. If there are crumbs or wet batter, the cake needs a few more minutes of baking time. Check again after 2-3 minutes. Remember that ovens can vary, so relying on visual cues and the skewer test is more accurate than strictly adhering to a time on a timer. Once they pass the skewer test, remove the cakes from the oven promptly to prevent them from drying out.
Assembling and Filling Your Victoria Sponge Cake
Cooling the Cakes Completely
Allowing your baked Victoria Sponge layers to cool completely before attempting to assemble and fill them is a non-negotiable step for success. Immediately after removing the cakes from the oven, let them sit in their tins for about 5-10 minutes. This allows them to firm up slightly before handling.
After this initial cooling in the tin, carefully turn the cakes out onto a wire rack. Gently peel off the parchment paper from the bottom. Let the cakes cool completely on the wire rack. Attempting to fill or handle warm cakes will result in them breaking apart, the jam melting excessively, and the cream or buttercream becoming a greasy mess. Patience here ensures the structural integrity of your Perfect Victoria Sponge.
Preparing the Filling: Jam and Buttercream
The classic filling for a Victoria Sponge uses raspberry jam and softly whipped double cream. To prepare the whipped cream, pour cold double cream into a bowl and whisk (by hand or electric mixer) until it holds soft peaks. Be careful not to over-whisk, or it will turn buttery. For the jam, simply give it a stir if needed to loosen it slightly.
Alternatively, many modern Perfect Victoria sponge cake recipes use buttercream. To make a simple vanilla buttercream, beat softened butter until creamy, then gradually add sifted icing sugar (powdered sugar) and a splash of milk and vanilla extract, beating until light and fluffy. A typical ratio might be 1 part butter to 2 parts icing sugar by weight. Whichever filling you choose, ensure it is ready before you start assembling the cake.
Layering the Cake: A Generous Spread of Filling
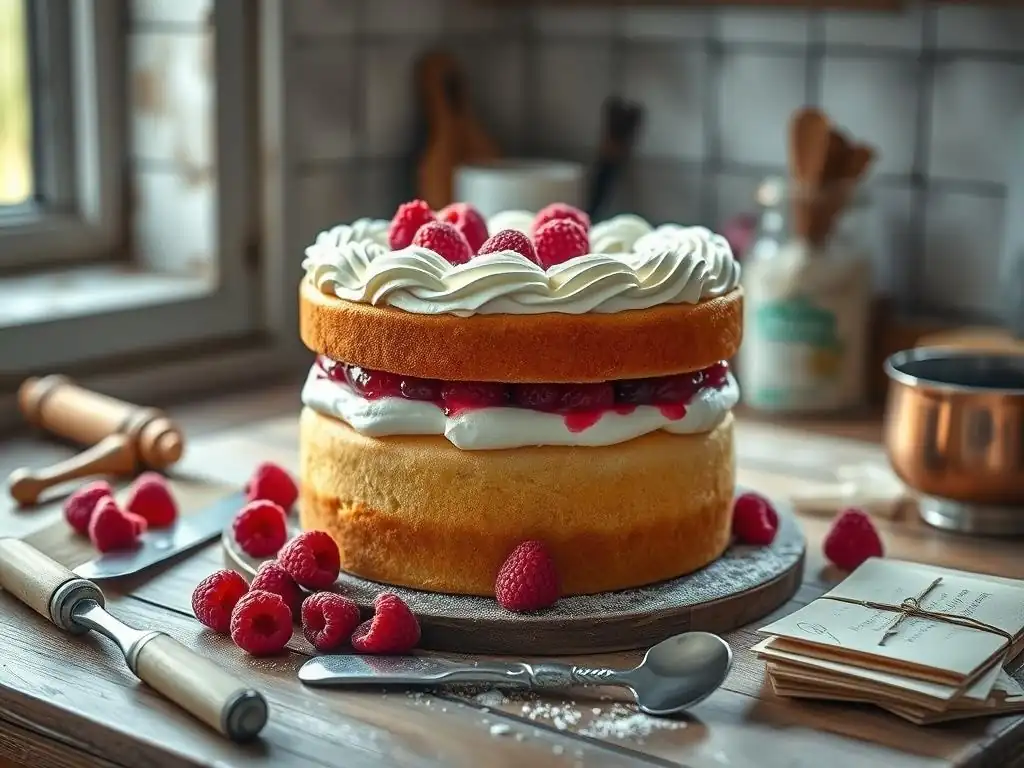
Once your cake layers are completely cool and your filling is prepared, it's time to assemble your Perfect Victoria Sponge. Place one cake layer onto your serving plate or stand, typically with the flat (bottom) side facing up for a level base. If your cakes have a slight dome, you can carefully level them with a serrated knife, but this is often unnecessary for a well-made Victoria Sponge.
Spread a generous layer of your chosen jam evenly over the bottom cake layer, leaving a small border around the edge. Some bakers heat the jam slightly to make it more spreadable. Next, spread the whipped cream or buttercream evenly over the jam layer. Place the second cake layer on top, usually with its bottom side down to create a smooth top surface. Ensure the cake layers are aligned neatly.
Dusting with Icing Sugar: The Finishing Touch
The final, simple touch that completes the classic look of a Perfect Victoria Sponge Cake is a dusting of icing sugar (powdered sugar) over the top. This adds a delicate sweetness and a traditional, elegant finish.
Use a fine-mesh sieve or a dedicated icing sugar shaker. Hold the sieve over the top of the assembled cake and gently tap it to allow the icing sugar to fall in a fine, even layer. Ensure you cover the entire top surface. This simple step provides a beautiful contrast to the golden sponge and signals that your homemade Perfect Victoria sponge cake recipe creation is complete and ready to be admired and enjoyed.
Tips and Tricks for a Victoria Sponge Cake That Rises Perfectly
Avoiding a Sunken Middle: Baking Techniques
A sunken middle is a common frustration when baking sponges, but it's usually preventable with careful technique. The most frequent causes include opening the oven door too early (before the cake structure is set), the oven temperature being too low (causing slow setting), or overmixing the batter after adding the flour (developing too much gluten).
To avoid this, ensure your oven is accurately preheated to the correct temperature. Use an oven thermometer if unsure. Resist the urge to peek during the first 15-20 minutes of baking. Ensure your leavening agent (self-raising flour or baking powder) is fresh. Finally, use a gentle folding technique when incorporating the flour, mixing only until just combined. Follow these steps, and your Perfect Victoria sponge cake recipe should rise beautifully and evenly.
Preventing a Dry Cake: Moisture Control
A dry Victoria Sponge can be disappointing, but several factors contribute to moisture and can be controlled. Overbaking is a primary culprit; remove the cakes as soon as the skewer test comes out clean. Using the correct fat ratio is also important; the butter contributes significantly to moisture and tenderness. Ensure you use the quantity specified in your Perfect Victoria sponge cake recipe.
Using room-temperature ingredients, especially eggs and butter, helps create a stable emulsion that retains moisture better during baking. Additionally, storing the cake correctly once baked (see below) is vital to prevent it from drying out. If your cake does turn out a little dry, a generous filling of jam and cream/buttercream can help compensate.
Troubleshooting Common Victoria Sponge Problems
- Dense or heavy cake: Likely caused by overmixing the batter, especially after adding flour, or insufficient creaming of butter and sugar. Ensure ingredients are at room temperature.
- Uneven rise: Could be uneven heat in the oven (try rotating pans halfway through, after the structure has set), or uneven distribution of batter in the pans.
- Cracked top: Often due to oven temperature being too high, causing the outside to set before the inside has finished rising. Try reducing the temperature slightly.
- Cake sticking to the tin: Insufficient greasing and lining of the pans. Ensure all surfaces are covered and use parchment paper on the base.
Addressing these points in your process is key to consistently achieving a Perfect Victoria sponge cake recipe result.
Variations on the Classic Victoria Sponge Recipe - Lemon Victoria Sponge
While the classic is a timeless favorite, the Victoria Sponge is wonderfully adaptable. One popular variation is the Lemon Victoria Sponge, where the zest of one or two lemons is added to the cake batter, and sometimes a little lemon juice or curd is incorporated into the buttercream filling. This adds a bright, zesty flavor that is particularly refreshing.
Other variations include substituting some flour with cocoa powder for a chocolate sponge, adding fresh berries to the filling, or using different types of jam like blackcurrant or apricot. Some bakers add a splash of milk to the batter for extra moisture, especially if using plain flour. Exploring these variations allows you to personalize your Perfect Victoria sponge cake recipe while staying true to the core principles of a light sponge and delicious filling.
Storing Your Victoria Sponge Cake for Maximum Freshness
How to Keep Your Cake Moist and Delicious
Proper storage is essential to maintain the delightful texture and moisture of your Perfect Victoria Sponge Cake. Once assembled and filled, the cake is best enjoyed on the day it's made, as the moisture from the filling can soften the sponge over time. However, it can be stored for a couple of days if necessary.
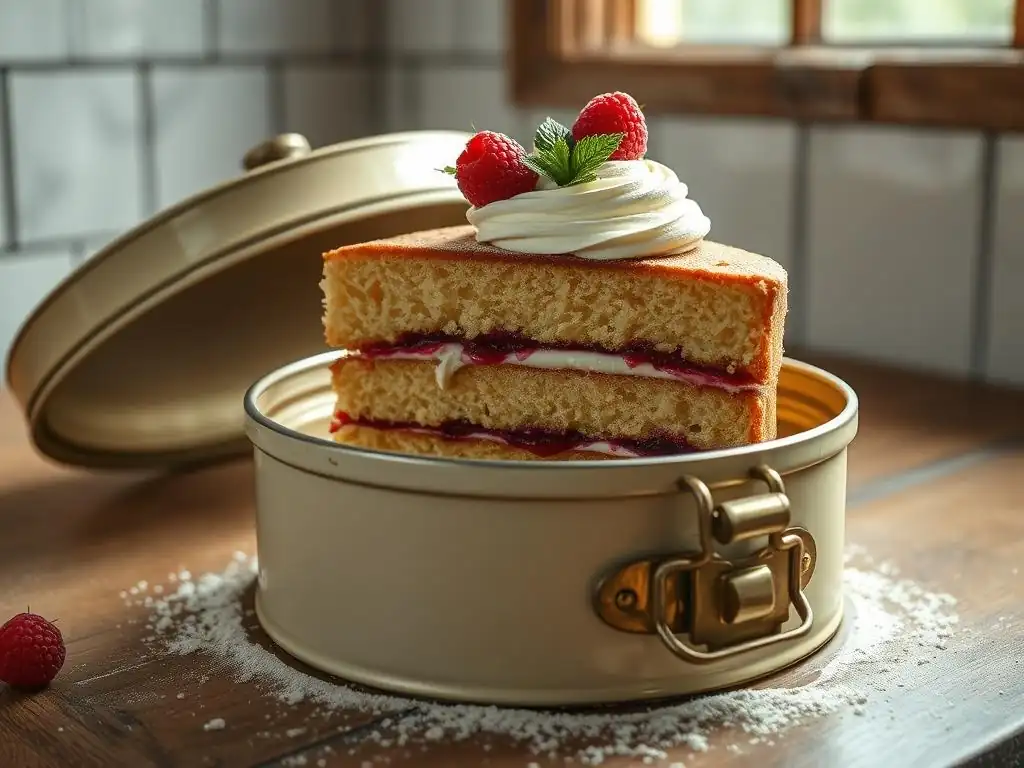
The key is to prevent the cake from drying out and to protect the filling. Store the cake in an airtight container at cool room temperature if using buttercream, or in the refrigerator if using fresh cream (due to its perishability). Placing a slice of fresh bread in the container can sometimes help keep the cake moist by sacrificing its own moisture, though this is more common for plain sponges or cakes without moist fillings.
Best Practices for Storage and Serving
For a Victoria Sponge filled with buttercream, storing it in an airtight container at cool room temperature (around 18-20°C or 65-68°F) is generally fine for 2-3 days. Avoid warm places, as the buttercream can melt. If your kitchen is warm, refrigeration is safer.
If the cake is filled with fresh whipped cream, it must be stored in the refrigerator due to food safety. Place it in an airtight container. When serving a refrigerated cake, it's best to let it sit at room temperature for 15-20 minutes before slicing, as this allows the sponge and filling to soften slightly, improving the texture and flavor. Always store leftover slices in the same airtight container. Following these practices ensures your delicious Perfect Victoria sponge cake recipe creation remains enjoyable for as long as possible.
Conclusion: Enjoy Your Homemade Victoria Sponge!
Celebrate with a slice of BakeWithEase Victoria Sponge
You've followed the steps, understood the ingredients, and mastered the techniques. Now it's time to reap the delicious rewards of your effort. Cutting into a homemade Perfect Victoria Sponge Cake, seeing those distinct layers of tender sponge, vibrant jam, and creamy filling, is incredibly satisfying. The aroma of fresh cake fills the air, a testament to your baking success.
Gather your loved ones, put the kettle on, and serve generous slices of your beautiful BakeWithEase Victoria Sponge. Each bite should be a harmonious blend of light, airy cake, sweet-tart jam, and rich cream. This classic bake is perfect for any occasion, from a simple afternoon treat to a centerpiece at a celebration. Enjoy the simple pleasure of sharing a cake you've made with care, knowing you've unlocked the secret to a truly Perfect Victoria sponge cake recipe. Happy baking and happy eating!
Frequently Asked Questions
What makes BakeWithEase's Victoria Sponge Cake recipe "perfect"?
Our recipe focuses on simple steps and easy-to-find ingredients, ensuring even beginners can achieve a light and airy sponge. We also provide tips to avoid common pitfalls.
What are the key ingredients for a Victoria Sponge Cake according to BakeWithEase?
The essential ingredients are equal parts butter, sugar, and eggs, plus self-raising flour. A touch of vanilla extract and a filling of jam and cream are also crucial for the classic flavor profile.
How does BakeWithEase ensure the Victoria Sponge Cake rises evenly?
We emphasize using room temperature ingredients and avoiding overmixing the batter. Even distribution in the cake tins is also vital for an even rise.
What kind of jam does BakeWithEase recommend for a Victoria Sponge Cake?
Traditionally, raspberry jam is the preferred choice. However, you can experiment with other fruit preserves like strawberry or blackcurrant jam based on your preference.
What are some common mistakes to avoid when making a Victoria Sponge Cake based on BakeWithEase's advice?
Avoid overbaking the cake, which can lead to a dry texture. Also, be careful not to open the oven door too early during baking, as this can cause the cake to sink.
Final Reflection: The Enduring Allure of the Perfect Slice
The pursuit of the perfect Victoria sponge cake is more than just a baking challenge; it's a reflection of our desire for simple pleasures and comforting traditions. This seemingly straightforward recipe, explored throughout this article, reveals a surprising depth, highlighting the importance of precise technique and the subtle nuances that elevate a good cake to something truly exceptional. The quest for that ideal crumb, that perfect balance of sweetness and lightness, resonates deeply with our collective desire for culinary perfection.
The Victoria sponge, a seemingly simple cake, holds a significant place in British culinary history and continues to inspire bakers worldwide. Its enduring popularity speaks to its versatility and ability to evoke feelings of nostalgia and comfort. A slice of Victoria sponge is a taste of home, a reminder of simpler times, and a testament to the power of good ingredients and careful baking.
This sentiment, though personal, reflects the widespread emotional connection people have with this classic dessert. Its presence at countless celebrations, from afternoon teas to birthdays, underscores its enduring cultural significance.
Now, consider your own approach to baking. What elements of this recipe resonated most with you? Perhaps it was the precise measurements, the gentle folding technique, or the careful layering of jam and cream.
Whatever it may be, I encourage you to embrace the spirit of experimentation and precision. Don't be afraid to tweak the recipe, to make it your own, and to find the joy in creating a perfect slice – not just for others, but for yourself. The journey to baking the perfect Victoria sponge is a journey of self-discovery, a testament to the power of patience, and a delicious reward for your efforts.
Unleash Your Inner Baker: Bake the Perfect Victoria Sponge!
Thanks for joining us on this delicious journey to Victoria sponge perfection! We hope you've gained valuable tips and tricks to elevate your baking game. Ready to put your newfound skills to the test?
- Bake your own show-stopping Victoria Sponge: Gather your ingredients and follow our recipe – the results will be incredibly rewarding!
- Share your baking triumphs (or even your bloopers!) with us on social media using #BakeWithEaseVictoriaSponge. Let’s inspire each other!
- Challenge a friend to a Victoria sponge bake-off – friendly competition always makes baking more fun!
What unique twist will you add to your perfect Victoria Sponge? Let’s hear about it in the comments below!