
Bake Perfect Fluffy Scones Every Time: A Beginner's Guide

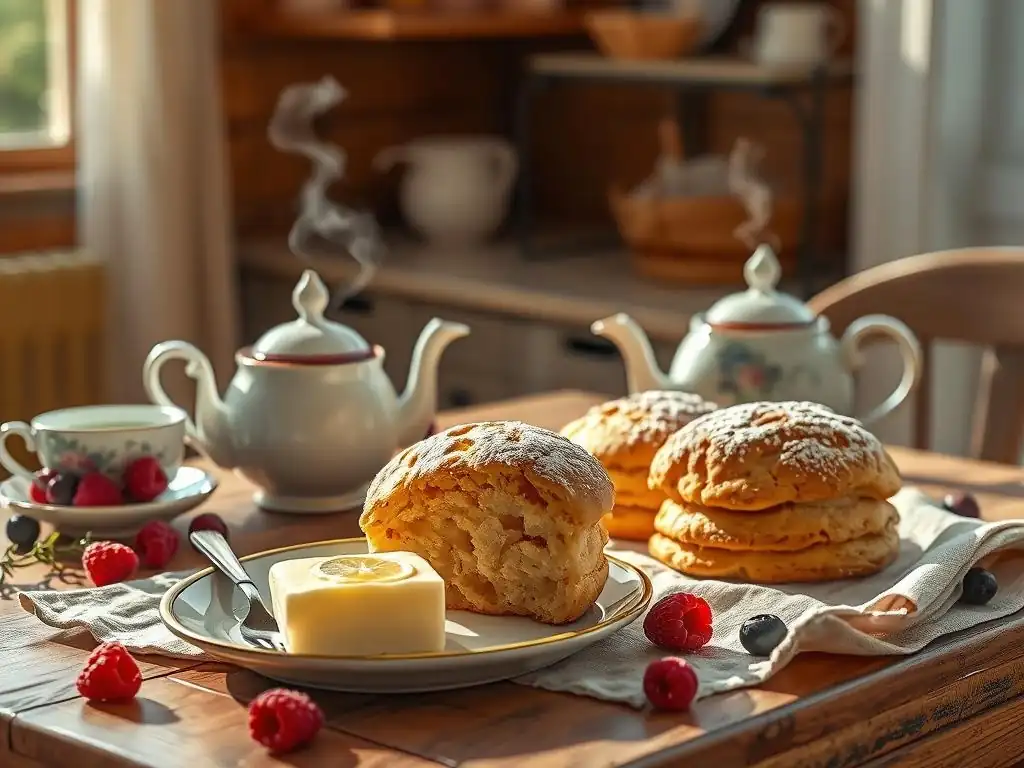
Welcome to BakeWithEase, where delicious baking becomes effortlessly achievable! Ever dreamt of creating the perfect, fluffy scones that melt in your mouth? This journey into the heart of British baking unveils a beginner-friendly guide to mastering this classic treat. Discover the secrets to achieving that coveted light and airy texture, and prepare to impress with scones that are truly unforgettable. Ready to unlock the secrets? Let's get baking!
- Welcome to Scone Baking Perfection with BakeWithEase
- Understanding the Key Ingredients for Fluffy Scones
-
Step-by-Step Guide to Baking the Perfect Fluffy Scones Recipe
- Step 1: Preparing Your Scone Ingredients
- Step 2: Combining the Dry Ingredients for Scones
- Step 3: Cutting in the Cold Butter: The Scone Texture Secret
- Step 4: Adding the Wet Ingredients and Forming the Scone Dough
- Step 5: Shaping and Cutting Your Scones for Baking
- Step 6: Baking Your Scones to Golden Perfection
- Pro Tips for Achieving Extra Fluffy Scones
- Troubleshooting Common Scone Baking Problems
- Flavor Variations: Beyond the Basic Scone Recipe
- Serving and Storing Your Homemade Scones
- Enjoy Your Perfect Fluffy Scones!
- Frequently Asked Questions
- Final Reflection: The Enduring Allure of the Perfect Scone
- Unleash Your Inner Baker: Fluffy Scones Await!
Welcome to Scone Baking Perfection with BakeWithEase
Discover the Secrets to Light and Airy Scones
Achieving that coveted light and airy texture in your scones might seem like a mystery, but it's actually based on a few simple scientific principles and techniques. The goal is to create pockets of air and steam within the dough that expand during baking, lifting the scone and giving it that wonderful rise and delicate crumb. This isn't just about following a recipe; it's about understanding why certain steps are crucial for a perfect fluffy scones recipe. Think of it as building a tiny, edible hot air balloon!
One of the primary secrets lies in the interaction of cold fat (usually butter) with the flour. When small pieces of cold butter are distributed throughout the dough and hit the hot oven, they melt rapidly, releasing steam. This steam pushes outwards, creating layers and pockets that result in flakiness and lift. Coupled with the leavening agents like baking powder, which produce carbon dioxide gas when mixed with liquid and heated, you get a powerful double-action lift. Mastering these fundamentals is key to unlocking your perfect fluffy scones recipe.
Understanding the Key Ingredients for Fluffy Scones
Flour Power: Choosing the Right Flour for Scones
The type of flour you use significantly impacts the texture of your perfect fluffy scones recipe. For classic British scones, a lower-protein flour like cake flour or pastry flour is often recommended because it results in a more tender crumb. All-purpose flour works well too, and is readily available for most home bakers. If using all-purpose flour, aim for one with a protein content around 10-12%. Higher protein flours, like bread flour (typically 12-14% protein), can develop too much gluten when mixed, leading to tougher scones.
Using the correct amount of flour is also vital. Too much flour can make the dough dry and the scones dense. It's often best to measure flour by weight for accuracy (e.g., 225g for a standard batch) rather than volume, as scooping flour can pack it down, leading to excess. If measuring by volume, gently spoon the flour into your measuring cup and level it off without packing. This careful approach to "flour power" is fundamental to a perfect fluffy scones recipe.
The Importance of Cold Butter in Scone Making
Cold butter is absolutely non-negotiable for a perfect fluffy scones recipe. As mentioned earlier, tiny pieces of solid fat are essential for creating those steam pockets that provide lift and flakiness. The butter should be straight from the refrigerator, and ideally, you should handle it as little as possible to keep it cold. Some bakers even recommend freezing the butter for 10-15 minutes before grating or cutting it into the dry ingredients.
The method of incorporating the cold butter is also critical. You want to cut or rub the butter into the flour until it resembles coarse crumbs or small peas. This ensures that small, distinct pieces of butter are distributed throughout the mixture. If the butter melts or is over-processed (e.g., becoming a paste), you lose the potential for steam creation and will end up with flat, dense scones instead of a perfect fluffy scones recipe. Tools like a pastry blender or even a food processor (used very briefly) can help keep the butter cold during this process.
Liquid Assets: Milk vs. Buttermilk for Scones
The choice of liquid plays a role in the texture and flavor of your perfect fluffy scones recipe. Full-fat milk is a common choice, providing richness and helping to activate leavening agents like baking powder. The fat in milk also contributes to a tender crumb. Using cold milk is just as important as using cold butter, as it helps keep the fat solid and prevents premature gluten development.
Buttermilk, however, is often preferred by experienced bakers for creating especially tender and slightly tangy scones. The acidity in buttermilk reacts with baking soda (often used in conjunction with baking powder in scone recipes) to produce extra lift, contributing to a lighter texture. The acid also helps to break down gluten strands, resulting in a more tender bite. If you're aiming for an exceptionally light and flavorful perfect fluffy scones recipe, give cold buttermilk a try.
Sweetness Factor: Sugar and Its Role in Scone Texture
Sugar in a perfect fluffy scones recipe does more than just add sweetness; it also affects the texture and browning. Granulated sugar is the most common choice. It helps to tenderize the dough by interfering with gluten development and also contributes to the lovely golden-brown crust through caramelization during baking. The amount of sugar can vary depending on the desired sweetness, but typically ranges from 25g to 50g for a standard batch of about 8 scones.
Using too much sugar, however, can make the scones spread excessively during baking. It can also result in a crumb that is too soft or crumbly. A balanced amount of sugar contributes to both the taste and structural integrity needed for a perfect fluffy scones recipe. For savory scones, sugar is often omitted entirely or just a pinch is added to balance the flavors without affecting the texture significantly.
Step-by-Step Guide to Baking the Perfect Fluffy Scones Recipe
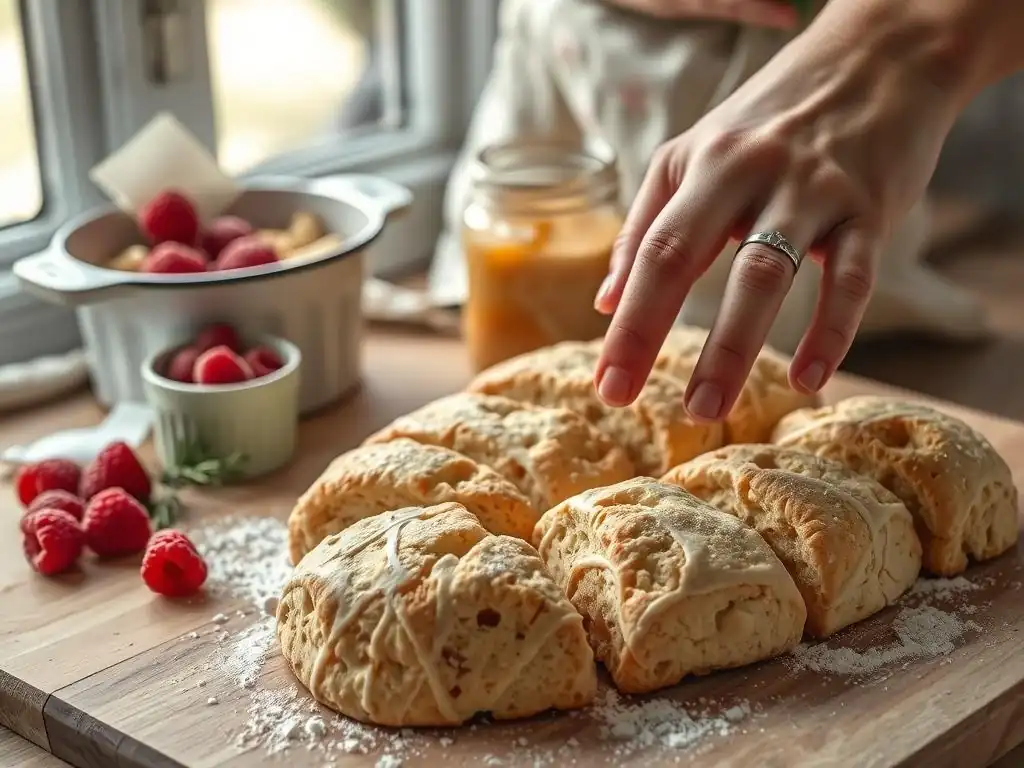
Step 1: Preparing Your Scone Ingredients
Preparation is key to a smooth baking process and a successful perfect fluffy scones recipe. Start by gathering all your ingredients and equipment. Ensure your butter and liquid (milk or buttermilk) are cold – ideally, keep them in the refrigerator until you are ready to use them. Measure your dry ingredients accurately, preferably using a kitchen scale for flour, sugar, baking powder, and salt.
Preheat your oven to the correct temperature, typically quite hot (around 200-220°C or 400-425°F), as a hot oven encourages a rapid rise. Prepare your baking sheet by lining it with parchment paper. Having everything ready before you start mixing ensures you can work quickly, keeping the ingredients cold and handling the dough minimally, which are crucial steps for a perfect fluffy scones recipe.
Step 2: Combining the Dry Ingredients for Scones
In a large mixing bowl, whisk together your dry ingredients: the measured flour, sugar, baking powder, and salt. Sifting these ingredients together can help to aerate the flour and ensure even distribution of the leavening agents and salt, preventing pockets of bitterness or uneven rise. Use a whisk to thoroughly combine them, ensuring there are no clumps of baking powder.
This step is straightforward but important for setting the stage for your perfect fluffy scones recipe. A well-mixed dry base ensures that the leavening is evenly distributed, which is essential for an even and consistent rise across all your scones.
Step 3: Cutting in the Cold Butter: The Scone Texture Secret
Now comes the crucial step for texture: cutting in the cold butter. Dice your cold butter into small cubes (about 1cm or ½ inch). Add these cold cubes to the bowl of dry ingredients. Using your fingertips, a pastry blender, or two knives, quickly work the butter into the dry ingredients until the mixture resembles coarse crumbs with some larger pieces of butter still visible, roughly the size of small peas.
The goal is to coat the flour particles with fat while keeping the butter pieces distinct and cold. Avoid overworking the mixture with your hands, as the warmth will melt the butter. This technique is paramount for creating the flaky, layered texture characteristic of a perfect fluffy scones recipe.
Step 4: Adding the Wet Ingredients and Forming the Scone Dough
Make a well in the center of the dry ingredients with the butter. Pour in your cold liquid (milk or buttermilk). If your recipe includes egg, whisk it with the liquid before adding. Use a knife or a spatula to gently bring the dry ingredients into the wet, mixing until just combined. The dough should be shaggy and slightly sticky – do not overmix!
Overmixing develops gluten, leading to tough scones. You want the dough to come together just enough so there are no pockets of dry flour. It's better to have a slightly wet, shaggy dough at this stage than a dry, smooth one. This gentle handling is vital for a tender perfect fluffy scones recipe.
Step 5: Shaping and Cutting Your Scones for Baking
Turn the shaggy dough out onto a lightly floured surface. Gently bring the dough together with your hands a few times – just enough to form a cohesive mass. Pat or gently roll the dough to your desired thickness, typically about 2-3 cm (1 inch). Avoid kneading or pressing too firmly.
Use a sharp scone cutter (or a knife) to cut out shapes. For classic round scones, press the cutter straight down without twisting, as twisting can seal the edges and inhibit rise. Gather the scraps gently, pat them together, and cut more scones until all the dough is used. Place the cut scones onto your prepared baking sheet. For an even better rise on your perfect fluffy scones recipe, you can place the baking sheet in the refrigerator for 10-15 minutes before baking.
Step 6: Baking Your Scones to Golden Perfection
Place the baking sheet with the scones into your preheated oven. Bake for 12-15 minutes, or until the scones have risen significantly, are golden brown on top and bottom, and feel light when lifted. Baking time can vary depending on your oven and the size/thickness of your scones.
Keep an eye on them as they bake. The high initial heat helps the scones rise quickly. Once baked, remove them from the oven and transfer them to a wire rack to cool slightly. Serving them warm is ideal for enjoying their fluffy texture and delicious flavor – the hallmark of a perfect fluffy scones recipe.
Pro Tips for Achieving Extra Fluffy Scones
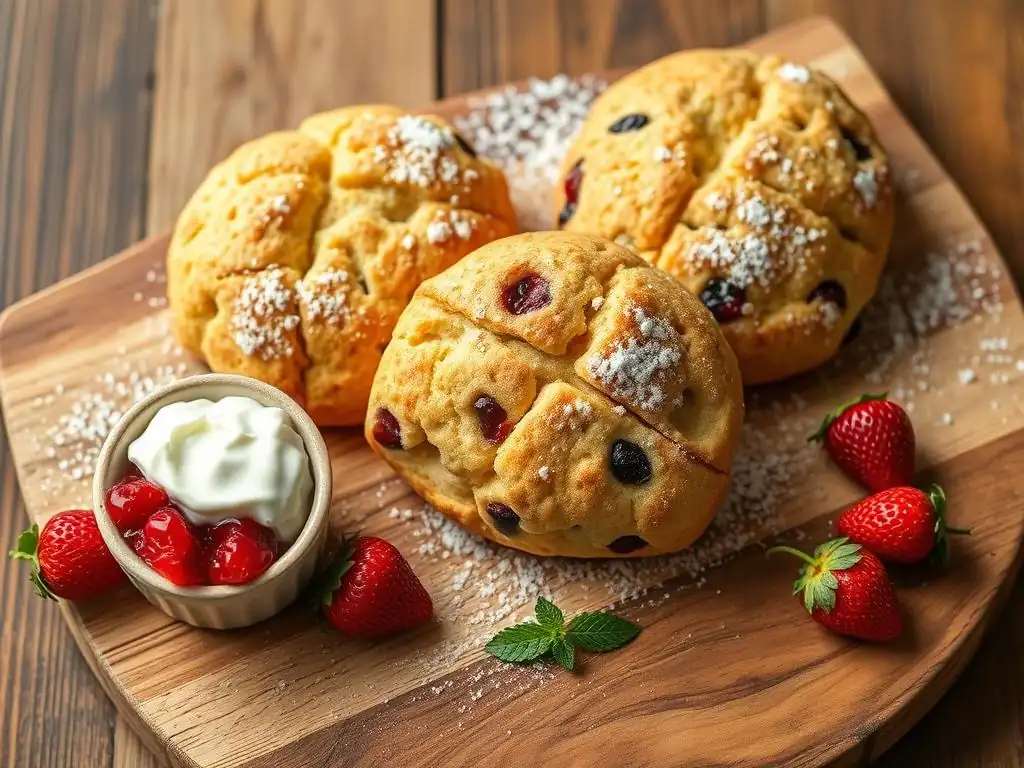
Keeping Everything Cold for Optimal Rise
This tip cannot be stressed enough for a perfect fluffy scones recipe: temperature is your friend. From the butter and liquid to the mixing bowl and even your hands (if possible, rinse them in cold water before mixing! ), keeping everything cold is paramount. Cold ingredients slow down gluten development and ensure the butter stays solid until it hits the hot oven.
Some bakers even chill their dry ingredients for a short time before adding the butter, or chill the cut scones on the baking sheet before they go into the oven. The contrast between the cold dough and the hot oven creates that explosive rise that defines a truly perfect fluffy scones recipe. Don't rush this step – patience with temperature pays off!
The Gentle Touch: Avoid Overmixing the Scone Dough
Once the wet ingredients are added, the clock is ticking to avoid overdeveloping gluten. Use a light hand and mix only until the dry ingredients are just incorporated. The dough will look shaggy and perhaps a bit messy, and that's exactly what you want for a perfect fluffy scones recipe. Resist the urge to knead it into a smooth ball like bread dough.
When shaping, patting the dough gently is preferred over rolling with a pin, which can compress the dough and encourage gluten formation. If using a cutter, press straight down. Every action from adding the liquid onwards should be quick and gentle to preserve the tender crumb structure needed for a perfect fluffy scones recipe.
Egg Wash or Milk Wash: Which is Best for Scones?
Applying a wash to the tops of your scones before baking serves several purposes: it promotes browning, adds a slight sheen, and contributes to a crispier crust. A simple milk wash (whole milk is good) will give a soft, golden finish. It's a reliable choice for a classic perfect fluffy scones recipe look.
An egg wash, typically made by whisking an egg with a tablespoon of milk or water, provides a deeper golden color and a more pronounced shine. It can also contribute to a slightly firmer crust. Some recipes call for just the egg yolk mixed with milk for an extra rich color. Choose the wash based on your desired final appearance for your perfect fluffy scones recipe. Apply it gently with a pastry brush, avoiding drips down the sides, which can hinder the rise.
Oven Temperature and Baking Time for Scone Success
Baking scones in a hot oven is key to achieving that beautiful, high rise. A temperature between 200°C and 220°C (400°F to 425°F) is generally recommended. This high heat causes the butter to melt and create steam rapidly, and the leavening agents to activate quickly, resulting in a swift expansion of the dough.
Baking time usually ranges from 12 to 15 minutes for standard-sized scones, but this can vary. Look for visual cues: the scones should be significantly taller, golden brown on top and bottom, and the sides should be firm. Over-baking can dry them out, while under-baking leaves them doughy. Trust your oven and adjust the time as needed to perfect your perfect fluffy scones recipe.
Troubleshooting Common Scone Baking Problems
Why are My Scones Flat? (Troubleshooting Guide)
Flat scones are a common disappointment, but the causes are usually traceable. The most frequent culprits for a lack of rise in your perfect fluffy scones recipe attempt include:
- Warm Ingredients: If your butter or liquid wasn't cold, the butter melted prematurely, losing its ability to create steam.
- Inactive Leavening: Check the expiry date of your baking powder. Old baking powder won't produce enough gas.
- Overmixing: Handling the dough too much develops gluten, making the scones tough and preventing them from expanding easily.
- Twisting the Cutter: Twisting the scone cutter seals the edges, inhibiting the upward rise.
- Oven Temperature: An oven that isn't hot enough won't provide the rapid heat needed for a quick lift. Ensure your oven thermostat is accurate.
To fix future batches of your perfect fluffy scones recipe, ensure all ingredients are cold, use fresh baking powder, handle the dough minimally, cut straight down, and preheat your oven thoroughly.
My Scones are Too Dry: Causes and Solutions
Dry scones are often a result of incorrect ingredient ratios or over-baking. Possible reasons your perfect fluffy scones recipe turned out dry include:
- Too Much Flour: Measuring flour inaccurately, especially scooping and packing, can add excess dry ingredient.
- Not Enough Liquid: The recipe might require slightly more liquid depending on flour type and humidity, or you might have mismeasured.
- Over-baking: Leaving the scones in the oven for too long or at too low a temperature can bake out too much moisture.
To avoid dry scones in the future, measure flour precisely (ideally by weight), ensure you've added the correct amount of liquid (the dough should be slightly shaggy, not dry or crumbly), and watch the scones carefully while baking, removing them as soon as they are golden and cooked through. Adjusting the liquid slightly can often save a potentially dry perfect fluffy scones recipe dough.
Avoiding Tough Scones: Mastering the Gentle Technique
Tough scones are almost always a sign of overworking the dough. When flour and liquid are mixed and handled excessively, gluten develops, resulting in a dense, bread-like texture rather than a tender, crumbly one. This is the opposite of a perfect fluffy scones recipe.
Key steps to avoid tough scones:
- Minimize Mixing: Mix the wet and dry ingredients only until just combined – a few dry spots are okay.
- Gentle Handling: When turning the dough out, pat it together gently rather than kneading.
- Quick Shaping: Work quickly when shaping and cutting the scones to minimize handling time.
- Use Cold Ingredients: Cold temperatures slow down gluten development.
By focusing on a light, quick touch throughout the mixing and shaping process, you'll prevent gluten formation and achieve the desired tender crumb for your perfect fluffy scones recipe.
Flavor Variations: Beyond the Basic Scone Recipe
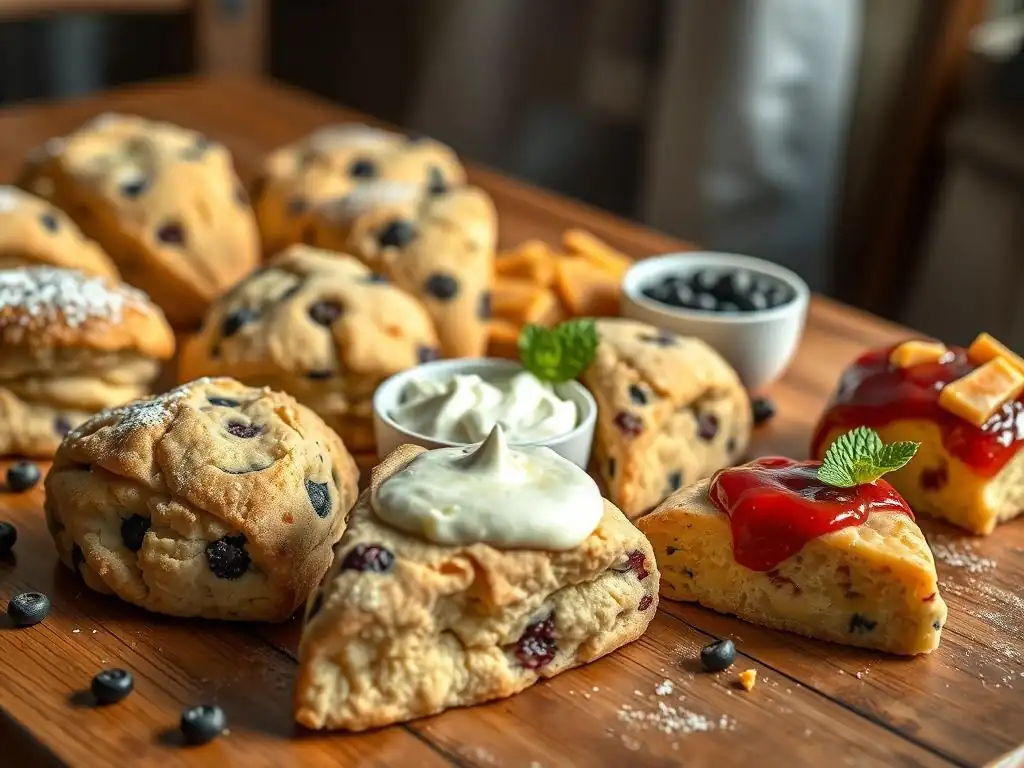
Adding Dried Fruit to Your Scones: Raisins, Currants, and More
Classic fruit scones are a staple, and adding dried fruit is a simple way to enhance your perfect fluffy scones recipe. Raisins and currants are traditional choices, adding pockets of sweetness and chewiness. Typically, you'd add about 50-75g of dried fruit to a standard batch of dough (using around 225g flour).
To prevent the fruit from sinking to the bottom, toss the dried fruit with a tablespoon of the measured flour before adding it to the main dry ingredients. This light coating helps suspend the fruit throughout the dough. Ensure the fruit is evenly distributed but avoid overmixing the dough to achieve this. Other delicious options include dried cranberries, chopped apricots, or even dried blueberries, adding different flavor profiles to your perfect fluffy scones recipe base.
Savory Scone Options: Cheese, Herbs, and Spices
While the basic perfect fluffy scones recipe is sweet, the dough is incredibly versatile and lends itself beautifully to savory additions. Cheese scones are incredibly popular. Incorporate about 50-75g of grated mature cheddar or parmesan cheese into the dry ingredients along with the butter.
Fresh or dried herbs like chives, rosemary, or thyme can also be added (1-2 tablespoons of chopped fresh herbs or 1-2 teaspoons of dried). A pinch of cayenne pepper or black pepper can add a little kick. For savory scones, you might reduce or omit the sugar from the basic perfect fluffy scones recipe entirely. Serve savory scones warm with butter or alongside soup.
Sweet Glazes and Toppings for Your Fluffy Scones
Once your perfect fluffy scones recipe is baked, you can elevate them further with simple glazes and toppings. A classic option is a simple icing glaze made by mixing powdered sugar with a little milk or lemon juice until it's a pourable consistency. Drizzle this over the warm or cooled scones.
For added texture and sweetness, you can sprinkle the tops of the scones with coarse sugar (like turbinado or demerara) before baking, especially after applying an egg or milk wash. This creates a lovely, slightly crunchy crust. For fruit scones, a simple brush of melted butter and a sprinkle of sugar right after they come out of the oven adds shine and sweetness. Experiment with different glazes to complement your perfect fluffy scones recipe.
Serving and Storing Your Homemade Scones
The Best Way to Serve Freshly Baked Scones
Scones are best enjoyed warm, preferably shortly after they've come out of the oven. Traditionally, they are served split horizontally and generously topped with clotted cream and jam. The warmth of the scone slightly melts the cream and jam, creating a delightful texture and flavor combination.
Provide a selection of jams, such as strawberry, raspberry, or blackcurrant. A good quality clotted cream is essential for the authentic experience. Offer butter as an alternative or addition. Serving them warm highlights their fluffy texture and makes your perfect fluffy scones recipe truly shine.
Storing Scones to Maintain Freshness
Homemade scones, especially a perfect fluffy scones recipe, are best eaten the day they are baked. However, they can be stored to enjoy later. Once completely cooled, store scones in an airtight container at room temperature. Avoid refrigerating them, as this can dry them out and make them dense.
Properly stored, scones will usually remain fresh for 1-2 days. If you plan to keep them longer, consider freezing. Wrap individual scones tightly in plastic wrap, then place them in a freezer bag or container. Frozen scones can last for up to 2-3 months.
Reheating Scones: Keeping Them Fluffy
To restore the lovely texture of your perfect fluffy scones recipe, reheating is recommended. The best method is to warm them gently in an oven. Preheat your oven to a moderate temperature, around 160°C (320°F). Place the scones directly on the oven rack or on a baking sheet.
Heat for about 5-10 minutes, depending on the size of the scone, until they are warmed through. This method helps to crisp up the exterior slightly while keeping the interior soft and fluffy. Avoid microwaving scones, as this can make them rubbery. Reheating brings them back close to their freshly baked glory.
Enjoy Your Perfect Fluffy Scones!
Frequently Asked Questions
What makes a scone "fluffy" versus dense?
The key to fluffy scones lies in avoiding overmixing the dough. Overmixing develops the gluten, leading to a tougher, denser scone. Using cold ingredients also helps!
What are the essential ingredients for a perfect fluffy scone recipe?
The core ingredients are flour, butter (preferably cold), sugar, baking powder, salt, and a liquid (milk or buttermilk). Baking powder is crucial for that fluffy rise.
How do I prevent my scones from becoming dry?
Don't over-bake them! Look for a light golden brown color and a slightly firm texture. Using enough liquid in the recipe is also important.
What is the best way to cut the butter into the flour for scones?
Use a pastry blender, two knives, or your fingertips to cut the cold butter into the flour until it resembles coarse crumbs. This creates pockets of butter that melt during baking, creating flakiness.
Can I add other ingredients to my perfect fluffy scones recipe?
Absolutely! Common additions include dried fruit (raisins, cranberries), chocolate chips, or even savory herbs and cheese. Just be mindful not to overload the dough with too many additions.
Final Reflection: The Enduring Allure of the Perfect Scone
The pursuit of the perfect fluffy scone transcends mere baking; it's a journey into culinary precision and the comforting embrace of tradition. From the careful measurement of ingredients to the gentle fold of the dough, each step in the process contributes to the final, ethereal lightness that defines a truly exceptional scone. This seemingly simple baked good holds a power to evoke feelings of warmth, nostalgia, and shared moments, making its mastery a rewarding endeavor.
The impact of a perfectly baked scone extends far beyond the individual experience. It's a testament to the enduring power of simple recipes to bring people together, fostering connection and shared enjoyment. Baking is at once child's play and adult joy. And love, of course.
- Alma Flor Ada. This quote perfectly encapsulates the magic that unfolds when we dedicate ourselves to mastering a craft as seemingly simple as scone-making. The process itself, from the anticipation to the final bite, becomes a cherished ritual.
Now, I invite you to take what you've learned from this guide and embark on your own scone-baking journey. Don't be afraid to experiment, to adjust the recipe to your own preferences, and most importantly, to savor the process. The perfect fluffy scone isn't just a recipe; it's a testament to your dedication, a symbol of comfort, and a delicious reward for your efforts. Go forth, and bake!
Unleash Your Inner Baker: Fluffy Scones Await!
Thanks for joining us on this delicious journey to perfect scones! We hope you've gained the confidence to tackle this classic treat. Now it's time to put your newfound skills to the test!
- Bake a batch of scones today! Use your favorite recipe (or ours!) and see how much fluffier they turn out. Remember those key tips from the article—chilled butter and a light touch are key!
- Share your baking triumphs (and even your flops!) with our community on social media using #BakeWithEaseScones. We love seeing your creations!
- Explore our other baking guides – you might discover the perfect recipe for your next tea party!
Ready to experience the joy of perfectly baked scones? What's your favorite scone flavor combination?