
Simple Steps to Bake Classic Eastern European Babka

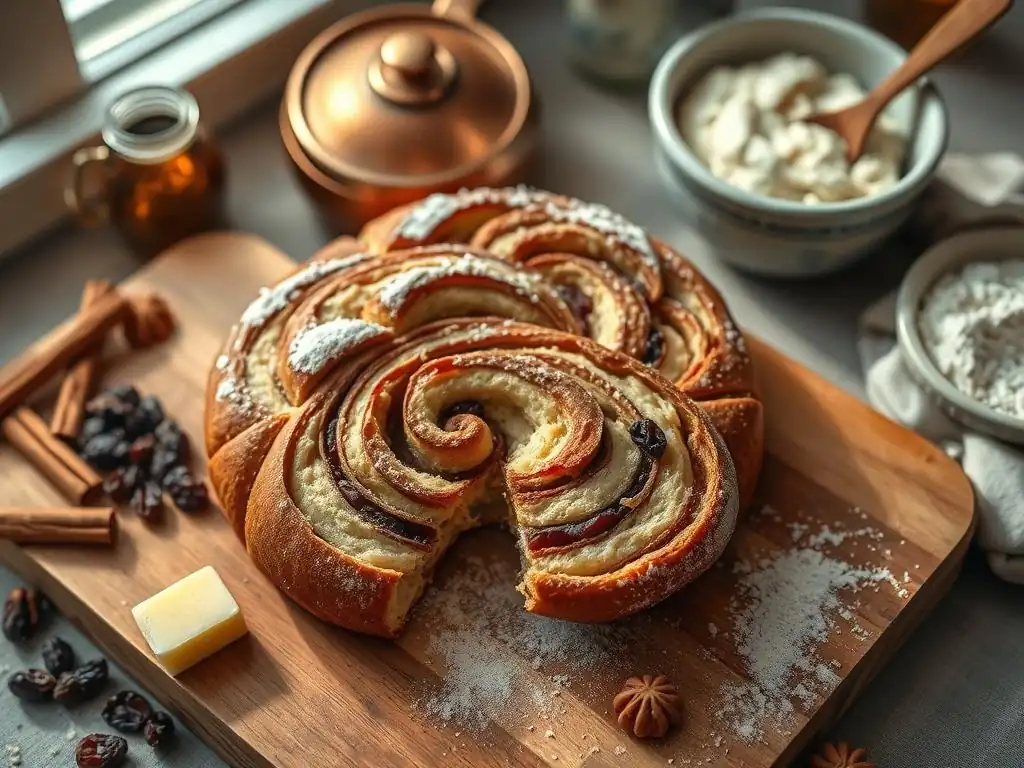
Welcome to BakeWithEase, your companion in the delightful world of baking! Ever dreamed of creating a bakery-worthy treat in your own kitchen? Get ready to impress with our easy classic babka recipe, a delicious journey into Eastern European baking traditions. Discover the secrets to achieving that perfect swirl and rich, buttery flavor. Intrigued? Let's get baking!
- Simple Steps to Bake Chocolate Babka: An Easy Recipe
- BakeWithEase Presents: Your Guide to a Perfect Chocolate Babka
- Understanding Babka: An Eastern European Baking Tradition
- The Easy Chocolate Babka Recipe: Ingredients & Equipment
-
Step-by-Step Guide: Baking Your Chocolate Babka
- Step 1: Preparing the Babka Dough - A Simple Method
- Step 2: First Proofing - Achieving the Right Rise
- Step 3: Shaping the Babka Dough - Classic Twists and Braids
- Step 4: Filling the Babka - Chocolate Filling Preparation
- Step 5: Second Proofing - Ensuring a Light and Airy Texture
- Step 6: Baking the Babka - Achieving Golden Brown Perfection
- Step 7: Preparing the Simple Syrup - Adding Moisture and Shine
- Step 8: Applying the Syrup - The Finishing Touch
- Tips & Tricks for the Best Chocolate Babka
- Flavor Variations: Exploring Babka Baking Options
- Enjoy Your Homemade Chocolate Babka!
- Frequently Asked Questions
- Final Reflection: The Sweet Legacy of Babka and the Joy of Baking
- Unleash Your Inner Babka Baker!
Simple Steps to Bake Chocolate Babka: An Easy Recipe
BakeWithEase Presents: Your Guide to a Perfect Chocolate Babka
Welcome to BakeWithEase, where we believe that anyone can create delicious baked goods right in their own kitchen. Today, we're diving into the wonderful world of babka, a sweet, enriched bread that's as beautiful to look at as it is delightful to eat. While some might think making babka is complicated, we're here to show you an easy classic babka recipe that simplifies the process without sacrificing any of that incredible flavor or texture. Get ready to impress yourself and your loved ones with this impressive, yet approachable, bake.
This guide will walk you through every step, from preparing the dough to achieving that iconic swirl and finishing glaze. We'll cover everything you need to know to successfully bake a classic chocolate babka, sharing tips and tricks learned from years of baking experience. Whether you're new to enriched doughs or looking to perfect your technique, this easy babka recipe is designed for you.
Understanding Babka: An Eastern European Baking Tradition
Babka holds a special place in the heart of Eastern European baking. It's a rich, often sweet, bread that has evolved over centuries, adapting to different regions and available ingredients. At its core, babka is a celebration of simple ingredients transformed through careful technique into something truly extraordinary. Understanding its background helps appreciate the bake even more.
Traditionally, babka originated in Jewish communities in Poland and Ukraine. The name "babka" itself comes from the Polish word for "grandmother" (or a diminutive, "babcia"), possibly referring to its shape resembling a grandmother's skirt or being a cake traditionally baked by grandmothers. Early versions were often tall, cylindrical, and made from enriched dough, sometimes filled with fruit preserves or nuts. This historical context shows that while the swirls and fillings we know today are popular, the essence of babka lies in its rich, tender dough.
What is Babka? Exploring its Origins
Babka is a type of sweet, leavened bread, often enriched with eggs, butter, and sometimes milk or sour cream, giving it a tender, cake-like crumb. Its origins trace back to the Jewish communities of Eastern Europe, particularly in regions that are now part of Ukraine and Poland. Initially, it might have been a way to use up leftover challah dough, enriched with fruit or cheese fillings and baked in tall pans. Over time, it developed into its own distinct pastry.
The migration of Eastern European Jews to other parts of the world, notably North America and Israel, brought babka with them, where it continued to evolve. While the core concept of a rich, sweet bread remained, fillings became more varied, and the iconic swirled appearance, achieved by rolling, filling, and twisting the dough, became increasingly popular. This evolution highlights babka's adaptability and enduring appeal across cultures.
Chocolate Babka: A Decadent Variation
While traditional babka fillings included poppy seeds, nuts, or fruit jam, chocolate babka has become one of the most beloved and popular variations, especially in recent decades. This modern twist layers a rich, often fudgy or ganache-like chocolate filling between thin layers of the enriched dough. The dough is then rolled, sliced lengthwise, and braided or twisted to expose the layers of chocolate, creating a stunning visual pattern when baked.
The combination of the tender, slightly sweet bread with the intense, sometimes slightly bitter or sweet chocolate filling creates a truly decadent experience. Chocolate babka is often finished with a simple syrup glaze immediately after baking. This step is crucial as the hot bread absorbs the syrup, adding moisture, enhancing flavor, and giving the finished loaf a beautiful shine. This easy classic babka recipe focuses on this delicious chocolate version.
The Easy Chocolate Babka Recipe: Ingredients & Equipment
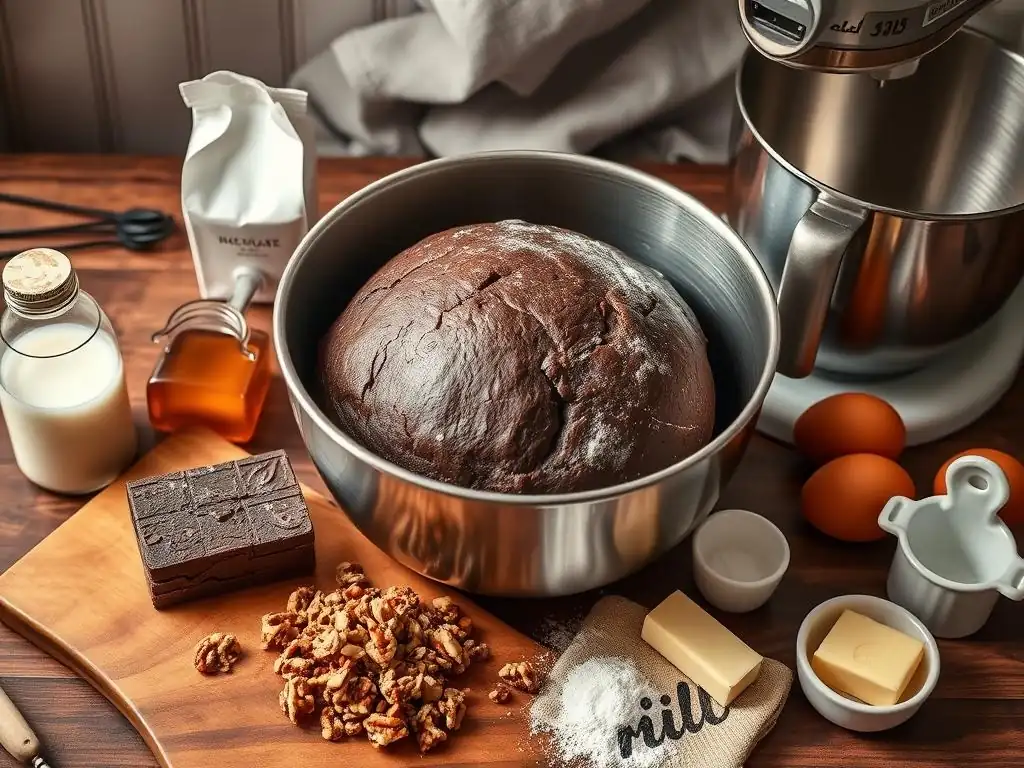
Creating a delicious chocolate babka starts with having the right ingredients and tools. While the process involves a few steps, the ingredients themselves are quite common, and most required equipment can be found in a standard kitchen. We've put together a detailed list to help you get prepared for baking your easy babka.
Using high-quality ingredients will elevate your babka. For instance, using good quality chocolate for the filling makes a significant difference in flavor. Similarly, fresh yeast ensures your dough rises properly, which is crucial for achieving that light, airy texture. Don't feel intimidated by the list; gathering everything beforehand makes the baking process much smoother.
Ingredients for a Delicious Chocolate Babka: A Detailed List
Here is a comprehensive list of ingredients needed for this easy classic babka recipe, designed to yield one standard loaf (approximately 9x5 inches or 23x13 cm). Ensure all cold ingredients like butter and eggs are brought to room temperature unless specified otherwise.
- For the Dough:
- [ ] 3 ½ cups (about 450g) All-Purpose Flour, plus more for dusting
- [ ] ½ cup (100g) Granulated Sugar
- [ ] 2 ¼ teaspoons (7g) Instant Dry Yeast (one standard packet)
- [ ] ½ teaspoon Salt
- [ ] 2 Large Eggs, at room temperature
- [ ] ½ cup (120ml) Milk, lukewarm (about 105-115°F or 40-46°C)
- [ ] ½ cup (115g) Unsalted Butter, softened, cut into pieces
- For the Chocolate Filling:
- [ ] 1 cup (170g) Semi-Sweet or Dark Chocolate, finely chopped
- [ ] ½ cup (115g) Unsalted Butter
- [ ] ½ cup (50g) Confectioners' Sugar
- [ ] ¼ cup (20g) Unsweetened Cocoa Powder
- [ ] ½ teaspoon Ground Cinnamon (optional, but recommended)
- For the Simple Syrup:
- [ ] ½ cup (100g) Granulated Sugar
- [ ] ½ cup (120ml) Water
This list provides the necessary components for a truly delicious babka. The quantities are calibrated for a single loaf, which is a great size for a first attempt at this easy babka recipe. Having everything measured out and ready before you begin mixing the dough will significantly streamline the process and reduce stress.
Essential Baking Equipment for Babka Success
Having the right tools makes baking babka much easier and helps ensure a great result. You don't need highly specialized equipment, but a few key items are essential for this easy classic babka recipe. Here is a list of recommended equipment:
- Mixing Bowls: At least two medium-sized bowls – one for mixing the dough and one for the chocolate filling.
- Stand Mixer with Dough Hook Attachment: While not strictly essential (you can knead by hand), a stand mixer makes the dough preparation significantly easier and more efficient, ensuring proper gluten development.
- Measuring Cups and Spoons: For accurately measuring ingredients.
- Kitchen Scale: Highly recommended for more precise ingredient measurements, especially for flour and yeast.
- Rolling Pin: For rolling out the dough into a rectangle.
- Offset Spatula or Knife: For spreading the filling evenly.
- Sharp Knife or Pizza Cutter: For slicing the rolled dough lengthwise.
- Standard 9x5 inch (23x13 cm) Loaf Pan: The standard size for baking babka.
- Parchment Paper: For lining the loaf pan, making removal easy and preventing sticking.
- Wire Rack: For cooling the baked babka.
- Small Saucepan: For preparing the simple syrup.
- Pastry Brush: For applying the simple syrup.
Having these items readily available will ensure you can move smoothly through each stage of the baking process for your easy classic babka recipe. Proper equipment helps achieve the correct dough consistency, even filling distribution, and perfect bake.
Step-by-Step Guide: Baking Your Chocolate Babka
Now for the fun part – bringing it all together! This section provides a detailed, step-by-step guide to baking your easy chocolate babka. Follow these instructions carefully, and you'll be rewarded with a beautiful and delicious loaf. Remember, baking is a process, and taking your time with each step is key to success.
This guide breaks down the process into manageable stages, focusing on clarity and simplicity. Even if you've never worked with enriched dough before, these steps are designed to be straightforward and achievable. Let's get started on making your easy classic babka recipe a reality!
Step 1: Preparing the Babka Dough - A Simple Method
Begin by combining the dry ingredients for the dough in the bowl of your stand mixer: the flour, sugar, yeast, and salt. Give them a quick whisk to distribute everything evenly. This initial mix helps ensure the yeast is well-distributed throughout the flour mixture.
Next, add the wet ingredients: the eggs and lukewarm milk. Attach the dough hook to your mixer and mix on low speed until a shaggy dough forms and pulls away from the sides of the bowl, about 2-3 minutes. At this point, the dough will look quite rough and sticky, which is perfectly normal for an enriched dough before the butter is incorporated.
Step 2: First Proofing - Achieving the Right Rise
Once the butter is fully incorporated and the dough is smooth and elastic, transfer it to a lightly oiled bowl. Turn the dough to coat it lightly with oil. Cover the bowl tightly with plastic wrap or a clean kitchen towel.
Place the bowl in a warm place to rise until doubled in size. This typically takes about 1 to 1 ½ hours at room temperature (around 70-75°F or 21-24°C). Alternatively, for a slower, more flavorful rise and easier handling, you can refrigerate the dough for at least 4 hours, or preferably overnight. Refrigeration is often recommended for babka dough as it makes rolling and shaping much easier due to the butter firming up.
Step 3: Shaping the Babka Dough - Classic Twists and Braids
Once the dough has completed its first proof (either at room temperature or after chilling), turn it out onto a lightly floured surface. Gently punch down the dough to deflate it slightly. Using a rolling pin, roll the dough into a large rectangle, approximately 16x12 inches (40x30 cm) and about ¼ inch (0.6 cm) thick. Aim for even thickness across the entire rectangle.
Spread the prepared chocolate filling evenly over the rolled dough, leaving a small border (about ½ inch) along one of the longer edges. Starting from the long edge opposite the border, tightly roll up the dough into a log, much like you would for cinnamon rolls. Pinch the seam gently to seal.
Step 4: Filling the Babka - Chocolate Filling Preparation
While the dough is undergoing its first proof, prepare the rich chocolate filling. In a heatproof bowl set over a small saucepan of simmering water (or in a microwave at 50% power in 30-second intervals), melt the chopped chocolate and butter together, stirring until smooth and fully melted. Be careful not to overheat the chocolate.
Once melted and smooth, remove from the heat and whisk in the confectioners' sugar, cocoa powder, and optional cinnamon until well combined and smooth. The mixture should be thick but spreadable. Let the filling cool slightly at room temperature until it reaches a spreadable consistency, similar to a thick paste or Nutella. If it's too runny, the filling will ooze out during shaping; if it's too firm, it will be difficult to spread.
Step 5: Second Proofing - Ensuring a Light and Airy Texture
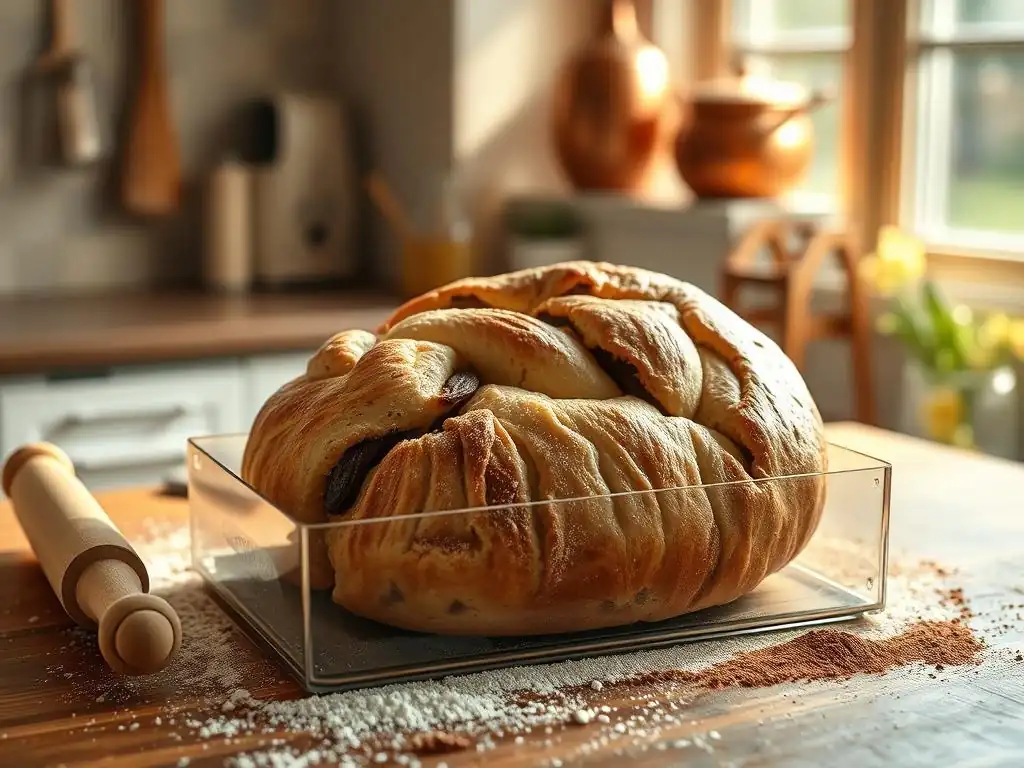
After shaping the babka and placing it in the prepared loaf pan, cover the pan loosely with plastic wrap or a clean kitchen towel. Place the pan in a warm spot for the second proofing.
This proofing stage is crucial for achieving a light and airy texture in the final baked babka. The dough should rise again until it nearly doubles in size and the babka looks visibly puffy, often rising slightly above the rim of the loaf pan. This usually takes about 1 to 1 ½ hours at room temperature, depending on the warmth of your kitchen. While the babka is proofing, preheat your oven and prepare the simple syrup.
Step 6: Baking the Babka - Achieving Golden Brown Perfection
Preheat your oven to 350°F (175°C). Once the babka has completed its second proof and the oven is preheated, place the loaf pan in the center rack of the oven.
Bake for 30 to 40 minutes, or until the babka is deeply golden brown on top and a wooden skewer or toothpick inserted into the center comes out clean (avoiding the filling). If the top starts browning too quickly, you can loosely tent the loaf with aluminum foil after about 20-25 minutes of baking. The internal temperature of the bread part (away from the filling) should register around 190-200°F (88-93°C) when fully baked.
Step 7: Preparing the Simple Syrup - Adding Moisture and Shine
While the babka is baking, prepare the simple syrup glaze. In a small saucepan, combine the granulated sugar and water. Place the saucepan over medium heat and stir occasionally until the sugar is completely dissolved and the mixture comes to a gentle boil.
Once the sugar is dissolved and the syrup is clear, remove the saucepan from the heat. Keep the syrup warm until the babka is ready to come out of the oven. This syrup is a key element in this easy classic babka recipe, providing moisture and a beautiful glossy finish.
Step 8: Applying the Syrup - The Finishing Touch
As soon as the babka comes out of the oven, while it is still hot in the loaf pan, immediately brush the warm simple syrup generously over the entire top surface of the babka. You may not need to use all of the syrup, but apply enough so that the top is well-coated and the syrup starts to soak in.
Allow the babka to cool in the pan for about 10-15 minutes before attempting to remove it. The hot bread will absorb the syrup as it cools slightly, making the babka wonderfully moist and giving it that signature shine. After 10-15 minutes, carefully lift the babka out of the pan using the parchment paper overhangs and transfer it to a wire rack to cool completely before slicing and serving. Cooling completely ensures the filling sets properly and the babka holds its shape when sliced.
Tips & Tricks for the Best Chocolate Babka
Baking babka, while made easier with our recipe, still benefits from a few insider tips and tricks. Paying attention to details can elevate your easy classic babka recipe from good to truly exceptional. Here are some common pitfalls to avoid and techniques to master.
These pointers are gathered from experience and address common challenges home bakers face when making enriched breads like babka. Implementing these tips will help you achieve a beautiful texture, a stunning swirl, and perfect flavor every time you bake your easy babka.
Common Babka Baking Mistakes (and How to Avoid Them)
One common mistake is not letting the dough proof properly. Under-proofed dough results in a dense, heavy babka. Ensure your dough doubles in size during both the first and second proofing stages. Temperature is key here; a warm spot helps, but patience is more important than rushing the process with excessive heat. If your kitchen is cool, proofing might take longer.
Another pitfall is overfilling the babka or not chilling the dough sufficiently before shaping. Too much filling can ooze out during baking, making a mess and resulting in a babka with less distinct swirls. Chilling the dough overnight after the first proof makes it much firmer and easier to roll thinly and handle without tearing, leading to cleaner lines in your finished swirl. Also, ensure your filling is cooled to a spreadable consistency, not runny.
Achieving the Perfect Crumb: Texture is Key
The ideal babka crumb is tender, moist, and slightly chewy, almost cake-like but still retaining the structure of bread. This texture is achieved through the enriched dough formula (with butter, eggs, and milk) and proper kneading. Ensure you knead the dough until it is smooth and elastic; this develops the gluten structure needed to support the rise and create that desirable crumb.
Correct proofing is also vital for crumb texture. Both the first and second rises contribute to aeration, creating those lovely pockets within the bread. Don't skip the simple syrup glaze! Applying warm syrup to the hot babka ensures moisture is absorbed, preventing the finished loaf from being dry and contributing to the tender crumb that makes an easy classic babka recipe so satisfying.
Mastering the Swirl: A Visual Guide
The beautiful swirl is a hallmark of babka. To achieve it, roll your chilled dough into an even rectangle and spread the cooled filling evenly, leaving a border. Roll the dough up tightly into a log from the long edge. Tightness is important to prevent gaps.
Next, using a sharp knife or pizza cutter, slice the log lengthwise down the middle. You will now have two long halves with the filling exposed. Turn the cut sides up. To create the classic two-strand braid, twist the two halves together, keeping the cut sides facing outwards as much as possible. For a single loaf, simply twist the two pieces together. Place the twisted loaf into your prepared pan. This technique exposes the layers of dough and filling, creating the stunning visual effect as the babka bakes and expands.
Storing Your Babka: Keeping it Fresh
Proper storage helps keep your homemade babka delicious for longer. Once completely cooled, wrap the babka tightly in plastic wrap, and then place it in an airtight container or a resealable plastic bag. Stored at room temperature, babka typically stays fresh for 2-3 days.
For longer storage, babka freezes exceptionally well. Once cooled and wrapped securely (perhaps in plastic wrap and then foil or a freezer bag), it can be frozen for up to 2-3 months. To thaw, simply unwrap it and let it sit at room temperature for several hours. You can gently warm slices in a toaster oven or microwave before serving to refresh the texture.
Flavor Variations: Exploring Babka Baking Options
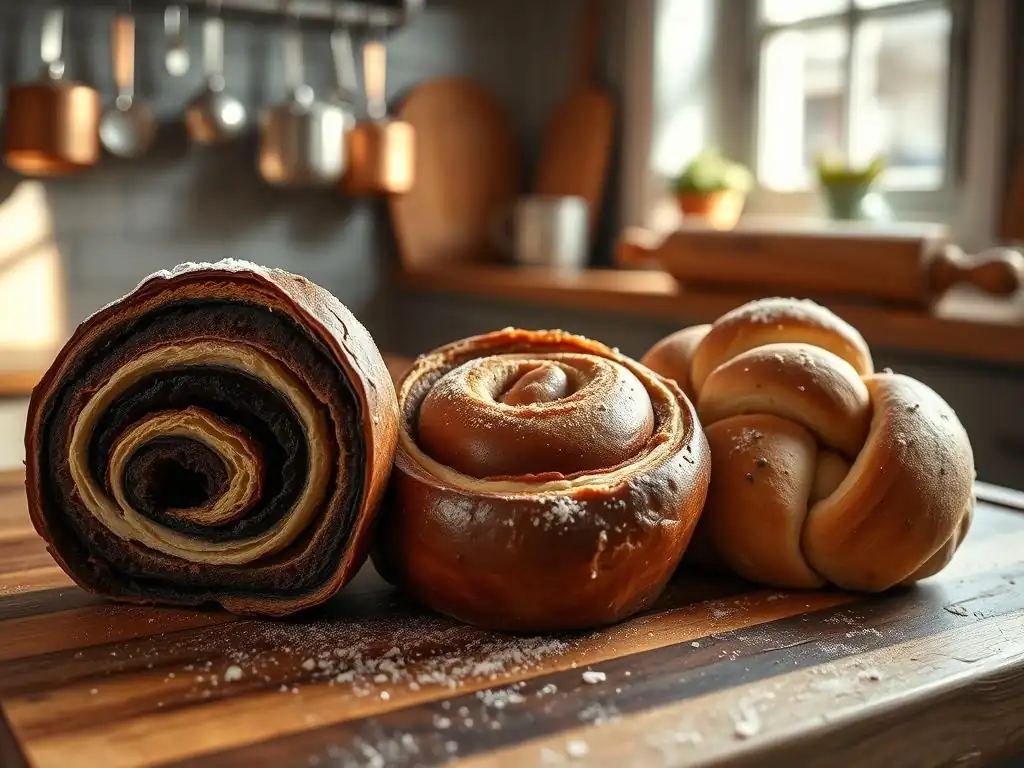
While chocolate babka is incredibly popular, the beauty of an easy classic babka recipe is its versatility. The enriched dough provides a wonderful base for a variety of fillings. Exploring different flavors allows you to customize your babka and discover new favorites.
Don't hesitate to experiment with these variations after you've mastered the chocolate version. Many of the techniques remain the same, only the filling changes. This opens up a world of possibilities for your easy babka baking adventures.
Cinnamon Babka: A Classic Alternative
Cinnamon babka is another traditional and beloved variation, offering a warm, comforting flavor profile. The filling typically consists of butter, sugar (often brown sugar), and a generous amount of ground cinnamon. Sometimes, chopped nuts like walnuts or pecans are added for extra texture and flavor.
To make cinnamon babka, simply prepare the dough as instructed. For the filling, melt ½ cup (115g) unsalted butter, then whisk in ½ cup (100g) brown sugar, 2 tablespoons ground cinnamon, and ¼ cup (30g) all-purpose flour (the flour helps absorb moisture and prevent the filling from oozing too much). You can also stir in ½ cup (60g) finely chopped nuts if desired. Let the filling cool to a spreadable consistency before spreading it on the rolled dough and shaping as usual.
Nutella Babka: A Hazelnut Delight
For those who love the combination of chocolate and hazelnut, Nutella babka is a must-try. This variation is perhaps one of the easiest fillings to prepare, making your easy classic babka recipe even simpler.
To make Nutella babka, prepare the dough as instructed. For the filling, simply use approximately 1 cup (about 280g) of Nutella. If the Nutella is too firm to spread easily, you can gently warm it slightly (but not hot) to make it more pliable. Spread the Nutella evenly over the rolled dough, leaving a border, and proceed with rolling, slicing, and shaping as described in the main recipe. The rich, nutty flavor of Nutella pairs wonderfully with the tender babka dough.
Poppy Seed Babka: A Traditional Choice
Poppy seed filling (Mohnfüllung in German or Makowiec in Polish baking, often used in rolls or cakes) is a very traditional babka filling, particularly popular in Eastern European baking. It offers a unique texture and a slightly nutty, earthy flavor.
A typical poppy seed filling involves grinding poppy seeds (often using a spice grinder or special poppy seed grinder), then cooking them with milk, sugar, and sometimes honey, butter, or flavorings like lemon zest or vanilla until the mixture is thick. Roughly 1 to 1.5 cups of prepared poppy seed filling would be needed for one babka loaf. This filling requires a bit more preparation than chocolate or Nutella but offers an authentic taste of classic Eastern European baking.
Enjoy Your Homemade Chocolate Babka!
You've done it! You've successfully baked your own delicious, easy classic babka. Take a moment to admire your beautiful creation with its intricate swirls. Baking babka at home is a rewarding experience, and now you get to enjoy the fruits of your labor.
Whether you slice it thick or thin, warm it slightly, or enjoy it at room temperature, your homemade babka is sure to be a hit. Don't be afraid to share it (or keep it all to yourself – we won't tell! ).
Serving Suggestions and Pairing Ideas
Chocolate babka is fantastic enjoyed on its own with a cup of coffee or tea. The richness of the chocolate and the tender bread make for a perfect pairing with a hot beverage. Consider serving slices for breakfast, brunch, or as a decadent dessert.
For a more elaborate serving, you could lightly toast slices and serve with a dollop of whipped cream, a scoop of vanilla ice cream, or a drizzle of chocolate sauce. The warm babka with melting ice cream is particularly delightful. It also makes a wonderful addition to a dessert platter or holiday spread. This easy babka is versatile enough for any occasion.
We love seeing what our community bakes! If you made this easy classic babka recipe, we encourage you to share photos of your beautiful loaves. Did you try a variation? Did you master the swirl?
Sharing your baking journey inspires others and helps build our community of home bakers. Tag us on social media or send us a picture through our website's contact form. We can't wait to see your wonderful homemade babka! Happy baking!
Frequently Asked Questions
What makes this babka recipe "easy"?
This recipe focuses on simplified steps and readily available ingredients, ensuring even beginner bakers can successfully create a classic babka. We've eliminated complex techniques.
What are the key ingredients needed for this classic babka?
The essential ingredients include flour, sugar, yeast, eggs, butter, and chocolate filling. You can also add optional ingredients like nuts or dried fruit for extra flavor.
How long does it typically take to bake a babka using this recipe?
The entire process, including preparation, proofing, and baking, takes approximately 3-4 hours. This includes time for the dough to rise properly.
Can I substitute ingredients in this babka recipe?
While substitutions are possible, they may affect the final result. We recommend sticking to the recipe for the best outcome, especially when starting out.
What are some tips for achieving a moist and delicious babka?
Avoid overbaking the babka, and ensure your dough is properly proofed. Brushing the baked babka with a simple syrup can also help retain moisture.
Final Reflection: The Sweet Legacy of Babka and the Joy of Baking
The enduring appeal of babka lies not just in its rich, swirled layers of sweet dough, but in its ability to connect us to culinary traditions and the simple pleasures of baking. This seemingly simple dessert holds a powerful ability to transport us, evoking memories of family gatherings and the comforting warmth of a home kitchen. The ease with which even a novice baker can create this masterpiece makes it a truly accessible gateway to a richer, more flavorful world of baking.
The process of making babka, from the initial kneading to the final golden-brown bake, is a meditative experience. It's a reminder that slowing down and taking the time to create something beautiful with your own hands can be incredibly rewarding. As the aroma of cinnamon and sugar fills your kitchen, you're not just baking a cake; you're weaving a thread into the rich tapestry of culinary history. Baking is at once child's play and adult joy. And love, of course.
– Paul Hollywood. This quote perfectly captures the essence of the babka-making experience, a blend of simple techniques and profound satisfaction.
Now, I invite you to embrace the challenge, to gather your ingredients, and to embark on your own babka journey. Don't be intimidated by the seemingly intricate swirls; the steps outlined in this article are designed to guide you every step of the way. The reward? Not just a delicious treat, but a newfound appreciation for the art of baking and the enduring power of simple recipes to connect us to our heritage and to each other. So, preheat your oven, gather your loved ones, and let the sweet aroma of babka fill your home with warmth and joy.
Unleash Your Inner Babka Baker!
Thanks for joining us on this delicious journey into the world of classic Eastern European Babka! We hope you now feel confident and inspired to create this sweet treat yourself. Ready to get baking?
- Dive into your kitchen and whip up a batch of babka today! Use our recipe as a guide, but don't be afraid to experiment with your own favorite fillings and flavor combinations.
- Share your babka creations with us on social media using #BakeWithEaseBabka – we'd love to see your delicious results!
- Why not challenge a friend to a babka bake-off? It's a fun way to share this amazing treat and see who can create the most stunning swirl.
What unique twist will you add to your babka masterpiece?