
BeginnerFriendly Berry Crisp Recipe

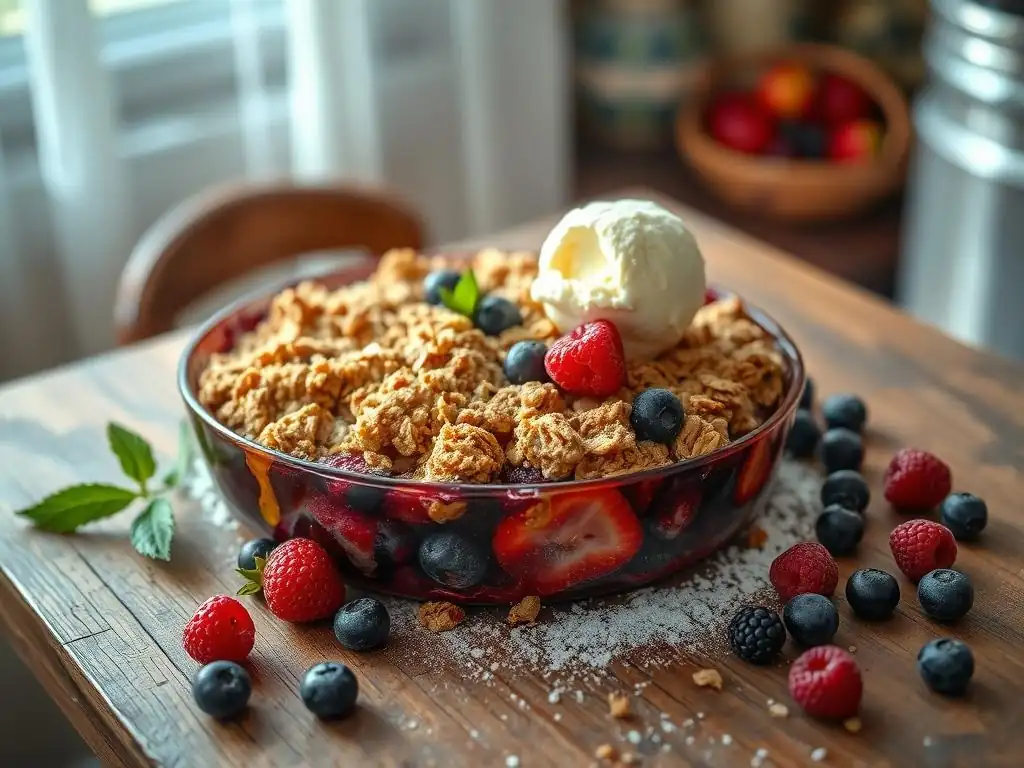
Welcome to BakeWithEase, your companion in the delightful world of baking! Are you ready to unlock the secrets to creating irresistible treats, no matter your skill level? We're thrilled to guide you, starting with our Easy Beginner Berry Crisp recipe. But before you dive in, consider this: what if the perfect summer dessert was simpler than you ever imagined? Get ready to discover just how easy (and delicious!) baking can be.
- Easy Berry Crisp Recipe: A Summer Baking Delight
- Introduction to Berry Crisp Baking
- Ingredients for Your Easy Berry Crisp
- Step-by-Step Instructions for a Delicious Berry Crisp
- Tips and Tricks for the Best Easy Berry Crisp
- Variations and Adaptations for Your Berry Crisp Recipe
- Storing and Reheating Your Homemade Berry Crisp
- Conclusion: Enjoy Your Effortless Homemade Berry Crisp
- Frequently Asked Questions
- Final Reflection: The Sweet Simplicity of Baking
- Unlock Your Inner Baker: Make This Berry Crisp Today!
Easy Berry Crisp Recipe: A Summer Baking Delight
Introduction to Berry Crisp Baking
Why Berry Crisp is a Perfect Beginner Dessert
Making an easy beginner berry crisp is an incredibly rewarding experience, especially if you're just starting your baking journey. Unlike more complex pastries or cakes that require precise measurements and techniques like creaming butter or folding delicate batters, a berry crisp is wonderfully forgiving. The structure is simple: a juicy fruit filling topped with a crumbly, buttery streusel. This simplicity means that minor imperfections in measurement or mixing won't ruin the final result; you'll still end up with a warm, comforting dessert.
Furthermore, the ingredients for an easy beginner berry crisp are readily available and inexpensive. You can use fresh summer berries like blueberries, raspberries, and strawberries, or even frozen ones, making it accessible year-round. The topping relies on pantry staples like flour, sugar, butter, and perhaps oats. The steps involve basic tasks like mixing, slicing (if using larger berries like strawberries), and combining ingredients, which are excellent skills for new bakers to practice without feeling overwhelmed. It's a low-stress, high-reward recipe that builds confidence in the kitchen.
A Simple Approach to Berry Crisps
Our approach to crafting a delicious berry crisp focuses on ease and minimal fuss, making it the ideal easy beginner berry crisp recipe. We'll guide you through selecting ripe, flavorful berries and preparing them with just the right balance of sweetness and a touch of brightness from lemon. The topping is a simple mix-and-cut-in method that doesn't require any special equipment beyond a fork or your fingertips.
The beauty of this simple approach lies in its flexibility. You don't need fancy tools – a mixing bowl, a baking dish, and basic measuring cups and spoons are sufficient. We'll break down each step clearly, from preparing the fruit to assembling and baking, ensuring that even someone who has never baked before can follow along successfully. This straightforward method guarantees a delightful dessert with vibrant berry flavors and a satisfyingly crunchy topping, proving that baking delicious treats can be both easy and fun.
Ingredients for Your Easy Berry Crisp
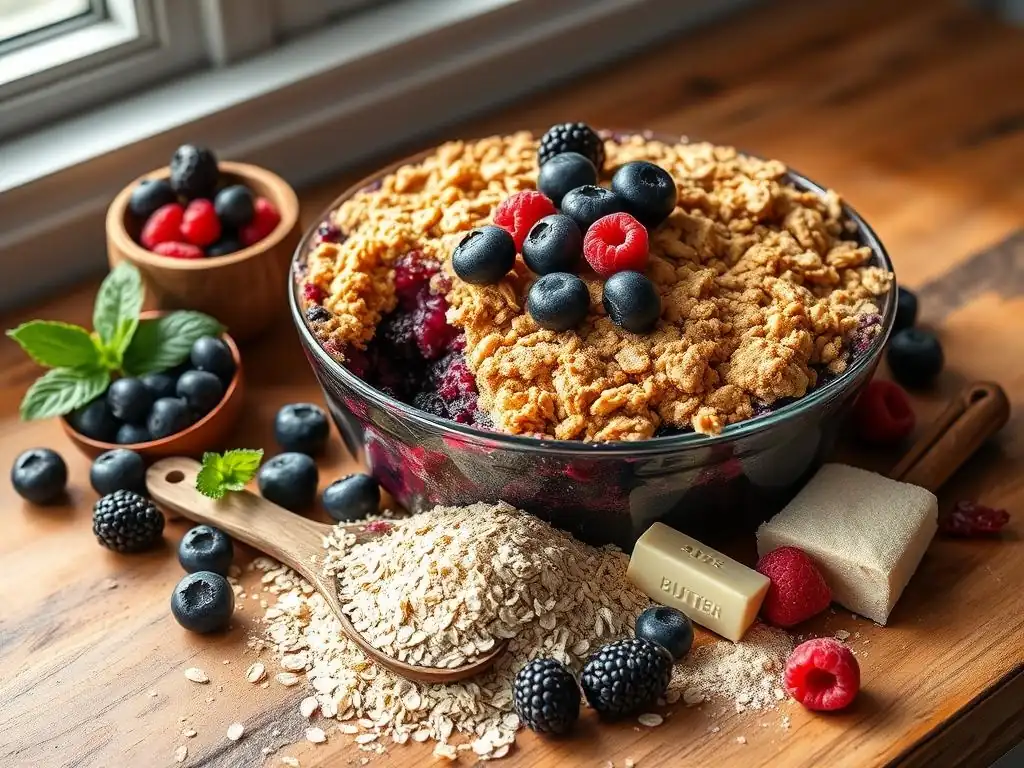
Berry Filling Ingredients: A Sweet and Juicy Mix
The heart of your easy beginner berry crisp is the vibrant fruit filling, which requires just a few simple ingredients to enhance the natural sweetness and juiciness of the berries. You'll need about 4 to 6 cups of mixed fresh or frozen berries. A classic mix might include 2 cups of blueberries, 1.5 cups of raspberries, and 1.5 cups of sliced strawberries. If using frozen berries, there's no need to thaw them first; they will release their juices as they bake, which adds to the wonderful sauce.
To thicken the filling slightly and balance the sweetness, you'll typically add a couple of tablespoons of granulated sugar (adjusting based on the sweetness of your berries), a tablespoon or two of cornstarch or flour (cornstarch usually provides a clearer sauce), and a squeeze of fresh lemon juice. The cornstarch or flour helps absorb some of the released berry juices, preventing the filling from being too watery, while the lemon juice brightens the flavors and adds a pleasant tartness that cuts through the sweetness.
Crisp Topping Ingredients: Basic Pantry Staples
Creating the perfect crumbly topping for your easy beginner berry crisp relies on basic ingredients you likely already have in your pantry. The foundation is usually all-purpose flour, providing structure to the crumble. You'll need about 1 to 1.5 cups of flour for a standard crisp. Granulated sugar or light brown sugar (or a mix of both) is essential for sweetness and contributes to the golden-brown color and texture when baked; typically, about 1/2 to 3/4 cup is sufficient. Brown sugar adds a slightly deeper, caramel-like flavor.
The key to the crisp's texture is cold butter, cut into small pieces. About 1/2 cup (one stick) of cold, unsalted butter is usually perfect. The cold butter is "cut in" to the dry ingredients, creating small pockets that melt during baking, resulting in that desirable crumbly, sandy texture. A pinch of salt is also important to balance the sweetness and enhance the overall flavor of the topping.
Step-by-Step Instructions for a Delicious Berry Crisp
Preparing the Berry Filling: A Quick and Easy Guide
Preparing the berry filling for your easy beginner berry crisp is straightforward and takes only a few minutes. Begin by gently rinsing your fresh berries if needed, then pat them dry. If using strawberries, hull and slice them into halves or quarters depending on their size. For frozen berries, you can use them directly from the freezer. Place all the berries into a medium-sized mixing bowl.
Next, add your thickening agent (cornstarch or flour) and sugar to the bowl with the berries. Use about 2 tablespoons of cornstarch or 3 tablespoons of flour per 4-6 cups of berries, along with 2-4 tablespoons of sugar, depending on how sweet your berries are. Gently toss everything together with a spoon or spatula until the berries are evenly coated. Be careful not to mash the berries, especially softer ones like raspberries.
Combining the Berries and Flavorings
Once your berries are in the bowl, sprinkle the measured sugar and cornstarch (or flour) over them. The sugar will draw out some of the berry juices, while the cornstarch/flour will help thicken these juices as they bake. For instance, for a 9x13 inch pan using 6 cups of mixed berries, you might use 1/2 cup sugar and 1/4 cup cornstarch.
After adding the sugar and thickener, you can also add a pinch of cinnamon or a touch of vanilla extract if desired, though the pure berry flavor is wonderful on its own. Gently fold these ingredients into the berries using a rubber spatula. The goal is to lightly coat the berries without breaking them down too much.
Adding Lemon Juice for Brightness and Balance
A splash of lemon juice is a secret weapon in berry crisps, adding a crucial element of brightness and balancing the sweetness of the fruit. For about 4-6 cups of berries, the juice of half a small lemon (roughly 1-2 tablespoons) is usually perfect.
Drizzle the fresh lemon juice over the berry mixture after you've added the sugar and thickener. Gently toss again to distribute the lemon juice evenly. The acidity from the lemon juice helps the berry flavors pop and prevents the filling from tasting flat or overly sweet. It also contributes slightly to the thickening process by interacting with the cornstarch.
Making the Crisp Topping: A Beginner-Friendly Method
Creating the crumbly topping for your easy beginner berry crisp is a simple process that doesn't require any fancy equipment. In a medium bowl, combine your dry ingredients: flour, sugar (granulated or brown, or a mix), and a pinch of salt. For a topping to cover a 9x13 inch dish, you'd typically use about 1.5 cups flour, 3/4 cup sugar, and 1/4 teaspoon salt. Whisk these dry ingredients together briefly to ensure they are well combined.
The next step involves incorporating cold butter into the dry mixture. This is the key to achieving the desired crumbly texture. You can do this using a pastry blender, two forks, or even your clean fingertips. The goal is to break down the cold butter into small pieces, roughly the size of peas or small pebbles, evenly distributed throughout the dry ingredients. Avoid overmixing; you want distinct butter pieces, not a smooth dough.
Combining the Dry Ingredients for the Topping
Start by measuring your flour into the bowl. For a typical crisp topping, 1.5 cups of all-purpose flour works well for a standard 9x13 inch baking dish. Add 3/4 cup of sugar – you can use all granulated sugar for a classic sweetness, or substitute half or all of it with light brown sugar for a slightly richer flavor and chewier texture.
Finally, add about 1/4 teaspoon of salt to the dry ingredients. Salt is crucial in baking as it enhances the sweetness and balances the flavors. Briefly whisk these dry ingredients together to ensure the salt and sugar are evenly distributed within the flour before adding the butter.
Adding Butter for a Crumbly Texture
Take 1 stick (1/2 cup or 113 grams) of very cold, unsalted butter and cut it into small cubes, about 1/2 inch in size. Add these cold butter cubes to the bowl with your dry ingredients. Now, using your pastry blender, forks, or fingertips, work the butter into the flour mixture.
Cut the butter into the dry ingredients until the mixture resembles coarse crumbs or small pebbles, with some pieces of butter still visible, about the size of peas. The coldness of the butter is essential here; as it melts during baking, it creates pockets of steam that result in a light, crumbly texture rather than a dense, doughy one. Work quickly to prevent the butter from warming up too much from the heat of your hands.
Assembling and Baking Your Berry Crisp
Assembling your easy beginner berry crisp is the final simple step before baking. Preheat your oven to a moderate temperature, typically around 375°F (190°C). Lightly grease your baking dish (a 9x13 inch dish is standard, or an 8x8 or 9x9 if halving the recipe) with butter or cooking spray.
Pour the prepared berry filling evenly into the bottom of the greased baking dish. Spread it out gently so it forms a relatively even layer. Then, sprinkle the crumbly topping evenly over the entire surface of the berry filling. Try to get an even distribution so every spoonful of crisp includes both fruit and topping.
Layering the Filling and Topping
With your greased baking dish ready, carefully pour the seasoned berry mixture into the bottom. For a 9x13 inch dish, this might be about 4-6 cups of fruit. Ensure the berries are spread out evenly across the bottom of the pan.
Once the berries are in place, take the prepared crumb topping and sprinkle it generously and evenly over the entire surface of the berry filling. You want to cover the berries completely with the crumb mixture. Don't press the topping down; keep it loose and crumbly. This allows for better air circulation and helps achieve that desired crisp texture.
Baking to Golden Brown Perfection
Place the assembled berry crisp in your preheated oven (375°F or 190°C). The baking time will vary depending on the size of your dish and your oven, but it typically takes between 35 to 45 minutes. You'll know it's done when the topping is golden brown and the berry filling is bubbling around the edges. The bubbling indicates that the fruit is cooked through and the juices have thickened.
It's a good idea to place a baking sheet on the rack below the crisp dish, especially if your berries are particularly juicy. This will catch any potential drips and save you from cleaning a sticky oven mess. Bake until you see those glorious golden crumbs and bubbling fruit – that's the sign of a perfectly baked easy beginner berry crisp!
Tips and Tricks for the Best Easy Berry Crisp
Choosing the Right Berries for Your Crisp
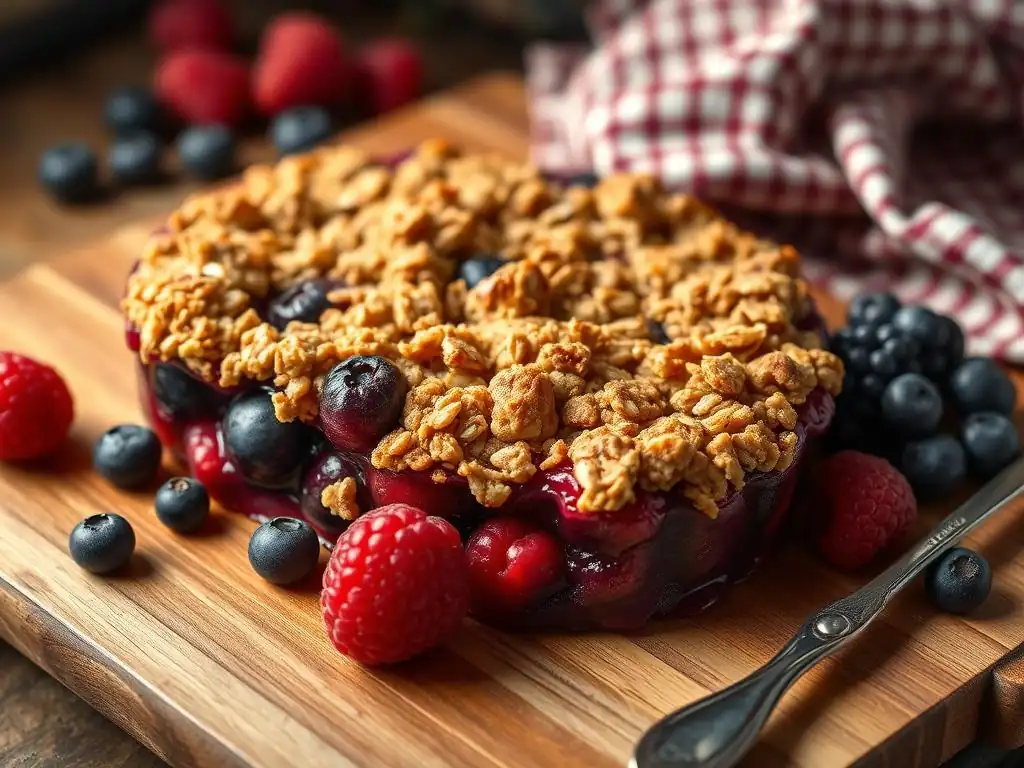
Selecting the best berries is key to a flavorful easy beginner berry crisp. While you can use virtually any combination of berries, a mix often provides the most interesting flavor profile. Blueberries offer sweetness and structure, raspberries contribute tartness and a delicate texture, and sliced strawberries add bright flavor and soften beautifully. Blackberries are also a great addition, offering a deeper, slightly earthy note.
Consider the ripeness of your fresh berries. Ripe berries are naturally sweet and juicy, reducing the need for excessive added sugar. If using frozen berries, don't worry about thawing them; bake them directly from frozen. Frozen berries are typically picked at peak ripeness and are excellent for baking, often releasing more juice than fresh ones, which is why a good amount of thickener is important.
Achieving the Perfect Crisp Topping Texture
The ideal crisp topping is golden brown and delightfully crumbly, offering a pleasant contrast to the soft, warm fruit filling. To achieve this, ensure your butter is very cold when you cut it into the dry ingredients. Small pieces of cold butter are essential for creating that signature crumbly texture as they melt during baking.
Avoid overworking the topping mixture. Stop mixing as soon as it resembles coarse crumbs with some pea-sized pieces of butter remaining. If you overmix, the butter can warm up too much, resulting in a more dough-like texture instead of a crumbly one. Baking at the correct temperature (around 375°F or 190°C) is also important; it allows the topping to brown and crisp up properly before the fruit filling becomes too liquidy.
Preventing a Soggy Berry Crisp
A common issue with berry crisps is a watery filling that can make the bottom layer soggy. Using a sufficient amount of thickener, like cornstarch or flour, is crucial. For 4-6 cups of berries, 2-3 tablespoons of cornstarch or 3-4 tablespoons of flour is usually needed. Cornstarch tends to produce a clearer, glossier sauce, while flour gives a slightly cloudier finish.
Baking the crisp until the berry juices are visibly bubbling around the edges is another key step in preventing sogginess. This bubbling indicates that the filling has reached a high enough temperature for the thickener to activate and do its job. If the topping browns too quickly before the filling is bubbly, you can loosely tent the crisp with foil for the remaining baking time.
Serving Suggestions for Your Warm Berry Crisp
An easy beginner berry crisp is best served warm, directly from the oven after letting it rest for about 10-15 minutes (this allows the juices to settle slightly). The contrast between the warm, bubbling fruit and the crisp topping is simply divine.
Classic accompaniments include a scoop of vanilla ice cream, which melts delightfully into the warm fruit. A dollop of whipped cream or a drizzle of heavy cream also makes for a decadent serving. For a slightly lighter option, plain Greek yogurt or a custard sauce can be wonderful additions. Serve it in bowls to catch all the delicious juices.
Variations and Adaptations for Your Berry Crisp Recipe
Gluten-Free Berry Crisp Option
Adapting this easy beginner berry crisp to be gluten-free is quite simple. For the berry filling, all ingredients (berries, sugar, thickener, lemon juice) are naturally gluten-free, provided you use cornstarch as your thickener instead of flour.
For the crisp topping, simply substitute the all-purpose flour with a gluten-free all-purpose flour blend. Look for a blend that is suitable for baking. You'll use the same amount as the regular flour (about 1.5 cups for a standard recipe). Follow the same method of cutting in cold butter. Many gluten-free blends work beautifully to create a crumbly topping, allowing everyone to enjoy this delicious summer treat.
Vegan Berry Crisp Option
Making a vegan version of this easy beginner berry crisp is also straightforward. The berry filling is naturally vegan. The main change is in the crisp topping, which typically uses butter.
To make the topping vegan, substitute the cold butter with a cold, plant-based butter alternative or solid coconut oil. Ensure the vegan butter alternative is one that is recommended for baking and cutting in, as some melt too quickly. Use the same amount (1/2 cup or 1 stick equivalent) and cut it into the dry ingredients just as you would with dairy butter. The texture will be very similar, resulting in a delicious vegan crumbly topping.
Adding Nuts or Oats to Your Berry Crisp Topping
Enhancing the texture and flavor of your easy beginner berry crisp topping is easy by adding nuts or oats. Old-fashioned rolled oats (not instant) are a popular addition, providing a chewy texture and a slightly nutty flavor. You can replace up to half of the flour with oats; for example, use 3/4 cup flour and 3/4 cup oats in the topping mixture.
Chopped nuts, such as pecans, walnuts, or almonds, also add a wonderful crunch and roasted flavor. You can add about 1/2 cup of chopped nuts to the dry ingredients before cutting in the butter. Toasting the nuts lightly before adding them can deepen their flavor further. These additions make the topping even more substantial and flavorful.
Storing and Reheating Your Homemade Berry Crisp
Proper Storage to Maintain Freshness
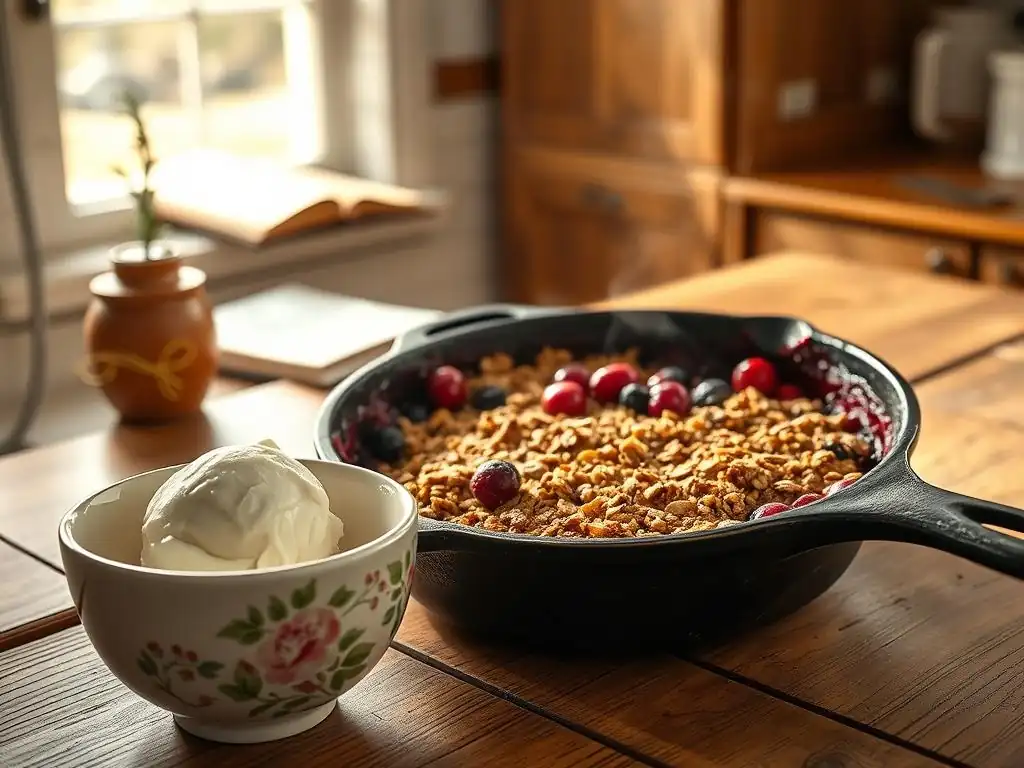
Storing your easy beginner berry crisp properly will help maintain its quality and allow you to enjoy leftovers. Once the crisp has cooled completely to room temperature, cover the baking dish tightly with plastic wrap or aluminum foil. Alternatively, you can transfer individual portions to airtight containers.
Store the covered crisp in the refrigerator. When stored properly, the crisp will typically last for 3 to 4 days in the refrigerator. The topping may lose some of its crispness over time due to moisture from the fruit, but the flavors will remain delicious.
Reheating Tips for a Warm and Delicious Crisp
To enjoy your homemade berry crisp warm again, reheating is simple. For the best results, reheat individual portions or the entire dish in the oven rather than the microwave, which can make the topping soggy.
Preheat your oven to around 350°F (175°C). If reheating the entire dish, cover it loosely with foil to prevent the topping from browning too much. Reheat for 15-25 minutes, or until the fruit filling is warm and bubbling again. For individual portions, reheat in an oven-safe dish for 10-15 minutes. This method helps revive some of the crispness in the topping, giving you that fresh-baked experience.
Conclusion: Enjoy Your Effortless Homemade Berry Crisp
Celebrating Summer Flavors
Making an easy beginner berry crisp is the perfect way to celebrate the abundance of fresh, flavorful berries that summer brings. This simple yet incredibly satisfying dessert captures the essence of the season in every bite. The combination of warm, sweet, and slightly tart berries with a golden, buttery crumble topping is pure comfort food. It's a dessert that feels special but requires minimal effort, making it ideal for casual weeknight treats or entertaining friends and family on a summer afternoon.
This easy beginner berry crisp recipe proves that you don't need to be an experienced baker to create something truly delicious. The forgiving nature of the ingredients and the straightforward steps make it accessible to anyone wanting to try their hand at baking. So, grab your favorite berries, follow these simple instructions, and get ready to enjoy a delightful homemade dessert that highlights the best of summer.
Further Baking Adventures with Seasonal Berries
Mastering this easy beginner berry crisp is just the beginning of your summer baking adventures with berries. Once you're comfortable with this recipe, you can explore other ways to use these wonderful fruits. Try making berry muffins, a simple berry cobbler (which uses a biscuit-like topping instead of crumble), or even a rustic berry galette.
You can also experiment with different berry combinations in your crisp or add other fruits like rhubarb or peaches alongside the berries. The skills you've learned here – preparing fruit fillings, making simple crumb toppings, and understanding baking times – are foundational for many other easy baking projects. Keep exploring, keep baking, and keep enjoying the delicious possibilities that seasonal berries offer!
Frequently Asked Questions
What makes this berry crisp recipe "beginner-friendly"?
This recipe focuses on simple steps and easily accessible ingredients. It avoids complex techniques, making it perfect for those new to baking.
What kind of berries can I use in this crisp?
You can use a variety of berries, either fresh or frozen! Great options include blueberries, raspberries, strawberries, and blackberries. Feel free to mix and match!
How do I know when the berry crisp is done?
The crisp is ready when the topping is golden brown and the berry filling is bubbling. A toothpick inserted into the filling should come out with some cooked berry juice.
Can I substitute the butter in the crisp topping?
While butter provides the best flavor and texture, you can try coconut oil or a vegan butter alternative. Be aware that the taste and texture may be slightly different.
How should I store leftover berry crisp?
Store leftover berry crisp in the refrigerator, covered, for up to 3-4 days. You can reheat it in the oven or microwave before serving.
Final Reflection: The Sweet Simplicity of Baking
The ease of creating a delicious berry crisp belies the profound satisfaction it offers; it's a gateway to baking confidence, not just a dessert. This recipe, designed for absolute beginners, aims to demystify the process and unlock the joy of creating something beautiful and tasty from simple ingredients. It's more than just a recipe; it's a stepping stone to culinary exploration.
The comforting aroma of baking berries, the satisfying crumble topping, and the sheer delight of sharing a homemade treat – these are the experiences that make baking so rewarding. It's a tradition passed down through generations, a connection to simpler times, and a powerful way to express care and creativity. Baking is at once child's play and adult joy. And love, of course.
- This quote, while not directly about berry crisps, perfectly encapsulates the emotional resonance of baking, a sentiment deeply connected to the simple act of making this dessert.
Now, I invite you to roll up your sleeves, gather your ingredients, and embark on this baking adventure. Don't be intimidated by the seemingly complex world of desserts; this recipe proves that even the most novice baker can create something truly special. Remember the joy of the process, the satisfaction of creation, and the pleasure of sharing your delicious berry crisp with loved ones. Let this be the start of your baking journey – one delicious crisp at a time.
Unlock Your Inner Baker: Make This Berry Crisp Today!
Thanks for joining us on this baking adventure! We hope you now feel confident and inspired to create delicious treats. Ready to get those berries into the oven?
- Bake your own perfect berry crisp: Gather your ingredients and follow the recipe – we promise it’s easier than you think! This is your chance to experience the joy of homemade goodness.
- Share your creation: Tag us on social media with your stunning berry crisp photos – we'd love to see your baking magic!
- Explore more easy recipes: Dive into our recipe collection for even more beginner-friendly baking delights. What other delicious treats will you create next?
Ready to roll up your sleeves and start baking? What's your favorite berry to use in a crisp?