
Easy StepbyStep Guide to Apple Pie

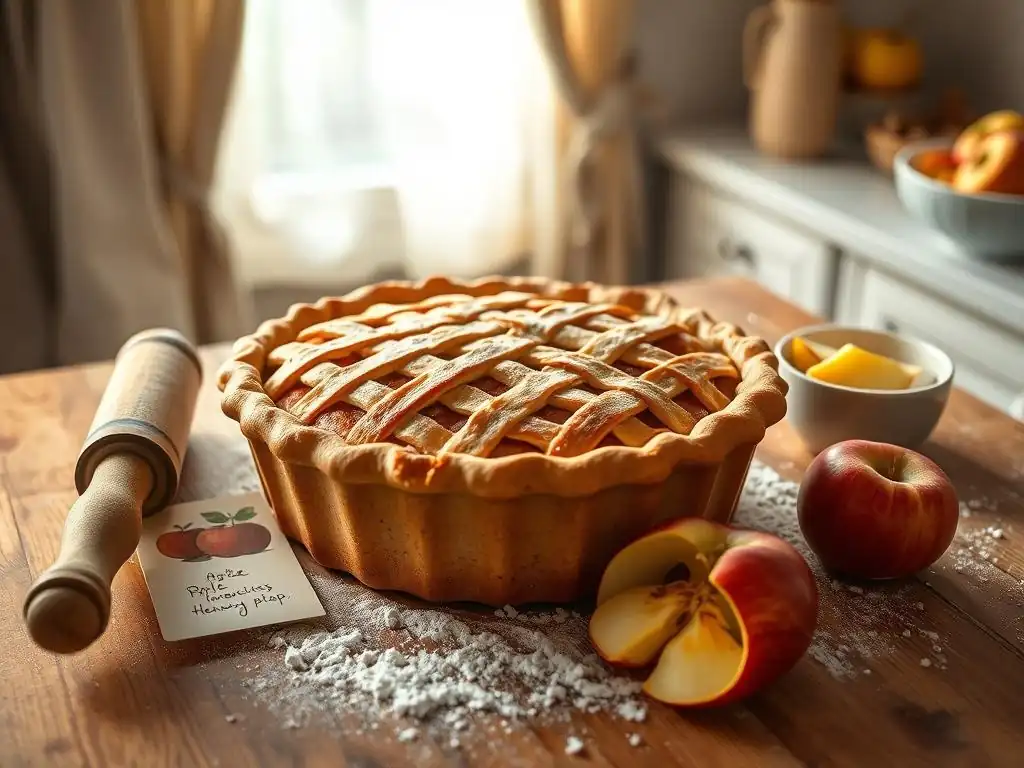
Welcome to BakeWithEase, your companion in creating delicious baked goods! Ever dreamed of effortlessly whipping up a classic, comforting dessert? Our easy apple pie recipe is your starting point. Uncover the secrets to a perfectly flaky crust and a flavorful filling that will have everyone asking for seconds. Let's unlock the magic of seasonal baking, one delectable slice at a time...
- Introduction: Bake the Perfect Apple Pie with Ease
- Gathering Your Ingredients for Homemade Apple Pie
- Step 1: Making the Perfect Pie Crust from Scratch
- Step 2: Preparing the Delicious Apple Pie Filling
- Step 3: Assembling Your Easy Apple Pie
- Step 4: Baking Your Apple Pie to Golden Perfection
- Step 5: Cooling and Serving Your Homemade Apple Pie
- Tips and Tricks for the Best Apple Pie Recipe
- Conclusion: Enjoy Your Easy and Delicious Apple Pie!
- Frequently Asked Questions
- Final Reflection: The Enduring Allure of a Perfect Apple Pie
- Unlock Your Inner Baker: Make the Perfect Apple Pie!
Introduction: Bake the Perfect Apple Pie with Ease
Welcome to Fall Baking Season!
As the leaves begin to change and a crispness fills the air, there's nothing quite like the aroma of a freshly baked apple pie wafting from your kitchen. Fall is synonymous with apple picking and cozy baking projects, and an easy apple pie recipe is the perfect way to embrace the season. Whether you're a seasoned baker or just starting out, making a delicious, flaky apple pie from scratch is a rewarding experience that brings warmth and comfort to any home.
This guide is designed to demystify the process, breaking down each step into simple, manageable tasks. We'll walk you through selecting the best apples, preparing a simple yet perfect crust, crafting a flavorful filling, and baking your masterpiece to golden perfection. Get ready to impress yourself and your loved ones with a classic dessert that's easier to achieve than you might think.
Why This Easy Apple Pie Recipe is Perfect for Beginners
Many people find pie intimidating, especially making crust from scratch. However, this easy apple pie recipe focuses on straightforward techniques and common pitfalls to avoid, making it incredibly accessible for newcomers. We prioritize simplicity without sacrificing flavor or texture, ensuring you get that classic, comforting result on your first try.
Forget overly complicated instructions or fancy equipment. Our approach uses basic kitchen tools and clear, concise steps. We'll explain why certain steps are important, like chilling the dough or using a specific type of apple, so you understand the process and build confidence with each bake. This isn't just about following a recipe; it's about learning the fundamentals of creating a truly wonderful homemade apple pie.
Gathering Your Ingredients for Homemade Apple Pie
The Best Apples for Apple Pie: A Guide to Varieties
Choosing the right apples is crucial for a great apple pie filling. You want apples that hold their shape when baked and offer a balance of sweetness and tartness. Using a single variety like Granny Smith (known for tartness) can be good, but a mix often provides the most complex flavor and texture. Popular choices include Honeycrisp (sweet and crisp), Fuji (sweet and firm), Gala (mild and sweet), and Braeburn (sweet and slightly tart).
A common combination for an easy apple pie recipe uses 50% tart apples (like Granny Smith) and 50% sweeter apples (like Honeycrisp or Fuji). This balance ensures the pie isn't overly sweet or too bland after baking. For a standard 9-inch pie, you'll typically need about 2 to 2.5 pounds of apples, which translates to roughly 6-8 medium apples, yielding about 6-8 cups of sliced fruit.
Essential Baking Supplies for a Flawless Apple Pie
Having the right tools makes the process much smoother. For this easy apple pie recipe, you'll need some basic kitchen equipment. A 9-inch pie plate is essential, whether it's glass, ceramic, or metal. Glass pie plates are great because you can see the bottom crust browning. You'll also need a large mixing bowl for the filling, a smaller bowl for the dough ingredients, and a rolling pin for the crust.
Other helpful items include a pastry blender or food processor for cutting butter into the flour, a paring knife and vegetable peeler for the apples, and measuring cups and spoons. A wire rack is necessary for cooling the pie properly after baking. While not strictly essential, a pie shield or aluminum foil can be a lifesaver for preventing the crust edges from burning.
Ingredient Checklist: Ensuring You Have Everything
Before you begin, it's helpful to have a complete list to check off. This helps prevent mid-bake scrambles for forgotten items. For a standard double-crust easy apple pie recipe, you'll generally need:
- All-purpose flour
- Granulated sugar (and potentially brown sugar)
- Salt
- Unsalted butter (cold)
- Ice water
- Apples (2-2.5 lbs, mixed varieties recommended)
- Lemon juice (optional, helps prevent browning and adds brightness)
- Spices (cinnamon, nutmeg, allspice are common)
- Cornstarch or flour (for thickening the filling)
- Egg wash (optional, for a golden crust)
Having everything measured or prepped before you start makes the entire process flow much more smoothly, contributing to a truly easy apple pie baking experience.
[ ] Gather all ingredients
[ ] Prepare workspace
[ ] Preheat oven (later step, but good to keep in mind)
Step 1: Making the Perfect Pie Crust from Scratch
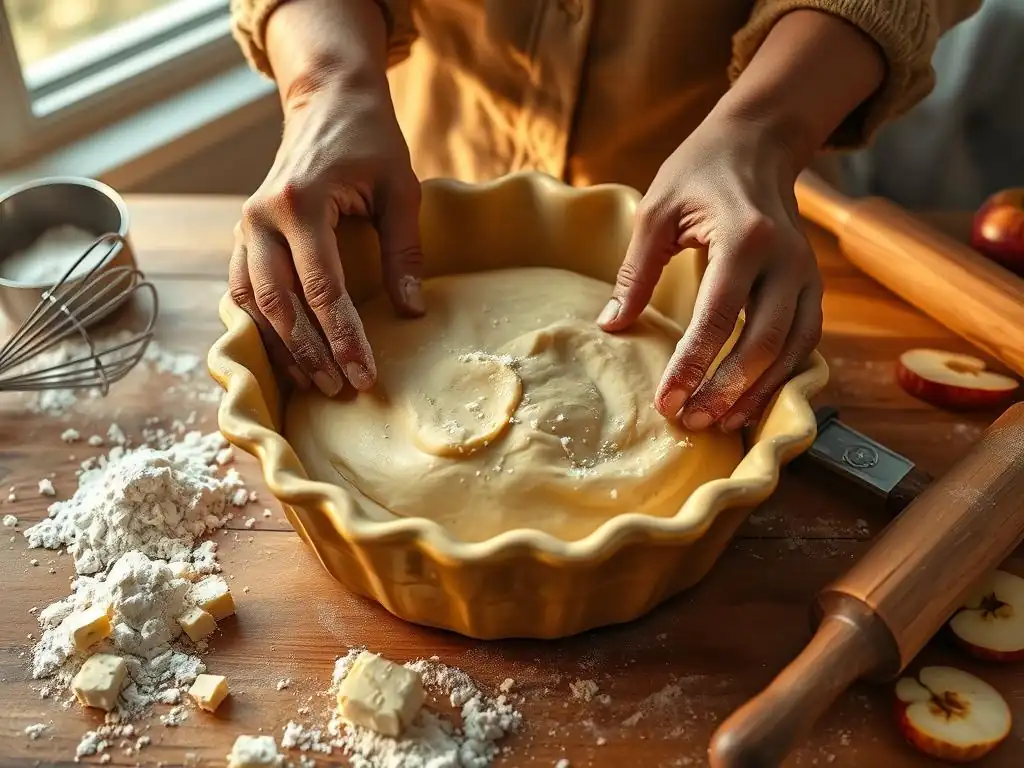
Preparing the Dough: A Simple Pie Crust Recipe
Making pie crust from scratch might sound daunting, but this simple recipe makes it achievable. You'll need about 2 1/2 cups of all-purpose flour, 1 teaspoon of salt, 1 cup (2 sticks) of very cold unsalted butter cut into cubes, and about 1/2 cup of ice water. The key to a flaky crust is using cold ingredients and not overworking the dough.
In a large bowl, whisk together the flour and salt. Cut in the cold butter using a pastry blender, your fingertips, or a food processor until the mixture resembles coarse crumbs with some pea-sized pieces of butter remaining. Gradually add the ice water, one tablespoon at a time, mixing until the dough just comes together. You might not need all the water. Divide the dough in half, flatten each into a disc, wrap tightly in plastic wrap, and prepare for chilling.
Chilling the Dough: Why It's Crucial
Chilling the dough is perhaps the most important step in achieving a flaky crust for your easy apple pie. The cold butter pieces within the dough are what create steam during baking, separating the layers of flour and resulting in that desirable flaky texture. If the butter is warm, it will melt into the flour before baking, leading to a tough crust.
Chill the wrapped dough discs in the refrigerator for at least 30 minutes, and preferably 1-2 hours. This allows the gluten to relax, making the dough easier to roll out, and ensures the butter is sufficiently cold. Skipping this step can significantly impact the final texture, turning a potentially flaky crust tough and less enjoyable.
Rolling Out the Pie Crust: Tips and Tricks for Success
Once chilled, take one disc of dough out of the refrigerator. Lightly flour a clean surface and your rolling pin. Roll the dough from the center outwards, rotating the dough frequently and adding a little more flour if needed to prevent sticking. Aim for a circle about 12 inches in diameter and about 1/8 inch thick, large enough to fit your 9-inch pie plate with some overhang.
- Tip 1: If the dough cracks, push it back together or let it warm slightly for a minute or two.
- Tip 2: To transfer the dough easily, gently roll it around your rolling pin and then unroll it over the pie plate.
- Tip 3: Press the dough gently into the bottom and up the sides of the pie plate, ensuring it sits snugly. Trim any excess dough, leaving about a 1-inch overhang for crimping. Place the pie plate with the bottom crust back in the refrigerator while you prepare the filling.
Step 2: Preparing the Delicious Apple Pie Filling
Peeling and Slicing the Apples: Achieving Uniformity
Start by peeling, coring, and slicing your chosen apples. Aim for slices that are relatively uniform in thickness, about 1/4 to 1/2 inch thick. This ensures that the apples cook evenly during baking. If slices are too thick, they might still be hard; too thin, and they could turn to mush. Using an apple peeler/corer/slicer tool can speed up this process and help achieve uniformity, making your easy apple pie even easier.
Place the sliced apples in a large bowl. If you're not assembling the pie immediately, you can toss them with a tablespoon of lemon juice to prevent them from browning, although this is less critical if you're moving straight to mixing the filling. The goal is to have consistently sized pieces that will soften but retain some structure in the finished pie.
Mixing the Apple Pie Filling: Spices and Sweeteners
In the bowl with the sliced apples, add your sweeteners and spices. A typical easy apple pie recipe uses about 1/2 to 3/4 cup of granulated sugar, often combined with 1/4 cup of brown sugar for added depth of flavor. The amount of sugar can be adjusted slightly depending on the sweetness of your apples. Add about 1-2 teaspoons of cinnamon, 1/4 teaspoon of nutmeg, and a pinch of allspice or cloves if desired.
Toss the apples gently to coat them evenly with the sugar and spices. You'll also need a thickener to absorb the juices released by the apples during baking and prevent a watery filling. About 2-3 tablespoons of cornstarch or 3-4 tablespoons of all-purpose flour are standard amounts for a 9-inch pie. Sprinkle the thickener over the apples and toss again until everything is well combined.
Preventing a Soggy Bottom Crust: Important Techniques
A soggy bottom crust is a common apple pie problem, but it's easily avoided with a few techniques. One method is to pre-bake the bottom crust slightly (called blind baking) before adding the filling. Bake the chilled bottom crust at 375°F for about 10-15 minutes until it looks dry and slightly set.
Another effective technique, especially for an easy apple pie recipe, is to add a layer of something absorbent to the bottom crust before adding the apple filling. You can sprinkle a thin layer of dry breadcrumbs, crushed cookies (like graham crackers or vanilla wafers), or even a tablespoon of flour mixed with a tablespoon of sugar directly onto the bottom crust. This layer acts as a barrier, soaking up excess moisture from the apples and protecting your bottom crust.
Step 3: Assembling Your Easy Apple Pie
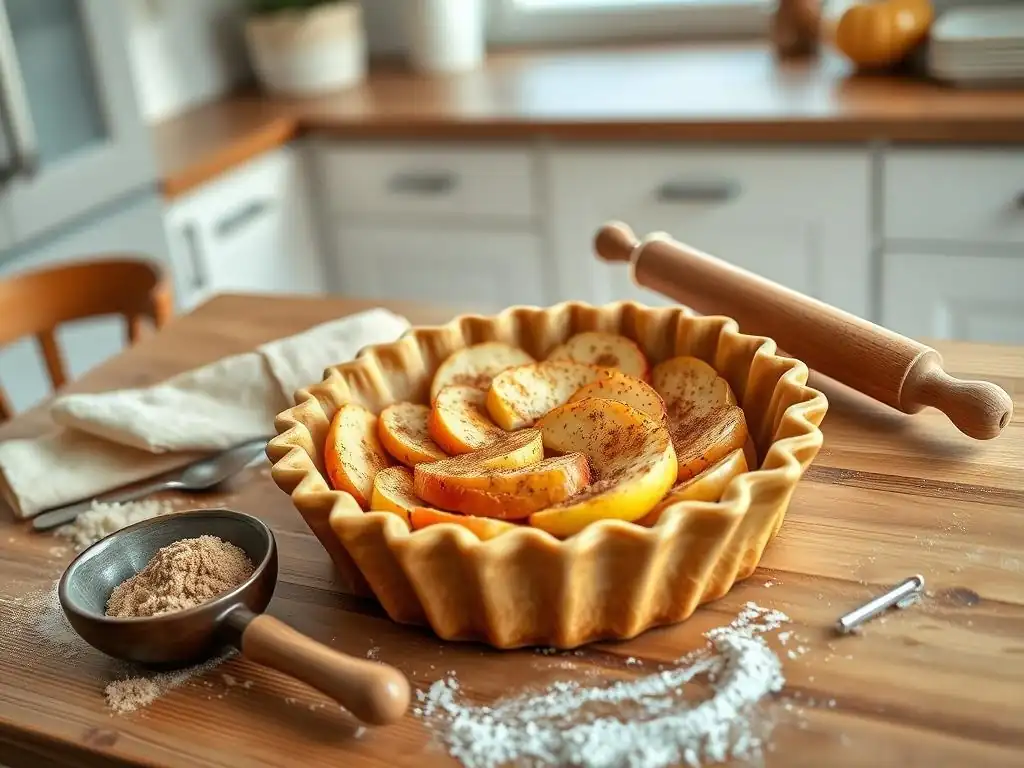
Placing the Filling in the Crust: Creating a Dome
Carefully spoon the prepared apple filling into the chilled bottom pie crust. Pile the apples high in the center, creating a slight dome shape. The apples will cook down significantly during baking, so starting with a generous mound ensures your finished pie is full and doesn't have a large gap between the filling and the top crust.
Ensure the apples are distributed relatively evenly, but focus on building that slight peak in the middle. This structure helps the pie hold its shape once baked and cooled. Don't press the apples down too firmly, as you want some air circulation for even cooking.
Adding the Top Crust: Options for a Classic or Lattice Design
Take the second disc of chilled dough. You have a few options for the top crust. For a classic look in your easy apple pie, roll the dough into a 12-inch circle, just like the bottom crust. You can cut a few vents in the center with a knife to allow steam to escape during baking.
For a slightly more decorative, yet still achievable, lattice top, cut the rolled dough into strips (about 1/2 to 1 inch wide) using a knife or pastry wheel. Arrange half the strips parallel across the top of the pie, spaced evenly. Fold back alternate strips, place a perpendicular strip, and then unfold the original strips. Repeat this weaving pattern with the remaining strips until you have a woven lattice.
Crimping the Edges: Sealing in the Flavor
Once the top crust (either solid or lattice) is in place over the apple filling, it's time to seal the edges. Trim any excess dough from both the top and bottom crusts, leaving about a 1-inch overhang. Fold the top crust overhang under the bottom crust overhang, pressing them together to create a thick edge.
Crimping seals the pie, preventing the delicious juices from bubbling out during baking. You can crimp the edges by pressing the dough between your thumb and forefinger, working your way around the entire perimeter of the pie. Alternatively, you can use the tines of a fork to press down all around the edge for a simpler seal. Ensure the seal is firm to keep all that wonderful apple flavor inside.
Step 4: Baking Your Apple Pie to Golden Perfection
Baking Temperature and Time: Achieving the Perfect Bake
Baking an apple pie typically involves starting at a higher temperature and then reducing it. Preheat your oven to 425°F (220°C). Place the assembled pie on a baking sheet (to catch any drips) and bake for 15-20 minutes at this initial high temperature. This burst of heat helps set the crust quickly and encourages flakiness.
After the initial high-temperature bake, reduce the oven temperature to 375°F (190°C) and continue baking for another 35-45 minutes, or until the crust is golden brown and you see juices bubbling through the vents or lattice. Total baking time for a standard 9-inch easy apple pie recipe is usually between 50 and 65 minutes, but can vary based on your oven and the thickness of the apples.
Preventing Burning: Using a Pie Shield or Foil
The edges of a pie crust tend to brown and can burn before the rest of the pie is fully baked. To prevent this, especially during the longer bake time at 375°F, use a pie shield. A reusable silicone pie shield simply fits over the edges of the pie plate.
If you don't have a pie shield, you can easily create one using aluminum foil. Tear off a square of foil large enough to cover the pie plate. Fold it into quarters and cut out the center, leaving a ring of foil about 1-2 inches wide. Carefully place this foil ring over the edges of the pie crust about 15-20 minutes into the total baking time, after the initial high-heat bake.
Checking for Doneness: Visual Cues and Internal Temperature
How do you know your easy apple pie is truly done? Look for visual cues: the crust should be a deep golden brown, including the bottom crust if you can peek underneath or see through a glass plate. You should also see the apple juices bubbling up through the vents in the top crust. These bubbles should look thick, not watery.
For a more precise check, you can carefully insert a knife or skewer through a vent in the top crust and into the apple filling. It should slide in easily, indicating the apples are tender. Alternatively, an instant-read thermometer inserted into the center of the filling (avoiding the bottom crust) should register between 195°F and 200°F (90°C to 93°C).
Step 5: Cooling and Serving Your Homemade Apple Pie
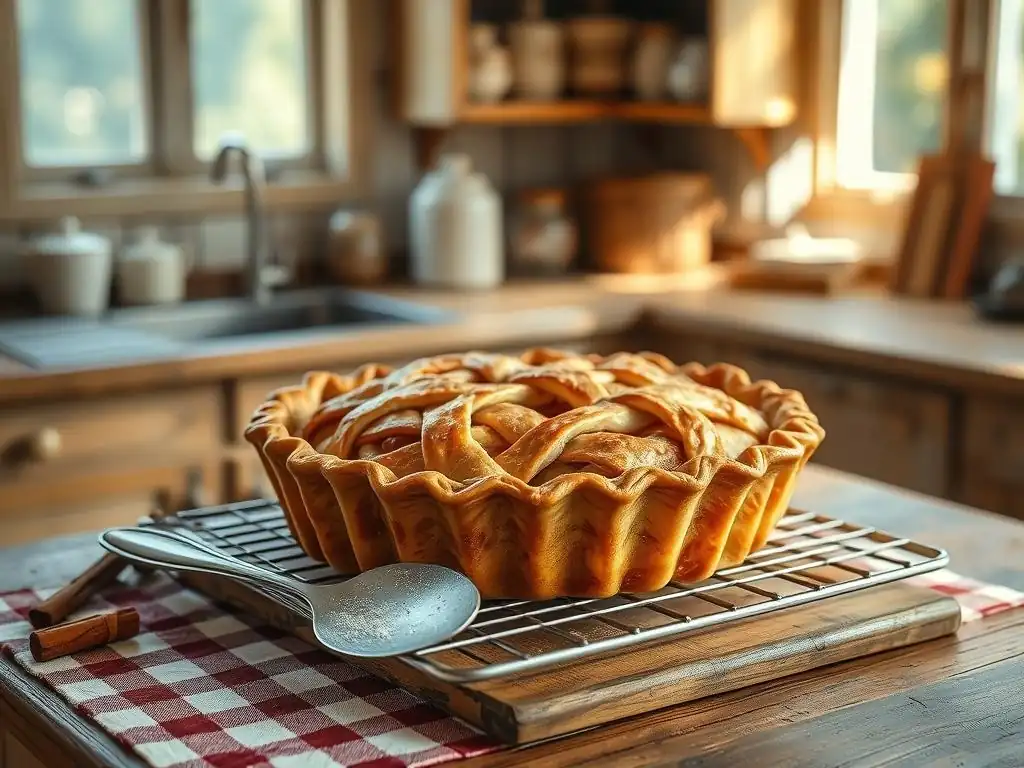
Cooling Time: Letting the Pie Set Properly
Patience is key after baking! While it's tempting to slice into your beautiful, hot easy apple pie right away, it needs time to cool and allow the filling to set properly. If you cut into it too soon, the filling will likely be runny.
Place the baked pie on a wire rack to cool completely. This process typically takes at least 2-3 hours. During this time, the starches in the thickener will gel and absorb the apple juices, resulting in a sliceable filling. Cooling also allows the flavors to meld and intensify.
Serving Suggestions: Toppings and Pairings
A warm slice of homemade apple pie is wonderful on its own, but classic pairings can elevate the experience. A scoop of vanilla ice cream is a timeless favorite, melting slightly into the warm filling. A dollop of fresh whipped cream also adds a lovely richness and lightness.
Consider a sprinkle of cinnamon or a drizzle of caramel sauce over the top. For a more savory contrast, a slice of sharp cheddar cheese served alongside is a traditional New England pairing. Serve your easy apple pie slightly warm or at room temperature for the best texture and flavor.
Storing Leftover Apple Pie: Keeping It Fresh
If by some miracle you have leftover apple pie, proper storage will keep it fresh. Once completely cooled, cover the pie loosely with plastic wrap or aluminum foil. It can be stored at room temperature for up to 2 days.
For longer storage, or in warmer climates, refrigerating the pie is recommended. Wrap it tightly and store it in the refrigerator for up to 4-5 days. The crust may lose some of its crispness in the refrigerator, but the flavor will remain. You can gently reheat individual slices in a microwave or oven if desired.
Tips and Tricks for the Best Apple Pie Recipe
Achieving a Flaky Crust: Secret Ingredients and Techniques
Beyond using cold butter and chilling the dough, a few other things can contribute to a flaky crust in your easy apple pie recipe. Some bakers swear by adding a tablespoon of vinegar or vodka to the ice water. The acid in vinegar tenderizes the dough, while vodka (which evaporates during baking) helps prevent gluten development, leading to a more tender, flaky result.
Another technique is the "butter-in-sheets" method, where you roll cold butter into thin sheets and layer it into the dough before folding and chilling. This creates distinct layers of butter that yield incredible flakiness. However, even with the simple cut-in method described earlier, ensuring your butter is very cold and visible in pea-sized pieces before adding water is key.
Troubleshooting Common Apple Pie Problems
- Soggy Bottom: As discussed, blind baking the crust or using an absorbent layer (breadcrumbs, flour/sugar mix) helps immensely. Also, ensure your filling thickener is sufficient for the amount of apples and juice.
- Runny Filling: This usually means not enough thickener was used, or the pie wasn't cooled long enough. Ensure you're using the recommended amount of cornstarch or flour and allow the pie to cool for at least 2-3 hours.
- Burnt Edges: Easily fixed with a pie shield or aluminum foil ring placed around the crust edges during the last 30-40 minutes of baking.
- Tough Crust: This is typically caused by overworking the dough or using ingredients that aren't cold enough. Handle the dough as little as possible and ensure butter and water are icy cold.
Variations: Adding a Twist to Your Classic Apple Pie
Once you've mastered this easy apple pie recipe, feel free to experiment!
- Add other fruits: Combine apples with berries (like blueberries or raspberries), pears, or cranberries for different flavor profiles.
- Spice it up: Introduce ginger, cardamom, or a pinch of black pepper to the apple filling for a warmer, spicier taste.
- Different toppings: Instead of a double crust, try a crumble topping (made from flour, sugar, butter, and oats) or a streusel topping (similar to crumble but often with nuts).
- Caramel Apple Pie: Drizzle homemade or store-bought caramel sauce over the apple filling before adding the top crust.
These variations allow you to put your own spin on a classic while still leveraging the easy apple pie techniques you've learned.
Conclusion: Enjoy Your Easy and Delicious Apple Pie!
Congratulations! You've successfully baked a beautiful and delicious homemade apple pie using our easy step-by-step guide. There's immense satisfaction in creating such a classic dessert from scratch. The aroma, the flaky crust, the perfectly tender and spiced apple filling – it's a true taste of fall comfort.
We love seeing what our community bakes! Share photos of your easy apple pie creation and tell us about your experience. Did you use a mix of apples? Try a lattice top? We're always here to celebrate your baking triumphs and help with any questions you might have as you continue your baking journey.
More Fall Baking Recipes to Explore
Now that you've mastered this easy apple pie recipe, why stop there? BakeWithEase.com offers a wide variety of other simple and delicious recipes perfect for the fall season and beyond. Explore our collection of pumpkin treats, pear desserts, spiced cookies, and more.
From rustic tarts to comforting crumbles and other easy apple recipes, there's always something new and exciting to bake. Keep practicing your pie skills, try new flavors, and continue filling your home with the wonderful scents of homemade baked goods. Happy baking!
Frequently Asked Questions
What makes this apple pie recipe "easy"?
This recipe focuses on simplified steps and readily available ingredients, making it accessible for even beginner bakers. We avoid complicated techniques and prioritize clear, concise instructions.
What kind of apples are best for this "easy apple pie recipe"?
While personal preference plays a role, we recommend using a mix of apples like Granny Smith (for tartness) and Honeycrisp (for sweetness). This blend creates a balanced flavor profile.
Can I use a pre-made pie crust for this recipe?
Absolutely! Using a pre-made pie crust is a great time-saver and perfectly acceptable for this easy apple pie recipe. Just ensure it's a good quality crust.
How do I prevent the pie crust from getting soggy?
To prevent a soggy crust, try blind baking the bottom crust for a few minutes before adding the filling. Also, ensure the filling isn't too watery by reducing the apple juice.
What's the best way to store leftover apple pie?
Leftover apple pie should be stored in the refrigerator, covered, to maintain its freshness. It will typically last for 3-4 days when stored properly.
Final Reflection: The Enduring Allure of a Perfect Apple Pie
The simple act of baking an apple pie, as detailed in this guide, transcends mere culinary instruction; it's a connection to tradition, a celebration of comfort, and a testament to the power of shared experiences. In a world increasingly dominated by fast food and convenience, the deliberate process of creating something from scratch, something as wholesome and satisfying as a perfectly baked apple pie, offers a powerful antidote to the frenetic pace of modern life.
The aroma of cinnamon and apples baking fills a kitchen with warmth and nostalgia, a sensory experience that evokes powerful memories and emotions for many. It’s a recipe passed down through generations, a symbol of home and family, and a reminder of simpler times. A pie is a love letter to the earth.
This sentiment, though not directly about apple pie, speaks to the inherent connection between the ingredients, the process, and the resulting joy. The enduring popularity of apple pie reflects a deep-seated human need for connection, comfort, and the simple pleasures of life.
Now, I invite you to consider the lessons learned beyond the recipe itself. Think about the joy of creating something beautiful and delicious with your own hands. Consider sharing this experience with loved ones, passing on the tradition and creating new memories around the warmth of a freshly baked apple pie. Don't just follow the steps; feel the process, savor the aroma, and share the joy. The perfect apple pie awaits – and so does the perfect opportunity to connect with yourself and others through the simple act of baking.
Unlock Your Inner Baker: Make the Perfect Apple Pie!
Thanks for joining us on this delicious journey to apple pie perfection! We hope you now feel confident in tackling this classic dessert. Ready to take your baking skills to the next level?
- Bake your own masterpiece today! Gather your ingredients and follow our step-by-step guide again – this time, experiment with different spices or a crumble topping.
- Share your apple pie creation with us on social media! Tag #BakeWithEase and show us your delicious results. We can't wait to see them!
- Leave a comment below and tell us: What's your favorite twist on a traditional apple pie?