
Your GoTo Easy Apple Tart Recipe

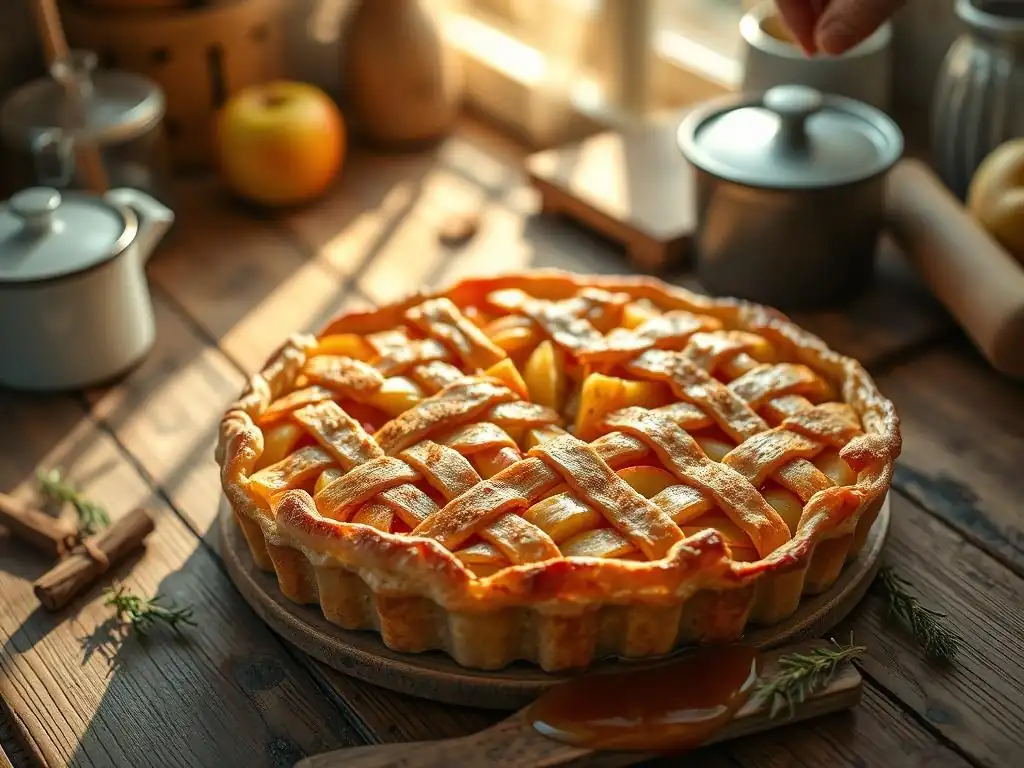
Welcome to BakeWithEase, your kitchen companion for all things baking! Ever dream of creating a stunning apple tart without the fuss? You're in the right place. Get ready to discover our easy apple tart recipe for beginners, a delightful introduction to seasonal baking that promises impressive results with minimal effort. Intrigued? Let's unlock the secrets to a perfectly golden and delicious tart that's sure to impress!
- Your Go-To Easy Apple Tart Recipe: BakeWithEase
- BakeWithEase Presents: The Easiest Apple Tart Recipe for Beginners
- Why This Easy Apple Tart Recipe is Perfect for Beginner Bakers
- Step-by-Step Guide to Making the Best Easy Apple Tart
- Variations and Additions to Your Easy Apple Tart Recipe
- Serving and Storing Your Easy Apple Tart
- Troubleshooting Your Easy Apple Tart: Common Baking Questions
- Enjoy Your Homemade Easy Apple Tart!
- Frequently Asked Questions
- Final Reflection: The Enduring Allure of the Simple Apple Tart
- Unleash Your Inner Baker: Craft the Perfect Apple Tart Today!
Your Go-To Easy Apple Tart Recipe: BakeWithEase
BakeWithEase Presents: The Easiest Apple Tart Recipe for Beginners
Welcome to Fall Baking: Your Simple Apple Tart Awaits
As the leaves begin to change and a crispness fills the air, there's nothing quite like the aroma of warm apples and cinnamon wafting from your oven. Fall baking is a cherished tradition, and at BakeWithEase, we believe it should be accessible and enjoyable for everyone, especially beginners. This easy apple tart recipe beginners can master is designed to introduce you to the joys of seasonal baking without the intimidation often associated with pastry. Imagine pulling a beautiful, golden tart from your oven, ready to share with loved ones. This recipe makes that vision a delicious reality.
This particular easy apple tart recipe is a perfect starting point for newcomers to baking because it simplifies traditional techniques. Instead of complex doughs or intricate fillings, we focus on straightforward steps and readily available ingredients. We've streamlined the process so you can spend less time worrying and more time enjoying the creative process. It's a fantastic way to build confidence in the kitchen and discover how simple ingredients can transform into something truly special.
Why This Easy Apple Tart Recipe is Perfect for Beginner Bakers
Simple Ingredients, Stunning Results: An Apple Tart for Everyone
One of the greatest advantages of this easy apple tart recipe beginners can confidently tackle is its reliance on simple, everyday ingredients. You won't need a trip to a specialty store for this one. Think pantry staples you likely already have on hand: flour, sugar, butter, a pinch of salt, and, of course, apples. These humble components come together to create a dessert that looks impressive and tastes absolutely delicious. It's proof that you don't need fancy items to achieve stunning results in your baking endeavors.
Beyond the basic ingredients, the beauty lies in how they interact. The butter creates a flaky, tender crust, while the sugar caramelizes slightly with the apples, enhancing their natural sweetness and creating a rich, comforting filling. This simple combination is a classic for a reason – it's universally loved and incredibly satisfying. By using these familiar components, this easy apple tart recipe removes the barrier of sourcing unusual items, making it immediately accessible to anyone wanting to try their hand at baking.
No-Fuss Baking: A Quick and Easy Apple Tart Recipe
Let's face it, some baking recipes can feel daunting with their long lists of instructions and precise techniques. This isn't one of them. Our quick and easy apple tart recipe beginners version is designed for minimal fuss and maximum enjoyment. We skip complicated steps like intricate lattice tops or blind baking the crust for hours, opting for simpler methods that yield fantastic results just as quickly. The entire process, from mixing the dough to getting the tart into the oven, can realistically be completed in under an hour if you're well-prepared.
The focus here is on simplicity and efficiency. The crust comes together rapidly, and the apple filling requires only basic peeling and slicing. There's no need for special equipment beyond standard baking pans and utensils you'd find in most kitchens. This streamlined approach reduces the chances of errors and makes the baking process feel manageable and fun, rather than stressful. It's the ideal project for a cozy afternoon or a spur-of-the-moment dessert craving.
Step-by-Step Guide to Making the Best Easy Apple Tart
Preparing the Crust: Your Foundation for an Amazing Apple Tart
The crust is the backbone of any great tart, and for this easy apple tart recipe, we're keeping it straightforward for beginners. A simple press-in or roll-out dough works beautifully. The key is to handle the dough minimally to ensure tenderness. For a typical 9-inch tart pan, you'll need about 1 and a half cups of all-purpose flour, maybe half a cup of cold butter cut into small cubes, a tablespoon or two of sugar, and a pinch of salt. Some recipes might call for a few tablespoons of ice water to bring it together.
Working with cold butter is crucial for a flaky crust. As the butter melts in the oven, it creates steam pockets, resulting in those desirable layers. Avoid overmixing the dough; stop as soon as it just comes together. Overworking the gluten can lead to a tough crust, which is something we definitely want to avoid in an easy apple tart recipe beginners guide! If pressing into the pan, chill the dough slightly first; if rolling, do so between two sheets of parchment paper for easy transfer.
Quick & Easy Tart Crust Recipe: A Beginner-Friendly Approach
Here’s a simplified method: Combine 1.5 cups all-purpose flour, 2 tablespoons sugar, and 1/4 teaspoon salt in a bowl. Cut in 1/2 cup cold, cubed unsalted butter using a pastry blender or your fingers until the mixture resembles coarse crumbs with some pea-sized pieces of butter remaining. Add about 2-3 tablespoons of ice water, one tablespoon at a time, mixing gently with a fork until the dough just comes together. Be careful not to add too much water; you want it moist enough to form a ball, but not sticky.
Once the dough forms a shaggy ball, turn it out onto a lightly floured surface or between two sheets of parchment paper. Gently flatten it into a disc. If rolling, roll it out to about 1/8-inch thickness, large enough to fit your 9-inch tart pan. Carefully transfer the dough to the pan, pressing it into the bottom and up the sides.
Trim any excess dough. If pressing, simply press the dough directly into the pan with your fingers or the bottom of a glass, ensuring even thickness. Chill the prepared crust for at least 15-20 minutes in the refrigerator before adding the filling. This chilling step is vital for preventing shrinkage and maintaining the crust's shape during baking.
Tips for a Perfect Tart Crust: Avoiding Common Mistakes
Achieving a perfect crust is simpler than you might think, even for an easy apple tart recipe beginners are trying for the first time. A common pitfall is using warm ingredients; always ensure your butter and water are very cold. Another mistake is overworking the dough; less handling is better. If you're rolling the dough, avoid adding too much extra flour, which can make the crust dry. Aim for minimal flour on your surface and rolling pin.
If your dough is cracking while rolling, it might be too cold or dry. Let it sit at room temperature for a minute or two, or sprinkle a tiny bit more ice water on the dry spots and gently knead them in. When fitting the dough into the pan, don't stretch it; this causes it to shrink back during baking. Instead, gently press it into place. Finally, remember to chill the formed crust before baking. This helps the butter solidify, resulting in a flakier texture and less shrinkage. Following these simple tips will set you up for crust success.
The Apple Filling: Simple, Flavorful, and Delicious
The heart of your easy apple tart recipe beginners can make is the apple filling. It's incredibly simple, requiring just apples, sugar, a thickener, and spices. The magic happens as the apples soften and their juices mingle with the other ingredients during baking, creating a sweet, slightly tangy, and wonderfully aromatic filling. You'll need approximately 6-8 medium apples for a 9-inch tart, depending on their size and how generously you stack them.
Preparing the filling is straightforward: peel, core, and slice the apples. The thickness of your slices is a matter of preference, but slices about 1/4 inch thick tend to soften nicely without turning mushy. Toss the sliced apples with sugar, a thickener like flour or cornstarch (about 2 tablespoons usually works well to absorb excess juice), and warm spices like cinnamon (about 1 teaspoon) and maybe a pinch of nutmeg or allspice. A squeeze of lemon juice (about 1 tablespoon) can brighten the flavor and prevent browning.
Choosing the Best Apples for Your Easy Apple Tart
Selecting the right apples is key to a successful filling in any easy apple tart recipe beginners attempt. You want apples that hold their shape well when baked and offer a good balance of sweetness and tartness. Using a mix of apple varieties often yields the best results. Classic choices include Granny Smith (tart and firm), Honeycrisp (sweet and crisp), Fuji (sweet and slightly firm), Braeburn (sweet-tart), or Gala (mildly sweet).
Granny Smith apples are a favorite for their tartness, which cuts through the sweetness of the sugar and pastry. However, using only Granny Smiths can sometimes be too tart for some palates. Combining them with a sweeter apple like Honeycrisp or Fuji provides complexity and balance. For example, using 3 Granny Smiths and 3 Honeycrisps is a popular combination. Avoid apples that become too soft or mushy when cooked, like Red Delicious or McIntosh, as they can turn the filling into applesauce rather than distinct slices.
How to Prepare the Apple Filling: A Step-by-Step Guide
Here’s a simple process for preparing the apple filling:
- Peel, core, and slice your chosen apples into approximately 1/4-inch thick slices.
- Place the sliced apples in a large bowl.
- Add about 1/2 cup granulated sugar (adjust to your sweetness preference and apple variety), 2 tablespoons all-purpose flour or cornstarch (flour gives a slightly cloudier filling, cornstarch is clearer), 1 teaspoon ground cinnamon, and a pinch of nutmeg or allspice if desired.
- Add about 1 tablespoon of fresh lemon juice.
- Gently toss everything together with a spoon or your hands until the apple slices are evenly coated with the sugar, spice, and thickener mixture.
- Let the mixture sit for about 5-10 minutes while you prepare your crust. This allows the sugar to start drawing out some juice from the apples, which will then be thickened by the flour or cornstarch.
This simple preparation ensures your apples are flavorful and ready to be placed into the tart shell. The slight resting time also helps the flavors meld and gives the thickener a head start on absorbing moisture.
Assembling and Baking Your Easy Apple Tart
Once your crust is chilled and your apple filling is prepared, it's time to assemble your beautiful easy apple tart recipe beginners will be proud of. This step is where the tart starts to take its final form. Retrieve your chilled tart crust from the refrigerator. The firmness of the chilled dough makes it easier to work with and helps maintain the tart's shape.
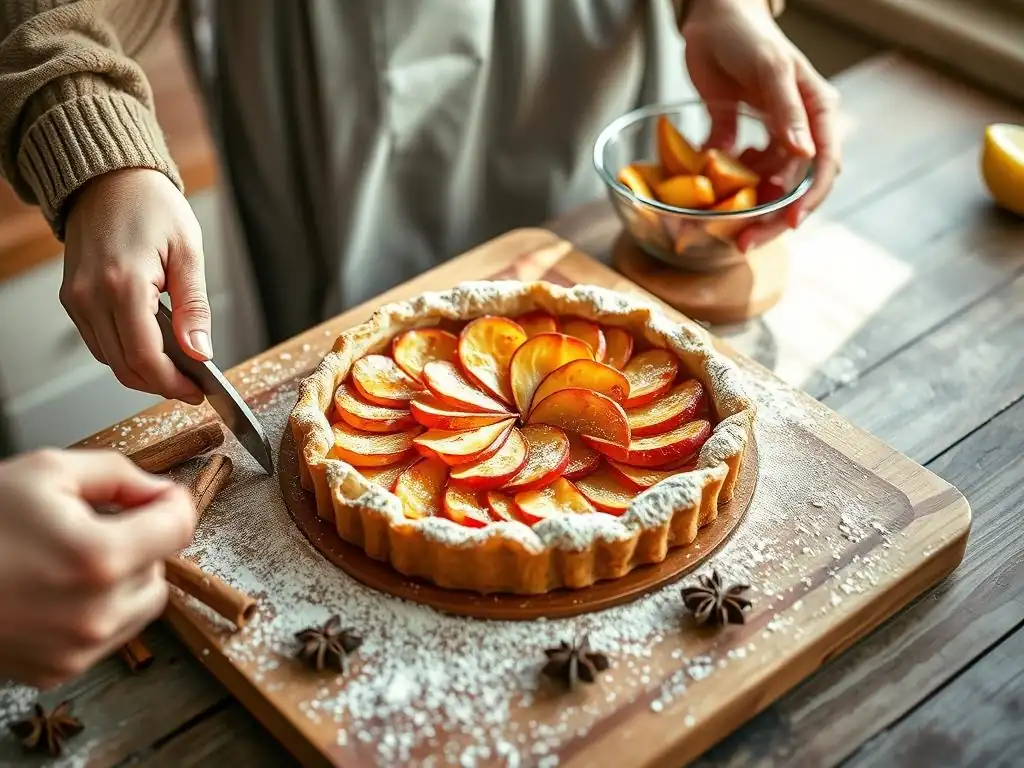
Now, arrange the seasoned apple slices neatly in the tart shell. You can lay them flat in concentric circles, slightly overlapping, or pile them more randomly in the center. Arranging them neatly creates a lovely visual effect once baked. Pour any accumulated juices from the apple mixture bowl over the top of the apples in the tart. If you used butter in the filling (optional, about 2 tablespoons dotted over the top adds richness), add that now.
Arranging the Apples: Creating an Appealing Tart Design
Arranging the apples in your easy apple tart recipe beginners can master doesn't have to be complicated, but taking a moment to arrange them nicely makes a big difference in presentation. A classic method is to start from the outside edge of the tart pan and lay the apple slices in slightly overlapping circles, working your way towards the center. Try to keep the slices relatively uniform in thickness so they cook evenly.
Alternatively, you can create a slightly rustic look by piling the apples a bit higher in the center. As they bake, they will soften and settle. Whichever method you choose, try to distribute the apple slices evenly so that each slice of tart has a good amount of filling. A well-arranged tart is not only visually appealing but also ensures consistent texture and flavor throughout.
Baking Time and Temperature: Achieving Golden Perfection
Baking your easy apple tart recipe beginners guide is simple. Preheat your oven to 375°F (190°C). Place the assembled tart on a baking sheet to catch any potential drips (apple pies and tarts are notorious for bubbling over a bit). Bake the tart for approximately 40 to 50 minutes. The exact time will vary slightly depending on your oven and the thickness of your apple slices.
You'll know the tart is ready when the crust is golden brown and the apple filling is bubbling gently, especially in the center. You can also carefully insert a sharp knife or skewer into the thickest part of an apple slice to check for tenderness; it should pierce easily. If the crust edges start browning too quickly, you can loosely cover them with strips of aluminum foil. Letting the tart bake until the filling is visibly bubbling ensures the thickener activates properly and prevents a watery filling.
Variations and Additions to Your Easy Apple Tart Recipe
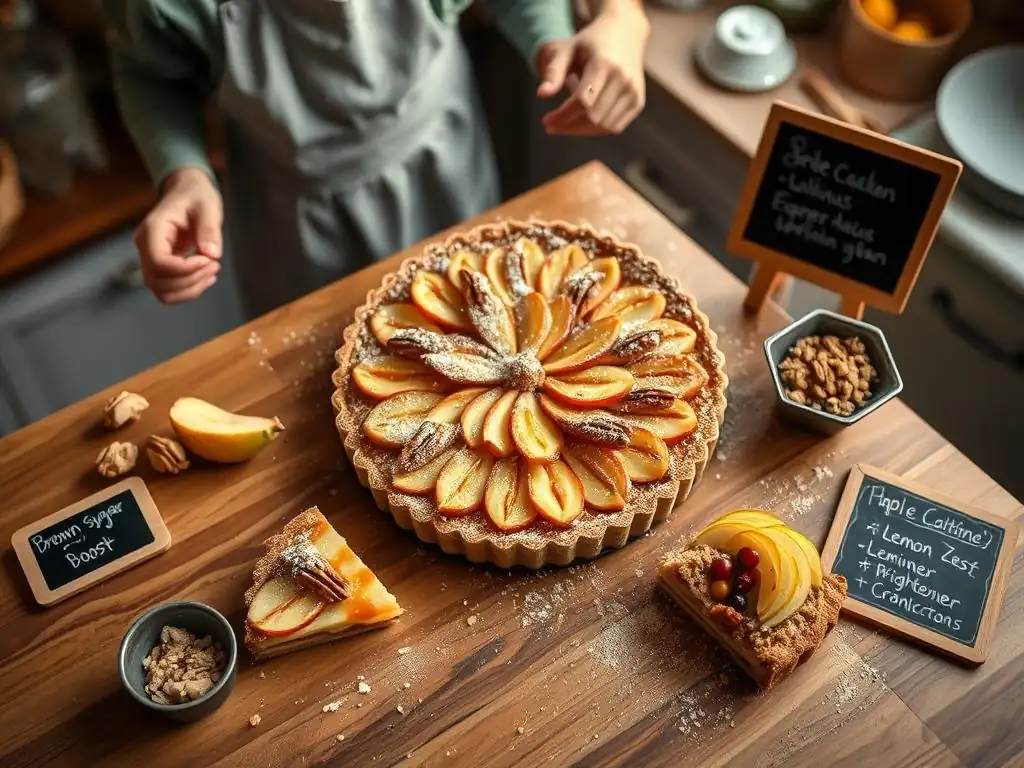
While the basic easy apple tart recipe beginners version is delicious on its own, you can easily customize it with simple additions to explore new flavors. These variations are still beginner-friendly and allow you to put your own spin on the classic. Adding spices or other flavorings can transform the tart into something even more special.
Consider incorporating other fruits that pair well with apples, like a handful of cranberries for a tart bite or some sliced pears for a different texture. A sprinkle of chopped nuts, such as walnuts or pecans, can add a lovely crunch to the top of the tart. These simple additions require minimal extra steps but offer exciting new dimensions to your baking.
Spiced Apple Tart: Adding Warm Fall Flavors
To make your easy apple tart recipe beginners version a true celebration of fall, enhance the spice profile. While cinnamon is standard, adding other warm spices elevates the flavor. Try incorporating 1/4 teaspoon of ground nutmeg, 1/4 teaspoon of ground allspice, or even a pinch of ground cloves to the apple filling mixture. These spices complement the apples beautifully and create that quintessential autumnal taste.
Another way to add spice is to include a teaspoon of vanilla extract with the apple filling, or brush the top crust with a little melted butter mixed with cinnamon sugar before baking. The warmth of these spices permeates the apples as they bake, resulting in a deeply aromatic and comforting dessert. Experiment with the quantities to find your perfect spice blend.
Caramel Apple Tart: A Decadent Twist on a Classic
Turning your easy apple tart recipe beginners can follow into a caramel apple tart is simpler than it sounds and adds a layer of rich decadence. You can do this in a couple of ways. One method is to drizzle about 1/4 to 1/2 cup of store-bought or homemade caramel sauce over the assembled apple filling before baking. The caramel will bubble and meld with the apples as it bakes.
Alternatively, you can make a simple caramel sauce to drizzle over the tart after it has baked and cooled slightly. This prevents the caramel from becoming too hard or burning during the long bake time. A quick caramel can be made by melting 1/2 cup sugar in a saucepan until amber, whisking in 1/4 cup butter, then slowly whisking in 1/2 cup heavy cream (be careful, it will bubble vigorously). Simmer for a few minutes until slightly thickened, then cool slightly before drizzling.
Frangipane Apple Tart: Elevating Your Tart with Almond Cream
For a slightly more sophisticated but still achievable variation on your easy apple tart recipe beginners base, consider adding a layer of frangipane. Frangipane is a creamy almond filling made from butter, sugar, ground almonds, eggs, and a touch of flour or cornstarch. It bakes up into a soft, nutty layer beneath the apples.
To add frangipane, prepare a simple frangipane by creaming together 1/2 cup softened butter and 1/2 cup sugar until light and fluffy. Beat in one large egg and 1/2 teaspoon almond extract. Stir in 1 cup of finely ground almonds (almond flour or meal) and 2 tablespoons all-purpose flour. Spread this mixture evenly over the bottom of your chilled tart crust before adding the apple filling. Then, arrange the apples on top of the frangipane layer and bake as directed. The frangipane adds wonderful moisture and a rich almond flavor that pairs exceptionally well with apples.
Serving and Storing Your Easy Apple Tart
Once your easy apple tart recipe beginners creation is out of the oven, the hardest part is waiting for it to cool slightly before serving! Allowing the tart to cool for at least 30-60 minutes helps the filling set properly. Cutting into a hot tart can result in a runny filling. The aromas filling your kitchen will be your reward for your baking efforts.
Serve slices of the warm (or room temperature) tart. It's delightful on its own, but certain accompaniments can elevate the experience even further. Think about classic pairings that enhance the apple and pastry flavors.
The Perfect Accompaniments: Serving Suggestions
Serving your easy apple tart recipe beginners masterpiece is simple. A scoop of vanilla ice cream is perhaps the most classic and beloved accompaniment. The cold, creamy ice cream melting into the warm tart is pure comfort. Another excellent choice is a dollop of freshly whipped cream. You can sweeten the whipped cream slightly with powdered sugar and add a touch of vanilla extract.
For a slightly tangy contrast, consider serving the tart with a spoonful of crème fraîche or plain Greek yogurt. These offer a nice balance to the sweetness of the apples. If you made the caramel variation, a little extra drizzle of caramel sauce over the top of each slice is always a hit. Don't forget a sprinkle of cinnamon or a mint sprig for garnish if you're feeling fancy!
How to Store Your Apple Tart: Keeping it Fresh
If you happen to have any leftovers of your delicious easy apple tart recipe beginners creation, storing it properly will keep it fresh. Allow the tart to cool completely at room temperature before storing. Cover the tart loosely with plastic wrap or aluminum foil, or place slices in an airtight container.
The tart can be stored at room temperature for about 1-2 days, especially if it's not too humid. For longer storage, or if your kitchen is warm, it's best to refrigerate the tart. It will keep well in the refrigerator for 3-4 days. To reheat, you can warm individual slices in a microwave for about 30-60 seconds, or warm larger portions in a preheated oven at 325°F (160°C) for 10-15 minutes until heated through. Avoid freezing tarts with a lot of liquid filling, as it can affect the texture upon thawing.
Troubleshooting Your Easy Apple Tart: Common Baking Questions
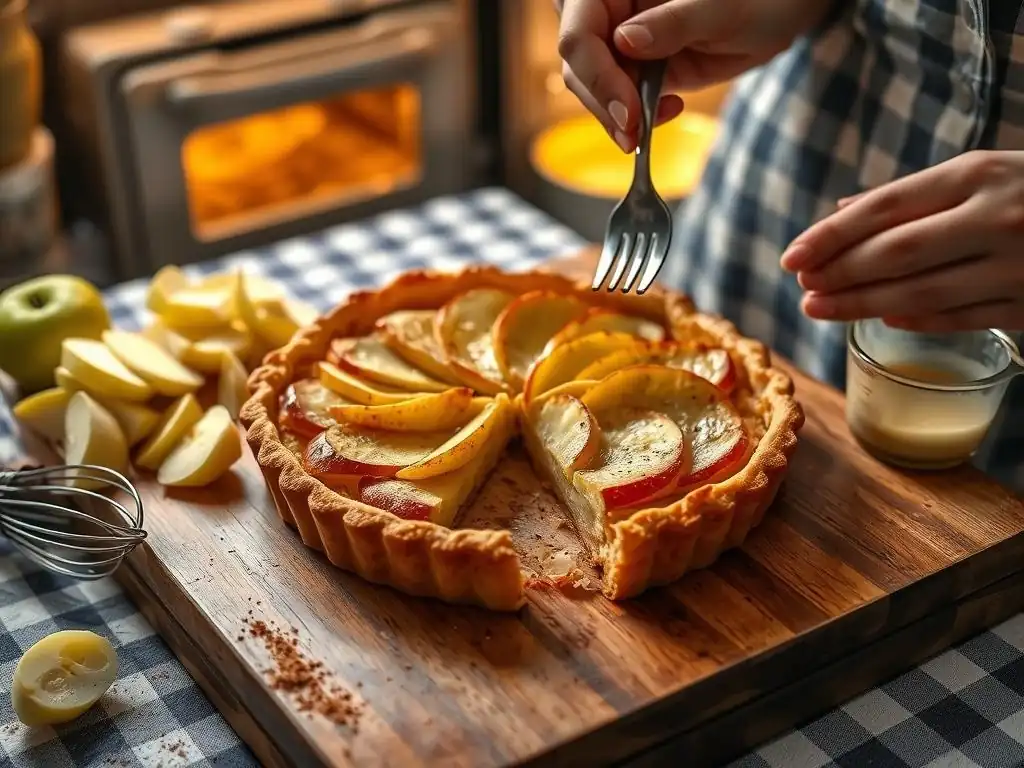
Even with an easy apple tart recipe beginners guide, sometimes things don't go exactly as planned. Don't worry, baking is a learning process, and many common issues have simple solutions. Here are a few typical problems you might encounter and how to address them.
Remember that practice makes perfect. Your first tart might not be absolutely flawless, but it will still be delicious, and you'll learn valuable lessons for the next time. These troubleshooting tips are here to help you identify what might have gone wrong and how to fix it in the future.
My Crust is Soggy! How to Fix It.
A soggy bottom crust is a common frustration in fruit tarts. For this easy apple tart recipe beginners version, a few factors can contribute. One primary cause is excess moisture from the apple filling. Ensure you used the correct amount of thickener (flour or cornstarch) and that the tart baked long enough for the filling to bubble and thicken properly. Baking at the correct temperature is also key; a too-low temperature can result in a pale, soggy crust.
To help prevent a soggy bottom:
- Make sure your crust is well-chilled before adding the filling.
- Use the recommended amount of thickener in the apple filling.
- Consider placing a baking sheet on the rack below the tart while it bakes to help conduct heat to the bottom crust.
- Ensure the tart bakes until the filling is actively bubbling and the crust is deeply golden brown on the bottom (you might need to lift it slightly with a spatula to check).
- In the future, for extra insurance, you could try a partial blind bake of the crust (baking the empty crust for about 10-15 minutes before adding the filling), though this adds a step to the "easy" process.
My Apple Filling is Too Watery! Solutions and Prevention.
If your apple filling is too runny, it's usually due to insufficient thickener or not baking long enough for the thickener to work. Different apples release varying amounts of juice, so sometimes you might need slightly more thickener than the recipe suggests, especially if using very juicy varieties. For an easy apple tart recipe beginners can trust, getting the filling consistency right is important.
Prevention is the best cure:
- Use the recommended amount of flour or cornstarch, or even slightly more (e.g., 3 tablespoons instead of 2) if you know your apples are very juicy.
- Ensure the tart bakes until the filling is visibly bubbling robustly, particularly in the center. This bubbling is the thickener doing its job.
- Let the tart cool completely before slicing. The filling continues to thicken as it cools.
If you've already baked it and it's still too watery after cooling, unfortunately, it's hard to fix post-bake. You can try spooning some of the excess liquid off if serving, or simply embrace the rustic, saucy filling!
The Tart is Burning! What Can I Do?
If the edges of your crust or the top of the apples are browning too quickly while the rest of the tart isn't done, don't panic! This is a common issue, especially in ovens with uneven heating. For your easy apple tart recipe beginners attempt, keeping an eye on the tart as it bakes is helpful.
Solution:
- If the edges of the crust are browning too fast, carefully tent the edges with strips of aluminum foil. You can mold the foil around the rim of the tart pan.
- If the entire top seems to be browning too quickly, you can loosely tent the entire tart with a sheet of aluminum foil for the remaining baking time.
- Ensure your oven temperature is accurate. An oven thermometer can help verify if your oven runs hot.
- Try placing the tart on a lower rack in the oven.
By shielding the parts that are browning fastest, you allow the rest of the tart to catch up and bake through evenly.
Enjoy Your Homemade Easy Apple Tart!
Congratulations! You've successfully baked a delicious and easy apple tart recipe beginners can be proud of. The effort you put in has resulted in a warm, comforting dessert that's perfect for any occasion, whether it's a fall gathering or a simple weeknight treat. Take a moment to appreciate your accomplishment.
Serving this tart warm, perhaps with a scoop of melting vanilla ice cream, is one of life's simple pleasures. The combination of the flaky crust, tender spiced apples, and cold creamy ice cream is truly unbeatable. Share it with friends and family, or savor a slice all to yourself. You've earned it!
At BakeWithEase, we love seeing your baking triumphs! If you made this easy apple tart recipe beginners guide, we'd be thrilled to know how it turned out. Your feedback and experiences help us continue to provide simple, reliable recipes for bakers of all levels.
Consider jotting down notes about your experience: Were the instructions clear? Did you make any variations? How did your tart look and taste? Sharing your journey, including any challenges and how you overcame them (using the troubleshooting tips! ), is incredibly valuable. Your success story could inspire another beginner baker to try this recipe. Happy baking!
Frequently Asked Questions
What makes this apple tart recipe "easy" for beginners?
This recipe focuses on simple steps and readily available ingredients, avoiding complicated techniques. The crust uses a basic press-in method rather than needing precise rolling.
What kind of apples are best to use for this apple tart?
For the best flavor and texture, we recommend using a combination of apples like Granny Smith for tartness and Honeycrisp for sweetness. This creates a balanced apple filling.
Can I make the apple tart crust ahead of time?
Yes, you can! The crust dough can be prepared, wrapped tightly, and refrigerated for up to 2 days. This will save time on the day you're baking.
What can I do to prevent the crust from becoming soggy?
To prevent a soggy crust, ensure the apples are not overly juicy. You can also blind bake the crust for a few minutes before adding the apple filling.
How do I know when the apple tart is fully baked?
The apple tart is done when the crust is golden brown and the apples are tender. A toothpick inserted into the center of the apples should come out with little to no resistance.
Final Reflection: The Enduring Allure of the Simple Apple Tart
The humble apple tart, a seemingly simple dessert, holds a surprising power to connect us to tradition, creativity, and the joy of sharing. Its ease of preparation belies the profound satisfaction derived from creating something delicious and beautiful from readily available ingredients. In a world of increasingly complex recipes and culinary trends, the enduring appeal of this classic dessert speaks volumes about our desire for comfort, simplicity, and genuine connection.
The apple tart's influence extends far beyond the kitchen table; it's a symbol of home, warmth, and shared moments. It transcends generations, passed down through families and adapted to individual tastes. The act of baking itself, the comforting aroma filling the kitchen, the anticipation of the first bite – these are experiences that resonate deeply. Baking is at once child's play and adult joy. And love, of course.
This sentiment perfectly captures the essence of the apple tart experience, a blend of simple pleasure and profound connection.
Now, I invite you to consider your own relationship with baking. Perhaps this recipe will inspire you to try your hand at creating your own version, experimenting with different apples, spices, or toppings. Or maybe it will simply remind you of the simple joys found in sharing a homemade treat with loved ones. Regardless, I hope this easy apple tart recipe has not only provided you with a delicious dessert but also sparked a reflection on the power of simple pleasures and the enduring magic found in the kitchen.
Here's a Call to Action (CTA) tailored for the article "Your GoTo Easy Apple Tart Recipe" on BakeWithEase.com:
Unleash Your Inner Baker: Craft the Perfect Apple Tart Today!
Thanks for joining us on this delicious journey! We hope you've found inspiration and the confidence to tackle this classic dessert. Now it's time to get baking!
- Bake your own masterpiece: Gather your ingredients and follow our easy recipe to create a stunning apple tart. Don't be afraid to experiment with different apple varieties or add a sprinkle of cinnamon for extra warmth.
- Share your creation: Snap a photo of your finished tart and share it on social media using #BakeWithEaseAppleTart – we’d love to see your culinary triumphs!
- Join our baking community: Head over to our forum and share your baking experiences, tips, and ask any questions you might have. Let’s connect and inspire each other!
Ready to transform your kitchen into a haven of sweet aromas? What unique twist will you add to your apple tart?