
Quick Mini Pumpkin Tarts (So Cute & Easy!)

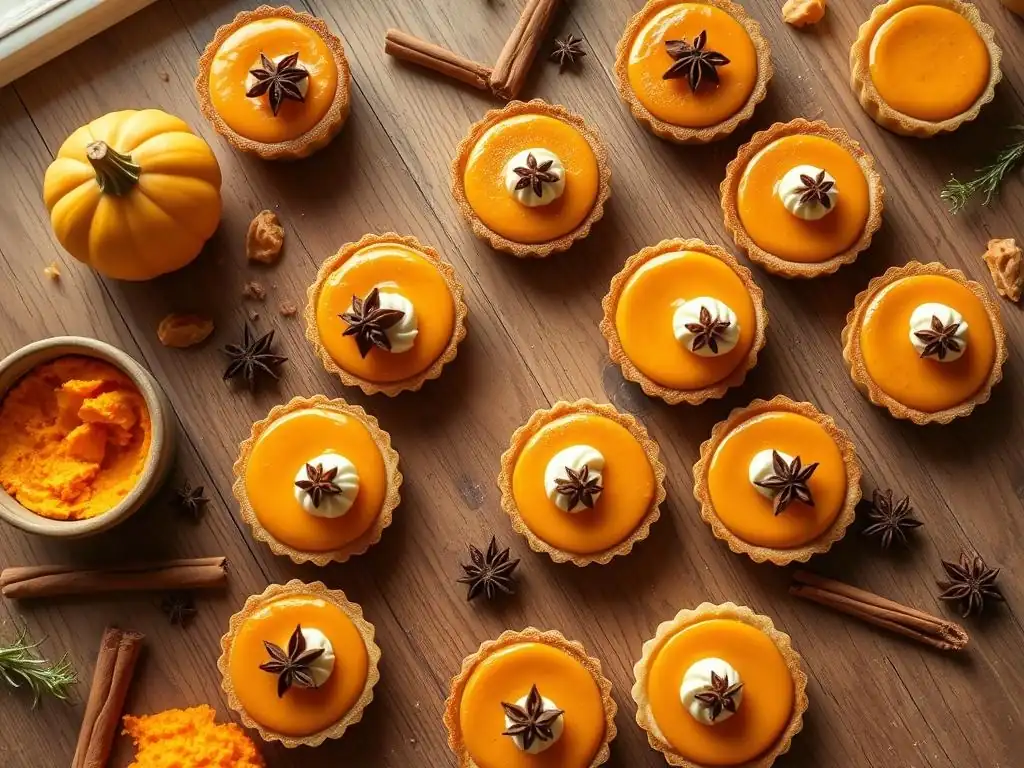
Welcome to BakeWithEase, your trusted guide to baking bliss! Ever dreamt of creating delightful, bite-sized treats that impress? Then you're in the right place. Dive into the season with our guide to crafting incredibly easy mini pumpkin tarts. Prepare to be amazed at how simple it is to create something so cute and delicious – what baking secrets will you discover?
- Easy Mini Pumpkin Tarts: A Fall Baking Delight from BakeWithEase.com
- Why You'll Love These Adorable Mini Pumpkin Tarts
- Ingredients for Your Mini Pumpkin Tarts
- Step-by-Step Guide: Making Easy Mini Pumpkin Tarts
- Tips for Perfect Mini Pumpkin Tarts
- Storing Your Mini Pumpkin Tarts
- Enjoy Your Easy Homemade Mini Pumpkin Tarts!
- Frequently Asked Questions
- Final Reflection: The Enduring Allure of Tiny Treats
- Unleash Your Inner Pastry Chef!
Easy Mini Pumpkin Tarts: A Fall Baking Delight from BakeWithEase.com
Welcome to BakeWithEase.com, your guide to simple and delicious baking adventures! As the leaves change and the air turns crisp, nothing says "fall" quite like the comforting aroma of pumpkin spice. This year, we're simplifying a classic and bringing you the recipe for easy mini pumpkin tarts. Forget complicated pie crusts and lengthy baking times; these adorable, bite-sized treats are designed for ease and maximum flavor, perfect for bakers of all levels. Get ready to fill your home with the scent of autumn and enjoy these delightful easy mini pumpkin tarts.
Why You'll Love These Adorable Mini Pumpkin Tarts
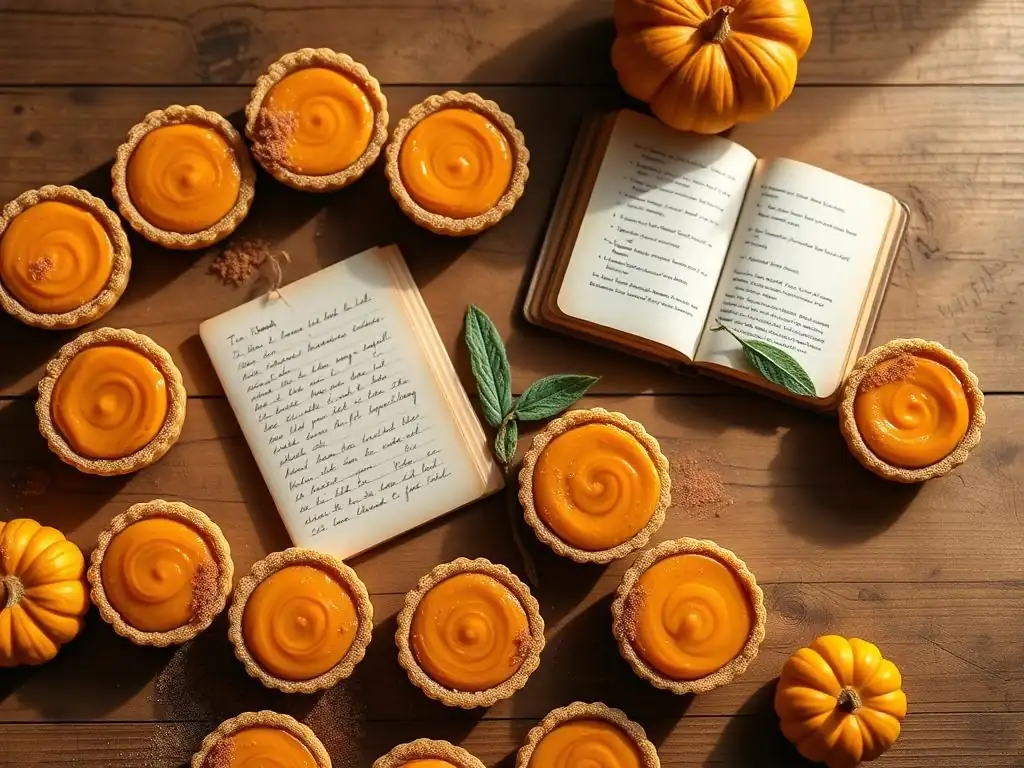
These easy mini pumpkin tarts are more than just a dessert; they're a little piece of fall happiness in every bite. Their charm lies in their simplicity and delightful size, making them inherently appealing. Unlike a full-sized pumpkin pie that requires careful slicing and serving, these mini versions are perfectly portioned and portable. They are less intimidating to make than a traditional pie, especially for beginners, and the process from start to finish is surprisingly quick, fitting easily into a busy schedule.
Beyond their ease, the flavor profile is spot-on. They deliver all the warm, spicy notes you expect from a classic pumpkin pie filling, nestled in a tender, buttery crust. The smaller size also means a better crust-to-filling ratio in every bite, which many find preferable. Whether you're baking for a special occasion or just because, these easy mini pumpkin tarts are guaranteed crowd-pleasers that look as good as they taste, embodying the cozy spirit of the season.
The Perfect Easy Fall Dessert
When the autumn chill sets in, the craving for warm, spiced desserts becomes undeniable. These easy mini pumpkin tarts perfectly capture that cozy fall feeling without demanding hours in the kitchen. They are designed with simplicity in mind, making them an ideal project for a relaxed afternoon bake.
The ingredient list is straightforward, featuring pantry staples and seasonal stars like pumpkin puree and warming spices. Their individual size means they bake faster than a large pie, typically requiring only about 18-22 minutes in a standard oven preheated to 375°F (190°C), significantly cutting down on waiting time compared to the 45-60 minutes a full pie might need.
Furthermore, the process is forgiving. Rolling out small portions of dough for mini tart shells is far less cumbersome than handling a large, fragile pie crust. The filling is a simple whisk-together affair. This low-stress approach makes them genuinely easy mini pumpkin tarts, accessible even if you've never baked a pie before. They offer the delicious reward of a homemade pumpkin dessert with minimal fuss, leaving you more time to enjoy the season.
Quick and Simple Pumpkin Tart Recipe
The hallmark of this recipe is its speed and simplicity, making it the definition of easy mini pumpkin tarts. From start to finish, including chilling time for the dough, you can realistically have these ready to bake in under an hour, with baking taking roughly 20 minutes. The filling preparation is a mere 5-10 minutes of whisking ingredients together. The crust can be made in advance or quickly assembled in a food processor in just a few minutes. This streamlined approach is ideal for spontaneous baking cravings or when you need a quick dessert for unexpected guests.
Unlike recipes requiring blind baking a crust for a long time or intricate filling techniques, this version simplifies every step. The mini shells bake relatively quickly and hold their shape well, providing a sturdy base for the creamy filling. This focus on efficiency doesn't compromise on taste; you still get that rich, comforting pumpkin flavor and flaky crust. It's a testament to how simple techniques can yield truly delightful results, proving that making easy mini pumpkin tarts is well within reach for anyone.
Bite-Sized Pumpkin Treats for Any Occasion
The individual size of these easy mini pumpkin tarts makes them incredibly versatile for various occasions. They are perfect for parties, potlucks, or holiday gatherings, as guests can easily grab a single serving without needing plates or utensils (though a fork is recommended!). For a Thanksgiving or Christmas dessert table, they offer a charming alternative or addition to a traditional pie, allowing guests to sample other treats too. Their portability also makes them great for bake sales, picnics, or packed lunches.
Consider a fall brunch; these mini tarts are a delightful addition. Or imagine a cozy movie night; a plate of these small bites is ideal for snacking. Their ease of preparation means you can whip up a batch for a simple weeknight treat. Whether it's a formal gathering or a casual moment, these easy mini pumpkin tarts fit right in, providing a perfect, portion-controlled taste of fall that everyone will appreciate.
Ingredients for Your Mini Pumpkin Tarts
Gathering your ingredients is the first step to making these delightful easy mini pumpkin tarts. The beauty of this recipe lies in its use of common pantry staples, making it accessible whenever the pumpkin craving strikes. You'll need separate sets of ingredients for the simple tart crust and the creamy pumpkin filling. Using high-quality ingredients, especially for the pumpkin and spices, will significantly enhance the final flavor of your mini tarts.
Having all your ingredients measured out before you begin (mise en place) will make the process even smoother and quicker. This recipe typically yields about 12-15 mini tarts when using a standard muffin tin, so ensure you have enough ingredients accordingly. Don't forget a little extra flour for dusting your work surface when rolling out the dough.
The Tart Crust Ingredients
Creating a tender, flaky crust for your easy mini pumpkin tarts requires just a few basic ingredients. You'll need all-purpose flour, which provides the structure for the crust. Cold unsalted butter is crucial; its coldness creates steam pockets during baking, resulting in flakiness. A little granulated sugar adds a touch of sweetness and helps with browning, while a pinch of salt balances the flavors. Finally, ice water is essential for bringing the dough together without developing too much gluten, ensuring a tender crust.
Using cold ingredients, especially the butter and water, is key to achieving that desired flaky texture. Some recipes might call for shortening or a combination of fats, but using just butter provides the richest flavor. For a batch making around 12-15 tarts, you'll likely need about 1 and 1/4 cups of flour and half a cup (one stick) of very cold butter, cut into small cubes. The exact amount of ice water will vary slightly depending on humidity, but typically 3-5 tablespoons are sufficient to bring the dough together.
The Creamy Pumpkin Filling Ingredients
The heart of these easy mini pumpkin tarts is the smooth, spiced pumpkin filling. You'll start with canned pumpkin puree (make sure it's puree, not pumpkin pie filling, which is already sweetened and spiced). Large eggs act as the binder, giving the filling structure and richness. Sweetness comes from granulated sugar and often brown sugar, which adds moisture and a subtle caramel note. Evaporated milk or heavy cream provides creaminess; evaporated milk is traditional for pumpkin pie and results in a slightly firmer set, while cream yields a richer, softer filling.
The signature fall flavor comes from spices: ground cinnamon, ginger, nutmeg, and cloves are standard for a classic pumpkin pie spice blend. A pinch of salt is also vital to enhance all the sweet and spicy notes.
For a batch filling 12-15 mini shells, you'll typically need about 1 and 1/2 cups of pumpkin puree, 2 large eggs, around 1/2 to 3/4 cup total of sugar (adjust to your preference), about 1 cup of evaporated milk or cream, and roughly 1 to 1.5 teaspoons of pumpkin pie spice (or individual spices). Using fresh spices will make a noticeable difference in the vibrancy of the flavor.
Step-by-Step Guide: Making Easy Mini Pumpkin Tarts
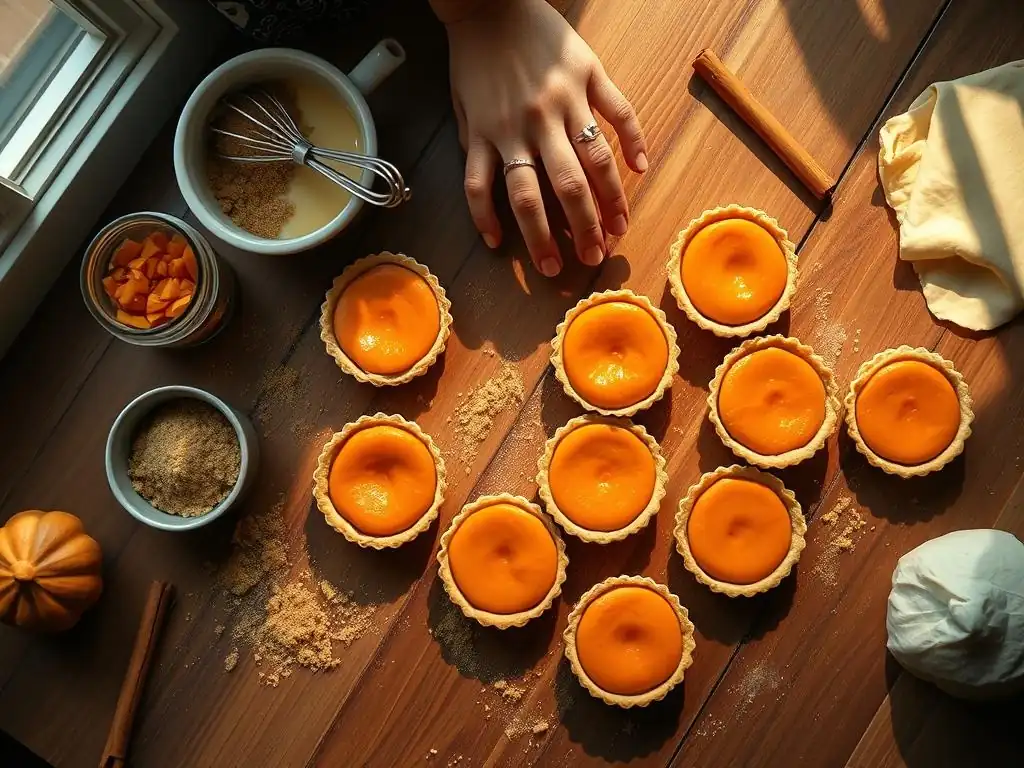
Making easy mini pumpkin tarts is a straightforward process broken down into a few key stages: preparing the crust, making the filling, and finally assembling and baking. Following these steps will ensure you achieve perfectly golden crusts and smooth, set filling every time. Don't be intimidated; each step is designed to be simple and manageable, even if you're new to baking.
Here’s a simplified task list to keep you on track:
- [ ] Prepare crust dough.
- [ ] Chill dough.
- [ ] Roll and cut dough for mini shells.
- [ ] Fit dough into muffin tin cups.
- [ ] Prepare pumpkin filling.
- [ ] Pour filling into shells.
- [ ] Bake tarts.
- [ ] Cool completely.
Preparing the Tart Crust
The foundation of these easy mini pumpkin tarts is a simple yet delicious tart crust. Starting with cold ingredients is paramount for achieving a flaky texture. This recipe streamlines the process, making crust preparation much less daunting than with a full-sized pie. You can even use a food processor to make this step incredibly fast, cutting the butter into the flour in mere seconds.
Once the dough is mixed, a brief chilling period is essential. This allows the gluten to relax, preventing the crust from shrinking excessively during baking, and also firms up the butter, which contributes to flakiness. While some recipes skip this step for speed, even 15-20 minutes in the refrigerator makes a significant difference in the final texture of your mini tart shells.
Mixing the Dough for the Mini Tart Shells
To mix the dough, combine the all-purpose flour, sugar, and salt in a medium bowl. Cut in the very cold, cubed butter using a pastry blender, two forks, or your fingertips until the mixture resembles coarse crumbs with some pea-sized pieces of butter remaining. This is where the flakiness is built. Gradually add the ice water, one tablespoon at a time, mixing gently with a fork or your hands until the dough just comes together. Be careful not to add too much water, as this can make the crust tough.
The key is to handle the dough as little as possible to avoid developing the gluten. Once the dough forms a shaggy ball, press it together gently. It shouldn't be sticky or overly dry. If using a food processor, pulse the dry ingredients and butter until crumbly, then pulse in the ice water until the dough just starts to clump together.
Chilling the Tart Dough
After mixing, gather the dough into a disk shape, wrap it tightly in plastic wrap, and refrigerate for at least 30 minutes. While 30 minutes is sufficient for easy mini pumpkin tarts, chilling for an hour or even overnight is fine and can make the dough easier to handle. The cold temperature solidifies the butter pieces within the dough.
When the cold dough hits the hot oven, these butter pieces melt and create steam, pushing apart the layers of dough and resulting in a flaky texture. Chilling also makes the dough less sticky and easier to roll out and transfer into the muffin tin cups without tearing. Don't skip this crucial step for the best results.
Rolling and Shaping the Mini Tart Shells
Once the dough is properly chilled, lightly flour a clean work surface and your rolling pin. Roll out the dough to about 1/8 inch thickness. Using a round cookie cutter or the rim of a glass that is slightly larger than the diameter of your muffin tin cups (typically around 3.5 to 4 inches), cut out circles of dough. Gently press each dough circle into the cups of a standard muffin tin, pressing the dough against the bottom and up the sides.
You can gently flute or crimp the edges if you like, but for easy mini pumpkin tarts, simply pressing the dough flush with the top of the muffin cup is perfectly acceptable and much quicker. If the dough becomes too soft or sticky as you work, pop it back in the refrigerator for a few minutes. Any scraps can be gently re-rolled once (overworking the dough will make it tough) to cut out more circles.
Making the Pumpkin Pie Filling
The filling for these easy mini pumpkin tarts is wonderfully simple – a quick whisking job that takes just minutes. This part requires no cooking on the stovetop; everything is combined in a bowl before being poured into the prepared tart shells. The result is a smooth, creamy filling that sets beautifully as it bakes.
Ensure all your wet ingredients, particularly the eggs and milk/cream, are at room temperature for the smoothest consistency and even baking. This helps them incorporate more easily with the pumpkin puree and sugars. Using a whisk is the best tool here to ensure everything is well combined and lump-free.
Combining the Pumpkin Puree and Spices
In a large bowl, whisk together the canned pumpkin puree, granulated sugar, brown sugar, ground cinnamon, ginger, nutmeg, cloves, and salt. Whisk until the mixture is smooth and the sugars are mostly dissolved. Taste a tiny bit (before adding raw eggs!) and adjust the spice levels if desired, though the standard measurements provide a classic, well-balanced flavor profile perfect for easy mini pumpkin tarts.
Ensure you are using 100% pure pumpkin puree and not pumpkin pie filling, as the latter contains added sugar and spices that will throw off the recipe's balance. Whisking thoroughly at this stage helps distribute the spices evenly throughout the filling, so you don't get pockets of concentrated spice.
Adding the Wet Ingredients for a Smooth Filling
Once the pumpkin and spices are combined, whisk in the slightly beaten large eggs until just incorporated. Overmixing the eggs can introduce too much air. Finally, gradually whisk in the evaporated milk or heavy cream until the filling is completely smooth and uniform in color. The consistency should be pourable but not watery.
This mixture is now ready to be poured into your prepared mini tart shells. Using a liquid measuring cup with a spout can make pouring easier and less messy. Aim to fill each tart shell about 3/4 full, as the filling will expand slightly as it bakes.
Assembling and Baking the Mini Pumpkin Tarts
With the crusts ready and the filling mixed, it's time to bring these easy mini pumpkin tarts together and get them into the oven. This is the final stage before you get to enjoy the fruits of your labor. Proper filling and baking techniques ensure a beautiful appearance and perfectly cooked tarts.
Preheating your oven to the correct temperature is crucial for even baking and achieving that lovely golden crust and set filling. Make sure your oven has reached 375°F (190°C) before placing the tarts inside.
Filling the Tart Shells
Carefully place your muffin tin with the prepared mini tart shells on a stable surface. Using a measuring cup or a small ladle, gently pour the pumpkin filling into each tart shell. Fill them about three-quarters of the way full. Avoid overfilling, as the filling can puff up and potentially spill over the edges during baking, which makes for a mess and less attractive tarts.
If you notice any air bubbles on the surface of the filling after pouring, you can gently pop them with a toothpick. Try to pour the filling as evenly as possible across all the shells so they bake at the same rate. If any filling spills onto the edge of the crust or the muffin tin, gently wipe it away with a damp paper towel before baking to prevent burning.
Baking to Golden Perfection
Place the muffin tin containing the filled easy mini pumpkin tarts into your preheated oven at 375°F (190°C). Bake for approximately 18 to 22 minutes. The baking time can vary slightly depending on your oven, the thickness of your crust, and how full you filled the tarts.
You'll know they are done when the crust edges are golden brown and the filling is set around the edges but still looks slightly soft or jiggly in the very center. A toothpick inserted into the center of the filling (avoiding the crust) should come out mostly clean, though a little moisture is fine. Don't overbake, or the filling can crack. Once baked, carefully remove the tin from the oven and let the tarts cool in the tin for at least 10-15 minutes before attempting to remove them. This allows the filling to finish setting.
Tips for Perfect Mini Pumpkin Tarts
Making easy mini pumpkin tarts is already simple, but a few extra tips can elevate them from good to absolutely perfect. These little tricks address common baking challenges and help ensure your tarts are visually appealing and delicious every time. From achieving the ideal crust texture to preventing filling issues, these pointers are designed to make your baking experience even more successful and enjoyable.
Paying attention to small details during preparation and baking can make a big difference in the final outcome. Don't rush the chilling or cooling steps, as they are integral to the structure and texture of these delightful fall treats.
Achieving a Flaky Tart Crust
A truly great tart starts with a flaky crust, and for these easy mini pumpkin tarts, it's no different. The secret lies in keeping your ingredients, especially the butter and water, as cold as possible throughout the mixing process. When you cut the cold butter into the flour, you want to leave some pieces of butter visible, ranging in size from small crumbs to pea-sized pieces. These butter pieces are what create steam pockets in the oven, resulting in distinct layers and flakiness.
Avoid overworking the dough once the water is added. Mix it just until it comes together. Overmixing develops gluten, which leads to a tough, dense crust. Similarly, when rolling out the dough, handle it gently and roll it evenly. If you're re-rolling scraps, combine them gently without kneading. Chilling the dough before rolling and after shaping the shells in the muffin tin (even for just 10 minutes) helps the butter stay cold and the dough hold its shape better during baking, contributing significantly to flakiness.
Preventing Cracking in the Pumpkin Filling
While minor cracks on the surface of pumpkin filling are common, especially in larger pies, you can minimize them in your easy mini pumpkin tarts. Cracking is often caused by overbaking or cooling too quickly. To prevent this, bake the tarts only until the filling is just set – the edges should look firm, but the center should still have a slight wobble. The residual heat will continue to cook the filling as it cools.
Allowing the tarts to cool gradually is also important. Leave them in the muffin tin on a wire rack for at least 10-15 minutes before carefully removing them. This gentle transition from hot to cooler temperatures helps the filling set smoothly without contracting too rapidly, which can cause cracks. Ensure your ingredients, particularly the eggs and dairy, are at room temperature before mixing the filling; this promotes even cooking.
Variations and Add-ins for Your Mini Pumpkin Pies
These easy mini pumpkin tarts provide a fantastic base for customization. While delicious on their own, you can easily tweak the recipe to add different flavors or textures, creating your own signature fall treat. Experimenting with spices, adding chocolate, or exploring various toppings can make each batch unique and exciting.
Consider the season's bounty when thinking about variations. A sprinkle of toasted pecans or walnuts on top before baking adds a lovely crunch. A swirl of caramel or a dollop of cream cheese mixture could be added before or after baking for extra richness.
Spice it Up: Pumpkin Spice Variations
The classic pumpkin spice blend (cinnamon, ginger, nutmeg, cloves) is wonderful, but feel free to adjust it to your liking. For a warmer, spicier filling, increase the amount of ginger or add a pinch of black pepper or cardamom, which pairs beautifully with pumpkin. Some people enjoy a touch of allspice as well.
You can also add a tiny amount of ground star anise or mace for a more complex flavor profile. If you don't have individual spices, a pre-mixed pumpkin pie spice blend works perfectly. Typically, 1 to 1.5 teaspoons of a good quality blend is sufficient for the filling quantity in this easy mini pumpkin tarts recipe.
Add Chocolate: Chocolate Chip Mini Pumpkin Tarts
Pumpkin and chocolate are a surprisingly delightful combination. To make chocolate chip easy mini pumpkin tarts, simply stir about 1/4 to 1/2 cup of mini chocolate chips into the pumpkin filling just before pouring it into the tart shells. The mini chips distribute nicely and melt slightly during baking, creating little pockets of chocolatey goodness within the spiced pumpkin.
Alternatively, you could sprinkle a few mini chocolate chips on top of the filling in each tart before baking. Dark chocolate, milk chocolate, or even white chocolate chips work well, depending on your preference. This simple addition transforms the classic fall treat into a decadent chocolate-pumpkin fusion.
Topping Ideas: Whipped Cream, Nuts, and More
Once your easy mini pumpkin tarts have cooled, the fun of decorating (or simply topping!) begins. A dollop of freshly whipped cream is a classic and always welcome topping. You can sweeten the whipped cream slightly and add a splash of vanilla extract or even a pinch of cinnamon.
Other delicious topping ideas include a sprinkle of toasted chopped pecans or walnuts for crunch, a drizzle of caramel sauce, or a dusting of powdered sugar or extra cinnamon. For a more festive look, you could pipe whipped cream using a star tip. These toppings not only add flavor but also enhance the visual appeal of your charming mini tarts.
Storing Your Mini Pumpkin Tarts
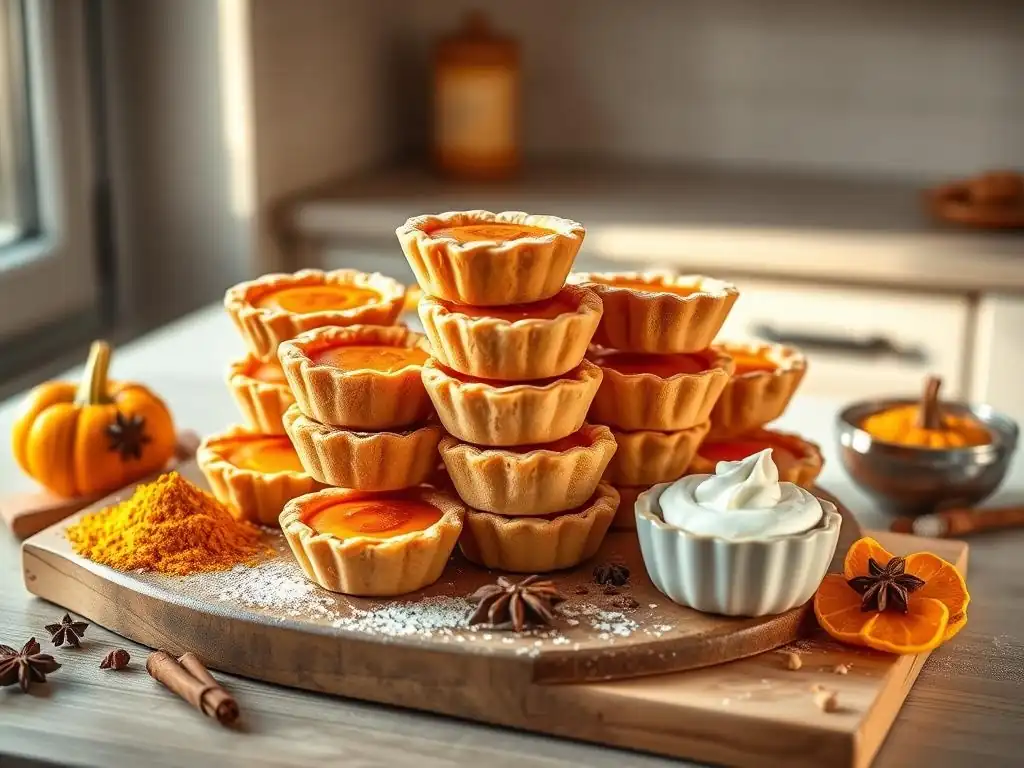
Proper storage is essential to keep your easy mini pumpkin tarts tasting fresh and delicious. Because they contain a dairy-based filling, they need to be handled and stored correctly to maintain their quality and safety. Luckily, storing them is quite simple, whether you plan to enjoy them within a few days or save them for later.
Always allow the tarts to cool completely before storing them. Storing warm tarts can create condensation, which makes the crust soggy and can affect the filling.
Keeping Your Tarts Fresh
Once completely cooled, easy mini pumpkin tarts should be stored in an airtight container in the refrigerator. Placed in the fridge, they will stay fresh for about 3 to 4 days. Storing them in an airtight container prevents them from drying out and absorbing odors from other foods in the refrigerator.
If you've topped them with whipped cream, it's best to store the tarts plain and add the whipped cream just before serving for the best texture. If they are already topped, they will still keep, but the whipped cream may not hold its shape as well after a day or two.
Freezing for Later Enjoyment
One of the great things about these easy mini pumpkin tarts is that they freeze beautifully, allowing you to make them ahead of time or save extras. To freeze, ensure the tarts are completely cooled. Place them on a baking sheet and freeze until solid (this takes about 1-2 hours).
Once frozen, transfer the mini tarts to a freezer-safe airtight container or a heavy-duty freezer bag. Layer them between sheets of parchment paper to prevent sticking. Properly stored, they can be kept in the freezer for up to 1 to 2 months. To thaw, simply place them in the refrigerator overnight or on the counter for a few hours until they reach room temperature.
Enjoy Your Easy Homemade Mini Pumpkin Tarts!
Congratulations! You've successfully made a batch of delightful easy mini pumpkin tarts. The aroma filling your kitchen is the perfect reward for your simple baking efforts. These charming, bite-sized treats are ready to be enjoyed and shared. Whether you're serving them as a festive holiday dessert, a cozy fall snack, or just because, their ease and delicious flavor are sure to bring smiles.
Take a moment to appreciate your work – from the flaky crust to the smooth, spiced filling, you've created something truly special with minimal fuss. These easy mini pumpkin tarts are a testament to how simple baking can be incredibly rewarding.
We love seeing what our community bakes! If you made these easy mini pumpkin tarts, we encourage you to share your experience. How did they turn out? Did you try any fun variations? Your insights and photos inspire other bakers on their own journey with BakeWithEase. Hearing about your success stories and seeing your beautiful mini tarts makes our day!
Frequently Asked Questions
What makes these pumpkin tarts "easy"?
These mini pumpkin tarts are considered easy because they use a pre-made crust and a simple pumpkin filling that requires minimal ingredients and steps. The recipe also provides clear, step-by-step instructions.
Can I make the pumpkin pie filling ahead of time?
Yes, you can prepare the pumpkin pie filling ahead of time. Simply store it in an airtight container in the refrigerator for up to 2 days before baking.
What kind of crust is best for these mini tarts?
The recipe recommends using a pre-made shortbread crust for its ease and delicious flavor. However, you could also use graham cracker crusts or even make your own homemade pie crust if you prefer.
How do I prevent the crust from getting soggy?
To prevent a soggy crust, you can blind bake the crusts for a few minutes before adding the filling. Also, be sure the filling isn't too liquidy and that you're using a good quality crust.
What are some variations I can make to this recipe?
You can add different spices like ginger, nutmeg, or cloves to the filling. You could also top the tarts with whipped cream, chopped pecans, or a sprinkle of cinnamon for added flavor and visual appeal.
Final Reflection: The Enduring Allure of Tiny Treats
The simple act of baking, especially something as delightful as mini pumpkin tarts, offers more than just a sweet treat; it's a potent antidote to the complexities of modern life. These tiny, perfectly portioned desserts, easily crafted with readily available ingredients, represent a powerful blend of accessibility and indulgence that resonates deeply in our busy world. Their ease of creation makes them perfect for both novice and experienced bakers, fostering a sense of accomplishment and joy.
The enduring appeal of mini pumpkin tarts, I believe, lies not just in their taste, but in their inherent symbolism of warmth, comfort, and connection. They evoke feelings of autumnal coziness and the joy of sharing something homemade with loved ones. The best things in life are the people we love, the places we've been, and the memories we've made along the way.
This sentiment perfectly captures the essence of these little tarts – they are a tangible representation of cherished moments and the simple pleasures that enrich our lives.
So, I encourage you, dear reader, to embrace the simplicity and joy of baking these mini pumpkin tarts. Don't be intimidated by the kitchen; let the process be a moment of mindful creation, a chance to slow down and appreciate the small things. Whether you share them with friends, family, or simply savor them yourself, let these tiny tarts be a reminder of the sweetness life offers, one bite at a time.
Unleash Your Inner Pastry Chef!
Thanks for joining us on this mini pumpkin tart adventure! We hope you've been inspired by how easy and delicious these little treats can be. Ready to get baking?
- Whip up a batch of your own mini pumpkin tarts: Use our recipe as a springboard – experiment with different spices or toppings! This is your chance to personalize these adorable desserts.
- Share your creations: Tag us on social media – we’d love to see your mini pumpkin tart masterpieces! Use #BakeWithEaseMiniPumpkinTarts to join the fun.
- Explore more autumnal recipes on BakeWithEase.com – we've got plenty of seasonal treats waiting for you!
What's your favorite autumnal ingredient to bake with, and how will you put your own spin on these mini pumpkin tarts?