
Simple Ways to Decorate a Layer Cake with Minimal Effort

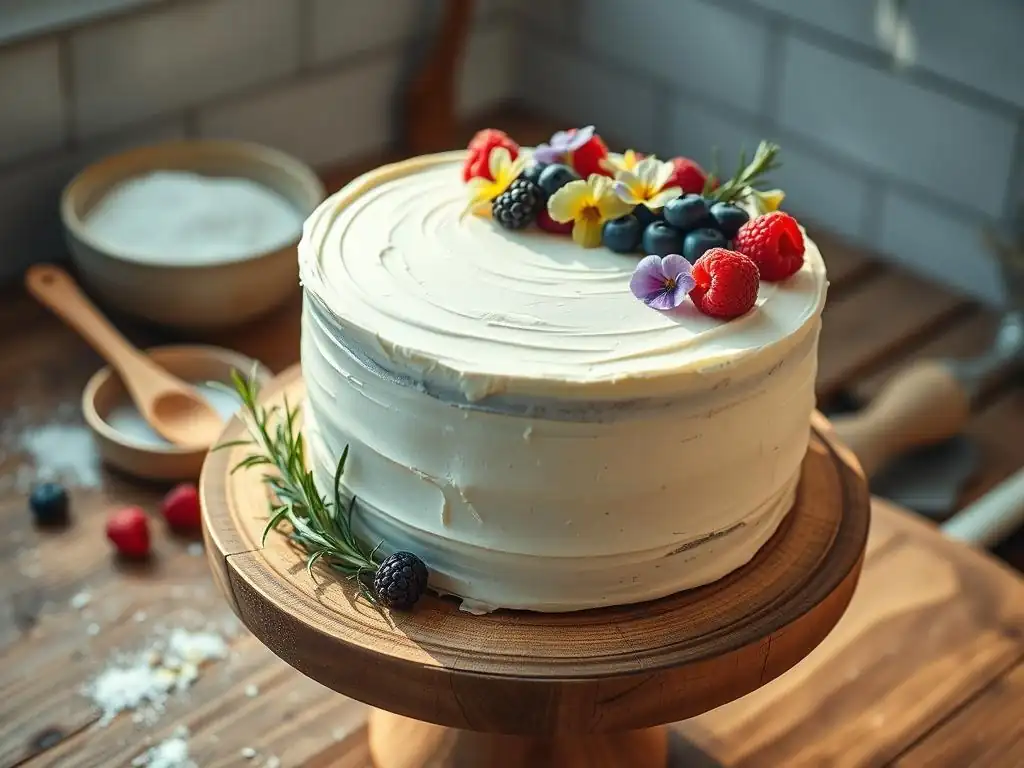
Welcome to BakeWithEase, your guide to unlocking baking brilliance!
Ever dreamed of creating a show-stopping layer cake without the stress? You're in the right place. Discover simple, yet stunning techniques for easy layer cake decorating that will transform your desserts from ordinary to extraordinary. Intrigued? Keep reading to uncover our secrets and impress your friends and family with your newfound decorating skills!
- Introduction to Easy Layer Cake Decorating for Beginners
- Effortless Layer Cake Decorating Techniques
- Simple Layer Cake Decoration Ideas Using Pantry Staples
- Quick and Easy Layer Cake Decoration with Store-Bought Items
- Tools for Easy Layer Cake Decorating
- Step-by-Step Guide to a Simple Decorated Layer Cake
- Troubleshooting Common Layer Cake Decorating Problems
- Easy Layer Cake Decorating: Final Tips and Tricks
-
Frequently Asked Questions
- What are some simple decorating techniques for layer cakes that even a beginner can master?
- What kind of frosting is easiest to work with when decorating a layer cake for the first time?
- Can I use store-bought frosting to decorate a layer cake easily?
- What are some budget-friendly decorations I can use to make my layer cake look impressive?
- How do I prevent my layer cake from sliding when I'm frosting and decorating it?
- Final Reflection: The Sweet Simplicity of Effortless Elegance
- Unleash Your Inner Cake Artist!
Introduction to Easy Layer Cake Decorating for Beginners
BakeWithEase: Making Layer Cake Decoration Accessible
Welcome to BakeWithEase, where we believe that beautiful cakes shouldn't require hours of complicated work. Many home bakers feel intimidated by the idea of decorating a layer cake, picturing elaborate piping or fondant work that seems out of reach. Our goal is to demystify this process and show you that achieving a lovely finish on your homemade cake is entirely possible, even with minimal experience and simple tools. We focus on techniques and ideas that are achievable for anyone, turning the potentially stressful task into a fun and rewarding part of your baking journey.
This article is designed specifically for those new to decorating or looking for straightforward methods. We'll walk you through simple yet effective ways to elevate your layer cakes, using techniques that don't require advanced skills. Forget the pressure of perfection; the charm of a homemade cake often lies in its unique character. By focusing on easy layer cake decorating methods, you can create stunning results that impress your friends and family without spending excessive time or money on specialized equipment or ingredients.
Effortless Layer Cake Decorating Techniques
The Secret to a Smooth Buttercream Finish: The Crumb Coat
Achieving a smooth, professional-looking finish on your layer cake starts with a crucial, yet often overlooked, step: the crumb coat. This thin layer of frosting is applied directly to the naked cake layers after assembly. Its primary purpose is to trap any loose crumbs, preventing them from getting into your final layer of frosting. Think of it as a primer for your cake. Applying a crumb coat is perhaps the most important technique for ensuring your final decoration looks clean and polished, even if you're just aiming for a simple buttercream finish.
Once the crumb coat is applied thinly and evenly across the top and sides of the cake, it needs time to firm up. Placing the cake in the refrigerator for about 15-30 minutes allows the buttercream to chill and set. This creates a stable surface for the final layer of frosting, making it much easier to achieve that desirable smooth look or prepare the cake for other simple decoration techniques. Without this step, you'll likely find yourself battling crumbs as you apply your main frosting layer, leading to frustration and a less-than-ideal finish.
Mastering the Art of Simple Buttercream Swirls
Buttercream swirls are a classic and incredibly easy layer cake decorating technique that instantly adds visual appeal. You don't need to be a piping expert to create beautiful swirls on top of your cake or along the sides. A simple piping bag fitted with a large open star tip (like an Ateco 1M or Wilton 1M) is all you need. Fill the bag with your prepared buttercream, twist the top to secure, and gently squeeze, moving your hand in a circular motion starting from the outside edge and working your way towards the center.
For a rustic yet charming look, you can pipe dollops or rosettes directly onto the top surface of the cake after it's been frosted. Alternatively, for a fully swirled top, start at the center and pipe in a continuous spiral outwards. The key is consistent pressure and a steady hand, but even slightly imperfect swirls look lovely and homemade. This method is significantly easier than trying to achieve a perfectly smooth top and provides a fantastic base for adding other simple decorations like sprinkles or fruit.
Achieving a Drip Cake Look with Minimal Mess
A drip cake might look fancy, but achieving a simple drip effect is surprisingly easy. This technique involves pouring a ganache or glaze over the top edge of a chilled cake, allowing it to naturally drip down the sides. The contrast between the smooth frosting and the cascading drips creates a modern and elegant look with minimal effort. You can use chocolate ganache (simply melted chocolate mixed with hot cream) or a simple glaze made from powdered sugar and liquid.
The consistency of your ganache or glaze is key. It should be fluid enough to drip but not so thin that it runs uncontrollably. Test a small amount on the back of a spoon first.
Ensure your cake is well-chilled before applying the drip; this helps the ganache set quickly as it hits the cold surface, creating distinct drips rather than a full coating. Use a spoon or a squeeze bottle to carefully apply the ganache around the edge, controlling where you want the drips to start. Fill the center of the top with the remaining ganache for a polished finish.
Simple Layer Cake Decoration Ideas Using Pantry Staples
Decorating with Chocolate Shavings: An Elegant Touch
Chocolate shavings offer one of the most elegant and simple ways to decorate a layer cake. They add texture, visual interest, and a delicious burst of chocolate flavor. You don't need special tools – a bar of chocolate and a vegetable peeler or a sharp knife are sufficient. For best results, use a block of chocolate that is slightly firm, not too soft or too hard. If your chocolate is too warm, it will smear; if it's too cold, it will break into small pieces.
To create shavings, hold the chocolate bar firmly and run the vegetable peeler along one edge to create curls. Alternatively, use a sharp knife to scrape along the surface of the bar held at an angle. You can sprinkle the shavings generously over the top of a frosted cake, press them gently into the sides, or create a border. This method is quick, requires no special skills, and transforms a plain frosted cake into a sophisticated dessert ready for any occasion.
Using Sprinkles for a Festive and Easy Cake Decoration
Sprinkles are the ultimate tool for easy layer cake decorating, bringing instant color and fun to any cake. They come in countless shapes, sizes, and colors, offering endless possibilities for customization. Applying sprinkles is straightforward: simply pour or gently scatter them over the frosted cake. For covering the sides, you can hold the cake over a tray or piece of parchment paper to catch the excess and reuse it.
Whether you're decorating a birthday cake, a holiday treat, or just adding a touch of whimsy, sprinkles are a go-to. A simple way to use them is to cover the entire cake for a vibrant look, or focus on specific areas like the top edge, the base, or within piped borders. A standard 8-inch layer cake might use anywhere from a few tablespoons to half a cup or more of sprinkles depending on the desired coverage. This is a fantastic method for involving kids in the decorating process, making it a fun family activity.
Fresh Fruit Arrangement: A Naturally Beautiful Cake Topper
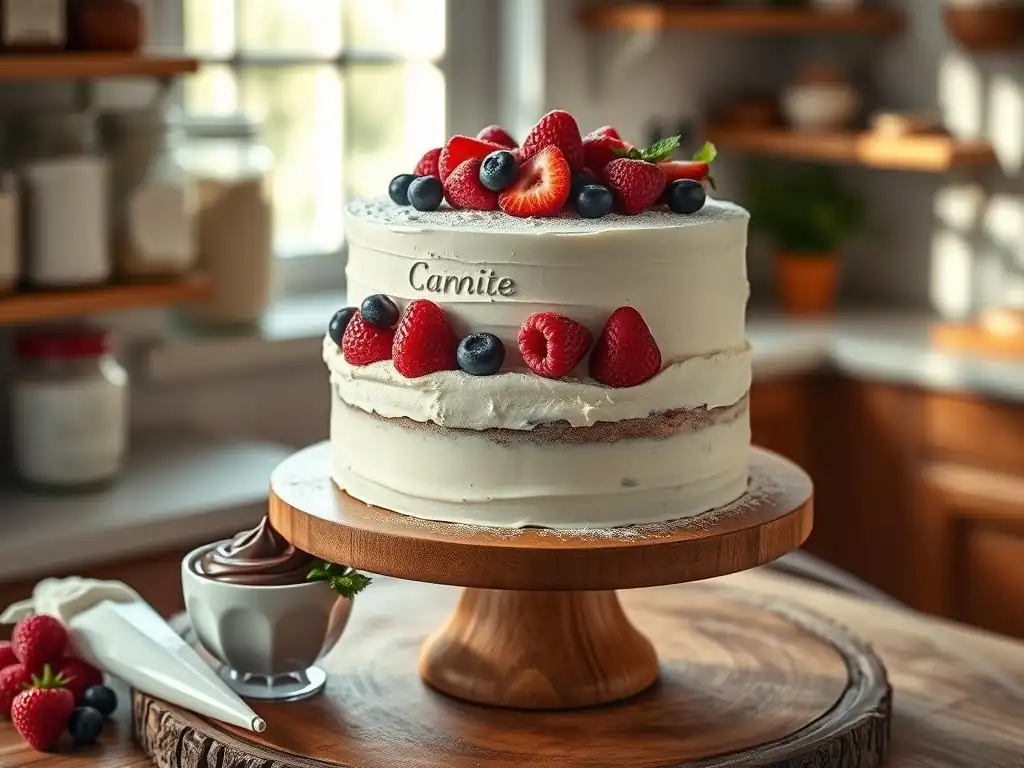
Using fresh fruit is a wonderfully simple and healthy way to decorate a layer cake, adding natural beauty, vibrant colors, and fresh flavors. Berries like strawberries, raspberries, blueberries, and blackberries are particularly popular choices due to their appealing shapes and ease of arrangement. Consider using seasonal fruits for the freshest taste and best appearance. Ensure the fruit is washed and thoroughly dried before placing it on the cake to prevent moisture from affecting the frosting.
Arranging fruit on a cake can be as simple as scattering berries over the top or creating a more structured pattern. You can slice larger fruits like strawberries or kiwis to add variety. Combine different types and colors of fruit for a visually stunning effect. A common approach is to create a cluster of mixed berries in the center or along one edge of the cake. For a standard 8-inch cake, about 1-2 cups of mixed berries are usually sufficient to create a lovely topper. This method requires absolutely no special skills, just an eye for arrangement.
Quick and Easy Layer Cake Decoration with Store-Bought Items
Elevating Your Cake with Edible Flowers
Edible flowers offer a sophisticated and incredibly easy way to decorate a layer cake. They provide natural beauty and delicate charm with minimal effort. Many varieties of flowers are safe to eat and can be purchased specifically for culinary use from specialty grocery stores, farmers markets, or online suppliers. Popular choices include pansies, violas, roses (ensure they are unsprayed), lavender, and calendula. Always ensure the flowers you use are certified food-grade and haven't been treated with pesticides.
To use edible flowers, simply arrange them artfully on the surface of your frosted cake just before serving. They can be scattered randomly for a whimsical look, placed in a deliberate pattern, or used to create a beautiful border. A small handful of edible flowers, perhaps 10-20 individual blooms depending on size, can dramatically transform a simple cake. This method requires no baking or decorating skills, just careful placement, making it perfect for effortless cake decorating.
Using Macarons for a Chic and Simple Cake Decoration
Macarons are elegant, colorful, and readily available at many bakeries and grocery stores, making them a fantastic option for easy layer cake decorating. Their smooth shells and vibrant colors add a touch of Parisian chic to any dessert. Using macarons as decoration is as simple as arranging them on the top of your frosted cake or placing them around the base.
You can choose macarons that match the cake's flavor or color scheme, or select a variety of colors for a fun, festive look. A standard 8-inch cake might be adorned with anywhere from 5 to 15 macarons, depending on how densely you arrange them. Place them directly onto the frosting; the buttercream will help hold them in place. This method instantly elevates the look of your cake with zero baking or decorating skill required on your part for the decoration itself.
Cake Toppers: The Easiest Way to Personalize Your Cake
Cake toppers are arguably the simplest way to personalize and decorate a layer cake. Available in countless designs, materials, and messages, they can instantly convey the theme or occasion of your celebration. From simple "Happy Birthday" scripts to intricate figures or custom designs, there's a topper for virtually everything. They are widely available online and in party supply or baking stores.
Using a cake topper requires no skill whatsoever – you simply insert it into the top of your finished cake. Many toppers have stakes or picks attached for easy placement. This method is perfect when you've frosted your cake simply (perhaps with a smooth finish or simple swirls) and want to add a focal point or message without any complex decorating. It's a quick, impactful way to add personality and flair to your easy layer cake decorating project.
Tools for Easy Layer Cake Decorating
Must-Have Tools for Beginners
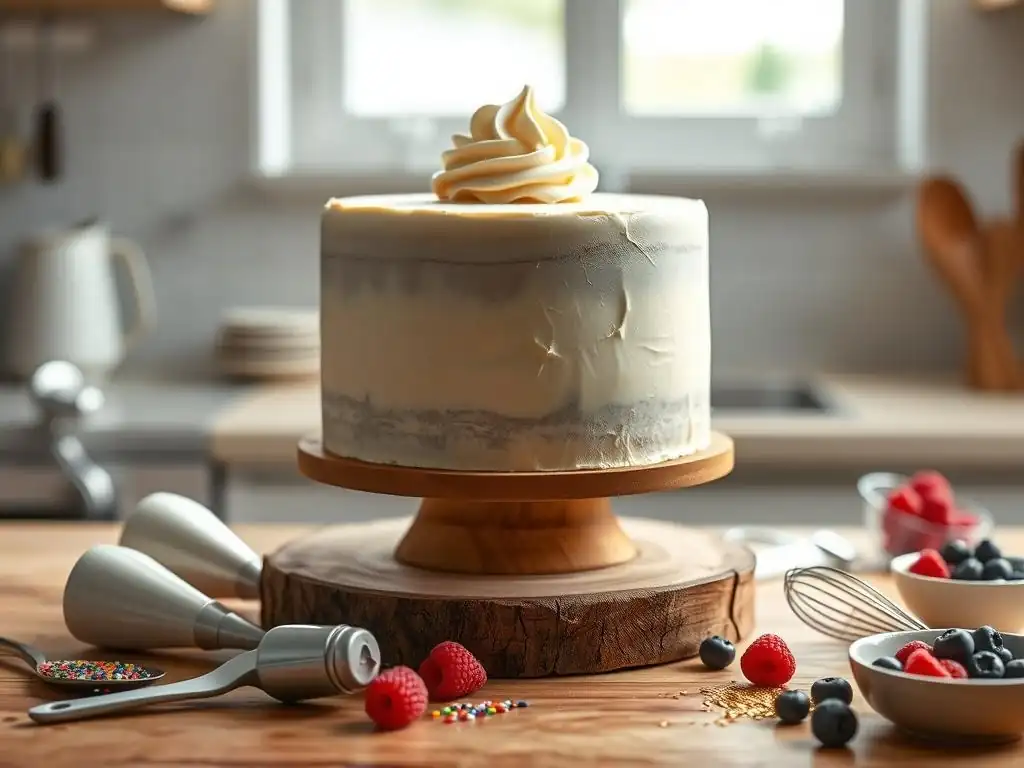
While elaborate cake decorating can involve a multitude of specialized tools, achieving beautiful, simple layer cake decoration requires only a few basic items. These tools are inexpensive, widely available, and make the process significantly easier and more efficient. Investing in these foundational pieces will greatly improve your results and confidence when frosting and decorating your homemade cakes.
Focusing on these essential tools simplifies the process and helps beginners achieve smooth finishes and basic decorative elements without feeling overwhelmed. You don't need dozens of piping tips or specialized cutters to create a lovely cake. With just a few key items, you can execute most of the simple techniques discussed in this article, making easy layer cake decorating truly accessible.
Offset Spatula: Your Best Friend for Smooth Frosting
An offset spatula is indispensable for applying and smoothing frosting on your layer cake. Its angled blade keeps your knuckles from dragging in the frosting, allowing you to create smoother surfaces with greater ease. For beginners, a medium-sized offset spatula (around 8-10 inches) is versatile enough for both applying frosting and smoothing the top and sides of the cake.
Using the offset spatula, scoop a generous amount of frosting onto the top of the cake and spread it outwards. For the sides, apply frosting and use the spatula to smooth it evenly. Holding the spatula at a slight angle against the cake and rotating the cake (ideally on a turntable) allows you to achieve a relatively smooth finish with practice. This simple tool is key for an effortless cake decorating base.
Piping Bags and Tips: Simple Designs Made Easy
Piping bags and tips are essential for creating simple decorative elements like borders, swirls, or dollops. You don't need a large collection; a few basic tips are sufficient for easy layer cake decorating. Disposable piping bags are convenient for quick cleanup, while reusable bags are more eco-friendly.
For basic swirls and rosettes, a large open star tip (like the Wilton 1M or Ateco 1M) is perfect. For dots or simple lines, a round tip (like Wilton 1A or Ateco 808) is useful. Fill the bag about two-thirds full with frosting, twist the top, and apply even pressure to pipe your desired design. Piping might seem daunting, but starting with simple patterns like swirls on top is a very achievable technique.
Turntable: For a Professional Finish with Less Effort
A cake turntable, also known as a revolving cake stand, makes frosting and decorating a layer cake significantly easier, helping you achieve a more professional-looking finish. It allows you to smoothly rotate the cake as you apply and smooth frosting or add decorations, ensuring even coverage and clean lines without having to constantly move around the cake yourself.
Using a turntable, you can apply frosting to the sides while holding your offset spatula or bench scraper steady, letting the rotation of the cake do the work. This is particularly helpful when trying to achieve a smooth buttercream finish or pressing sprinkles onto the sides. Even an inexpensive plastic turntable can make a huge difference in your easy layer cake decorating process.
Step-by-Step Guide to a Simple Decorated Layer Cake
Step 1: Evenly Frosting Your Cake with a Crumb Coat
Begin by placing your first cake layer on your serving plate or cake board. Add a layer of filling if using, then top with the second cake layer. Ensure the layers are stacked as evenly as possible. Now, using your offset spatula, apply a thin layer of buttercream over the entire cake – top and sides. The goal here isn't perfection, but simply to trap all the loose crumbs. Don't worry if you can still see the cake through the frosting in places.
Once the crumb coat is applied, place the cake in the refrigerator for 15 to 30 minutes. This chilling period is crucial as it allows the thin layer of frosting to set and firm up. A firm crumb coat provides a stable, smooth surface for your final layer of frosting, preventing crumbs from marring your finished decoration and making the subsequent steps much simpler for easy layer cake decorating.
Step 2: Applying the Final Layer of Buttercream
After the crumb coat has chilled and is firm to the touch, it's time to apply the final, thicker layer of buttercream. Apply a generous amount of frosting to the top of the cake first, spreading it outwards towards the edges with your offset spatula. Then, apply frosting to the sides of the cake, using your spatula to cover the entire surface. Don't be afraid to use plenty of frosting; you can always remove the excess.
Now, use your offset spatula or a bench scraper to smooth the frosting on the top and sides. Hold the tool at a slight angle against the cake and rotate the cake on a turntable for the smoothest finish. For an even easier approach, embrace a rustic look by creating swirls or textures in the frosting with your spatula instead of aiming for perfectly smooth sides.
Step 3: Choosing and Applying Your Simple Decoration
With your cake fully frosted, it's time for the fun part: adding your simple decoration! Based on the ideas discussed earlier, choose one or a combination of effortless cake decorating techniques. Will you add fresh fruit, scatter sprinkles, arrange macarons, place a cake topper, or pipe simple swirls? Have your chosen decorative elements ready.
Carefully apply your decorations to the frosted cake. If using sprinkles or chocolate shavings, gently press them into the sides if desired, working over a tray to catch excess. Arrange fruit or macarons on the top. Place your cake topper firmly in the center or desired position. Remember, the beauty of easy layer cake decorating is that even minimal additions can make a big impact.
Troubleshooting Common Layer Cake Decorating Problems
Dealing with Crumbs in Your Frosting
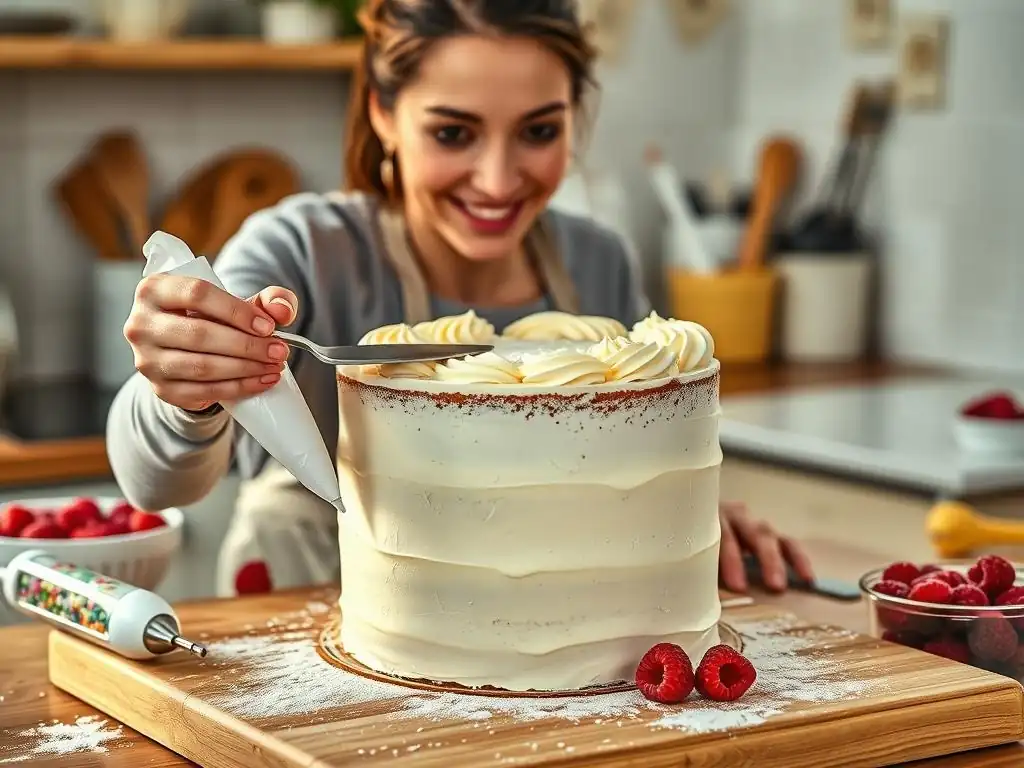
One of the most frustrating issues when decorating a cake is getting crumbs mixed into your beautiful, smooth frosting. This typically happens when you skip or inadequately apply the crumb coat. The thin layer of frosting picks up any loose bits from the cake layers, and if it's not allowed to set, these crumbs will inevitably get dragged into your final frosting layer.
If you find crumbs in your final frosting, the best fix is often to scrape off the affected frosting carefully with a clean spatula, wipe the spatula clean, and reapply fresh frosting to that area. To prevent this, always apply a dedicated crumb coat as Step 1, ensuring it's thin but covers the entire cake surface. Chill the cake until the crumb coat is firm before applying your final layer of frosting. This simple step is the most effective defense against crumb issues.
Fixing Uneven Frosting
Applying frosting evenly can be tricky, especially on the sides of a layer cake. You might end up with thick spots, thin spots, or visible cake layers showing through. This often occurs when you don't apply enough frosting initially or don't use the right tools effectively, like an offset spatula or a bench scraper.
If your frosting is uneven, don't panic. For minor imperfections, you can often add a little more frosting to the thin areas and smooth it out. For more significant unevenness, it might be easier to scrape off the frosting from the problematic section and reapply it, ensuring you put enough on initially. Using a turntable and holding your smoothing tool steady while rotating the cake helps immensely in achieving an even layer. Remember, a rustic, textured finish is also a perfectly acceptable and easy way to mask minor unevenness.
Preventing a Tilted Cake
A tilted layer cake is a common problem, often caused by uneven cake layers, too much filling in the center, or the cake sliding during frosting. While a slight tilt might be charmingly homemade, a significant lean can be problematic for decoration and stability. Uneven layers are a primary culprit; try to bake layers that are as uniform in height as possible.
To prevent tilting, ensure your cake layers are level before stacking. You can use a serrated knife or a cake leveler to trim off any domes. Don't overfill the center with filling; spread it evenly across the layer, leaving a small border. When frosting, apply even pressure and rotate the cake carefully on a stable surface or turntable. If you notice a slight tilt developing, gently try to nudge the layers back into alignment before the frosting sets too much. For very soft cakes, chilling the layers before assembly and frosting can help maintain stability.
Easy Layer Cake Decorating: Final Tips and Tricks
Practice Makes Perfect: Don't Be Afraid to Experiment
Like any skill, easy layer cake decorating improves with practice. Your first attempt might not look exactly like the pictures you see online, and that's perfectly okay! The most important thing is to try different techniques and find what works best for you and your style. Each cake you decorate is an opportunity to learn something new about frosting consistency, tool handling, or simply what decorative elements you enjoy using most.
Don't be afraid to experiment with different types of frosting (buttercream, cream cheese frosting, ganache) or try out various simple decoration ideas like different sprinkle types or fruit arrangements. Baking and decorating should be a creative outlet. Embrace the learning process, and know that even cakes with minor imperfections are usually delicious and appreciated.
Keeping it Simple: Less is Often More
When it comes to easy layer cake decorating, remember that you don't need to use every technique or cover the cake in elaborate details. Often, a simple design is the most elegant and achievable. A well-applied smooth or textured frosting finish combined with just one or two decorative elements – like a scattering of berries, a few strategically placed macarons, or a single cake topper – can look stunning.
Over-decorating a cake can sometimes make it look cluttered or overwhelming, and it certainly adds more complexity and effort. Focusing on one or two simple, well-executed techniques will not only save you time and potential frustration but often results in a more sophisticated and appealing final product. This principle is key to truly effortless cake decorating.
Enjoy the Process: Cake Decorating Should be Fun!
Ultimately, decorating a layer cake should be an enjoyable part of the baking experience, not a stressful chore. Approach it with a relaxed attitude and focus on the satisfaction of creating something beautiful and delicious with your own hands. Put on some music, gather your simple tools and decorations, and take your time.
If something doesn't go exactly as planned, remember that it's just cake. It will almost certainly still taste wonderful! Embrace the imperfections as part of the charm of a homemade treat. The goal of easy layer cake decorating is to make the process accessible and fun, allowing you to proudly present a lovely cake without feeling overwhelmed by complicated techniques. So relax, get creative, and enjoy bringing your cake to life!
Frequently Asked Questions
What are some simple decorating techniques for layer cakes that even a beginner can master?
You can start with smooth frosting using an offset spatula, followed by adding sprinkles, fresh fruit, or a simple chocolate ganache drip. These are quick and effective options.
What kind of frosting is easiest to work with when decorating a layer cake for the first time?
American buttercream is generally considered the easiest because it's stable, forgiving, and pipes well. Its simple recipe makes it a great choice for beginners.
Can I use store-bought frosting to decorate a layer cake easily?
Yes, absolutely! Store-bought frosting can be a huge time-saver. To elevate it, try whipping it with a bit of butter or flavoring extract for a more homemade taste and texture.
What are some budget-friendly decorations I can use to make my layer cake look impressive?
Consider using things like seasonal fruits, edible flowers from your garden (if safe and properly identified), or even creating a simple stencil with powdered sugar. These are inexpensive and add a unique touch.
How do I prevent my layer cake from sliding when I'm frosting and decorating it?
Place small dabs of frosting on your cake board or plate before adding the first layer. This will act as "glue" to hold the cake in place. Also, chilling the layers helps to stabilize them.
Final Reflection: The Sweet Simplicity of Effortless Elegance
The art of layer cake decorating doesn't have to be intimidating; mastering a few simple techniques can unlock a world of beautiful possibilities. This article has explored several easy-to-follow methods that transform a basic layer cake into a stunning centerpiece, proving that impressive results are achievable even with minimal time and skill. The joy of baking shouldn't be overshadowed by the pressure of perfection.
The enduring appeal of homemade cakes lies not just in their deliciousness, but in the feeling of accomplishment and the joy they bring to both the baker and those who share in the treat. A cake is a celebration; it's a moment of joy, a symbol of happiness.
This sentiment resonates deeply, as the techniques shared here empower everyone, regardless of baking experience, to create a beautiful and memorable cake. The simple act of decorating becomes a personal expression, a testament to the power of creativity found in even the most straightforward approaches.
Now, consider your next baking adventure. Will you embrace the simplicity of a fresh berry topping, the elegance of a piped buttercream swirl, or the playful charm of sprinkles? Remember the techniques outlined in this article, and let them inspire you to create your own unique masterpiece. Don't be afraid to experiment, to personalize, and most importantly, to enjoy the process. The sweetest creations often come from the simplest beginnings.
Unleash Your Inner Cake Artist!
Thanks for taking the time to explore these simple cake decorating ideas! We hope you've gained some confidence in creating stunning desserts without the fuss. Now it's time to put your new skills to the test!
- Create your masterpiece: Grab your favorite cake recipe and those decorating tools you just learned about. Let's see those beautiful layers come to life! Remember, even small details make a big difference.
- Share your creations! Use #BakeWithEase on social media and show us your decorated cakes. We’d love to see the beautiful results.
- Experiment with new techniques! Try adding fresh fruit or unique frosting flavors to personalize your designs.
What amazing cake creation will you bake next?