
Pale Bread Crust? Get That Perfect Golden Brown

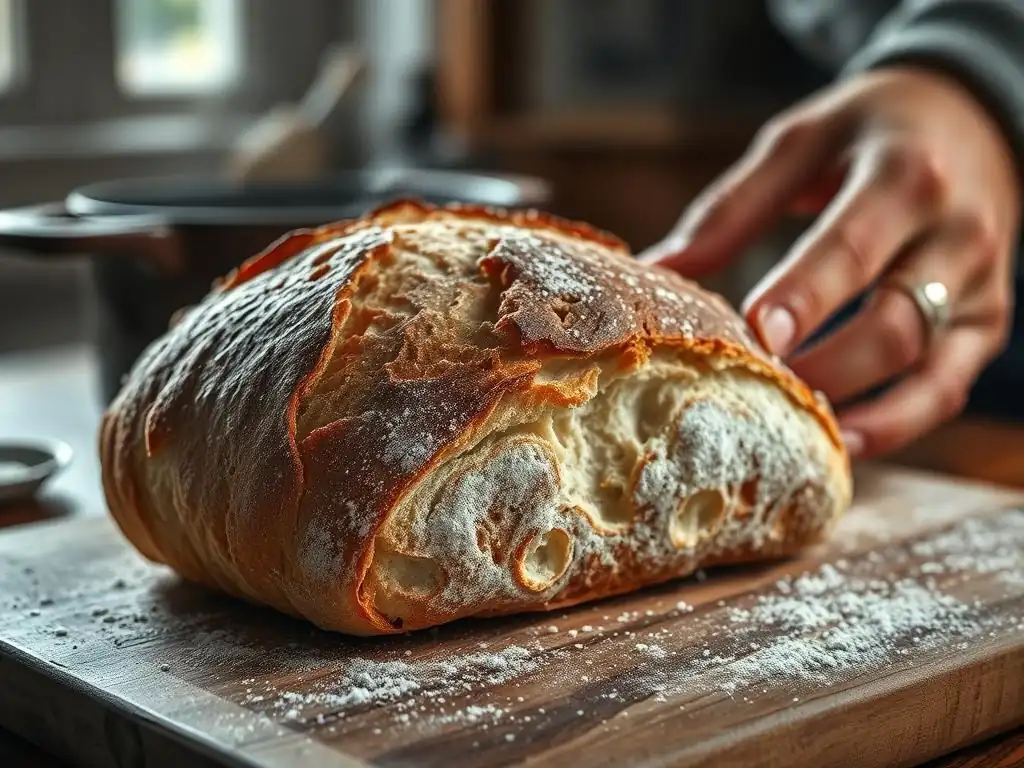
Welcome to BakeWithEase, your trusted companion on your baking journey! Ever wondered how to achieve that perfect golden brown bread crust that graces bakery loaves? We're diving deep into the secrets behind that coveted color and texture. Discover the simple techniques and expert tips that will transform your homemade bread from pale to perfectly irresistible. Ready to unlock the golden potential of your next loaf? Let's get started!
- Mastering the Art of the Perfect Bread Crust
- Why Isn't Your Bread Crust Golden Brown?
- Troubleshooting for a Beautifully Browned Crust
- Secrets to Enhancing Bread Crust Color and Texture
- Browning Challenges in Specific Bread Types
- Advanced Techniques for a Deep Golden Brown Crust
- Preventing a Burnt Crust
- Recipe Variations for Enhanced Crust
- Key Takeaways: Your Guide to a Perfect Crust
-
Frequently Asked Questions
- How can I achieve a perfect golden brown bread crust if my bread usually comes out pale?
- What ingredients contribute most to a well-colored bread crust?
- What is the role of steam in achieving a golden brown crust?
- My bread is browning too quickly. How can I prevent a burnt crust while ensuring the inside is cooked?
- Besides oven adjustments, what other techniques can I use for a perfect golden brown bread crust?
- Final Reflection: The Alchemy of a Golden Crust
- Unlock Your Crust's Golden Potential!
Mastering the Art of the Perfect Bread Crust
Achieving that coveted perfect golden brown bread crust is a hallmark of successful baking. It's not just about aesthetics; a well-developed crust contributes significantly to the texture, flavor, and aroma of your loaf. Think of the satisfying crunch as you slice into a freshly baked loaf, followed by the soft interior. This contrast is key to a truly enjoyable bread-eating experience. Understanding the science and techniques behind crust formation is essential for bakers looking to elevate their loaves from good to exceptional.
A perfectly browned crust is the result of several complex chemical reactions that occur during baking, primarily influenced by heat, moisture, and the dough's composition. Factors like oven temperature, baking time, steam, and even the ingredients you use play a crucial role in developing that desirable color and texture. Mastering these elements allows you to consistently produce loaves with a beautiful, crackly, and flavorful crust, moving you closer to achieving that ideal perfect golden brown bread crust every time.
Why Isn't Your Bread Crust Golden Brown?
Common Causes of a Pale Crust
A pale bread crust is a frustrating outcome for any baker hoping for that perfect golden brown finish. One of the most frequent culprits is insufficient baking time or temperature. If the oven isn't hot enough, or the loaf is removed too early, the Maillard reaction and caramelization processes, which are responsible for browning, won't have enough time or heat energy to fully develop. This often results in a soft, pale, and less flavorful crust compared to a loaf baked to the correct internal temperature and external color.
Another common issue is a lack of moisture or steam in the oven during the initial phase of baking. Steam helps keep the surface of the dough moist and pliable, allowing it to expand fully before the crust sets. Without adequate steam, the crust forms too quickly and becomes dry, inhibiting expansion and preventing the surface sugars from reaching the temperatures required for proper caramelization and the Maillard reaction. This leads to a dull, pale finish instead of a vibrant perfect golden brown bread crust.
The Impact of Ingredients on Crust Color
The ingredients used in your dough have a significant impact on the final crust color. Sugars, whether added explicitly or naturally present from flour breakdown, are key players in browning.
Recipes with higher sugar content, like brioche or challah (which might contain 5-10% sugar by flour weight), will brown more readily and achieve a deeper color faster than lean doughs made only with flour, water, yeast, and salt. Even the type of flour matters; flours with higher protein content might require slightly longer baking times to achieve the same level of browning as lower-protein flours due to differences in water absorption and gluten development.
Fats, such as butter or oil, also influence crust development. While they can contribute to a softer crumb, they can also inhibit gluten formation and affect how heat is transferred to the crust surface. Enriched doughs containing significant amounts of fat (like 10-20% fat by flour weight) might brown differently than lean doughs. Additionally, ingredients like milk or eggs, often used in washes, contain proteins and sugars that significantly enhance surface browning, helping you achieve a beautiful perfect golden brown bread crust.
Yeast Activity and Crust Development
Yeast activity plays a crucial indirect role in crust development, primarily through its impact on fermentation and dough structure. Active yeast produces carbon dioxide, causing the dough to rise. This expansion is vital for developing an open crumb structure. During baking, as the loaf expands further (oven spring), a well-fermented dough with good elasticity allows the surface to stretch and form a thin, even crust. If fermentation is insufficient, the dough may not expand properly, leading to a denser crumb and potentially an uneven or thicker crust that struggles to brown evenly.
Furthermore, yeast activity influences the availability of simple sugars in the dough. As yeast ferments complex carbohydrates in the flour, it breaks them down into simpler sugars. These simple sugars are essential participants in the Maillard reaction and caramelization processes that create the perfect golden brown bread crust. If fermentation is too short or the yeast is inactive, there may not be enough readily available sugars on the surface to promote optimal browning during baking.
Oven Temperature and its Role in Browning
Oven temperature is arguably the most critical factor in achieving a perfect golden brown bread crust. High initial temperatures, typically ranging from 450°F to 500°F (230°C to 260°C), are essential for maximum oven spring and rapid crust development. This intense heat quickly evaporates surface moisture and kicks off the browning reactions. Baking at too low a temperature will result in a pale crust because the surface never reaches the necessary temperatures (around 300°F or 150°C for Maillard, and 320°F or 160°C for caramelization) for these reactions to occur effectively within a typical baking time.
While a high initial temperature is important, maintaining it throughout the bake can lead to a burnt crust before the interior is cooked. Many recipes call for starting at a high temperature and then reducing it after 10-20 minutes to allow the inside to cook through without the crust becoming excessively dark or tough. This two-stage temperature approach ensures both excellent oven spring and controlled browning, helping you achieve that desired perfect golden brown bread crust without scorching.
Troubleshooting for a Beautifully Browned Crust
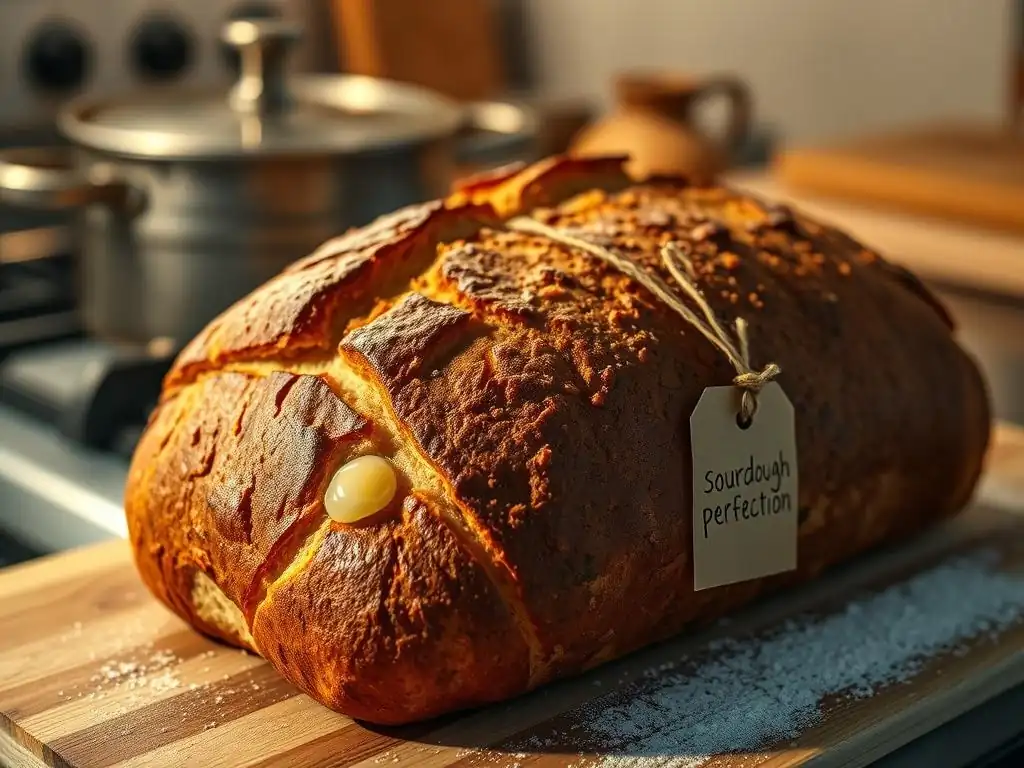
Optimizing Oven Temperature
To troubleshoot a pale crust due to temperature, first ensure your oven is accurately calibrated. Many home ovens can be off by as much as 25-50°F (15-30°C). Using an inexpensive oven thermometer placed inside confirms the actual temperature.
If your oven runs cool, you'll need to set it higher than the recipe specifies, potentially by 25°F (15°C) or more, to reach the target baking temperature. Preheating thoroughly for at least 30-60 minutes is also crucial, especially when using a baking stone or Dutch oven, as these thermal masses require significant time to absorb and radiate heat effectively, which is vital for developing a perfect golden brown bread crust.
If your oven is accurate but the crust is still pale, consider increasing the initial baking temperature. Instead of 400°F (200°C), try 425°F or 450°F (220°C or 230°C) for the first 10-15 minutes before reducing it. This provides a more intense heat burst at the beginning, promoting better oven spring and jumpstarting the browning reactions. Always monitor the loaf closely after the temperature reduction to prevent over-browning or burning, adjusting the temperature or adding a shield if necessary to maintain control over the development of that perfect golden brown bread crust.
Adjusting Baking Time for Color
If your bread is fully cooked internally (typically reaching 190-210°F or 88-99°C) but the crust is still too pale, you may need to extend the baking time slightly after the internal temperature is reached. This allows the crust more time to brown without the risk of undercooked dough. Add 5-10 minutes to the total baking time, keeping a close eye on the color development. If the crust is browning unevenly, rotate the loaf halfway through this extended period.
Alternatively, if the crust is pale but the loaf isn't yet cooked through, you might need to bake longer at the recommended temperature. Use an instant-read thermometer to check the internal temperature; it should be at least 195°F (90°C) for lean bread. Continue baking until the internal temperature is correct and the crust achieves your desired perfect golden brown bread crust color. If the crust starts to get too dark before the inside is done, you can loosely tent the loaf with aluminum foil.
The Importance of Steam
Steam is critical in the initial phase of baking (the first 15-20 minutes) for achieving a thin, crisp, perfect golden brown bread crust. Steam prevents the surface of the dough from drying out and hardening prematurely. This allows the dough to expand fully during oven spring without the crust cracking or becoming too thick and tough. The moist environment also keeps the surface cooler for a few extra minutes, extending the time available for enzymatic activity that breaks down starches into sugars, providing more fuel for the browning reactions later in the bake.
Common methods for generating steam in a home oven include placing a tray of hot water on the bottom rack, spraying the oven walls with water (carefully! ), or using a Dutch oven or covered baking vessel. Using a Dutch oven is one of the most effective methods as it traps the moisture released by the bread itself, creating a steamy microenvironment around the loaf. This controlled steam environment is highly effective for developing that sought-after perfect golden brown bread crust.
Using a Baking Stone or Dutch Oven
A preheated baking stone or steel provides intense radiant heat from the bottom, promoting excellent oven spring and helping the bottom crust brown properly. Placing your loaf directly on a hot stone ensures that the base of the bread starts cooking and setting immediately. This is particularly useful for rustic loaves where a sturdy bottom crust is desired. Ensure your stone or steel is preheated for at least 45-60 minutes at the target temperature (e.g., 450°F or 230°C) to store enough thermal energy for effective heat transfer.
Using a Dutch oven or a covered ceramic baker is arguably the most popular method for achieving a perfect golden brown bread crust in a home oven. The preheated pot mimics a professional deck oven by providing both intense heat from all sides and trapping steam released by the dough. Bake the loaf, covered, for the first 20-30 minutes at a high temperature (like 450-500°F or 230-260°C).
Then, remove the lid and continue baking at a slightly lower temperature (e.g., 400-425°F or 200-220°C) for another 15-25 minutes until the crust reaches the desired perfect golden brown bread crust color and the internal temperature is correct. This method consistently yields fantastic results.
Secrets to Enhancing Bread Crust Color and Texture
Milk and Egg Washes
Applying a wash to the surface of your dough before baking is a simple yet effective way to enhance crust color and shine, contributing to a perfect golden brown bread crust. A milk wash (whole milk works well due to its fat and sugar content) provides a subtle browning effect and a slightly softer crust compared to water. Brushing milk onto the proofed loaf just before it goes into the oven helps the surface caramelize more evenly.
An egg wash provides a more significant impact on color and shine. A simple egg wash can be made by whisking one whole egg with a tablespoon of water or milk. For a shinier, deeper brown crust, use only the egg yolk mixed with a little water or milk. For a less shiny but still browned crust, use only the egg white. Applying a thin, even layer of wash with a pastry brush ensures uniform browning. Be careful not to let the wash pool in crevices, as this can create dark, uneven patches.
Sugar and Honey Glazes
Incorporating sugar or honey into the dough itself or applying a glaze can boost the perfect golden brown bread crust color. Adding a small amount of sugar (1-3% of flour weight) to a lean dough provides more fuel for the Maillard reaction. For a surface treatment, a light sugar glaze applied towards the end of baking can create a shiny, sweet crust. A simple glaze can be made by dissolving a tablespoon of sugar in a few tablespoons of hot water and brushing it on during the last 5-10 minutes of baking.
Honey works similarly to sugar but also imparts a distinct flavor. Like sugar, it can be added to the dough (1-3% of flour weight) or used in a glaze. A honey glaze (equal parts honey and hot water, brushed on late in the bake) produces a beautiful shine and a lovely golden hue. These sugar-based additions ensure plenty of reactants are available on the surface to achieve a rich perfect golden brown bread crust. However, be mindful that glazes containing sugar can cause the crust to darken very quickly, so careful monitoring is essential.
The Maillard Reaction Explained
The Maillard reaction is a complex chemical process responsible for the browning and flavor development in many cooked foods, including bread crust. It occurs when amino acids (from proteins) and reducing sugars are heated together, typically above 300°F (150°C). This reaction creates hundreds of different flavor compounds and the characteristic brown pigments seen in a perfect golden brown bread crust. The intensity of the Maillard reaction depends on temperature, time, moisture level (lower moisture on the surface promotes it), and the availability of amino acids and sugars.
In bread baking, the Maillard reaction begins in earnest once the surface temperature exceeds 300°F (150°C) after the initial steam phase. As moisture evaporates from the crust, the surface heats up, triggering the reaction. The sugars available from the flour's natural breakdown and any added sugars react with proteins, forming the flavorful, aromatic, and beautifully colored compounds that define a perfect golden brown bread crust. Without the Maillard reaction, your crust would remain pale and lack depth of flavor.
Scoring for Optimal Crust Formation
Scoring, also known as slashing or making lames (cuts) on the surface of the dough before baking, is crucial for controlling oven spring and contributing to a beautiful perfect golden brown bread crust. As the loaf bakes, gases inside expand rapidly. Scoring provides weak points where the dough can tear predictably, allowing the loaf to expand upward and outward in a controlled manner. Without scoring, the crust might burst randomly in weaker spots, leading to an uneven shape and potentially thicker, less evenly browned areas.
Proper scoring ensures that the surface tension is released strategically, promoting maximum oven spring and exposing more surface area to the heat. The edges of the cuts pull apart and crisp up, forming attractive "ears" or ridges that brown more intensely than the surrounding crust. The depth and pattern of your scores influence the final shape and the areas where deeper browning will occur. A sharp blade (like a lame or razor blade) is essential for clean cuts that open up nicely during baking, contributing significantly to the aesthetic and texture of a perfect golden brown bread crust.
Browning Challenges in Specific Bread Types
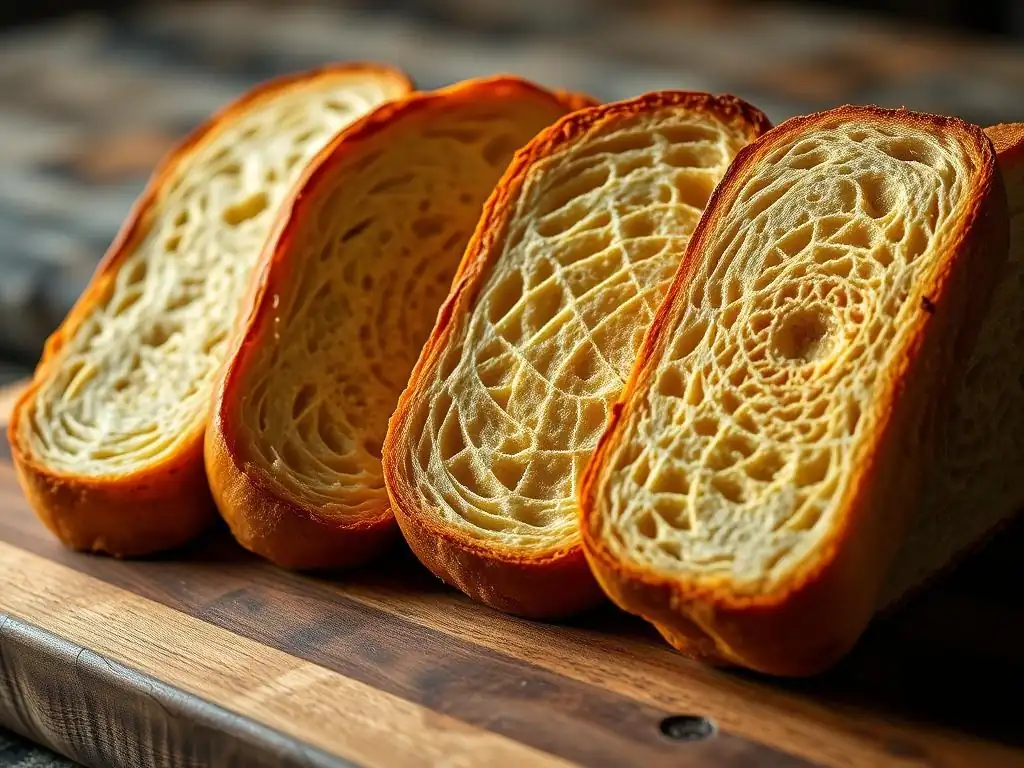
Achieving a Golden Crust on Sourdough
Sourdough bread, typically a lean dough made only with flour, water, and salt (fermented by wild yeast and bacteria), can sometimes be challenging to brown effectively compared to enriched doughs. The long fermentation process can consume a significant amount of the available simple sugars, which are needed for the Maillard reaction and caramelization. Additionally, sourdough often has a lower pH due to the lactic and acetic acids produced by the bacteria, which can slightly influence enzymatic activity and sugar availability.
To achieve a perfect golden brown bread crust on sourdough, proper hydration and strong starter activity are key. A well-hydrated dough (70-80%+ hydration) allows for better expansion and a thinner crust. Using a very hot oven, often starting at 475-500°F (245-260°C), combined with ample steam (like baking in a Dutch oven for the first 20 minutes), is critical for maximizing oven spring and developing a crisp, well-colored crust. Some bakers also find that allowing the proofed loaf to sit uncovered in a cool place for 30-60 minutes before baking can dry the surface slightly, promoting better browning.
Tips for Enriched Doughs
Enriched doughs, which contain fats (butter, oil), sugars, eggs, and/or milk, generally brown more easily and deeply than lean doughs. These ingredients contribute directly to the Maillard reaction and caramelization processes due to their sugar, protein, and fat content. The challenge with enriched doughs is often preventing the crust from browning too much before the interior is fully cooked.
To manage browning in enriched doughs while still achieving a perfect golden brown bread crust, consider slightly lower baking temperatures (e.g., 350-375°F or 175-190°C) compared to lean doughs, especially after the initial rise. Using a wash (egg or milk) is highly effective for promoting even, rich color. If the top crust is browning too quickly, loosely tenting the loaf with aluminum foil during the latter part of the bake is a simple solution. Monitoring the internal temperature is crucial to ensure the bread is cooked through without the crust becoming burnt.
Browning Whole Wheat Bread
Whole wheat flour contains more protein, fiber, and natural oils than white flour, which can affect browning. Sometimes, whole wheat loaves can appear darker overall due to the bran particles but might lack the vibrant, even perfect golden brown bread crust seen in white loaves. The bran can also interfere with gluten development and oven spring if not managed properly, leading to a denser crumb and a potentially thicker crust that doesn't brown as evenly.
Achieving a good crust on whole wheat bread often involves ensuring adequate hydration (whole wheat absorbs more water) and potentially incorporating a small amount of white bread flour (e.g., 10-20%) to aid gluten development and structure. Using a hot oven with steam is still essential.
Some bakers find that adding a small amount of sugar or malt extract (1-2% of flour weight) can significantly improve crust color in whole wheat loaves by providing more browning agents. Baking to the correct internal temperature (often slightly higher, around 200-210°F or 93-99°C, for whole wheat) is important, and extending baking time slightly if needed, while monitoring color, can help achieve a perfect golden brown bread crust.
Advanced Techniques for a Deep Golden Brown Crust
Using Malt Extract for Color and Flavor
Diastatic malt extract is a powerful ingredient for enhancing crust color and flavor, leading to a more pronounced perfect golden brown bread crust. It contains enzymes (primarily amylase) that break down starches in the flour into simple sugars, providing more "food" for both the yeast and the browning reactions (Maillard and caramelization) during baking. Non-diastatic malt extract does not contain active enzymes but provides sugars and flavor directly.
Adding a small amount of diastatic malt extract (typically 0.5% to 1% of the flour weight) to your dough can significantly improve oven spring and result in a deeper, richer crust color and a slightly sweeter, more complex flavor profile. Be careful not to use too much diastatic malt, as excessive enzymatic activity can lead to a gummy crumb. Non-diastatic malt extract (used at 1-3% of flour weight) primarily contributes color and a malty flavor without affecting the dough's structure as much. Both types are effective tools for achieving an exceptional perfect golden brown bread crust.
The Benefits of Dough Retardation
Retarding (cold proofing) dough in the refrigerator for 12-72 hours has several benefits, including significant improvements in crust color and flavor. The cold temperature slows down yeast activity but allows enzymatic activity (particularly amylase) to continue breaking down complex starches into simple sugars. This slow process increases the availability of sugars in the dough, especially on the surface, which are then readily available for the Maillard reaction and caramelization during baking.
Dough retardation also develops more complex flavors through longer fermentation. When the cold dough hits a hot oven, the rapid temperature change creates excellent oven spring. The increased sugar content on the surface, combined with the hot environment, results in a crust that browns more easily, more deeply, and more evenly, producing a more robust and beautiful perfect golden brown bread crust than a loaf proofed quickly at room temperature.
Cold Oven Start for a Unique Crust
While most bread baking involves a preheated oven, some techniques utilize a cold oven start, particularly for enriched doughs or recipes where a softer crust is desired. In this method, the proofed loaf is placed in a cold oven, and then the oven is turned on. As the oven heats up gradually, the loaf also warms slowly. This allows for continued rising in the oven before the crust sets, potentially resulting in a slightly softer crumb structure.
The cold oven start method results in a different kind of crust development. Because the surface heats up more slowly, the crust forms later in the process and tends to be thinner and less crisp than a crust developed in a hot, steamy environment. While it may not produce the deep, crackly perfect golden brown bread crust characteristic of lean, high-temperature bakes, it can yield a beautifully colored, tender crust suitable for sandwich loaves or enriched breads. The gradual heating allows surface sugars more time at lower temperatures before browning, potentially leading to subtle variations in color development.
Preventing a Burnt Crust
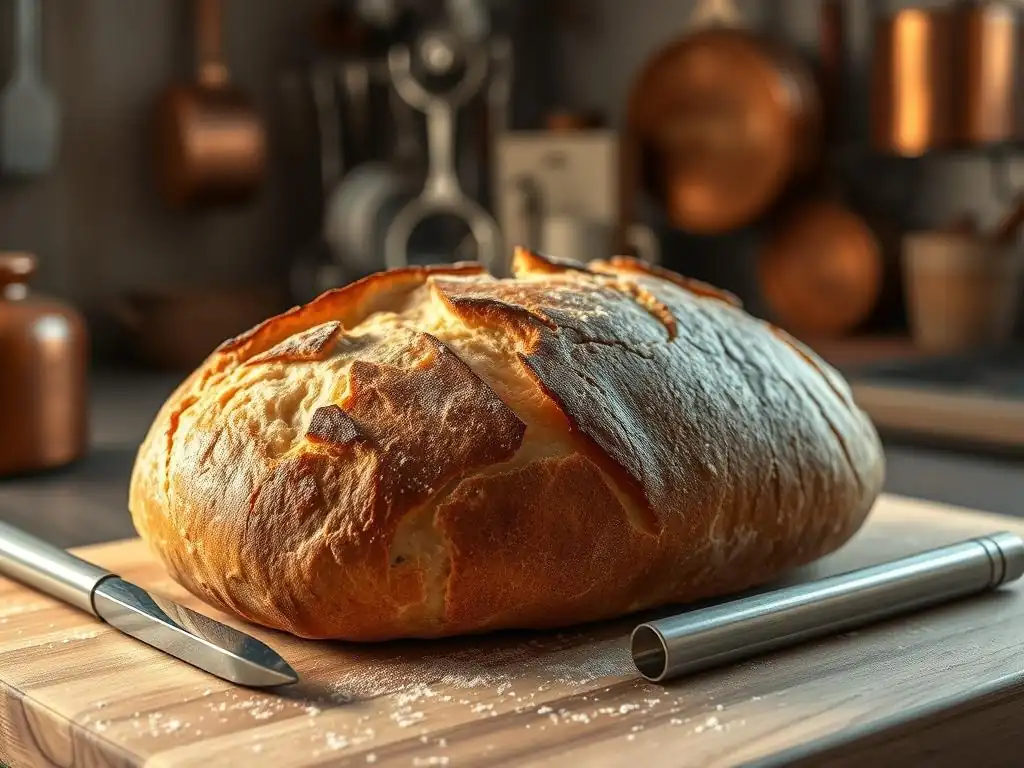
Monitoring Bread During Baking
Preventing your perfect golden brown bread crust from turning into a burnt, bitter one requires vigilance. Around two-thirds of the way through the estimated baking time, start checking your loaf regularly. Look at the color of the crust, especially on the top and sides. If it's reaching your desired level of brownness but the total baking time isn't up, or the internal temperature hasn't reached 195-210°F (90-99°C), you need to take steps to slow the browning process.
Use an instant-read thermometer to check the internal temperature by inserting it into the thickest part of the loaf. If the crust is darkening rapidly but the inside is still below the target temperature (e.g., only 180°F or 82°C), it's a clear sign that the crust is cooking faster than the crumb. This is the point where shielding the crust becomes necessary to allow the inside to finish baking without the outside burning.
Shielding the Crust
Shielding the crust is the most common method to prevent it from burning while the interior finishes baking. Once the crust has reached your desired perfect golden brown bread crust color, but the loaf still requires more time in the oven, loosely tent the bread with aluminum foil. Create a tent large enough that it doesn't touch the crust surface, which could cause it to stick or steam unevenly.
The foil acts as a barrier, reflecting radiant heat away from the crust, effectively slowing down further browning. You can use a single piece of foil draped over the loaf or wrap the loaf more securely, ensuring the foil doesn't compress the crust. Continue baking with the foil tent until the internal temperature reaches the target range. This simple technique allows you to achieve a beautifully colored crust without the risk of it becoming too dark or burnt.
Adjusting Rack Placement
The position of your oven rack significantly impacts how heat is transferred to your bread and, consequently, how the crust browns. Ovens typically have hot spots, and heat distribution can vary. If the top of your loaf is browning too quickly, moving the rack lower in the oven increases the distance from the top heating element and exposes the top crust to slightly less direct radiant heat.
Conversely, if the bottom crust is consistently pale, moving the rack lower might help, especially if using a baking stone or steel, as it places the loaf closer to that intense heat source. For general bread baking aiming for a perfect golden brown bread crust, the middle or slightly below-middle rack position is often ideal, providing a balance of heat from both top and bottom elements. If you notice uneven browning, rotating the loaf halfway through the bake can also help ensure a uniform perfect golden brown bread crust.
Recipe Variations for Enhanced Crust
Honey-Oat Crust
Adding ingredients like honey and oats to your bread recipe can enhance both the color and texture of the crust. A honey-oat crust can be achieved by incorporating rolled oats into the dough (e.g., 10-15% of flour weight, often soaked first) and using honey as the primary sweetener (e.g., 2-4% of flour weight). The natural sugars in honey contribute readily to browning, helping achieve a rich perfect golden brown bread crust.
For an even more pronounced effect, you can create an oat topping. Mix rolled oats with a little melted butter or oil and a touch of honey or sugar, then press this mixture onto the surface of the proofed dough before baking. As the bread bakes, the oats crisp up and brown beautifully, creating a textured, flavorful crust with a lovely golden hue, complementing the loaf's perfect golden brown bread crust.
Seeded Crust
Incorporating seeds into your bread dough or as a crust coating adds flavor, texture, and visual appeal, contributing to a unique perfect golden brown bread crust. Seeds like sesame, poppy, sunflower, or flax seeds contain oils and fats that can influence how the surface browns. When seeds are added to the dough (e.g., 5-10% of total ingredients), they can create small pockets that brown differently from the surrounding dough.
To create a seeded crust, brush the proofed loaf with water or an egg wash, then roll or sprinkle the loaf generously with a mix of your favorite seeds. The wash helps the seeds adhere. As the bread bakes, the seeds toast and brown, adding a delightful crunch and nutty flavor alongside the perfect golden brown bread crust. Ensure the seeds are pressed firmly into the dough so they don't fall off during baking.
Rye Flour Crust for Depth
Using a percentage of rye flour in your bread can significantly impact the crust color and flavor, often resulting in a deeper, more complex perfect golden brown bread crust. Rye flour contains enzymes that break down starches into sugars more effectively than wheat flour, providing more fuel for the Maillard reaction and caramelization. Even a small addition of rye (e.g., 10-20% of total flour) can lead to a noticeable difference in crust browning and flavor complexity.
Rye flour also contributes unique flavor compounds that develop during fermentation and baking, adding depth to the crust's profile. Breads with a higher percentage of rye flour (like 40-60% or more) will naturally develop a darker, chewier crust. While baking pure rye bread involves different techniques due to its lower gluten content, incorporating rye into a wheat dough is a straightforward way to enhance both the color and robust flavor of your perfect golden brown bread crust.
Key Takeaways: Your Guide to a Perfect Crust
Quick Tips for a Beautifully Browned Loaf
- Use a Hot Oven: Preheat thoroughly, ideally 450-500°F (230-260°C) for lean doughs, reducing after initial oven spring.
- Ensure Steam: Use a Dutch oven, baking stone with water tray, or spray the oven walls during the first 15-20 minutes.
- Check Your Oven Temp: Use an oven thermometer to verify accuracy.
- Don't Underbake: Bake until the internal temperature reaches 195-210°F (90-99°C).
- Consider Ingredients: Added sugars, milk, or eggs promote browning. Malt extract is a powerful enhancer.
- Try a Wash: Egg or milk washes create shine and color.
- Score Properly: Allows for controlled expansion and even browning.
- Monitor Color: Watch the crust during the last third of baking.
- Shield if Needed: Use aluminum foil to prevent burning if the crust browns too fast.
- Try Cold Proofing: Retarding dough increases sugar availability for browning.
Resources for Further Education at BakeRight.com
Want to dive deeper into the science of baking and perfect your technique? BakeWithEase.com offers a wealth of resources to help you master the perfect golden brown bread crust and beyond.
Here are some areas you can explore on our site:
- Detailed guides on using Dutch ovens and baking stones.
- In-depth explanations of the Maillard reaction and caramelization.
- Troubleshooting tips for common baking problems.
- Recipes specifically designed for optimal crust development.
- Articles on understanding different types of flour and yeast.
- Tutorials on scoring techniques for various bread shapes.
- Information on using temperature and time to control your bake.
We are constantly adding new content to help you on your baking journey. Whether you're troubleshooting a pale crust or aiming for the deepest perfect golden brown bread crust, you'll find valuable information and supportive guidance at BakeWithEase.com. Happy baking!
Frequently Asked Questions
How can I achieve a perfect golden brown bread crust if my bread usually comes out pale?
The most common reason for a pale crust is oven temperature. Try increasing the oven temperature slightly (25°F) or baking for a longer time.
What ingredients contribute most to a well-colored bread crust?
Sugar and fat in the dough help with browning. You can also brush the crust with an egg wash or milk before baking.
What is the role of steam in achieving a golden brown crust?
Steam allows the crust to stay moist longer, promoting even browning. You can introduce steam by placing a pan of hot water in the oven during baking.
My bread is browning too quickly. How can I prevent a burnt crust while ensuring the inside is cooked?
Tent the bread loosely with aluminum foil during the last part of baking to shield the crust from direct heat. You can also lower the oven temperature slightly.
Besides oven adjustments, what other techniques can I use for a perfect golden brown bread crust?
Consider using a baking stone or Dutch oven, which help distribute heat more evenly. Proper dough development is also crucial for good browning.
Final Reflection: The Alchemy of a Golden Crust
The pursuit of the perfect golden-brown bread crust is more than just aesthetics; it's a testament to the power of understanding fundamental baking principles. Achieving that ideal hue signifies mastery over temperature, hydration, and timing – a delicate dance between science and artistry that elevates a simple loaf into a culinary masterpiece. This seemingly small detail speaks volumes about the dedication and precision required in baking, a craft often overlooked in our fast-paced world.
The quest for the perfect crust has resonated deeply with me, mirroring my own journey of refining skills and embracing the unexpected. Each slightly burnt or pale loaf has been a lesson learned, a step closer to understanding the nuances of this seemingly simple process. The best bread is the bread you bake yourself.
This simple statement encapsulates the satisfaction and pride that comes from mastering a craft, and the golden-brown crust is the visible reward for that effort. It's a symbol of patience, precision, and the transformative power of heat and flour.
Now, I invite you to consider your own "golden crust" – that moment of perfect achievement, the culmination of dedication and effort in your own life. What seemingly small detail, like the perfect crust on a loaf of bread, holds immense significance for you? Take the time to appreciate the journey, the lessons learned along the way, and the beauty of the final result. Embrace the process, experiment fearlessly, and savor the golden moments in your own life, just as you would that perfectly browned crust.
Unlock Your Crust's Golden Potential!
Thanks for taking the time to level up your bread baking game! We hope you now feel confident in achieving that perfect, golden-brown crust. Ready to put your new skills to the test?
- Bake a loaf today! Use your newfound knowledge to create a beautiful and delicious loaf. Experiment with different flours or techniques to see what works best for you.
- Share your baking triumph! Show off your golden-brown masterpiece on social media using #BakeWithEaseGoldenCrust and inspire other bakers.
- Explore our other bread recipes: Dive deeper into the world of bread-making with our extensive collection of easy-to-follow recipes.
What innovative technique will you try first to achieve that perfect crust?