
Flat Bread Fails: Troubleshooting Your Loaf

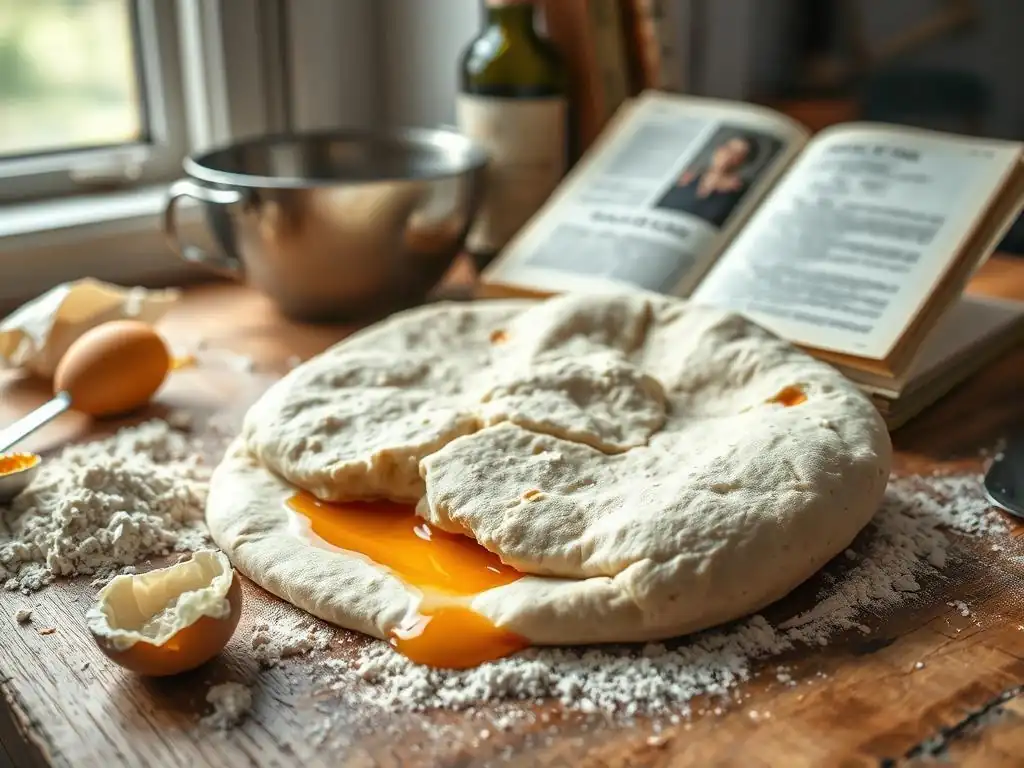
Welcome to BakeWithEase, your haven for all things baking! Ever stared in disbelief at a flat bread that stubbornly refuses to rise? You're not alone! We've all been there. This article dives deep into the common culprits behind a lackluster loaf. Discover the secrets to achieving that perfect rise and transform your baking fails into unforgettable successes. Curious to unlock the mysteries of bread baking? Let's get started!
- Flat Bread Fails: Troubleshooting Your Loaf - Bake With Ease
- Introduction: Why Isn't My Flat Bread Rising?
- Identifying the Root Cause of Flat Bread That Won't Rise
- Troubleshooting Common Flat Bread Rising Issues
- Specific Flat Bread Types and Their Rising Challenges
- Preventing Flat Bread Failures: Proactive Baking Tips
- Advanced Techniques for Enhancing Flat Bread Rise
- Conclusion: Achieving the Perfect Flat Bread Rise Every Time
-
Frequently Asked Questions
- Why is my flat bread not rising?
- What type of flour is best for ensuring a good rise in flat bread?
- How important is kneading for a successful flat bread?
- Could the room temperature affect my flat bread rising?
- What if I've used the right ingredients and kneaded properly, but my flat bread still won't rise?
- Final Reflection: The Triumphant Rise of Flatbreads (and Our Baking Skills)
- Unleash Your Inner Baker: Perfect Flatbreads Await!
Flat Bread Fails: Troubleshooting Your Loaf - Bake With Ease
Introduction: Why Isn't My Flat Bread Rising?
There's a unique satisfaction in baking flat bread – the simple ingredients, the quick bake, and the delicious result. However, few things are as disheartening for a baker as expecting a beautifully puffed loaf and instead ending up with a dense, rigid disc. When your flat bread won’t rise, it can feel like a mystery, but the truth is, there are usually very specific reasons behind the failure. Understanding these common pitfalls is the first step towards achieving airy, pliable flatbreads every time.
Many factors influence whether your flat bread rises as expected, from the vitality of your yeast to the way you handle the dough. While some flatbreads, like tortillas or chapati, are intentionally unleavened, others, such as naan or pita, rely on leavening agents, typically yeast, to create their characteristic texture and pockets. If you're aiming for a leavened flatbread and your flat bread won’t rise, it's time to put on your detective hat and examine the process step by step.
Understanding Common Flat Bread Baking Problems
Baking flat bread, particularly varieties designed to rise, involves a delicate balance of chemistry and technique. Common problems extend beyond just a lack of rise and can include issues like a tough texture, uneven thickness, or a lack of flavor. However, the most frequently encountered and frustrating issue is undoubtedly when your flat bread won’t rise at all or only rises minimally, leading to a heavy, unappetizing result.
This failure to rise can stem from several points in the baking process: initial ingredient mixing, kneading, fermentation (proofing), or even the baking environment. Identifying which stage went wrong is crucial for fixing the problem. For instance, if your dough shows no activity after mixing, the issue likely lies with the yeast. If it proofs slightly but collapses or remains flat during baking, it might be related to proofing time or oven temperature. Each symptom points towards a specific cause.
BakeWithEase.com: Your Guide to Perfect Flatbread
At BakeWithEase.com, we understand the joys and frustrations of baking. Our goal is to simplify complex techniques and help you master baking fundamentals, including troubleshooting common issues like when your flat bread won’t rise. We provide clear, step-by-step guides designed for bakers of all levels, from complete beginners to those looking to refine their skills.
This article is part of our commitment to helping you overcome baking challenges. We'll walk you through the most common reasons why your flat bread might not be rising and provide practical, actionable solutions. Think of us as your friendly guide in the kitchen, ready to help you turn those flat bread fails into baking triumphs. Let's get to the bottom of why your flat bread won’t rise and get you back on track to delicious, fluffy results.
Identifying the Root Cause of Flat Bread That Won't Rise
When faced with dough that refuses to grow, the first step is a thorough investigation. Don't just assume one thing; systematically check the key components and stages of your baking process. The reason your flat bread won’t rise could be a single culprit or a combination of factors working against you. Patience and careful observation are your best tools here.
Start from the beginning: the ingredients. Were they fresh? Were they measured correctly? Then move through the process: mixing, kneading, and the all-important rest periods. Did anything feel off? Was the temperature right? By methodically reviewing each step, you can pinpoint exactly why your flat bread won’t rise and prevent the same issue from happening again.
Examining Your Dough: A Close-Up Look
Once your dough is mixed and you've given it some time, observe it closely. Does it look wet and sticky, or dry and crumbly? Does it feel elastic, or does it tear easily? A dough that is too stiff due to insufficient hydration might struggle to expand, while an overly wet dough can be difficult to handle and may not hold its structure well as it tries to rise. The texture and consistency of the dough itself can tell you a lot about its potential to rise.
Also, look for any signs of activity. After an hour or two in a warm spot, a yeasted dough should show some visible signs of life – perhaps a slight puffing up, small bubbles forming on the surface, or a generally softer feel. If your dough looks exactly the same as it did when you first mixed it, this is a strong indicator that the leavening process hasn't even begun, pointing towards issues with the yeast or the environment.
Is Your Yeast Active? The Key to a Good Rise
Yeast is a living organism, and its vitality is absolutely essential for any leavened bread to rise. If your yeast is old, dead, or hasn't been properly activated, your flat bread won’t rise, plain and simple. Yeast feeds on sugars in the flour and produces carbon dioxide gas, which is what makes dough expand and creates that airy texture. No active yeast means no gas production.
Checking your yeast's activity before adding it to the dry ingredients is a simple but critical step. This is especially important if you haven't baked in a while or if you're using yeast from an opened package. Even fresh-looking yeast can sometimes be inactive due to improper storage or handling. Taking a moment to test it can save you the frustration of a failed batch of flatbread.
Gluten Development: Are You Kneading Enough?
Gluten is the protein network that forms when flour and water are mixed and kneaded. This network is like a stretchy balloon that traps the carbon dioxide gas produced by the yeast. If your dough is not kneaded enough, the gluten network will be weak and unable to hold the gas, resulting in a dense loaf even if the yeast is active. This is a common reason why flat bread won’t rise properly or collapses during baking.
Conversely, over-kneading can also be detrimental, though it's less common for home bakers using traditional methods. Over-kneaded dough can become tight and difficult to work with, sometimes even tearing the gluten strands. Finding the sweet spot where the gluten is sufficiently developed but still elastic is key to achieving a good rise and texture in your flatbread.
Troubleshooting Common Flat Bread Rising Issues
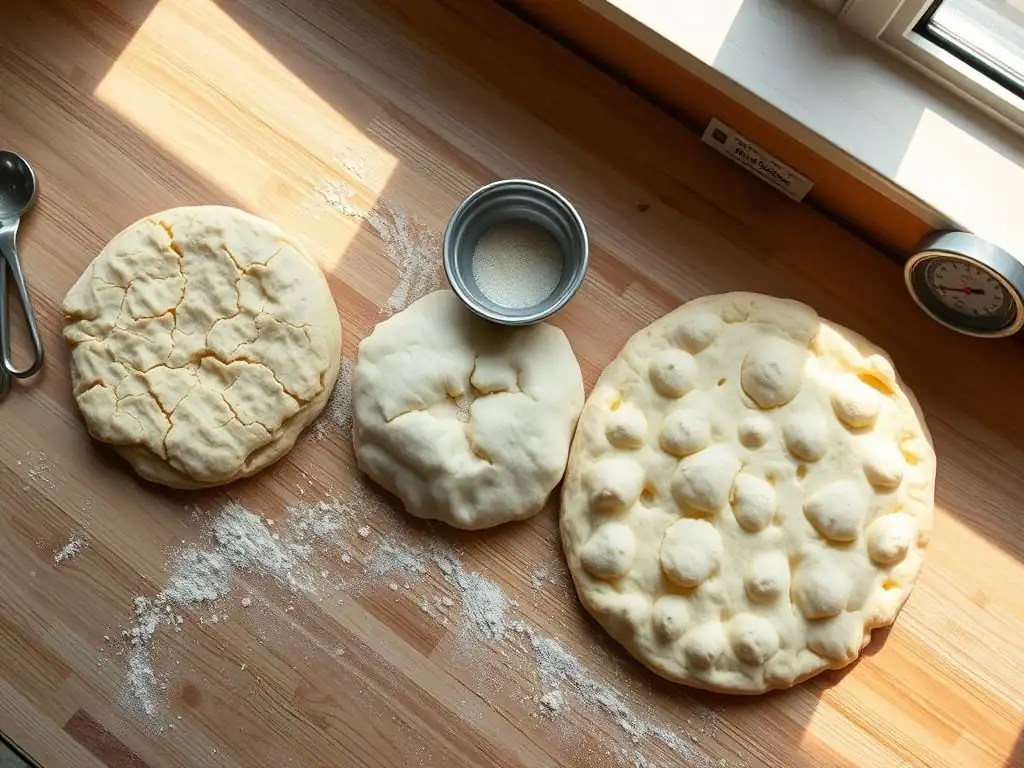
Let's break down the most frequent problems encountered when trying to get your flat bread to rise and provide clear, actionable solutions. Understanding these specific issues will empower you to fix them and bake with confidence. Don't despair if your flat bread won’t rise; these problems are solvable!
We'll cover everything from dormant yeast to dough consistency and temperature. By addressing these points one by one, you can significantly improve your chances of success. Baking is a science with variables, but with a little knowledge, you can control them.
Problem #1: Inactive or Expired Yeast
The most common reason for a flat bread that simply won't rise is inactive yeast. Yeast has a shelf life, and once opened, its activity can decline, especially if not stored properly. Using yeast that is dead or dormant means the leavening process won't happen, leaving you with a dense, flat dough. This is a frequent culprit when your flat bread won’t rise.
Even yeast that isn't technically expired might have been exposed to heat or moisture, rendering it ineffective. For instance, storing active dry yeast in a warm pantry after opening can quickly kill the organisms. It's always better to check before committing it to a whole batch of dough.
Solution: Testing and Replacing Your Yeast
To test if your active dry or instant yeast is still alive, use the "proofing" method. Measure 1 teaspoon of sugar into 1/2 cup of lukewarm water (around 105-115°F or 40-46°C). Stir in 2 1/4 teaspoons (one standard packet) of yeast. Let it sit for 5-10 minutes. If the mixture becomes foamy and expands significantly, your yeast is active and ready to use. If it remains flat or only shows minimal bubbling, your yeast is likely dead and should be discarded.
If your test shows the yeast is inactive, the solution is simple: replace it with fresh yeast. Purchase a new packet or jar, checking the expiration date. For best results, store opened yeast in an airtight container in the refrigerator or freezer, which can extend its life considerably. Using fresh, proven-active yeast is the critical first step to ensuring your flat bread won’t rise issue is resolved.
Ensuring Proper Yeast Activation
Different types of yeast require slightly different activation methods. Active dry yeast typically needs to be dissolved in warm water (105-115°F) with a pinch of sugar to "wake it up" before adding it to the dry ingredients. Instant yeast, on the other hand, can often be mixed directly into the dry ingredients, but it still benefits from warm liquid in the dough to become active. Using water that is too hot (above 130°F or 54°C) will kill the yeast, while water that is too cold (below 75°F or 24°C) will slow down or inhibit its activity.
For optimal results, ensure your liquid is within the recommended temperature range for the type of yeast you are using. For most flatbread recipes using active dry yeast, this means proofing it first in lukewarm water. If using instant yeast, simply ensure your water or milk added to the dough is warm. This ensures the yeast gets off to a good start, significantly reducing the chance that your flat bread won’t rise due to dormant yeast.
Problem #2: Incorrect Dough Hydration
Dough hydration refers to the ratio of water (or other liquid) to flour in a recipe. Too little water results in a stiff, dry dough that is difficult to knead and struggles to expand because there isn't enough moisture for the gluten to fully develop and for the yeast to work efficiently. This can definitely cause your flat bread won’t rise properly, leading to a dense texture.
Conversely, too much water creates a very wet, sticky dough that can be hard to handle and shape. While high hydration can sometimes lead to a more open crumb structure in loaves, for flatbreads, it can make the dough spread too much and potentially collapse rather than puff during baking. Achieving the right consistency is vital for successful flatbread.
Solution: Adjusting the Water Content
Pay close attention to the recipe's specified amount of liquid, but be prepared to make slight adjustments based on your environment and the type of flour you're using. Flour absorbs moisture differently depending on the humidity and the protein content of the flour itself. For instance, a high-protein bread flour will typically absorb more water than an all-purpose flour.
If your dough feels too dry during mixing, add just a teaspoon or two of warm water at a time, incorporating it fully before adding more, until the dough comes together and is no longer crumbly. If it feels too sticky, add a tablespoon of flour at a time, kneading it in until the dough is manageable. Aim for a dough that is soft and slightly tacky, but not so sticky that it adheres firmly to your hands. This careful adjustment prevents issues where your flat bread won’t rise due to a poor hydration level.
Achieving the Right Dough Consistency
The ideal dough consistency for flatbreads that are meant to rise is typically soft, smooth, and elastic after kneading. It should pull away from the sides of the bowl clean during mixing (if using a mixer) and should feel pliable and responsive when handled by hand. It shouldn't be stiff like cookie dough or excessively slack like a thick batter.
As you knead, the dough will transform from a shaggy mass into a cohesive ball. It should feel less sticky over time as the gluten develops. This transformation is a key indicator that you are on the right track towards a dough that has the potential to rise well. If your dough remains stubbornly stiff or excessively wet, it's a sign that the hydration needs adjustment, which directly impacts whether your flat bread won’t rise.
Problem #3: Insufficient Kneading and Gluten Development
As mentioned earlier, gluten is the framework that supports the rise. If the dough is not kneaded enough, the gluten strands won't develop sufficiently to trap the gases produced by the yeast. This results in a dense dough that has little capacity to expand, even if the yeast is booming. This is a very common reason why flat bread won’t rise to its full potential or might seem heavy.
The process of kneading aligns the gluten proteins and strengthens the dough's structure. Think of it like building a microscopic mesh. Without enough kneading, the mesh is weak and full of holes, allowing the precious carbon dioxide to escape instead of inflating the dough.
Solution: Mastering the Kneading Technique
Kneading can be done by hand or with a stand mixer fitted with a dough hook. By hand, the technique involves folding the dough over, pressing down and away, rotating, and repeating. This stretches and aligns the gluten. Aim for about 8-10 minutes of vigorous hand kneading for most flatbread doughs. With a stand mixer on medium speed, it usually takes 6-8 minutes.
You'll know you're making progress as the dough becomes smoother, more elastic, and less sticky over time. It should eventually form a cohesive ball that is pleasant to handle. Don't cut the kneading time short; those extra minutes are crucial for developing the strength needed for a good rise. Proper kneading directly combats the issue of a flat bread won’t rise due to structural weakness.
The Windowpane Test: Knowing When You've Kneaded Enough
A classic test for sufficient gluten development is the windowpane test. Carefully pinch off a small piece of dough (about the size of a golf ball). Gently stretch and pull the dough outwards with your fingers, trying to create a thin membrane. If you can stretch the dough thin enough that you can see light through it without it tearing, you've developed the gluten sufficiently.
If the dough tears easily before you can stretch it thin, it needs more kneading. This test is a reliable indicator that the gluten network is strong and elastic enough to support the gases produced during fermentation and baking, giving your dough the best chance to rise properly. A dough that passes the windowpane test is much less likely to result in a flat bread won’t rise outcome due to poor structure.
Problem #4: Incorrect Dough Temperature
Yeast is highly sensitive to temperature. It thrives in warm environments but can be killed by excessive heat and becomes very sluggish in the cold. If your dough is too cold, the yeast activity will be significantly slowed down, meaning gas production is minimal and your flat bread won’t rise within the expected timeframe, or at all.
Conversely, while warmth encourages yeast activity, excessive heat can actually kill the yeast. This can happen if you use water that is too hot when mixing the dough or if you try to proof the dough in an environment that is too hot, like a hot car or directly on a scorching stovetop.
Solution: Maintaining the Ideal Dough Temperature
For most yeasted bread doughs, including flatbreads intended to rise, the ideal temperature range for fermentation (proofing) is between 75°F and 85°F (24°C to 29°C). Within this range, the yeast is active and produces gas at a good pace. Temperatures below 70°F (21°C) will slow the process considerably, requiring much longer proofing times, which can be a reason your flat bread won’t rise as quickly as expected.
If your kitchen is cool, find a warmer spot for your dough. This could be near a warm oven (but not on top of it if it's very hot), in a proofing drawer if you have one, or even inside a microwave or oven that is turned off but has a bowl of hot water placed inside to create a warm, humid environment.
Avoiding Cold or Overly Warm Environments
Avoid placing your dough in drafty areas or directly next to a cold window. Similarly, do not place the dough in an oven that is on, or on top of a surface that is radiating intense heat, as this can easily kill the yeast. Using lukewarm water (around 105-115°F) for activating active dry yeast is perfect; anything hotter is risky.
Consistent, moderate warmth is key to a successful rise. If your dough is too cold, simply moving it to a warmer spot and giving it more time can often solve the problem of a flat bread won’t rise sluggishly. Patience is required when temperatures are lower.
Problem #5: Improper Proofing
Proofing is the final rise of the dough before baking. This is where the dough expands significantly as the yeast produces gas, creating the light and airy texture you want in a risen flatbread. Improper proofing – either under-proofing or over-proofing – can lead to issues with the final rise and texture during baking. This is a critical stage where your flat bread won’t rise correctly if mishandled.
Under-proofing means the dough hasn't had enough time to develop sufficient gas before baking. It will look dense and may not expand much in the oven. Over-proofing, on the other hand, means the dough has risen too much, and the gluten structure may have weakened and started to collapse. Over-proofed dough might rise initially but then deflate or become heavy and dense during baking.
Solution: Perfecting the Proofing Process
The proofing time specified in a recipe is often just an estimate, as the actual time needed depends heavily on the ambient temperature and the activity of your yeast. Instead of relying solely on the clock, learn to judge the dough by its appearance and feel. Most flatbread doughs require a relatively short proof compared to loaf breads, often between 30 minutes to 1.5 hours for the first rise, and sometimes a shorter second rise after shaping.
For the first rise, place the dough in a lightly oiled bowl, cover it tightly with plastic wrap or a damp cloth to prevent drying, and put it in a warm spot. For the second rise (after shaping the individual flatbreads), cover them lightly and let them rest for the time specified in the recipe, again paying attention to visual cues. Proper proofing is essential to avoid the disappointment of a flat bread won’t rise failure during baking.
Recognizing the Signs of a Properly Proofed Dough
A properly proofed dough for the first rise should have roughly doubled in size (though some flatbreads might only need to increase by 50-75%). It should look puffy and feel soft and airy. For the second rise (shaped pieces), they should look slightly puffed up. A reliable test for doneness during the first rise is the "poke test": gently press a finger about 1/2 inch into the dough.
If the indentation slowly springs back only halfway, the dough is likely ready. If it springs back immediately, it needs more time (under-proofed). If the indentation remains completely, it may be slightly over-proofed, but can often still be salvaged.
Learning these visual and tactile cues is more reliable than strictly following a time limit. Overcoming issues where your flat bread won’t rise often comes down to understanding what properly proofed dough looks and feels like before it hits the heat.
Specific Flat Bread Types and Their Rising Challenges
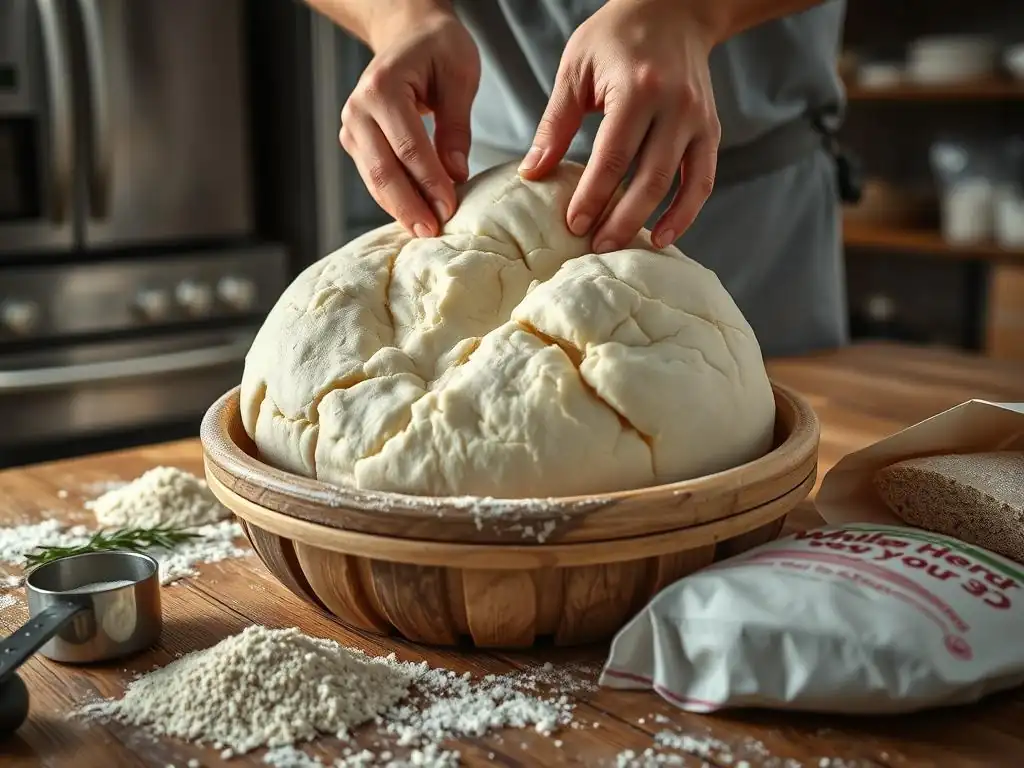
Different flatbreads have different expectations for rise. While tortillas and chapati are unleavened and intentionally flat, others like naan, pita, and some types of focaccia are designed to rise and develop specific textures, often including internal pockets. When these specific types of flat bread won’t rise, the troubleshooting steps might have slight variations depending on the dough's unique characteristics.
Understanding the typical structure and expected rise for the specific flatbread you're making is important. Are you aiming for a puffy pita or a bubbly naan? Each requires slightly different handling during mixing, proofing, and baking to achieve its signature lift.
Naan Bread Rising Problems and Solutions
Traditional naan often uses yeast and sometimes yogurt, which contributes to its soft texture and slight tang. Naan dough typically undergoes a longer initial fermentation to develop flavor and rise. If your naan won’t rise, the usual suspects (inactive yeast, cold temperature, under-kneading) are likely involved. Insufficient proofing time for the individual shaped naans before hitting a very hot surface (like a tawa or broiler) is also a common issue.
- Ensure your yeast is active and your dough proofs in a warm spot (75-80°F) for 1-2 hours, or until doubled.
- Knead until the dough is smooth and elastic.
- After shaping, allow the individual naans to rest briefly (10-15 minutes) before cooking. This short second proof helps them puff.
- Cook on a very hot surface; high heat is key to creating the characteristic bubbles and slight puff.
Pita bread is famous for its internal pocket, which forms when steam rapidly expands inside the dough during high-heat baking. If your pita won’t rise and create this pocket, it's often due to insufficient gluten development, improper proofing, or not using high enough heat during baking. The dough needs to be elastic enough to trap the steam and the heat needs to be intense enough for the water in the dough to flash-steam.
- Knead the dough thoroughly until it's very smooth and passes the windowpane test. This strong gluten structure is crucial.
- Allow sufficient proofing time (often 1.5-2 hours for the first rise) until the dough is very soft and airy.
- After shaping, a short rest (10-20 minutes) is beneficial.
- Bake in a very hot oven (often 450-500°F or 230-260°C) on a preheated baking stone or steel. The intense heat is what causes the rapid steam expansion and pocket formation.
Tortilla Rising Problems and Solutions
Most traditional wheat flour tortillas and corn tortillas are unleavened, meaning they do not use yeast or baking powder and are not intended to rise significantly like yeast breads. Any puffing that occurs during cooking is usually due to steam trapped between thin layers of dough. If you're making a traditional tortilla recipe and expecting a large rise, you might be misunderstanding the nature of this flatbread.
- If you are making a recipe claiming to be a tortilla that uses a leavening agent (like baking powder, sometimes used in flour tortillas for softness), and it won’t rise, check the freshness of the leavening agent (baking powder can lose potency). Ensure your liquid is the correct temperature if the recipe calls for baking powder activated by hot water.
- For traditional, unleavened tortillas, focus on proper dough consistency (soft and pliable) and rolling them very thinly and evenly. Cooking on a hot griddle is key to getting the characteristic small puffs.
Preventing Flat Bread Failures: Proactive Baking Tips
While troubleshooting is useful, preventing problems before they start is even better. By adopting good baking practices and paying attention to details, you can significantly reduce the chances that your flat bread won’t rise or encounter other issues. Consistency and care in the initial steps make a big difference in the final outcome.
These proactive tips apply to almost all baking projects, but they are particularly helpful when working with yeasted doughs where the outcome relies on biological processes. Small errors can have significant impacts.
Accurate Measuring: The Foundation of Success
Baking is often described as a science, and precise measurement is fundamental. Using too much or too little flour or liquid can drastically alter the dough's hydration, affecting gluten development and yeast activity. For instance, just an extra 1/4 cup of flour in a typical 2-cup recipe can make the dough too stiff, potentially causing your flat bread won’t rise properly.
Using a kitchen scale to weigh ingredients, especially flour, is the most accurate method. Volume measurements (cups) can vary widely depending on how the flour is scooped and leveled. If you don't have a scale, use the "spoon and level" method for flour: gently spoon flour into your measuring cup until it overflows, then level it off with a straight edge without packing the flour down.
Using High-Quality Ingredients for Optimal Results
The quality and freshness of your ingredients directly impact your baking results. Old or improperly stored flour can affect gluten development, and as we've discussed, inactive yeast is a primary reason a flat bread won’t rise. Even the type of flour matters; using bread flour (higher protein) vs. all-purpose flour will change the dough's hydration needs and gluten potential.
Ensure your yeast is fresh and active. Use flour that hasn't been sitting in your pantry for years (check the expiration date or sniff it – it should smell neutral, not musty). If a recipe calls for a specific type of flour (like bread flour for pita), use it if possible, as it's chosen for its protein content suitable for developing the necessary gluten structure.
Following the Recipe Precisely
While baking allows for creativity, especially once you understand the fundamentals, when trying a new recipe or troubleshooting why your flat bread won’t rise, stick to the recipe instructions as closely as possible. This includes ingredient quantities, mixing times, resting periods, temperatures, and baking methods.
Recipes are developed with specific ratios and steps to achieve a desired outcome. Making substitutions or skipping steps (like kneading time or proofing) without understanding their impact can lead to unexpected results, including a flat bread that fails to rise. Once you've successfully made a recipe as written, you can then experiment with variations.
Advanced Techniques for Enhancing Flat Bread Rise
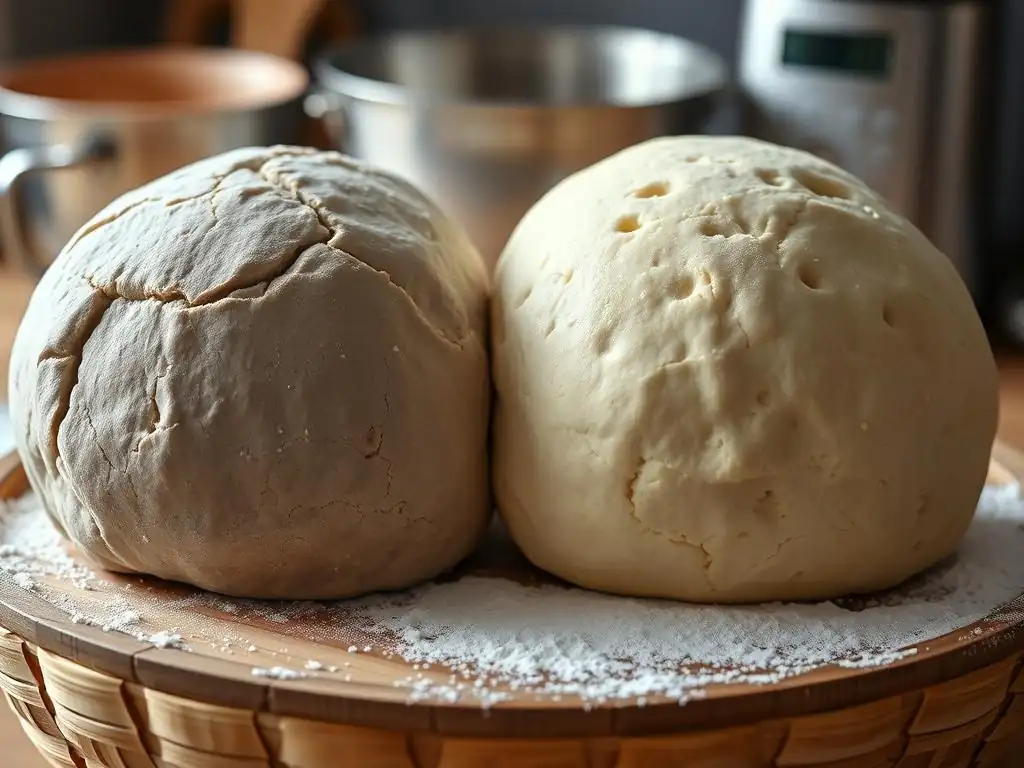
Beyond the basics, there are several techniques that experienced bakers use to improve the flavor, texture, and rise of their bread, including flatbreads. These methods can provide an extra boost and complexity that helps ensure your flatbread reaches its full potential, moving past basic issues where your flat bread won’t rise towards achieving exceptional results.
These techniques often involve managing time and hydration in specific ways to optimize yeast activity and gluten development. They require a little more planning but can be very rewarding.
Using a Starter for Flavor and Rise
A sourdough starter or a poolish/biga (preferments made with yeast, flour, and water) can add significant flavor depth and often contribute to a more vigorous rise. Using a starter introduces wild yeasts and beneficial bacteria that ferment the dough slowly, breaking down starches and proteins, which can improve the dough's structure and potential for expansion. If you're struggling with a basic yeasted dough and your flat bread won’t rise consistently, incorporating a preferment might help by boosting fermentation power.
Adding a portion of the flour and water (and sometimes a pinch of yeast) to create a preferment that ferments for several hours or overnight before mixing the main dough can enhance gluten development and create a more active environment for the final dough rise.
Autolyse: Improving Dough Hydration and Gluten Development
Autolyse is a simple technique where you mix just the flour and water from the recipe and let it rest for 20-60 minutes before adding the yeast and salt and beginning to knead. This rest period allows the flour to fully hydrate and gives enzymes naturally present in the flour time to start developing the gluten network without mechanical kneading.
This technique can make the dough easier to knead, improve its extensibility, and potentially lead to a better rise and crumb structure. For flatbreads, especially those requiring good elasticity like pita, autolyse can be a valuable step to help prevent issues where the flat bread won’t rise due to insufficient gluten strength.
The Importance of Rest Time
Beyond the main proofing periods, many recipes call for shorter rest times at various stages, such as after mixing, after kneading, or after shaping. These short rests, sometimes called "bench rest" or " отдыха" (otdhykh in Russian baking), allow the gluten to relax.
Relaxed gluten is easier to work with, shape, and stretch without tearing. For flatbreads that need to be rolled or stretched thin, adequate rest time prevents the dough from springing back excessively. This ease of handling allows you to achieve the correct thickness and evenness, which is important for an even rise (or puff) during baking. Don't skip these short rests if they are in your recipe; they play a role in the dough's overall behavior and potential to rise.
Conclusion: Achieving the Perfect Flat Bread Rise Every Time
Troubleshooting why your flat bread won’t rise can feel daunting, but by systematically checking the common culprits – inactive yeast, incorrect hydration, insufficient kneading, wrong temperature, and improper proofing – you can identify and fix the problem. Remember that baking is a skill that improves with practice and observation. Every bake, successful or not, is a learning opportunity.
Don't be discouraged by a few flat fails. Pay close attention to your ingredients, your technique, and your dough's behavior at each stage. With a little patience and by applying the tips and solutions discussed here, you'll build your intuition and confidence in handling yeasted doughs. Soon, you'll be turning out beautifully risen flatbreads consistently.
Mastering the Art of Flat Bread Baking with BakeWithEase
At BakeWithEase.com, we're dedicated to helping you master baking, one recipe and one technique at a time. We provide detailed guides, easy-to-follow instructions, and practical tips to help you navigate the nuances of baking. Whether you're trying your hand at naan, pita, or any other risen flatbread, we're here to support your baking journey.
Keep practicing, keep observing, and don't be afraid to try again. Understanding why your flat bread won’t rise is the first step to achieving baking success. With the knowledge you've gained here and the resources available on BakeWithEase.com, you're well on your way to baking perfect flatbreads every time. Happy baking!
Frequently Asked Questions
Why is my flat bread not rising?
Several factors can contribute to this. The most common culprits are expired yeast, incorrect water temperature (too hot or too cold), or insufficient gluten development during kneading.
What type of flour is best for ensuring a good rise in flat bread?
Bread flour, which has a higher protein content, is generally recommended. This higher protein content results in more gluten development, leading to a better rise. All-purpose flour can work, but may require adjustments.
How important is kneading for a successful flat bread?
Kneading is crucial for developing the gluten network. Adequate kneading creates the structure needed to trap the gases produced by the yeast, allowing the bread to rise properly. Under-kneading is a very common error.
Could the room temperature affect my flat bread rising?
Yes, it definitely can. Cold temperatures can significantly slow down yeast activity. A warm environment is ideal for proofing dough and ensuring a good rise.
What if I've used the right ingredients and kneaded properly, but my flat bread still won't rise?
Double-check your yeast's expiration date and that you are using the correct amount. Also, ensure your proving environment is warm and humid. A drafty, cold area will inhibit rising.
Final Reflection: The Triumphant Rise of Flatbreads (and Our Baking Skills)
The quest for the perfect puffy flatbread is a journey shared by countless home bakers, and the frustrating reality of a flat, dense loaf is a common pitfall. Understanding the science behind leavening, dough hydration, and even the nuances of your oven's temperature is crucial to achieving that airy, satisfying texture we all crave. This journey, from initial failure to eventual success, highlights the importance of patience and experimentation in the culinary arts.
The struggle with flatbreads isn't just about achieving a perfect texture; it's a microcosm of the larger human experience of facing challenges and learning from mistakes. The process of troubleshooting, of identifying the culprit behind a fallen loaf – whether it's insufficient yeast, over-kneading, or a too-cold oven – mirrors our own personal growth. We learn to adapt, to refine our techniques, and to appreciate the small victories along the way. The only true wisdom is in knowing you know nothing.
- Socrates. This quote resonates deeply, as even with all the knowledge shared in this article, each baking experience remains unique, requiring continuous learning and adaptation.
Now, it's your turn. Take the lessons learned from these flatbread failures and apply them to your next baking adventure. Don't be discouraged by a deflated loaf; instead, view it as an opportunity to learn, to experiment, and to ultimately achieve the perfectly puffed flatbread you've always dreamed of. Embrace the process, celebrate the small wins, and remember that even the most experienced bakers have their share of flatbread fails. The journey, with all its ups and downs, is what truly makes baking rewarding.
Unleash Your Inner Baker: Perfect Flatbreads Await!
Thanks for joining us on this flatbread journey! We hope you gained valuable insights into troubleshooting those pesky flatbread fails. Now it's time to put your new knowledge into action.
- Master the perfect flatbread: Try out the tips we shared – experiment with different flours, hydration levels, and cooking techniques to discover your ideal flatbread recipe.
- Share your success (or next challenge!): We'd love to see your results! Snap a photo of your flatbreads and share it on social media using #BakeWithEaseFlatbreads.
- Join our baking community: Connect with fellow baking enthusiasts in our online forum – share your tips, ask questions, and inspire each other to create incredible breads.
Ready to bake the flatbread of your dreams? What unique ingredient will you add to elevate your next creation?