
Cold Proofing Baguettes: Elevate Flavor and Simplify Your Schedule

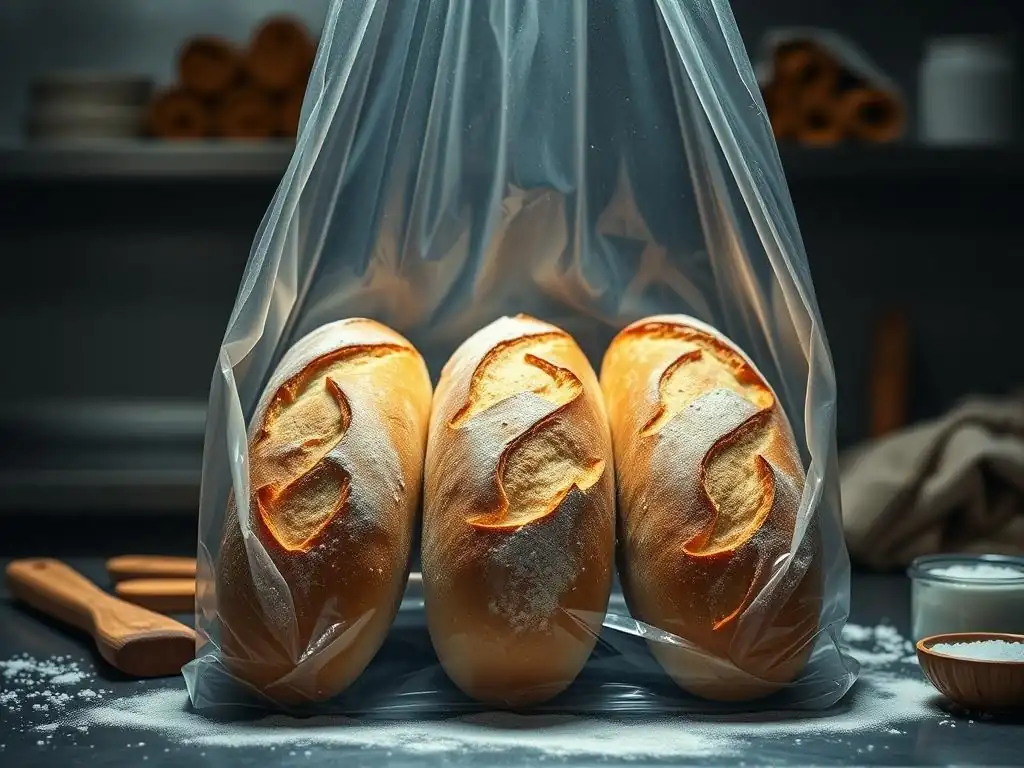
Welcome to BakeWithEase, where the joy of baking meets effortless execution! Ever dreamt of achieving that perfect baguette, with a complex flavor and irresistible crust, all while fitting it into your busy schedule? In this article, we unravel the secrets of cold proofing baguette dough, a technique that unlocks a depth of flavor you won't believe is possible. Curious to discover how a little chill can transform your bread-baking game? Let's get started!
- Introduction to Cold Proofing Baguette Dough
- Understanding the Science Behind Cold Proofing Baguettes
- Cold Proofing Baguette Dough: A Step-by-Step Guide
- Baking Baguettes After Cold Proofing: Achieving the Perfect Crust
- Troubleshooting Common Cold Proofing Baguette Issues
- Flavor Variations and Enhancements for Cold Proofed Baguettes
- Cold Proofing Baguettes: A Time-Saving Technique
- Advanced Cold Proofing Techniques for Baguettes
- Frequently Asked Questions
- Final Reflection: The Transformative Power of Cold Proofing
- Unlock the Secrets of Effortless, Flavorful Baguettes
Introduction to Cold Proofing Baguette Dough
What is Cold Proofing and Why Use It for Baguettes?
Cold proofing, also known as cold fermentation or slow proofing, is a technique where dough is placed in a cool environment, typically a refrigerator set between 3°C and 5°C (37°F and 41°F), for an extended period. This process significantly slows down the yeast activity compared to proofing at room temperature.
For baguette dough, cold proofing offers several advantages, primarily enhancing flavor complexity and improving the handling characteristics of the dough. Instead of proofing for just 1-2 hours at room temperature, a cold proof can last anywhere from 12 to 72 hours or even longer, depending on the recipe and desired outcome.
Using this method for cold proofing baguette dough allows bakers to develop a deeper, more nuanced flavor profile that is difficult to achieve with rapid room-temperature fermentation. The slow breakdown of starches and proteins by enzymes in the flour and yeast during the prolonged cold period contributes significantly to the final taste and aroma of the baked baguette. Furthermore, the chilled dough is often much easier to handle and shape, especially for high-hydration doughs common in artisan baguettes, making the process less sticky and more manageable.
The Benefits of Slow Fermentation for Baguette Flavor and Texture
Slow fermentation through cold proofing is a game-changer for the flavor and texture of baguettes. Over the extended period in the refrigerator, enzymes naturally present in the flour, like amylase and protease, have more time to break down complex starches into simpler sugars. These sugars are then consumed by the yeast, producing a wider range of flavorful compounds beyond just carbon dioxide and ethanol.
This results in a more complex, slightly tangy, and less yeasty flavor profile compared to a quick proof. Think of it like slow-cooking a stew versus boiling it quickly; the longer, slower process allows flavors to meld and deepen.
Beyond flavor, the texture of cold proofed baguettes is often superior. The slow fermentation helps develop a more robust gluten structure, leading to better oven spring and a more open, airy crumb structure, which is a hallmark of a great baguette. A typical hydration for baguette dough might be around 72-75%, and cold proofing helps manage this sticky dough by firming it up.
The extended fermentation also contributes to a thinner, crisper crust, as the dough's surface dries slightly and develops more complex sugars that caramelize beautifully during baking. This technique is particularly favored by artisan bakers aiming for that signature crackly crust and irregular, open interior crumb.
Understanding the Science Behind Cold Proofing Baguettes
The Role of Yeast Activity at Low Temperatures
Yeast, the microscopic organism responsible for fermentation, is highly sensitive to temperature. At typical room temperatures (around 20-24°C or 68-75°F), yeast is quite active, rapidly consuming sugars and producing carbon dioxide gas, which makes the dough rise. However, when the temperature drops significantly, as in a refrigerator (3-5°C or 37-41°F), the yeast's metabolic rate slows dramatically. While the yeast doesn't become completely dormant, its activity is reduced to a crawl. This is the core principle behind cold proofing baguette dough.
This slowed activity is crucial because it allows the dough to ferment over many hours without becoming over-proofed too quickly. Instead of the rapid gas production seen at room temperature, the yeast produces gas at a much steadier, gentler rate. This prolonged, slow process gives enzymes more time to work on the flour's starches and proteins, contributing to flavor development and gluten structure without the dough collapsing from excessive gas production in a short period. It's a delicate balance between keeping the yeast active enough to ferment but slow enough to extend the proofing time significantly.
How Cold Proofing Impacts Gluten Development in Baguette Dough
Gluten development is another key area significantly influenced by cold proofing baguette dough. Gluten, formed when proteins in flour (glutenin and gliadin) combine with water and are worked through kneading or stretching, provides the dough's structure and elasticity. During a long, slow cold fermentation, enzymes called proteases, which break down proteins, work slowly on the gluten network. While this might sound counterintuitive, this gradual breakdown actually helps to relax the gluten, making the dough more extensible and easier to shape without tearing.
Furthermore, the physical handling of the dough before cold proofing, such as stretching and folding, combined with the extended rest period in the cold, allows the gluten network to strengthen and align. A well-developed gluten network in cold proofed dough can trap fermentation gases more effectively during baking, leading to better oven spring and a more open crumb structure. Compared to a quickly proofed dough, cold proofed dough typically has a more mature and resilient gluten structure, capable of supporting the characteristic shape and crumb of a high-quality baguette.
Flavor Development During Extended Cold Fermentation
The most celebrated benefit of cold proofing baguette dough is the profound impact it has on flavor. While yeast produces basic fermentation byproducts (carbon dioxide and ethanol) relatively quickly at warmer temperatures, a slower, colder fermentation allows for the production of a much wider array of complex flavor compounds. During the extended time in the refrigerator, yeast and naturally occurring bacteria (especially in sourdough or even commercial yeast doughs over time) slowly break down sugars and other substances in the flour.
This biochemical activity results in the creation of organic acids (like lactic and acetic acid, particularly noticeable if using a sourdough starter or a very long cold proof), esters, and other volatile compounds that contribute to the bread's aroma and taste complexity. For instance, a baguette cold proofed for 24 hours will typically have a more developed, slightly tangy flavor profile than one proofed at room temperature for 2 hours.
A 48-hour cold proof might deepen this complexity further. It's this slow alchemy in the cold that transforms simple flour, water, yeast, and salt into a baguette with layers of flavor, moving beyond a simple bready taste to something truly artisanal.
Cold Proofing Baguette Dough: A Step-by-Step Guide
Preparing Your Baguette Dough for Cold Proofing
The process of preparing your baguette dough for cold proofing begins much like any standard baguette recipe. Start by accurately weighing your ingredients: flour (typically high-protein bread flour), water (often around 70-75% hydration or even higher), yeast (commercial or sourdough), and salt. Mix the ingredients to form a shaggy dough, then allow it to rest for a period (autolyse) to help with hydration. After the autolyse, knead the dough sufficiently to begin developing gluten. This can be done by hand or mixer.
Following the initial mix and kneading, incorporate a series of stretch and folds over the next 1-2 hours at room temperature. Typically, 3-4 sets of stretch and folds performed every 20-30 minutes are sufficient to build strength in the dough. After the final stretch and fold, the dough should have gained significant structure and elasticity.
At this point, the dough is ready for its primary, or bulk, fermentation phase, which will take place in the cold. Place the dough in a lightly oiled container large enough to allow for some expansion, cover it tightly, and place it directly into the refrigerator.
Shaping Baguettes Before Cold Proofing: Best Practices
When incorporating cold proofing into your baguette-making process, you generally have two options for shaping: shape before or after the cold fermentation. For many home bakers, shaping before cold proofing (often called cold retarding the shaped loaves) is simpler and results in baguettes ready to bake straight from the fridge. After your bulk fermentation (which might be a short initial period at room temperature followed by the main cold proof), gently divide the dough into portions, typically weighing around 250-300 grams for a standard baguette.
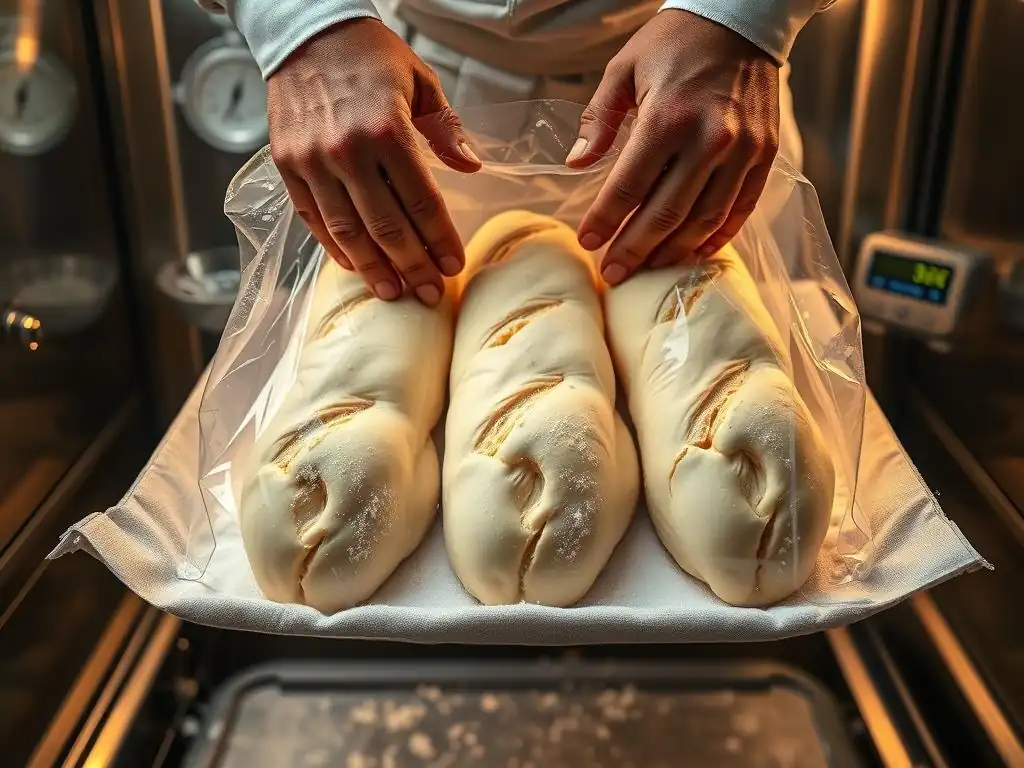
Preshape each portion into a loose log or ball and let it rest briefly (15-20 minutes) covered, to relax the gluten. Then, shape each piece into its final baguette form. Techniques vary, but they generally involve degassing the dough gently, folding it onto itself, and elongating it while building tension on the surface. Place the shaped baguettes onto a floured surface, typically a baker's couche (linen cloth) or a floured proofing basket/tray, ensuring they are well-separated to prevent sticking. Cover them carefully with plastic wrap or a large plastic bag to prevent drying out in the refrigerator.
Setting Up Your Refrigerator for Optimal Cold Proofing
Achieving optimal cold proofing for your baguette dough requires controlling the temperature. Most standard home refrigerators are set between 3°C and 5°C (37°F and 41°F), which is ideal for slowing down yeast activity effectively. However, temperatures can fluctuate within a refrigerator, often being colder near the back or bottom and slightly warmer near the door. To ensure consistent cold proofing, find a spot in your refrigerator that maintains a relatively stable temperature. Using an inexpensive refrigerator thermometer can help you identify the best location.
Place the container or proofing surface holding your shaped baguettes (or dough in bulk) in this stable temperature zone. Ensure the dough is well-covered to prevent a skin from forming, which can inhibit oven spring and result in a poor crust. Plastic wrap, a large food-grade plastic bag, or a container with a tight-fitting lid works well. Avoid placing the dough directly next to cooling vents, which could freeze parts of the dough. A consistent cold temperature is key to the slow, controlled fermentation that develops flavor and improves dough handling properties during cold proofing baguette dough.
How Long to Cold Proof Baguettes: Finding the Sweet Spot
Determining the ideal duration for cold proofing baguette dough is perhaps the most variable aspect of the process and depends on several factors, including the amount of yeast used, the dough's hydration, the refrigerator temperature, and your desired flavor outcome. A common range for cold proofing shaped baguettes is 12 to 48 hours. Shorter times (12-18 hours) will result in noticeable flavor improvement and easier handling compared to room temperature, while longer times (24-48+ hours) will deepen the flavor complexity and tang, especially if using a sourdough starter or minimal commercial yeast.
Observing the dough is crucial. Even in the cold, the dough will rise, albeit slowly. Shaped baguettes are typically ready to bake when they have increased in volume by about 50-75% since shaping. They should feel slightly puffy but still hold their shape when gently poked (the indentation should spring back slowly).
Over-proofing in the cold is possible, though less likely than at room temperature. If the dough looks overly gassy, feels very fragile, or has started to deflate, it may be over-proofed. Experimenting with different cold proofing times (e.g., trying 18 hours, then 24 hours, then 36 hours on subsequent bakes) is the best way to find the "sweet spot" that yields the flavor and texture you prefer for your cold proofed baguettes.
Baking Baguettes After Cold Proofing: Achieving the Perfect Crust
Preheating Your Oven and Baking Stone/Steel
Baking cold proofed baguettes requires a very hot oven to achieve maximum oven spring and a signature crispy crust. It's essential to preheat your oven thoroughly, ideally to a temperature between 230°C and 250°C (450°F and 480°F). Even more crucial is preheating your baking surface, whether it's a baking stone, steel, or even a heavy baking sheet. These surfaces store a significant amount of heat and transfer it quickly to the base of the baguette, providing the necessary thermal shock for a good rise.
Allow at least 45 minutes to a full hour for your oven and baking surface to come up to temperature and stabilize. Placing the stone or steel on the middle rack is typical. Many bakers also recommend preheating a cast iron pan or other oven-safe container on a lower rack simultaneously. This is for creating steam, which is vital for a thin, crisp crust. The long cold proofing baguette dough process prepares the dough, but the intense heat and steam in the oven are what finalize the texture and appearance.
Scoring Cold Proofed Baguettes for Optimal Oven Spring
Scoring, or slashing, the surface of your cold proofed baguettes just before baking is a critical step. Scoring allows the dough to expand in a controlled manner during the initial phase of baking (oven spring). Without scores, the crust would simply split randomly as the internal gases expand. For baguettes, multiple diagonal slashes are traditional, typically 3 to 5 cuts running almost parallel to each other along the length of the loaf.
Because the dough is cold and firm straight from the refrigerator after cold proofing, it holds its shape well, making scoring much easier than with warm, relaxed dough. Use a sharp lame (a razor blade on a handle) or a very sharp knife held at about a 30-degree angle to the dough's surface. The cuts should be relatively shallow, about 1-1.5 cm (½ inch) deep. Confident, swift strokes are key to achieving clean cuts that will open up beautifully in the oven. Proper scoring is essential for the visual appeal and optimal expansion of cold proofed baguettes.
Baking Temperature and Time for Cold Proofed Baguettes
Baking cold proofed baguettes requires high heat and strategic timing to ensure a perfect crust and well-cooked interior. As mentioned, preheat your oven and baking surface to a high temperature, typically 230°C to 250°C (450°F to 480°F). The initial phase of baking, the first 10-15 minutes, is where oven spring occurs and the crust begins to set. This is also the phase where steam is most beneficial.
After placing the scored baguettes onto the hot baking surface, introduce steam into the oven immediately. This can be done by pouring hot water into the preheated pan on the lower rack, using a steam oven setting, or other methods. The steam keeps the surface of the dough moist and flexible, allowing it to expand fully before the crust hardens.
After 10-15 minutes, remove the steam source and reduce the oven temperature slightly, perhaps to 220°C (425°F), to allow the crust to brown and crisp up. Total baking time usually ranges from 20 to 30 minutes, depending on the size of the baguettes and your oven. The baguettes are done when they are deep golden brown and sound hollow when tapped on the bottom.
Achieving a Crispy Crust and Open Crumb Structure
The hallmark of a great baguette is its crispy, crackly crust and an open, airy crumb structure. Cold proofing baguette dough significantly contributes to both, but the baking process is where they are finalized. The high initial baking temperature and the presence of steam are critical for the crust. Steam delays the formation of the crust, allowing the dough to expand fully. Once the steam is removed and the temperature is slightly reduced, the intense dry heat finishes baking and promotes the Maillard reaction and caramelization on the crust, resulting in its deep color and crispness.
The open crumb structure is a result of several factors, including proper gluten development during mixing and cold proofing, sufficient hydration, and effective oven spring. The well-developed gluten network traps the carbon dioxide produced during fermentation. When the cold dough hits the hot oven, the rapid expansion of gases and steam within the dough creates the characteristic large, irregular holes in the crumb. The long, slow cold proofing baguette dough process allows these elements to align perfectly, setting the stage for that desirable light, airy interior texture contrasted with the thin, shattering crust.
Troubleshooting Common Cold Proofing Baguette Issues
Over-Proofing in the Refrigerator: Prevention and Solutions
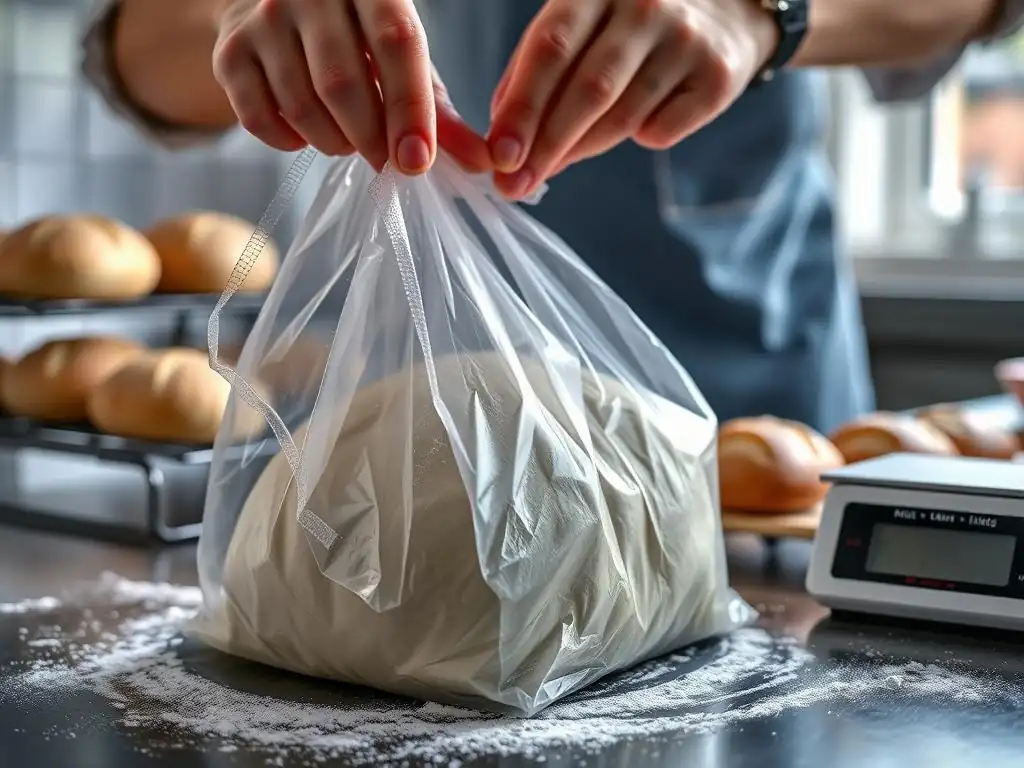
While cold proofing slows down fermentation, over-proofing is still possible, especially with very long proofing times (e.g., beyond 48-72 hours depending on conditions) or if your refrigerator isn't cold enough. Signs of over-proofing include dough that looks excessively puffy and fragile, may have started to deflate slightly, and lacks tension. The resulting baked baguettes may have poor oven spring, a dense crumb, and a pale crust. To prevent over-proofing, ensure your refrigerator temperature is consistently between 3-5°C (37-41°F) and monitor your dough's volume increase.
If you suspect your cold proofing baguette dough is nearing over-proofing but you're not ready to bake, you have a few options. You can gently reshape the baguettes (though this will likely result in a less open crumb) and proof them for a much shorter time at room temperature before baking, or bake them immediately even if slightly over-proofed to salvage them.
For future batches, reduce the amount of yeast slightly, shorten the cold proofing time, or ensure a colder proofing temperature. Keeping a log of your proofing times and results can help you dial in the perfect duration for your specific conditions.
Under-Proofing: Identifying and Correcting
Under-proofing cold proofed baguettes is more common than over-proofing, especially if you are too cautious with proofing time or if your refrigerator is colder than optimal. Under-proofed dough will not have increased significantly in volume in the refrigerator and will feel dense and tight. Baked baguettes from under-proofed dough often have explosive, uncontrolled splits in the crust (not following the scores), a dense, tight crumb structure, and a pale crust.
If you take your shaped baguettes out of the refrigerator and they don't look sufficiently proofed (not puffy enough, haven't increased in volume by ~50-75%), you can allow them to finish proofing at room temperature before baking. This "bench proof" might take anywhere from 30 minutes to 1.5 hours, depending on the room temperature. Watch the dough carefully; it should become visibly puffier and feel lighter. The indentation test (springing back slowly) is a good indicator. Correcting under-proofing by adding a final room-temperature proof can significantly improve the final texture and appearance of your cold proofed baguettes.
Baguettes Sticking During Cold Proofing: Tips to Avoid
A frustrating issue with cold proofing baguette dough, particularly when proofing shaped loaves on a couche or proofing surface, is sticking. If the dough sticks, transferring it to the baking surface without deflating it or ruining its shape becomes very difficult. Sticking is usually caused by insufficient flour on the proofing surface, excessive humidity in the refrigerator, or dough that is too wet on the surface.
To prevent sticking when using a baker's couche, ensure it is generously floured, preferably with rice flour or a mix of bread flour and rice flour, as rice flour is less likely to be absorbed by the dough. Make deep pleats in the couche to support the baguettes and keep them separate. If using a tray or basket, flour it well or line it with parchment paper.
Ensure the dough surface isn't excessively wet before placing it on the proofing surface. Covering the dough loosely with plastic wrap or a bag helps maintain humidity around the dough itself but shouldn't be in direct contact if sticking is an issue unless the dough is placed in individual proofing forms. A light dusting of flour on the top of the shaped baguette before covering can also help prevent the plastic wrap from sticking.
Achieving Consistent Results with Cold Proofing
Consistency in baking, especially with techniques like cold proofing baguette dough, comes from controlling variables and careful observation. Key factors influencing the outcome are the temperature of the refrigerator, the amount of yeast used, the dough's hydration, and the duration of the cold proof. Using a thermometer to verify your refrigerator's temperature is a simple but effective step towards consistency.
Keep detailed notes on your baking process. Record the recipe used, the initial dough temperature, the refrigerator temperature, the exact cold proofing time, how the dough looked before baking, and the final result (crumb, crust, flavor). Over time, this log will help you understand how variations in one factor affect the others and the final bread.
For example, you might find that at 4°C (39°F), your dough is perfectly proofed in 24 hours, but if the fridge creeps up to 6°C (43°F), it might be ready in 18 hours. Adjusting yeast quantities based on longer or shorter desired cold proofing times is also crucial – less yeast for longer proofs, slightly more for shorter ones within the cold range. This meticulous approach will significantly improve the consistency of your cold proofed baguettes.
Flavor Variations and Enhancements for Cold Proofed Baguettes
Incorporating Seeds, Grains, and Herbs into Your Dough
Cold proofing baguette dough provides an excellent foundation for incorporating various flavor enhancements. Seeds like sesame, poppy, sunflower, or flax can be added to the dough during the initial mixing phase. Adding seeds, often around 5-10% of the total flour weight, not only adds flavor and texture but also visual appeal to the finished baguettes. Grains, such as cooked or soaked whole grains (like spelt or rye berries) or even a small percentage of whole wheat flour, can introduce nutty flavors and chewiness. A typical addition of whole grains might be 10-20% of the total flour.
Fresh or dried herbs can also elevate the flavor profile. Herbs like rosemary, thyme, or chives can be folded into the dough during the stretch and fold phase. Approximately 1-2 tablespoons of finely chopped fresh herbs or 1-2 teaspoons of dried herbs per standard baguette recipe (using around 500g of flour) can impart a delightful aroma and subtle flavor. These additions, combined with the complex flavors developed during the long cold proofing baguette dough process, create unique and delicious variations on the classic baguette.
Experimenting with Different Flours for Unique Flavor Profiles
While traditional baguettes are often made with high-protein white bread flour, experimenting with different flour types can significantly alter the flavor profile of your cold proofed baguettes. Substituting a portion of the bread flour with other flours introduces new tastes and textures. For example, replacing 10-15% of the white flour with whole wheat flour adds a nutty, earthy undertone and slightly denser crumb. Rye flour, even in small percentages (5-10%), can introduce tang and complexity, especially complementing the flavors developed during cold fermentation.
Using specialty flours like spelt, einkorn, or Kamut can bring unique historical grain flavors. Spelt, for instance, offers a slightly sweet, nutty taste and a more tender crumb. These alternative flours often absorb water differently and affect gluten development, so you may need to adjust hydration levels and handling techniques slightly. The slow enzymatic activity during the cold proofing baguette dough process interacts uniquely with the characteristics of different flours, allowing their distinct flavors to shine through in the final loaf.
Adding a Poolish or Biga for Enhanced Complexity
Incorporating a pre-ferment like a poolish or biga is a classic technique for enhancing bread flavor, and it pairs exceptionally well with cold proofing baguette dough. A poolish is a wet, liquid pre-ferment (equal parts flour and water by weight, with a tiny amount of yeast) typically fermented at room temperature for several hours or overnight until bubbly. A biga is a stiffer pre-ferment (lower hydration, usually around 50-65% water) fermented for a longer period, sometimes in the refrigerator after an initial room temperature phase.
Adding a poolish or biga (often representing 20-50% of the total flour in the recipe) introduces more complex fermentation byproducts from the outset. These pre-ferments are added to the final dough mix. When this dough then undergoes a long cold proofing baguette dough process, the combined effect of the pre-ferment's initial fermentation and the subsequent slow, cold fermentation creates layers of flavor and aroma that are truly exceptional. The resulting baguettes often have a more pronounced tang, increased depth of flavor, and improved crumb structure compared to dough made with just direct yeast.
Cold Proofing Baguettes: A Time-Saving Technique
Planning Your Bake: Fitting Cold Proofing into Your Schedule
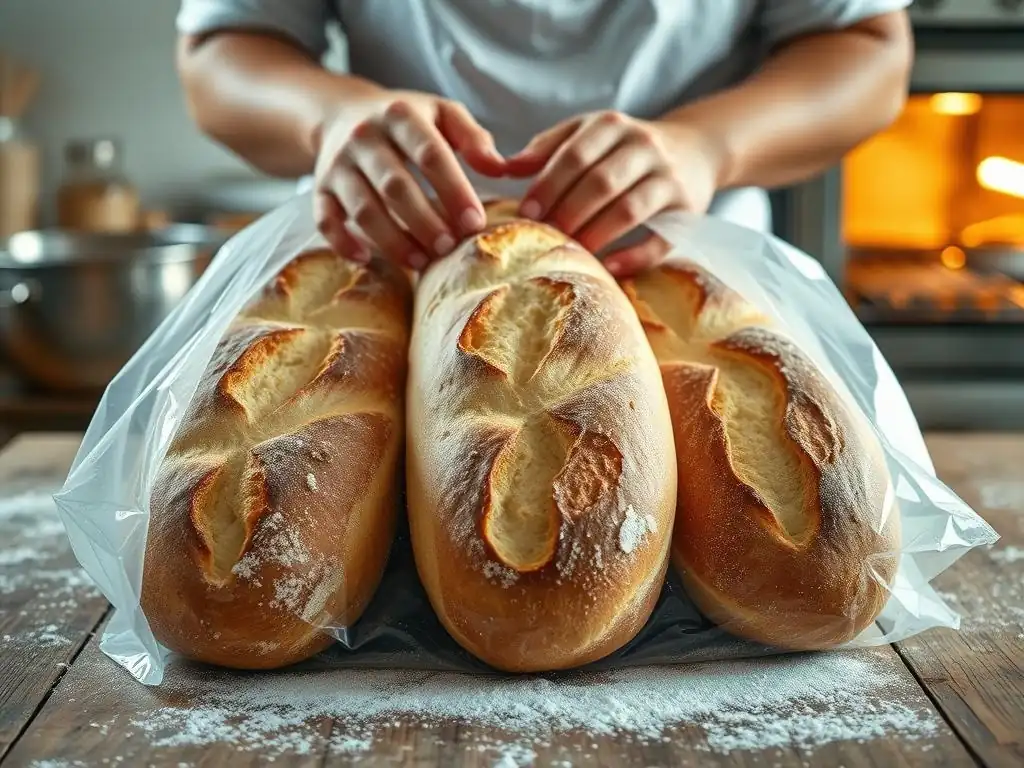
One of the often-overlooked benefits of cold proofing baguette dough is its utility as a time-management tool for home bakers. While the total fermentation time is much longer, the active time you spend working with the dough is spread out and can be scheduled around your life. Instead of needing to be home for several hours for mixing, kneading, bulk fermentation, shaping, and final proofing all in one day, cold proofing allows you to break up the process.
For example, you could mix and knead the dough in the evening, perform a few stretch and folds, and then place it in the refrigerator for a long cold proof overnight and throughout the next day (e.g., 12-24 hours). The following evening, you can shape the baguettes and place them back in the fridge for another cold proof (e.g., another 12-24 hours). This means you can bake fresh baguettes in the morning with minimal effort – just take them from the fridge, score, and bake. This flexibility is a major advantage of mastering cold proofing baguette dough.
Freezing Cold Proofed Baguettes: A Convenient Option
For ultimate convenience, you can even freeze cold proofed baguettes before baking. This allows you to have ready-to-bake baguettes available whenever the craving strikes. After cold proofing your shaped baguettes (they should be well-proofed but not over-proofed), place them on a baking sheet lined with parchment paper and freeze them uncovered until solid, which typically takes 2-3 hours.
Once frozen, transfer the solid baguettes to airtight freezer bags or wrap them tightly in plastic wrap and then foil to prevent freezer burn. They can be stored in the freezer for up to 2-3 weeks. To bake from frozen, preheat your oven and baking stone/steel as usual, adding an extra 10-15 minutes to the preheating time.
Place the frozen, scored baguettes directly onto the hot baking surface (no need to thaw) and bake as you normally would, adding a few extra minutes to the baking time until they are golden brown and cooked through. This is a fantastic way to maximize efficiency with cold proofing baguette dough.
Maximizing Efficiency with Cold Proofing
Beyond simple scheduling, cold proofing baguette dough allows for several efficiencies. Since the dough is less sticky and firmer when cold, shaping becomes much easier and faster, especially for beginners working with high-hydration dough. You can often handle the dough with less flour, resulting in a cleaner workspace and potentially better crust development.
Furthermore, preparing a larger batch of dough and cold proofing it allows you to bake baguettes over several days. For example, you could make enough dough for six baguettes, cold proof it in bulk, divide and shape all six, and then bake three on day two and keep the remaining three in the refrigerator for baking on day three or even day four.
This staggered baking approach means you can enjoy fresh, perfectly proofed baguettes without having to start the dough-making process from scratch every time. This flexibility and ease of handling are key reasons why many home bakers adopt cold proofing baguette dough as their preferred method.
Advanced Cold Proofing Techniques for Baguettes
Using a Controlled Temperature Refrigerator
For bakers seeking ultimate consistency and control over their cold proofing baguette dough, using a dedicated, controlled-temperature refrigerator or wine cooler can be beneficial. Standard home refrigerators can have temperature fluctuations depending on how full they are, how often the door is opened, and where items are placed. A unit designed to maintain a precise temperature, often within ±1°C, provides a much more stable environment for slow fermentation.
These units allow you to set and maintain a specific temperature, for instance, exactly 4°C (39°F). This eliminates the variable of temperature fluctuation, making your cold proofing times more predictable and your results more consistent from batch to batch. While not strictly necessary for successful cold proofing baguette dough, a controlled temperature environment is a tool used by professional bakeries and serious home bakers aiming for the highest level of precision and repeatability in their artisan bread making.
Monitoring Dough Temperature During Cold Proofing
Even within a seemingly stable refrigerator, the temperature of the dough itself can be slightly different from the ambient air temperature, especially with a large mass of dough. For advanced consistency, some bakers monitor the internal temperature of their cold proofing baguette dough using a probe thermometer. This helps confirm that the dough is reaching and maintaining the desired cold temperature range (3-5°C or 37-41°F).
Monitoring dough temperature is particularly useful if you are experimenting with different sized batches or proofing containers, as these can affect how quickly the dough chills down. Knowing the exact dough temperature allows you to correlate it precisely with fermentation activity and adjust proofing times accordingly. While not a step for beginners, understanding and monitoring dough temperature adds another layer of control for those looking to perfect their cold proofing baguette dough process.
Adjusting Recipe Based on Cold Proofing Time
As you gain experience with cold proofing baguette dough, you can begin to adjust your recipe components, particularly the amount of yeast, based on your desired cold proofing time. For shorter cold proofs (12-18 hours), you might use a standard amount of instant dry yeast (e.g., 0.5-0.7% of the flour weight) or active dry yeast (requiring activation).
However, if you plan for a very long cold proof (48-72 hours or even longer), you will need to significantly reduce the amount of yeast to prevent over-proofing. For extended cold fermentations, the amount of instant dry yeast might be as low as 0.1-0.2% of the flour weight.
Using a sourdough starter, which has a slower and more complex fermentation profile, is also ideal for very long cold proofs. Adjusting the yeast quantity is a key advanced technique to ensure your cold proofing baguette dough is perfectly fermented at your chosen baking time, regardless of whether it's 12 or 72 hours later.
Frequently Asked Questions
What exactly is cold proofing baguette dough?
Cold proofing is a fermentation process where baguette dough is allowed to rise slowly in the refrigerator for an extended period, typically overnight or longer. This slow fermentation develops more complex flavors.
Why should I cold proof my baguette dough?
Cold proofing significantly enhances the flavor profile of baguettes. It also offers the advantage of flexible baking schedules, allowing you to prepare the dough in advance.
How long should I cold proof my baguette dough for optimal results?
Generally, cold proofing for 12 to 24 hours yields the best results for baguette dough. However, you can experiment with longer durations, up to 48 hours, depending on your preference.
Does cold proofing change the texture of the baguette?
Yes, cold proofing can improve the texture of the baguette. The extended fermentation contributes to a more open crumb structure and a chewier crust.
What are some key considerations when cold proofing baguette dough?
Ensure your refrigerator is at the correct temperature (around 4°C or 40°F). Also, cover the dough well to prevent it from drying out during the cold proofing process.
Final Reflection: The Transformative Power of Cold Proofing
Cold proofing baguettes isn't just a baking technique; it's a gateway to unlocking unparalleled flavor and reclaiming precious time in your kitchen. The convenience and superior results this method offers are reshaping the way home bakers approach this classic bread, proving that sometimes, the simplest adjustments yield the most rewarding outcomes.
The impact of cold proofing extends beyond the individual baker; it represents a shift in our relationship with food preparation. It speaks to a growing desire for efficiency without sacrificing quality, a sentiment echoed in many aspects of modern life. Slow is smooth, smooth is fast.
This adage, often associated with tactical operations, perfectly encapsulates the surprising efficiency of cold proofing. While the process takes longer overall, the hands-on time is significantly reduced, allowing for greater flexibility and less stress in the baking process.
Now, consider your own baking routine. Are you ready to embrace a method that elevates your bread-making experience? Try cold proofing your next baguette. Experience the difference in flavor, the ease of scheduling, and the quiet satisfaction of crafting something truly delicious with a little patience and planning. The journey to a perfect baguette begins with a single, well-chilled dough.
Unlock the Secrets of Effortless, Flavorful Baguettes
Thanks for taking the time to explore the world of cold-proofed baguettes! You've just discovered a game-changing technique for achieving bakery-quality bread with less effort. Now it's time to put your new knowledge into practice.
- Bake your first cold-proofed baguette: This is the ultimate test! Follow the recipe again, paying attention to the subtle nuances you've learned. Don't be afraid to experiment!
- Share your results: Snap a picture of your beautiful loaf and share it on social media using #BakeWithEaseColdProof. Let's inspire others!
- Dive deeper into sourdough: Cold-proofing works wonders with sourdough starters too! Consider exploring our advanced sourdough techniques for an even more rewarding baking journey.
Ready to transform your baking routine and wow your taste buds? What will your first cold-proofed creation be?