
Hand Mixing Baguette Dough: A Therapeutic Approach

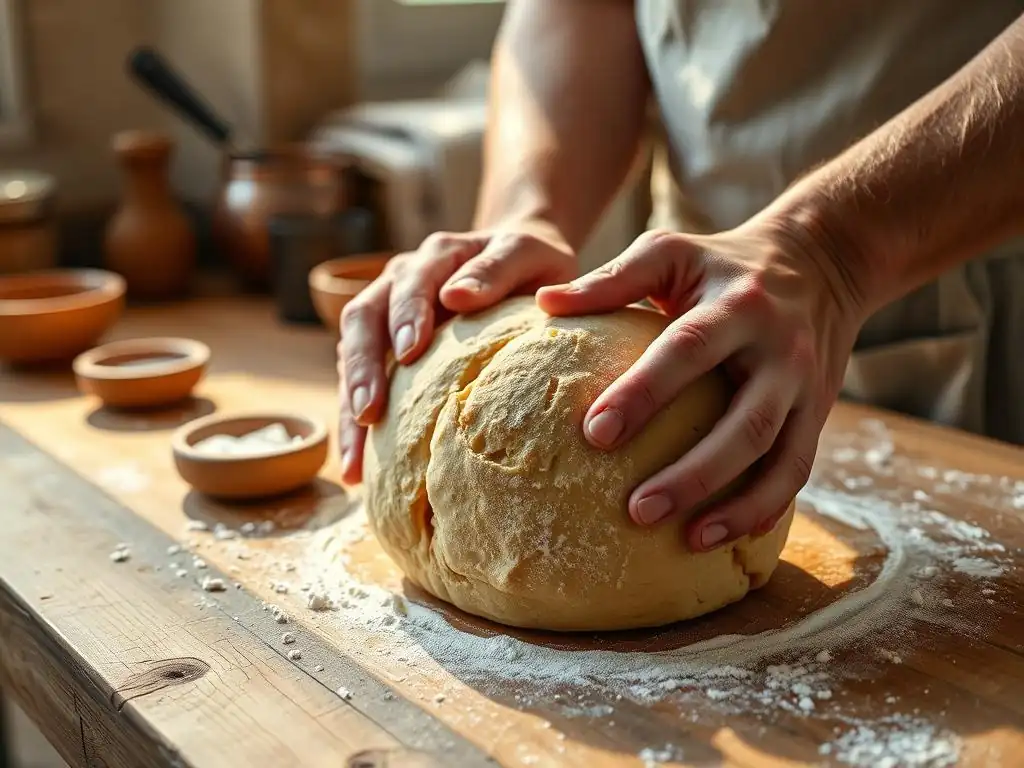
Welcome to BakeWithEase, your partner in crafting delicious baked goods! Ever wondered if you could achieve bakery-quality baguettes without the need for fancy equipment? This article dives deep into the satisfying and surprisingly simple method of hand mixing baguette dough. Discover how this therapeutic approach can elevate your bread baking skills and yield incredible results. Intrigued? Read on to unlock the secrets to perfectly hand-mixed baguettes!
- Hand Mixing Sourdough Bread: A Guide to Rustic Loaves
- The Joy of Hand Mixing Sourdough: A Baker's Connection
- Why Hand Mixing Sourdough is Rewarding
- Essential Ingredients for Hand Mixed Sourdough
-
Step-by-Step Guide to Hand Mixing Sourdough
- Preparing Your Starter and Workspace
- Combining Flour and Water: The Autolyse Stage
- Incorporating Starter and Salt: Achieving a Cohesive Dough
- Hand Kneading Techniques: [Stretch and Fold, Rubaud Method]
- Bulk Fermentation: The First Rise and Flavor Development
- Folding the Dough: Strengthening Gluten and Enhancing Structure
- Shaping the Loaf: Creating Tension and Structure
- Proofing: The Final Rise Before Baking
- Baking Your Hand Mixed Sourdough Loaf
- Troubleshooting Common Issues with Hand Mixed Sourdough
- Tips for Perfecting Your Hand Mixed Sourdough
- Enjoying Your Homemade Hand Mixed Sourdough
-
Frequently Asked Questions
- How does hand mixing baguette dough enhance the baking process?
- Why is hand mixing recommended for beginner bakers learning to make baguettes?
- What are the key differences between hand mixing and using a stand mixer for baguette dough?
- What are some essential tips for successfully hand mixing baguette dough?
- How long should I hand mix baguette dough to achieve the desired gluten development?
- Final Reflection: The Knead to Connect: Finding Therapy in Dough
- Unleash Your Inner Boulanger: Knead Your Way to Calm
Hand Mixing Sourdough Bread: A Guide to Rustic Loaves
The Joy of Hand Mixing Sourdough: A Baker's Connection
There's a unique satisfaction that comes from making bread with your hands, especially when working with a living sourdough starter. Hand mixing sourdough bread isn't just a method; it's an intimate dance between baker, dough, and time. It connects you directly to the process, allowing you to feel the dough change as gluten develops, hydration levels equalize, and fermentation progresses. This tactile experience provides feedback that a machine simply cannot replicate, fostering a deeper understanding of the craft.
Engaging in the practice of hand mixing sourdough bread also offers a welcome break from the fast-paced digital world. It requires focus, patience, and presence. The rhythmic motion of kneading or folding becomes a form of meditation, transforming the simple act of combining flour and water into a therapeutic endeavor. For many bakers, this is where the true magic of artisan bread making lies – in the physical connection and the mindful journey from simple ingredients to a beautiful, rustic loaf.
Why Hand Mixing Sourdough is Rewarding
The Mindful Rhythm of Bread Making
Hand mixing sourdough bread encourages a slower, more deliberate pace in the kitchen. Unlike the rapid whirring of a stand mixer, the manual process invites you to become fully engaged with the dough. This mindful approach allows you to observe subtle changes – the dough's stickiness, its elasticity, the way it responds to your touch. Spending even just 10-15 minutes actively working the dough by hand can be a grounding experience, turning a necessary step into a moment of focused creativity.
This rhythmic engagement with the dough also helps develop a baker's intuition. You learn to recognize when the dough is properly hydrated by how it feels, rather than relying solely on percentages. You sense when the gluten is sufficiently developed through the changing texture, feeling it transition from a shaggy mass to a smooth, pliable ball. This sensory feedback loop is invaluable for adjusting techniques on the fly, leading to more consistent and successful bakes over time.
Connecting with the Starter: A Living Culture
Working with sourdough is inherently about nurturing a living culture, and hand mixing sourdough bread amplifies this connection. Your sourdough starter, a vibrant community of wild yeasts and lactic acid bacteria, directly influences the dough's behavior and flavor. When you hand mix, you feel the starter integrating into the flour and water, sensing its effervescence and the subtle changes it brings to the dough's structure and aroma from the very beginning.
This tactile interaction reinforces the understanding that your starter is a crucial, active ingredient. You might feel the tiny bubbles of CO2 being produced by the yeast as you handle the dough during bulk fermentation, a direct result of your starter's activity. Maintaining a healthy starter, perhaps one fed daily with a 1:1:1 ratio of starter, flour, and water, and feeling its vigor transfer to the dough through hand mixing creates a powerful link to the natural fermentation process that defines sourdough.
Slow Fermentation: Developing Complex Flavors
Hand mixing sourdough bread often goes hand-in-hand with longer, slower fermentation periods, which are essential for developing the characteristic complex flavors of sourdough. While the mixing itself might take only a short time, the subsequent bulk fermentation and proofing stages, typically lasting several hours at room temperature (e.g., 4-6 hours at 75°F) or even extended cold fermentation in the refrigerator (e.g., 12-18 hours at 38°F), are where much of the magic happens.
During this slow fermentation, the lactic acid bacteria in your starter convert sugars into lactic and acetic acids. Lactic acid contributes a milder, yogurt-like tang, while acetic acid provides a sharper, vinegary note. The balance between these acids, influenced by temperature and time, creates the unique sourness and depth of flavor in sourdough. Hand mixing allows you to gently handle the dough throughout this process, preserving the delicate gas network created by the yeast, which contributes to a better crumb structure and allows these complex flavors to fully develop.
Essential Ingredients for Hand Mixed Sourdough
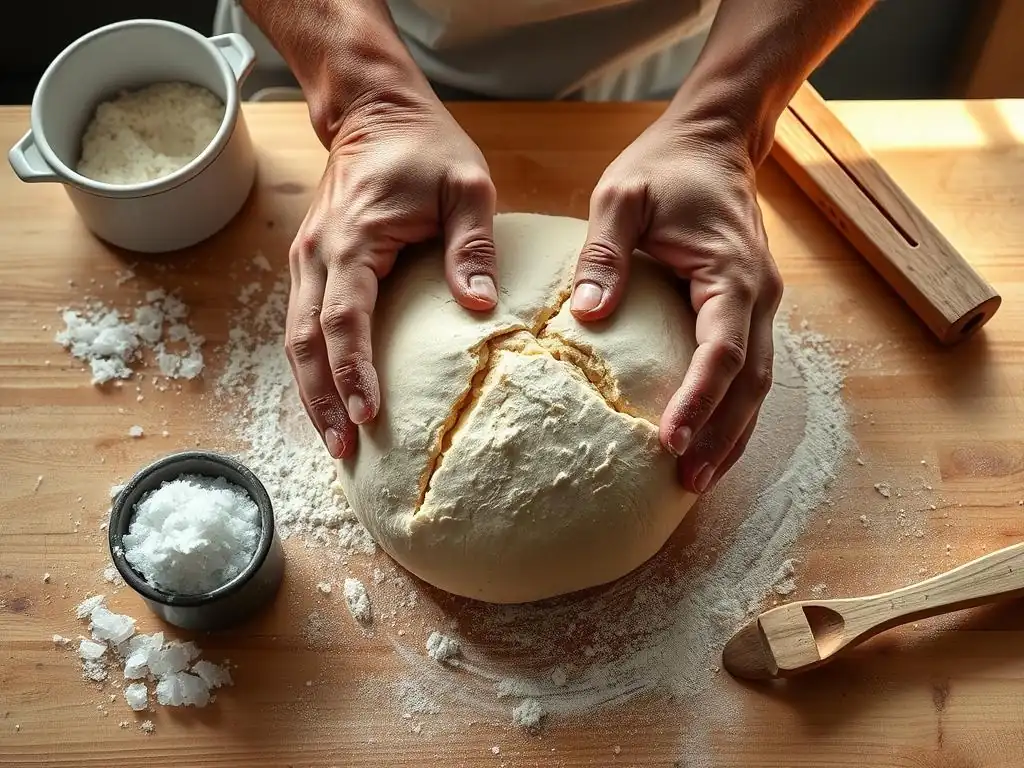
Bread Flour: Strength and Structure
The foundation of any great loaf of hand mixed sourdough bread is high-quality bread flour. This type of flour is specifically milled to have a higher protein content, typically ranging from 12% to 14%. This elevated protein level is crucial because protein forms gluten when hydrated and worked. Gluten provides the dough with elasticity and extensibility, allowing it to trap the gases produced by the sourdough starter during fermentation.
Using a strong bread flour makes hand mixing sourdough bread easier and more effective. The dough develops structure more readily, becoming less sticky and more manageable as you knead or fold. While all-purpose flour can be used, it generally contains less protein (around 10-12%) and may result in a weaker dough that is harder to handle by hand and produces a less airy crumb. For best results, look for unbleached bread flour from a reputable mill.
Water: Hydration and Dough Consistency
Water is more than just a liquid in sourdough; it's a critical component for activating the gluten in the flour and providing the necessary environment for the sourdough starter's activity. The ratio of water to flour, known as hydration, significantly impacts the dough's consistency and the final loaf's characteristics. Typical sourdough hydration levels for hand mixing often range from 70% to 80%, meaning for every 1000g of flour, you would use 700g to 800g of water.
The temperature of the water also plays a role, influencing the dough's final temperature and thus the fermentation rate. Using slightly warm water (around 80-85°F) can help kickstart fermentation, especially in cooler environments. However, the exact amount of water needed can vary based on the flour's absorption rate, humidity, and personal preference. Learning to read the dough's feel while hand mixing sourdough bread is key to adjusting hydration effectively.
Sourdough Starter: The Heart of the Loaf
Your active, bubbly sourdough starter is the leavening agent and the source of flavor in hand mixed sourdough bread. It's a symbiotic culture of wild yeasts and lactic acid bacteria cultivated from flour and water. A healthy starter, typically fed regularly (e.g., every 12-24 hours when kept at room temperature) and showing signs of activity like doubling in size and having a pleasant, slightly tangy aroma, is essential for successful fermentation and oven spring.
The amount of starter used relative to the flour (starter inoculation rate) also affects fermentation speed. A common ratio might be 20% starter (200g starter for 1000g flour), leading to a moderate fermentation time. Using less starter will slow fermentation down, while more will speed it up. The age and maturity of your starter (many bakers find starters over 6 months old perform best) contribute significantly to the flavor complexity of your hand mixed sourdough bread.
Salt: Flavor and Fermentation Control
Salt is a vital ingredient in hand mixed sourdough bread, serving multiple purposes beyond just enhancing flavor. Typically added at a rate of around 2% of the flour weight (e.g., 20g for 1000g flour), salt strengthens the gluten structure, making the dough easier to handle and contributing to a better crumb. It also helps control the rate of yeast and bacterial activity, preventing the dough from fermenting too quickly and allowing for more balanced flavor development.
Without salt, sourdough bread would taste bland and fermentation would be erratic. It tightens the gluten network, which is particularly helpful when hand mixing higher hydration doughs, as it makes them less sticky and more manageable. It's important to add the salt after the autolyse phase (where flour and water rest), as salt can inhibit the initial water absorption by the flour. Ensure you use non-iodized salt, such as fine sea salt or kosher salt, as iodine can negatively impact yeast activity.
Step-by-Step Guide to Hand Mixing Sourdough
Preparing Your Starter and Workspace
Before you begin hand mixing sourdough bread, ensure your sourdough starter is active and ready. Feed your starter 4-12 hours before you plan to mix, depending on its usual activity level and the ambient temperature. It should be bubbly, ideally having doubled or nearly tripled in size, and pass the float test (a small dollop should float in water). Weigh out all your ingredients precisely: flour, water, salt, and active starter.
Prepare your workspace by clearing a clean area on your counter or a large bowl for mixing. You'll need a scale, a bowl scraper or bench scraper, and potentially a clean towel or plastic wrap for covering the dough. Having everything measured and ready before you start makes the hand mixing process smooth and enjoyable. A clean, slightly damp surface can help prevent the dough from sticking excessively during kneading.
Combining Flour and Water: The Autolyse Stage
The autolyse is a simple yet powerful technique that greatly benefits hand mixing sourdough bread. Combine the flour and water in your mixing bowl or directly on your clean counter. Mix them by hand just until no dry flour remains. The mixture will look shaggy and unappealing – this is normal. Do not add the starter or salt yet.
Cover the bowl or dough and let it rest for 30 minutes to an hour. During this rest period, the water hydrates the flour, initiating gluten development naturally without any mechanical work. This makes the dough much easier to handle and knead by hand later, and it also helps improve the extensibility of the dough, leading to a better final crumb structure.
Incorporating Starter and Salt: Achieving a Cohesive Dough
After the autolyse, it's time to incorporate the active sourdough starter and salt. Add the starter directly onto the dough, then sprinkle the salt over it. Now, begin the hand mixing process. You can do this in the bowl or on the counter. Use a "pincer" method, squeezing and tearing the dough between your fingers to distribute the starter and salt evenly.
Continue mixing and folding the dough over itself. It will likely feel very wet and sticky at first, especially with higher hydration doughs. Keep working it, scraping any dough from your hands and the surface back into the mass. Within 5-10 minutes of this initial mixing, the dough should start to come together, feeling slightly less shaggy and beginning to form a more cohesive mass. Resist the urge to add more flour unless the dough is absolutely unmanageable; stickiness is part of the process, especially when hand mixing sourdough bread.
Hand Kneading Techniques: [Stretch and Fold, Rubaud Method]
Once the starter and salt are incorporated, you'll need to develop the gluten structure. There are several effective hand kneading techniques for sourdough:
- Stretch and Fold: This is a gentle technique often used for high-hydration doughs. Moisten your hands slightly. Grab one edge of the dough, stretch it upwards without tearing, and fold it back over the center. Rotate the bowl or dough and repeat 3-4 times to complete one set of folds. Let the dough rest for 15-30 minutes between sets.
- Rubaud Method: This is a more vigorous method performed in a bowl. Wet your hands. Reach under the dough, grab a large section, and lift it high, allowing the excess dough to fall back into the bowl. Stretch the lifted dough and fold it over the mass in the bowl. Repeat this motion rapidly for 10-15 minutes, rotating the bowl as you work. The dough will initially feel very loose and sticky but will gradually gain structure and become smoother.
Choose the method that feels most comfortable for you and suits the dough's hydration level. Perform enough kneading or sets of folds until the dough starts to feel more elastic and passes a basic windowpane test (you can gently stretch a small piece thin enough to see light through it without tearing).
Bulk Fermentation: The First Rise and Flavor Development
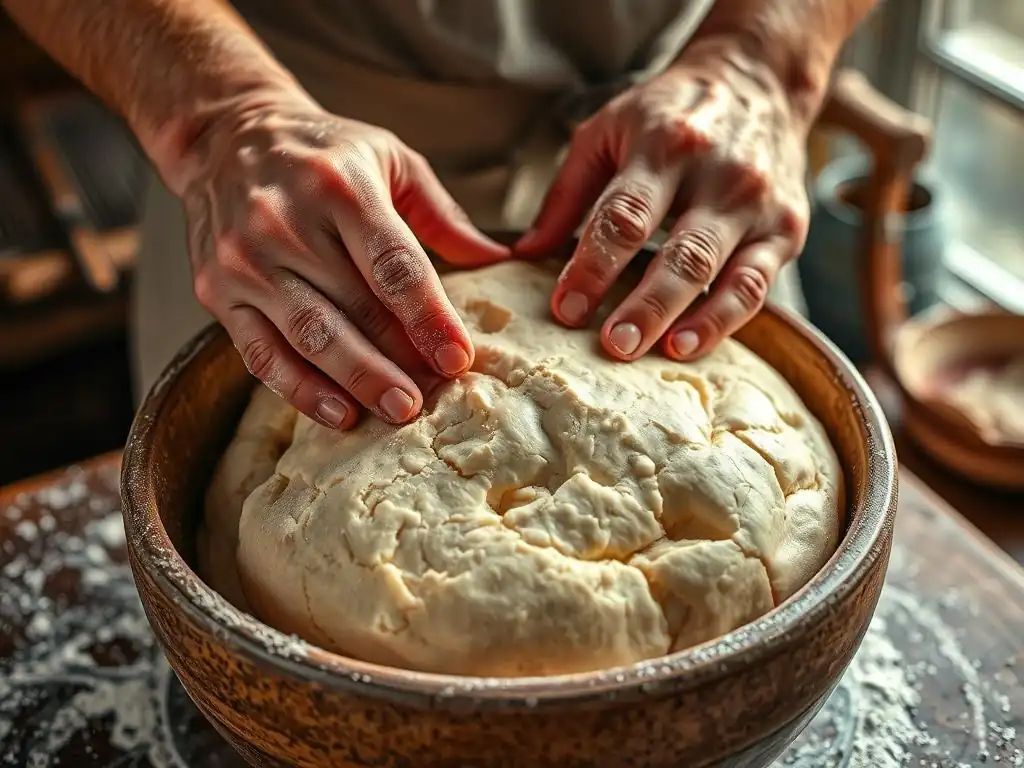
Bulk fermentation, also known as the first rise, is a crucial period where the sourdough starter works to leaven the dough and develop flavor. After the initial mixing and kneading, place the dough in a lightly oiled container large enough to allow for significant expansion. Cover it tightly.
The duration of bulk fermentation depends heavily on the ambient temperature and the activity of your starter. At a warm room temperature of 75°F (24°C), bulk fermentation might take 4-6 hours. In cooler conditions (68°F or 20°C), it could take 8-12 hours or even longer. During this time, the dough should increase in volume by 50% to 100%, feel noticeably lighter and airy, and show signs of gas production like bubbles on the surface. This phase is essential for achieving the open, airy crumb characteristic of hand mixed sourdough bread.
Folding the Dough: Strengthening Gluten and Enhancing Structure
During the first few hours of bulk fermentation, performing a series of folds is beneficial, especially when hand mixing sourdough bread. These folds strengthen the gluten network further, redistribute the yeast and bacteria for more even fermentation, and help build tension in the dough. Typically, you would perform 3-5 sets of folds during the first 2-3 hours of bulk fermentation, with 30-minute intervals between each set.
To perform a fold, lightly moisten your hands. Gently lift one side of the dough from the container, stretch it upwards, and fold it over the center. Rotate the container 90 degrees and repeat with the next side. Continue for all four sides to complete one set. You will feel the dough gain tension and become smoother with each set of folds. As fermentation progresses, the dough will become more fragile, so subsequent folds should be very gentle or omitted entirely in the later stages.
Shaping the Loaf: Creating Tension and Structure
Once bulk fermentation is complete, gently turn the dough out onto a lightly floured surface. Be careful not to degas it excessively. Preshape the dough into a round or rough rectangle depending on your final desired shape (bâtard or boule). Let the preshaped dough rest for 20-30 minutes, uncovered, to allow the gluten to relax – this step is called bench rest.
After the bench rest, it's time for the final shaping. The goal is to create surface tension, which helps the loaf hold its shape during proofing and baking and contributes to good oven spring. For a boule (round loaf), gently pull the edges towards the center and then flip the dough over, using your hands to gently tuck and pull the dough underneath itself to create a tight, smooth surface.
For a bâtard (oval loaf), fold the top third down, fold the bottom third up over that, and then fold the dough in half lengthwise, sealing the seam. Place the shaped dough seam-side up into a well-floured proofing basket (banneton).
Proofing: The Final Rise Before Baking
Proofing is the final rise before your hand mixed sourdough bread goes into the oven. This stage allows the dough to increase in volume further and develop its final structure. The shaped loaf is typically placed in a floured proofing basket and covered. Proofing can be done at room temperature or in the refrigerator (cold proofing).
Room temperature proofing is faster, taking perhaps 2-4 hours at 75°F (24°C), but requires careful monitoring to avoid over-proofing. Cold proofing in the refrigerator (around 38°F or 3°C) is much slower, often taking 12-18 hours or even longer. Cold proofing has the added benefit of developing more complex flavors and making the dough easier to score. The dough is ready to bake when it has increased significantly in volume (but not necessarily doubled) and passes the "poke test" – when gently poked, the indentation should spring back slowly, not immediately.
Baking Your Hand Mixed Sourdough Loaf
Preheating Your Oven: Achieving Optimal Spring
Achieving a great crust and significant oven spring requires a very hot oven. Preheat your oven with your baking vessel inside – typically a Dutch oven or a baking stone/steel with a steam setup – to a high temperature, usually between 450°F and 500°F (230°C to 260°C). Allow the oven and the vessel to preheat for at least 30-60 minutes after it reaches the set temperature. This ensures the vessel is uniformly hot, providing the necessary thermal shock to the dough when it's placed inside.
A properly preheated oven provides the initial burst of heat that causes the rapid expansion of gases within the dough, leading to oven spring. This high temperature also helps set the crust quickly while the interior continues to expand. Skipping this crucial preheating step will result in less dramatic oven spring and a potentially thicker, less desirable crust on your hand mixed sourdough bread.
Scoring the Loaf: Controlling Expansion and Creating Art
Just before baking, the cold-proofed dough is turned out of the proofing basket onto parchment paper or directly into the hot baking vessel. Scoring the loaf with a sharp blade (a razor blade or lame is ideal) is essential. These cuts are not just for aesthetics; they control where the loaf expands during baking. Without scoring, the crust would tear unpredictably.
Score the dough with quick, confident strokes about 1/2 inch deep. Simple cuts like a single long slash down the center of a bâtard or a cross on a boule are common. More intricate patterns can be created for artistic effect. The scoring allows the dough to expand upwards and outwards evenly during the intense heat of the oven, contributing significantly to the final shape and volume of your hand mixed sourdough bread.
Baking Temperature and Time: Achieving a Golden Crust
Baking time and temperature are critical for a well-cooked loaf with a beautiful crust. A common method involves baking in a preheated Dutch oven. Place the scored loaf into the hot Dutch oven, put the lid on, and bake at a high temperature (e.g., 450°F or 230°C) for the first 20 minutes. The lid traps steam released from the dough, keeping the crust soft and allowing the loaf to expand fully.
After the initial covered period, remove the lid and reduce the oven temperature slightly (e.g., to 425°F or 220°C). Continue baking for another 20-25 minutes, or until the crust is deep golden brown and the internal temperature of the loaf reaches 200-210°F (93-99°C). Baking uncovered at a slightly lower temperature allows the crust to crisp up and develop its final color and texture.
Steam Creation: The Secret to a Crispy Crust
Steam in the oven during the initial phase of baking is the key to achieving a thin, crispy crust on your hand mixed sourdough bread. High heat causes the water in the dough to turn to steam. Trapping this steam around the loaf keeps the surface moist and pliable, preventing the crust from setting too early. This allows the dough to expand maximally during oven spring before the crust hardens.
Using a Dutch oven with a lid is the most effective home baking method for trapping steam. Alternatively, if baking on a stone or steel, you can create steam by placing a tray of hot water on a rack below the baking surface or by carefully pouring hot water into a preheated cast iron pan placed on the bottom rack just as you load the bread.
Ensure the oven door is closed quickly to trap the steam. After the first 20 minutes, the steam source is removed (lid off Dutch oven, water tray removed) to allow the crust to dry and crisp.
Troubleshooting Common Issues with Hand Mixed Sourdough
Flat Loaf: Starter Activity and Proofing Time
One of the most common frustrations when hand mixing sourdough bread is a loaf that spreads wide instead of rising upwards, resulting in a flat profile. This is often caused by issues with starter activity or proofing time. If your starter wasn't vigorous enough when added to the dough, it won't produce enough gas to give the loaf structure and lift during fermentation and baking. Ensure your starter is active and bubbly, ideally having doubled in size after a recent feeding, before you mix your dough.
Alternatively, a flat loaf can be a sign of over-proofing. If the dough proofs for too long, the gluten structure weakens, and the yeast exhausts its food supply, causing the dough to collapse. While a dough that has bulk fermented for 6 hours at room temp and then proofed for another 4 hours might seem ready, if the ambient temperature is too high or the starter is exceptionally vigorous, it could be over-proofed.
The poke test is a good indicator: if the indentation springs back immediately, it's under-proofed; if it stays completely, it's over-proofed. A slow spring-back indicates it's ready.
Dense Crumb: Over-Kneading or Under-Proofing
A dense crumb, lacking the airy pockets characteristic of artisan sourdough, can be a result of either over-kneading or under-proofing when hand mixing sourdough bread. While kneading is necessary to develop gluten, excessive kneading can actually break down the gluten structure, making it unable to hold gas effectively. If you knead vigorously for 20+ minutes without checking dough development, you might risk over-kneading. The dough will feel tight and resistant.
More frequently, a dense crumb is due to under-proofing. If the dough hasn't fermented long enough during bulk fermentation or final proofing (e.g., only 2 hours of bulk fermentation at 70°F when it needed 4), the yeast hasn't produced enough CO2 to create a light, open structure. The dough will feel heavy and not significantly increased in volume. Allowing sufficient time for fermentation, guided by dough feel and volume increase rather than strictly by the clock, is crucial for an open crumb.
Gummy Texture: Under-Baking or Too Much Moisture
If your hand mixed sourdough bread has a moist, chewy, or even gummy texture inside after cooling, it's typically a sign of under-baking or potentially too high hydration for your flour's absorption capacity. Sourdough requires adequate time in the oven for the internal structure to set and for excess moisture to evaporate. Pulling the loaf out too soon, even if the crust looks done, can leave the interior undercooked.
Ensure you bake your loaf until the internal temperature reaches 200-210°F (93-99°C). Using an instant-read thermometer is the most reliable way to check for doneness. Also, allowing the loaf to cool completely on a wire rack for at least 2-3 hours before slicing is critical; the internal cooking process continues as it cools, and slicing too early will release steam prematurely, resulting in a gummy texture. If using a very high hydration (80%+) and your flour isn't highly absorbent, you might need to slightly reduce the water or bake a bit longer.
Sour Taste: Fermentation Time and Temperature
The level of sourness in hand mixed sourdough bread is primarily controlled by the fermentation time and temperature, particularly during the bulk fermentation and cold proofing stages. Lactic acid bacteria produce both lactic acid (milder sourness) and acetic acid (sharper sourness). Acetic acid production is favored by cooler temperatures and longer fermentation times.
If your bread is too sour, you might be fermenting for too long or at too cool a temperature. Try shortening the bulk fermentation time or fermenting at a slightly warmer temperature (e.g., 78°F instead of 70°F). Reducing the cold proofing time in the refrigerator can also decrease acetic acid production. Conversely, if you desire a more pronounced sour flavor, increase the cold proofing time or perform a longer bulk fermentation at a slightly cooler temperature. The ratio of flour types used (e.g., incorporating rye or whole wheat) can also influence sourness.
Tips for Perfecting Your Hand Mixed Sourdough
Starter Maintenance: Feeding and Activity
A strong, active sourdough starter is the backbone of successful hand mixing sourdough bread. Consistently feeding your starter is key. If you bake frequently (several times a week), keeping your starter at room temperature and feeding it once or twice daily is ideal. A common feeding ratio is 1:1:1 by weight (starter:water:flour). For less frequent baking, store your starter in the refrigerator and feed it weekly.
Before using a refrigerated starter for hand mixing sourdough bread, take it out and feed it 1-3 times at room temperature over 24-48 hours until it is consistently doubling or tripling in volume within 4-8 hours after feeding. This ensures it has the necessary vigor to leaven your dough effectively. Observe your starter's behavior; a healthy starter will have many bubbles and a pleasant, slightly tangy aroma.
Hydration Levels: Adjusting for Different Flours
The optimal hydration level for hand mixing sourdough bread isn't fixed; it depends significantly on the type of flour you use. Different flours absorb water differently. For example, whole wheat flour and rye flour absorb much more water than white bread flour due to the presence of the bran and germ. A dough made with 75% hydration using white bread flour will feel much wetter than a dough made with 75% hydration using a blend of 50% white and 50% whole wheat flour.
When working with flours other than white bread flour, you may need to increase the hydration to achieve a similar dough consistency. For instance, a dough with 30% whole wheat might perform well at 78% hydration, while a 100% white flour dough feels right at 72% hydration. Start with a moderate hydration level for a new recipe or flour type and adjust in future bakes based on how the dough feels during hand mixing – does it feel too stiff or too slack?
Reading the Dough: Understanding Fermentation
One of the greatest benefits of hand mixing sourdough bread is developing the ability to "read" the dough. Relying solely on timing can be misleading because fermentation speed is highly sensitive to temperature. Learn to assess the dough's progress by its feel, appearance, and volume. During bulk fermentation, the dough should become lighter, more airy, and show visible bubbles. Its volume should increase significantly (e.g., 50-100%).
The dough's texture will transition from dense and sticky to more pliable and smooth during the initial mixing and folding. During proofing, the dough should feel soft and slightly inflated. The poke test is invaluable here: a dough ready for baking will spring back slowly when gently poked, leaving a small indentation. If it springs back immediately, it needs more time; if it collapses, it's likely over-proofed. This tactile understanding is refined through practice.
Temperature Control: Managing the Fermentation Process
Temperature is arguably the single most important factor influencing the fermentation rate of hand mixed sourdough bread. Even a few degrees difference can significantly alter the time required for bulk fermentation and proofing. Yeast and bacteria are most active within specific temperature ranges. Warmer temperatures (around 75-80°F or 24-27°C) accelerate fermentation, while cooler temperatures (below 70°F or 21°C) slow it down.
If your kitchen is cool, fermentation will take longer. You can compensate by using slightly warmer water, placing the dough in a warmer spot (like inside a turned-off oven with the light on), or simply allowing more time. In warm kitchens, fermentation will be faster, requiring closer monitoring and potentially shorter fermentation times or cooler water. Understanding how temperature affects your dough allows you to better control the process and achieve consistent results with your hand mixed sourdough bread.
Enjoying Your Homemade Hand Mixed Sourdough
Serving Suggestions: [Pairing with Soups, Cheeses, and Spreads]
Your freshly baked hand mixed sourdough bread is a versatile delight, perfect for pairing with a wide array of foods. Its tangy flavor and sturdy crust make it an ideal companion for hearty soups and stews, providing a satisfying textural contrast and soaking up flavorful broths.
Consider serving slices alongside a cheese board featuring aged cheddars, creamy bries, or pungent blue cheeses; the acidity of the sourdough cuts through the richness beautifully. It's also fantastic with simple spreads like good quality butter, olive oil and balsamic vinegar, or various dips like hummus or baba ghanoush. For breakfast or brunch, toast thick slices and top with avocado, smoked salmon, or jam.
Storing Your Loaf: Maintaining Freshness
Proper storage is essential to keep your hand mixed sourdough bread fresh and its crust crispy. Once completely cooled (this is important! ), store the loaf at room temperature. Avoid refrigerating sourdough, as this actually accelerates staling.
For the first day, you can often leave the loaf cut-side down on a cutting board to keep the exposed crumb from drying out while preserving the crust. For longer storage, wrap the cooled loaf loosely in a clean linen towel or place it in a paper bread bag. Avoid airtight plastic bags, which trap moisture and soften the crust. If you won't finish the loaf within 2-3 days, slice it and freeze the slices in a freezer-safe bag or container for up to 3 months. You can then toast slices directly from frozen.
One of the most rewarding aspects of hand mixing sourdough bread is the opportunity to share the fruits of your labor. The process is a journey, and the destination – a beautiful, flavorful loaf – is meant to be enjoyed. Gifting a loaf to friends, family, or neighbors is a wonderful way to share the warmth and satisfaction of homemade baking.
Watching someone enjoy a slice of bread you mixed, kneaded, fermented, and baked by hand brings a unique sense of accomplishment. Sharing your hand mixed sourdough bread connects you with others and spreads the joy of this ancient and rewarding craft.
Frequently Asked Questions
How does hand mixing baguette dough enhance the baking process?
Hand mixing allows for greater control over the dough's development. You can feel the gluten forming, leading to a better understanding of the process and a more satisfying result. It's also a therapeutic and mindful experience.
Why is hand mixing recommended for beginner bakers learning to make baguettes?
Hand mixing provides a tactile learning experience that helps beginners understand the dough's feel and consistency. This understanding is crucial for identifying the correct hydration and gluten development, essential for successful baguettes.
What are the key differences between hand mixing and using a stand mixer for baguette dough?
Hand mixing requires more physical effort but offers greater control and feel. Stand mixers are convenient and faster, but may not provide the same level of sensory feedback about the dough's development.
What are some essential tips for successfully hand mixing baguette dough?
Use gentle folding motions rather than aggressive kneading. Ensure the dough is properly hydrated and allow for sufficient rest periods (autolyse). A dough scraper will be your best friend!
How long should I hand mix baguette dough to achieve the desired gluten development?
Generally, hand mixing baguette dough should take around 15-20 minutes to achieve sufficient gluten development. Look for a smooth and elastic texture. Remember to adjust based on your experience and the dough's feel.
Final Reflection: The Knead to Connect: Finding Therapy in Dough
The rhythmic act of hand-mixing baguette dough offers more than just a delicious loaf; it provides a tangible connection to a slower pace of life, a much-needed antidote to our increasingly digital world. In a time dominated by screens and instant gratification, the deliberate, mindful process of kneading dough offers a powerful counterpoint, a chance to reconnect with our hands, our senses, and the simple satisfaction of creating something beautiful from scratch.
The influence of this seemingly simple act extends beyond the kitchen. The focused attention required for hand-mixing dough fosters a meditative state, allowing for a release of stress and a cultivation of patience. The hands are the instruments of our soul.
This quote, though not directly about baking, perfectly encapsulates the profound connection between our physical actions and our inner selves, a connection deeply explored through the process of making bread. The tactile experience, the smell of the rising dough, the satisfying weight of the finished loaf – these are sensory experiences that ground us in the present moment and remind us of the beauty in simple, tangible things.
Now, consider your own hands. Think about the last time you truly engaged in a mindful activity, allowing yourself to be fully present in the moment. I invite you to try hand-mixing baguette dough. Embrace the mess, feel the resistance of the dough, and allow yourself to be fully present in the process. Discover the therapeutic power of this ancient craft, and rediscover the joy of creating something delicious and meaningful with your own two hands. The reward is not just a perfect baguette, but a deeper connection to yourself and the world around you.
Unleash Your Inner Boulanger: Knead Your Way to Calm
Thanks for taking the time to explore the therapeutic power of hand-mixing baguette dough! We hope you discovered a new appreciation for the process and its calming effects. Now it's time to put your newfound knowledge into action.
- Start kneading! Try your hand at making a baguette today—even a small one is a victory. Remember, the process is as important as the product.
- Share your baking journey! Post a picture of your dough on social media using #BakeWithEaseHandMix and inspire others to find their zen in the kitchen.
- Consider experimenting with different flours or hydration levels to see how it impacts the feel of the dough and your experience.
What unexpected benefits did you discover in the process of hand-mixing your dough? Share your thoughts below!