
Your Guide to Baking French Savory Palmiers (Palmiers Salés)

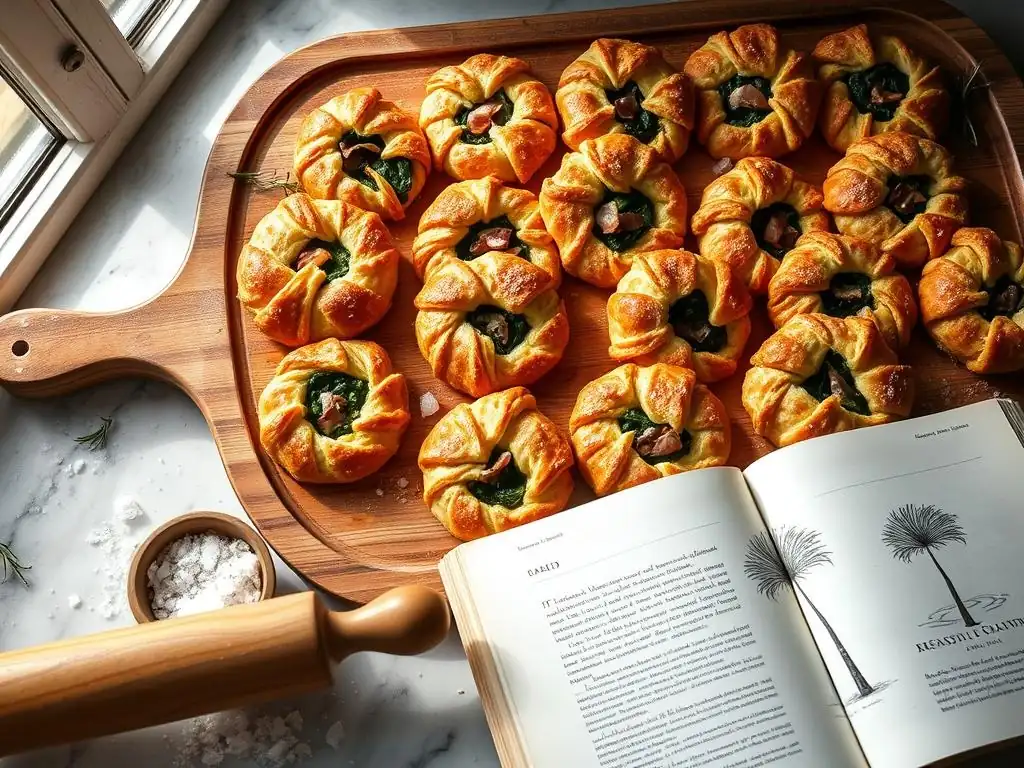
Welcome to BakeWithEase, your passport to the delightful world of baking! Ever dreamt of creating those elegant, flaky treats you've seen in Parisian patisseries? Prepare to be amazed at how simple it can be. Dive in now to discover our easy French palmiers recipe and unlock the secrets to crafting these savory delights in your own kitchen. What flavors will you create? Let's find out!
- Your Guide to Baking Cheese and Herb Savory Palmiers (Palmiers Salés) - BakeWithEase
- Introduction to Savory Palmiers: An Easy French Baking Classic
- Mastering the Easy French Palmiers Recipe: Ingredients and Equipment
- Step-by-Step Guide: Baking Your Own Savory Palmiers (Palmiers Salés)
- Tips and Tricks for Perfect Savory Palmiers Every Time
- Serving and Storing Your Homemade Palmiers Salés
- Troubleshooting Common Palmiers Baking Problems
- Enjoy Your Easy French Palmiers: A Taste of French Baking at Home!
-
Frequently Asked Questions
- What exactly are palmiers salés and how do they differ from regular palmiers?
- What kind of puff pastry should I use for an easy French palmiers recipe?
- Can I customize the flavors of my palmiers salés?
- What is the best way to store palmiers salés to maintain their crispness?
- What are some serving suggestions for easy French palmiers recipe?
- Final Reflection: The Enduring Allure of the Simple Palmier
- Unleash Your Inner Pâtissier: Master Savory Palmiers Today!
Your Guide to Baking Cheese and Herb Savory Palmiers (Palmiers Salés) - BakeWithEase
Introduction to Savory Palmiers: An Easy French Baking Classic
Discover the Delight of Palmiers Salés: A Quick and Elegant Appetizer
Savory Palmiers, known as Palmiers Salés in France, are a delightful twist on the classic sweet pastry. These elegant, palm-leaf shaped bites are made from flaky puff pastry, typically filled with cheese, herbs, spices, or even finely chopped meats or vegetables. They offer a sophisticated yet approachable appetizer or snack perfect for entertaining or simply elevating an afternoon tea. Their crisp texture and flavorful fillings make them instantly appealing, providing a satisfying crunch with every bite.
Originating from the simple technique of folding puff pastry, the savory version has gained popularity for its versatility. Unlike their sweet counterparts rolled in sugar, Palmiers Salés embrace a range of savory profiles. Imagine flaky layers infused with Parmesan cheese and rosemary, or perhaps sharp cheddar and a hint of cayenne pepper. This adaptability makes them a fantastic canvas for culinary creativity, allowing bakers to experiment with various flavors to suit any palate or occasion.
Why This Easy French Palmiers Recipe is Perfect for Any Occasion
This easy French palmiers recipe is a true gem for its simplicity and impressive results. Using store-bought puff pastry significantly cuts down on preparation time, making it accessible even for novice bakers. You can go from gathering ingredients to having golden, crispy palmiers ready to serve in under an hour, including baking time. This speed and ease make them ideal for impromptu gatherings, last-minute party contributions, or simply satisfying a craving for something delicious and elegant without spending hours in the kitchen.
Beyond their ease, these savory palmiers are incredibly versatile. They pair beautifully with a variety of dips, charcuterie boards, or as a sophisticated accompaniment to soups and salads. Their elegant shape and golden-brown finish give them a professional look, making them seem far more complicated to prepare than they actually are. Whether you're hosting a formal dinner party or looking for a simple yet delicious snack, mastering this easy French palmiers recipe ensures you have a go-to option that is always a crowd-pleaser.
Mastering the Easy French Palmiers Recipe: Ingredients and Equipment
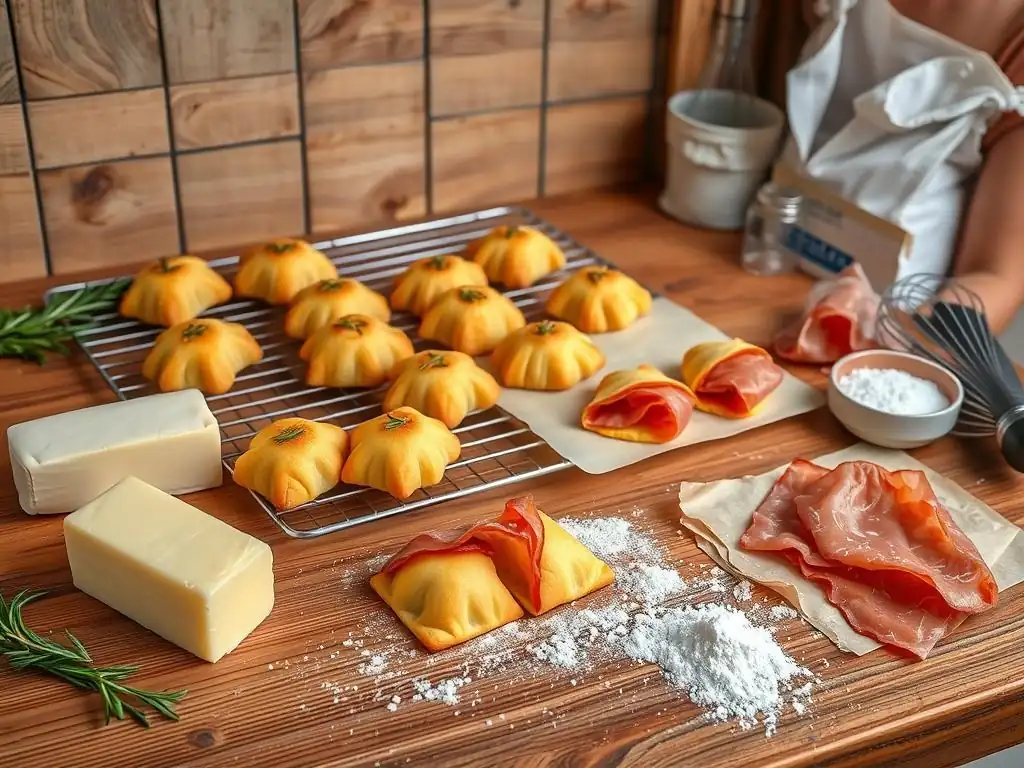
Essential Ingredients for Delicious Savory Palmiers
High-Quality Puff Pastry: The Foundation of Your Palmiers Salés
The cornerstone of any great savory palmier is high-quality puff pastry. While making puff pastry from scratch is a rewarding endeavor, using good store-bought, all-butter puff pastry is perfectly acceptable and makes this an incredibly easy French palmiers recipe. Look for brands that use real butter, as this contributes significantly to the flakiness and flavor compared to those made with vegetable shortening. A standard 14-ounce (approx. 400g) package, usually containing two sheets, is typically enough to yield about 24-30 palmiers, depending on how thinly you roll the pastry and the size of your cuts.
Ensure the puff pastry is thawed correctly according to package instructions, usually in the refrigerator overnight or at room temperature for about 30-40 minutes. Handling partially frozen or overly warm pastry can lead to difficulties in rolling and shaping, affecting the final texture. The goal is dough that is pliable but still cool, making it easy to work with and ensuring those signature flaky layers develop properly in the oven.
Flavorful Fillings: Choosing the Perfect Savory Ingredients
The beauty of Palmiers Salés lies in their adaptable fillings. For a classic cheese and herb version, you'll need finely grated hard cheese like Parmesan, Gruyère, or sharp cheddar, combined with finely chopped fresh herbs such as rosemary, thyme, oregano, or chives. A ratio of about 1/2 cup (approx. 50g) grated cheese mixed with 1-2 tablespoons of fresh herbs per sheet of puff pastry works well. You might also add a pinch of garlic powder, onion powder, or a tiny pinch of cayenne pepper for a subtle kick.
Other popular savory fillings include tapenade, pesto, sun-dried tomato paste, or a mixture of finely grated cheese and spices like smoked paprika or everything bagel seasoning. The key is to use ingredients that aren't too wet, as excess moisture can make the pastry soggy. Ensure cheeses are finely grated and other ingredients are finely chopped or pureed into a paste consistency that can be spread evenly over the pastry surface. This creates a uniform layer of flavor that becomes deliciously crisp as the palmiers bake.
Required Equipment for Baking Easy French Palmiers
Baking Sheet and Parchment Paper: Ensuring Even Baking
You will need one or two standard-sized baking sheets (approx. 13x18 inches or 33x46 cm) for baking your savory palmiers. The number depends on how many palmiers you make and the size of your oven. It's crucial not to overcrowd the baking sheets, as the palmiers will expand slightly as they bake, and air circulation is necessary for even cooking and crisping. Leaving adequate space, about 1-2 inches (2.5-5 cm) between each palmier, is important.
Lining your baking sheets with parchment paper is essential. Parchment paper prevents the palmiers from sticking to the pan, which can be particularly problematic with cheesy or sticky fillings. It also aids in even heat distribution, contributing to that desirable golden-brown color and crispy texture. Using parchment paper also makes cleanup significantly easier, a welcome bonus when you're enjoying the fruits of your easy French palmiers recipe.
Rolling Pin: Achieving the Perfect Palmiers Shape
A rolling pin is indispensable for preparing the puff pastry. You'll need to roll the thawed pastry slightly to ensure an even thickness and to create a rectangular shape that is easy to fold. A standard wooden or non-stick rolling pin works perfectly. The goal is to roll the pastry to a thickness of about 1/8 inch (approx. 3mm). This thickness is ideal for creating multiple thin, flaky layers when the dough is folded and baked.
Rolling the pastry evenly is key to achieving uniform palmiers that bake consistently. If the pastry is too thick in some areas, those parts may not cook through properly, while thinner sections could burn. A light dusting of flour on your work surface and rolling pin can help prevent sticking, but avoid using excessive flour, as it can make the pastry tough. Roll gently and evenly from the center outwards, aiming for a consistent rectangle.
Sharp Knife or Pizza Cutter: Precision for Clean Cuts
Once the pastry is rolled and filled, you'll need to cut it into individual palmier shapes. A sharp knife or a pizza cutter are the best tools for this task. A sharp knife provides clean cuts that help maintain the integrity of the layers, leading to flakier palmiers. Ensure the knife is sharp enough to cut straight through the rolled dough without dragging or compressing the layers.
Alternatively, a pizza cutter is excellent for speed and straight lines, especially when working with softer fillings. It allows you to quickly slice through the rolled dough logs into uniform pieces, typically about 1/2 inch (approx. 1.25 cm) thick. Consistent slice thickness is important for even baking – slices that are too thin will burn quickly, while thicker ones may not cook through. Whichever tool you choose, aim for swift, clean cuts to preserve the beautiful spiral shape of the palmier.
Step-by-Step Guide: Baking Your Own Savory Palmiers (Palmiers Salés)
Preparing the Puff Pastry for Palmiers Salés
Thawing Puff Pastry: The Key to Easy Handling
Properly thawing puff pastry is the critical first step in this easy French palmiers recipe. Frozen puff pastry should be thawed according to the package instructions. Typically, this means placing it in the refrigerator overnight. If you're in a hurry, you can thaw it at room temperature for about 30-40 minutes, or until it is pliable but still cool to the touch. Avoid using a microwave, as this can cook the pastry unevenly and ruin its delicate structure.
Once thawed, carefully unfold the pastry sheet onto a lightly floured surface. If the pastry cracks when unfolding, let it sit for a few more minutes at room temperature until it's more pliable. Working with pastry that is too cold will make it stiff and prone to breaking, while pastry that is too warm will become sticky and difficult to shape. The ideal consistency is cool, flexible, and easy to roll without excessive sticking.
Rolling Out the Puff Pastry: Achieving the Ideal Thickness
With the pastry thawed and unfolded, it's time to roll it out. Lightly dust your clean work surface and your rolling pin with flour. Place the pastry sheet on the floured surface and gently roll it into a rectangle, aiming for a thickness of about 1/8 inch (approx. 3mm). A typical sheet of store-bought puff pastry might start around 9x9 inches and be rolled out to approximately 10x14 inches or slightly larger, depending on the brand and how much you need to even out the shape.
The goal is to achieve an even thickness across the entire sheet. This uniformity ensures that all parts of the palmiers bake at the same rate. If the pastry is significantly thicker in some areas, those sections will require more baking time, potentially leading to the thinner parts burning. Take your time rolling, applying even pressure, and lifting and rotating the dough occasionally to prevent it from sticking to the surface.
Adding the Savory Filling: Creating Flavorful Palmiers
Spreading the Filling Evenly: Maximizing Flavor in Every Bite
Once the puff pastry is rolled to the desired thickness and size, it's time to add your savory filling. For a cheese and herb filling, evenly sprinkle the grated cheese and chopped herbs over the entire surface of the pastry rectangle, leaving a small border (about 1/2 inch or 1 cm) along one of the longer edges if you prefer a cleaner edge, though covering the entire surface often yields more flavorful palmiers. Gently press the filling into the pastry with your hands or the rolling pin.
Ensuring the filling is spread evenly is crucial for consistent flavor in every palmier. Avoid clumping the filling in one area, as this can cause issues during rolling and baking. If using a paste-like filling such as pesto or tapenade, use an offset spatula or the back of a spoon to spread a thin, even layer across the surface. A layer that is too thick can cause the filling to squeeze out during rolling and baking.
Rolling and Shaping the Palmiers: The Classic Palm Leaf Design
Now comes the signature part of this easy French palmiers recipe: the rolling. Imagine the rectangle of pastry laid out horizontally in front of you. Starting from one of the longer edges, tightly roll the pastry inwards towards the center. Stop when you reach the midpoint of the rectangle. Then, take the other long edge and roll it inwards as well, meeting the first roll precisely in the middle. You should end up with a shape resembling two scrolls side-by-side.
Once both sides are rolled to the center, gently press the two scrolls together to seal them. You can then gently square up the log by pressing the sides. This forms the classic palmier log ready for slicing. Ensure the rolls are relatively tight to create distinct layers, but not so tight that the filling is forced out excessively.
Baking the Palmiers to Golden Perfection
Oven Temperature and Baking Time: Ensuring Crispy, Golden Palmiers
Proper oven temperature and baking time are key to achieving perfectly crispy, golden-brown savory palmiers. Preheat your oven to a relatively hot temperature, typically around 400°F (200°C). This high heat helps the puff pastry rise quickly and creates those desirable flaky layers. Place the sliced palmiers on your parchment-lined baking sheets, leaving space between them.
Bake the palmiers for approximately 12-20 minutes, depending on your oven and the thickness of your slices. You'll know they are done when they are puffed up, deeply golden brown on the bottom, and light golden brown on top. For an extra crispy finish, some bakers flip the palmiers halfway through the baking time, around the 8-10 minute mark. Keep a close eye on them, as puff pastry can go from perfectly golden to burnt very quickly.
Monitoring the Baking Process: Preventing Burning and Ensuring Even Cooking
Monitoring your palmiers while they bake is essential. Due to variations in ovens, some areas of the baking sheet may be hotter than others, leading to uneven browning. After about 10-12 minutes, check the palmiers. If some are browning faster than others, you can rotate the baking sheet in the oven. If flipping the palmiers, do so carefully with a spatula.
Watch for the edges and the bottom of the palmiers to turn a rich golden-brown color. The centers should also be puffed and firm. If the tops seem to be browning too quickly while the bottoms are still pale, you can lightly tent the baking sheet with foil. Conversely, if the bottoms are golden but the tops are still pale, you might need a few extra minutes or a quick blast under the broiler (watch very carefully!). The goal is a uniformly golden, crispy texture throughout the palmier.
Tips and Tricks for Perfect Savory Palmiers Every Time
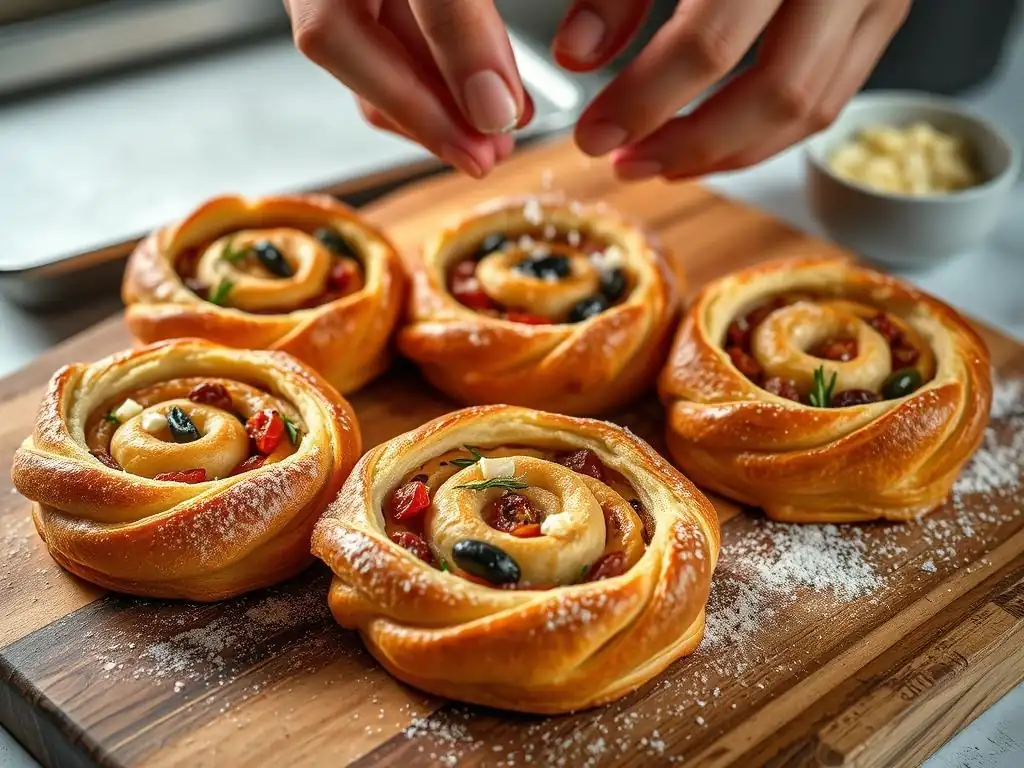
Achieving the Perfect Shape: Techniques for Uniform Palmiers
Creating uniformly shaped palmiers starts with rolling the pastry into a neat rectangle. When rolling the two sides towards the center, aim for them to meet precisely in the middle. If one side is rolled further than the other, your palmiers will be lopsided. After rolling, gently press the log to square it up slightly before slicing; this helps maintain a good shape.
For slicing, using a sharp knife or pizza cutter with a clean, decisive motion is crucial. Slice the log into pieces of consistent thickness, ideally around 1/2 inch (approx. 1.25 cm). Using a sawing motion will compress the layers and result in less flaky palmiers. If the dough is getting too soft while you are slicing, pop the log into the freezer for 10-15 minutes to firm up before cutting. This makes slicing much cleaner and easier, contributing to that perfect palm leaf shape.
Preventing Soggy Palmiers: Ensuring a Crispy Texture
Soggy palmiers are often the result of too much moisture or not baking them long enough. Ensure your filling ingredients are not excessively wet; for example, if using sun-dried tomatoes packed in oil, drain them very well and pat them dry. Also, avoid overcrowding the baking sheet, as this traps steam and prevents the palmiers from crisping up properly.
Baking at the correct high temperature (around 400°F/200°C) is vital for achieving crispness. This initial blast of heat helps the water in the pastry turn to steam, forcing the layers apart. Ensure you bake the palmiers until they are a deep golden brown on the bottom and edges, not just lightly colored. If they seem done but aren't fully crispy, you can turn off the oven and leave them inside for a few extra minutes with the door slightly ajar to continue drying out and crisping.
Flavor Variations: Exploring Different Savory Palmiers Combinations
The beauty of this easy French palmiers recipe lies in its adaptability to various savory flavors. Beyond the classic cheese and herb combination (like Parmesan and rosemary), consider using other cheeses such as crumbled feta with oregano and a pinch of red pepper flakes, or grated smoked gouda with a sprinkle of black pepper. Approximately 1/2 cup of cheese per sheet of pastry is a good starting point.
Explore other spreads like black olive tapenade, green olive pesto, or a mixture of finely chopped caramelized onions and thyme. For a spicy kick, add a thin layer of sriracha or a pinch of cayenne pepper along with cheese. You could even use a thin layer of Dijon mustard before adding cheese and herbs. The key is to keep the filling layer relatively thin and evenly distributed to ensure the palmiers roll and bake correctly, allowing you to create countless delicious variations.
Serving and Storing Your Homemade Palmiers Salés
Serving Suggestions: Pairing Your Palmiers with Complementary Dishes
Savory palmiers are incredibly versatile for serving. They make an excellent standalone appetizer for parties or gatherings, offering a sophisticated alternative to standard crackers or chips. Serve them warm from the oven for the best texture, though they are also delicious at room temperature. Arrange them on a platter alongside other finger foods.
They pair wonderfully with various dips, such as a classic marinara sauce, a creamy spinach and artichoke dip, or a simple herbed yogurt dip. Consider serving them with a cheese board, using them as a flaky vehicle for soft cheeses. They also make a fantastic accompaniment to a bowl of hot soup or a fresh salad, adding a delightful crunch. For brunch, serve them alongside scrambled eggs or a quiche.
Storing Palmiers: Maintaining Freshness and Crispness
Proper storage is key to keeping your savory palmiers crisp. Once completely cooled, store them in an airtight container at room temperature for up to 2-3 days. To prevent them from becoming soft, you can place a piece of paper towel in the bottom of the container to absorb any residual moisture. Avoid refrigerating them, as this can make the pastry tough and less crisp.
If you need to store them for a longer period, you can freeze baked palmiers in a single layer on a baking sheet until solid, then transfer them to a freezer-safe bag or container for up to 1 month. To reheat, place the frozen palmiers directly on a baking sheet in a preheated oven at 350°F (175°C) for about 5-10 minutes, or until heated through and re-crisped. Reheating baked palmiers in a toaster oven is also an effective way to restore their crispness.
Troubleshooting Common Palmiers Baking Problems
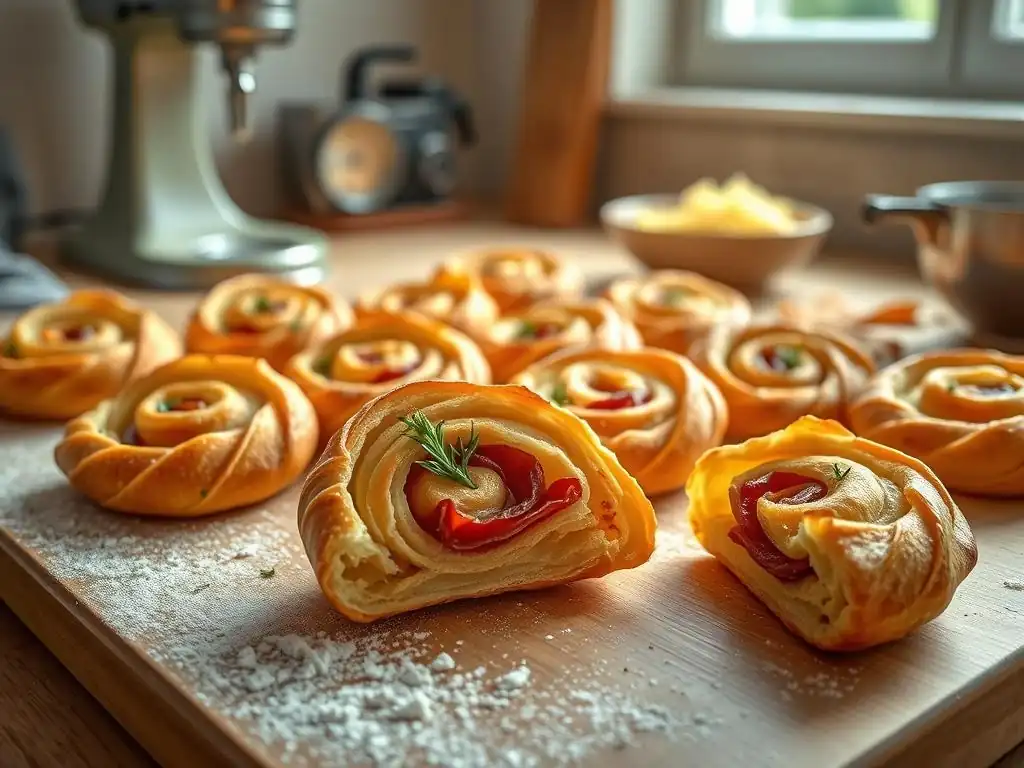
Palmiers Not Crispy Enough: Identifying and Correcting the Issue
One common issue with savory palmiers is a lack of crispness. This is often caused by insufficient baking time, a low oven temperature, or overcrowding the baking sheet. Ensure your oven is properly preheated to 400°F (200°C) and that you are baking them long enough – they should be a deep golden brown, not just lightly colored.
If your palmiers are still not crispy after reaching a good color, try baking them for a few extra minutes. You can also try turning off the oven and leaving them inside for 5-10 minutes with the door slightly ajar to allow them to dry out further. Ensure there is enough space between the palmiers on the baking sheet to allow for proper air circulation, which is crucial for crisping. Using parchment paper also helps achieve an even, crispy bottom.
Palmiers Too Dark: Adjusting Oven Temperature and Baking Time
If your palmiers are browning too quickly or burning before they are cooked through, your oven temperature might be too high or the baking time is too long for your specific oven. Oven temperatures can vary significantly from the dial setting. Consider using an oven thermometer to verify the actual temperature.
If the temperature is accurate, try reducing it slightly, perhaps to 375°F (190°C), and increasing the baking time. Alternatively, if the tops are browning much faster than the bottoms, you can lightly tent the baking sheet with aluminum foil for the last few minutes of baking. Always start checking for doneness a couple of minutes before the recipe suggests, as puff pastry can brown very rapidly once it starts.
Filling Leaking Out: Preventing Filling Escape During Baking
Filling leaking out of your palmiers during baking is usually a sign that the filling was either too wet, applied too thickly, or the log wasn't rolled tightly enough. When preparing your savory filling, ensure ingredients like sun-dried tomatoes or pesto are well-drained or not overly oily. Aim for a thin, even layer of filling across the pastry.
When rolling the pastry log, make sure it is rolled tightly from both sides towards the center. This tight roll helps contain the filling. If you notice significant leakage while baking, it might be unavoidable for that batch, but for the next, adjust the amount or consistency of the filling and ensure a tighter roll. Chilling the sliced palmiers for 10-15 minutes before baking can also help the pastry hold its shape and contain the filling better.
Enjoy Your Easy French Palmiers: A Taste of French Baking at Home!
Baking savory palmiers is a wonderfully rewarding experience, offering a taste of elegant French baking with surprising ease. This easy French palmiers recipe allows anyone to create beautiful, flaky appetizers that are sure to impress. The combination of crispy puff pastry and flavorful savory fillings makes them utterly irresistible. Whether you stick to a classic cheese and herb mix or experiment with bold new flavors, the process is straightforward and the results are consistently delicious.
We love seeing what our community creates! Once you've baked your batch of Palmiers Salés using this easy French palmiers recipe, share your photos and experiences. Did you try a unique flavor combination? Do you have a tip for achieving extra crispness? Your baking journey inspires others. Enjoy sharing these delightful savory palmiers with friends and family, and savor the simple pleasure of homemade French pastries.
Frequently Asked Questions
What exactly are palmiers salés and how do they differ from regular palmiers?
Palmiers salés are savory versions of the classic French palmier pastry. Instead of a sweet filling, they feature ingredients like cheese, herbs, or spices, offering a delicious alternative to the sweet treat.
What kind of puff pastry should I use for an easy French palmiers recipe?
For the easiest results, use store-bought, all-butter puff pastry. This saves time and ensures a consistent, flaky texture. You can also make your own, but it's more time-consuming.
Can I customize the flavors of my palmiers salés?
Absolutely! This recipe is highly customizable. Experiment with different cheeses, herbs, and spices to create your own unique flavor combinations. Some popular choices include Parmesan, rosemary, and paprika.
What is the best way to store palmiers salés to maintain their crispness?
Store cooled palmiers salés in an airtight container at room temperature. They're best enjoyed within a few days to preserve their crisp texture and prevent them from becoming stale.
What are some serving suggestions for easy French palmiers recipe?
Palmiers salés make a wonderful appetizer or snack. Serve them alongside dips, soups, or salads. They are also a delightful addition to a cheese or charcuterie board.
Final Reflection: The Enduring Allure of the Simple Palmier
The seemingly simple act of baking a palmier, a delicate dance of butter, dough, and sugar, transcends mere culinary creation; it's a gateway to a richer understanding of French pastry and the joy of homemade goodness. This guide aimed to demystify the process, proving that even the most elegant pastries can be accessible to home bakers of all skill levels. The ease of the recipe, coupled with the impressive results, makes it a perfect entry point into the world of French baking.
The enduring appeal of the palmier lies not just in its crispy, buttery layers, but in its ability to evoke a sense of nostalgia and effortless sophistication. It's a treat that effortlessly bridges generations, reminding us of simpler times and the comforting rituals of the kitchen. The best things in life are simple,
a phrase often repeated, perfectly encapsulates the essence of this delightful pastry. Its versatility, allowing for both sweet and savory variations, further enhances its timeless appeal, making it a staple in both casual and elegant settings.
Now, I invite you to embrace the simplicity and elegance of the palmier. Don't be intimidated by the seemingly intricate layers; the process is surprisingly straightforward. Try the recipe, experiment with different seasonings and fillings, and share your creations with loved ones. Let the aroma of baking palmiers fill your kitchen, creating memories and a taste of French charm in your own home. The journey of baking is as rewarding as the final product, so embrace the process and enjoy the delicious results.
Unleash Your Inner Pâtissier: Master Savory Palmiers Today!
Thanks for joining us on this delicious journey into the world of savory palmiers! We hope you've gained the confidence to tackle this elegant, yet surprisingly simple, treat. Now it's time to put your newfound skills to the test.
- Bake a batch of your own palmiers: Experiment with different cheeses, herbs, and spices to create your signature flavor combination. Don't be afraid to get creative!
- Share your creations: Post a picture of your masterpiece on social media and tag us @BakeWithEase – we’d love to see your palmier creations!
- Discover more savory baking recipes: Explore our website for more delightful recipes that will elevate your baking game.
What unique flavor combination will you try first to perfect your savory palmier recipe?