
Top 5 Mistakes to Avoid When Tempering Chocolate.

Welcome to BakeWithEase, where the joy of baking meets effortless execution! Ever dreamt of creating perfectly glossy, snap-worthy chocolate confections? Our guide dives deep into the art of chocolate tempering, a technique often shrouded in mystery. But before you embark on this delicious journey, are you aware of the common pitfalls that can lead to grainy, streaky results? Discover the Top 5 Mistakes to Avoid When Tempering Chocolate and unlock the secrets to professional-quality chocolate work. Get ready to elevate your baking game – the sweet rewards are waiting!
- Introduction to Chocolate Tempering
- Mistake #1: Using Incorrect Melting Methods
- Mistake #2: Neglecting Chocolate Quality
- Mistake #3: Inaccurate Temperature Monitoring
- Mistake #4: Insufficient Agitation
- Mistake #5: Unstable Environmental Conditions
- Conclusion: Achieving Perfect Tempering
- Frequently Asked Questions
- Final Reflection: Mastering the Art of Chocolate Tempering
- Unlock Your Chocolate Tempering Mastery!
Introduction to Chocolate Tempering
Why Tempering Chocolate is Essential for Professional Results
Tempering chocolate is a fundamental skill in confectionery, transforming plain melted chocolate into a glossy, snappy coating or filling. When chocolate isn't tempered correctly, it results in a dull finish, a crumbly texture, and a tendency to melt easily at room temperature. This happens because the cocoa butter crystals within the chocolate haven't formed into a stable structure.
Achieving a properly tempered chocolate ensures that your finished products, whether they are dipped strawberries, molded figures, or chocolate bars, have that desirable professional look and feel. It's the difference between homemade treats that look and taste good and those that look and taste amazing.
Beyond aesthetics, proper tempering significantly impacts the chocolate's shelf life and stability. Untempered chocolate can develop a grayish-white bloom on its surface, a phenomenon known as fat bloom. While harmless, this bloom is visually unappealing and affects the texture. Tempering encourages the formation of the most stable crystal form (Type V beta crystals), which prevents bloom, maintains a firm structure, and gives the chocolate its characteristic snap when broken. Mastering this technique is crucial for anyone looking to elevate their chocolate work from hobbyist to a more advanced level, minimizing common chocolate tempering beginner mistakes.
Common Tempering Challenges and Solutions
Many beginners find tempering chocolate intimidating, and it's true that several factors can easily lead to failure. Common chocolate tempering beginner mistakes include overheating the chocolate, not cooling it sufficiently, or introducing water. The process relies on carefully controlling temperature to guide the cocoa butter crystals into the correct structure. If the temperature goes too high, all the stable crystals melt, and they won't reform correctly without careful re-seeding or cooling. Conversely, if the chocolate doesn't cool down enough or is cooled too quickly without proper agitation, unstable crystal forms can dominate, leading to bloom.
Fortunately, these challenges have well-established solutions. Precise temperature control is paramount, which is why using an accurate thermometer is non-negotiable. Understanding the specific temperature curves for dark, milk, and white chocolate is also key, as they differ based on cocoa butter and sugar content.
Proper agitation during the cooling phase helps distribute the stable crystals and encourages more to form. Avoiding any moisture is critical, as even a single drop of water can cause chocolate to seize, turning it into a thick, unusable paste. By focusing on these core principles and avoiding typical tempering errors, even beginners can achieve success.
Mistake #1: Using Incorrect Melting Methods
Burning Chocolate: A Common Error
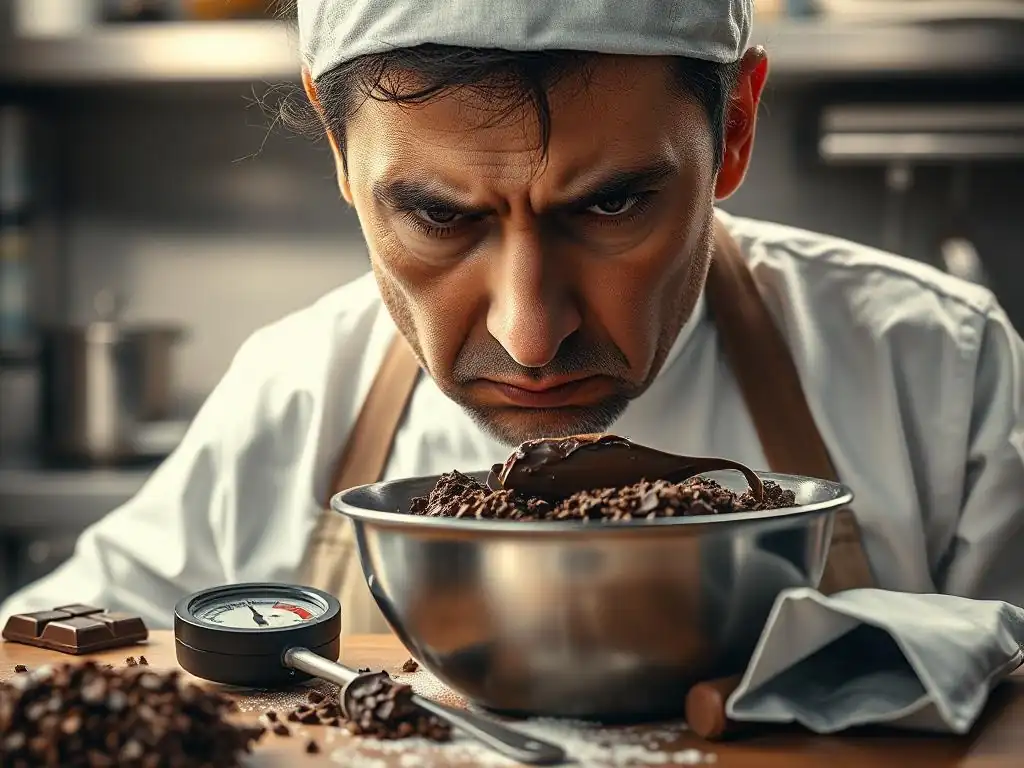
One of the most frequent and disheartening chocolate tempering beginner mistakes is burning the chocolate during the initial melting phase. Chocolate contains solids that are very sensitive to heat. Direct, high heat, especially from a microwave or stovetop, can quickly scorch the cocoa solids and sugar. Burnt chocolate develops a harsh, bitter taste and a grainy texture that is impossible to fix. Once chocolate is burnt, it cannot be salvaged or tempered; you have to start over with fresh chocolate. This waste of ingredients and effort is a common frustration for those new to tempering.
Burning often occurs when melting chocolate directly in a pot over high heat or microwaving it on high power for too long without stirring. Chocolate can hold its shape even when melted internally, giving a false sense that it needs more heat until it's suddenly too late. The edges or bottom can scorch while the center still seems solid. Preventing this requires patience and using gentle, indirect heat sources, along with frequent stirring to distribute the heat evenly and monitor the melting process closely. This is why methods like the double boiler or careful, low-power microwaving are recommended.
Double Boiler Method: A Step-by-Step Guide
The double boiler (or bain-marie) method is a classic and reliable way to melt chocolate gently, significantly reducing the risk of burning, a key step in avoiding chocolate tempering beginner mistakes. This technique uses steam from simmering water to indirectly heat a bowl placed above it.
Here is a basic process:
- Choose two pots or a pot and a heatproof bowl where the bowl fits snugly over the pot without touching the water.
- Fill the bottom pot with about an inch or two of water. Bring the water to a gentle simmer over medium heat – do not let it boil vigorously.
- Remove the pot from the heat momentarily or reduce the heat to low. Place the bowl containing finely chopped chocolate (or callets) over the pot. Ensure the bottom of the bowl does not touch the water.
- The steam from the hot water will gently heat the bowl, melting the chocolate. Stir the chocolate frequently with a dry, clean spatula.
- Continue stirring until the chocolate is almost completely melted, with just a few small pieces remaining. Remove the bowl from the heat and continue stirring until the residual heat melts the rest.
This method provides controlled, even heating. It's crucial to ensure no water or steam condensation gets into the chocolate, as moisture causes seizing. Always use a dry bowl and spatula, and wipe the bottom of the bowl before pouring the melted chocolate.
Microwave Method: A Quick Alternative
For smaller quantities of chocolate, the microwave can be a quick and convenient melting method, provided it's used correctly to avoid chocolate tempering beginner mistakes like burning. The key is to use low power and short intervals, stirring frequently.
Here are the steps:
- Place finely chopped chocolate or callets in a microwave-safe bowl.
- Microwave on 50% power for 30-second intervals.
- After each 30-second interval, remove the bowl and stir the chocolate thoroughly, even if it doesn't look melted yet. This distributes the heat.
- Repeat this process, reducing the time to 15 or even 10 seconds per interval as the chocolate begins to melt.
- Continue until the chocolate is almost fully melted, with just a few small lumps remaining.
- Remove the bowl from the microwave and stir continuously until the residual heat melts the remaining pieces and the chocolate is smooth.
Never microwave chocolate on high power for more than 30 seconds without stirring. Different microwaves vary in power, so it's better to err on the side of caution with shorter intervals. The goal is to melt the chocolate gently and evenly without exceeding its initial melting temperature, which is typically around 104-115°F (40-46°C) for dark chocolate and slightly lower for milk and white chocolate.
Mistake #2: Neglecting Chocolate Quality
The Impact of Cocoa Butter Content on Tempering
The success of chocolate tempering is heavily dependent on the quality and composition of the chocolate itself, particularly its cocoa butter content. Couverture chocolate, specifically designed for melting and tempering, contains a higher percentage of cocoa butter (typically 30-39% or more) compared to standard baking or eating chocolate.
This higher cocoa butter content is crucial because it provides more of the specific fat crystals that form the stable structure needed for proper tempering. Chocolates with lower cocoa butter content, or those containing vegetable oils or other fat substitutes instead of pure cocoa butter, are often difficult or impossible to temper correctly to achieve that desired snap and shine.
When chocolate has insufficient cocoa butter, the stable Type V crystals struggle to form adequately during the cooling and agitation phases. This results in a final product that lacks structure, is soft, melts too easily in your hands, and is highly susceptible to both fat and sugar bloom.
While you can sometimes temper high-quality bar chocolate or baking chocolate that lists only cocoa butter as its fat, using couverture chocolate is the most reliable way to avoid significant chocolate tempering beginner mistakes related to the ingredient itself. Always check the ingredient list and cocoa butter percentage when selecting chocolate for tempering projects.
Selecting Chocolate Brands for Tempering
Choosing the right brand and type of chocolate is a critical step often overlooked by beginners, leading to frustrating tempering failures. Not all chocolate is created equal, especially when it comes to its suitability for tempering. Look for chocolate labeled as "couverture." Reputable couverture brands like Callebaut, Valrhona, Guittard, or Scharffen Berger (for their baking chocolate that is high quality) are specifically formulated with a high percentage of cocoa butter and are processed to facilitate tempering. These chocolates typically come in callets (small drops) or blocks that are easy to chop, designed to melt smoothly and uniformly.
Avoid using standard chocolate chips, candy melts, or baking bars that list ingredients other than cocoa butter as the primary fat (like palm oil or other vegetable oils). These products are formulated to hold their shape when heated (like in cookies) or to melt easily for coating (like candy melts), not to form the stable crystalline structure required for true tempering. Using these types of chocolate is a common chocolate tempering beginner mistake that guarantees poor results. Investing in quality couverture chocolate will significantly increase your chances of successful tempering.
Proper Chocolate Storage
Even the highest quality chocolate can become difficult to temper if it hasn't been stored correctly. Chocolate is sensitive to temperature fluctuations, moisture, and odors. Improper storage can cause premature bloom (fat or sugar), alter the chocolate's texture, and make the cocoa butter crystals behave unpredictably during the tempering process. For example, storing chocolate in a warm, humid environment can lead to sugar bloom, where sugar crystals migrate to the surface, resulting in a gritty texture. Drastic temperature changes, like moving chocolate from a cold refrigerator to a warm room, can cause condensation, leading to seizing or bloom.
The ideal storage conditions for chocolate are cool, dry, and away from strong odors. A temperature between 60°F and 68°F (15°C and 20°C) with low humidity (below 50%) is generally recommended. Store chocolate in an airtight container to protect it from moisture and odors. Avoid refrigeration unless absolutely necessary, and if you must refrigerate, place the chocolate in an airtight container first to prevent condensation when it's brought back to room temperature. Using properly stored chocolate is a simple but effective way to avoid unnecessary challenges when tempering.
Mistake #3: Inaccurate Temperature Monitoring
The Importance of Precise Temperature Control
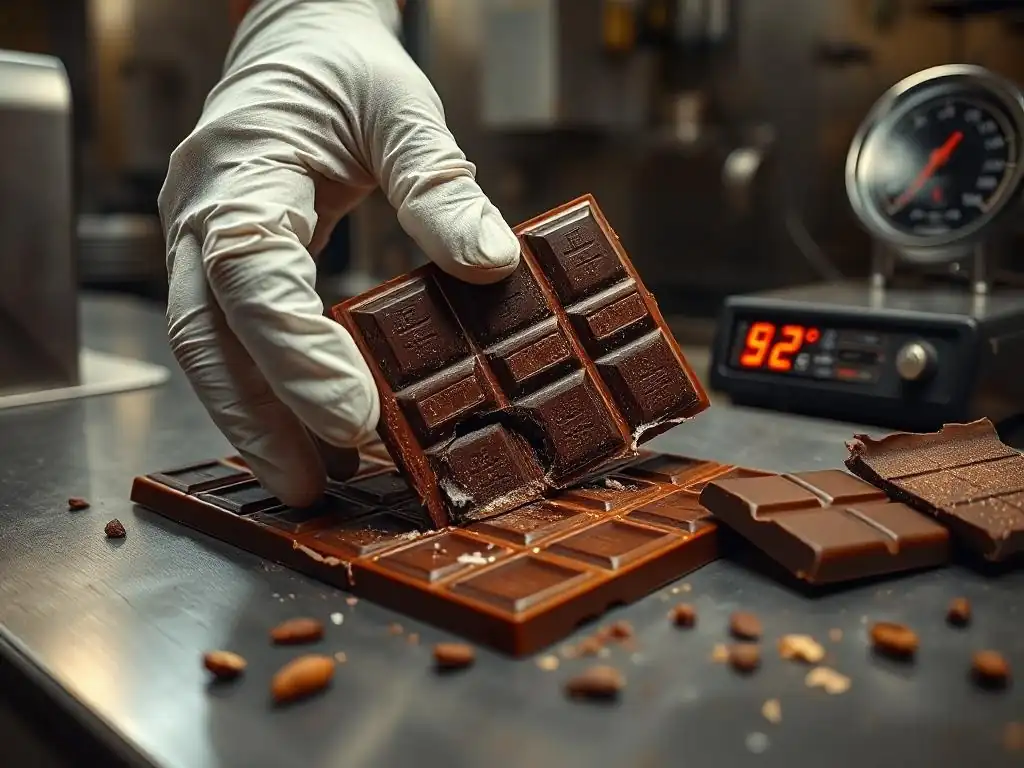
Temperature is the absolute cornerstone of successful chocolate tempering. The entire process revolves around heating chocolate to melt all crystal forms, cooling it to a specific temperature to encourage the formation of stable (Type V) cocoa butter crystals, and then slightly reheating it to a working temperature where only the stable crystals remain. Even a few degrees off at any stage can disrupt the crystal structure and lead to tempering failure, resulting in dull, streaky, or soft chocolate. Relying on guesswork or tactile feel is a major chocolate tempering beginner mistake.
For instance, dark chocolate typically needs to be melted to around 113°F (45°C), cooled down to about 88-91°F (31-33°C) to crystallize, and then gently reheated to a working temperature of 88-90°F (31-32°C). Milk and white chocolates have lower temperature ranges due to their different compositions, often melting around 105-110°F (40-43°C), cooling to 84-86°F (29-30°C), and working at 86-88°F (30-31°C). Hitting these specific targets is non-negotiable for achieving the desired snap and shine. Precision is key, making a reliable thermometer an indispensable tool.
Using a Digital Thermometer for Accuracy
Given the critical role of temperature, using an accurate and responsive thermometer is essential for avoiding chocolate tempering beginner mistakes. While older methods might rely on testing a drop of chocolate on the lip, this is highly unreliable and cannot provide the precise temperature readings needed for consistent results. A digital probe thermometer is the best tool for the job.
Look for a thermometer that is specifically designed for confectionery or liquids, with a thin probe that can be easily inserted into the chocolate. It should provide fast and accurate readings, ideally within ±1°F or ±0.5°C. Instant-read digital thermometers are ideal because they allow you to monitor temperature changes quickly as you heat and cool the chocolate. Ensure the thermometer is clean and completely dry before inserting it into the chocolate to avoid introducing moisture, which can cause seizing. Checking the temperature frequently throughout the melting, cooling, and reheating phases is crucial for success.
Tempering Temperatures for Dark, Milk, and White Chocolate
Understanding and adhering to the correct temperature ranges for different types of chocolate is fundamental to successful tempering and avoiding common chocolate tempering beginner mistakes. These temperatures vary because the ratio of cocoa solids, cocoa butter, sugar, and milk solids differs between dark, milk, and white chocolate, affecting their melting and crystallization points.
- Dark Chocolate:
- Melt to: 113-115°F (45-46°C)
- Cool to: 88-91°F (31-33°C)
- Working temperature: 88-90°F (31-32°C)
- Milk Chocolate:
- Melt to: 105-110°F (40-43°C)
- Cool to: 84-86°F (29-30°C)
- Working temperature: 86-88°F (30-31°C)
- White Chocolate:
- Melt to: 105-110°F (40-43°C)
- Cool to: 84-86°F (29-30°C)
- Working temperature: 86-88°F (30-31°C)
Note that milk and white chocolate have similar temperature ranges, both lower than dark chocolate due to the presence of milk solids and typically higher sugar content. Always aim for the lower end of the melting range to minimize stress on the chocolate. During the cooling phase, constant stirring is needed to help the stable crystals form. The working temperature is the temperature at which the chocolate remains in temper while you are using it for dipping or molding. If it cools below this, it will solidify and lose its temper, requiring reheating within the working range.
Mistake #4: Insufficient Agitation
Why Stirring Promotes Crystal Formation
Agitation, or stirring, is a surprisingly critical step in the tempering process, often overlooked by beginners learning how to temper chocolate. While temperature controls which type of cocoa butter crystals can exist, stirring helps create and distribute the desired stable (Type V) crystals throughout the cooling chocolate. When melted chocolate cools, cocoa butter molecules begin to arrange themselves into various crystalline structures. Without movement, these crystals might form unevenly, or less stable forms might dominate.
Stirring the chocolate as it cools from its melting temperature down to its crystallization temperature provides friction and movement that encourages the formation of the stable Type V crystals. It also helps to evenly distribute these newly formed crystals throughout the batch, acting as "seeds" that promote further stable crystallization. Think of it like stirring risotto – the agitation helps create a creamy texture. In chocolate, agitation helps create a smooth, stable structure. Insufficient stirring is a common chocolate tempering beginner mistake that can lead to a weak temper, resulting in dull spots, streaks, or a soft set.
Techniques for Even Tempering
Effective agitation involves more than just idly stirring the chocolate. The goal is to constantly move the cooling chocolate to ensure even temperature distribution and crystal formation. Different tempering methods utilize different agitation techniques.
- Tabling Method: This traditional method involves pouring about two-thirds of the melted chocolate onto a cool surface (like marble or granite) and working it with a spatula and bench scraper. The movement cools the chocolate quickly while the scraping and folding action introduces stable crystals. Once the chocolate reaches the correct cooling temperature, it's scraped back into the remaining one-third of warm melted chocolate, which is then stirred vigorously to evenly distribute the crystals and bring the entire batch to the working temperature. This method provides intense agitation but requires practice and a suitable surface.
- Seeding Method: This is often preferred by beginners. It involves melting all the chocolate, then adding finely chopped solid chocolate (seed chocolate) that is already in temper. As the melted chocolate cools, the stable crystals in the seed chocolate melt into the batch and act as templates, encouraging the rest of the cocoa butter to crystallize in the stable form. Constant stirring is essential here to melt the seed chocolate evenly and distribute the newly forming crystals.
Regardless of the method, continuous and thorough stirring during the cooling phase is paramount. Don't just stir the surface; ensure you are scraping the sides and bottom of the bowl to incorporate all the chocolate.
Removing Air Bubbles
While not strictly part of crystal formation, air bubbles introduced during melting and stirring can also affect the final appearance of tempered chocolate, causing small pockmarks or voids on the surface of molded items. Proper agitation techniques can help minimize this, but sometimes extra steps are needed.
After the chocolate is tempered and ready to use, gently tapping the bowl or mold on the countertop is a common technique to encourage air bubbles to rise to the surface and pop. If using a mold, fill it slightly over the top, tap it firmly, and then scrape off the excess. For dipped items, a gentle tap against the side of the bowl or a quick shake can help remove excess chocolate and trapped air. While minor air bubbles might seem insignificant, removing them contributes to the smooth, professional finish that is the hallmark of successfully tempered chocolate.
Mistake #5: Unstable Environmental Conditions
The Effect of Temperature and Humidity
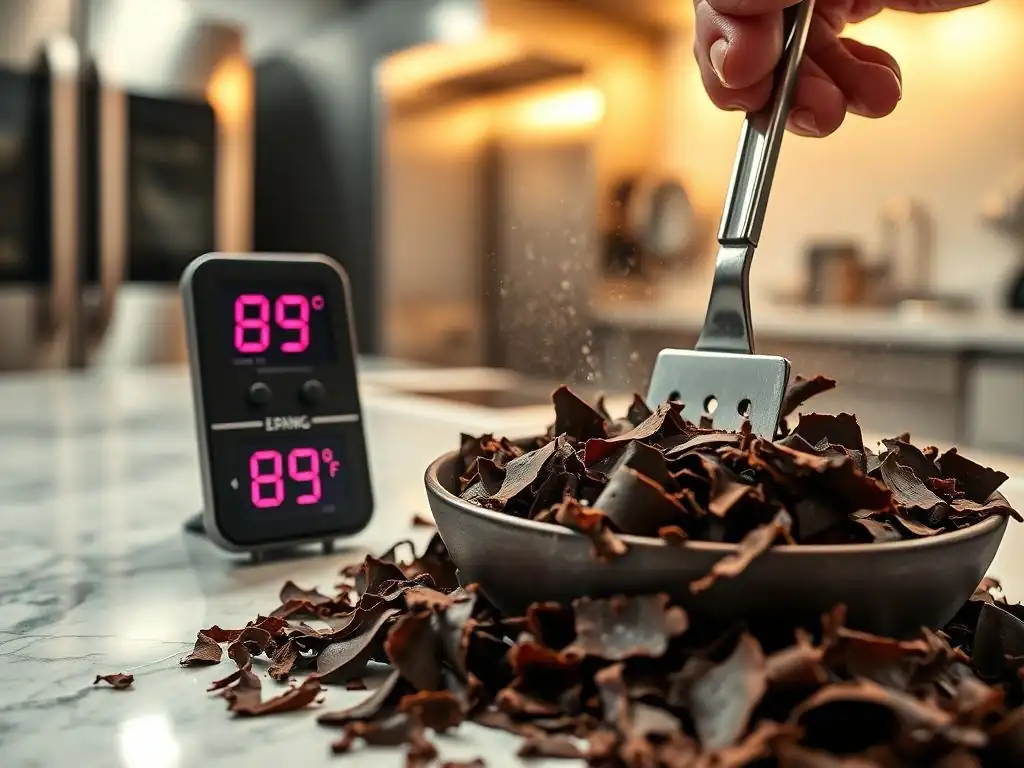
The environment in which you temper chocolate plays a significant role in your success, often being an overlooked chocolate tempering beginner mistake. Both ambient room temperature and humidity levels can drastically affect how chocolate cools and crystallizes. Chocolate tempers best in a cool, dry environment. An ideal room temperature is typically between 68°F and 72°F (20°C and 22°C), with humidity below 50%.
If the room is too warm, the chocolate may not cool down to the required crystallization temperature (e.g., 88-91°F for dark chocolate) or maintain its working temperature without constant effort. This can lead to a weak temper or the chocolate falling out of temper quickly. High humidity is also detrimental.
Cocoa butter is hydrophobic (repels water), but sugar is hydrophilic (attracts water). High humidity can cause sugar crystals on the surface of the chocolate to dissolve slightly and then recrystallize in a larger, visible form, resulting in sugar bloom. Additionally, moisture in the air can cause condensation on cool surfaces or even on the chocolate itself, leading to seizing.
Optimizing Your Workspace
Creating an optimal workspace is crucial for minimizing environmental challenges when tempering chocolate. Choose a location in your kitchen or workspace that is away from heat sources like ovens, stovetops, or direct sunlight. Ensure the area is not drafty, as rapid, uneven cooling can also negatively impact tempering.
If your environment is naturally warm or humid, consider using air conditioning or a dehumidifier to create more favorable conditions. Ensure all tools and surfaces that come into contact with the chocolate are completely dry. Having a non-porous, cool surface like marble or granite is beneficial if you plan to use the tabling method, as it helps draw heat away from the chocolate effectively. Taking the time to prepare your workspace can save you a lot of frustration and help you avoid common chocolate tempering beginner mistakes.
Adjusting Techniques for Different Environments
While optimizing your workspace is ideal, sometimes you have to temper chocolate in less-than-perfect conditions. In warmer environments, you may need to adjust your technique. Using the seeding method can be more forgiving than tabling, as it's easier to control the temperature in a bowl. You might also need to use slightly more seed chocolate or cool the chocolate down to the lower end of the recommended temperature range to ensure sufficient stable crystals form.
In humid conditions, be extra vigilant about keeping everything dry. Work quickly to minimize the chocolate's exposure to the air. If using the double boiler method, be very careful not to let steam enter the chocolate. If you are using a microwave, ensure there is no condensation in the bowl. Sometimes, in very challenging environments, achieving a perfect temper can be difficult without climate control. Understanding how your environment affects the process allows you to anticipate problems and make necessary adjustments to improve your chances of success.
Conclusion: Achieving Perfect Tempering
Reviewing Common Mistakes
Mastering chocolate tempering is a skill that requires practice, but by understanding and avoiding common chocolate tempering beginner mistakes, you can significantly improve your results. We've covered the pitfalls of using incorrect melting methods like burning, highlighting the safety of double boilers and careful microwaving. We've emphasized the importance of using high-quality chocolate with sufficient cocoa butter content and storing it properly.
Inaccurate temperature monitoring was identified as a critical error, stressing the need for a reliable digital thermometer and knowing the specific temperature ranges for dark, milk, and white chocolate. Insufficient agitation was shown to hinder proper crystal formation, making consistent stirring vital. Finally, we discussed how unstable environmental conditions like high temperature and humidity can sabotage your efforts and how to optimize your workspace or adjust your techniques.
The Importance of Practice
Tempering chocolate is often described as an art and a science. While the science provides the principles (temperature, crystals, etc. ), the art comes with practice. Your first attempt might not be perfect, and that's okay! Each batch you temper, successful or not, is a learning opportunity. Pay attention to how the chocolate behaves at different temperatures, how it looks and feels when properly tempered, and what might have gone wrong if it fails.
Don't be discouraged by initial failures. Review the common chocolate tempering beginner mistakes, identify what might have happened, and try again. With persistence, careful attention to detail, and practice, you will develop the feel and understanding needed to consistently achieve beautifully tempered chocolate with a perfect snap and shine. The reward of creating professional-looking chocolate confections is well worth the effort.
Frequently Asked Questions
What is chocolate tempering, and why is it important?
Chocolate tempering is the process of heating and cooling chocolate to create a stable crystal structure of cocoa butter. This results in a shiny appearance, a crisp snap, and prevents blooming (white streaks).
What's the most common mistake beginners make when tempering chocolate?
Many beginners fail to accurately measure the temperature of the chocolate. Using an unreliable thermometer or not monitoring the temperature closely can lead to improper tempering.
Can using the wrong type of chocolate affect tempering success?
Yes, using compound chocolate or chocolate with added fats can make tempering more difficult or impossible. Always use high-quality chocolate with a high cocoa butter content for best results.
How does water affect the tempering process?
Even a tiny amount of water can cause chocolate to seize or become grainy, ruining the temper. Ensure all your tools and the chocolate are completely dry before starting.
What do I do if my chocolate seizes during tempering?
Try adding a small amount of vegetable shortening or cocoa butter to help smooth the chocolate back out. However, heavily seized chocolate may be difficult to fully recover.
Final Reflection: Mastering the Art of Chocolate Tempering
The pursuit of perfectly tempered chocolate, a seemingly simple task, reveals a world of nuanced technique and potential pitfalls. A smooth, glossy finish and satisfying snap are not mere aesthetics; they are indicators of stability and longevity, crucial for both professional chocolatiers and enthusiastic home bakers. Ignoring the fundamental principles outlined in this article can lead to frustrating results, wasted ingredients, and a disheartened confectioner.
The journey of learning to temper chocolate is a microcosm of the larger creative process – a delicate balance between precision and intuition. It's a testament to the power of patience and attention to detail, qualities that extend far beyond the kitchen. The subtle shifts in temperature, the careful observation of the chocolate's viscosity, these are not just steps in a recipe; they are lessons in mindful creation. The best things in life are worth waiting for,
and perfectly tempered chocolate is a delicious example of this timeless truth.
So, as you embark on your own chocolate-tempering adventures, remember the lessons learned here. Don't be discouraged by initial setbacks; embrace the learning process, experiment with different techniques, and most importantly, savor the journey. The reward – a flawlessly tempered chocolate creation, a testament to your dedication and skill – will be well worth the effort. Now, go forth and create something truly magnificent!
Unlock Your Chocolate Tempering Mastery!
Thanks for taking the time to learn about avoiding those pesky chocolate tempering mistakes! We hope you now feel more confident in achieving perfectly shiny, snappable chocolate. Ready to put your new knowledge into practice?
- Try tempering a small batch of chocolate today. Use your favorite recipe and focus on mastering the techniques you just learned. This is the most important step to building your confidence and skill.
- Share your successes (and even your stumbles!) with our community on social media using #BakeWithEaseTempering. Let's learn from each other!
- Consider experimenting with different types of chocolate – what new flavor combinations will you uncover?
What delicious creation will you tackle first with your newfound chocolate tempering skills?