
Whip It Up: Mastering Meringue Peaks for Beginners

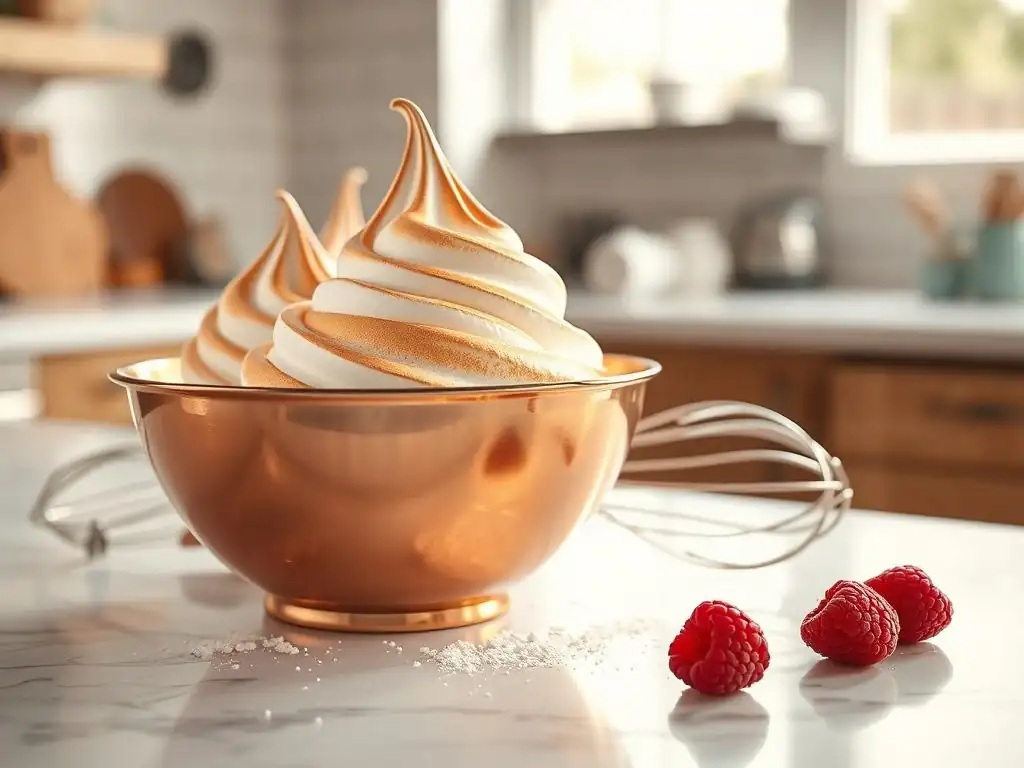
Welcome to BakeWithEase, where baking dreams become delicious realities! Ever wondered how to achieve those picture-perfect, gravity-defying meringue peaks? We're about to unlock the secrets! Dive into our guide, " Whip It Up: Mastering Meringue Peaks for Beginners," and discover the essential techniques and insider tips that will elevate your baking game. What are you waiting for? Let's get whisking and see how easy it is to achieve meringue perfection!
- Mastering Meringue: A Beginner's Guide on BakeWithEase
- Introduction: The Art of Perfect Meringue
- Understanding Meringue Ingredients and Equipment
- Step-by-Step Guide: Creating Stiff Meringue Peaks
- Meringue Types: Choosing the Right One
- Troubleshooting Meringue Problems: Solutions
- Baking Meringue: Texture and Color
- Meringue Recipe Ideas: Putting Skills to the Test
- Meringue Storage Tips: Keeping Creations Fresh
- Advanced Meringue Techniques: Leveling Up
- Conclusion: Your Meringue Journey
-
Frequently Asked Questions
- How important is it to use room temperature egg whites when making meringue for beginners?
- What type of bowl is recommended for whipping meringue for beginners?
- How do I know when my meringue is at the perfect stage to stop whipping?
- What role does sugar play in achieving perfect meringue peaks?
- Can humidity affect the outcome of my meringue when I'm perfecting meringue peaks?
- Final Reflection: The Sweet Science of Success
- Unlock Your Inner Pastry Chef: Perfect Meringues Await!
Mastering Meringue: A Beginner's Guide on BakeWithEase
Introduction: The Art of Perfect Meringue
Welcome to Meringue Mastery
Welcome, aspiring bakers, to the exciting world of meringue! Often seen as a delicate dance between egg whites and sugar, mastering meringue is a foundational skill that opens the door to a multitude of delightful desserts. Whether you dream of cloud-like cookies, towering pavlovas, or glossy pie toppings, understanding how to create stable, beautiful meringue peaks is your first step. On BakeWithEase, we're here to guide you through every whisk and fold, making the process accessible and enjoyable, even if you've never whipped egg whites before.
This guide is specifically crafted for you, the beginner baker, aiming to demystify the process and build your confidence. We'll cover everything from the essential ingredients and equipment to the step-by-step technique for achieving those coveted stiff peaks. By the end of this article, you'll be well on your way to perfecting meringue peaks beginners, armed with the knowledge to tackle various meringue types and troubleshoot common issues. Let's get whipping!
Why Perfect Meringue Matters: Achieving Baking Excellence
Achieving perfect meringue peaks isn't just about aesthetics; it's crucial for the structure, texture, and overall success of many recipes. Those airy, stable peaks are what give meringue cookies their crisp-yet-melty bite, provide the essential lift and delicate structure for a pavlova base, and create that beautiful, slightly chewy layer atop a lemon meringue pie. Without properly formed peaks, meringue can collapse, weep, or simply fail to bake correctly, leading to disappointing results.
Furthermore, perfecting meringue peaks beginners allows you to elevate simple desserts into showstopping creations. A well-made meringue topping, perhaps lightly browned with a torch or under a broiler, adds a professional touch and a delightful textural contrast. Understanding the science behind meringue formation empowers you to control the outcome, ensuring your efforts in the kitchen are rewarded with delicious, visually appealing baked goods that impress your family and friends.
Understanding Meringue Ingredients and Equipment
Essential Ingredients for Meringue
The magic of meringue relies on surprisingly few ingredients, primarily egg whites and sugar. Egg whites, composed mainly of protein and water, are the structural backbone. When whipped, their proteins unwind and trap air bubbles, creating a foam. The fat-free nature of egg whites is paramount; even a tiny drop of yolk can prevent the proteins from whipping properly and achieving full volume and stability. Using fresh, room-temperature egg whites (ideally aged a day or two) can slightly improve volume, though fresh, cold eggs are easier to separate.
Sugar plays a dual role: it stabilizes the whipped egg white foam by forming bonds with the proteins, and it adds sweetness and shine. Granulated sugar is standard, but superfine or caster sugar dissolves more readily, reducing the risk of a grainy texture in the finished meringue. Some recipes also call for a small amount of acid, such as cream of tartar, lemon juice, or vinegar. Acid helps to further stabilize the egg proteins, allowing them to stretch and trap more air, resulting in a stronger, more voluminous foam that is less likely to collapse or weep.
Key Baking Equipment for Meringue
Having the right equipment, and ensuring it's scrupulously clean, is non-negotiable for successful meringue. The most crucial piece is a mixing bowl and a whisk. While hand whisking is possible for small batches (and a great arm workout! ), an electric hand mixer or stand mixer with a whisk attachment makes the process significantly easier and more consistent, allowing you to reach stiff peaks efficiently. The bowl should be deep enough to contain the expanding volume of the egg whites.
Material matters for the mixing bowl. Glass or metal bowls are generally preferred over plastic. Plastic bowls can sometimes retain greasy residue, even after washing, which, as mentioned, is the enemy of meringue. Before starting, it's a wise practice to wipe down your clean bowl and whisk attachment with a paper towel dipped in a little white vinegar or lemon juice. This helps to remove any invisible traces of fat, ensuring your egg whites whip up perfectly.
Step-by-Step Guide: Creating Stiff Meringue Peaks
Step 1: Preparing Ingredients and Equipment
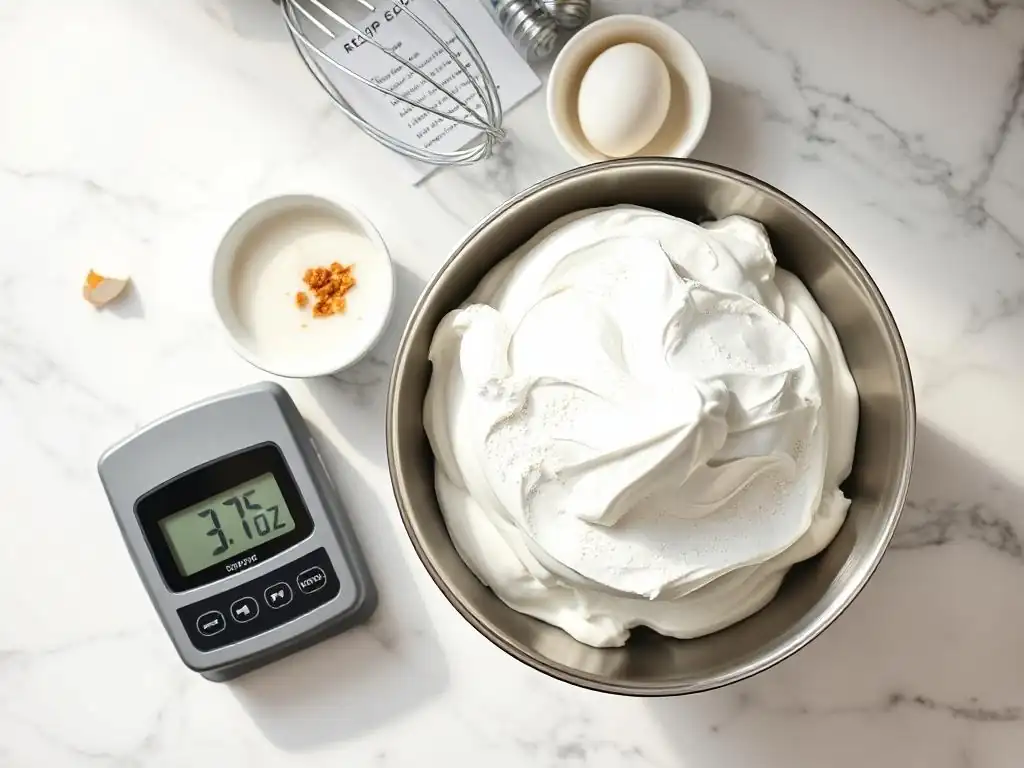
Before you even crack an egg, take a moment for preparation – a critical step often overlooked by beginners. Ensure your mixing bowl and whisk attachment are spotlessly clean and completely dry. A quick wipe with vinegar can be a good insurance policy against hidden grease. Measure your sugar accurately and have your acid (if using) ready. If your recipe calls for room-temperature egg whites, separate them ahead of time (perhaps 20-30 minutes before whipping) and let them sit out. This helps them whip up faster and achieve greater volume.
Having everything measured and ready, also known as "mise en place," minimizes distractions and potential errors during the whipping process. Once you start whipping, you won't want to stop to measure ingredients. This preparation phase is foundational to perfecting meringue peaks beginners and setting yourself up for success by eliminating variables that could hinder the whipping process.
Step 2: Separating Eggs for Meringue Volume
Properly separating egg whites from yolks is perhaps the single most critical step for achieving voluminous, stable meringue. Even a tiny speck of yolk, which contains fat, can deflate your efforts and prevent the egg whites from whipping to stiff peaks. Use cold eggs for easier separation, as the yolks are firmer. Crack the egg gently and pass the yolk back and forth between the two shell halves, allowing the white to fall into a clean bowl below. Have a separate small bowl handy to collect each individual egg white before adding it to your main mixing bowl.
Separating each egg white into a small bowl first allows you to check for any yolk contamination or shell fragments before adding it to the batch. If a yolk breaks or you get a bit of shell, you only lose one egg white, not the entire batch. Once you have a clean egg white, transfer it to your main, grease-free mixing bowl. Repeat this process for all the eggs required by your recipe, ensuring that only pure egg white makes it into the whipping bowl.
Step 3: Whipping Egg Whites: Achieving Meringue Structure
Begin whipping the egg whites on a low speed using your electric mixer. This initial slow speed helps to break up the egg whites and create a uniform foam with small, evenly sized bubbles. As the egg whites become frothy and opaque, resembling dish soap bubbles, gradually increase the speed to medium. You will see the volume increase significantly as more air is incorporated.
Continue whipping at medium speed until the egg whites reach the "soft peak" stage. At this point, when you lift the whisk, the peaks will form but curl over on themselves, looking like soft waves. This stage is crucial because it's when you begin adding the sugar. Whipping too fast too soon can create large, unstable bubbles, while starting too slow for too long delays the process. Finding that medium speed after the initial froth is key to building a strong, fine-bubbled structure.
Step 4: Adding Sugar for Stability and Shine
Once your egg whites have reached soft peaks, it's time to add the sugar. This needs to be done gradually while the mixer is running on medium or medium-high speed. Add the sugar a tablespoon or two at a time, allowing each addition to dissolve into the egg whites before adding the next. This slow incorporation is vital; dumping all the sugar in at once will weigh down the egg whites and can cause the foam to collapse.
Continue whipping after all the sugar has been added. As the sugar dissolves, the meringue will become glossy and smooth. You can test if the sugar is fully dissolved by rubbing a small amount of the meringue between your fingers; it should feel smooth, not gritty. This step is essential for achieving a stable, shiny meringue that holds its shape and doesn't weep later. The sugar coats the protein structures, preventing the trapped air from escaping and adding that characteristic sheen.
Step 5: Achieving Stiff Peaks: The Meringue Milestone
With the sugar fully incorporated and dissolved, continue whipping the meringue on medium-high or high speed. You are now aiming for stiff peaks. Stiff peaks are achieved when you lift the whisk from the meringue, and the peaks stand straight up without drooping or curling over. They should look firm and pointy. You can also test for stiffness by inverting the bowl (carefully!) – the meringue should stay firmly in place.
Reaching stiff peaks indicates that the egg proteins have formed a strong, stable network capable of holding its shape. However, be careful not to over-whip. Over-whipped meringue can look curdled or grainy and may lose its glossy shine. It becomes brittle and difficult to work with. Stopping the mixer as soon as stiff peaks are achieved is the final step in perfecting meringue peaks beginners and ensures your meringue is ready for its next application, whether it's piping, baking, or topping a dessert.
Meringue Types: Choosing the Right One
French Meringue: The Lightest Option
French meringue is the simplest and most common type, especially for beginners, as it involves whipping raw egg whites with sugar until stiff peaks form. As detailed in our step-by-step guide, the process is straightforward: whip egg whites until frothy, gradually add sugar while whipping, and continue until stiff, glossy peaks are achieved. This type of meringue is the least stable of the three main types because the egg whites are not cooked.
Due to its raw state, French meringue is typically used for recipes that require baking, such as meringue cookies, pavlova bases, or baked Alaska. Baking dries out and stabilizes the meringue, making it crisp and safe to eat. While easy to make, its fragility means it should be used immediately after whipping and is susceptible to weeping if not baked or stored properly, particularly in humid conditions.
Italian Meringue: The Stablest Choice
Italian meringue is made by slowly drizzling hot sugar syrup (heated to the soft-ball stage, around 240°F or 115°C) into already whipped egg whites while continuing to whip. The hot syrup cooks the egg whites as it's incorporated, making this meringue type the most stable and food-safe to consume without further cooking. The whipping continues until the meringue is thick, glossy, and has cooled down.
This highly stable meringue is perfect for frostings (like on cupcakes), mousses, and as a topping for pies that can be lightly torched for color without needing oven time. Because the egg whites are cooked by the hot syrup, Italian meringue holds its shape exceptionally well and is much less prone to weeping compared to French meringue. Its smooth, satiny texture makes it ideal for decorative piping.
Swiss Meringue: The Smoothest Option
Swiss meringue offers a middle ground in terms of stability and texture. It's made by gently heating egg whites and sugar together over a double boiler (a pot of simmering water) while whisking constantly, until the sugar is completely dissolved and the mixture reaches about 130-140°F (55-60°C). The mixture is then removed from the heat and whipped with an electric mixer until stiff, glossy peaks form and the meringue has cooled.
Heating the egg whites partially cooks them, providing more stability than French meringue and a smoother texture than both French and Italian. Swiss meringue is wonderfully versatile and often used for making smooth, stable buttercreams, as a topping for tarts and pies (which can then be baked or torched), or simply eaten as is. Its satiny texture and relative ease of preparation make it a favorite for many bakers transitioning beyond basic French meringue.
Troubleshooting Meringue Problems: Solutions
Meringue Isn't Stiff Enough: Reasons and Remedies
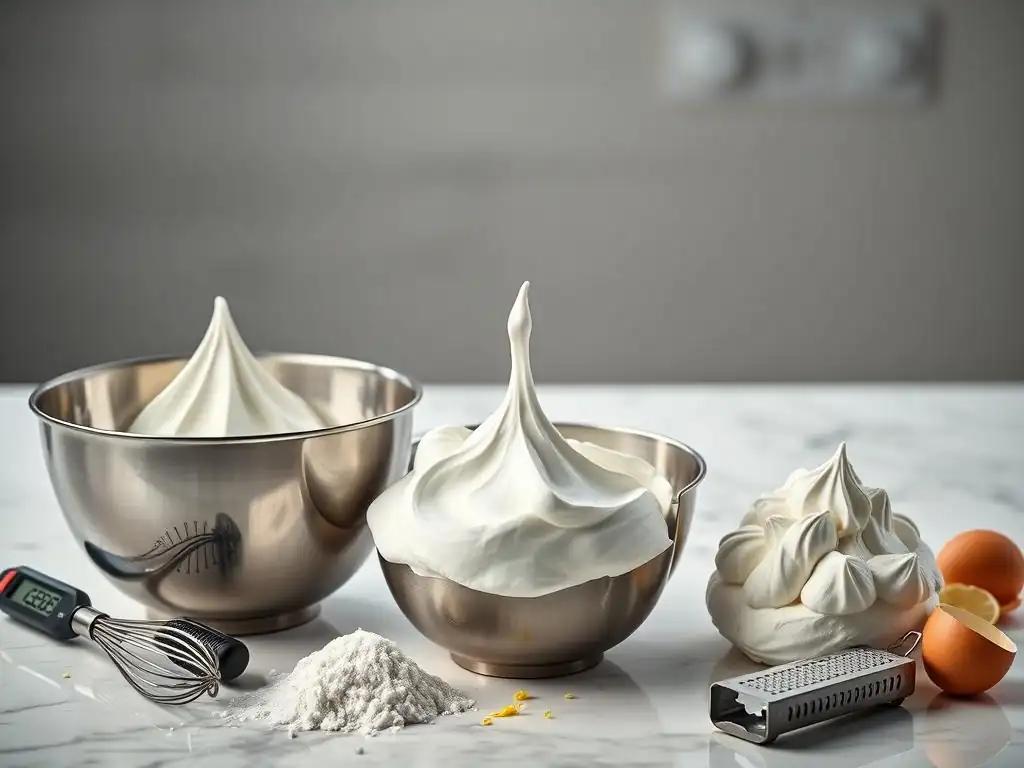
One of the most frustrating issues when perfecting meringue peaks beginners encounter is when the mixture refuses to reach stiff peaks. The most common culprit is fat contamination. Even a tiny amount of egg yolk, grease from a bowl, or residue on the whisk can prevent the egg proteins from forming a stable foam. If you suspect fat contamination and the meringue isn't whipping at all or remains stubbornly liquidy, the best remedy is often to start over with clean equipment and careful egg separation.
Another reason for limp meringue is adding the sugar too early or too quickly, which can weigh down the foam before it has built sufficient structure. Ensure you wait until soft peaks form before gradually adding sugar. Finally, you might simply not have whipped it long enough. Keep whipping on medium-high speed. However, be cautious not to over-whip once stiff peaks are achieved, as this can break down the protein structure, leading to a grainy or deflated meringue.
Meringue is Grainy: Causes and Fixes
A grainy texture in meringue is almost always caused by undissolved sugar crystals. This can happen if you add the sugar too quickly, use coarse sugar, or don't whip for long enough after the sugar has been incorporated. The sugar needs time and mechanical action from the whisk to fully dissolve into the egg white foam. While a slightly grainy texture might be acceptable in some applications, a smooth, glossy meringue is generally preferred.
To fix or prevent grainy meringue, ensure you add the sugar slowly, a tablespoon at a time, allowing each addition to incorporate before adding more. Whip on medium-high speed after all the sugar is in until you can't feel any sugar crystals when rubbing a small amount between your fingers. Using superfine or caster sugar instead of regular granulated sugar can also help, as its smaller crystals dissolve more easily. With Swiss or Italian meringue, heating the mixture helps dissolve the sugar more effectively.
Meringue is Weeping: Prevention and Solutions
Weeping, where liquid separates from the meringue and pools at the bottom, is a common problem, especially with French meringue. It's often caused by undissolved sugar, under-baking, or exposure to humidity. Undissolved sugar attracts moisture from the air or the meringue itself, leading to syneresis (weeping). Under-baking means the protein structure hasn't fully set, allowing trapped liquid to escape. High humidity in the environment can also cause baked meringue to absorb moisture and weep.
Prevention is the best approach for weeping. Ensure all sugar is completely dissolved into the meringue before using or baking it. If baking French meringue, bake it low and slow until it's completely dried out. For baked meringues, store them immediately in an airtight container once cooled (after completely drying). Unfortunately, once a meringue is weeping significantly, it's difficult to fix. For pie toppings, ensuring a good seal between the meringue and the crust can help, and for baked goods, proper storage is key to maintaining dryness.
Baking Meringue: Texture and Color
Optimal Oven Temperature
Baking meringue isn't like baking a cake; it's more about drying it out than cooking it quickly. The optimal oven temperature is typically very low, usually between 200°F and 250°F (100°C and 120°C). Baking at such a low temperature allows the moisture in the meringue to evaporate slowly without the meringue browning too quickly or collapsing. The goal is a crisp, dry texture all the way through, rather than a soft or chewy interior (unless making something like a pavlova, which is intentionally soft inside).
Temperatures much higher than 250°F will likely cause the sugar in the meringue to caramelize rapidly, resulting in a dark brown or even burnt exterior before the interior has a chance to dry out. This low and slow approach ensures the meringue sets properly, becoming light and airy while maintaining its white or pale color. Some recipes might call for slightly higher temperatures for a shorter time to achieve a specific texture or color on top, but for consistently dry and crisp meringues, low heat is essential.
Baking Time: Monitoring Crispness
The baking time for meringue varies significantly depending on its size and thickness, as well as the oven temperature. Small meringue cookies baked at 200°F might take 1 to 1.5 hours, while a large pavlova base could take 1.5 to 2 hours or even longer. The key is not to rely solely on a timer but to check for doneness. A properly baked meringue should feel firm and dry to the touch. It should lift easily from the parchment paper without sticking.
To check if it's done, gently tap the meringue; it should sound hollow. For larger meringues, you can carefully lift one to check the bottom – it should be dry and crisp. Some bakers even recommend turning off the oven after the initial baking time and letting the meringues cool down inside the oven for several hours or overnight. This allows them to dry out further and cool very gradually, which helps prevent cracking and ensures maximum crispness.
Cooling Meringue: Preventing Cracking
Just as crucial as baking at the right temperature is cooling the meringue properly. Sudden changes in temperature are a common cause of cracking. Once baked, meringues are delicate and susceptible to thermal shock. Removing them from a hot oven into a cooler room environment too quickly can cause them to contract rapidly, leading to cracks or even crumbling. This is why the technique of letting them cool inside the turned-off oven is so popular and effective.
If you can't leave them in the oven, at least turn the oven off and prop the door open slightly, allowing the meringues to cool down gradually over an hour or so before removing them completely. Ensure they are on the baking sheet lined with parchment paper during the cooling process. Once fully cooled and crisp, handle them gently. Proper cooling is the final step in achieving beautiful, intact baked meringues after successfully perfecting meringue peaks beginners during the whipping stage.
Meringue Recipe Ideas: Putting Skills to the Test
Meringue cookies are a fantastic way to practice your skills after perfecting meringue peaks beginners. They are simple, requiring just egg whites, sugar, and often a touch of vanilla and maybe some acid like cream of tartar. A basic ratio is about 1 large egg white to 50 grams of granulated or caster sugar. Once you've achieved stiff, glossy peaks with dissolved sugar, you can simply pipe small dollops onto a baking sheet lined with parchment paper.
These cookies bake low and slow, typically at around 200-225°F (95-105°C) for 1 to 1.5 hours, until they are dry and crisp all the way through. They should lift cleanly from the paper. Let them cool completely in the oven or very gradually outside. Meringue cookies are delightful on their own or can be used as a garnish. They are a forgiving first project that clearly demonstrates the transformation from liquid egg white to a solid, airy confection.
Pavlova: A Showstopping Dessert
The Pavlova is a dramatic and delicious dessert that showcases the beauty of meringue. It uses a French meringue base, often with the addition of a small amount of cornstarch and vinegar. The cornstarch helps create a soft, marshmallowy interior, while the vinegar assists in stabilizing the meringue and achieving a crisp shell. A typical recipe might use 4 large egg whites, 200g sugar, 1 tsp cornstarch, and 1 tsp white vinegar.
The meringue is shaped into a large disc with a slight well in the center and baked at a low temperature (around 250°F or 120°C) for 1.5 to 2 hours, then left to cool completely in the oven. The result is a meringue shell that is crisp on the outside and soft and chewy within. It's traditionally filled with whipped cream and fresh fruit, making it a stunning centerpiece dessert perfect for celebrations.
Lemon Meringue Pie: Elevating Dessert
Lemon Meringue Pie is a classic that beautifully contrasts a tart lemon filling with a sweet, airy meringue topping. While some recipes use French meringue for the topping and bake it until lightly browned, others opt for the more stable Swiss or Italian meringue, which can be piped onto the cooled filling and then quickly torched for color without baking. Using a cooked meringue (Swiss or Italian) minimizes the risk of weeping onto the pie filling.
For a French meringue topping, you'd typically use about 3-4 large egg whites and whip them with around 75-100g of sugar until stiff peaks form. This is spread or piped over the hot lemon filling, ensuring it touches the crust all around to prevent shrinkage. It's then baked for a short time (e.g., 10-15 minutes at 350°F or 175°C) until the peaks are golden brown, or torched. Perfecting meringue peaks beginners for this application means achieving peaks that hold their shape and brown beautifully.
Meringue Storage Tips: Keeping Creations Fresh
Storing Baked Meringue for Crispness
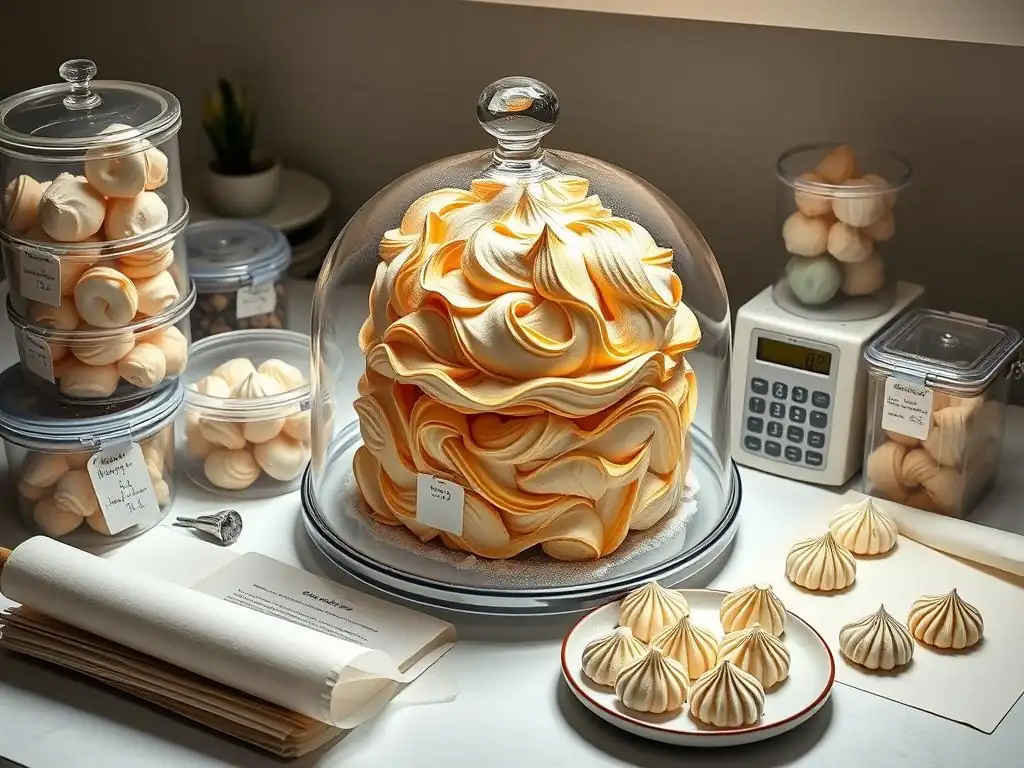
Baked meringues, such as cookies or pavlova shells, are highly susceptible to moisture from the air. To maintain their crisp texture, they must be stored in a completely airtight container at room temperature as soon as they are fully cooled and dried. Plastic containers or metal tins with tight-fitting lids work well. Avoid storing them in the refrigerator, as the humid environment inside will quickly make them soft and sticky.
Layering the meringues with parchment paper can help prevent them from sticking together or breaking. If stored properly, baked meringue cookies can remain crisp for several days, typically 3 to 5 days. Larger items like pavlova shells are best assembled just before serving, but the baked shell itself can be stored in an airtight container for a day or two. Always ensure the container is sealed tightly after retrieving any meringues.
Storing Unbaked Meringue: Short-Term Storage
Unbaked meringue, particularly French meringue, is best used immediately after whipping. The delicate foam structure begins to break down over time, and the meringue can lose volume and stability, increasing the likelihood of weeping. Ideally, you should have your baking sheet prepared and your oven preheated before you even start whipping the egg whites.
If absolutely necessary, unbaked French meringue can be stored in a clean, airtight container in the refrigerator for a few hours, perhaps up to 12 hours, but expect some loss of volume and potentially increased weeping. Swiss and Italian meringues, being more stable due to the cooked sugar, can hold slightly better in the fridge for a day or two, but they are still best used fresh for optimal texture and volume. Plan your baking so you whip your meringue just before you need to use it.
Advanced Meringue Techniques: Leveling Up
Flavoring Meringue: Adding Extracts and Zest
Once you've mastered the basic technique of perfecting meringue peaks beginners, you can explore adding flavor to your creations. Extracts are the most common way to infuse flavor. Vanilla extract is a classic addition, enhancing the sweetness. Use clear vanilla extract if you want to maintain a pure white color. Other extracts like almond, peppermint, or lemon can add exciting twists. Add extracts after the sugar has been fully incorporated and the meringue is glossy, typically just before reaching stiff peaks.
Citrus zest (lemon, lime, orange) is another wonderful flavoring agent, adding a bright, fresh note. Ensure you use only the colored part of the peel, avoiding the bitter white pith. Gently fold the zest into the meringue after it has reached stiff peaks, being careful not to deflate the foam. Start with a small amount, perhaps 1/2 teaspoon of extract or 1 teaspoon of zest per 2-3 large egg whites, and adjust to taste in future batches.
Coloring Meringue: Achieving Vibrant Hues
Adding color can transform plain meringue into vibrant, eye-catching confections. However, it's important to use the right type of food coloring. Liquid food coloring contains water, and adding too much liquid can destabilize the meringue. Gel or powder food colorings are concentrated and add very little moisture, making them ideal for coloring meringue.
Add the coloring after the meringue has reached stiff peaks. Start with a tiny amount on the tip of a toothpick and gently fold it in with a spatula until the color is evenly distributed. Add more coloring gradually until you achieve your desired shade. Overmixing at this stage can deflate the meringue, so be gentle. Swirling different colors together just before piping can also create beautiful marbled effects.
Piping Meringue: Creating Decorative Designs
Piping meringue is a fun way to create beautiful shapes and patterns, from simple swirls and stars for cookies to intricate designs for cake decorations. You'll need a piping bag and various piping tips. French meringue can be piped, but its lighter structure means designs might spread slightly. Swiss and Italian meringues hold their shape much better, making them preferable for more defined patterns.
Fit your piping bag with the desired tip and fill it carefully with meringue, pushing it down to remove air pockets. Twist the top of the bag to seal. Practice piping on a piece of parchment paper before going onto your final baking sheet or dessert. Apply even pressure and control the bag to create consistent shapes. Piping allows you to turn your perfectly whipped meringue into edible art, adding another layer of skill and creativity to your baking repertoire.
Conclusion: Your Meringue Journey
Celebrate Meringue Achievements
Congratulations! You've taken significant steps towards perfecting meringue peaks beginners by understanding the process, ingredients, and techniques. Meringue can seem intimidating at first, but like any baking skill, it improves with practice. Don't be discouraged by initial setbacks; troubleshooting is a normal part of learning. Each attempt teaches you more about the delicate balance required.
Now that you have the foundational knowledge, it's time to put it into practice. Start with a simple recipe like classic meringue cookies. Pay attention to the details: clean equipment, careful egg separation, gradual sugar addition, and whipping to the correct peak stage. With each successful batch, you'll build confidence and skill, opening up a world of possibilities for incorporating this versatile and beautiful element into your baking repertoire. Enjoy the process, celebrate your achievements, and happy whipping!
Frequently Asked Questions
How important is it to use room temperature egg whites when making meringue for beginners?
Using room temperature egg whites is crucial for achieving the best volume. Warm egg whites whip up faster and create a more stable foam, leading to taller and stiffer peaks.
What type of bowl is recommended for whipping meringue for beginners?
A clean, grease-free bowl, preferably made of glass or stainless steel, is essential. Grease hinders the formation of meringue peaks, so ensuring a pristine bowl is a must.
How do I know when my meringue is at the perfect stage to stop whipping?
The perfect meringue will have stiff, glossy peaks that hold their shape when the whisk is lifted. It should also be smooth and not grainy, indicating fully dissolved sugar.
What role does sugar play in achieving perfect meringue peaks?
Sugar stabilizes the egg white foam and adds sweetness. It's important to add it gradually after the egg whites have formed soft peaks to prevent deflation and achieve maximum volume.
Can humidity affect the outcome of my meringue when I'm perfecting meringue peaks?
Yes, high humidity can cause meringue to become soft and sticky. Consider baking meringue on a dry day or using a stabilizer like cream of tartar to counteract the effects of humidity.
Final Reflection: The Sweet Science of Success
Mastering meringue peaks isn't just about achieving the perfect culinary artistry; it's a metaphor for perseverance and precision in any endeavor. The seemingly simple act of whipping egg whites into stiff, glossy peaks reveals a surprising depth of understanding – of temperature, technique, and the subtle nuances of ingredient interaction. This journey into the world of meringue has highlighted the importance of patience and attention to detail, skills transferable far beyond the kitchen.
The pursuit of the perfect meringue peak mirrors our own personal journeys toward mastery. Each attempt, whether successful or not, offers a valuable lesson. The only way to do great work is to love what you do.
– Steve Jobs. This quote resonates deeply because the joy derived from finally achieving those perfect peaks, after perhaps a few less-than-perfect attempts, is incredibly rewarding. It's a testament to the power of dedication and the sweet taste of success earned through effort. The process itself, with its delicate balance and precise movements, becomes a meditative practice, a reminder to find joy in the journey, not just the destination.
Now, I invite you to take what you've learned beyond the bowl and whisk. Consider how the principles of precision, patience, and attention to detail can be applied to your own goals and aspirations. Whether it's a challenging project at work, a personal creative pursuit, or simply navigating the complexities of daily life, remember the lessons learned from whipping up those meringue peaks.
Embrace the process, learn from your mistakes, and savor the sweetness of achievement. You might be surprised at what you can accomplish when you approach your challenges with the same care and dedication you'd give to crafting the perfect meringue.
Unlock Your Inner Pastry Chef: Perfect Meringues Await!
Thanks for joining us on this meringue adventure! We hope you now feel confident tackling those delicate peaks. Ready to put your newfound skills to the test?
- Bake your dream meringue: Try the recipe from the article – and let us know how it turns out! We'd love to see your creations.
- Share your success (or even your meringue mishaps!): Tag us on social media with your photos – we're always inspired by our baking community.
- Challenge yourself: Experiment with different flavors and techniques. What exciting meringue creations will you whip up next?
What unique flavor combination will you try for your next meringue masterpiece?