
AgarAgar Troubleshooting: Why Your Vegan Gel Might Not Be Setting

Welcome to BakeWithEase, your companion in the delightful world of baking! Ever wondered why your vegan gel isn't quite setting as planned? Dive in as we unravel the secrets behind achieving perfect vegan gels, specifically troubleshooting AgarAgar. This article will equip you with the knowledge to conquer any baking challenge and elevate your creations to new heights! Let's get baking!
- Understanding Agar Agar: The Vegan Gelatin Alternative
-
Common Reasons for Vegan Gel Not Setting with Agar Agar
- Insufficient Agar Agar Powder: Measurement Matters
- Incorrect Agar Agar to Liquid Ratio: Getting the Balance Right
- Acidic Ingredients Inhibiting Agar Agar Gelling: Citrus, Vinegar, and More
- Insufficient Boiling Time: Activating Agar Agar's Gelling Power
- Improper Cooling Temperature: The Ideal Setting Environment
- The Wrong Type of Liquid: Affecting Agar Agar's Performance
- Troubleshooting Your Vegan Gel: Identifying the Problem
- Solutions and Tips for Perfect Agar Agar Gels Every Time
- Agar Agar Recipes and Applications for BakeWithEase Bakers
- Advanced Agar Agar Techniques for Expert Bakers
- Preventing Future Agar Agar Failures: Best Practices for Consistent Results
-
Frequently Asked Questions
- Why is my vegan gel not setting, even though I used agar-agar?
- How much agar-agar do I need to use for a specific amount of liquid?
- Can I re-boil agar-agar if my gel doesn't set the first time?
- Are there any ingredients that interfere with agar-agar's gelling ability?
- How long does it take for agar-agar to set?
- Final Reflection: Unlocking the Secrets of a Perfect Vegan Gel
- Unlock Your Perfect Vegan Gel: Master Agar-Agar!
Understanding Agar Agar: The Vegan Gelatin Alternative
What is Agar Agar and How Does it Work?
Agar agar is a natural, plant-based gelatin substitute derived from red algae. It's widely used in vegan baking and cooking to create gels, thicken liquids, and stabilize desserts. Unlike animal-based gelatin, which is a protein, agar agar is a polysaccharide.
This difference in chemical structure means it behaves quite differently when heated and cooled. Agar agar needs to be fully dissolved in a liquid and brought to a boil to activate its gelling properties. Once boiled, it will start to set as it cools, typically firming up at temperatures between 32°C and 43°C (90°F and 109°F), which is much warmer than gelatin.
Its unique properties make it ideal for creating firm, stable gels that can even set at room temperature, though refrigeration is often recommended for optimal texture and food safety. A key characteristic is its 'thermo-reversible' nature: once set, agar agar gel can be reheated and re-set multiple times, unlike gelatin. This can be a lifesaver if your initial vegan gel is not setting correctly, as you can often reheat and try again.
However, repeated reheating can sometimes slightly weaken the final gel strength. It's a versatile ingredient, available in powder, flake, or bar form, with powder being the most potent and commonly used in precise baking recipes.
Agar Agar vs. Gelatin: Key Differences for Baking
The primary difference between agar agar and gelatin lies in their source (plant vs. animal) and chemical composition, leading to distinct handling properties and final textures. Gelatin typically requires simmering and sets as it cools below about 15°C (60°F), resulting in a wobbly, melt-in-your-mouth texture. Agar agar, conversely, requires a full boil to activate and sets at a much higher temperature, producing a firmer, sometimes slightly brittle gel that doesn't melt at room temperature. This firmness is often why a vegan gel is not setting if the agar ratio is too low compared to a gelatin recipe.
Furthermore, agar agar is significantly more potent than gelatin. You generally need much less agar agar powder to achieve the same gelling strength as gelatin powder. A common guideline suggests that 1 teaspoon of agar agar powder is equivalent to about 8 teaspoons of gelatin powder (or one standard gelatin packet). This potency means precise measurement is crucial with agar agar; even a small error can result in a gel that's too hard or, conversely, a runny mixture if the ratio is too low, contributing to the common issue of vegan gel not setting.
BakeWithEase: Why Choose Agar Agar in Vegan Baking?
At BakeWithEase, we champion agar agar as the premier gelling agent for our vegan recipes due to its reliability and plant-based nature. For anyone following a vegan lifestyle or baking for those who do, agar agar is an essential pantry staple.
It allows us to replicate textures traditionally achieved with gelatin, such as in jellies, panna cottas, and cheesecakes, opening up a world of dessert possibilities that are inclusive and delicious. Its ability to set at room temperature is also a significant advantage in certain applications, like layered desserts where components need to hold their shape without constant refrigeration during assembly.
Using agar agar aligns with BakeWithEase's philosophy of making baking accessible and enjoyable for everyone, regardless of dietary restrictions. We provide clear, step-by-step instructions in our recipes to help bakers master this ingredient. Understanding how agar agar works and common pitfalls, like why your vegan gel is not setting, empowers our community to bake with confidence and achieve perfect results every time. It's a versatile tool for thickening sauces, stabilizing fillings, and creating stunning dessert presentations without any animal products.
Common Reasons for Vegan Gel Not Setting with Agar Agar
Insufficient Agar Agar Powder: Measurement Matters
One of the most frequent culprits behind a vegan gel not setting is simply not using enough agar agar powder. Agar agar is potent, but it requires a specific minimum concentration in liquid to form a stable gel. If you're adapting a recipe that uses gelatin or guessing the amount, you might underestimate how much agar agar is needed. For example, while 1 teaspoon of agar powder can gel about 1 cup (240ml) of water into a firm jelly, adding that same amount to 2 cups of liquid will likely result in a much weaker, potentially unset gel.
Precision in measuring agar agar is paramount. Using standard measuring spoons and leveling off the powder is crucial. Just a slight difference in volume can dramatically impact the final texture. If you're dealing with a liquid that contains inhibitors (like acids) or fats (like coconut milk), you may need to slightly increase the amount of agar agar beyond the basic water ratio. Always refer to the recipe's specific requirements or start with a reliable ratio, like 1-1.5 teaspoons of powder per cup of liquid for a standard gel, adjusting based on the liquid's properties and desired firmness.
Incorrect Agar Agar to Liquid Ratio: Getting the Balance Right
Beyond just using 'enough,' the ratio of agar agar to liquid is critical for achieving the desired gel consistency. Different liquids have different densities and compositions, which can affect how agar agar behaves. A ratio that works perfectly for water might be too weak for a thick fruit puree or a creamy nut milk. If your vegan gel is not setting, re-evaluating this ratio based on the specific liquid used is essential.
For a soft gel or pudding-like consistency, you might use around 0.75 to 1 teaspoon of agar powder per cup of liquid. For a firm, sliceable gel, you might need 1.5 to 2 teaspoons per cup. Richer liquids, like full-fat coconut milk or cashew cream, often require slightly more agar agar to achieve the same firmness as a water-based gel. Always consider the total volume of liquid, including any additions like flavorings or colorings, when calculating the necessary agar agar amount.
Acidic Ingredients Inhibiting Agar Agar Gelling: Citrus, Vinegar, and More
Highly acidic ingredients are notorious for interfering with agar agar's ability to gel. Common culprits include citrus juices (lemon, lime, orange), vinegar, certain fruit purees (like pineapple or kiwi, which also contain enzymes), and even some yogurt alternatives. When the pH of the mixture is too low (too acidic), the agar agar structure can be weakened, preventing it from forming a strong gel network, which is a common reason why a vegan gel is not setting, especially in recipes like vegan cheesecakes with lemon juice or fruit jellies.
If your recipe includes acidic components, there are a few strategies. One is to slightly increase the amount of agar agar used to compensate for the inhibitory effect.
Another is to heat the acidic liquid separately and add it after the agar agar has been boiled and dissolved in a less acidic base, or to add acidic ingredients towards the end of the heating process, minimizing their contact time with the hot agar solution. Sometimes, adding a tiny pinch of baking soda to the acidic liquid before combining it with the agar agar mixture can help neutralize some of the acidity, but this must be done carefully to avoid affecting flavor or texture.
Insufficient Boiling Time: Activating Agar Agar's Gelling Power
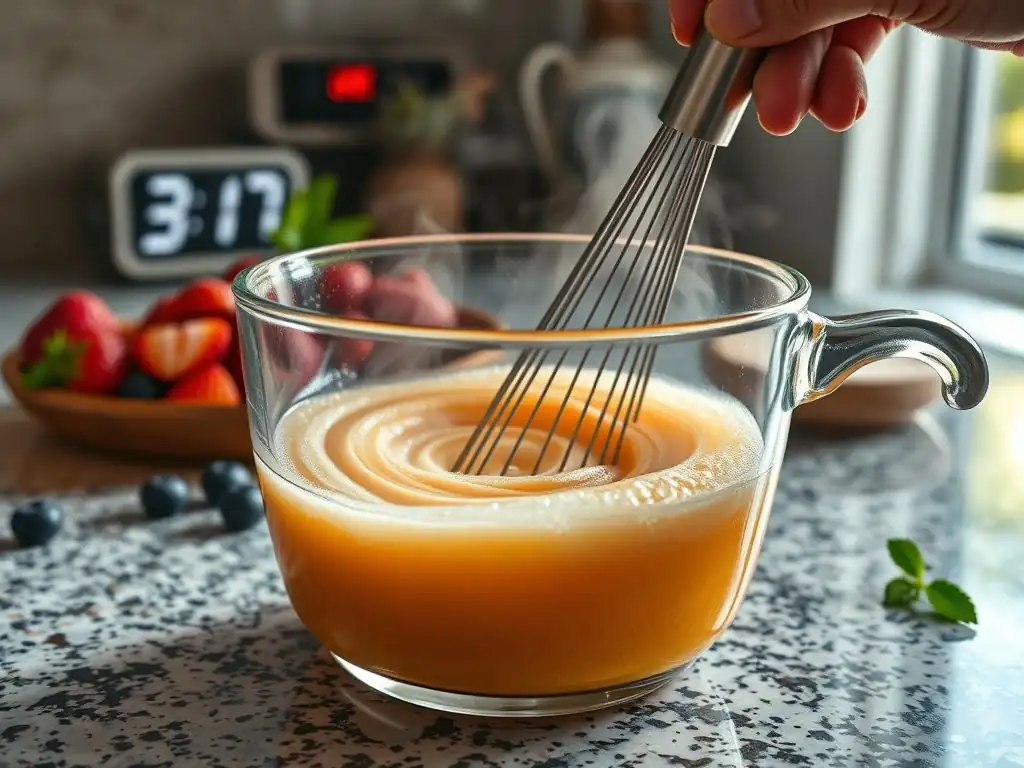
Unlike gelatin, which simply needs to be dissolved in warm liquid, agar agar requires a full, rolling boil to properly hydrate and activate its gelling molecules. Simply whisking it into hot liquid or bringing it just to a simmer is often not enough. If your vegan gel is not setting, it's highly probable that the mixture didn't reach a sufficient temperature or wasn't boiled for long enough.
The mixture containing the agar agar must be brought to a boil and simmered for the time specified in the recipe, usually between 1 and 5 minutes, depending on the form of agar agar (powder requires less time than flakes or bars) and the volume of liquid. This boiling period ensures that the agar agar fully dissolves and the polysaccharide chains are ready to form a gel structure upon cooling. Stirring frequently during the boil helps prevent clumping and ensures even dissolution.
Improper Cooling Temperature: The Ideal Setting Environment
Agar agar gels set as they cool, but they set at a relatively high temperature compared to gelatin. While this means they can set at room temperature, chilling is often required for the firmest set and fastest results, especially for recipes like panna cotta or cheesecake fillings. However, the problem isn't usually that it's too cold but that it hasn't had enough time to cool sufficiently, or that it was disturbed during the crucial setting phase. If your vegan gel is not setting after a short period at room temperature, it simply needs more time, usually in the refrigerator.
Agar agar begins to set quite quickly once it cools below about 43°C (109°F) and reaches its full firmness when completely chilled, typically after 2-4 hours in the refrigerator. Placing the hot mixture directly into the refrigerator can sometimes lead to uneven cooling, especially in larger molds. Allowing it to cool slightly at room temperature for 15-20 minutes before refrigerating can help, but avoid letting it set too much before pouring into the final mold. Disturbing the gel while it's in the process of setting can also disrupt the network formation, resulting in a weaker or broken gel.
The Wrong Type of Liquid: Affecting Agar Agar's Performance
While agar agar can gel a wide variety of liquids, some liquids can present challenges or require adjustments to the standard agar ratio. As mentioned, acidic liquids are problematic. Liquids with high fat content, like full-fat coconut milk or heavy cream alternatives, can sometimes yield a softer gel, potentially requiring slightly more agar agar. Also, liquids containing alcohol can inhibit gelling, especially if the alcohol concentration is high.
Other liquids might contain enzymes that can break down the agar structure, although this is less common than with gelatin (which is affected by enzymes in pineapple, papaya, and kiwi). If you're experimenting with an unusual liquid and your vegan gel is not setting, consider if the liquid itself might be the issue. Stick to common liquids like water, fruit juices (with acidity adjustments), plant milks, and vegetable broths when starting out.
Troubleshooting Your Vegan Gel: Identifying the Problem
Step-by-Step Diagnostic Guide for Unset Vegan Gel
If you find your vegan gel is not setting, don't panic! Follow these steps to identify the likely cause:
- Review the Recipe and Your Steps: Did you follow the recipe precisely? Double-check the amount of agar agar specified and the volume of liquid used.
- Check Your Measurement: How did you measure the agar agar? Was it leveled accurately? Was it powder, flakes, or bars, and did the recipe specify a different form? (Remember, amounts differ significantly).
- Assess the Heating Process: Did the mixture containing the agar agar come to a full, rolling boil? How long did you boil it? Was it stirred throughout the boiling process?
- Consider the Ingredients: Did your mixture contain any acidic ingredients (citrus, vinegar, some fruits)? Were there high-fat liquids or alcohol?
- Evaluate the Cooling Process: Was the mixture given enough time to cool and chill completely? Was it disturbed while it was trying to set?
- Check the Agar Agar Itself: Is your agar agar old? Has it been stored properly? While less common, old or improperly stored agar agar can lose some potency.
By systematically reviewing these points, you can usually pinpoint where things went wrong and understand why your vegan gel is not setting.
Visual Cues: Recognizing Common Agar Agar Failures
Observing the unset mixture can provide clues about the problem:
- Completely Liquid: If it's still just liquid after adequate cooling time, the most likely culprits are insufficient agar agar, not boiling long enough, or significant acidity.
- Slightly Thickened, but Not Gelatinous: This often indicates a ratio that's too low, or that the boil wasn't sufficient to fully activate all the agar agar. It might also be a sign of mild inhibition from other ingredients.
- Lumpy or Grainy Texture: This suggests the agar agar didn't fully dissolve. This usually happens if it wasn't boiled long enough, wasn't stirred constantly during boiling, or was added to the liquid without properly dispersing it first (sometimes mixing powder with a little cold liquid to form a slurry helps prevent lumps).
- Weeping or Separating Liquid: While less common with agar agar than gelatin, sometimes extreme acidity or improper heating can lead to a weak gel structure that releases liquid.
These visual signs help confirm your diagnosis from the step-by-step check, guiding you toward the correct solution for your vegan gel not setting.
Testing the Agar Agar Solution Before Setting: A Pro Tip
A simple test can help you determine if your agar agar solution will set before you commit the entire batch to cooling. Once you've boiled the agar agar mixture for the required time, carefully spoon a small amount (about a teaspoon) onto a cold plate or saucer. Place the plate in the refrigerator or freezer for a minute or two.
The small amount of liquid will cool rapidly. If it sets into a firm gel within this short time, your main batch should also set correctly, assuming it cools properly. If it remains liquid or only slightly thickens, you know there's an issue with the agar concentration or activation, and you can attempt to fix the larger batch by reheating and adding more agar agar or boiling longer before it starts to cool significantly. This quick test is invaluable in preventing the disappointment of a full batch of vegan gel not setting.
Solutions and Tips for Perfect Agar Agar Gels Every Time
Adjusting the Agar Agar Ratio: Saving a Runny Gel
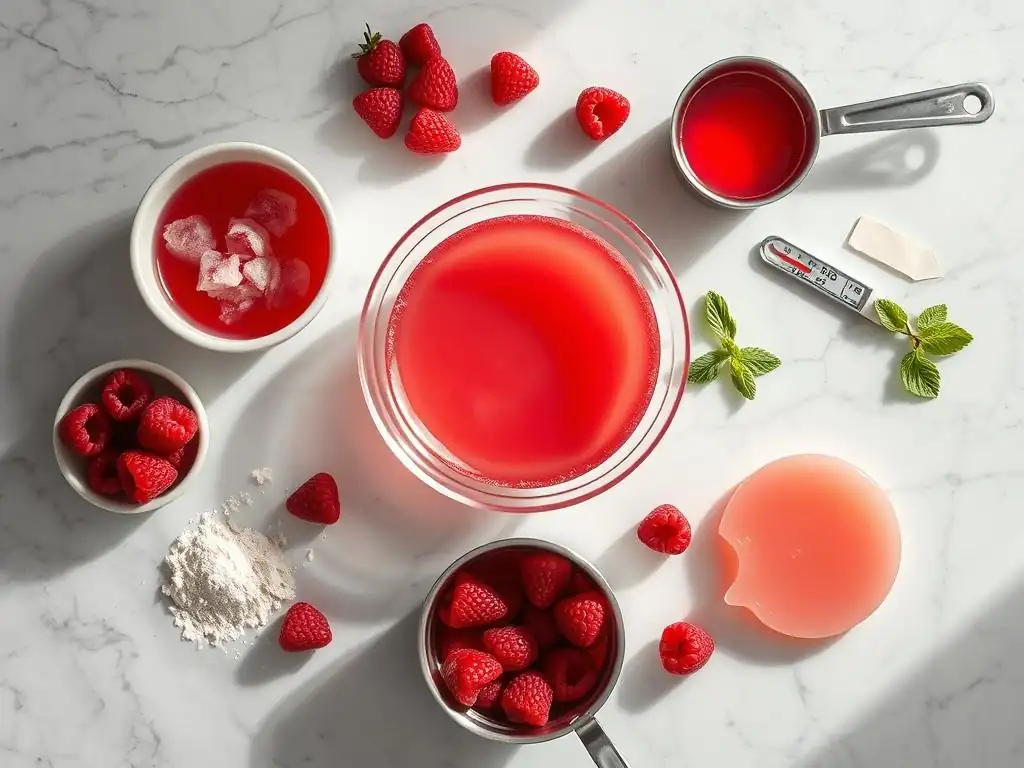
If your vegan gel is not setting because the ratio of agar agar to liquid was too low, you can often save it. Gently reheat the entire mixture in a saucepan over low heat, stirring constantly until it becomes liquid again. Do not boil it yet. While it's heating, measure out the additional agar agar you think is needed. A good rule of thumb is to add about half the amount you initially used (e.g., if you used 1 teaspoon per cup and it didn't set, add another 0.5 teaspoon per cup).
Whisk the additional agar agar powder into a small amount of cold liquid from the recipe (if possible) or cold water to create a smooth slurry. Once the main mixture is hot but not boiling, whisk the agar slurry into it thoroughly. Now, bring the entire mixture back to a full, rolling boil and simmer for 2-3 minutes, stirring continuously. Remove from heat, let it cool slightly, and perform the cold plate test again before pouring into molds for final chilling. This reheating method is possible because agar agar is thermo-reversible.
Neutralizing Acidity: Counteracting Inhibiting Ingredients
If your vegan gel is not setting due to high acidity, reheating and adding more agar agar might help, but you might also need to address the pH. One method is to slightly increase the agar agar amount to overcome the inhibition, perhaps by 25-50% depending on the acidity level. For example, if using 1 tsp agar/cup for a neutral liquid, you might try 1.25-1.5 tsp/cup for a recipe heavy in lemon juice.
Another approach, as mentioned earlier, is to carefully neutralize some of the acidity. A tiny pinch of baking soda (sodium bicarbonate) can be added to the acidic liquid before combining it with the agar-agar mixture. Add it gradually and watch for fizzing (the reaction with acid). Be cautious, as too much baking soda can impart a soapy flavor. Alternatively, if the recipe allows, you can reduce the amount of acidic ingredient slightly or balance it with a less acidic component.
Ensuring Proper Boiling and Cooling: Temperature Control is Key
Correct temperature control is fundamental to preventing your vegan gel from not setting. Always ensure the mixture containing the agar agar is brought to a full, rolling boil and maintained at that temperature for the recommended time (typically 1-5 minutes for powder). This guarantees the agar agar is fully dissolved and activated. Use a whisk to prevent scorching on the bottom of the pan and ensure even heating.
Once boiled, remove the mixture from the heat and pour it into your molds relatively quickly, as agar agar starts to set as it cools. Avoid letting it sit in the hot pot for too long. Allow the molds to cool at room temperature for 15-20 minutes before transferring them to the refrigerator. Chilling in the refrigerator for at least 2-4 hours, or until completely firm, is essential for the agar agar to reach its full gelling potential. Avoid moving or disturbing the molds while they are in the refrigerator setting.
Choosing the Right Liquid: Best Practices for Agar Agar Gels
Selecting the appropriate liquid base is crucial for successful agar agar gels. For consistent results and to minimize the chances of your vegan gel not setting, start with liquids known to work well. Water, clear fruit juices (adjusting for acidity), plant milks (almond, soy, oat), and light vegetable broths are good choices.
If using liquids with higher fat content (like full-fat coconut milk) or thicker liquids (like fruit purees), be prepared to potentially increase the agar agar ratio slightly. For acidic liquids, employ the strategies discussed earlier (increase agar, neutralize, or add acid later). Avoid liquids with high alcohol content if possible, as alcohol can significantly weaken the gel. If alcohol is necessary for flavor, add it after the agar agar has been boiled and dissolved, allowing it to cool slightly before adding the alcohol.
Using the Right Type of Agar Agar: Powder vs. Flakes vs. Bars
Agar agar comes in various forms: powder, flakes, and bars. The form significantly impacts the amount needed and how it's used, and confusing them is a common reason a vegan gel is not setting. Agar powder is the most concentrated form and the easiest to measure accurately for consistent results.
Flakes are less dense and require about 3 times the amount of powder by volume (e.g., 3 teaspoons of flakes per cup of liquid). Bars are the least processed and require soaking and boiling for longer periods, usually needing about half of one bar per cup of liquid, but this can vary by brand.
Most modern recipes, including those on BakeWithEase, specify agar agar powder due to its ease of use and reliability. If a recipe calls for powder and you use flakes or bars without adjusting the quantity correctly, your vegan gel will likely not set. Always check the recipe and the packaging of your agar agar to ensure you are using the correct form and corresponding amount. If substituting, use reliable conversion ratios as a starting point.
Agar Agar Recipes and Applications for BakeWithEase Bakers
Vegan Jelly Recipes: Mastering the Basics
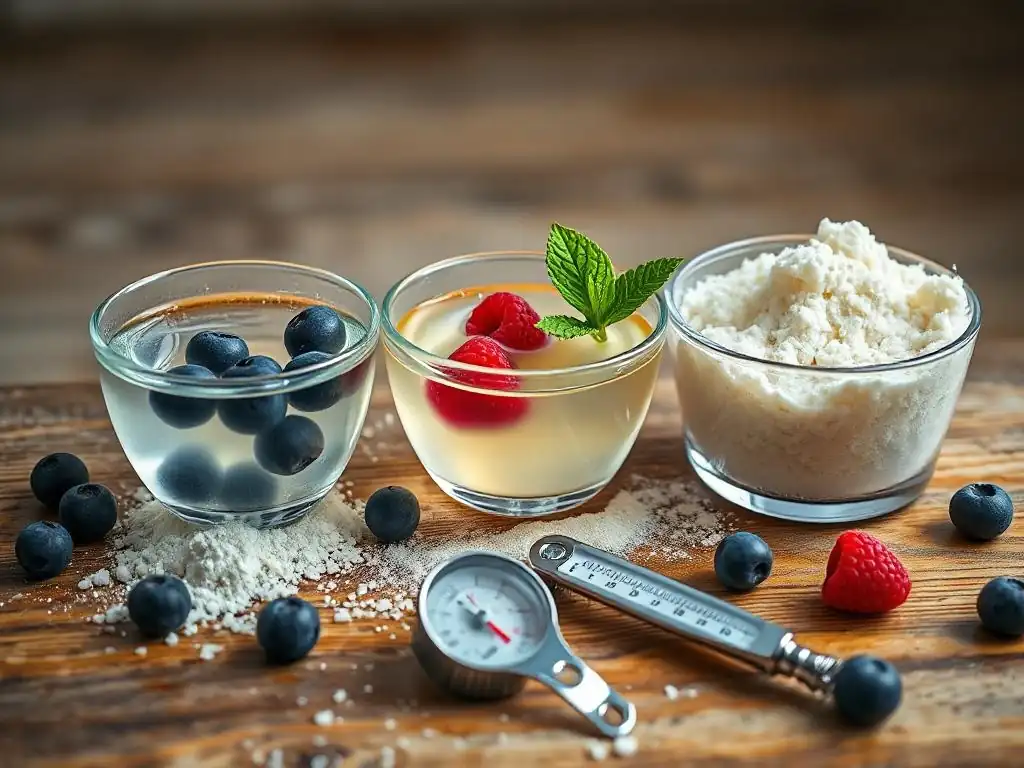
Mastering basic vegan jelly is a great way to get comfortable with agar agar and prevent issues like your vegan gel not setting. A simple recipe involves heating a liquid (like fruit juice or flavored water) with agar agar powder to a boil, simmering for a few minutes, and then cooling. For a standard jelly, a ratio of 1 teaspoon of agar powder per cup (240ml) of liquid is a good starting point.
For example, to make a simple berry jelly: Combine 2 cups of berry juice (like cranberry or mixed berry) with 2 teaspoons of agar agar powder in a saucepan. Whisk to combine. Bring to a rolling boil over medium-high heat, stirring constantly. Reduce heat and simmer for 2-3 minutes, stirring. Pour into molds or glasses and chill until firm, about 2-3 hours. This basic technique can be adapted for various flavors, just remember to adjust the agar slightly if using very acidic juices.
Vegan Panna Cotta: A Creamy Agar Agar Delight
Agar agar is excellent for creating creamy, set desserts like vegan panna cotta. This typically involves gelling a plant-based milk or cream base. The higher fat content of ingredients like full-fat coconut milk often requires a slightly higher agar agar ratio than water-based gels to achieve a firm set. A common ratio for a creamy panna cotta is 1 to 1.25 teaspoons of agar powder per cup of plant milk/cream mixture.
A basic vegan panna cotta might involve heating 2 cups of full-fat coconut milk with 1/4 cup sugar, a pinch of salt, and 2.5 teaspoons of agar agar powder. Whisk well, bring to a boil, and simmer for 2-3 minutes, stirring continuously. Remove from heat, stir in vanilla extract, and pour into ramekins. Chill for at least 4 hours. The creaminess comes from the fat in the milk, while the agar agar provides the structure, preventing the mixture from remaining liquid, which is key to avoiding a vegan gel not setting scenario in this context.
Vegan Cheesecakes: Achieving the Perfect Agar Agar Set
Agar agar is a popular choice for setting the filling in no-bake vegan cheesecakes, providing structure without the need for gelatin or baking. The filling typically consists of blended cashews, plant-based cream cheese, sweetener, and flavorings, often including lemon juice for tang. The acidity from the lemon juice means you need to account for its inhibitory effect on the agar agar.
A typical vegan cheesecake recipe might use 1.5 to 2 teaspoons of agar agar powder to set a filling made from 1.5 to 2 cups of blended cashew cream and plant-based cream cheese, plus other ingredients. The agar agar is usually dissolved and boiled in a small amount of plant milk (like 1/2 cup) separately, then whisked into the main filling mixture.
It's crucial to ensure the agar solution is fully activated by boiling and then quickly and thoroughly incorporated into the filling before it starts to set. If the agar solution cools too much before mixing or the lemon juice concentration is too high, your vegan gel might not be setting properly, resulting in a soft or runny cheesecake filling.
Advanced Agar Agar Techniques for Expert Bakers
Creating Layered Vegan Desserts with Agar Agar
Agar agar's ability to set relatively quickly and at room temperature makes it ideal for creating stunning layered vegan desserts. This technique involves pouring one layer, allowing it to set partially or fully, and then carefully pouring the next layer on top. Agar agar sets faster than gelatin, speeding up the process.
For successful layering, ensure each layer's agar agar mixture is prepared correctly (boiled sufficiently) and cooled slightly before pouring onto the previous layer. If the layer being poured is too hot, it can melt the layer underneath. If it's too cool and has already started to set, it might not bond smoothly.
A common technique is to let the previous layer set just enough to hold its shape (often 15-30 minutes in the fridge), then gently pour the next layer over the back of a spoon to diffuse the flow and prevent breaking the surface. Using different colors or opacities (clear juice vs. creamy plant milk) enhances the visual appeal. Precision in timing and temperature is key to prevent layers from mixing or your vegan gel not setting correctly between layers.
Using Agar Agar for Vegan Glazes and Coatings
Beyond standard gels, agar agar can be used to create transparent or opaque glazes and coatings for vegan pastries and cakes. By using a lower concentration of agar agar, you can achieve a pourable consistency that sets into a soft, shiny layer. This is particularly useful for fruit tarts or cakes where you want a stable, glossy finish.
For a clear glaze, a ratio as low as 0.5 to 0.75 teaspoons of agar powder per cup of fruit juice or water might be sufficient. The liquid is heated with the agar agar to a boil, simmered briefly, and then cooled slightly until it reaches a pourable, syrupy consistency before being brushed or poured over the dessert. The key is to apply it before it sets too firmly.
If the glaze starts to set in the pot, it can be gently reheated. This application showcases agar agar's versatility beyond firm gels, offering another method to use this ingredient confidently, avoiding the issue of your vegan gel not setting in a pourable form.
Experimenting with Different Textures and Flavors in Vegan Gels
Agar agar allows for significant experimentation with textures, from very soft, delicate gels to firm, sliceable ones, simply by adjusting the ratio. You can also combine it with other thickeners or stabilizers like cornstarch, arrowroot powder, or carrageenan to achieve different mouthfeels. For instance, combining a small amount of agar agar with cornstarch can result in a gel that is slightly less firm than pure agar agar but holds its shape better than starch alone.
Incorporating various flavors and colors is straightforward, provided they don't excessively inhibit gelling (like extreme acidity). You can gel fruit purees, vegetable juices, coffee, tea, or even savory broths. Adding finely chopped fruits, herbs, or edible flowers suspended within the gel is also possible, though these additions can sometimes slightly weaken the gel structure depending on their moisture content and quantity, potentially contributing to a vegan gel not setting as firmly as expected. Careful testing and ratio adjustments are recommended when incorporating significant amounts of solid inclusions.
Preventing Future Agar Agar Failures: Best Practices for Consistent Results
Accurate Measurement Techniques: Ensuring Precision
The single most important step in preventing your vegan gel from not setting is accurate measurement of the agar agar. Always use standard measuring spoons and ensure they are level. Do not scoop directly from the bag, as this can compact the powder. Spoon the powder into the measuring spoon and level off the excess with a straight edge, like the back of a knife.
If a recipe provides weight measurements (in grams), use a digital kitchen scale for the highest precision. For example, 1 teaspoon of agar agar powder typically weighs around 2-3 grams, but this can vary slightly by brand. Weighing ensures you use the exact amount intended by the recipe developer, eliminating variability caused by how tightly the powder is packed into a spoon. Consistent, accurate measurement is the foundation of successful agar agar gels.
Ingredient Compatibility: Understanding How Ingredients Interact
Becoming familiar with how different ingredients interact with agar agar is crucial for consistent results. Remember that acidity is the main inhibitor. If your recipe calls for a significant amount of lemon juice, vinegar, or acidic fruit puree, anticipate needing slightly more agar agar or employing strategies to mitigate the acidity. High-fat ingredients might also require a slight increase in agar.
Keep notes on how different liquids and ingredients behave when you make a recipe. Did the gel set perfectly with almond milk but was slightly soft with cashew cream? Did a highly acidic berry puree prevent it from setting as firmly as expected? Understanding these interactions through experience or by consulting reliable resources like BakeWithEase helps you anticipate potential issues and adjust the agar agar ratio proactively, significantly reducing instances of your vegan gel not setting.
Documenting Your Recipes: Learning from Past Experiences
Maintaining a baking journal or digital document where you record your agar agar experiments is an invaluable practice. Note the specific recipe, the exact measurements of agar agar and liquid used, the type of liquid, any potentially inhibitory ingredients, the boiling time, and the cooling duration. Crucially, record the result – did the gel set perfectly, was it too soft, too firm, or did the vegan gel not set at all?
If a recipe doesn't turn out as expected, your notes will help you identify variables to adjust next time. For instance, if your notes show you used 1.5 tsp agar/cup in a lemon-heavy recipe and the vegan gel didn't set, you know to try 2 tsp/cup next time or explore neutralizing the acid slightly. This systematic approach allows you to learn from every bake, refine your technique, and consistently achieve the desired texture with agar agar.
BakeWithEase's Recommended Agar Agar Brands and Suppliers
While many brands of agar agar powder are available, quality and potency can vary slightly. At BakeWithEase, we've found that certain brands consistently deliver reliable gelling power, reducing the likelihood of issues like your vegan gel not setting. Look for finely ground, pure agar agar powder without added fillers. Brands commonly found in health food stores or online baking supply shops that specify "agar agar powder" (not flakes or bars) are generally a good starting point.
We recommend sourcing your agar agar from reputable suppliers known for high-quality baking ingredients. Reading reviews from other bakers can also provide insight into a brand's consistency. Storing your agar agar in an airtight container in a cool, dry place away from direct sunlight will help maintain its potency over time. Using fresh, high-quality agar agar is a simple yet effective step in ensuring your vegan gels set perfectly every time.
Frequently Asked Questions
Why is my vegan gel not setting, even though I used agar-agar?
The most common reason is insufficient agar-agar concentration. Also, highly acidic ingredients can inhibit the gelling process. Make sure to use the correct ratio.
How much agar-agar do I need to use for a specific amount of liquid?
Generally, a good starting point is 1 teaspoon of agar-agar powder per cup of liquid. However, the exact amount can vary depending on the specific recipe and the desired gel firmness. Always consult reliable recipes.
Can I re-boil agar-agar if my gel doesn't set the first time?
Yes, you can usually re-boil the mixture. Reheating allows the agar-agar to dissolve properly and activate its gelling properties. Ensure it reaches a boil for sufficient time.
Are there any ingredients that interfere with agar-agar's gelling ability?
Yes, certain ingredients, especially highly acidic ones like lemon juice or vinegar, can interfere with the setting process. You might need to adjust the agar-agar quantity or neutralize the acid.
How long does it take for agar-agar to set?
Agar-agar typically sets relatively quickly, usually within 1-2 hours in the refrigerator. The cooling process is crucial for the gel to solidify properly. Don't rush it!
Final Reflection: Unlocking the Secrets of a Perfect Vegan Gel
The quest for the perfect vegan gel is a journey many undertake, often encountering frustrating setbacks along the way. A seemingly simple process can quickly become a source of culinary confusion, leaving aspiring vegan chefs with wobbly, runny results instead of the firm, elegant gels they envisioned. This article has explored the common pitfalls, offering practical solutions to ensure your vegan creations achieve the desired consistency.
The struggle to master vegan gel-making reflects a broader challenge in the culinary world: adapting traditional techniques to plant-based ingredients. This isn't simply about substituting ingredients; it's about understanding the unique properties of each plant-based component and how they interact with each other. The subtle nuances of agar-agar, its sensitivity to temperature and the importance of precise measurements, highlight the need for patience and attention to detail. The art of cooking is to bring out the best in your ingredients.
This quote, though not specifically about vegan cooking, perfectly encapsulates the spirit of mastering agar-agar and achieving that perfect set.
Now, armed with a deeper understanding of agar-agar's behavior, I invite you to experiment! Don't be discouraged by initial failures; view them as opportunities to learn and refine your technique. The satisfaction of creating a flawlessly smooth, perfectly set vegan gel is a reward in itself, a testament to your perseverance and culinary creativity. Embrace the challenge, and soon, you'll be crafting stunning vegan desserts and dishes that will impress even the most discerning palates.
Unlock Your Perfect Vegan Gel: Master Agar-Agar!
Thanks for diving into the world of agar-agar with us! We hope you gained valuable insights into troubleshooting those pesky setting issues. Ready to create flawlessly smooth vegan treats?
- Experiment with your agar-agar ratio: Try slightly increasing the amount of agar-agar in your next recipe – even a small adjustment can make a big difference.
- Share your agar-agar adventures – let us know in the comments what you’re making and what you’ve learned! We love hearing about your successes (and even your mishaps! ).
- Explore other vegan gelling agents: Have you considered experimenting with carrageenan or pectin? They offer unique textures and may be the perfect solution for your specific needs.
What's your biggest agar-agar challenge, and how are you overcoming it? Let’s discuss!