
Decoding Stand Mixer Attachments: Whisk, Paddle, Dough Hook & Beyond

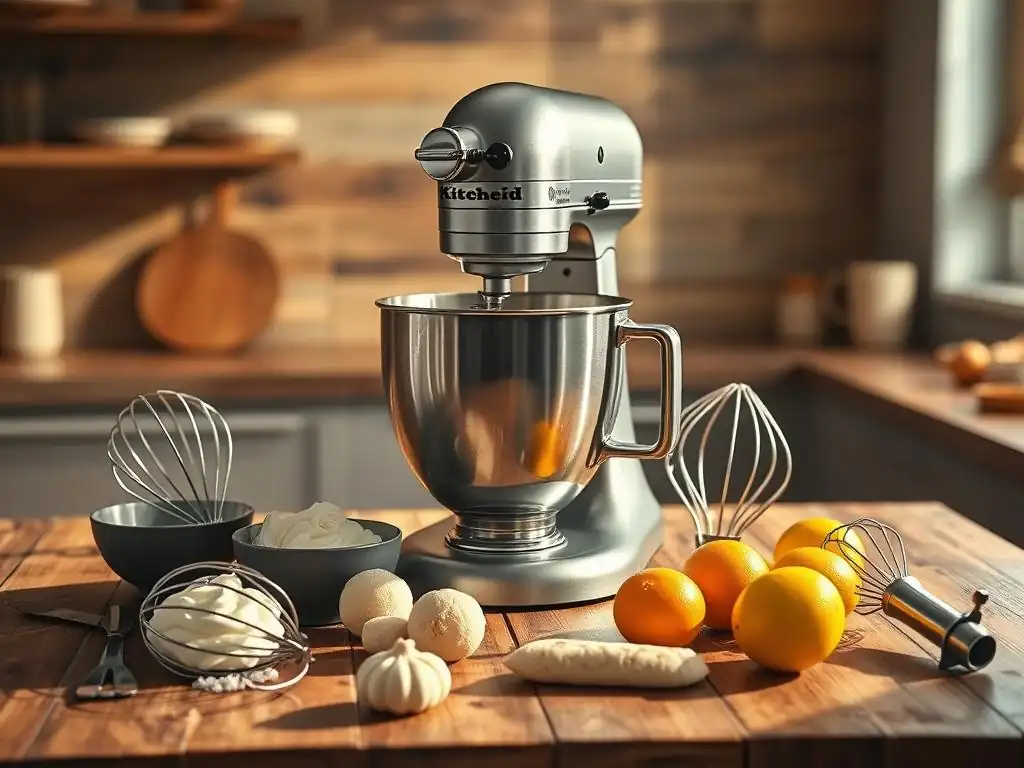
Welcome to BakeWithEase, your haven for baking brilliance! Ever wondered what all those stand mixer attachments actually do? You're in the right place. Let's unravel the mystery of whisks, paddles, dough hooks, and more in our guide: " Decoding Stand Mixer Attachments: Whisk, Paddle, Dough Hook & Beyond." Discover how these essential tools can transform your baking, unlocking new levels of deliciousness. Ready to bake smarter, not harder? Let's get started!
- Understanding Your Stand Mixer Attachments: A Beginner's Guide
- The Whisk Attachment: Aerating and Emulsifying
- The Paddle Attachment: Creaming and Mixing
- The Dough Hook Attachment: Kneading Made Easy
- Beyond the Basics: Exploring Specialized Stand Mixer Attachments
- Choosing the Right Stand Mixer Attachment for Your Needs
- Cleaning and Maintaining Your Stand Mixer Attachments
- Mastering Stand Mixer Attachments: Elevate Your Baking
-
Frequently Asked Questions
- What are the three basic stand mixer attachments and what are they primarily used for?
- Can I use the whisk attachment for everything, even thick cookie dough?
- What is the difference between the paddle attachment and the flex-edge beater?
- I want to make sourdough bread. Which attachment should I use and for how long?
- Are all stand mixer attachments universal, or do I need to buy specific ones for my brand?
- Final Reflection: Unlocking the Potential of Your Stand Mixer
- Unlock Your Stand Mixer's Full Potential!
Understanding Your Stand Mixer Attachments: A Beginner's Guide
Why Stand Mixer Attachments Matter for Baking
Understanding your stand mixer attachments is fundamental to unlocking the full potential of your baking endeavors. These simple tools transform your mixer from a basic motor into a versatile kitchen workhorse, automating labor-intensive tasks like whipping, mixing, and kneading with remarkable efficiency. Without the right attachment, you might spend 20 minutes manually kneading dough or struggle to achieve the airy peaks needed for a perfect meringue. Knowing which stand mixer attachment does what simplifies recipes, saves time, and ensures consistent results, making baking less intimidating and more enjoyable for everyone, regardless of skill level.
Using the correct attachment is crucial for both the success of your recipe and the longevity of your mixer. For instance, attempting to knead a heavy bread dough with the paddle attachment can strain your mixer's motor and potentially damage the attachment itself.
Conversely, trying to whip cream with the dough hook won't produce the desired volume or texture. By learning the specific function of each attachment, you ensure your ingredients are processed correctly, leading to better textures, improved rise, and overall superior baked goods, making the process of using stand mixer attachments explained simply a key step in your baking journey.
The Essential Trio: Whisk, Paddle, and Dough Hook
Almost every stand mixer comes standard with three primary attachments: the wire whisk, the flat beater (often called the paddle), and the dough hook. These three tools cover the vast majority of common baking tasks. Think of them as the foundational tools in your stand mixer's toolkit. The wire whisk is designed for incorporating air, ideal for light and fluffy mixtures. The paddle attachment is the versatile all-rounder, perfect for creaming, mixing, and beating heavier batters. Finally, the dough hook is specifically engineered to take the hard work out of kneading yeast doughs, developing gluten structure efficiently.
Each of these attachments has a distinct shape and purpose, directly related to the type of mixing action required for different ingredients and recipes. The whisk's wires whip through liquids or soft ingredients, creating volume. The paddle's broad, flat surface creams butter and sugar, mixes batters, and breaks up ingredients. The dough hook's spiral or C-shape mimics the action of hand kneading, stretching and folding dough to develop gluten. Mastering when and how to use this essential trio is the first step in truly understanding stand mixer attachments explained simply and effectively.
The Whisk Attachment: Aerating and Emulsifying
What is the Whisk Attachment Used For?
The whisk attachment, often resembling a balloon whisk, is specifically designed for incorporating air into mixtures. Its wire loops rapidly move through ingredients, creating froth and volume by trapping tiny air bubbles. This process is essential for achieving light, airy textures in many desserts and baked goods. It's also excellent for emulsifying ingredients that wouldn't naturally mix, like oil and eggs for mayonnaise, creating a stable blend. The whisk is your go-to for anything requiring significant aeration or a smooth, homogeneous liquid mixture.
This attachment excels at tasks where volume is key. Think about how much effort it takes to whisk egg whites by hand to stiff peaks – the stand mixer with a whisk attachment can achieve this in a fraction of the time, often just 2-3 minutes for a typical batch of 4 egg whites. Similarly, whipping cream from liquid to firm peaks takes only a few minutes.
Its design allows it to reach the bottom and sides of the bowl efficiently when dealing with smaller volumes of liquid, ensuring even aeration throughout. Understanding these specific uses makes the whisk attachment's role in stand mixer attachments explained simply very clear.
Best Uses for the Whisk Attachment: Meringue, Whipped Cream, Angel Food Cake
The whisk attachment truly shines when making meringues, whipped cream, and angel food cake. For meringues, it effortlessly whips egg whites with sugar into stable, glossy peaks, a process that is incredibly labor-intensive manually. A typical recipe using 6 large egg whites and 1 cup of sugar can reach stiff peaks in under 5 minutes on medium-high speed. This level of consistent, rapid aeration is difficult to achieve by hand, and vital for light, crisp meringues.
Whipped cream is another perfect application. Starting with cold heavy cream, the whisk incorporates air quickly, transforming liquid cream into a fluffy, spreadable, or pipeable topping in just 2-4 minutes, depending on the volume and desired stiffness. For angel food cake, which relies entirely on whipped egg whites for its rise, the whisk attachment is indispensable for creating the massive volume and stable foam needed to support the cake's structure. These examples highlight the whisk's primary function: maximizing aeration for delicate, light results, a core part of understanding stand mixer attachments explained simply.
Tips for Using the Whisk Attachment Effectively
To get the best results with your whisk attachment, ensure your bowl and attachment are scrupulously clean and free of any grease, especially when whipping egg whites, as fat can prevent them from whipping properly. For egg whites and cream, starting with cold ingredients generally helps achieve better volume and stability. Begin whipping on a lower speed to create small bubbles, then gradually increase the speed to medium-high to incorporate more air and build structure. Avoid whipping on the highest speed initially, as this can create large, unstable bubbles.
- Start slow, then increase speed.
- Ensure bowl and whisk are grease-free (critical for egg whites).
- Use cold ingredients for whipping cream.
- Whip just until desired stiffness is reached to avoid over-whipping (which can turn cream grainy or egg whites dry).
Using these simple tips will help you master the whisk attachment for consistently excellent results in your light and airy bakes.
The Paddle Attachment: Creaming and Mixing
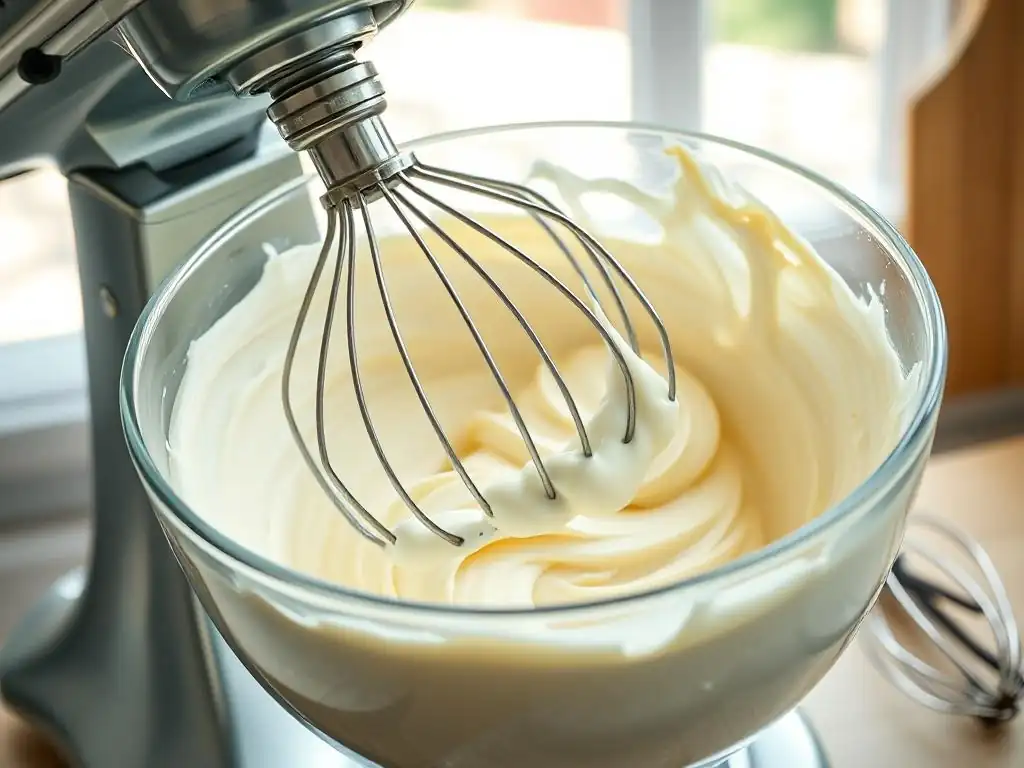
The paddle attachment, also known as the flat beater, is arguably the most versatile of the core three stand mixer attachments. Its flat shape and broad surface area make it ideal for a wide range of mixing tasks that don't require significant air incorporation or heavy kneading. While it's famous for creaming butter and sugar for cookies, its utility extends far beyond. It's perfect for mixing cake batters, making frosting, stirring together quick breads and muffins, mashing potatoes, and even making some candies.
This attachment is designed to thoroughly combine ingredients without over-developing gluten (like a dough hook would) or incorporating excessive air (like a whisk). It effectively breaks up clumps, incorporates dry ingredients into wet ones, and creates smooth, consistent mixtures. It's the workhorse for medium-density tasks, handling everything from thick cookie doughs to smooth buttercream frostings. Understanding the paddle's broad capabilities is key to fully grasping stand mixer attachments explained simply for everyday baking.
The paddle attachment is the default choice for many common baking recipes. When making chocolate chip cookies, you use the paddle to cream together softened butter and sugar, a crucial step that incorporates a small amount of air and creates a tender texture. It then efficiently mixes in eggs, vanilla, flour, and chocolate chips. For butter-based cakes like pound cake or sponge cake (that don't rely solely on whipped egg whites), the paddle is used for the initial creaming step and for mixing in the dry and wet ingredients alternately.
Frosting, particularly buttercream, is another prime candidate for the paddle. It creams the butter until fluffy, then gradually incorporates powdered sugar and liquid (like milk or vanilla extract) to create a smooth, spreadable consistency. Other uses include mixing meatloaf mixtures, shredding cooked chicken (by running the mixer on low speed with cooked chicken breasts), and making fillings like cream cheese filling for pastries. If a recipe calls for "creaming," "mixing," or "beating" ingredients (unless it specifically says "whipping" or "kneading"), the paddle is likely the correct stand mixer attachment to use.
Achieving Perfect Texture with the Paddle Attachment: Tips and Tricks
Achieving the right texture with the paddle attachment involves understanding mixing times and speeds. When creaming butter and sugar, mix on medium speed until the mixture is lightened in color and fluffy, usually 2-5 minutes depending on the amount. Over-creaming can incorporate too much air, leading to spreading cookies. When adding dry ingredients to wet, mix only until just combined on a low speed. Overmixing develops gluten, resulting in tough cakes, muffins, or cookies.
- Scrape down the sides and bottom of the bowl frequently (every 1-2 minutes) while mixing to ensure all ingredients are incorporated evenly.
- Use a splash guard if your mixer has one, especially when adding powdered sugar or flour, to prevent clouds of dust.
- Avoid mixing on high speed for most tasks with the paddle; medium to low speed is usually sufficient and provides better control.
- For tougher doughs or mixtures, use the lowest speed to avoid straining the motor.
Following these tips helps ensure your batters and doughs mixed with the paddle attachment have the desired smooth, consistent texture.
The Dough Hook Attachment: Kneading Made Easy
Dough Hook Attachment: Your Guide to Perfect Bread Dough
The dough hook attachment is specifically designed to take over the labor-intensive process of kneading yeast doughs. Kneading develops gluten, the protein structure in flour that gives bread its elasticity and chewiness, and allows it to rise. Manually kneading can take 10-15 minutes of consistent work. The dough hook mimics the pushing, stretching, and folding action of hand kneading, efficiently developing gluten structure while you can attend to other tasks. This makes baking homemade bread, pizza dough, and other yeasted goods much more accessible.
Using the dough hook is straightforward: combine your ingredients according to the recipe, and once a shaggy dough forms, switch to the dough hook. Run the mixer on a low to medium-low speed (typically speed 2 on many models) for the time specified in the recipe, often ranging from 6 to 12 minutes depending on the dough's hydration and the mixer's power.
The dough will gradually transform from a sticky mass into a smooth, elastic ball that pulls away from the sides of the bowl. This automation is a game-changer for anyone who loves baking bread, making the understanding of stand mixer attachments explained simply for bread making a key skill.
Best Dough Hook Techniques: Sourdough Bread, Pizza Dough, Brioche
The dough hook is essential for a variety of yeasted doughs. For rustic sourdough bread, the dough hook can handle the long kneading times required to develop the strong gluten network needed for a good rise and open crumb structure, often kneading for 8-10 minutes after the initial mix.
For quick pizza dough, a shorter kneading time of 5-7 minutes might be sufficient to create a pliable dough that's easy to stretch. Rich, enriched doughs like brioche, which contain butter and eggs, benefit from the dough hook's ability to gently incorporate these fats while developing gluten over a slightly longer period, perhaps 10-15 minutes, without overworking the dough.
Different dough hook shapes exist (C-shaped and spiral), and while both work, the spiral hook is often considered more efficient for larger batches or stiffer doughs as it pushes the dough off the bottom and sides of the bowl more effectively. Regardless of shape, the principle is the same: allow the hook to do the work, developing gluten until the dough passes the "windowpane test" (a small piece of dough can be stretched thin enough to see light through without tearing).
Troubleshooting Common Dough Hook Problems
Sometimes, dough doesn't behave perfectly with the dough hook. A common issue is the dough climbing up the hook. This usually means the dough is too sticky or you're using too high a speed. Try reducing the speed or adding a tiny bit more flour (a tablespoon at a time) if the dough is excessively wet. Ensure you are using a low speed (Speed 2 is standard for kneading on many mixers); higher speeds can overheat the motor and cause the dough to climb.
- If the dough is just spinning around the hook without kneading, it might be too dry or the batch size is too small for your mixer. Try adding a teaspoon or two of liquid (water or milk) or ensure you're making at least the minimum batch size recommended for your mixer.
- If the mixer seems to be struggling or rocking excessively, the dough might be too stiff or the batch size is too large. Stop the mixer immediately to prevent damage. You may need to finish kneading by hand or reduce the batch size next time.
By recognizing these signs and adjusting, you can effectively use the dough hook to achieve perfectly kneaded doughs every time.
Beyond the Basics: Exploring Specialized Stand Mixer Attachments
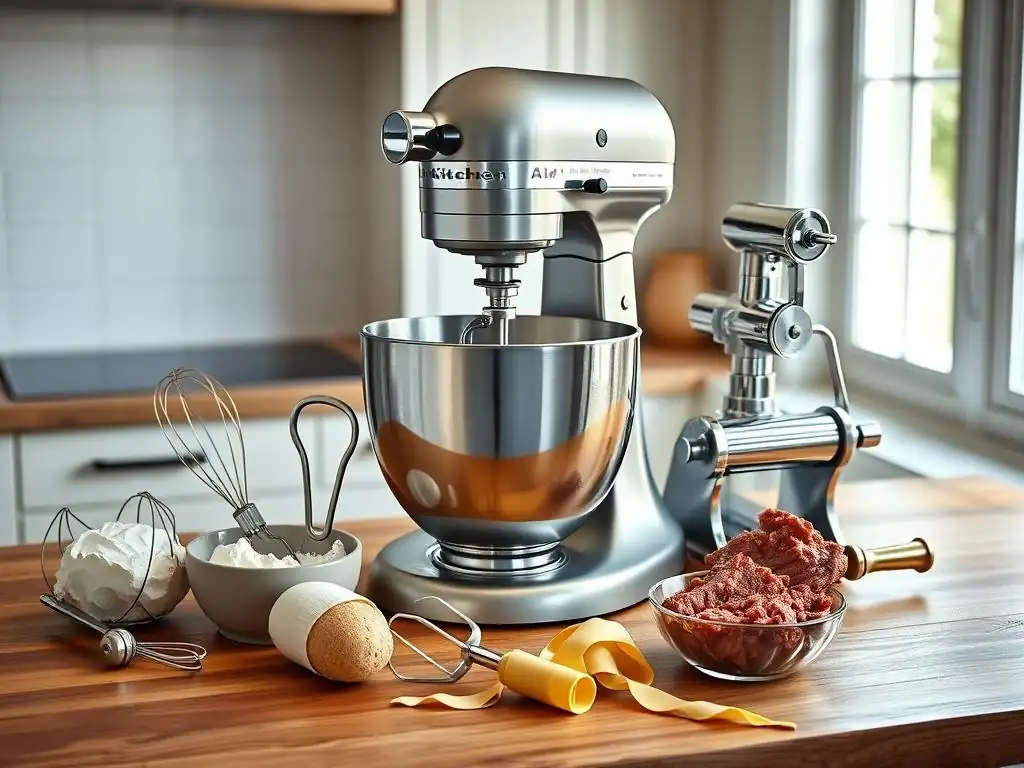
Meat Grinder Attachment for Stand Mixers: Expand your Culinary Horizons
While the core attachments are for baking, many stand mixers offer a range of specialized attachments that expand their utility far beyond cakes and cookies. The meat grinder attachment is a popular example, transforming your mixer into a tool for grinding fresh meat at home. This allows you to control the quality and fat content of your ground meat, avoiding fillers or preservatives found in pre-ground options. You can grind beef, pork, chicken, or even fish for burgers, sausages, meatloaf, or tacos.
Using the meat grinder attachment typically involves chilling your meat and the grinder parts thoroughly, cutting the meat into cubes that fit the feed tube, and running the mixer on a medium speed (often Speed 4 or 6). Most attachments come with different grinding plates for fine, medium, or coarse grinds. Grinding your own meat is often more hygienic and results in fresher, better-tasting dishes. It's a fantastic way to use your stand mixer for savory cooking, showcasing the versatility of stand mixer attachments explained simply.
Pasta Maker Attachment: Fresh Pasta at Home
Another exciting specialized attachment is the pasta maker. Instead of buying dried pasta, you can easily make fresh pasta sheets and noodles using your stand mixer. These attachments usually come as a set, with a roller attachment to create sheets of pasta dough and cutters for different shapes like fettuccine or spaghetti. Making fresh pasta involves a simple dough of flour and eggs, mixed (often with the paddle or dough hook initially) and then fed through the roller attachment to progressively thin it out.
Once the desired thickness is achieved (usually by passing it through the rollers multiple times on decreasing thickness settings, perhaps going from setting 1 down to 6 or 7), the sheet can be fed through the cutter attachment to create noodles. This process is significantly easier and faster than hand-rolling and cutting pasta. Fresh pasta has a superior taste and texture compared to dried, and making it at home with your stand mixer is a rewarding experience.
Ice Cream Maker Attachment: Homemade Frozen Treats
For dessert lovers, the ice cream maker attachment is a must-have. This attachment typically consists of a freeze bowl that attaches to the base of your mixer and a dasher that connects to the mixer's head. You prepare your ice cream base (a custard or simple mix of cream, milk, sugar, and flavorings), chill it thoroughly, pour it into the frozen bowl, and turn the mixer on low speed (usually Speed 1).
The dasher churns the mixture against the super-cold walls of the bowl, freezing it into ice cream. This process usually takes 20-30 minutes, resulting in soft-serve consistency ice cream. For firmer ice cream, you transfer it to a container and freeze it for a few hours. This attachment allows you to make a wide variety of homemade ice cream flavors, sorbets, and gelatos without needing a separate, bulky ice cream machine, demonstrating yet another cool use for stand mixer attachments explained simply.
Slicer/Shredder Attachment: Prep Vegetables with Ease
Save time on tedious vegetable prep with the slicer/shredder attachment. This attachment typically fits onto the front power hub of your stand mixer and comes with various cones or discs for different tasks – slicing cucumbers or carrots, shredding cheese or cabbage, or grating potatoes. You feed the vegetables or cheese through a chute, and the spinning cone inside the attachment quickly processes them.
This is incredibly useful for making salads, coleslaw, gratins, or simply prepping large quantities of vegetables for cooking. Shredding a block of cheese takes seconds compared to minutes by hand, and slicing a large potato for gratin is done in a flash. It significantly reduces prep time and effort for many recipes, making your stand mixer a valuable tool for meal preparation, not just baking.
Choosing the Right Stand Mixer Attachment for Your Needs
Factors to Consider When Selecting Attachments
Selecting the right stand mixer attachment for a task is key to recipe success and efficient use of your mixer. The primary factor is the type of mixing action required. Is it whipping air into something light? You need the whisk. Is it combining ingredients, creaming butter, or mixing batter? The paddle is your friend. Is it developing gluten in yeast dough? Grab the dough hook. For specialized tasks like grinding meat or making pasta, you need the specific corresponding attachment.
Consider the consistency of the mixture. Very wet or light mixtures (like egg whites or thin batters) are best handled by the whisk. Medium-thick batters and doughs (like cookie dough or cake batter) are suited for the paddle. Heavy, elastic doughs (like bread dough) require the strength and action of the dough hook. Using the wrong attachment can lead to poor results (e.g., flat cakes, tough cookies) or even damage your mixer. Consulting your recipe and understanding the desired outcome will guide your choice of stand mixer attachments explained simply.
Stand Mixer Attachment Compatibility: KitchenAid, Cuisinart
It's important to note that stand mixer attachments are generally brand-specific. The attachments designed for KitchenAid mixers, for example, will not fit Cuisinart mixers, and vice-versa, due to differences in how they attach to the mixer shaft or power hub. When purchasing additional attachments, always ensure they are compatible with your specific brand and model of stand mixer.
- KitchenAid attachments typically twist and lock onto the attachment shaft for the whisk, paddle, and hook, or plug into the front power hub for specialized tools.
- Cuisinart attachments often have a different locking mechanism for the bowl attachments and a unique connection point for front-mounted accessories.
Always check the product description and your mixer's manual to confirm compatibility before buying new stand mixer attachments. This ensures they will fit securely and function correctly with your machine.
Cleaning and Maintaining Your Stand Mixer Attachments
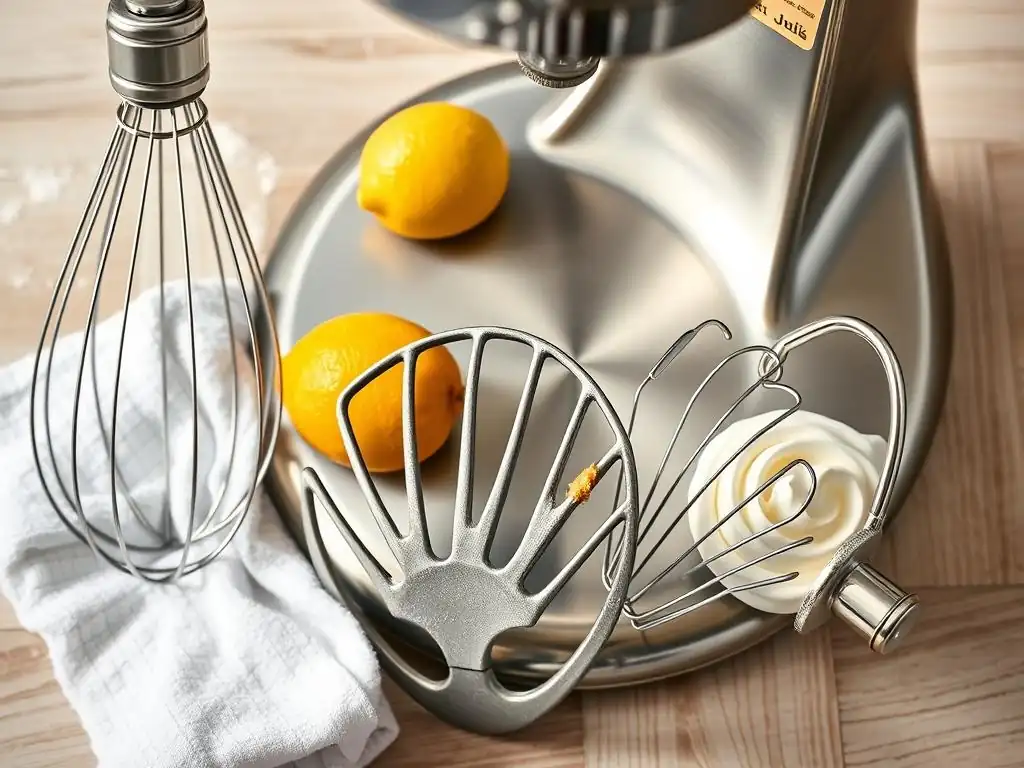
Best Practices for Cleaning Different Attachment Types
Proper cleaning and maintenance are essential to keep your stand mixer attachments in good condition and prevent the buildup of food residue. The standard whisk, paddle, and dough hook attachments are often made of coated metal (like nylon or enamel) or stainless steel. Coated attachments (often white) are usually not dishwasher safe, as the high heat and detergent can damage the coating over time, potentially causing it to chip or peel. These should be washed by hand with warm, soapy water and dried thoroughly.
Stainless steel attachments (shiny silver) are typically dishwasher safe, offering easier cleanup. However, always check your mixer's manual or the attachment's specific care instructions to be sure. Specialized attachments like meat grinders or pasta makers often have multiple parts that need to be disassembled for cleaning. These parts are usually metal and should be washed by hand immediately after use to prevent food from drying and sticking. Warm, soapy water and a brush are effective. Ensure all parts are completely dry before reassembling or storing to prevent rust.
Extending the Life of Your Stand Mixer Attachments
Taking a few simple steps can significantly extend the life of your stand mixer attachments. Always clean them promptly after use; letting food dry on them makes cleaning much harder and can stain or damage the material. For coated attachments, avoid scraping them with metal utensils or abrasive pads, which can scratch or remove the coating. If the coating on a whisk, paddle, or dough hook becomes chipped, it's often best to replace it, as the exposed metal can rust and flakes of coating can get into your food.
Storing attachments properly also helps. Avoid just tossing them into a drawer where they can get scratched or bent. Some mixers come with attachment storage caddies, or you can use drawer organizers or hooks to hang them. For specialized attachments with multiple parts, store them together in their original box or a dedicated container to keep everything organized and protected. Regular cleaning and careful handling are key to ensuring your stand mixer attachments remain functional and looking good for years to come.
Mastering Stand Mixer Attachments: Elevate Your Baking
Advanced Techniques with Stand Mixer Attachments
Once you're comfortable with the basic uses of your stand mixer attachments, you can explore more advanced techniques. With the whisk, practice reverse creaming for cakes (mixing dry ingredients with butter first, then adding wet) for a finer crumb. Use the dough hook for autolyse or preferments in bread making, allowing the dough to rest before full kneading to improve gluten development with less work. Experiment with the paddle for developing meringue-based buttercreams (like Swiss or Italian meringue buttercream), where it's used after the whisk to beat in butter.
Beyond the standard trio, specialized attachments open up new culinary avenues. Use the meat grinder to make your own custom sausage blends with the sausage stuffer attachment. Utilize the pasta roller to make delicate ravioli or lasagna sheets. Explore the ice cream maker for complex frozen desserts like sorbet or gelato with mix-ins. These advanced applications demonstrate the depth of functionality available with stand mixer attachments explained simply, allowing you to tackle more complex recipes with confidence.
Stand Mixer Attachment Troubleshooting Guide
Even with a good understanding, issues can arise. If your whisk isn't whipping effectively, double-check that the bowl and whisk are clean and dry, especially from any residual fat. If your paddle isn't reaching the bottom of the bowl, the bowl height might need adjusting (check your manual for instructions on adjusting the screw near the attachment shaft). If your dough hook is struggling or the dough is climbing, ensure you're using the correct speed (Speed 2) and that your dough hydration isn't excessively high.
- Problem: Mixer seems strained or overheats.
- Possible Cause: Dough is too stiff, batch size is too large, or speed is too high (especially for kneading).
- Solution: Reduce batch size, ensure correct hydration, use recommended low speed for kneading. Stop mixer if motor feels hot.
- Problem: Ingredients aren't mixing evenly at the bottom of the bowl.
- Possible Cause: Bowl height needs adjustment.
- Solution: Consult manual for adjusting bowl clearance, usually a screw near the attachment point.
- Problem: Coated attachment is chipping.
- Possible Cause: Dishwashing, scraping with metal, or age/wear.
- Solution: Hand wash only, avoid metal utensils. Replace chipped attachments.
This basic troubleshooting can help you quickly identify and resolve common issues, ensuring smooth operation with your stand mixer attachments.
Frequently Asked Questions
What are the three basic stand mixer attachments and what are they primarily used for?
The three basics are the whisk, paddle, and dough hook. The whisk is for aerating mixtures like egg whites, the paddle is for general mixing like cake batter, and the dough hook is for kneading heavy doughs like bread.
No, the whisk attachment is designed for incorporating air into lighter mixtures. Using it for thick cookie dough could damage the motor of your stand mixer. Use the paddle.
What is the difference between the paddle attachment and the flex-edge beater?
While both mix ingredients, the flex-edge beater has a silicone edge that scrapes the sides of the bowl as it mixes. This reduces the need to manually scrape the bowl, ensuring more even mixing.
I want to make sourdough bread. Which attachment should I use and for how long?
Use the dough hook attachment for making sourdough bread. Knead the dough for approximately 8-10 minutes on a low to medium speed, until it becomes smooth and elastic.
Are all stand mixer attachments universal, or do I need to buy specific ones for my brand?
Stand mixer attachments are not always universal. It's crucial to buy attachments specifically designed for your stand mixer brand and model to ensure proper fit and function, preventing damage.
Final Reflection: Unlocking the Potential of Your Stand Mixer
The humble stand mixer, once a kitchen luxury, has become a cornerstone of modern baking and cooking, its versatility amplified tenfold by its diverse range of attachments. Understanding these attachments isn't just about following recipes; it's about unlocking the full potential of your culinary creativity and achieving consistently perfect results, every time.
The impact of readily available information on kitchen tools like stand mixers is undeniable. We've moved beyond simply using a machine to a deeper understanding of its capabilities. This shift reflects a broader cultural trend towards mindful consumption and a desire to master culinary skills. The best things in life are homemade,
a sentiment often echoed, is amplified by the ability to confidently tackle complex recipes with the right tools and knowledge. This article aims to contribute to that empowerment, simplifying the often-confusing world of stand mixer attachments.
Now, consider your own stand mixer. What recipes have you always wanted to try, but hesitated due to a lack of understanding about the appropriate attachment? I encourage you to explore the possibilities, to experiment with different attachments and techniques, and to discover the joy of creating delicious food with confidence. Don't let your stand mixer gather dust; unlock its potential and let your culinary adventures begin!
Unlock Your Stand Mixer's Full Potential!
Thanks for taking the time to explore the amazing world of stand mixer attachments! You've now unlocked the secret to baking efficiency and delicious results. Ready to put your newfound knowledge into action?
- Master a new recipe: Choose one recipe that specifically utilizes an attachment you learned about today (maybe that pasta dough you’ve always wanted to try! ). This is your primary action.
- Share your baking journey: Tell us (and your friends!) about your baking adventures using your stand mixer. Show off your creations on social media!
- Explore our other guides: Delve deeper into the world of baking by checking out our other informative guides on BakeWithEase.
Ready to create your next baking masterpiece? What delicious recipe will you tackle first?